
The Me. The cookbook addict missed a book signing at Omnivore Books. Literally, took my eye off the book and completely missed Natasha Pickowicz’s More…
My favorite foods can be eaten in a bowl and with a spoon. The perfect fall day would be snuggled up on the couch with…
Our final road trip with Moosie (for context, my daughter’s Bernedoodle whom we have been sitting for the last 4 months) took us first to…
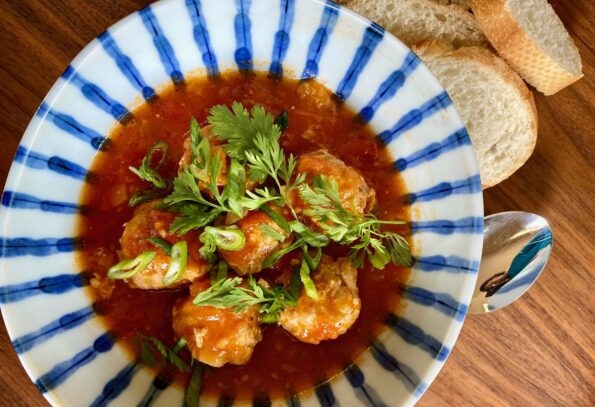
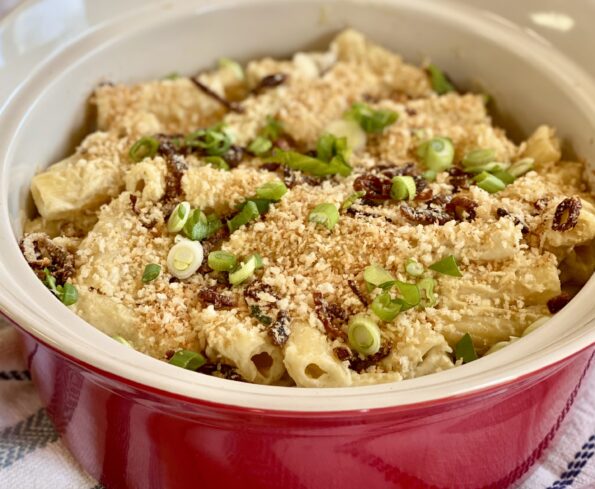
Before tomato season ends give this dish, Vietnamese Meatballs in Tomato Sauce, a try. I came across this dish on IG. It looked scrumptious, and…
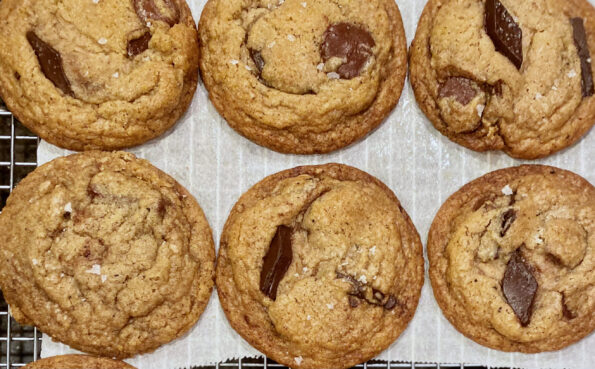
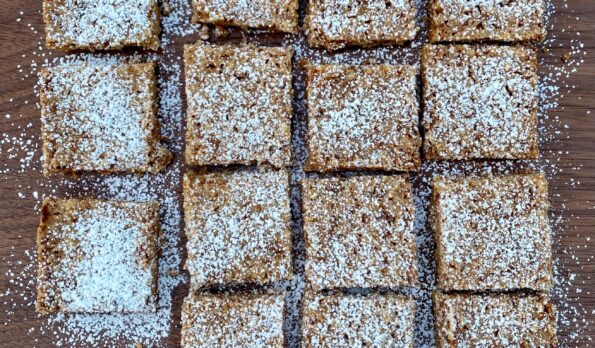
I’m not sure how many chocolate chip cookie recipes I have but it seems you can never have too many. I came across yet another…
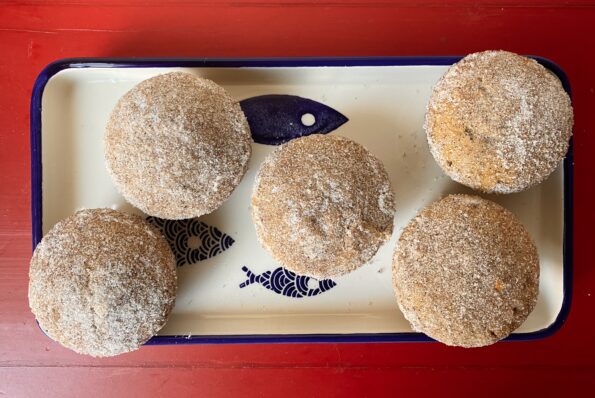
After one Head of the Charles Regatta, we headed to Vermont for some R&R. Our first stop was King Arthur Baking. We stayed at a…
I have been focused on cookbooks from the Asian Diaspora. With the way the world is turning, on a definite lopsided tilt, I want to…
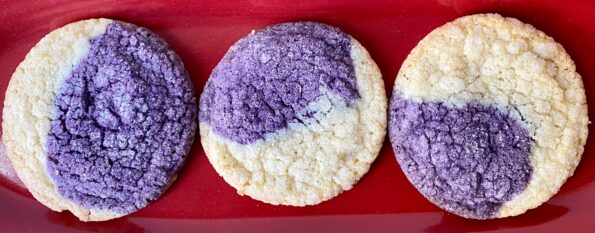
I wanted to include an ube dessert or cookie in my “Maui Strong” box for Lahaina. Since I had made Ube Mochi Muffins for the…

It sucks to feel helpless which is exactly how I felt while watching the coverage of the wildfires in Maui. In a twisted way, it…