
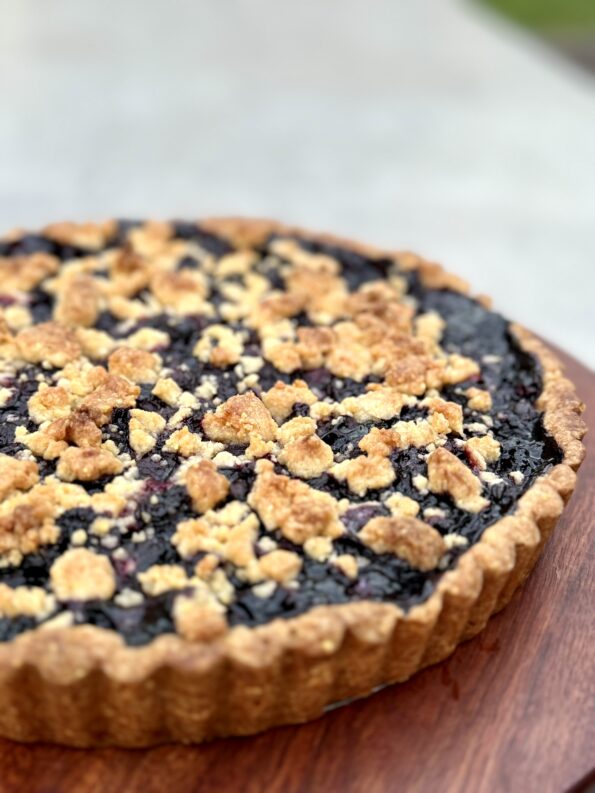
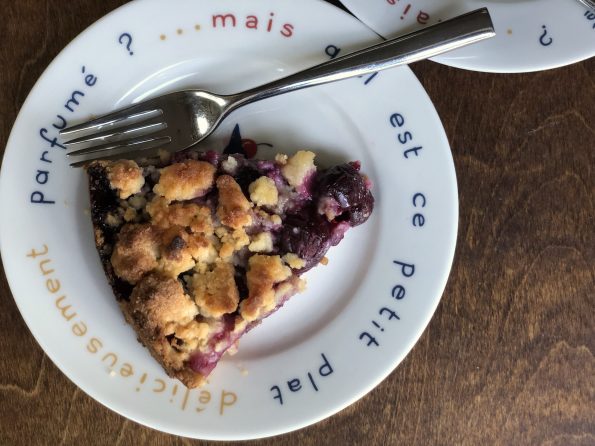
Yikes! Before blueberry season ends, make this Blueberry Cornmeal Tart. From Alison Roman’s Sweet Enough, an easy, absolutely delicious way to take advantage of fresh…
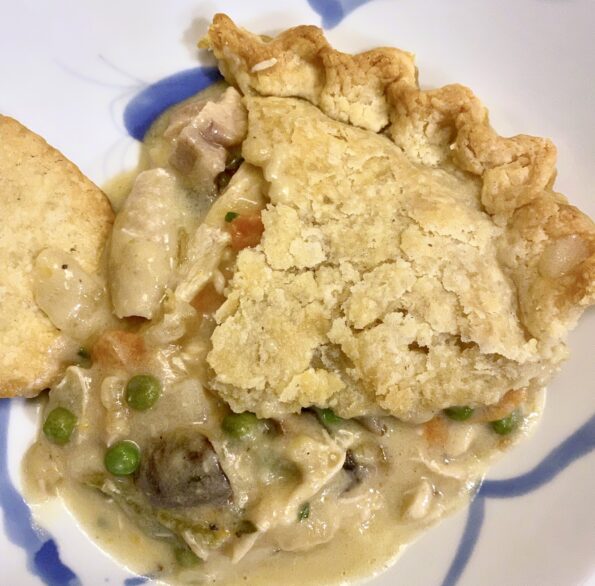
Here in California, we have been battered by some extreme weather…more rain, snow, and high winds than we have seen in a long, long time. …
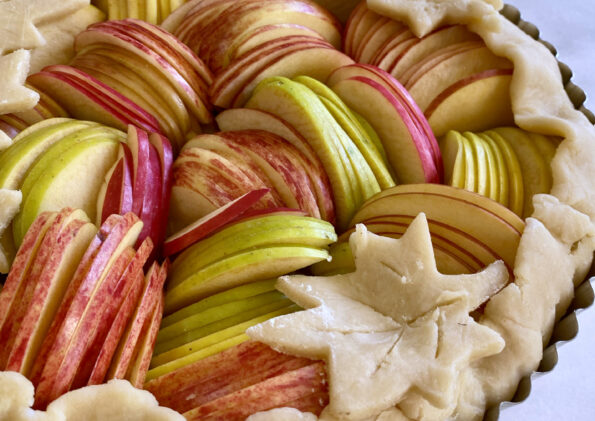
When the fall season rolls around, apples begin to crop up at our farmer’s market. Gone are the days when the only available apples were…
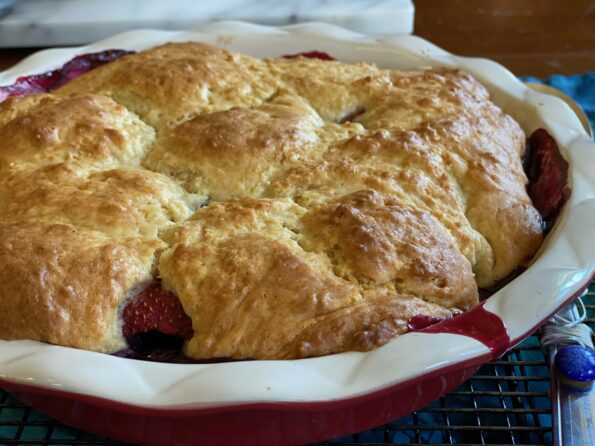
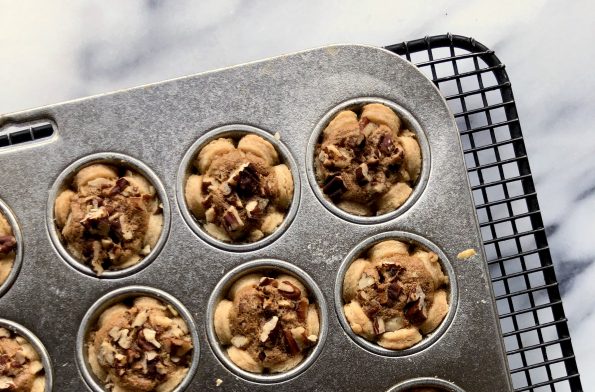
Are you like me? Our farmer’s market in the summer is like a candy store and I’m the kid in it, running around and grabbing…
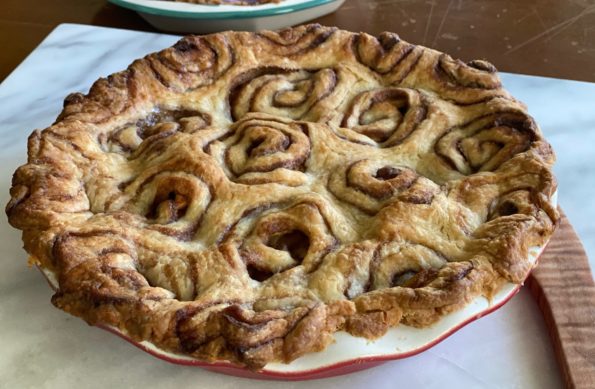
Our Thanksgiving dinner was a little family affair as I suspect most people’s celebrations were. We modified our dinner, kept it small, moved it earlier…
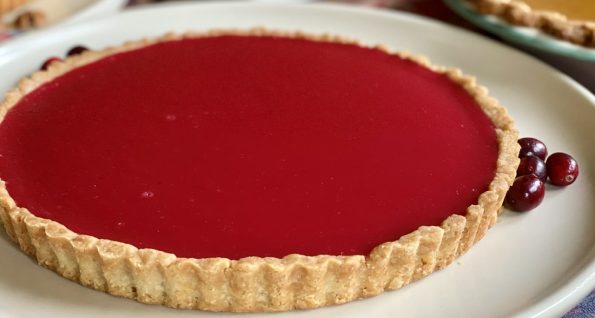
A delicious holiday dessert, Cranberry Curd Tart. Easy to make and beautiful!
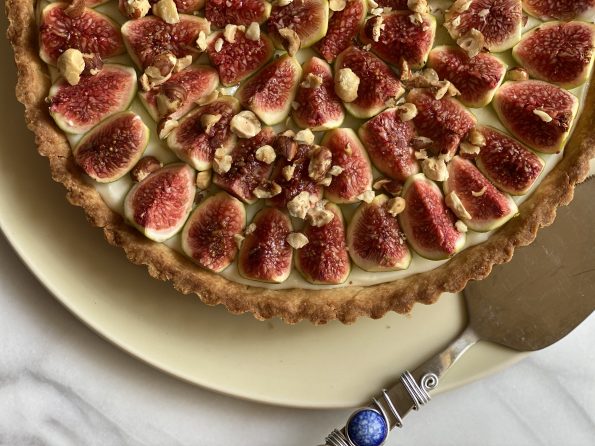
I’m pretty jazzed, a friend is gifting me a fig tree! She took a cutting, threw it in dirt and whaddya know, it grew into…
We were invited to Rosh Hashanah dinner the other night and I volunteered to bring dessert. It’s usually a no brainer since our host LOVES…
Right next to my favorite strawberry stand at the farmer’s market is a cherry stand. A couple of weeks ago was their last time at…