
Well, this is embarrassing. I was supposed to post this during the holidays but instead, it has been languishing in my drafts file. What better…
The kids were home for the holidays and have now gone back to school. It was nice having them home although our house looks like…
I am a pie kind of gal. It is common knowledge, I will search for pie at every opportunity-family vacations, weekend jaunts, regattas, anytime, anywhere.…
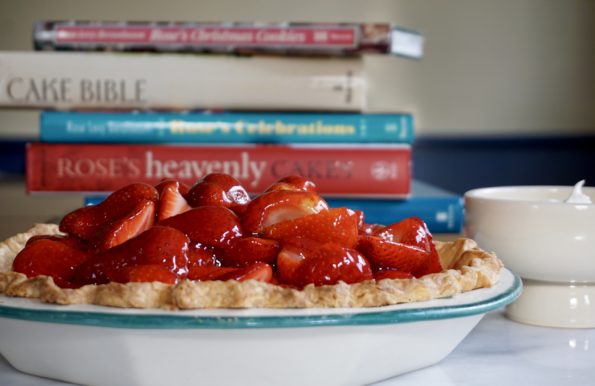
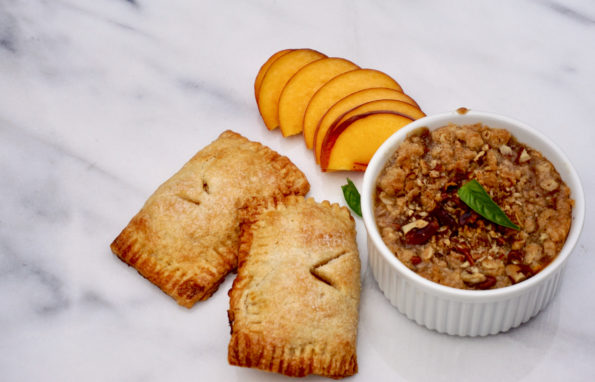
Tasked with dessert for Easter dinner at my brother’s this year, I pondered what to bring. Inspiration hit at my local farmer’s market when I…
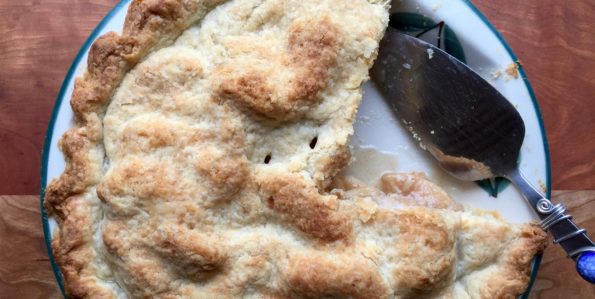
Who doesn’t love a slice of good old-fashioned apple pie! Layers of apples, sweetened with a hint of cinnamon and nutmeg enveloped by a tender,…
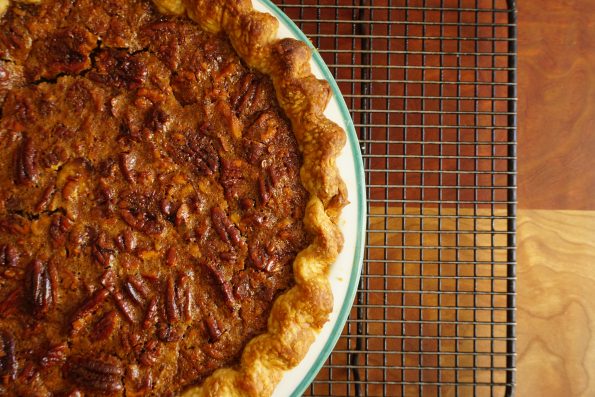
I absolutely love pie. Apple pie, Lemon Meringue Pie, Pumpkin Pie, Pecan Pie, Peach Pie and BANANA CREAM PIE. Yum. My favorite part is the…
I am going to miss Jamie’s and my weekly forays to the farmer’s market. Not that the season is ending, but Jamie heads back to…
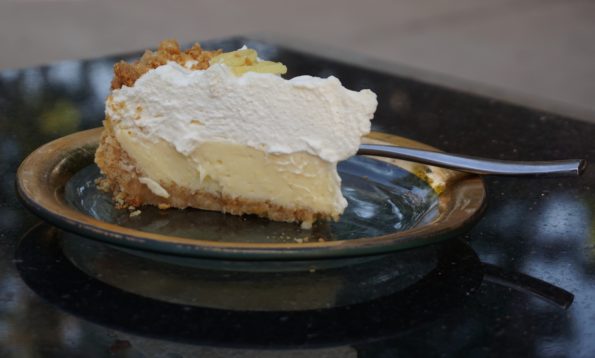
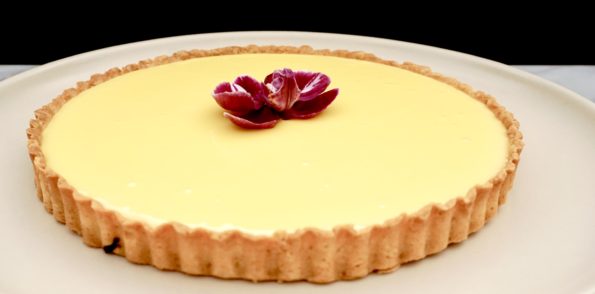
STOP Whatever You Are Doing Right Now Go to your pantry, take out the box of Ritz Crackers, sugar, and that can of sweetened condensed…
This past weekend, I found some time to indulge in two of my favorite pastimes, baseball and baking. The season has finally started, and I…