
I think I broke a record on New Year’s Eve. Well, a record for me. Normally a night owl, I found myself on the couch…
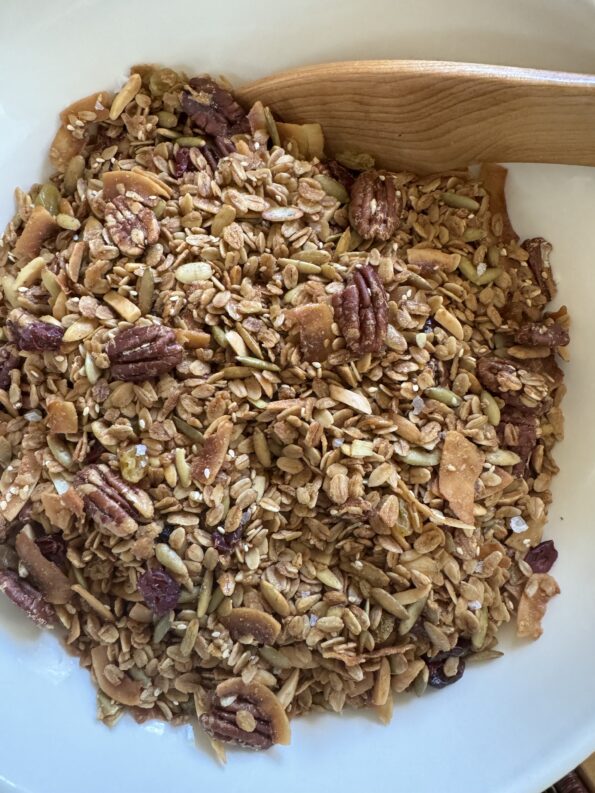
My favorite granola recipe, Jule’s Granola was given to me by my coworker and friend, Julie, years ago. She brought a bag to work one…
Our final road trip with Moosie (for context, my daughter’s Bernedoodle whom we have been sitting for the last 4 months) took us first to…
I have been focused on cookbooks from the Asian Diaspora. With the way the world is turning, on a definite lopsided tilt, I want to…
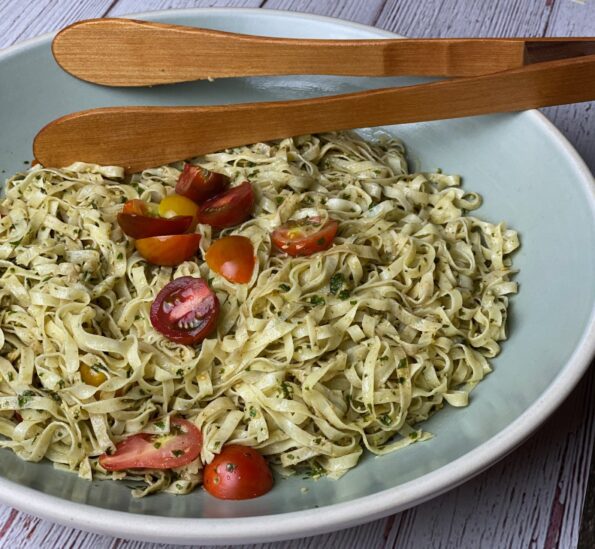
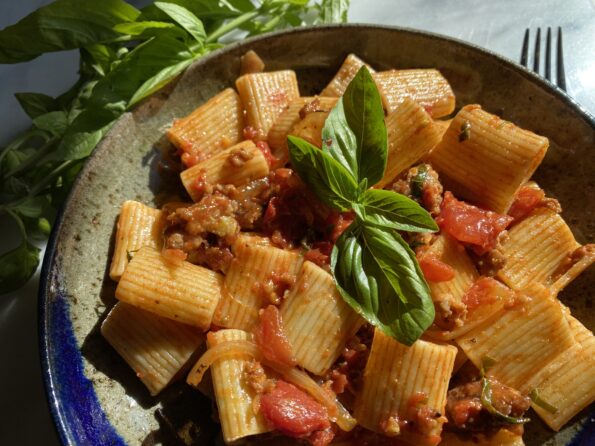
A favorite pasta dish in our house is Pesto with Linguine. Years ago (I mean YEARS AGO), I clipped the LA Times winning Pesto recipe…
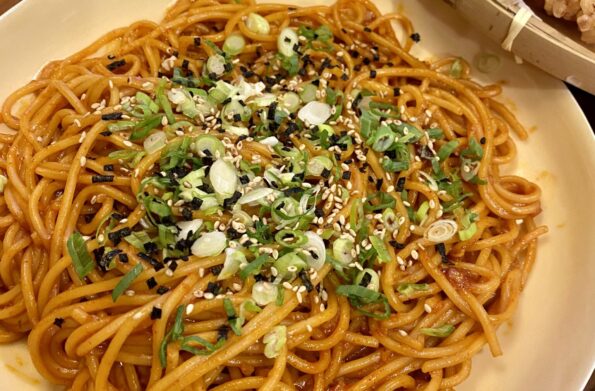
A couple of weeks ago I was reading a post from the Woks of Life, a lovely blog on Asian cooking. Their post was on…
My Dad made dinner most of the time. Every evening he would leave the office, shop for dinner ingredients, go back to the office, pick…
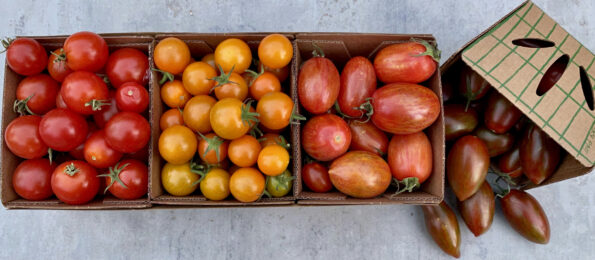
I have taken over tomato duties from the hubby who has given up on becoming an urban farmer. We just haven’t had any luck with…
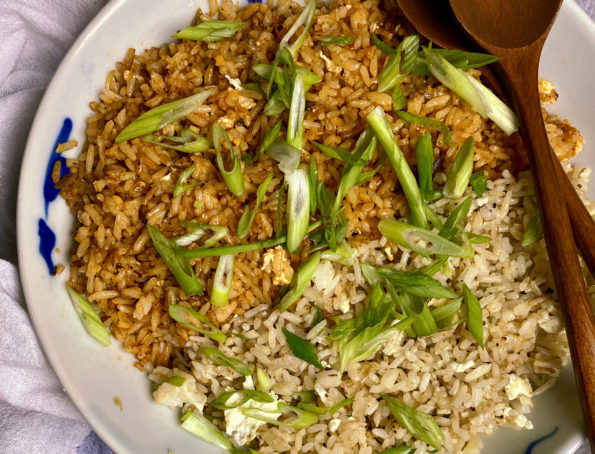
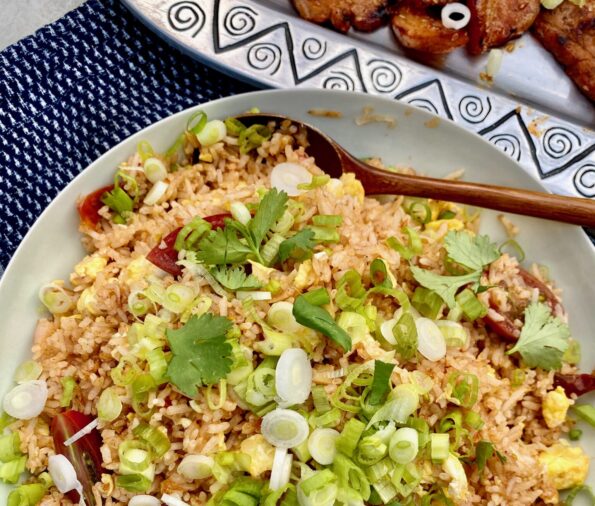
I LOVE fried rice. Posted on 3Jamigos are my favorites, my Dad’s Fried Rice and Kimchi Fried Rice. Until now, I was very content with…