
I absolutely love pie. Apple pie, Lemon Meringue Pie, Pumpkin Pie, Pecan Pie, Peach Pie and BANANA CREAM PIE. Yum. My favorite part is the crust, all that buttery goodness in tender flaky sheets. My favorite pie crust recipe is from Dorie Greenspan (ok, I might still be starstruck) and it’s really good. A combination of butter for flavor and shortening for flakiness. The recipe calls for up to one-half cup of water. Start with 6 tablespoons. I usually don’t use more than 8 tablespoons which is well short of one-half cup.
I like starting with a food processor and finishing by hand, the best of both worlds. The food processor makes short work of cutting the fats into the dry ingredients while finishing the dough by hand prevents overworking the dough and ending up with a tough crust. By all means, try each method to see what gives you the best crust possible without having you tear your hair out. Use the food processor throughout or make it completely by hand. Directions for both are in the recipe.
Just remember the golden rules, keep your ingredients COLD. If your dough gets too soft at any point put it back in the fridge to chill. Don’t overwork your dough. This link is to Food52’s (a great website-check it out) article on what “overwork” means…it’s spot on and now I don’t have to explain it!
And…..EAT. PIE.
Food52 has a great article on blind-baking their curst
Pie Crust
Ingredients
For a 9 inch Double Crust
- 3 cups all purpose flour 408gms of KA flour
- 1/4 cup sugar
- 1-1 ½ tsp salt fine sea salt
- 2 ½ sticks very cold unsalted butter cut into tbsp size pieces
- 1/3 cup very cold vegetable shortening (2.23 ounces) cut into 4 pieces
- 1/2 cup ice water you should not need all of it
Instructions
Food Processor
- Put the flour, sugar, and salt in a food processor fitted with a metal blade, pulse just to combine the ingredients. Drop in the butter and shortening and PULSE only until the butter and shortening are cut into the flour. Don’t overdo the mixing- what you’re aiming for is to have some pieces the size of fat green peas and others the size of barley.*
- Pulsing the machine on and off, gradually add about 6-8 tbsps of the water- add a little water and pulse once, add some more water, pulse again and keep going that way. Then use a few long pulses to get the water into the flour. If, after a dozen or so pulses, the dough doesn’t look evenly moistened or form soft curds, pulse in as much of the remaining water as necessary, or even a few drops more, to get a dough that will stick together when pinched. Big pieces of butter are fine. Scrape the dough out of the bowl and onto a work surface.
Hand Method: (My preferred method it allows for more control)
- Pour dough into a large mixing bowl. Drizzle water onto dough and mix with fork to bring dough together. The dough will look a little dry but when pinched should hold together. Try not to add too much water. Pour dough onto a lightly floured flat surface and knead lightly to bring dough together.
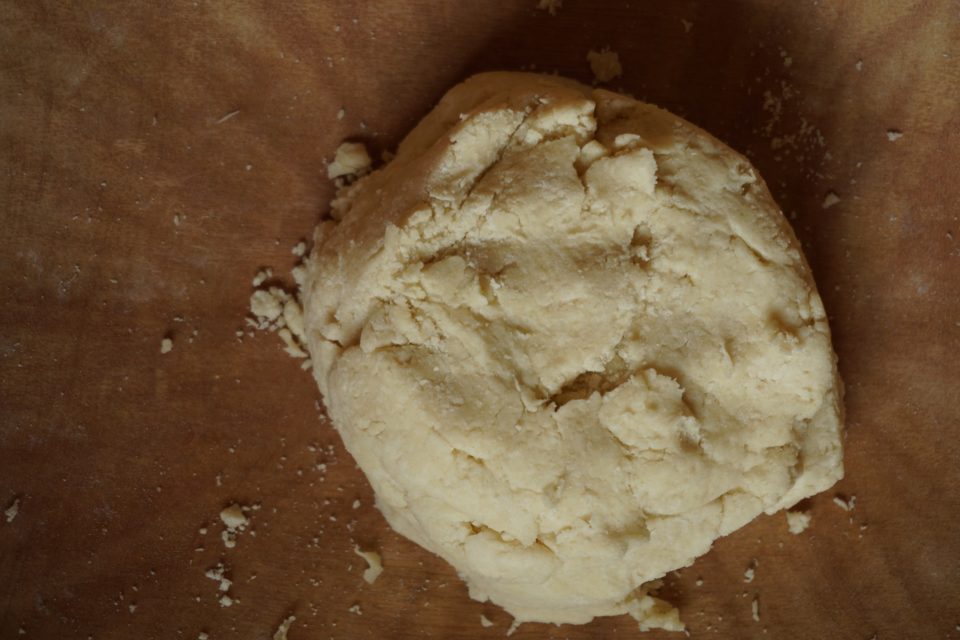
- Divide the dough in half. Gather each half into a ball, flatten each ball into a 1"disk and wrap each half in plastic. Refrigerate the dough for 30 min - 1 hour before rolling (if your ingredients were very cold and you worked quickly, though, you might be able to roll the dough immediately: the dough should be as cold as if it had just come out of the fridge).
To Roll Out Dough:
- Have a 9 inch pie plate ready to go.
- You can roll the dough out onto a floured surface or between sheets of wax paper or plastic wrap. If you’re working on a counter, turn the dough over frequently and keep the counter floured. If you are rolling between paper, plastic or in a slipcover, make sure to turn the dough over often and to lift the paper, plastic, or cover frequently so that it doesn’t roll into the dough and form creases.
Little tricks of the trade
- Roll from the center of the dough ball out (away from you. Rotate a quarter turn and repeat. Constantly moving dough ensures it doesn't stick. I cheat, hubby got me plastic strips approximately 16 inches long and 2 inches wide in varying thickness, 1/8", 3/8", 1/4", 1/2". The ends of my rolling pin sit on the plastic strips so I roll evenly and to the right thickness.
- If you have time, slide the rolled out dough into the fridge for about 20 minutes to rest and firm up.
- When baking lower the rack to the lowest position in the oven. This helps crisp up the bottom crust.