

Bleary-eyed, I arrived home at 6:15 AM after dropping off Jamie at the airport at 5 AM. I actually live only 10 minutes from the…

I feel that if I am going to eat a meal associated with a holiday, I ought to learn a bit about that particular holiday…
Here in California, we have been battered by some extreme weather…more rain, snow, and high winds than we have seen in a long, long time. …

I couldn’t help but tweak Eric Kim’s Roasted Chicken with Fish-Sauce Butter title. I added Croutons to the title because… let’s be real, the croutons…

I am seriously thinking about adding a new category to 3Jamigos. I’m going to call it “Everything Everywhere All at Eric”. Serving a dual purpose,…

Just in time for Valentine’s Day…2024! Thumbprint cookies with a heart-shaped center. Do I hear a collective “Awwwww, how cute”? Yes! I came across these…

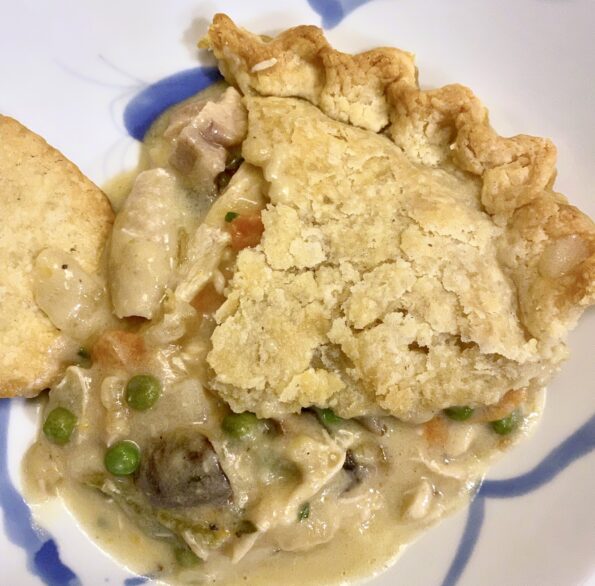
It’s raining once again in California. Which is the best excuse to stay home (in sweats), watch a lot of TV, bake, and cook? I…

I’m sure I saw this on TikTok or an IG Reel. It looked so delicious I knew I was going to make it, if not…
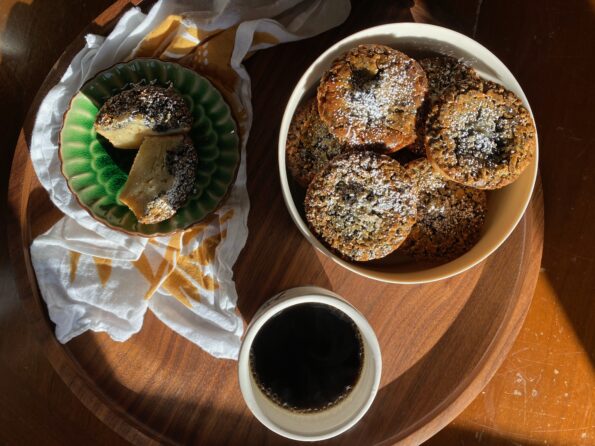
I first made Eric Kim’s Chewy Black Sesame Mochi Cake after a “Bake-a-long” with him, a perk for purchasing his book, Korean American. I was…