
Whenever I return from a trip, I do a couple of things. First, I make a big pot of soup. It might be Three Amigos Soup…
I have a confession: I have never had Whole Foods’ Famous Berry Chantilly Cake. In fact, the first time I heard about this cake was…
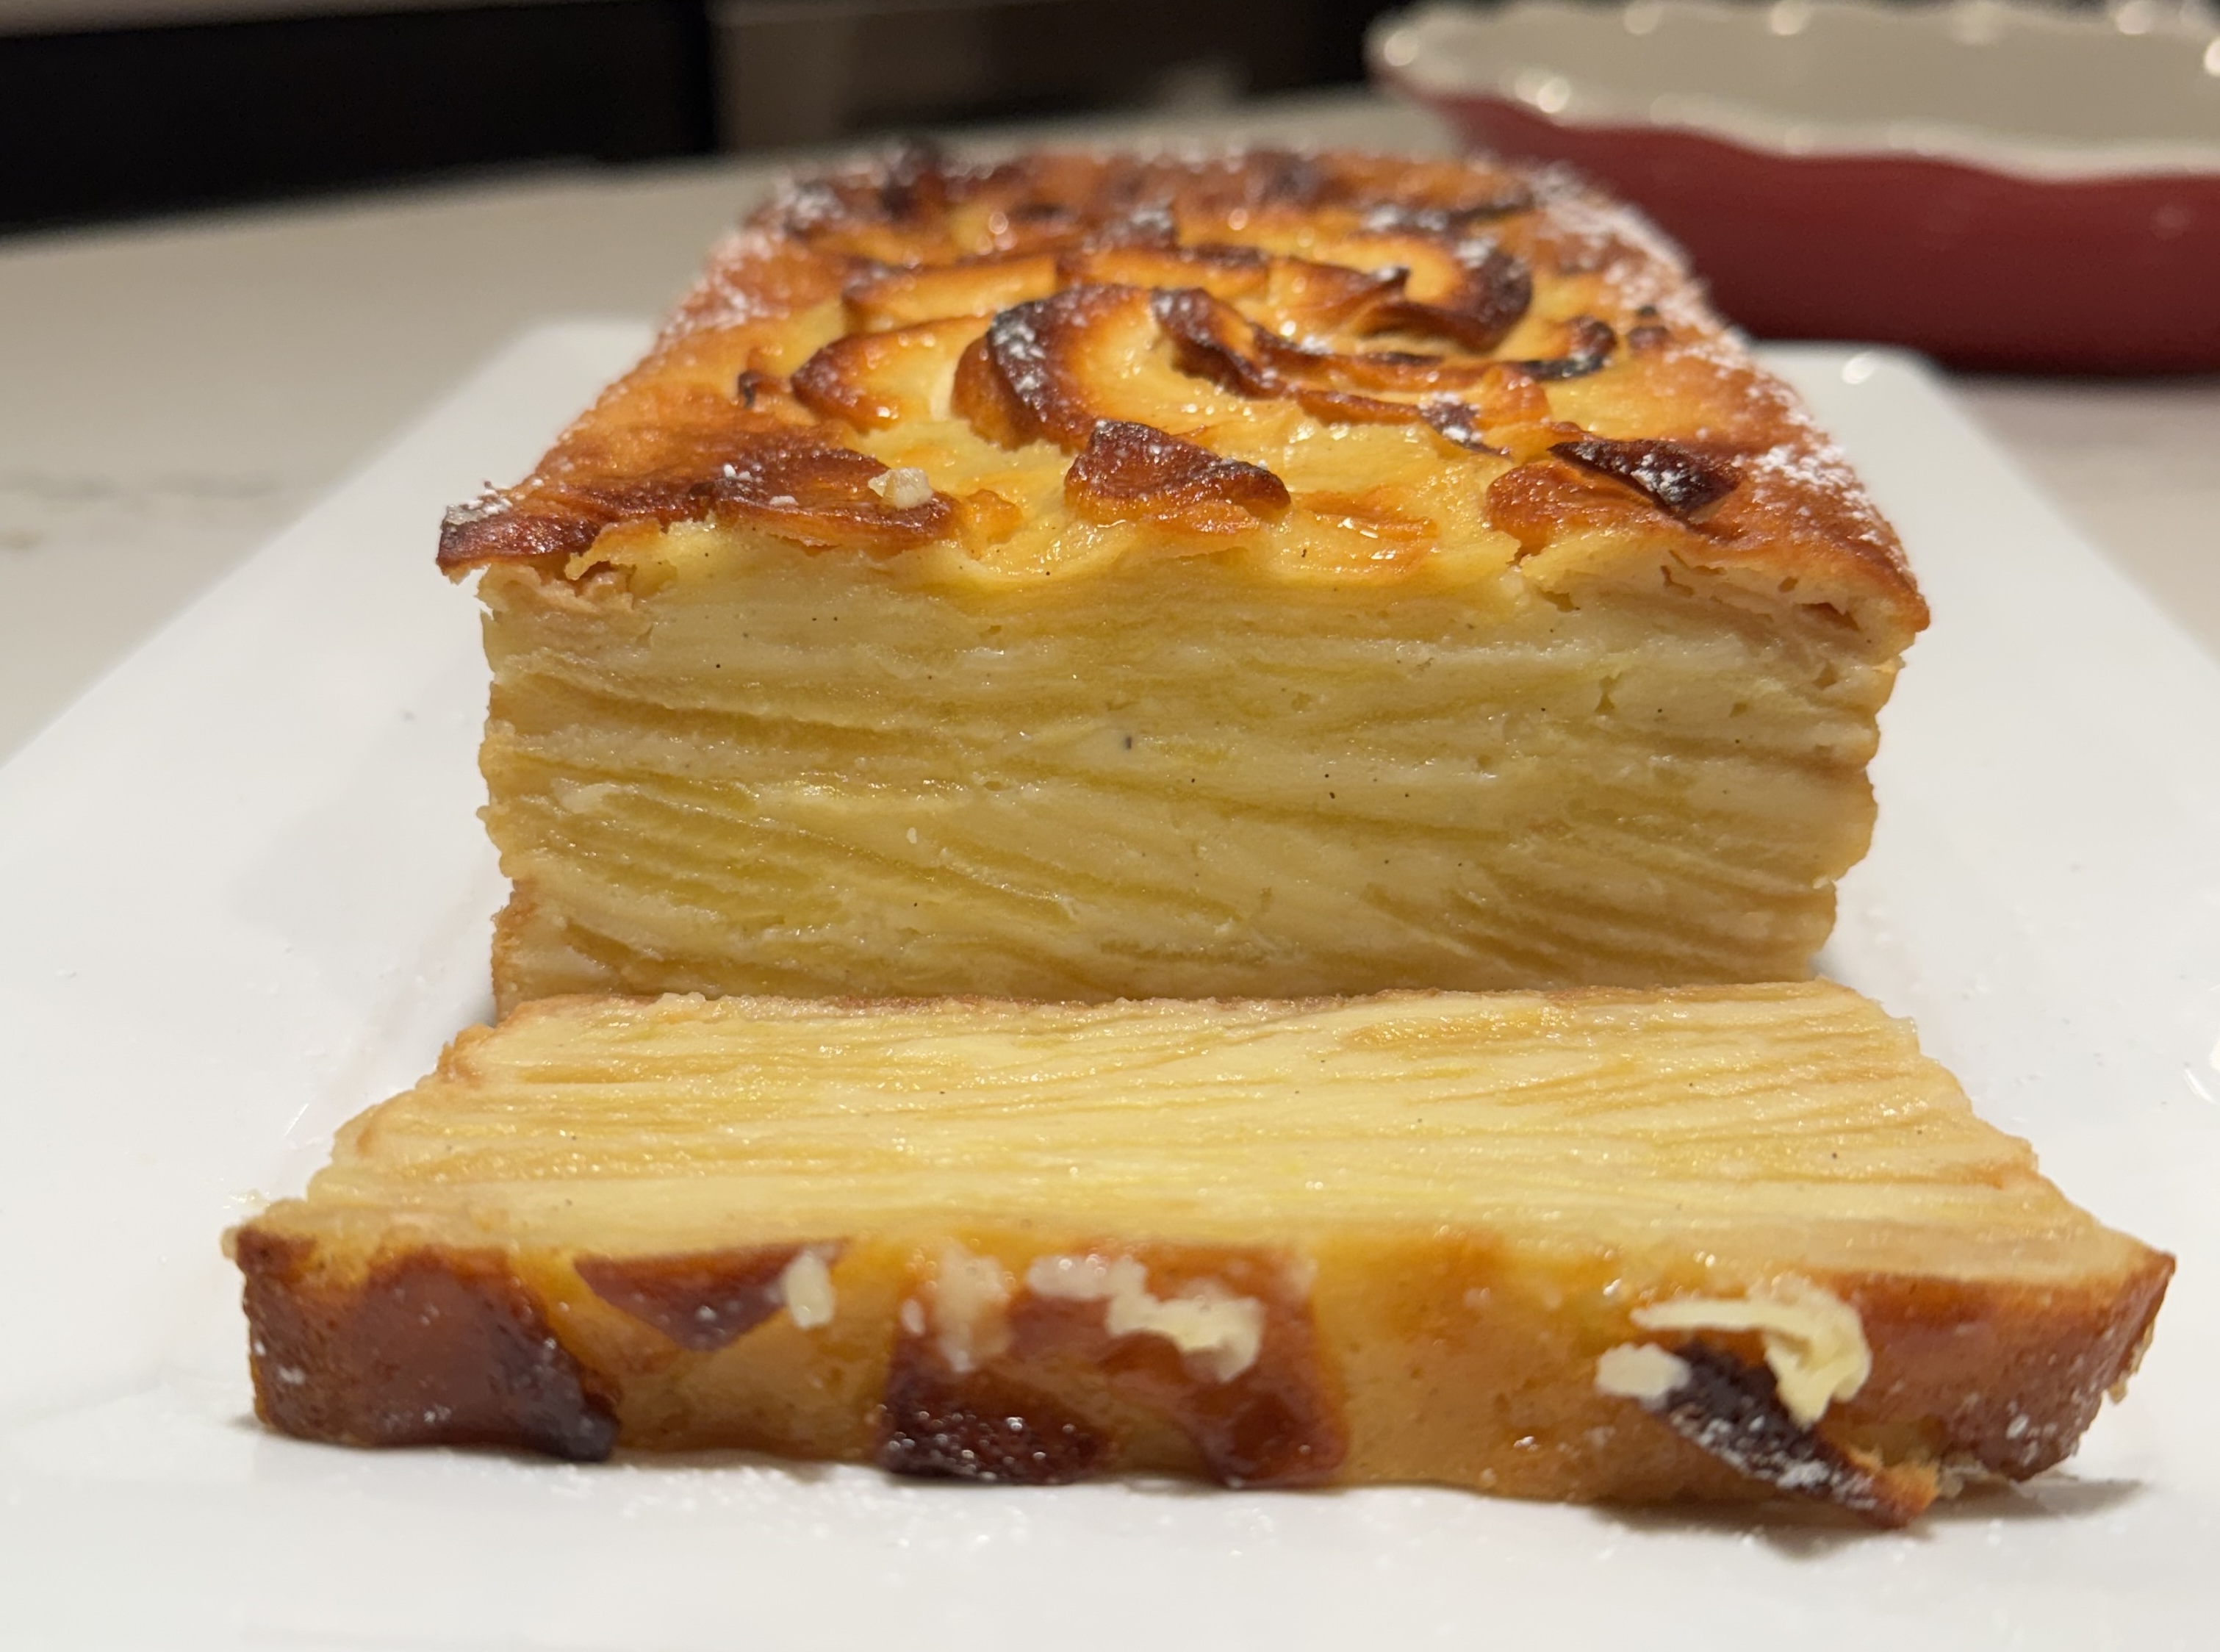
I have been eyeing this cake for a while, the Invisible Apple Cake. No pun intended. It’s layers and layers of thinly sliced apples held…
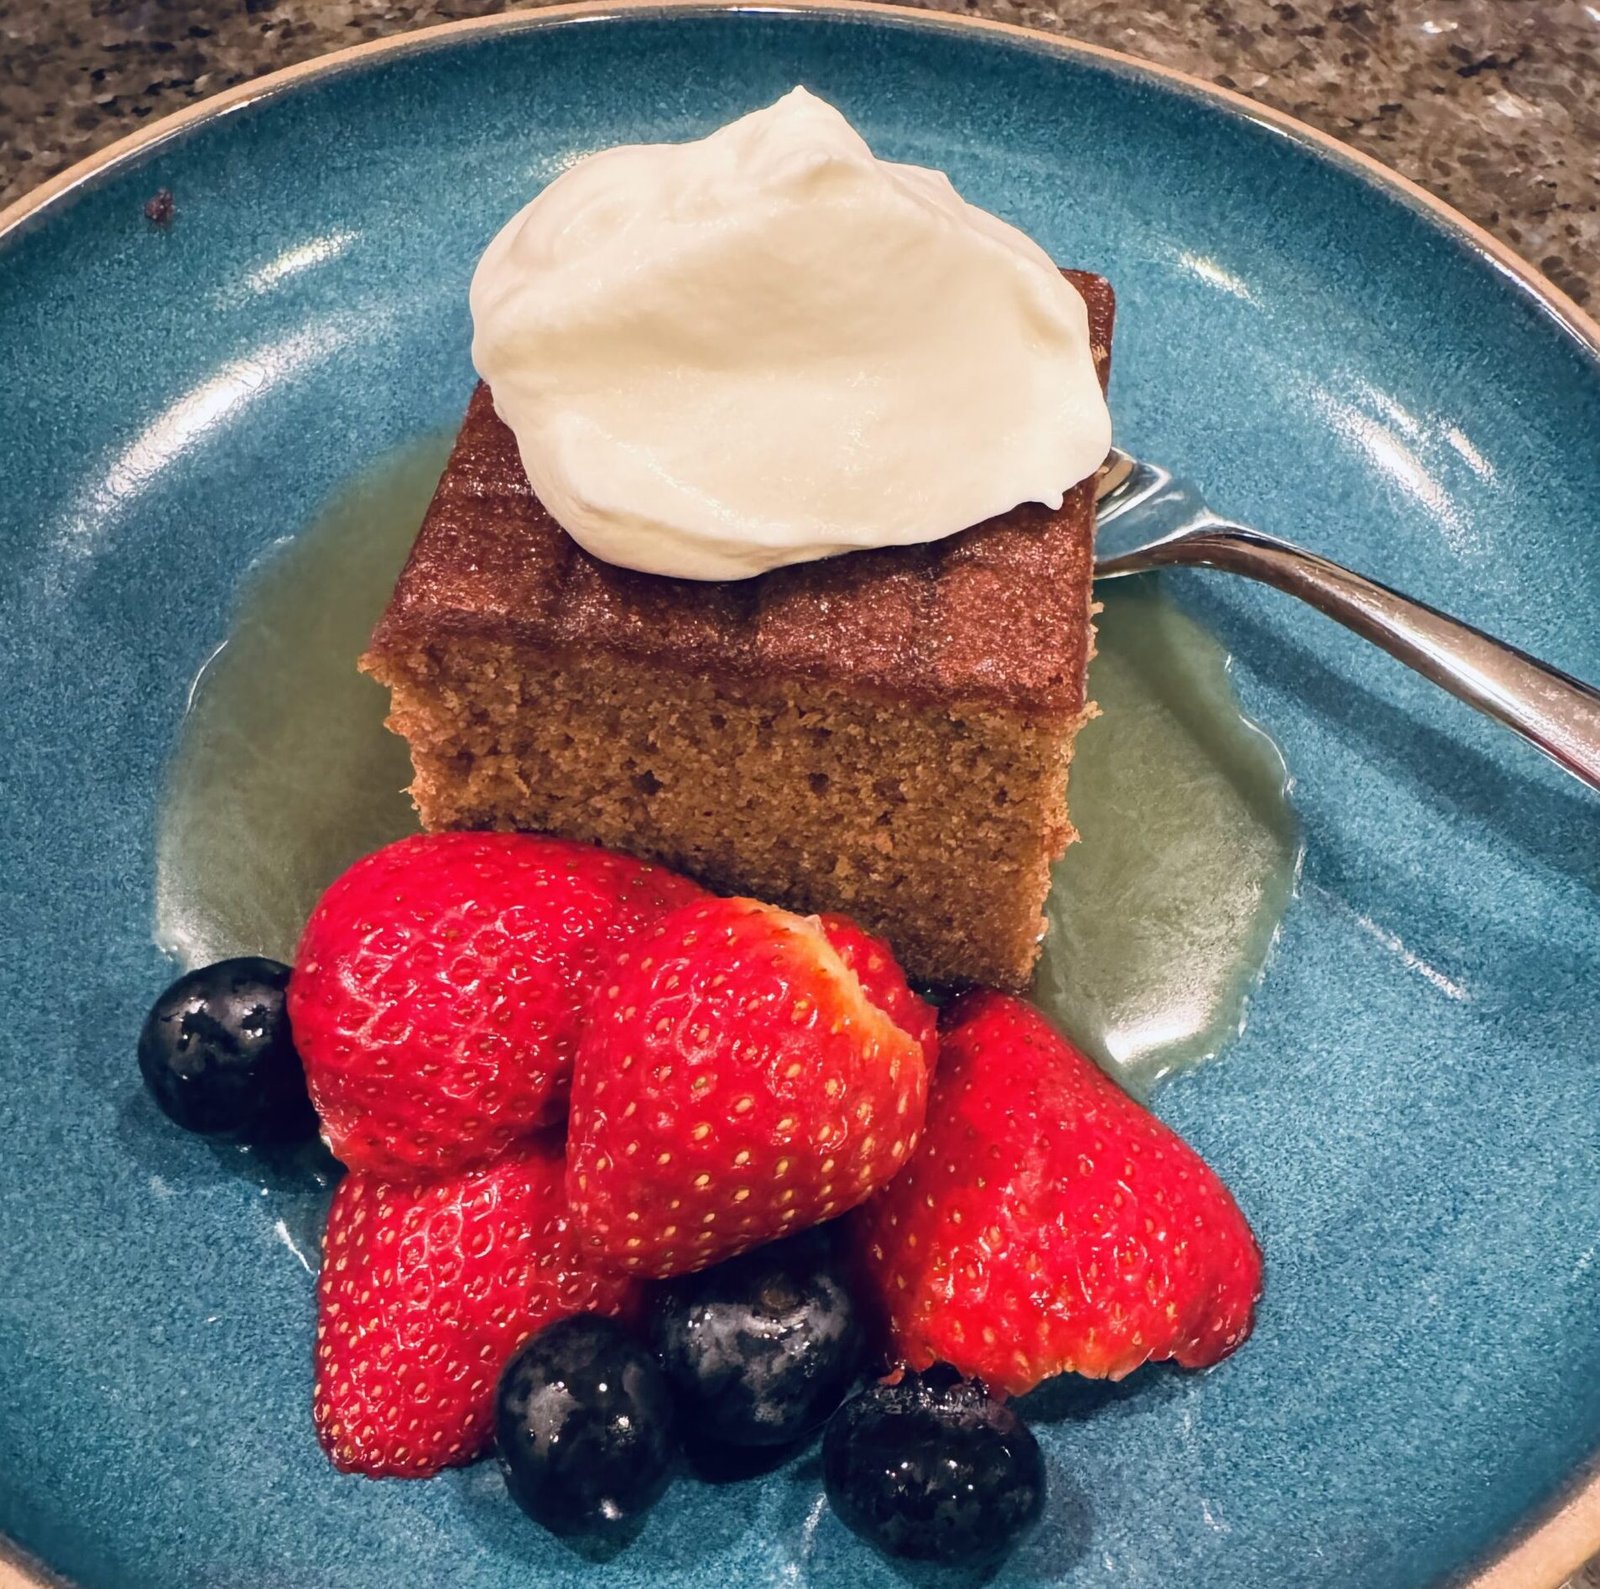
The first cake I made in remembrance of Melissa Hortman, a member of Minnesota’s House of Representatives, her husband, Mark and their dog, Gilbert, is…
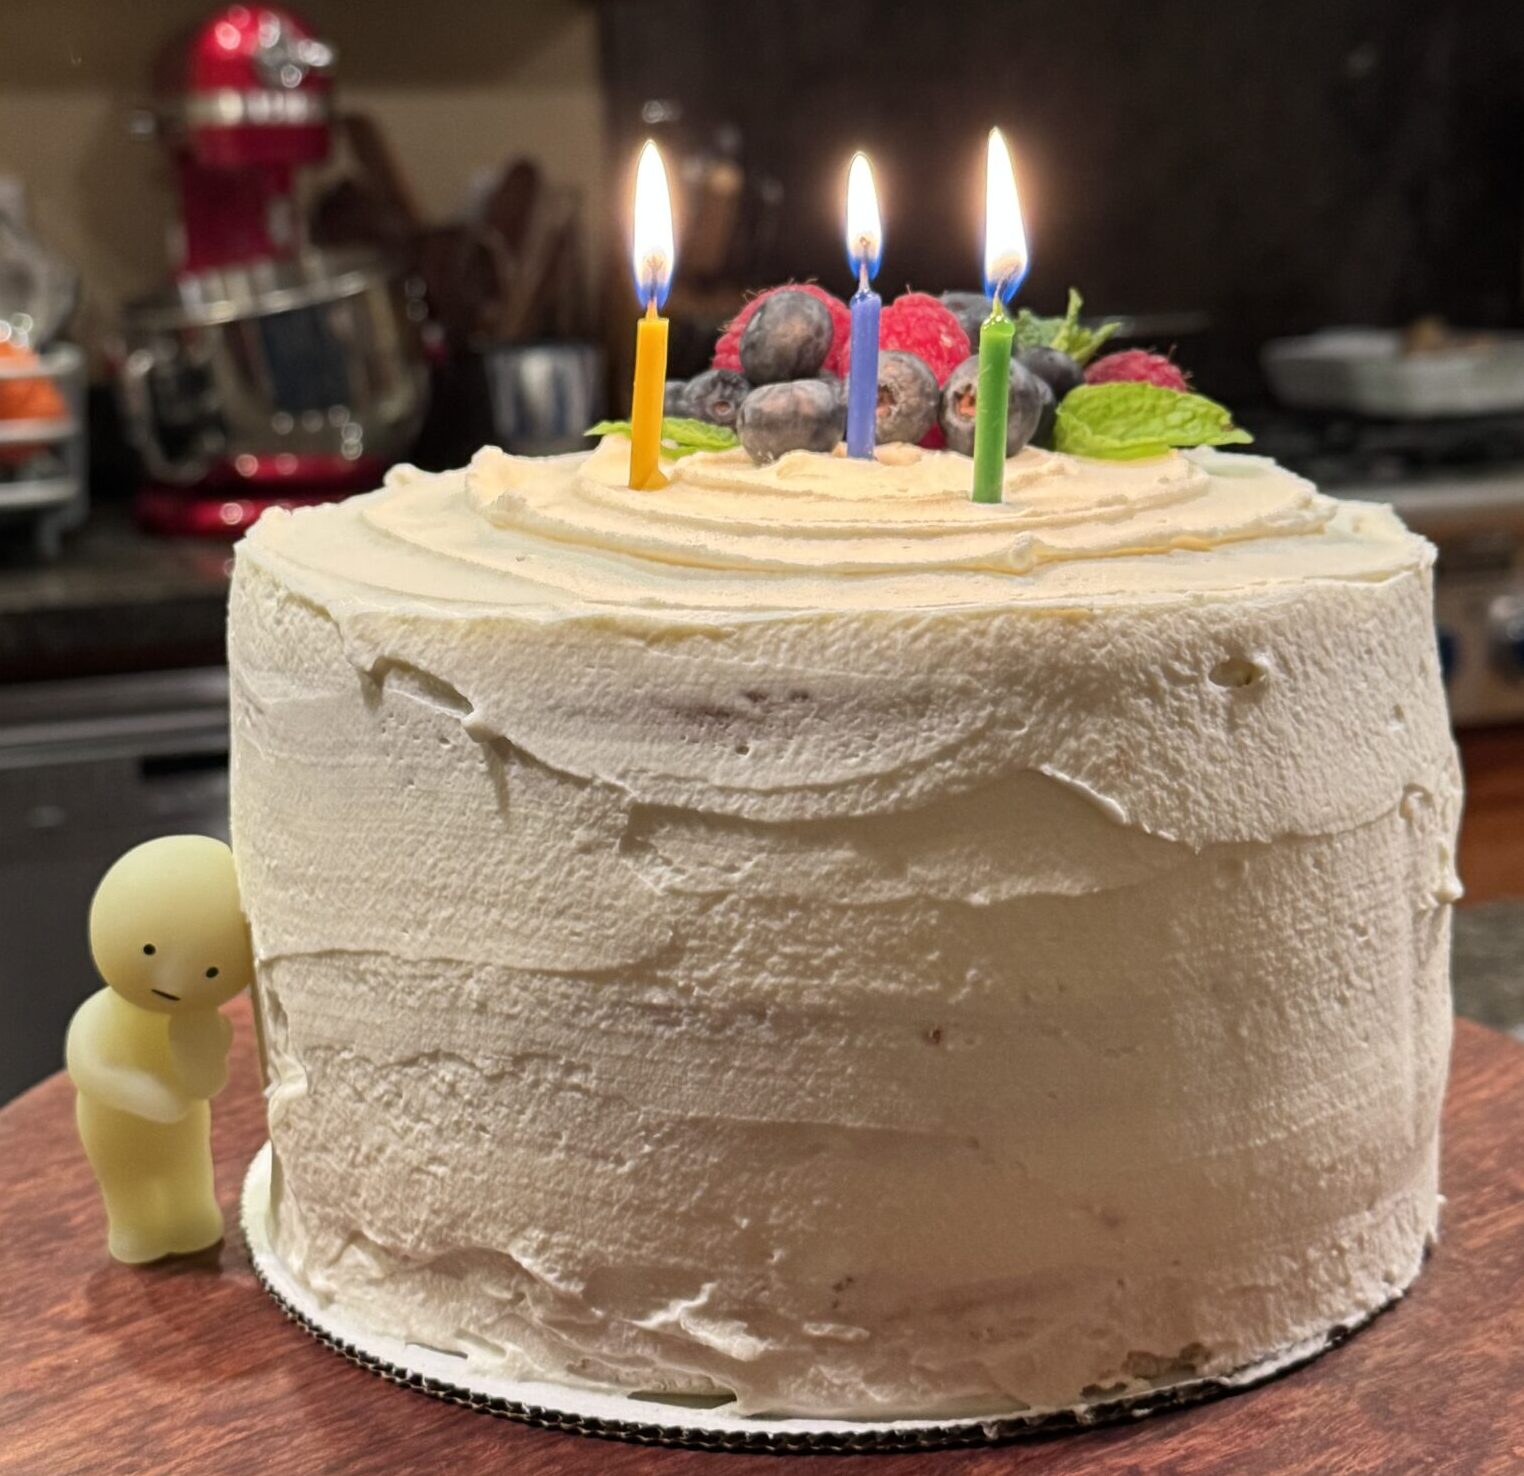
I made a couple of cakes last week which I normally don’t do for a couple of reasons. First, Wes’s Carrot Cake reigns supreme in…
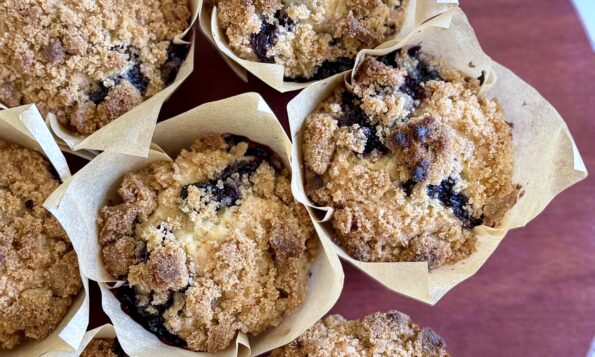
I know, I know…I already have a few showstopper blueberry muffin recipes on 3Jamigos but I just found another one! From Zoe Bakes, her Blueberry…
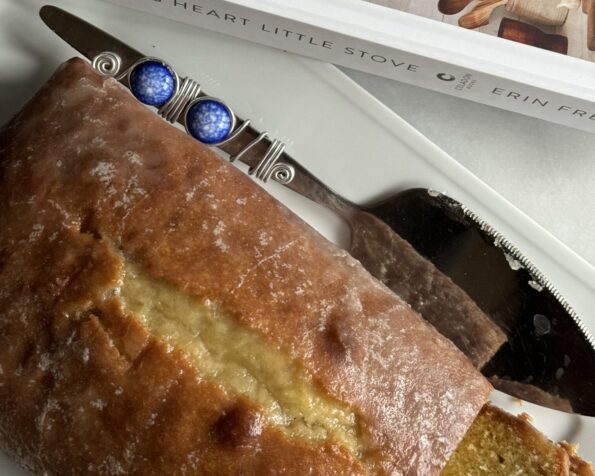
I excitedly headed to the city a couple of months ago to pick up my copy of Erin French’s new book, Big Heart Little Stove.…

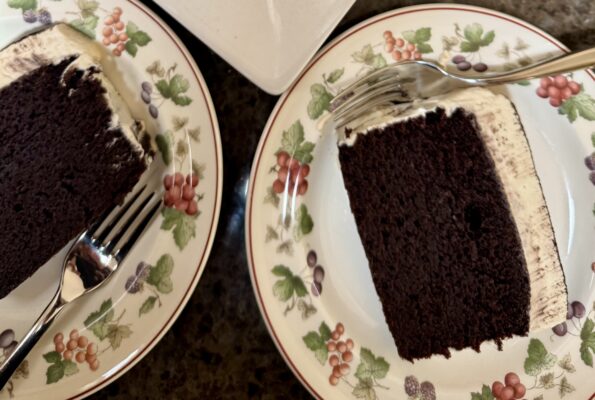
I LOVE Cream Cheese Frosting,. It deserves its own post, and should not be an afterthought tacked onto a Carrot Cake or Banana Cake recipe.…
After one Head of the Charles Regatta, we headed to Vermont for some R&R. Our first stop was King Arthur Baking. We stayed at a…