
I was feeling a bit guilty after reviewing Eric Kim’s recipe for Hangover Kimchi Soup. It was kind of meh for me. I felt it…

Hello? Anyone here? Ok, just kidding. Due to technical difficulties, I haven’t been able to post in a while. Despite this, I continued to try…
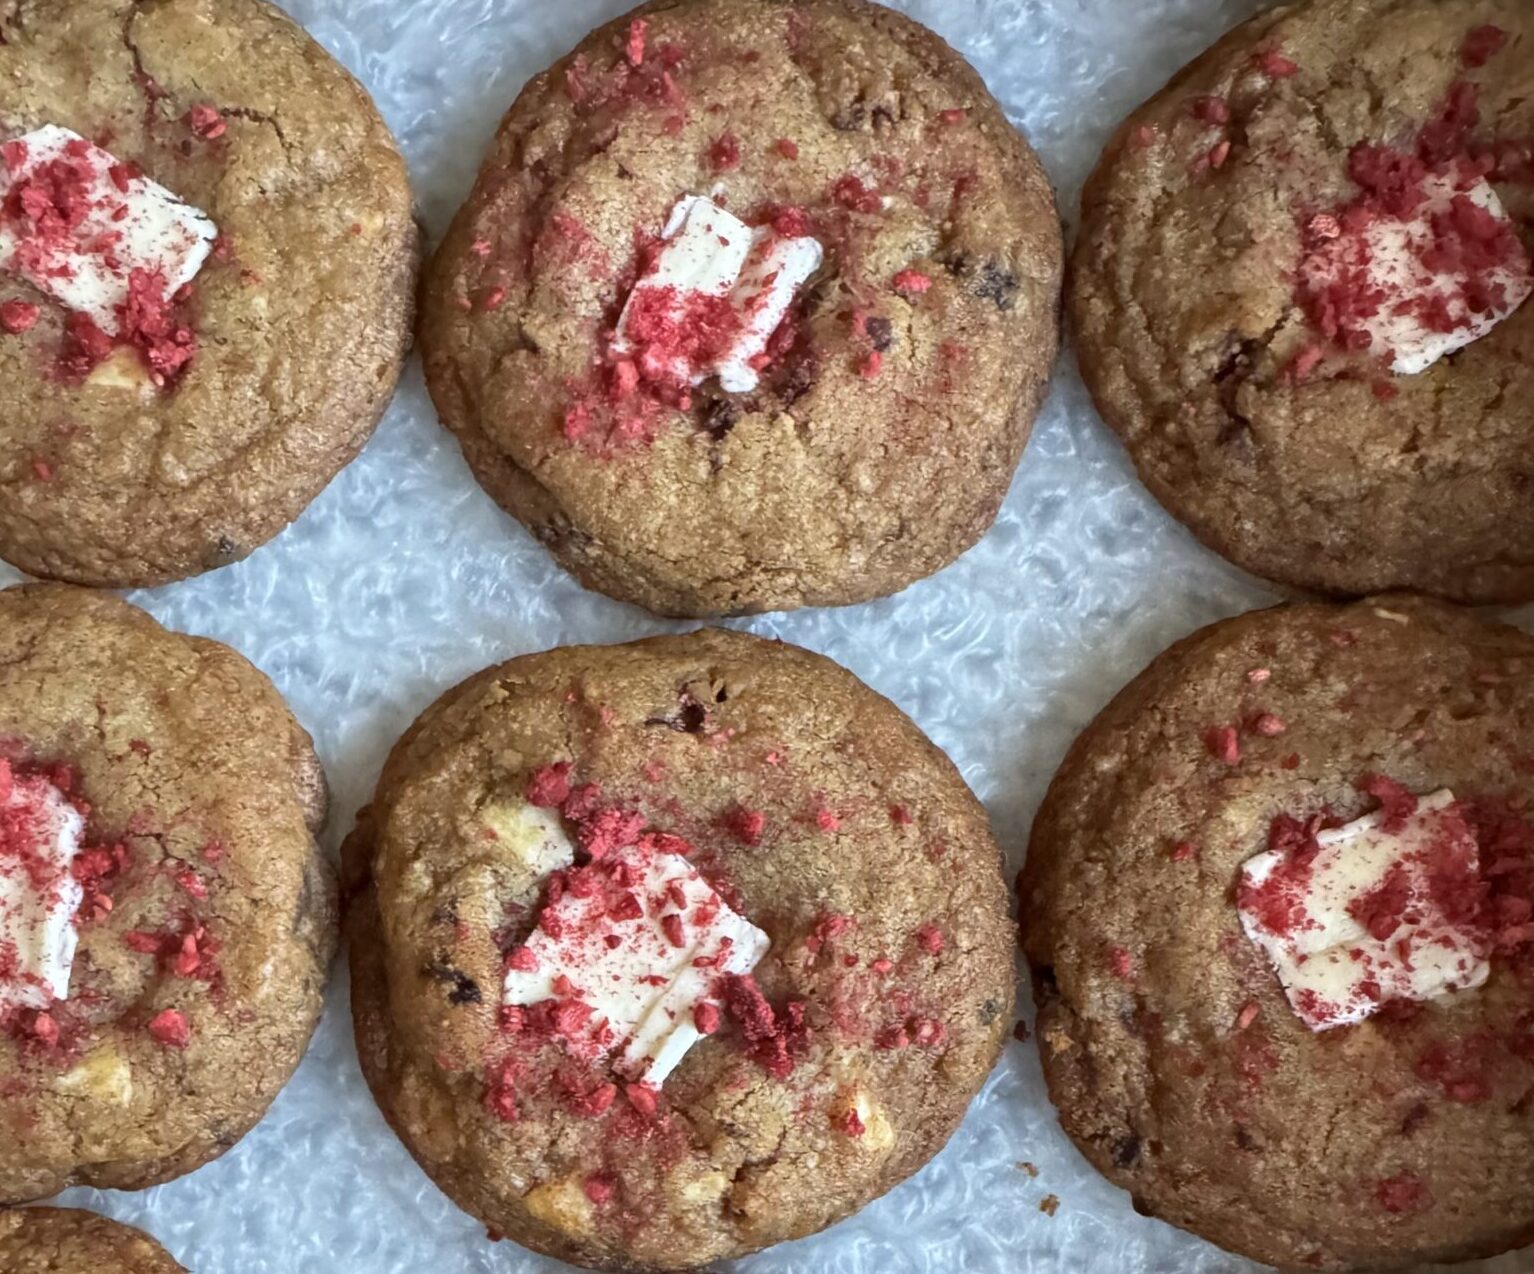
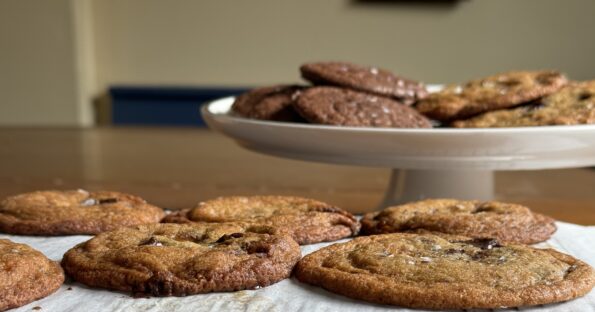
It’s been more than a minute since I last posted… life takes over, and blogging takes a backseat. It’s fitting that a Chocolate Chip Cookie…

A cookie is responsible for saving me from unhealthy doom-scrolling through my Instagram. I lost sight of why I was on Instagram, you know, pics…
Whoa, Nellie, it has been a crazy 12 weeks. I knew with a second Trump term, the guardrails that were in place during his first…
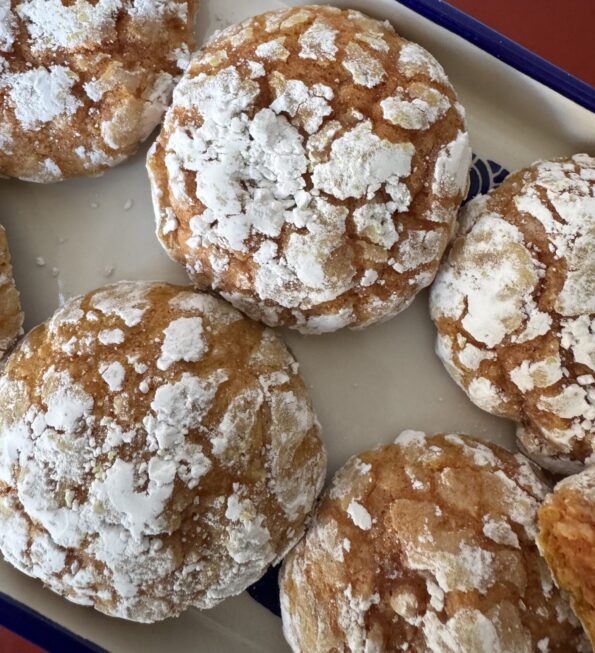
After I have recovered from Thanksgiving turkey-stuffing, sweet potato casserole, and pumpkin pie extravaganza, I crank up the Christmas music, which I play until New…
I know you all know I am a city girl at heart. Give me skyscrapers, bridges, cars, museums, and bright lights any day. Not that…
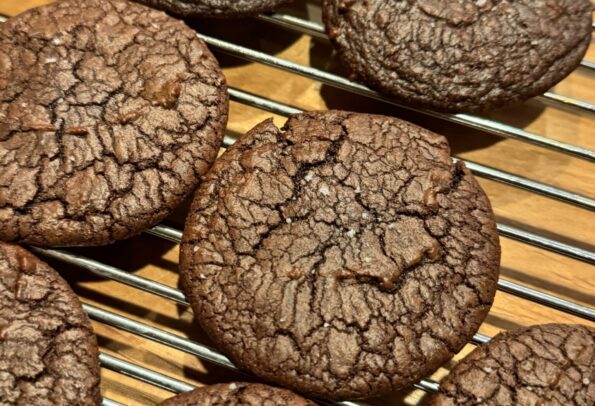
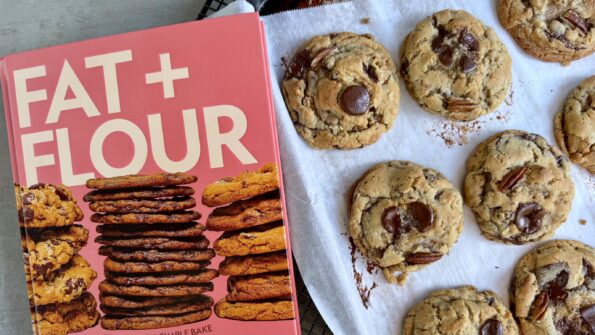
The weather has taken a definite turn so I am pivoting from stress cooking to cookie baking. It’s windy, cold, and wet, it’s time to…

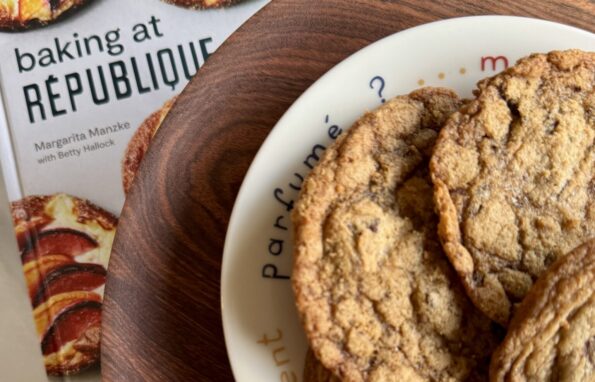
Yay. Back to my second favorite city in the world…New York. In the immortal words of Tony Bennett, I left my heart in San Francisco,…