
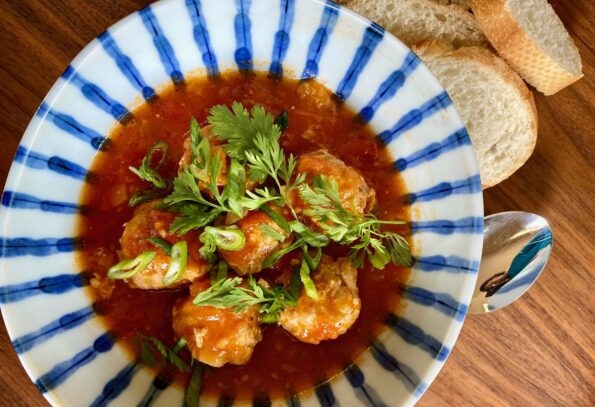
Before tomato season ends give this dish, Vietnamese Meatballs in Tomato Sauce, a try. I came across this dish on IG. It looked scrumptious, and…
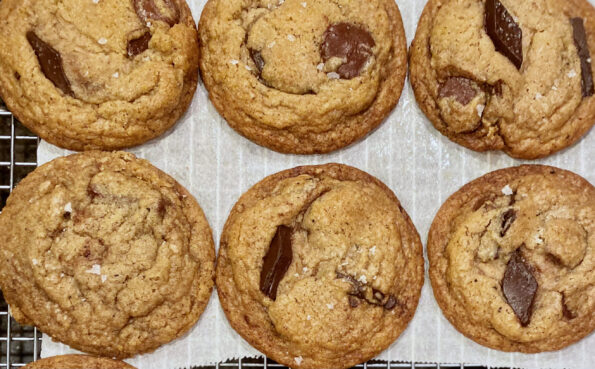
I’m not sure how many chocolate chip cookie recipes I have but it seems you can never have too many. I came across yet another…
After one Head of the Charles Regatta, we headed to Vermont for some R&R. Our first stop was King Arthur Baking. We stayed at a…
I have been focused on cookbooks from the Asian Diaspora. With the way the world is turning, on a definite lopsided tilt, I want to…
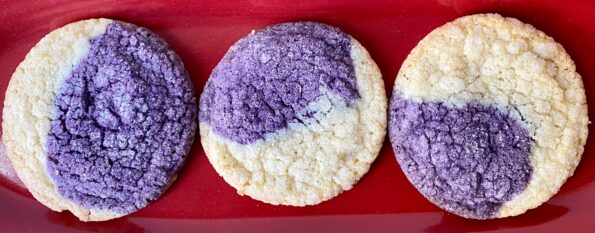
I wanted to include an ube dessert or cookie in my “Maui Strong” box for Lahaina. Since I had made Ube Mochi Muffins for the…

It sucks to feel helpless which is exactly how I felt while watching the coverage of the wildfires in Maui. In a twisted way, it…
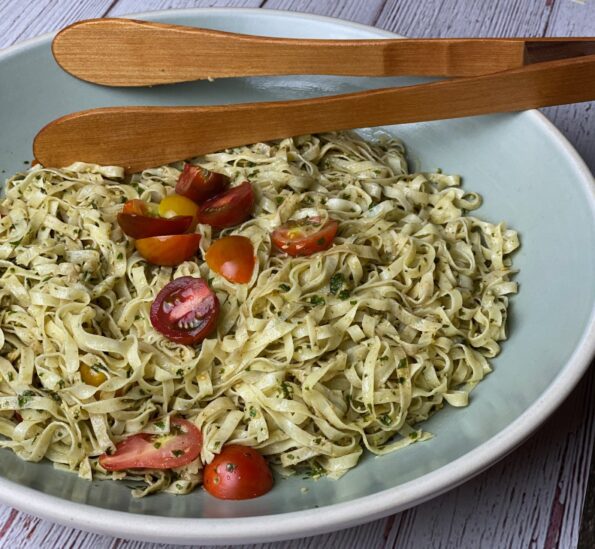
A favorite pasta dish in our house is Pesto with Linguine. Years ago (I mean YEARS AGO), I clipped the LA Times winning Pesto recipe…
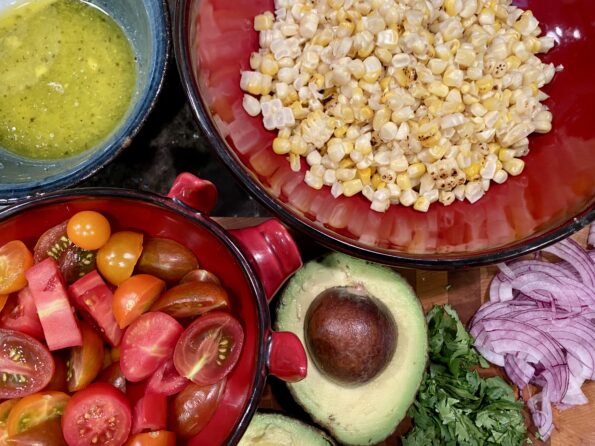
Every weekend I look forward to going to our local farmer’s market. Well, except when I have to schlep everything I can’t resist buying back…
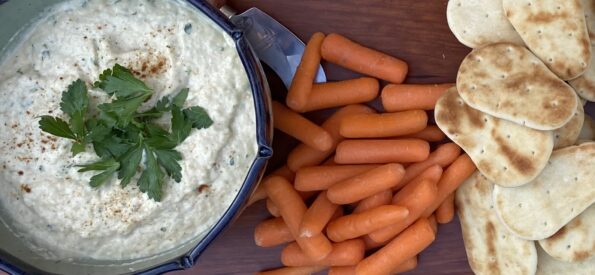
Right up there with Hummus, this eggplant dip is made with Tahini, garlic, lemon juice, parsley, and olive oil, and seasoned with cumin and smoked…