
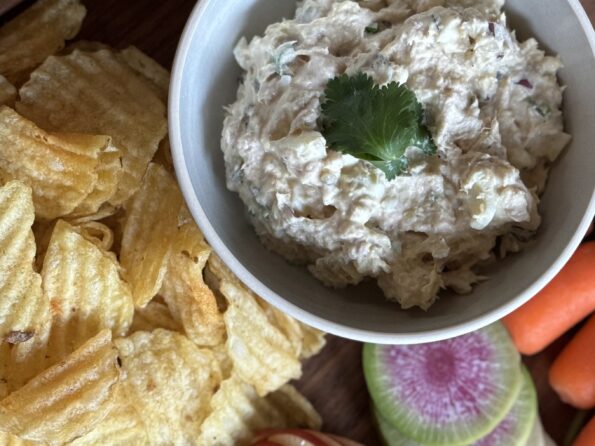
I have been meaning to put the Hubster’s Tuna Dip recipe on 3jamigos for a long time. Tuna Dip is mandatory for every birthday party,…

I LOVE Cream Cheese Frosting,. It deserves its own post, and should not be an afterthought tacked onto a Carrot Cake or Banana Cake recipe.…
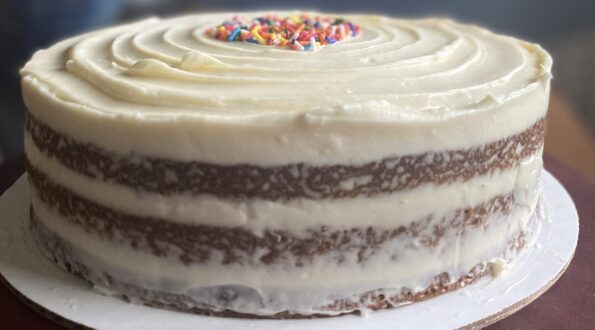
Well it was the Hubster’s birthday a week ago. I had the nerve to make him a carrot cake for HIS birthday. As many know,…
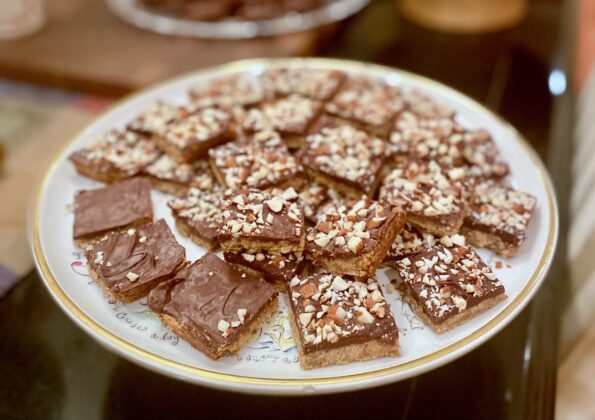
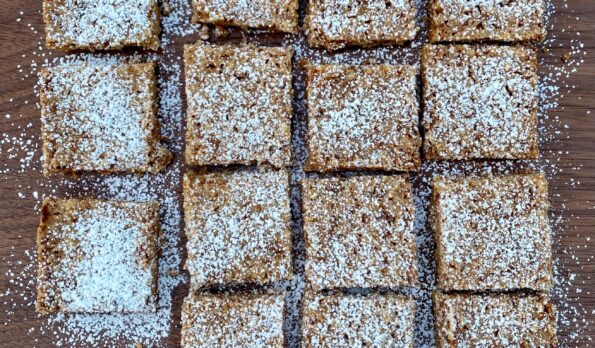
I found it! Buried in my recipe binder, a treasured recipe from my friend Joy’s mom. My favorite holiday cookie, Mrs. S’s Toffee Squares. As…
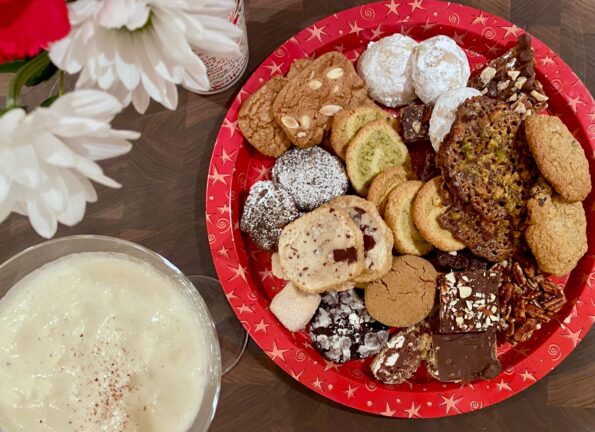
How many of you have had REAL eggnog? Not the ultra-pasteurized, homogenized version of eggnog found in every supermarket during the holidays. Who drinks that…
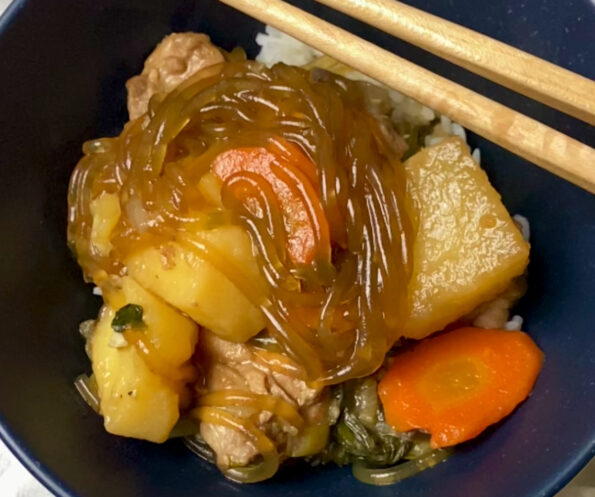
Brrrrr… getting chilly out there. While I love summer, I do look forward to winter. As the temperature drops I start dreaming of dishes that…
The Me. The cookbook addict missed a book signing at Omnivore Books. Literally, took my eye off the book and completely missed Natasha Pickowicz’s More…
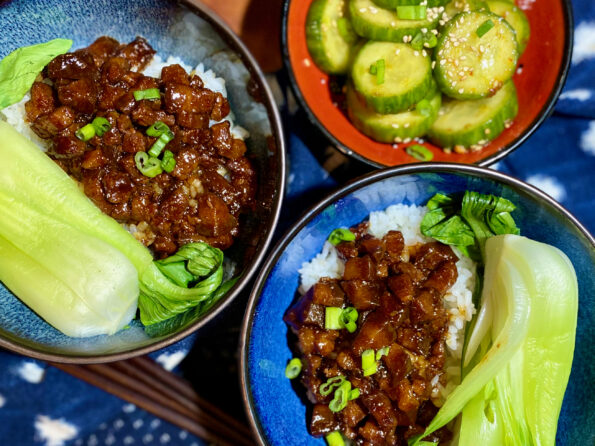
My favorite foods can be eaten in a bowl and with a spoon. The perfect fall day would be snuggled up on the couch with…
Our final road trip with Moosie (for context, my daughter’s Bernedoodle whom we have been sitting for the last 4 months) took us first to…