
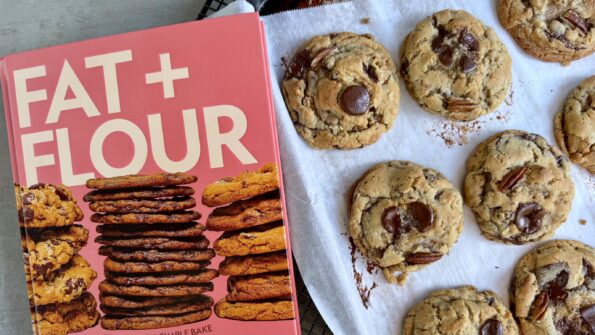
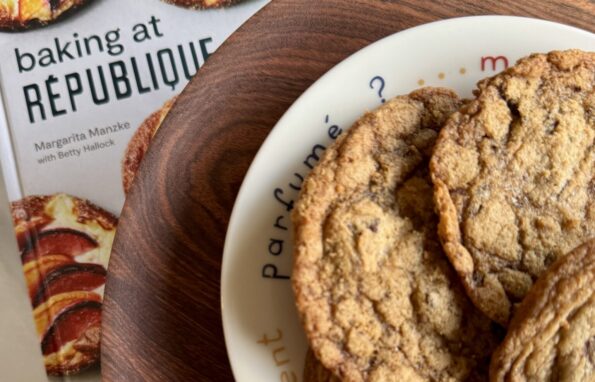
It’s been more than a minute since I last posted… life takes over, and blogging takes a backseat. It’s fitting that a Chocolate Chip Cookie…
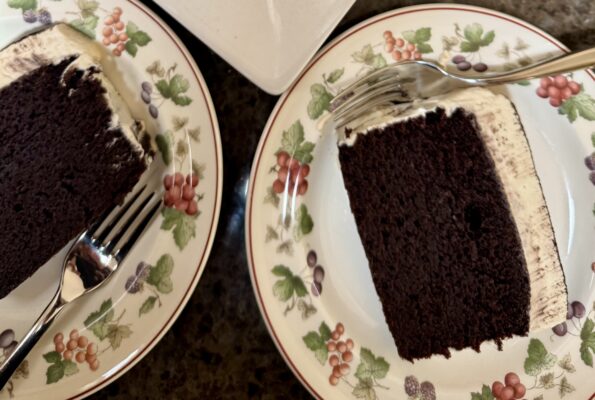
I made a couple of cakes last week which I normally don’t do for a couple of reasons. First, Wes’s Carrot Cake reigns supreme in…
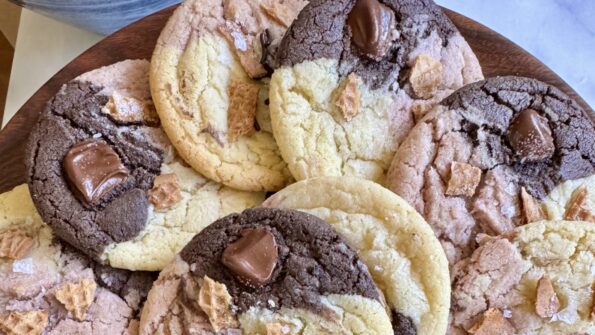
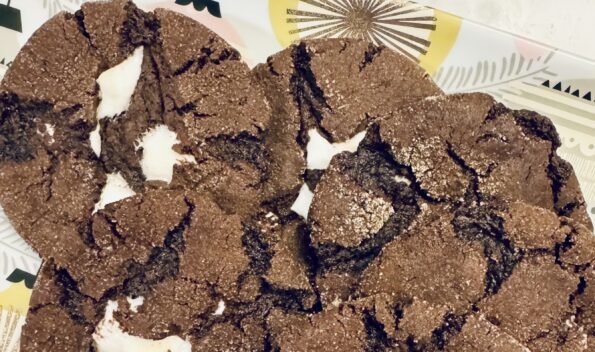
A cookie is responsible for saving me from unhealthy doom-scrolling through my Instagram. I lost sight of why I was on Instagram, you know, pics…
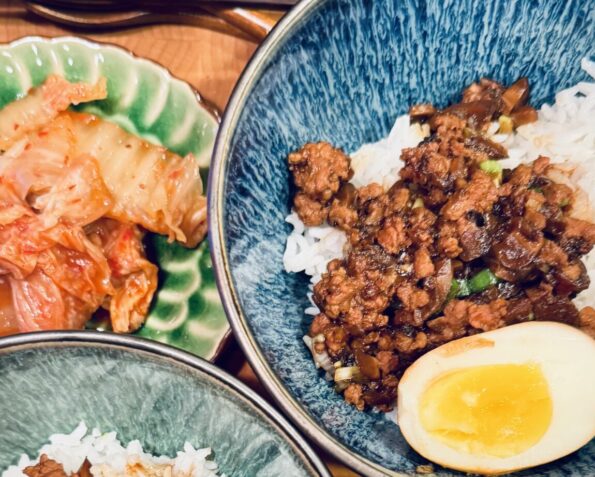
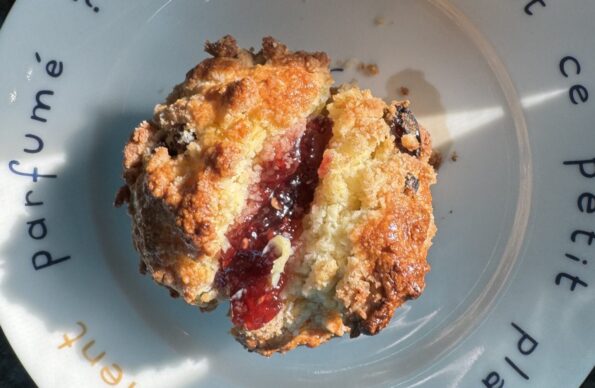
Since returning from New York, we have made a concerted effort to eat at home. Tired of eating out (I’m shocked, I LOVE eating out),…
Let’s get to it! A rundown of another stint in New York City. We took an early morning flight and arrived in NYC, just in…
Whoa, Nellie, it has been a crazy 12 weeks. I knew with a second Trump term, the guardrails that were in place during his first…
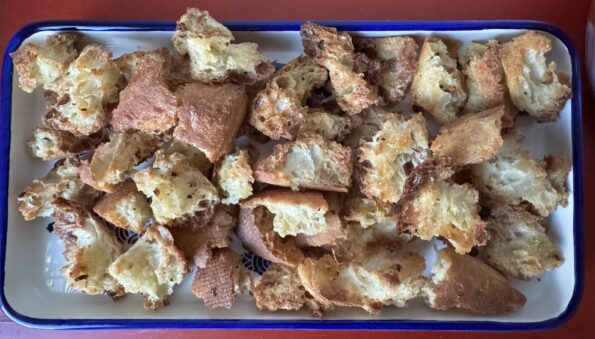
When I am shopping at the grocery store, I usually throw a bag of croutons into my cart. Even though they kinda taste like salted…
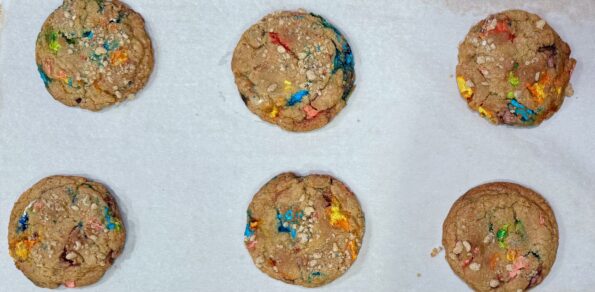
Cookies made with cereal have popped up on my feed lately and the one that caught my attention was Buttermilk by Sam’s Lucky Charms Cookies. …
Another winner from Vaughn Vreeland and NYTCooking’s Cookie Week. He captures all the flavors of Mexican Hot Chocolate in a fabulous cookie, cinnamon sweetness, cayenne…