

The hubster and I spent the last month or so in New York City. We have spent quite a bit of time there over the…
Happy holidays! Right after Thanksgiving, we hopped on a plane and headed to our 2nd favorite city, NYC. We had never visited before the holidays,…
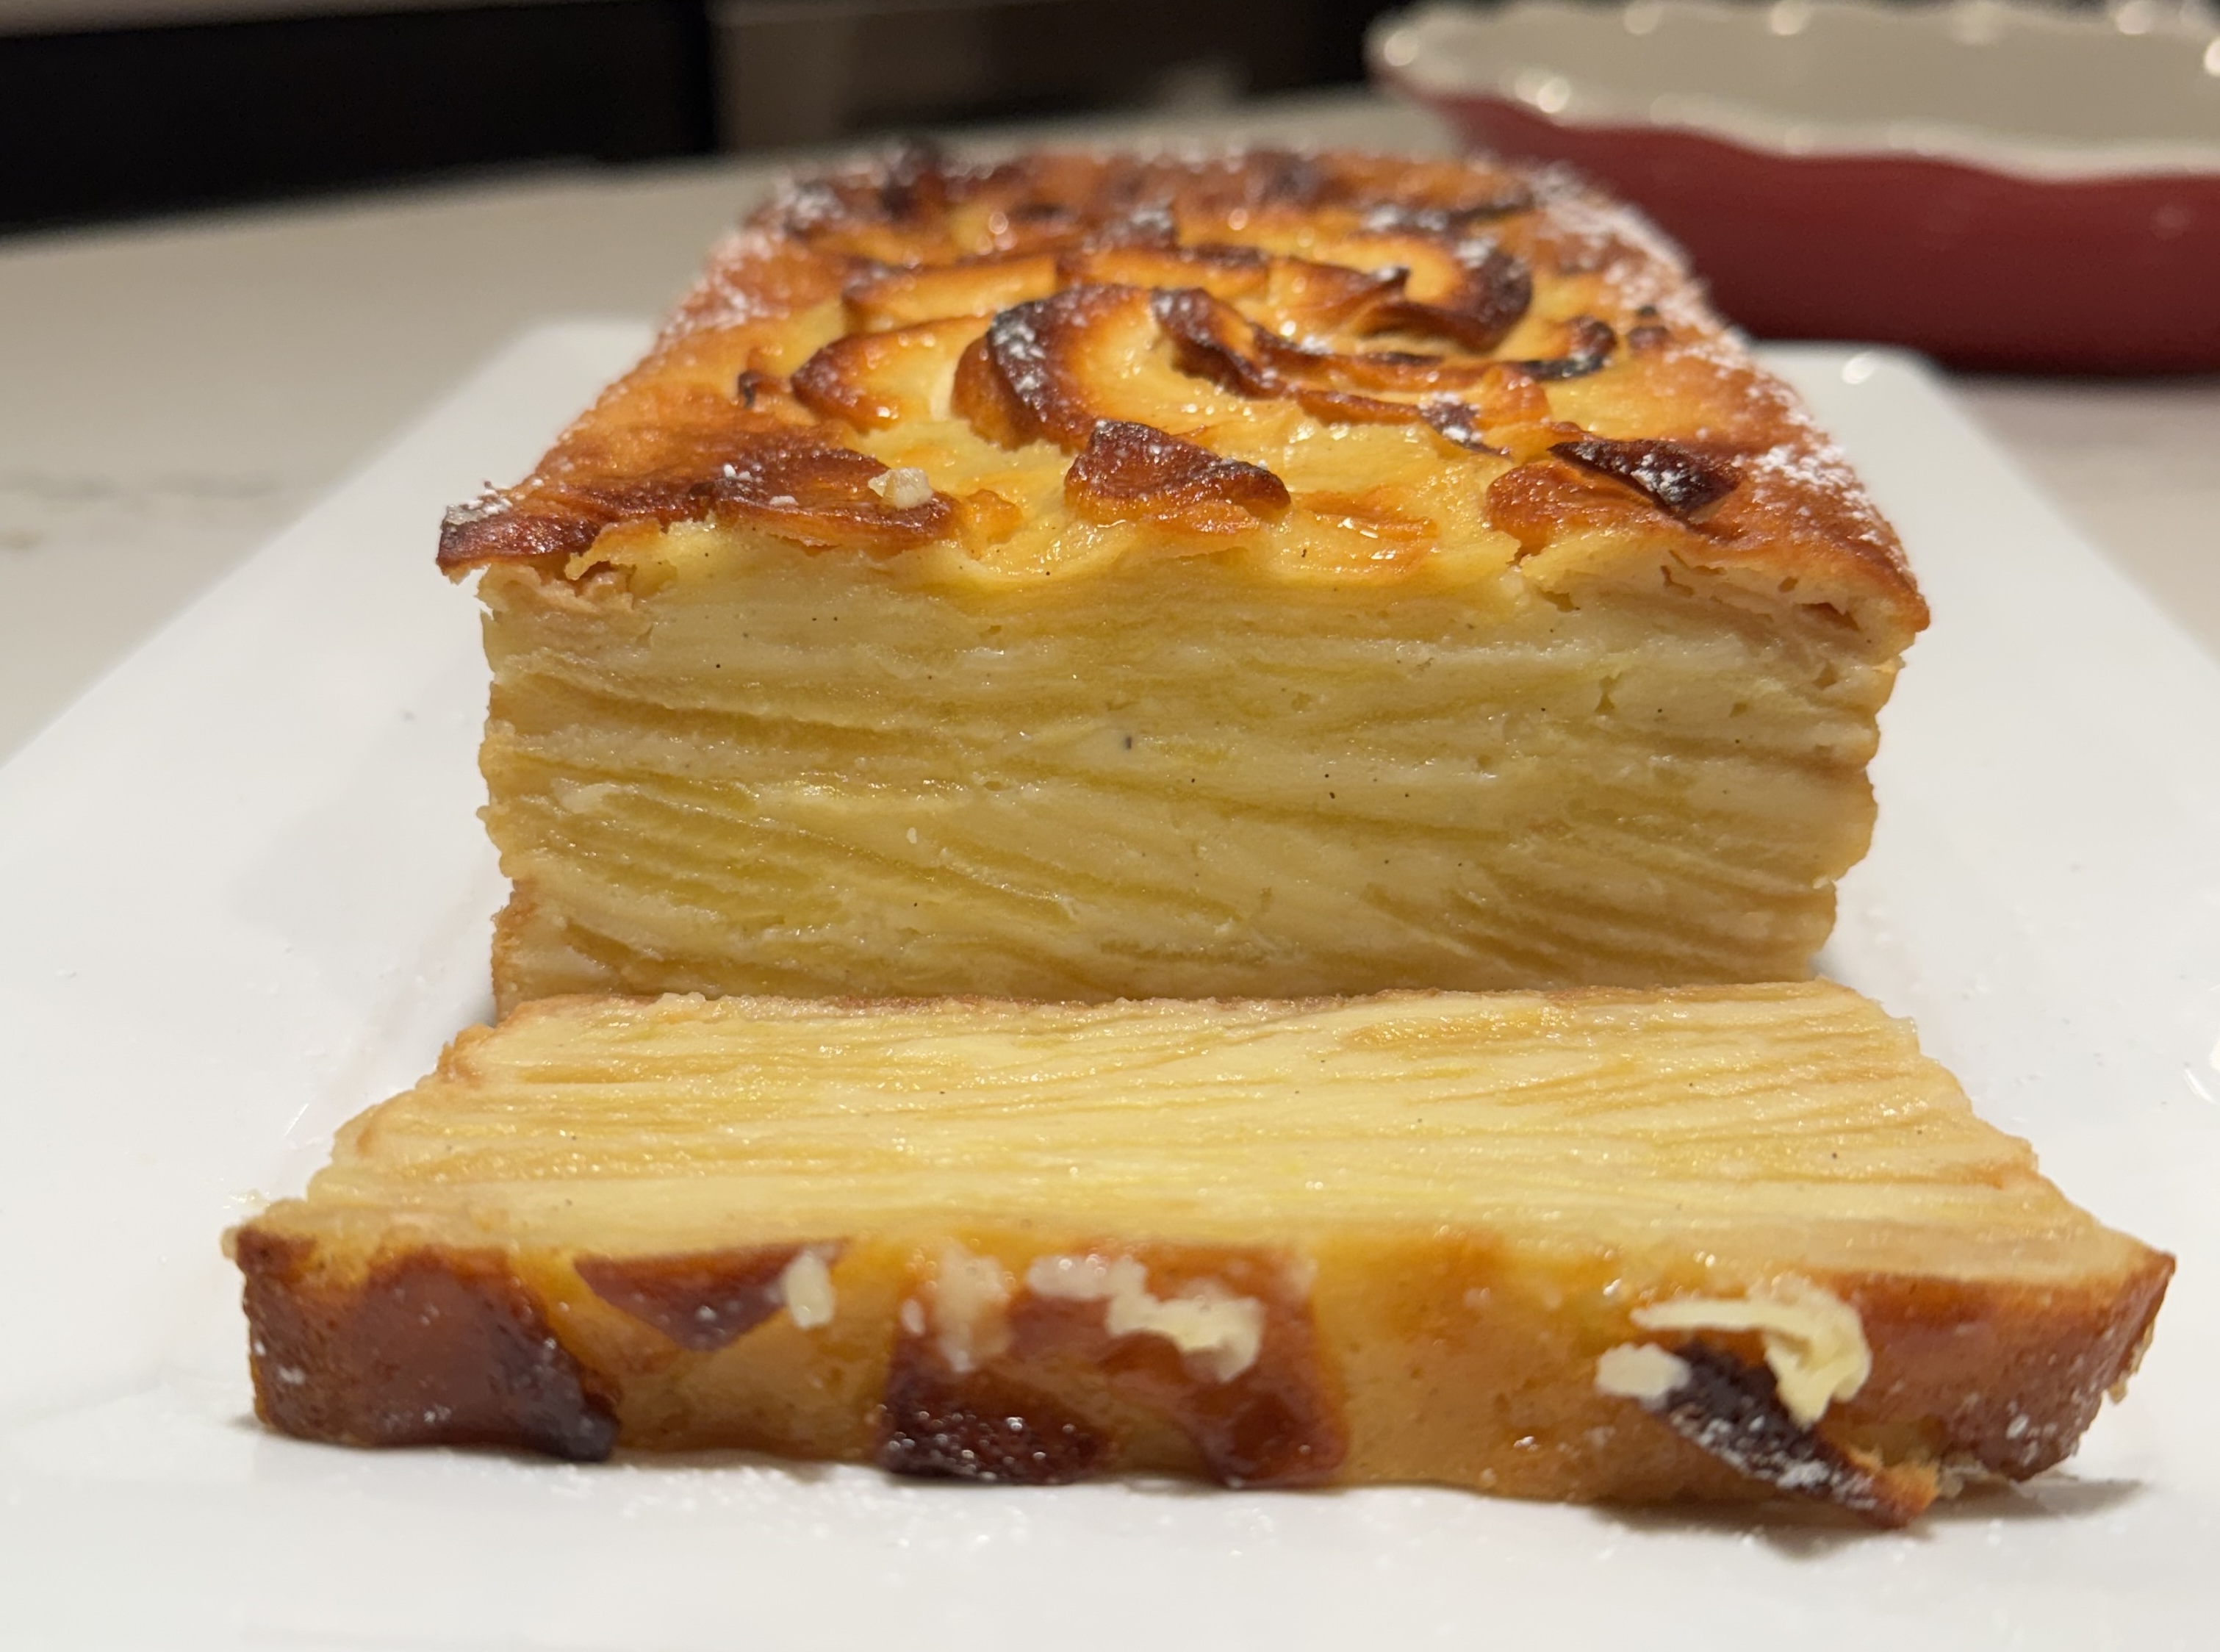
I have been eyeing this cake for a while, the Invisible Apple Cake. No pun intended. It’s layers and layers of thinly sliced apples held…

Jamie was home for a week, so I headed to the Asian grocery store to buy Hairy (or Fuzzy, completely interchangeable) Melon to make a…
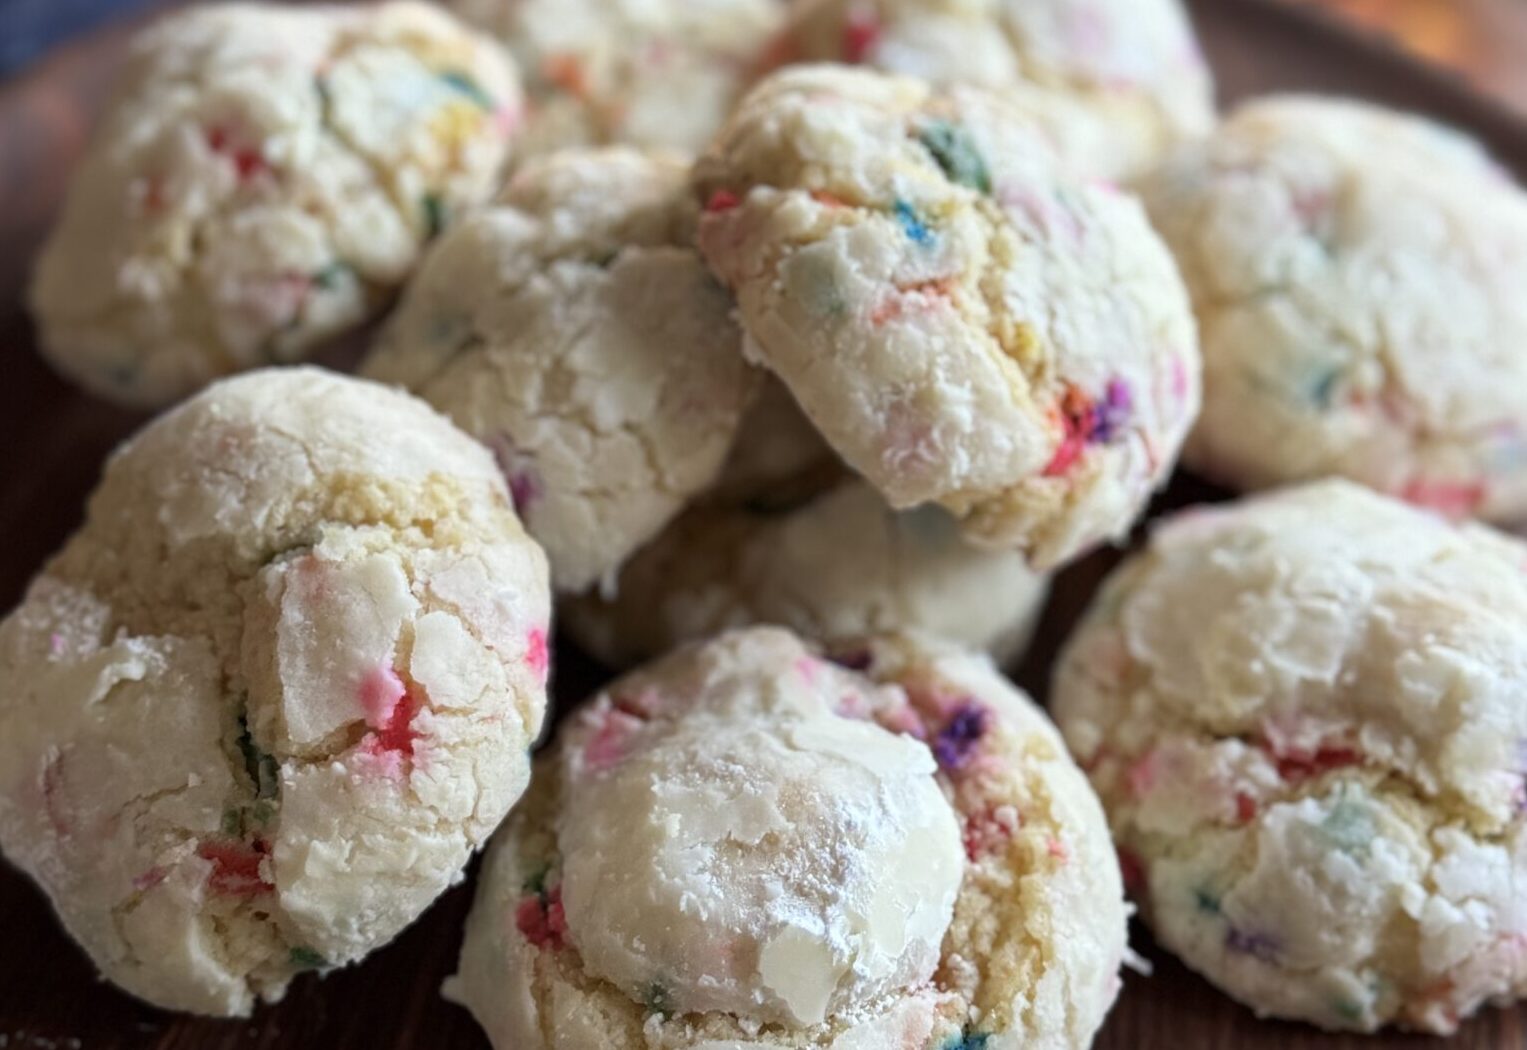
Is it that time already? An Instagram reel popped up for “Sugar Crack Cookies, The most addictive Christmas Cookie you’ll ever make” from @hayherridge, all…
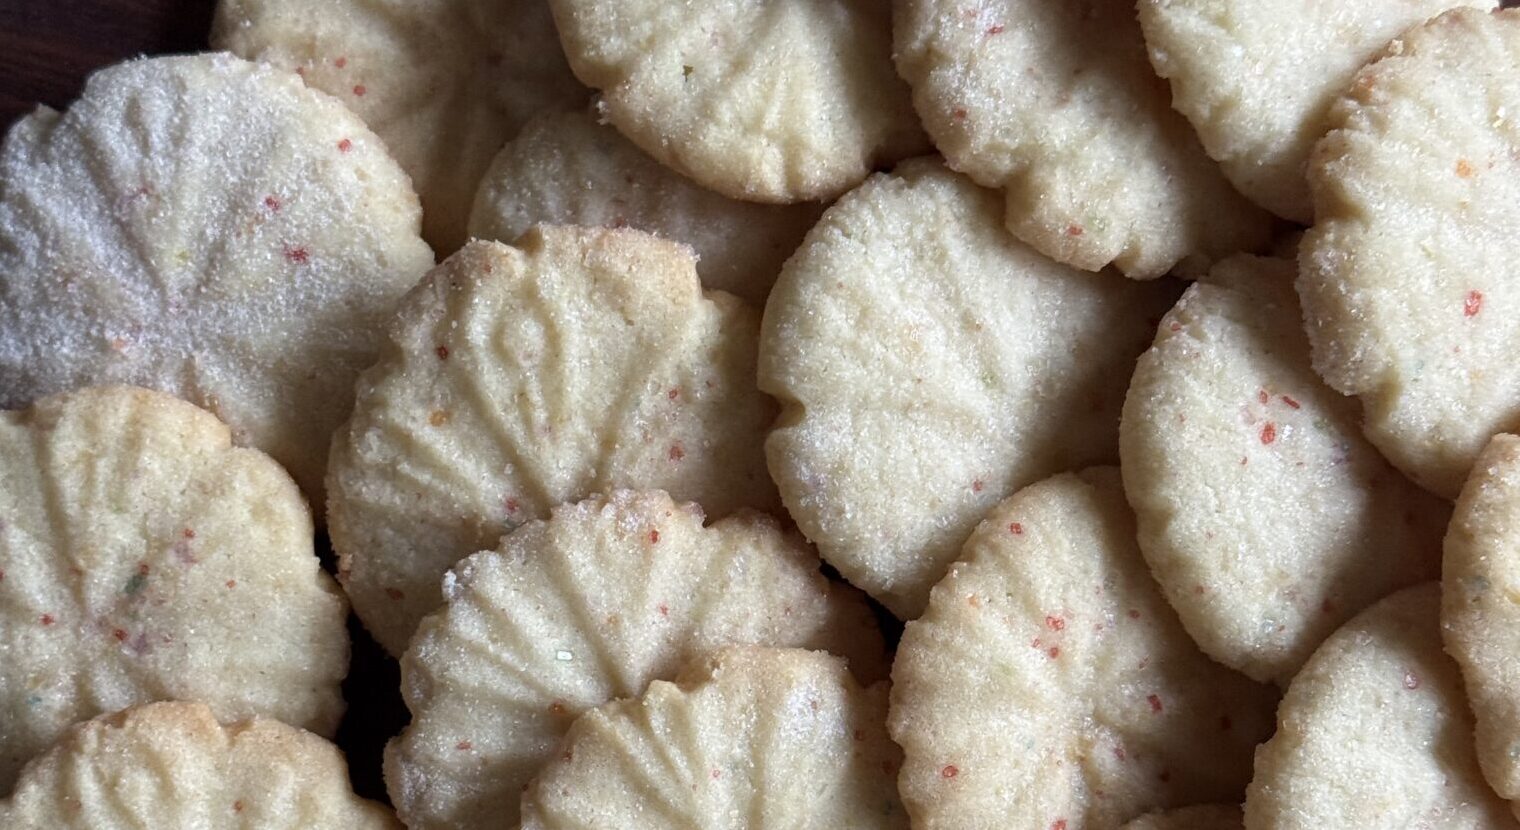
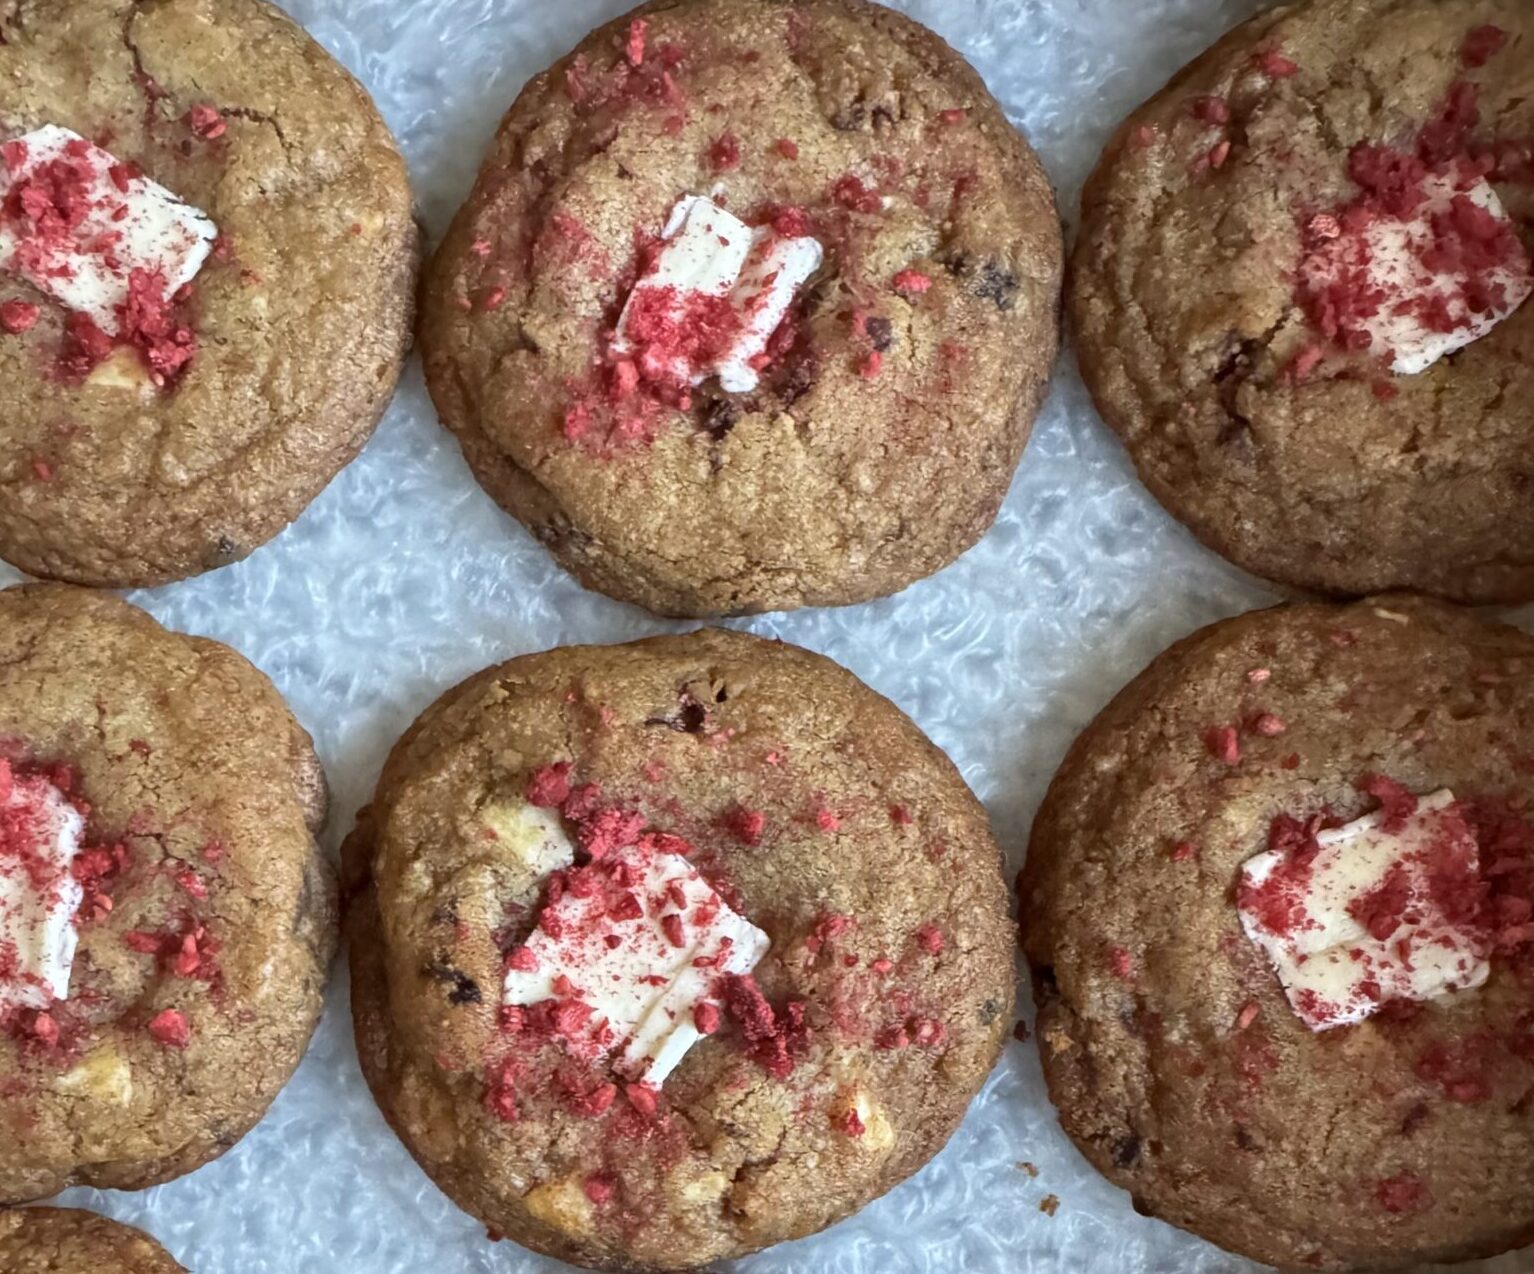
In these troubled times, you need not just comfort food but a sweet treat that makes you smile. I’ve got just the cookie, Nicole Rucker’s…
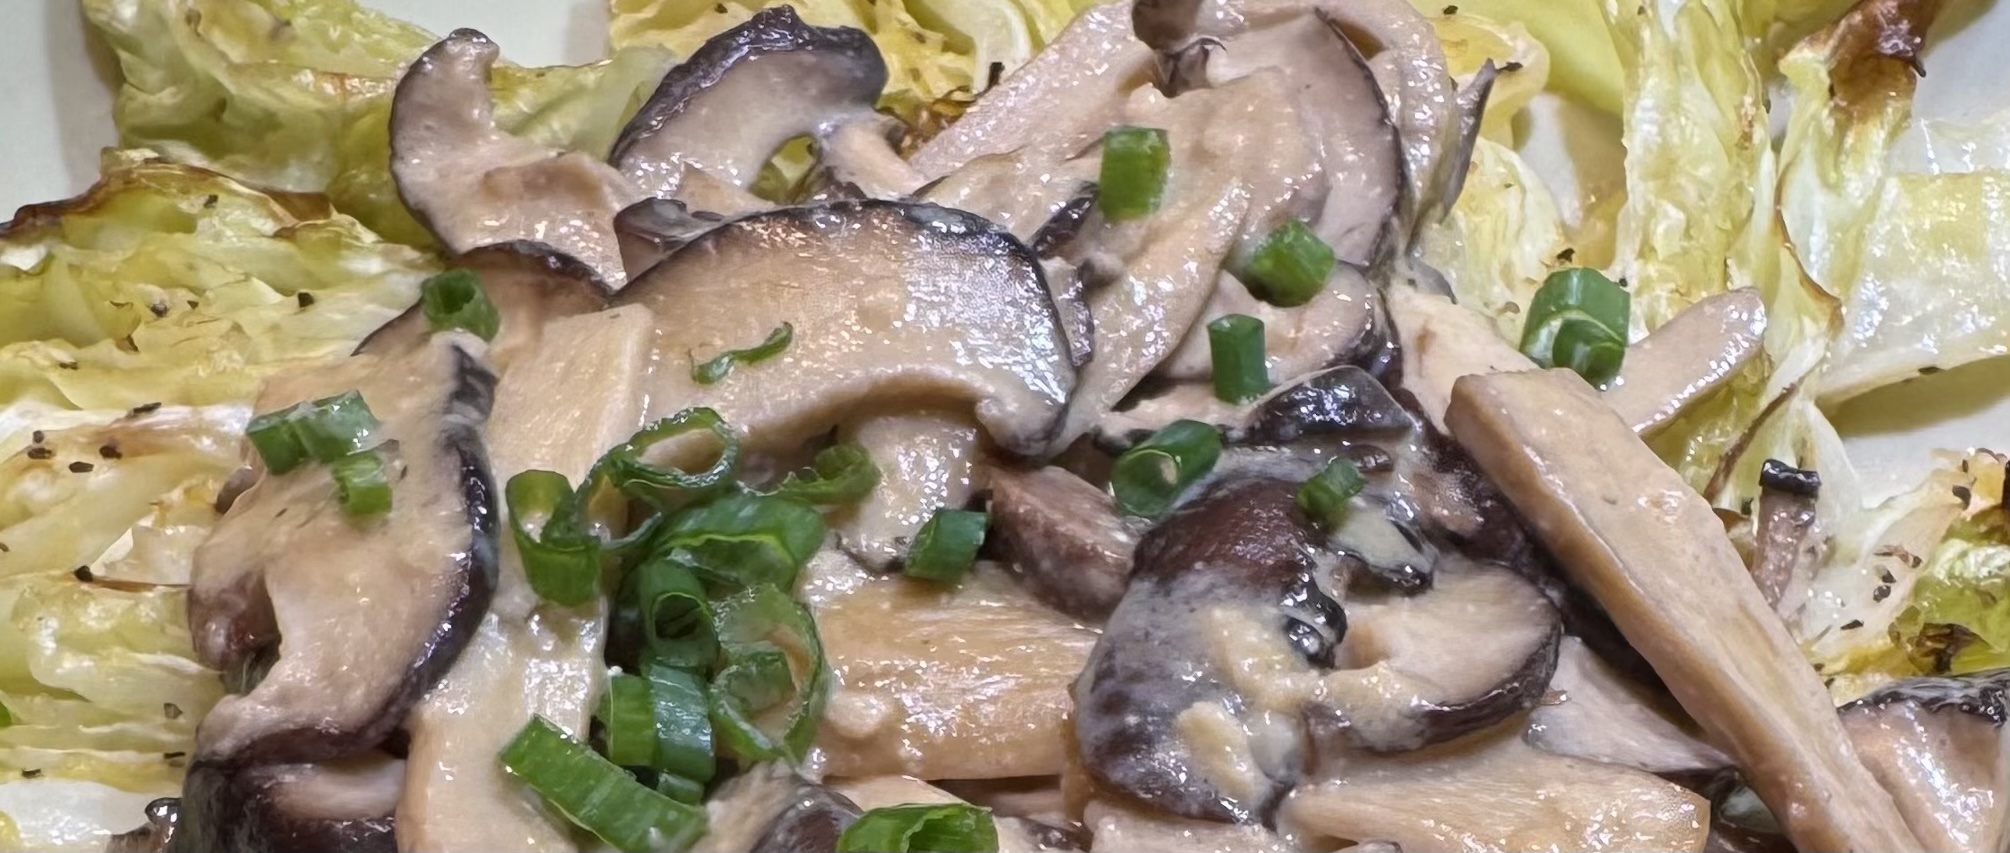
I was feeling a bit guilty after reviewing Eric Kim’s recipe for Hangover Kimchi Soup. It was kind of meh for me. I felt it…

Hello? Anyone here? Ok, just kidding. Due to technical difficulties, I haven’t been able to post in a while. Despite this, I continued to try…
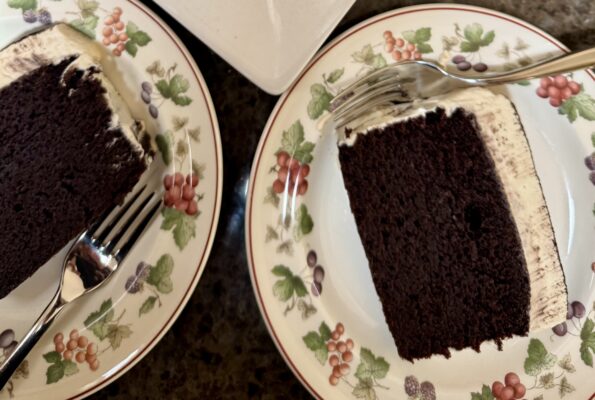
The first cake I made in remembrance of Melissa Hortman, a member of Minnesota’s House of Representatives, her husband, Mark and their dog, Gilbert, is…