Category: Soups & One Dish Meals

Soups, one dish meals, casseroles

Cincinnati Chili Udon Want to Pass Up

Cincinnati Chili Udon Want to Pass Up

I don’t hide my political views very well…and I don’t try to.  You googled a recipe and my blog popped up (probably Mochi Muffins, lol) and here you are.  My blog is mostly about food, a little about travel, and the occasional musing on sports, my family, and politics.

Try Not to Skip to the Good Part

Well, you can skip to the recipe with the button above, or take a couple of minutes to read the next paragraph to get to know me and what I believe in.  If you supported he who shall not be named, skip to the recipe.  America just elected a narcissistic, unqualified, amoral, grifter as president of our country, for the second time.  An anti-woke platform that, when you think about it, says, if you don’t look like me, live your life like me, you can’t have a seat at the table because it is only for folks like me.  I am incredulous, depressed, and angry.  Enabled by a cast of bad players, sycophants, and opportunists who care only about power and money, he rides into office intent on destroying democracy.  Once again my hopes of an eminently qualified, lifelong public servant, compassionate WOMAN president were crushed.  We had 3 months of joy, sanity, normalcy, million-dollar smiles, and hope with her and Gov Walz’s campaign.  Now we can only dream of what might have been.

What’s Your Self-Care?

I confess, I go to Cookbook signings, like Kristina’s in Brooklyn!

And I go to cookbook author signings, like Kristina's in Brooklyn!

So, as I think about my next steps as part of the resistance, I turn to doing things that make me feel better and relieve stress.  What do you do? Crafts? Ceramics? Sports? Blog? (lol) I row and play tennis, which helps me keep sane.  And of course, I cook and bake.  Times like now I turn to childhood favorites and dishes that are warm and homey, comfort food to get me through.

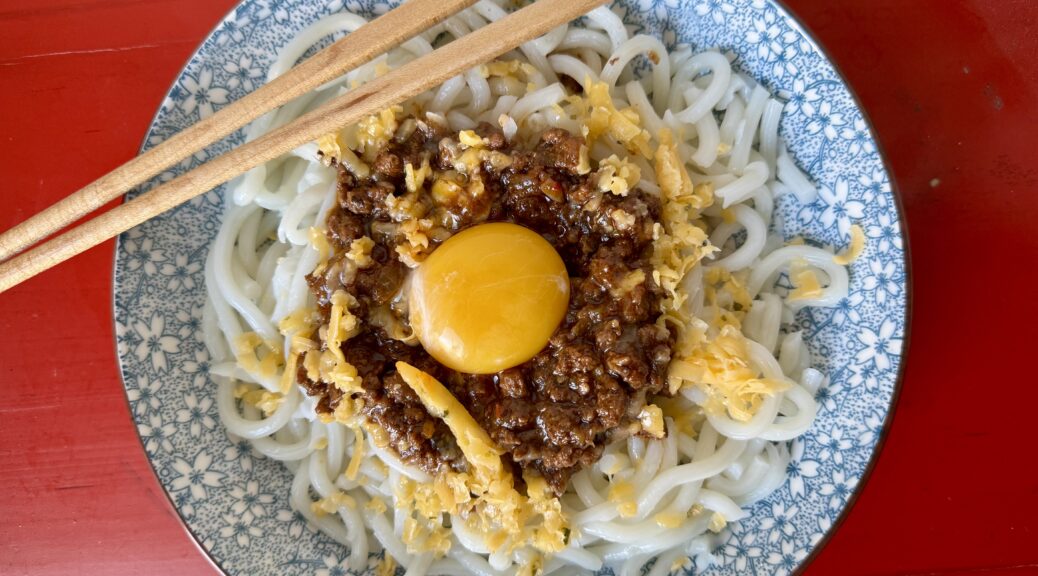
Kristina Cho, author of Mooncakes and Milk Bread, and Chinese Enough (highly recommend both her books), posted a recipe for Cincinnati Chili Udon.  I imagine as a native of Cincinnati, Skyline (Cincinnati) Chili is the very definition of comfort food for her.  Her’s has the warm, tart -sweet flavors of Cincinnati Chili from cinnamon and vinegar but then she adds Harissa for spiciness and finishes with soy sauce for an Asian twist.  She serves the chili over Japanese udon noodles topped with an egg yolk and cheese.   It’s delicious.

Prep Time < Cook Time

The chili takes 90 minutes to cook but most of that time is spent simmering on the stove.  While it simmers, kick your feet up, eat bonbons, anything that makes you feel better.  You deserve it.

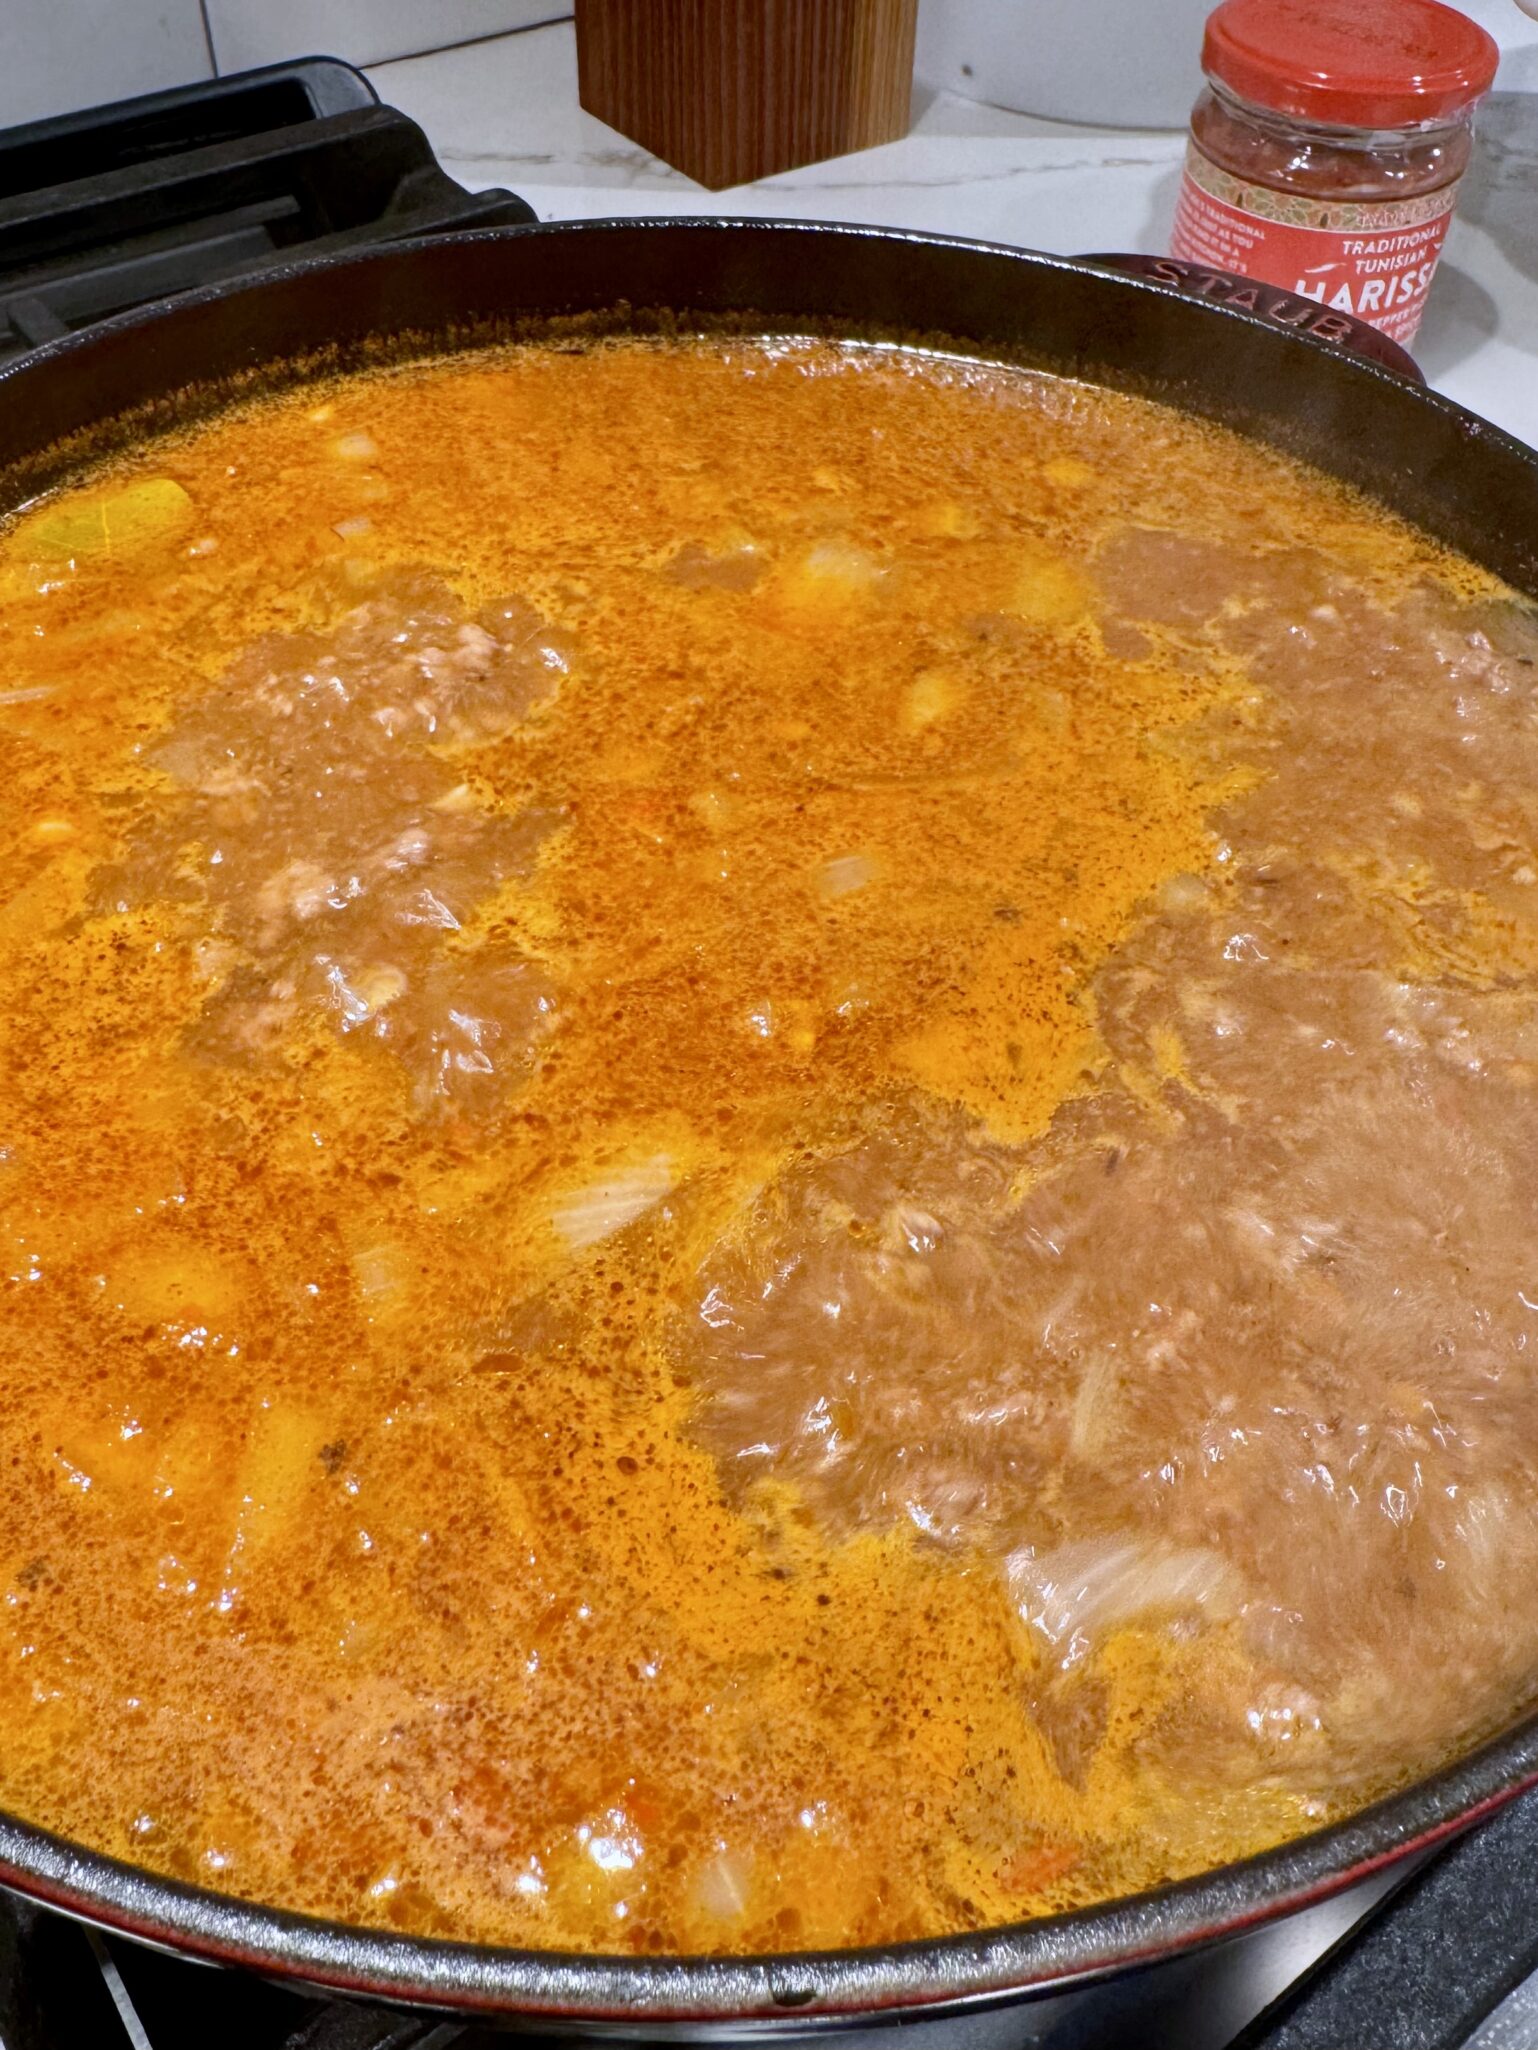
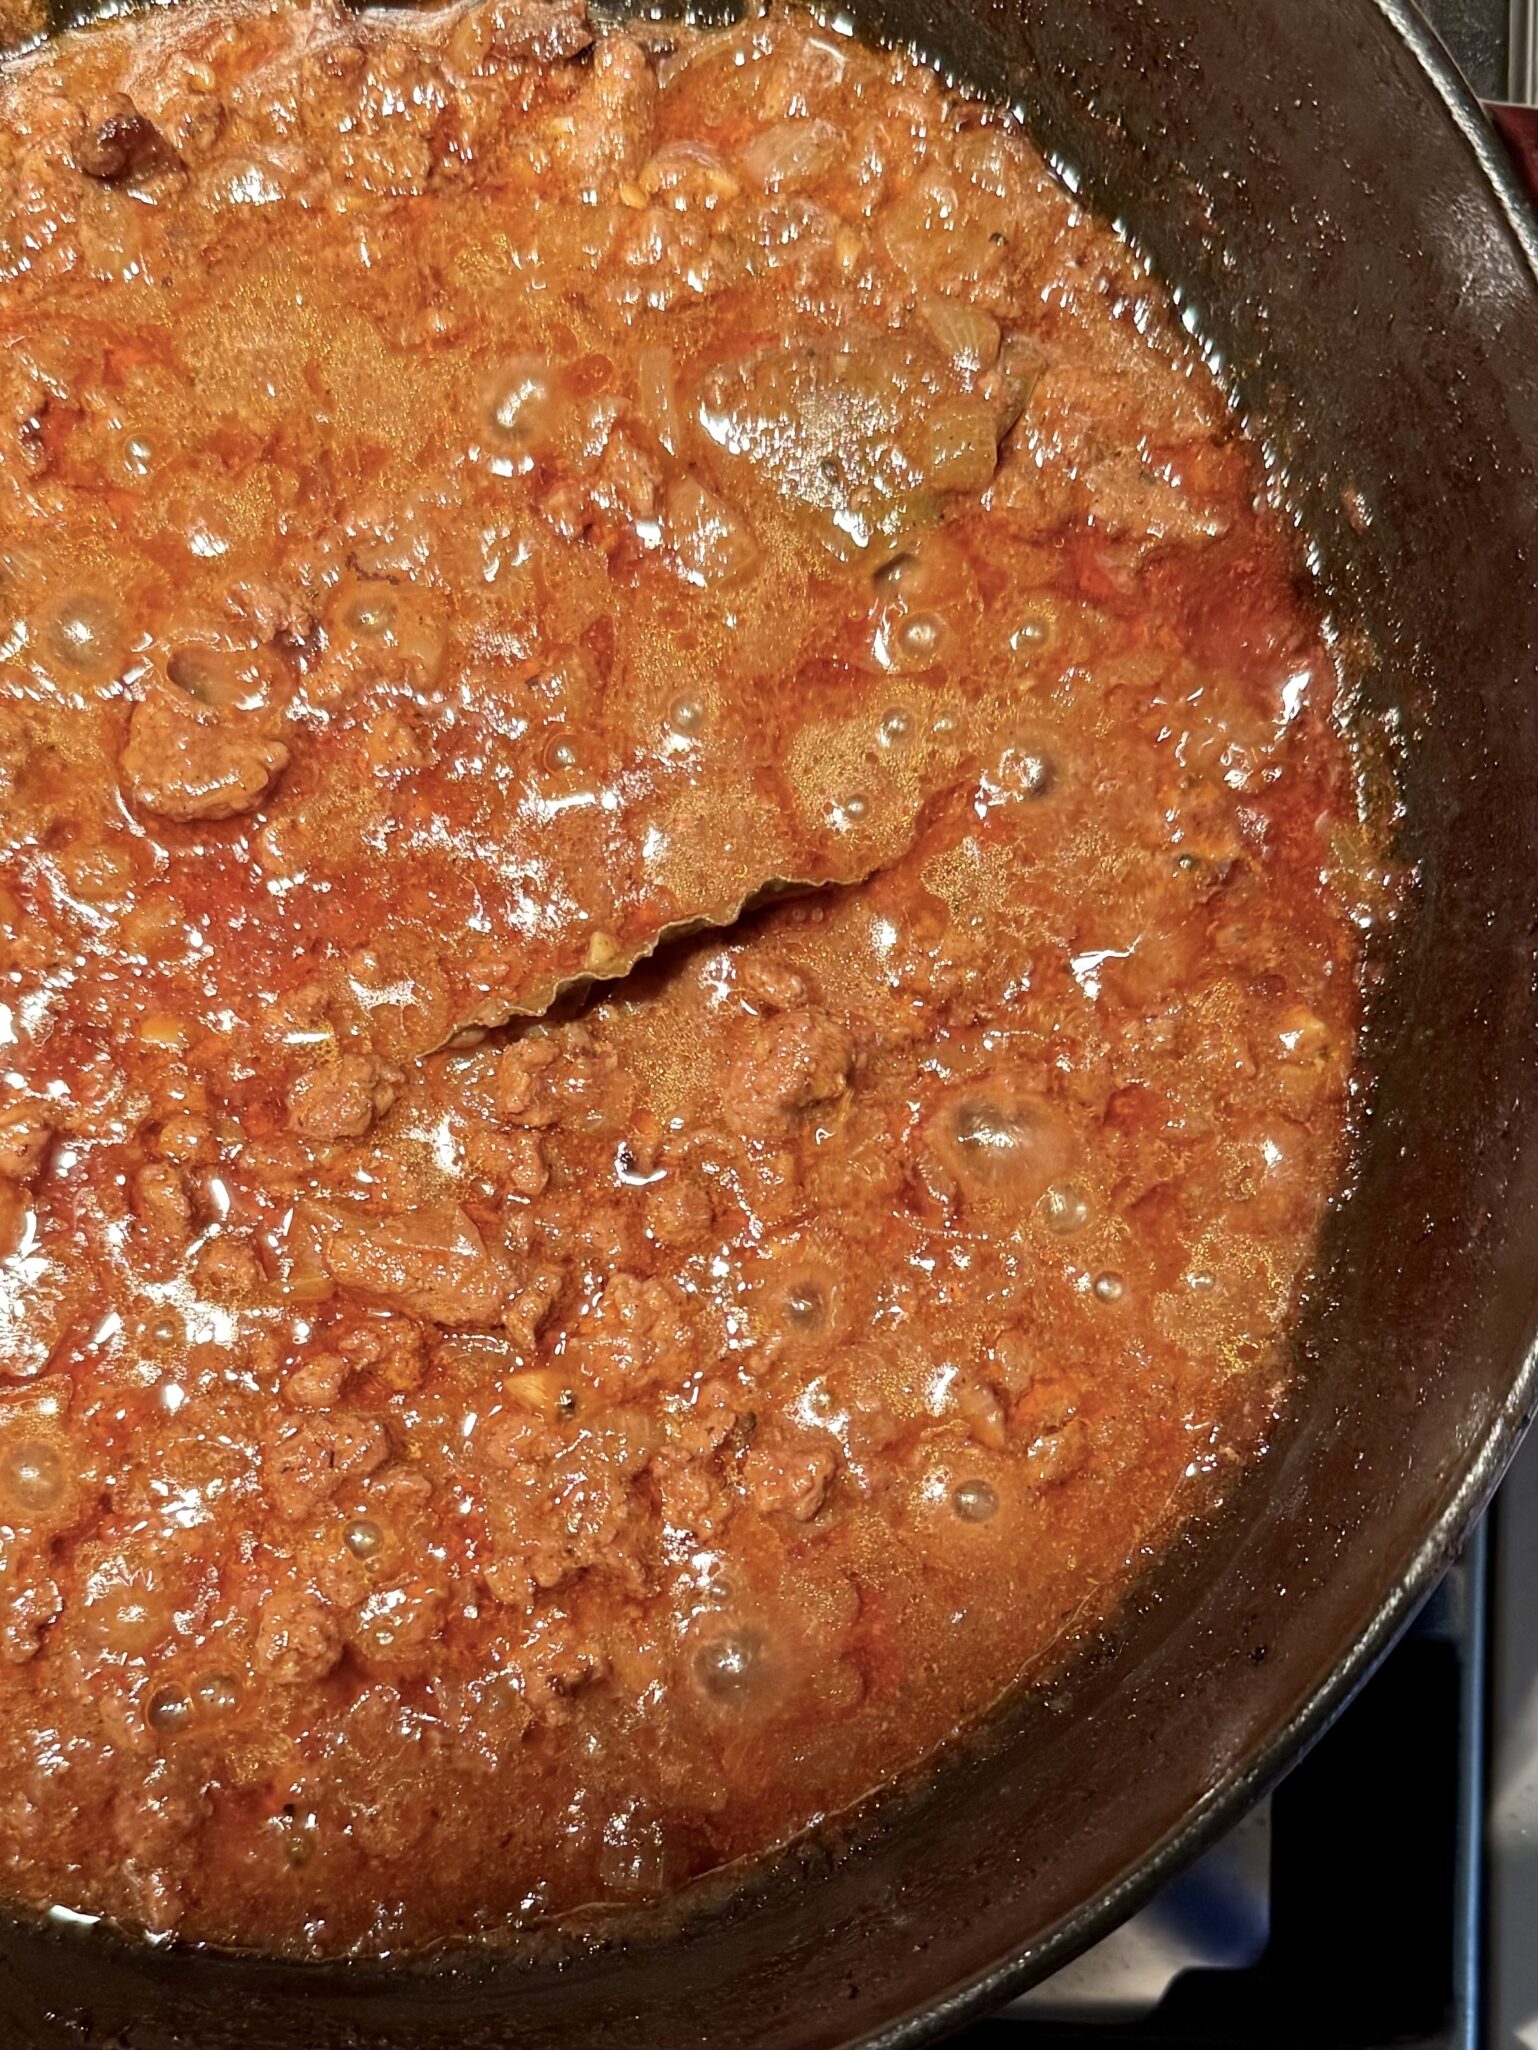
Get your seasonings together.  I used TJ’s Harissa paste instead of powder.  Dice onions and mince garlic and saute until lightly brown. Add ground beef and cook until the meat loses its pink color.  Use ground beef that is 15 -20 percent fat, a happy medium for flavor and moisture.  Add your seasonings and water and simmer.  The sauce is ready when it has reduced by about half.  It will look thick and rich and smell incredible.

Top with cheese and the “takes it to another level” egg yolk.  Garnish with green onions and serve immediately.  Mix the egg yolk into the sauce and noodles to give it a silky creamy finish.

It’s delicious served over udon noodles but I think it would be equally yummy over a bowl of rice or as a topping for roasted sweet potatoes.  The chili reminded me of the Afghani dish, Kadoo, cooked pumpkin topped with a meat sauce and yogurt.  Kristina’s Cincinnati Chili with its warm Mediterranean spices would be a perfect stand-in for the meat sauce as would sweet potato for pumpkin.  I’m currently obsessed with Japanese sweet potatoes-indescribably delicious.

So make this chili, throw it over whatever you like, curl up on your sofa, and watch a classic Rom-Com, or maybe a silly, mushy Hallmark holiday movie.  Rest up, the resistance begins tomorrow.

Cincinnati Chili Udon

A delicious riff on Cincinatti Chili (Skyline Chili) from Kristina Cho
Course dinner, lunch
Cuisine American, Asian-American
Keyword chili, Cincinnati chili
Prep Time 20 minutes
Cook Time 1 hour 30 minutes
Servings 4 servings

Ingredients

Sauce

  • 2 tbsp olive oil
  • 1 medium yellow onion minced
  • 4 cloves garlic minced
  • 1 lb ground beef 80/20 fat
  • 3 tbsp tomato paste
  • 6 cups water
  • 2 tbsp apple cider vinegar

Seasonings

  • 1 tbsp soy sauce
  • 2 tsp coarse salt
  • 1 1/2 tsp cinnamon
  • 1 tsp black pepper
  • 1 tsp harissa powder substitute harissa paste 1:1
  • 3/4 tsp ground cumin
  • 1/2 tsp ground cloves
  • 1/2 tsp sugar
  • 2 bay leaves

Finished Dish

  • 4 bundles of frozen udon
  • 4 egg yolks
  • Cheddar cheese shredded
  • Green onions thinly sliced, for topping

Instructions

  • In a large pot, heat olive oil over medium heat. Add the onion and garlic, cook while stirring occasionally until starting to brown, 4 to 5 minutes.
  • Add the beef and break up the meat into smaller clumps with the edge of a spatula. Continue to cook until the meat is no longer pink, 4 to 6 minutes. Stir in the tomato paste and cook for another 1 to 2 minutes.
  • Add the water, apple cider vinegar, and soy sauce and bring to a simmer. Add salt, cinnamon, black pepper, harissa, cumin, cloves, sugar, and bay leaves. Stir to blend.
  • Reduce the heat to medium low to maintain a gentle simmer. Cover with lid but leave a gap for steam and allow the chili to simmer until thickened and reduced by about half, stirring occasionally, 60 to 90 minutes. Allow the chili to cook for a few minutes before serving.
  • Bring a large pot of water to a boil and add the udon to warm through (frozen udon is already cooked). Strain the water and divide the noodles between bowls.
  • Top the noodles with chili and add an egg yolk to the center. Sprinkle on cheese and green onions. Toss the noodles to mix the cheese and egg yolk with the chili.

Notes

Serves 4
Easy Peasy Curry Chicken

Easy Peasy Curry Chicken

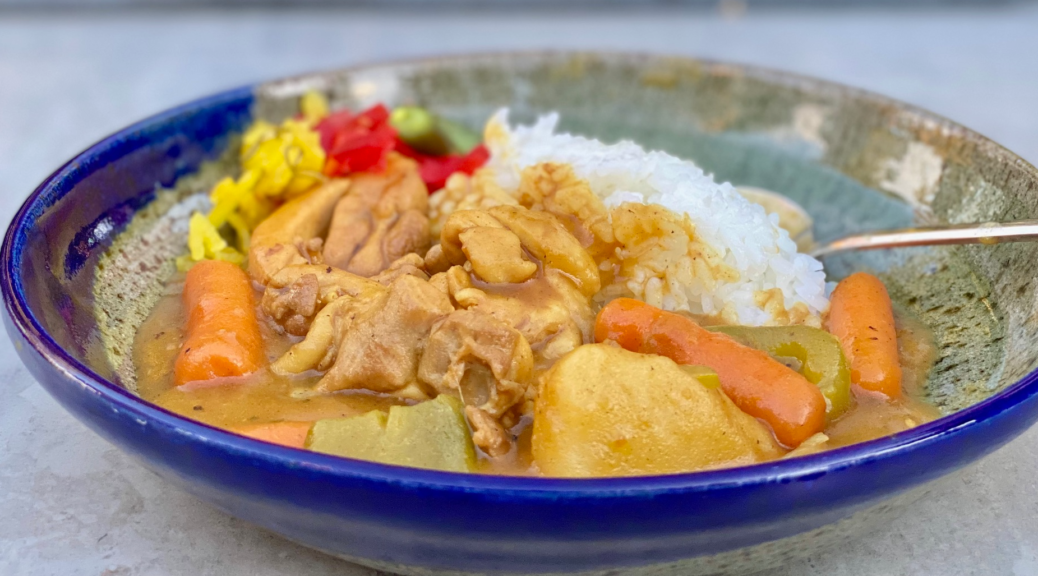
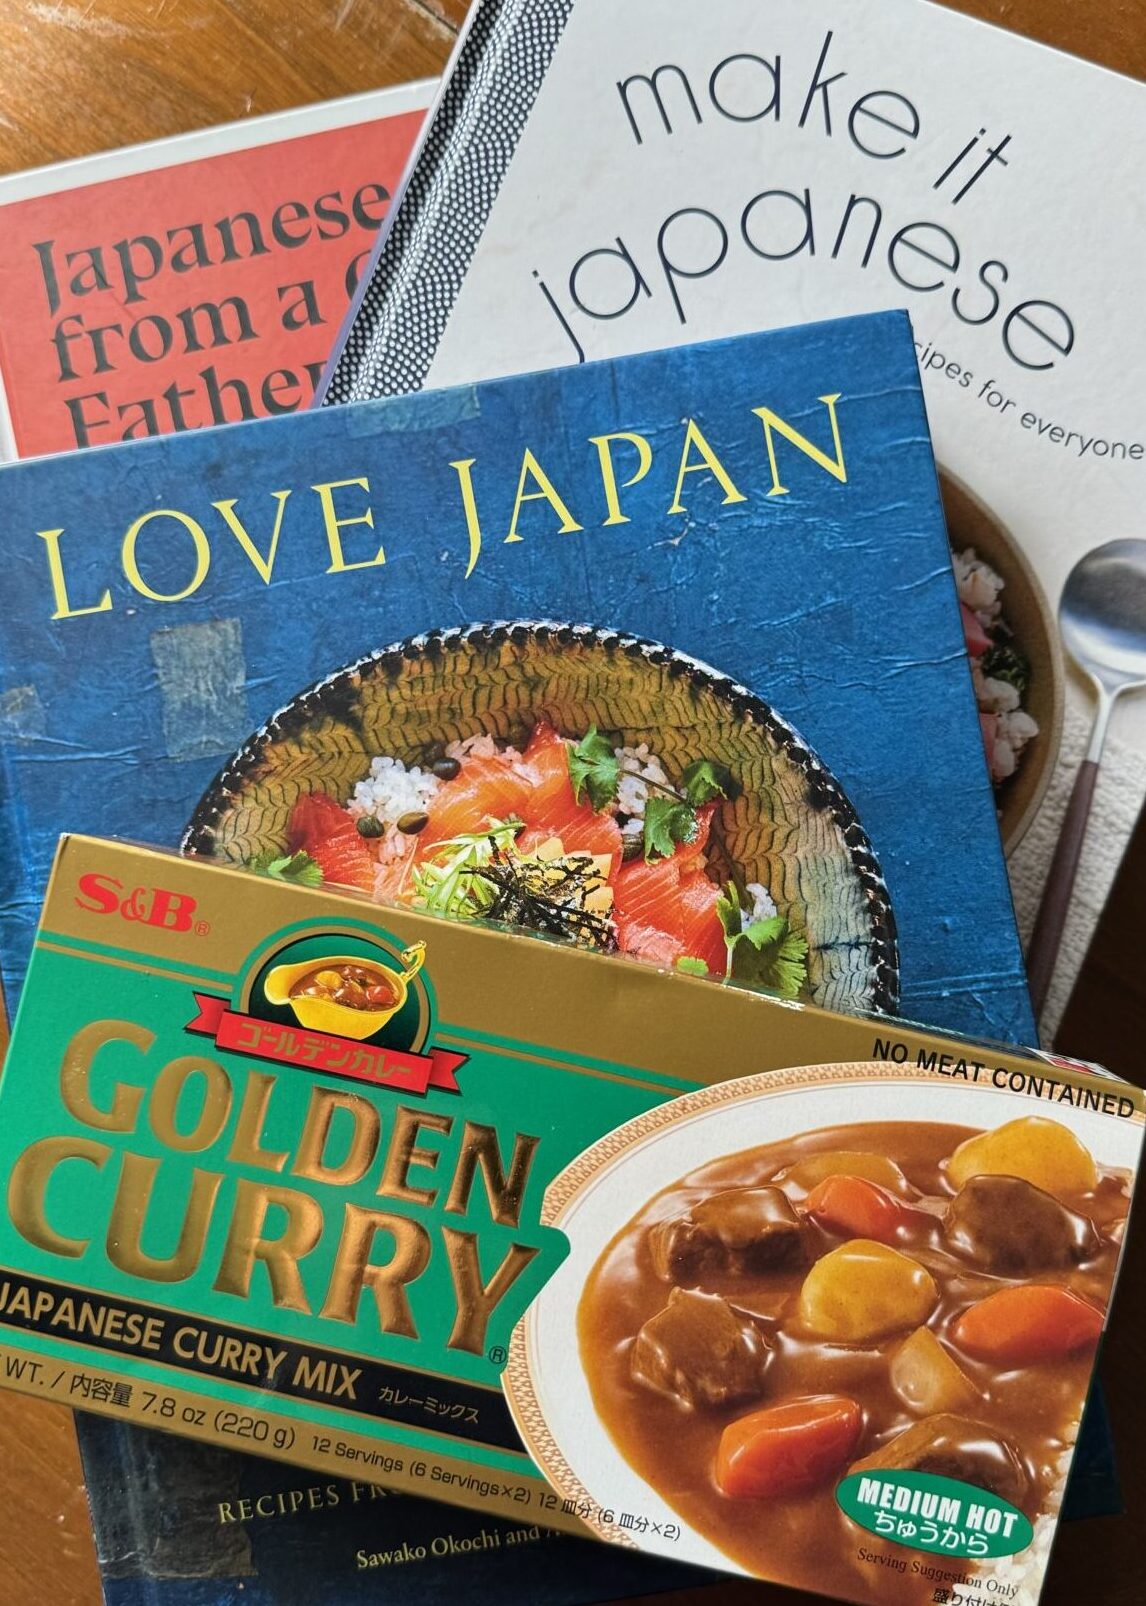
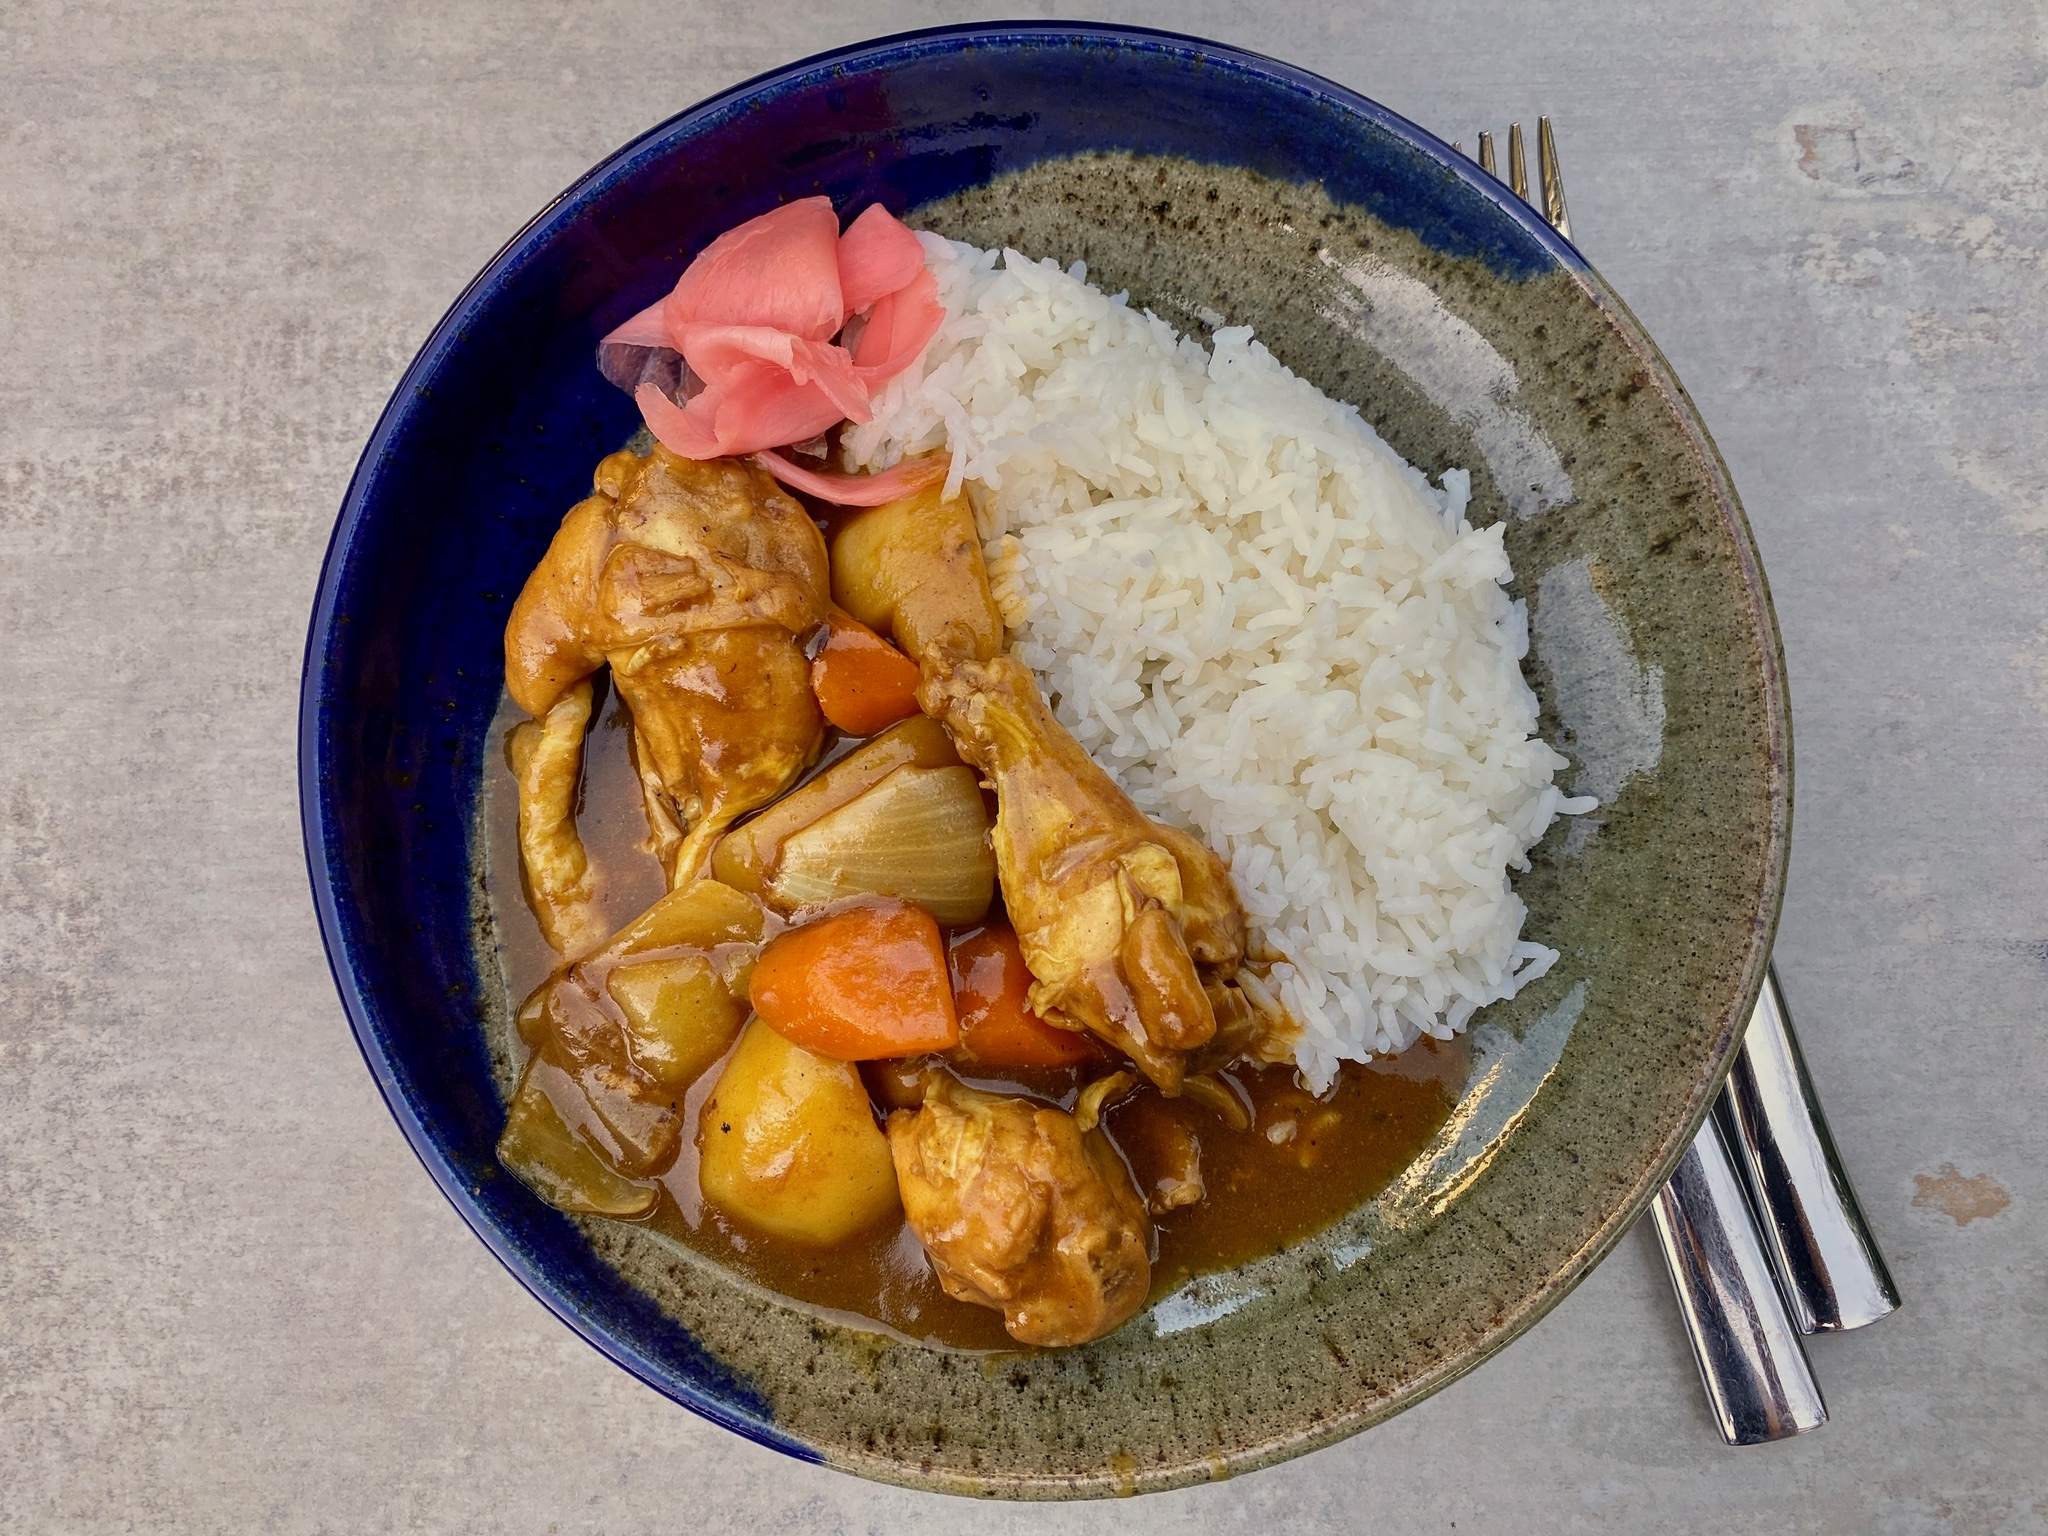
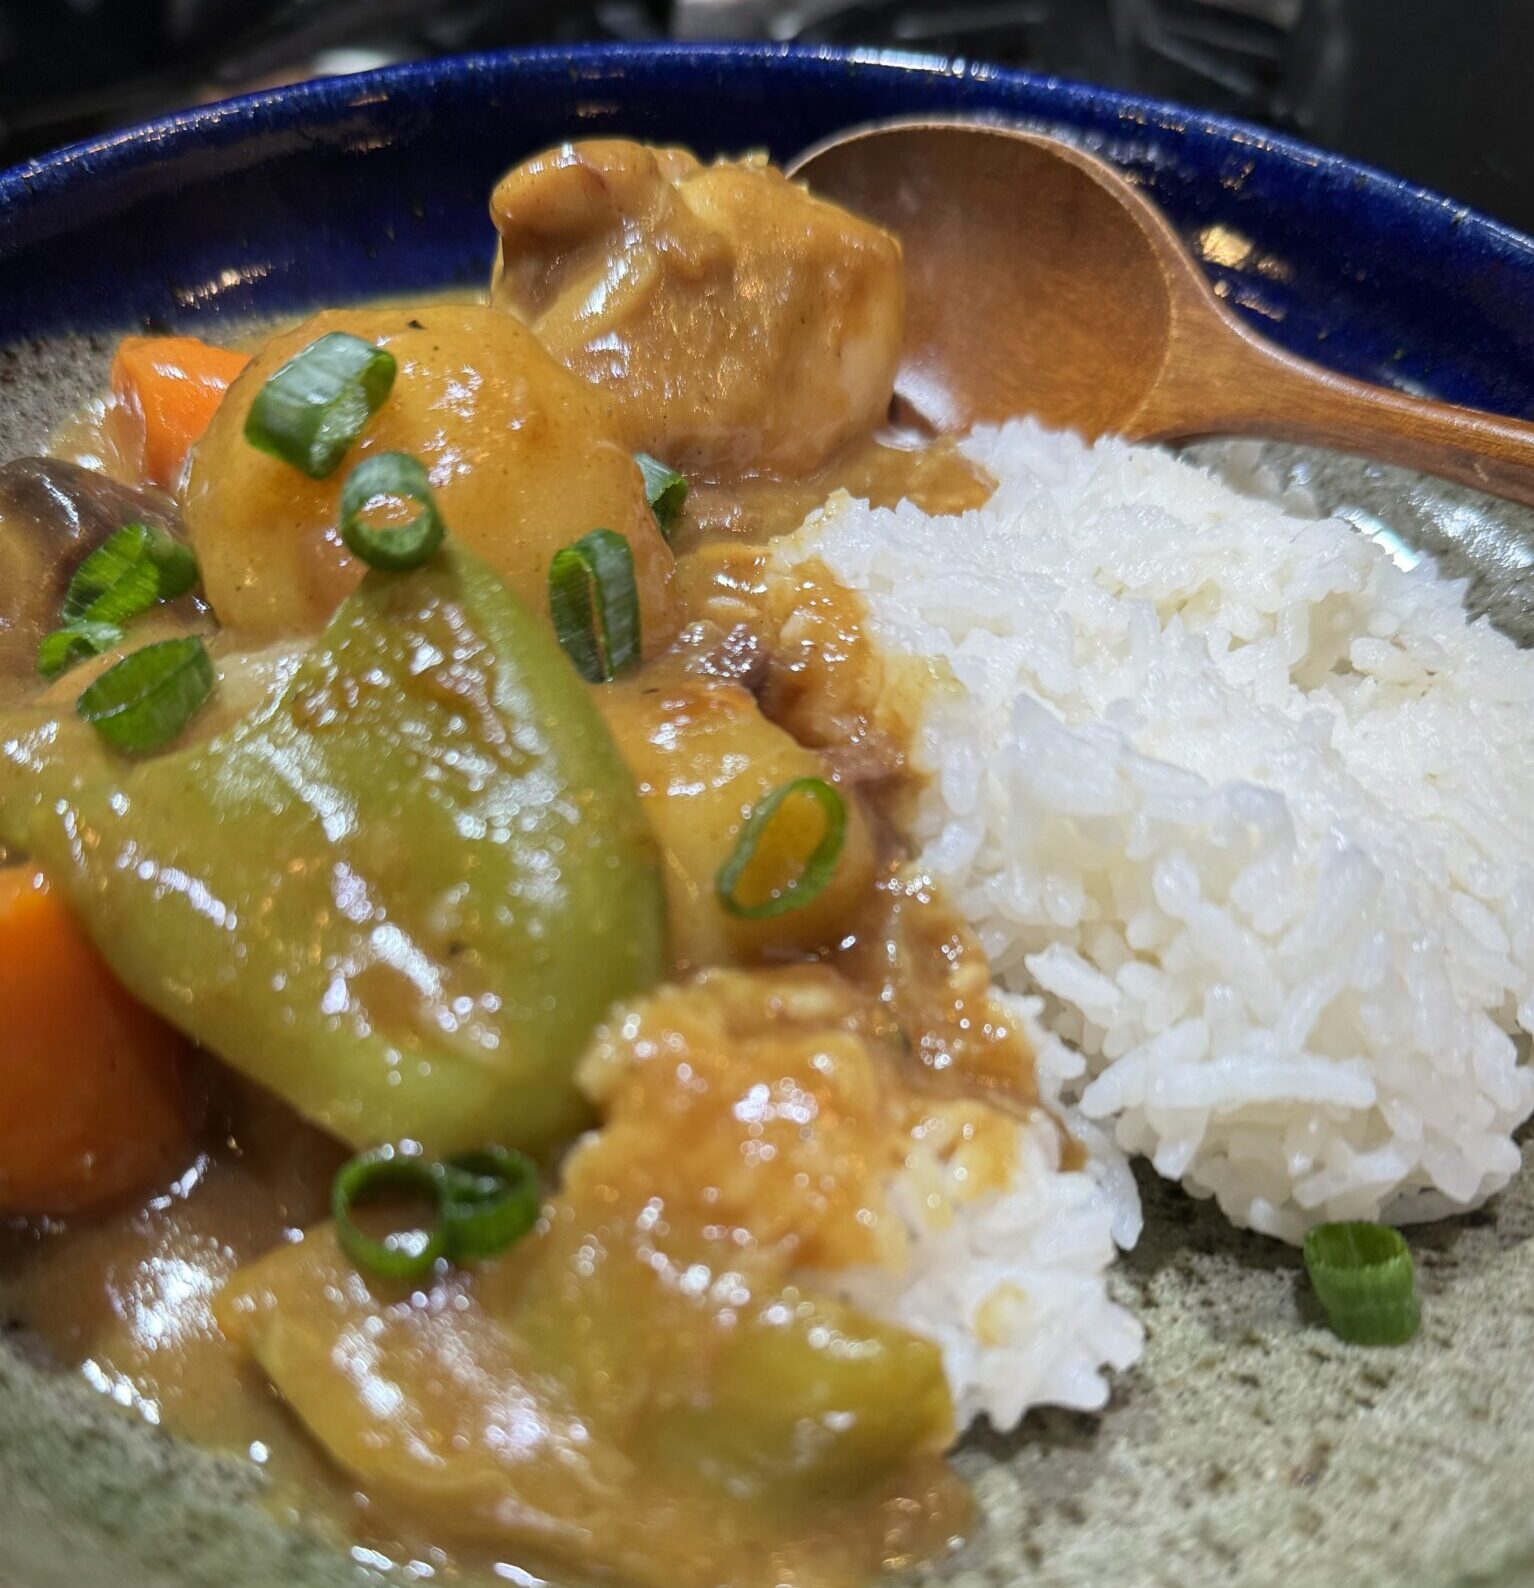
One of my favorite “cheats” are the Japanese curry blocks found in most Asian markets.  These little blocks contain the spices and flavorings plus a thickener to make a Japanese-style curry.  It’s an easy weeknight meal that comes together in 20-60 minutes depending on your protein.  These curry blocks are so good you’ll find them in cookbook recipes and most Japanese restaurants, yep.  They add their little tweaks but really, you don’t have to add anything, just follow the instructions on the box, and boom, with minimal work and time, your family will be sitting down to a warm, comforting bowl of curry and rice.
So, Why a Recipe?

Well, someone’s gotta tell you these curry blocks are out there!  There are quite a few brands out there and many come in varying degrees of spiciness, mild, hot… Serious Easts does a deep dive on the different brands, here it is Deep Dive Curry.  Experiment and find the one you like best.  My kids make curry all the time.  That’s how easy it is.

Variations on a Curry

Needless to say, tweak this recipe as you wish.  I often make this with pork.  Ivan Orkin of Ivan Ramen fame has a recipe for a delicious Pork Curry.  Calls for braising chunks of pork in a broth and then adding the curry blocks.  He finishes his curry with honey and milk. To cut the cooking time, use an instant pot to cook the pork.  Instead of 2 hours on the stove, 30-40 minutes in the instant pot should do it.

Add more veggies!  I throw in an additional 2 cups of veggies into my curry. Don’t worry about the curry sauce, there will be plenty.  Cauliflower and bell peppers come to mind first, then squash like zucchini or kaboucha would be yummy.

Looking for a Thai Curry?  The Thai equivalent to Japanese curry blocks are curry pastes in little tubs.  My favorite brand is Mae Ploy, and it comes in an array- red, green, Massaman.  A previous post on curry pastes and a recipe for a flavorful Thai curry made in an Instant Pot is one of my favorites.

So, go get yourself some curry blocks or curry pastes, make your curry,  cook one big pot rice, and spoon it into your favorite bowl.  Eat while curled up on your sofa watching your favorite Hallmark Christmas Movie (yes they are already out), or K-drama (Goblin or My Dearest), or C-drama (Double or Princess Royale).  This is part of your self-care, after all, we could all use some comfort right now.

Print
5 from 1 vote

Curry Chicken

Curry Chicken, a one pot meal, perfect for the cooler weather. Japanese Curry blocks make this a snap to make.
Course dinner
Cuisine Asian
Keyword 3jamigos.com, Chicken, chicken curry, curry, easy recipe, japanese curry, one pot meal
Prep Time 20 minutes
Cook Time 1 hour
Servings 4 servings

Ingredients

  • 6 bone-in skin-on chicken thighs ~2 lb or 6-7 pieces
  • ½ tsp Diamond Crystal kosher salt
  • freshly ground black pepper
  • 2 slices ginger
  • 2 small yellow onions 1 lb, 454 g
  • 1-2 Yukon gold potatoes, peeled 6.5 oz, 184 g
  • 3 carrots, peeled 4 oz, 113 g
  • ¼ cup green peas 1.3 oz, 36 g
  • 2 Tbsp neutral oil for cooking

Optional but highly recommended

  • 1-2 cups Your favorite veggies, there will be plenty of sauce to acommodate more veggies. Cut to similar size of other veggies bell peppers, cauliflower!!, squash, celery

Curry Sauce

  • ¼ cup sake
  • 2 cups chicken stock/broth or use vegetable stock low salt or 2.5 cups with 2 tsp chicken powder
  • ½ cup water add more if needed
  • ½ package Japanese curry roux 3.5–4.2 oz, 100–120 g; I like thwe OG S&B brand
  • 1 Tbsp mirin
  • 1 Tbsp soy sauce

Instructions

Prep Ingredients

  • Prick skin of 6 bone-in skin-on chicken thighs or 3 whole legs split with the tip of your knife (so the flavors will penetrate the skin). Cut off the excess fat with a pair of scissors (or knife).
  • Season the chicken with ½ tsp Diamond Crystal kosher salt and freshly ground black pepper on both sides.
  • Cut onions into wedges. The wedge cut adds more texture; however, you can also thinly slice or dice.
  • Peel and cut  Yukon gold potato into 8 pieces.
  • Peel and cut carrots into bite-size pieces. Additional veggies can also be cut into bite-sized pieces. Set aside the vegetables on a tray or plate.

Making the Curry

  • In a large pot (I use a Dutch oven), heat 1 Tbsp neutral oil on medium-high heat. When it’s hot, sear the chicken on the skin side first. Do not crowd the pan to avoid steaming the chicken and cook in batches if necessary.
  • Flip the chicken and cook the other side for 2 minutes and then transfer to a plate until the rest is done.
  • Add the onion to the pot and coat with the oil using a wooden spoon/spatula. If there is not enough oil, add ½–1 Tbsp more oil.
  • Add ginger slices and sauté, stirring occasionally, until the onions are tender. If the burnt spots on the bottom of the pot need some scraping, you can add sake here (instead of the next step) to loosen them up.
  • Add the chicken back into the pot and add ¼ cup sake.
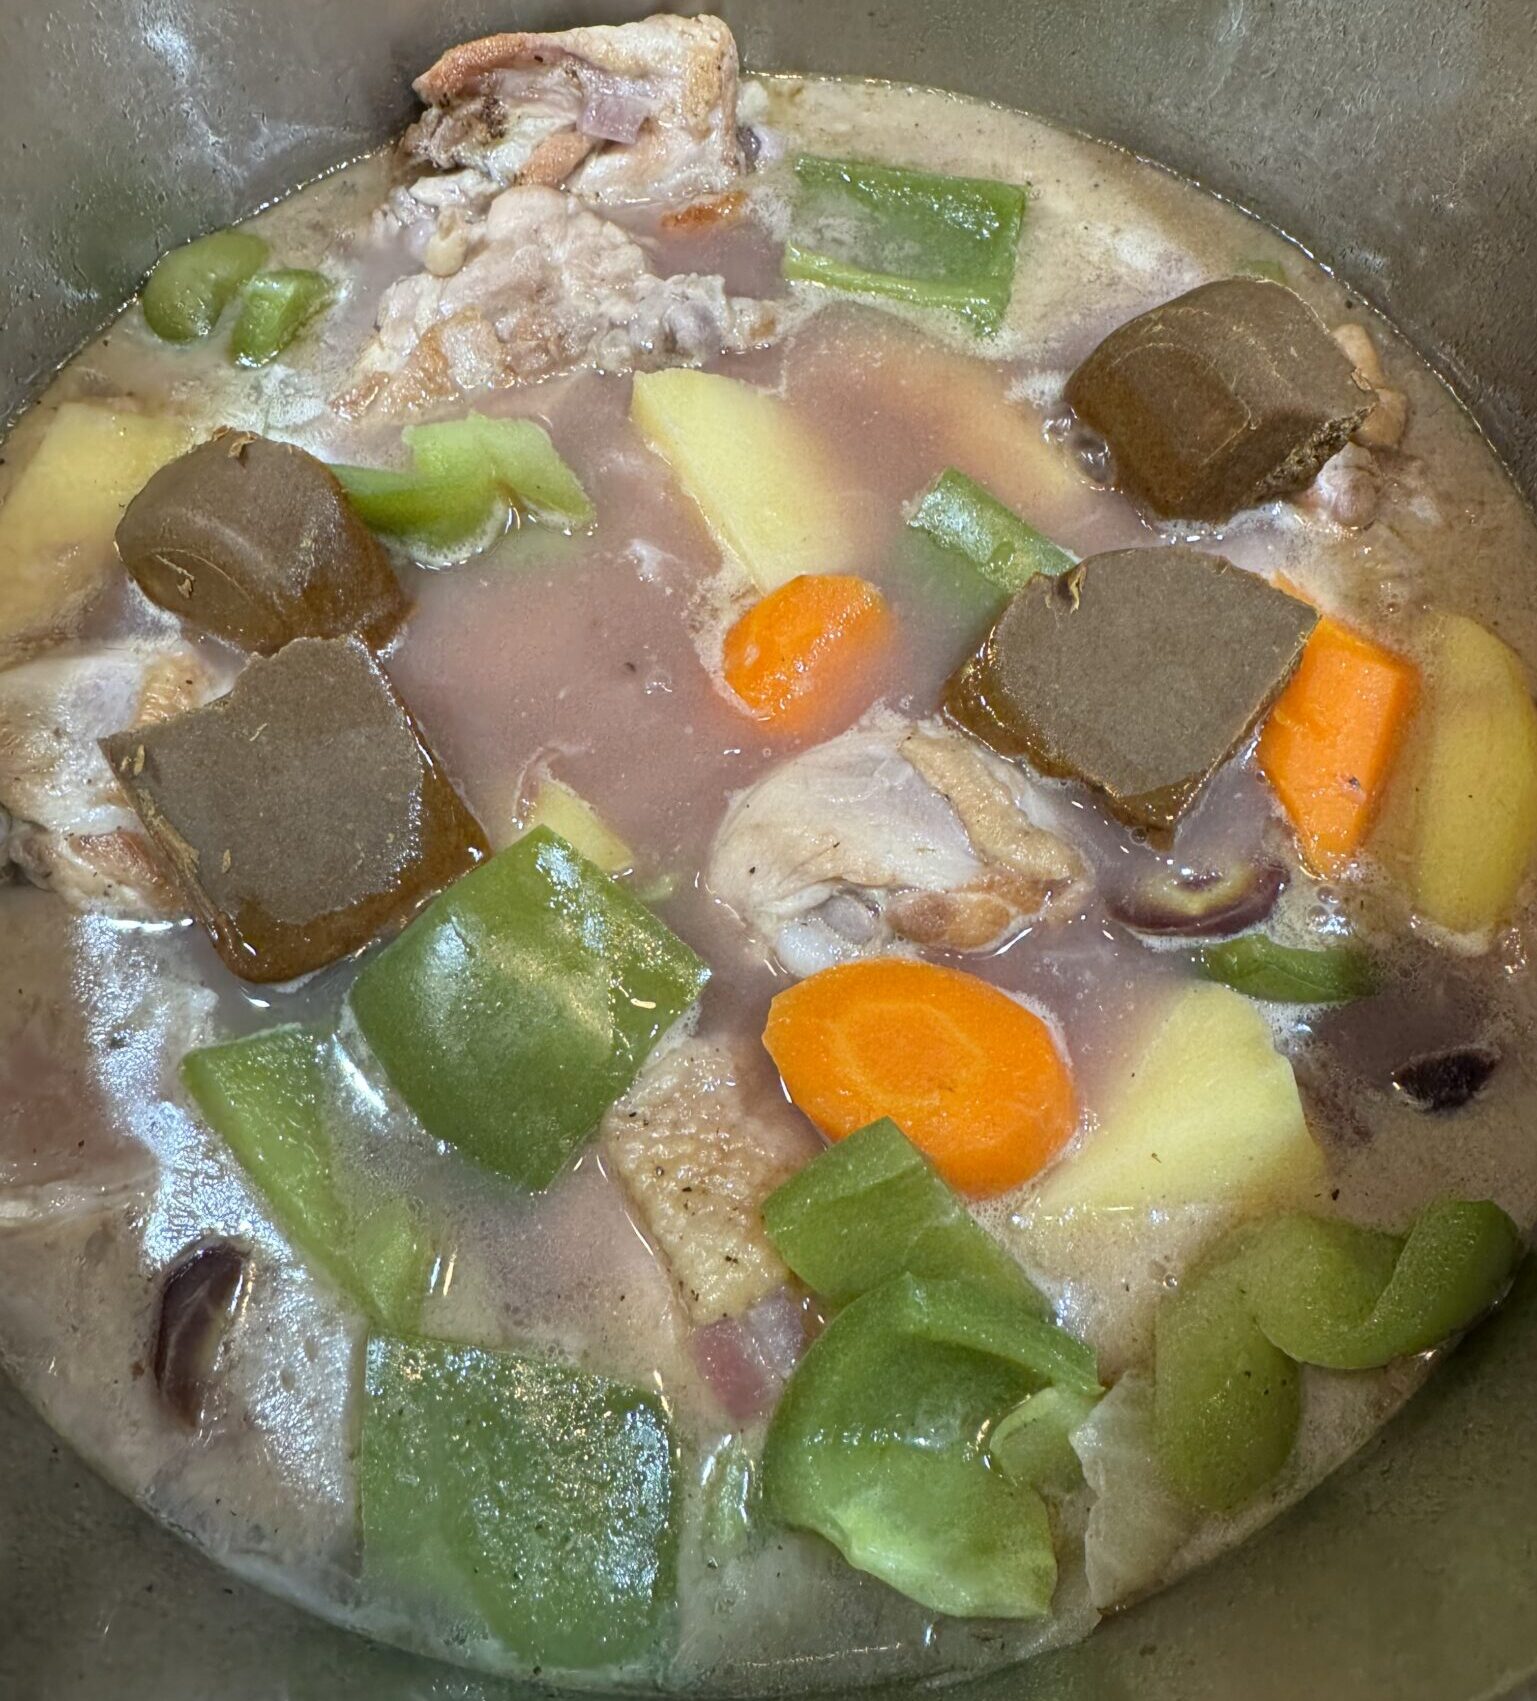
  • Add 2 cups chicken stock/broth and ½ cup water, or water plus chicken powder just enough to almost cover the chicken. If you use a larger pot, it may not cover, so please adjust the amount of stock/water. This is not a soupy curry, so we do not need much liquid.
  • Cover the lid and bring it to a simmer. When simmering, skim the scum and foam with a fine-mesh skimmer.
  • Cook covered on low heat for 40 minutes.
  • Add the carrots, potatoes, and any other veggies you like, make sure they are submerged in the cooking liquid. Options include bell peppers and cauliflower or squash
  • Cook covered until they are tender, about 15 minutes.
  • Turn off the heat and dissolve ½ package Japanese curry roux, one cube at a time in a ladleful of hot broth. When the first cube is dissolved, release it to the broth and mix gently without breaking the tender vegetables. Repeat the process until you finish dissolving all the roux.
  • Add 1 Tbsp mirin and 1 Tbsp soy sauce. Mix all together and check the taste. You can add water to loosen the curry if it's too thick. Add 2 Tbsp water. Add more water, if necessary to control the consistency of the curry here. The sauce should be pretty thick though.
  • Add ¼ cup green peas and cook for another minute. Serve the curry with steamed rice.
Notes

Variations:  In place of chicken pork (shoulder or butt cut into bite-sized pieces) that has been simmered until fairly tender before making curry.
In place of mirin and soy sauce: 1-2 tablespoons honey and 1/4 cup milk (added at the end so it doesn't curdle)
Not Japanese but you could add 1/2 cup of coconut milk 
Lions Head Meatballs (Made Here… in Chinatown NY)

Lions Head Meatballs (Made Here… in Chinatown NY)

A slew of small mom-and-pop stores and restaurants in NYC Chinatown were hit especially hard during the pandemic.  In response, Send Chinatown Love, a volunteer community organization, was created to help these struggling businesses.  Donations to Send Chinatown Love were used to buy meals from local restaurants and distribute them to the elderly and vulnerable community members. A win-win.  Their volunteers also taught businesses how to modernize their business practices and broaden their reach via the Internet.  Even as the pandemic has receded, Send Chinatown Love has continued to help not just Chinatown but other Asian communities in New York.

A friendly greeting and words of affirmation in the recipient’s native language on a decorated postcard accompany every delivered meal.  This is the care and compassion of the organizers and volunteers of Send Chinatown Love.  Who wouldn’t want to be a part of this?  So while we were in New York, I made postcards and delivered them to a cute little bakery, Partybus Bakeshop with yummy breads & treats in Chinatown.  I hope my postcards helped brighten someone’s day.

Labor of Love

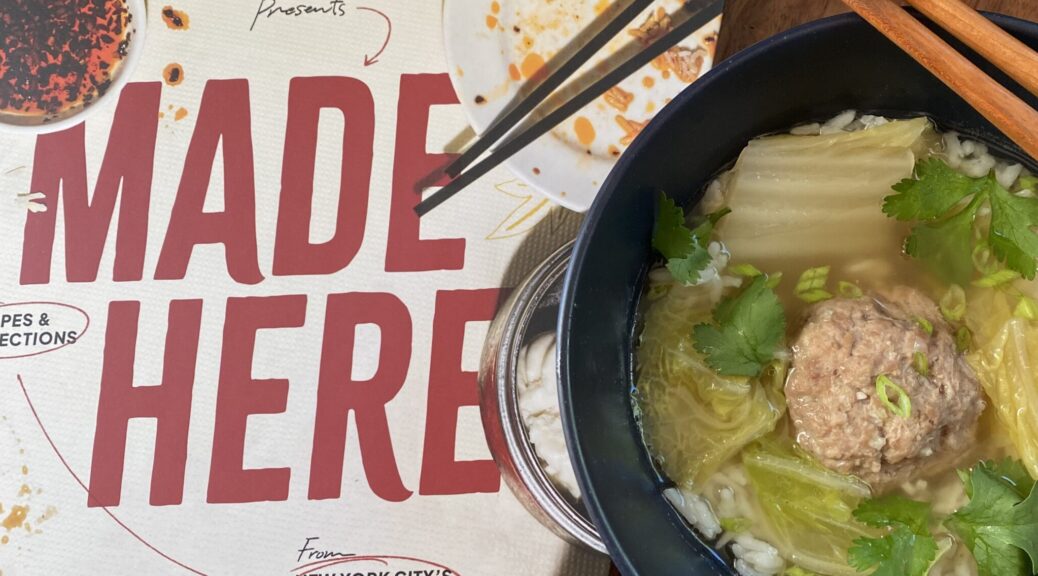
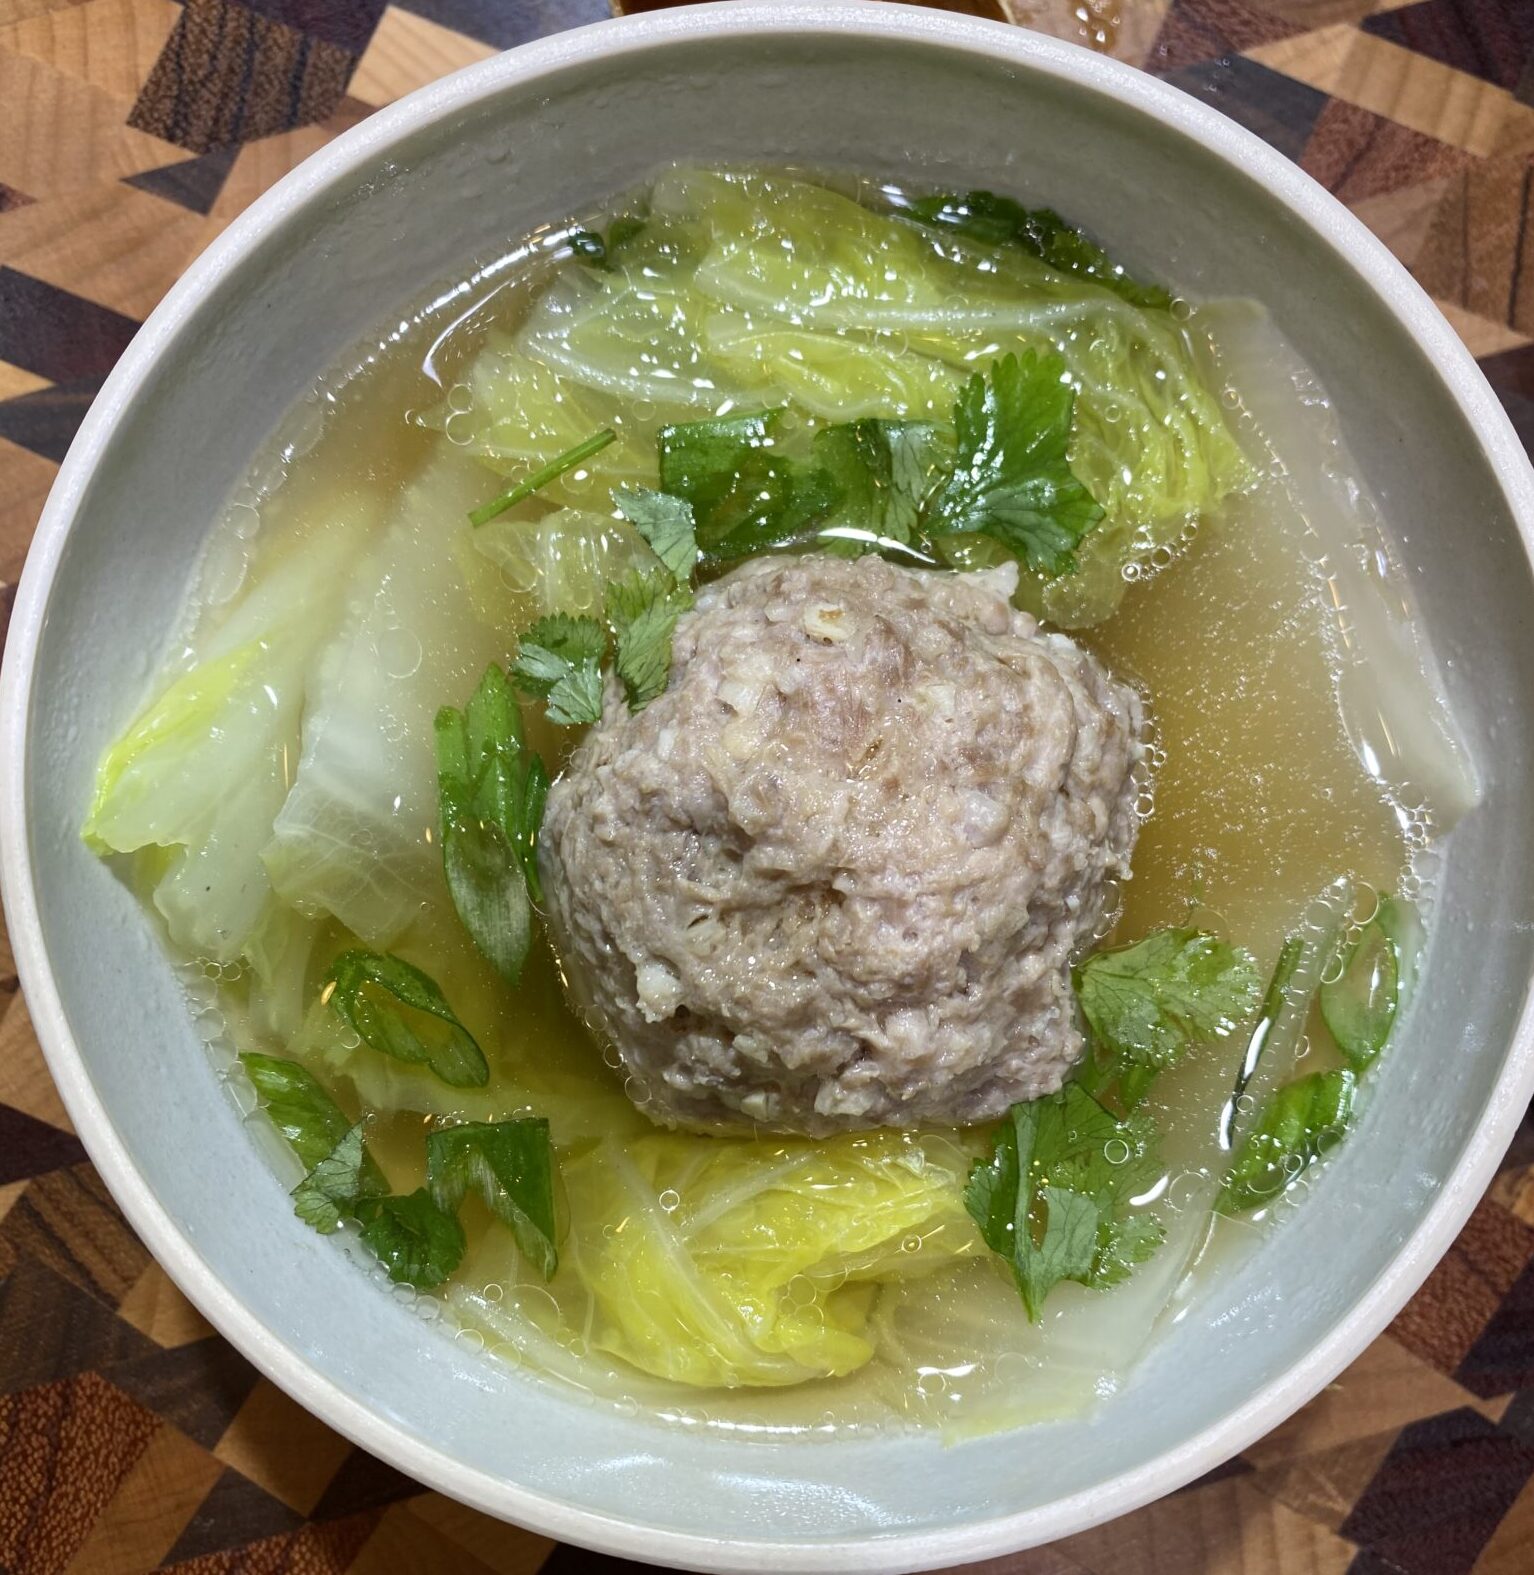
Send Chinatown Love’s latest foray is a self-published, GORGEOUS cookbook, titled Made Here.  Proceeds from the book go back to the community fund.  This wonderful compendium is filled with recipes, stories, and photos of local businesses.  The chapter on Taiwan Bear House in Chinatown included their Lion’s Head Meatballs (狮子头) recipe.  A homey dish made from ground pork and poached in a flavorful, light broth with cabbage (lion’s mane).  It is a quintessential Taiwanese dish.

Flashback to 17

Well…the last time I had Lion’s Head Meatballs I was 17 years old and sitting at a table in an army barrack in Taiwan. Across from me, a grinning Taiwanese soldier urged me to EAT.  Yo, it was sus, but I tried it and it was delicious. That was the summer between my freshman and sophomore year at Berkeley.  I was in a student exchange program in Taiwan.  My mom and dad sent me alongside other Chinese American kids sent by their parents, to discover their Chinese roots.  We learned a bit of Mandarin and Taiwanese culture, and a lot about having a good time.  We vastly outnumbered the teachers and chaperones so it was easy to sneak out to roam the streets and night markets in Taipei.

I was one of the youngest on the trip. This meant, bars and nightclubs were off-limits (I am not messing around in a foreign country, nope).  But shopping, wandering the streets, and absorbing everyday life in Taipei was fair game.  My fondest memories were of the food, especially at the night markets.  I stuffed myself silly with Guo Tieh (Potstickers), Xiao Loong Bao (Shanghai Dumplings), and omelets filled with briny oysters. We gawked at the old men tossing live shrimp into a bowl, splashing them with whiskey which caused them to jump on the plate. But as they slid into a drunken stupor, I watched folks pop them into their mouths, eek!  Was I brave enough to do the same?  I’ve blocked that memory.

This was my first exposure to street food and night markets. To this day whenever we travel we look for the local street markets. ❤️

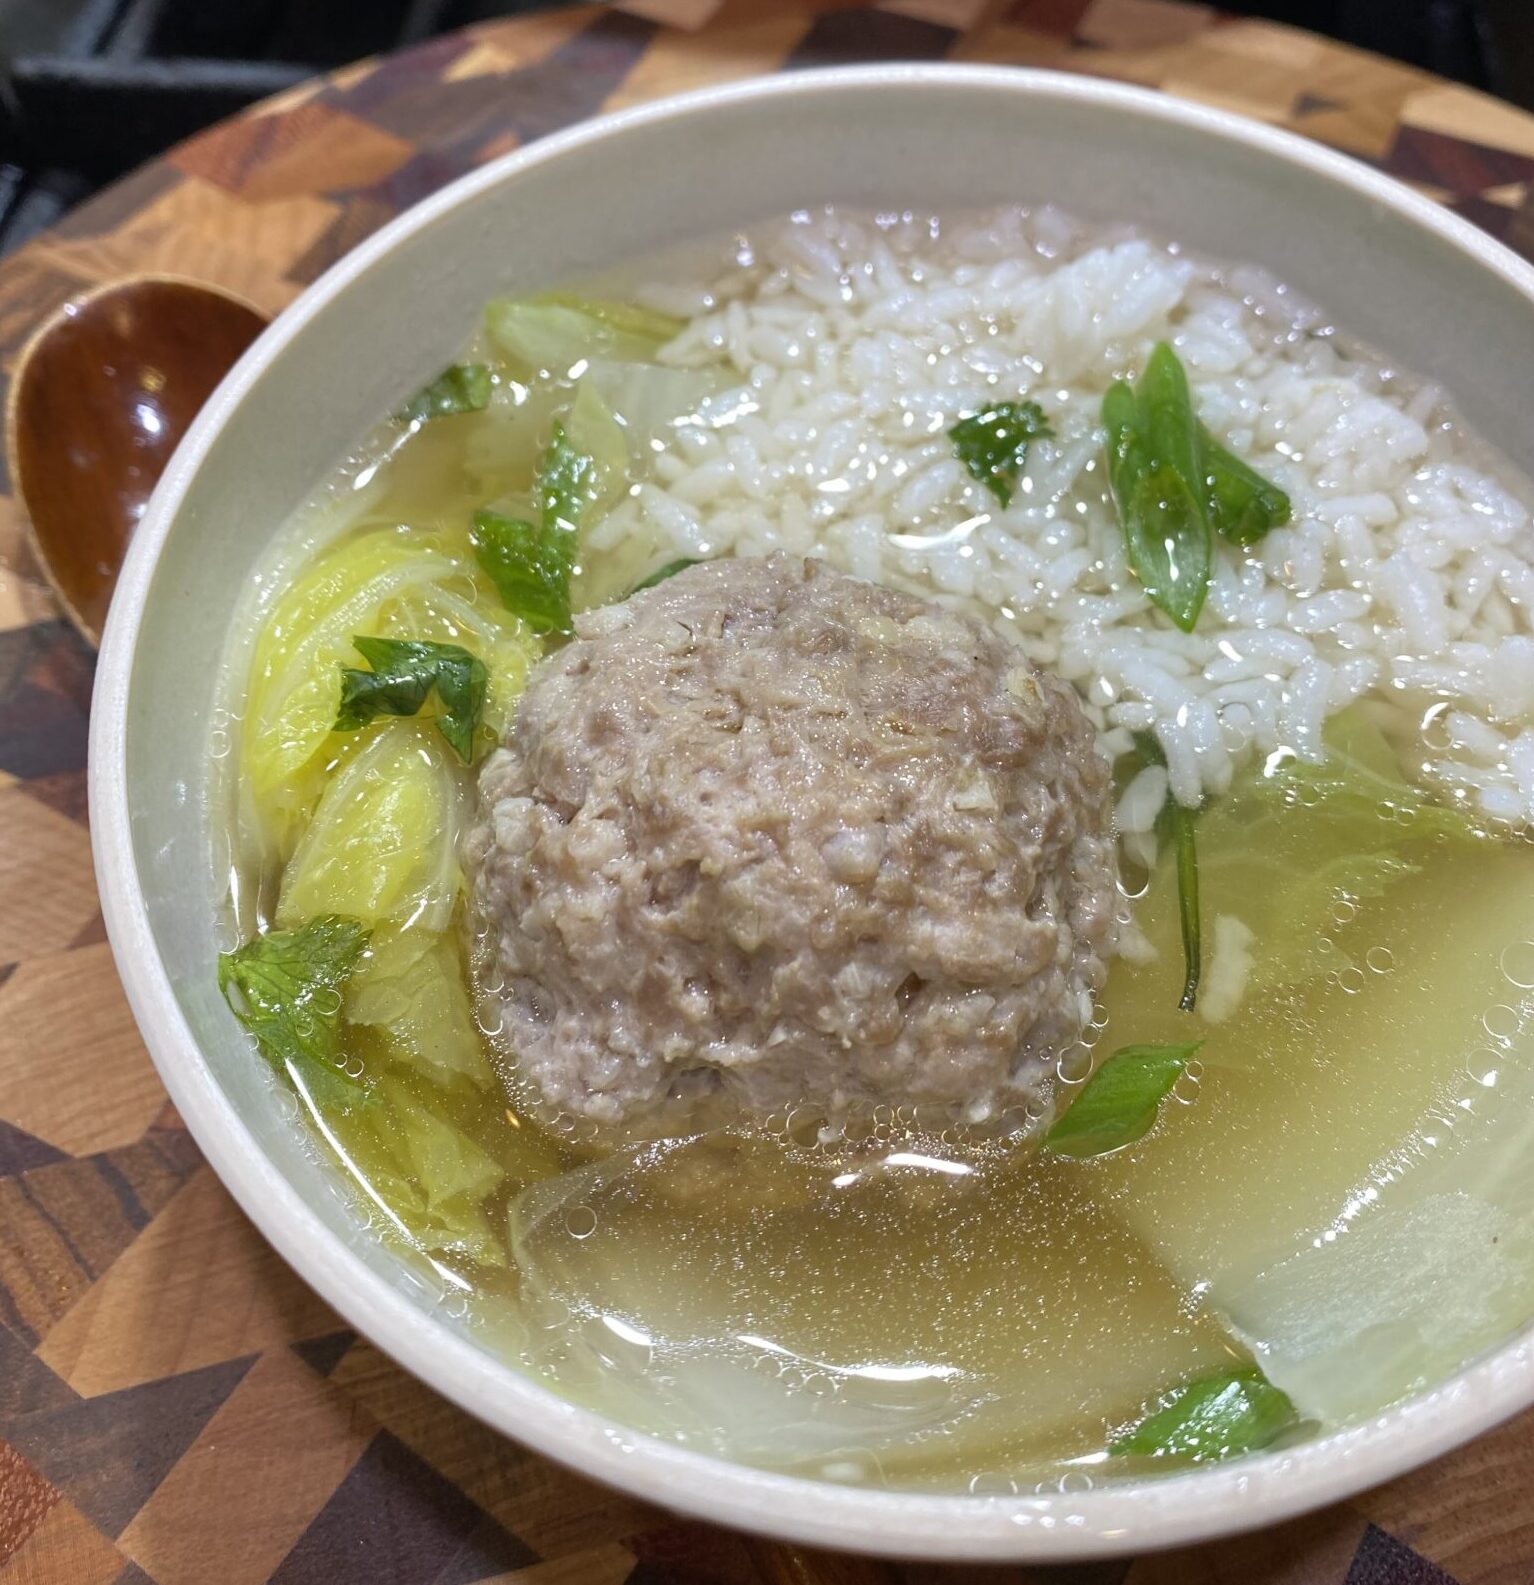
The meatballs resemble the lion’s head and the cabbage is its mane.  Use your imagination.  Use pork with a bit of fat, I recommend 80%-20% pork to fat.

This recipe is super simple so embellishing is easy.  I like adding chopped water chestnuts for crunch and diced scallions for color and flavor.  The trick to tender meatballs is to stir the mixture vigorously, in one direction only until the meat feels sticky.  Preferably, use a pair of chopsticks to stir.  The logic?  Don’t know, my mom told me to do this and it works.


Print
5 from 1 vote

Lion's Head Meatballs (狮子头)

A classic Taiwanese Dish, Lion's Head Meatballs are savory, comforting and delisious, Adapted from the cookbook, Made Here, from Send Chinatown Love
Course dinner, homestyle, main dish, Meat, Soup
Cuisine Asian, Chinese, Taiwanese
Keyword Beef and Vegetable Soup, Lion's Head Meatballs, Made Here, Taiwanese
Prep Time 20 minutes
Cook Time 1 hour

Ingredients

Meatballs:

  • 1 lb. ground pork 80-20 percent pork-fat
  • 1 Tbsp + 1 tsp Shaoxing wine or sherry
  • 1 Tbsp. soy sauce good quality, preferably a Taiwanese soy sauce, light if not, use Kikkoman Organic + 1 tsp sugar)
  • 1/2 inch piece fresh ginger peeled and finely grated or minced
  • 3 cloves garlic minced
  • 1 tsp. kosher salt or 1/2 tsp sea salt
  • ½ tsp. ground white pepper
  • 1 scallions trimmed and finely chopped, optional
  • 4 ounces water chesnuts chopped, optional

FOR THE BROTH:

  • 1 small head Napa Cabbage or regular cabbage end cut off and roughly chopped (you could use a small head of regular cabbage, cored and chopped)
  • 2 tsp salt
  • 1 1- in. piece of ginger sliced into planks
  • 3 sheets of kombu dried kelp each sheet should be approximately 3x3 inches/piece
  • 1 dried shiitake mushroom
  • 1 tsp salt

Garnish:

  • 2 stalks scallions
  • 1 bunch cilantro
  • Steamed jasmine rice for serving

Instructions

Broth:

  • Wipe kelp with a dry cloth or paper towel to remove white powder (salt residual). Set aside.
  • Fill a large pot with 10 cups of water. Add ginger, shiitake mushroom, kelp, and 1 tsp salt. set over medium-high heat. As soon as it begins to boil, turn down heat so stock is just simmering. Simmer for 30-45 minutes, do not let it boil as the kelp will get bitter. Once done simmering, strain stock to remove kelp, ginger, and mushroom. Return stock to pot and keep warm while making meatballs.

Meatballs:

  • In a large bowl, combine ground pork, seasonings, garlic, ginger, and scallions plus water chestnuts if using. Mix thoroughly.
  • Using a pair of chopsticks or a long spoon, stir mixture vigorously in one direction only, until the mixture looks sticky or tacky. Scoop up the meat and slap it back into the bowl a couple times. This process helps to tenderize the meat.
  • Form the meat into 4-6 balls, roughly the size of tennis balls. (ok, I like them a bit smaller so make 6-8). Traditionally they are HUGE.
  • Gently drop meatballs into simmering stock and cook for about 15-20 minutes until the meatballs float and are tender.

To Serve:

  • Just before poaching the meatballs, bring stock to boil and drop in napa cabbage. Boil cabbage for 2 -3 minutes or until just tender. Remove from broth and set aside.
  • Before serving taste broth for seasoning. If needed, add a bit of finishing soy sauce or soup soy to add saltiness and depth of flavor.
  • Place cabbage in bowl followed by a meatball. Fill bowl with additional broth. Garnish with scallions and cilantro. If you are like my kids you will put a scoop of rice in your bowl then ladle in the soup.

Notes

This dish can also be made as a braised dish.  But I am a soup fan.
 
Fresh Tomato & Sausage Pasta-When Comfort Food is Required

Fresh Tomato & Sausage Pasta-When Comfort Food is Required

Our final road trip with Moosie (for context, my daughter’s Bernedoodle whom we have been sitting for the last 4 months) took us first to Lake Tahoe for a couple of days.  A pit stop before our final destination, Salt Lake City, where we were to hand off the pooch to Sam.  Moose was bound for New York, back to Jamie and Sam. 😢

It has been a while since we last spent time in Tahoe.  We took time to wander around and check out some the new eateries.  Our favorites include  Coffeebar (☕️☕️☕️☕️/5), Great Gold (🍝🍝🍝🍝+/5),and Truckee Food Stop (🥙🥙🥙🥙/5).   We also perused the shelves at a very cute bookstore Word After Word (📕📕📕📕+/5).  I LOVE bookstores.

Perfect way to start the morning, coffee and a buttery, delicious pastry.

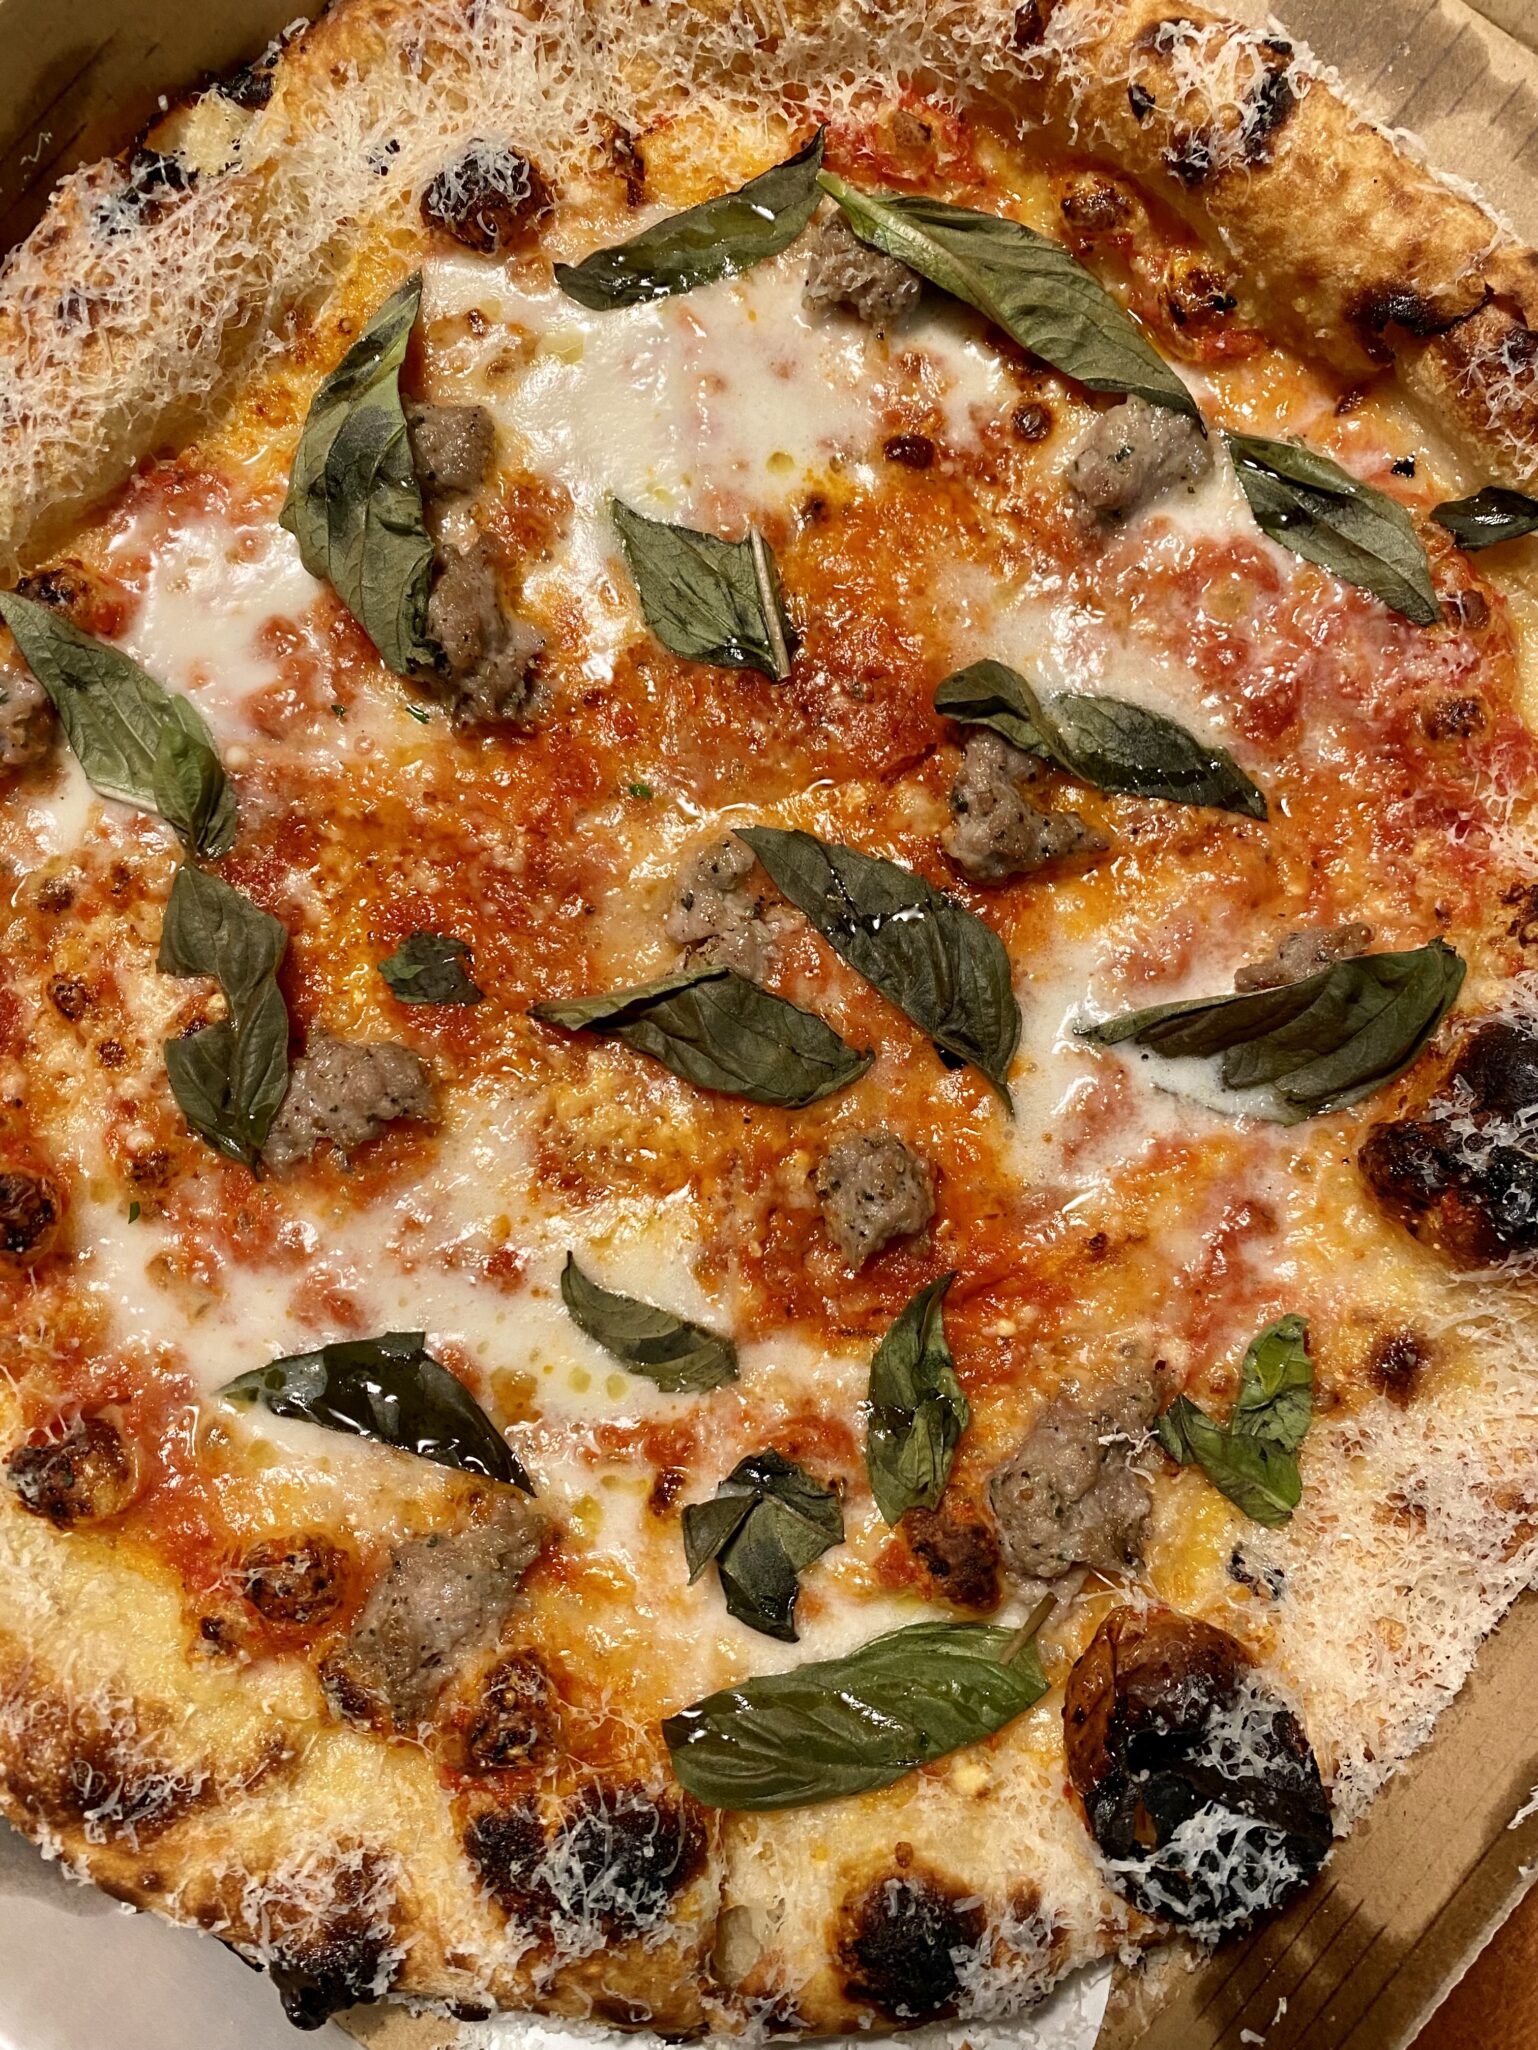
Great Gold, its roots are from Flour + Water in San Francisco, a beautiful restaurant, with great pizza and pasta, don’t pass on the Brussels sprouts!


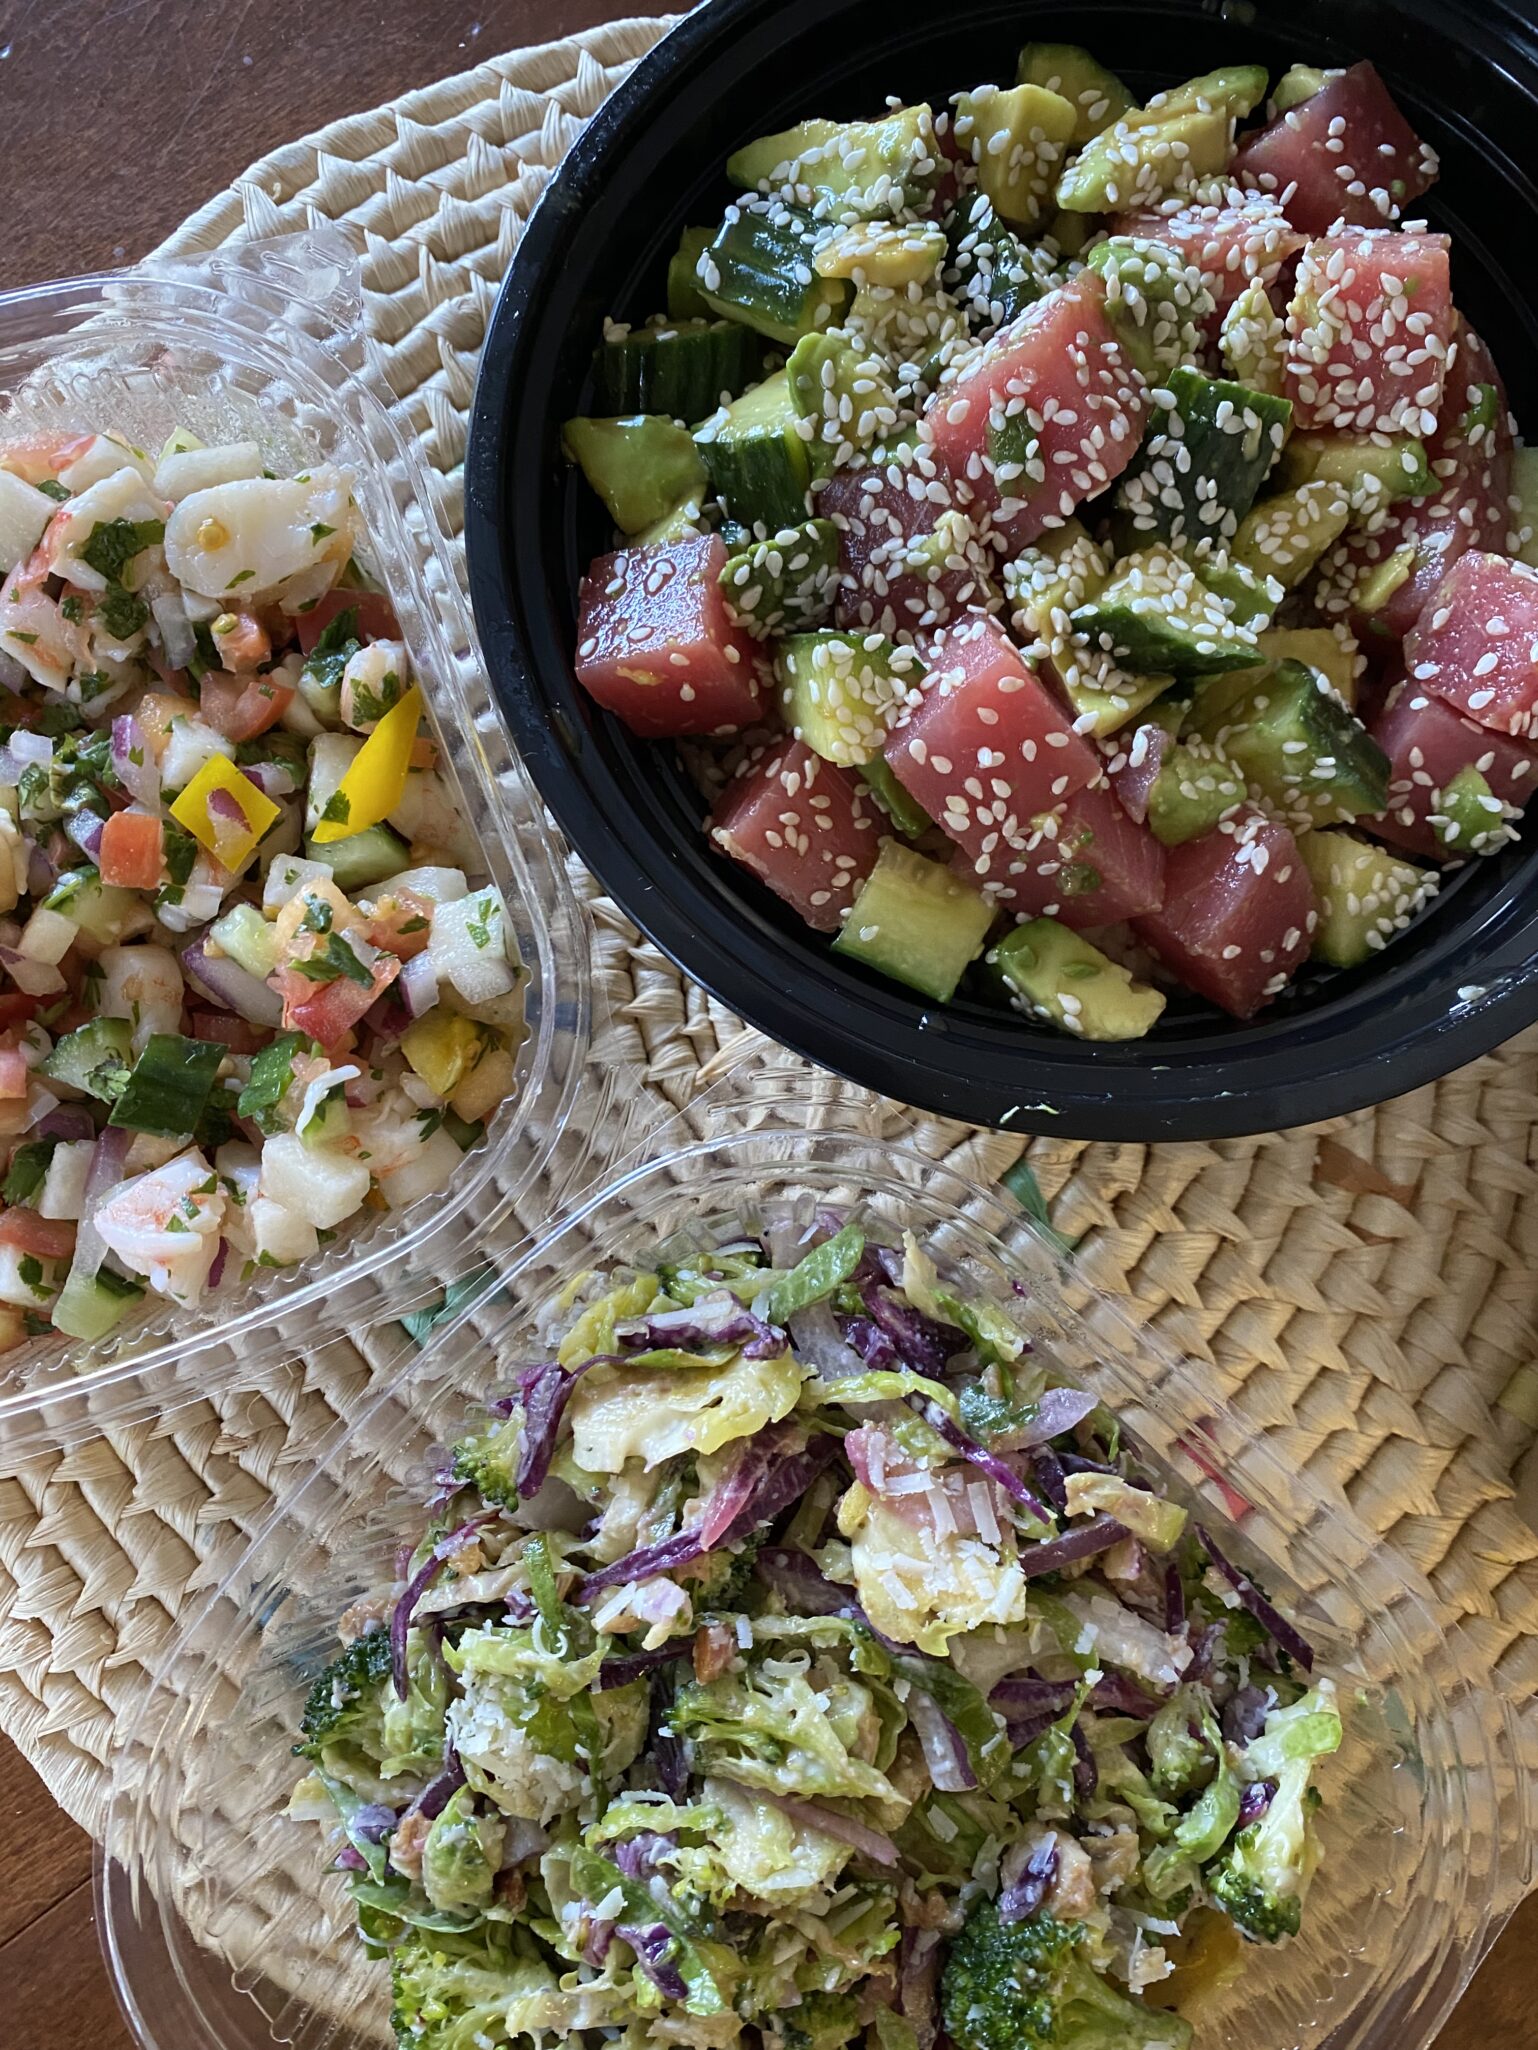
Truckee Food Shop features pre-made meals to take home.  They also have a nice curated selection of wines, pastas, spices, and cookbooks.  Don’t walk out without an order of their ceviche.

Comfort Food

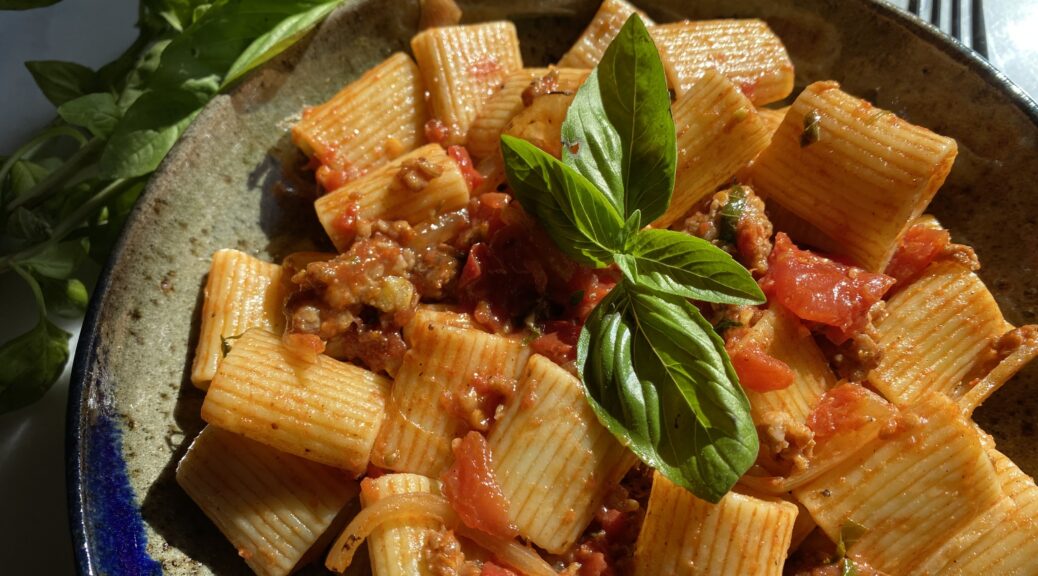
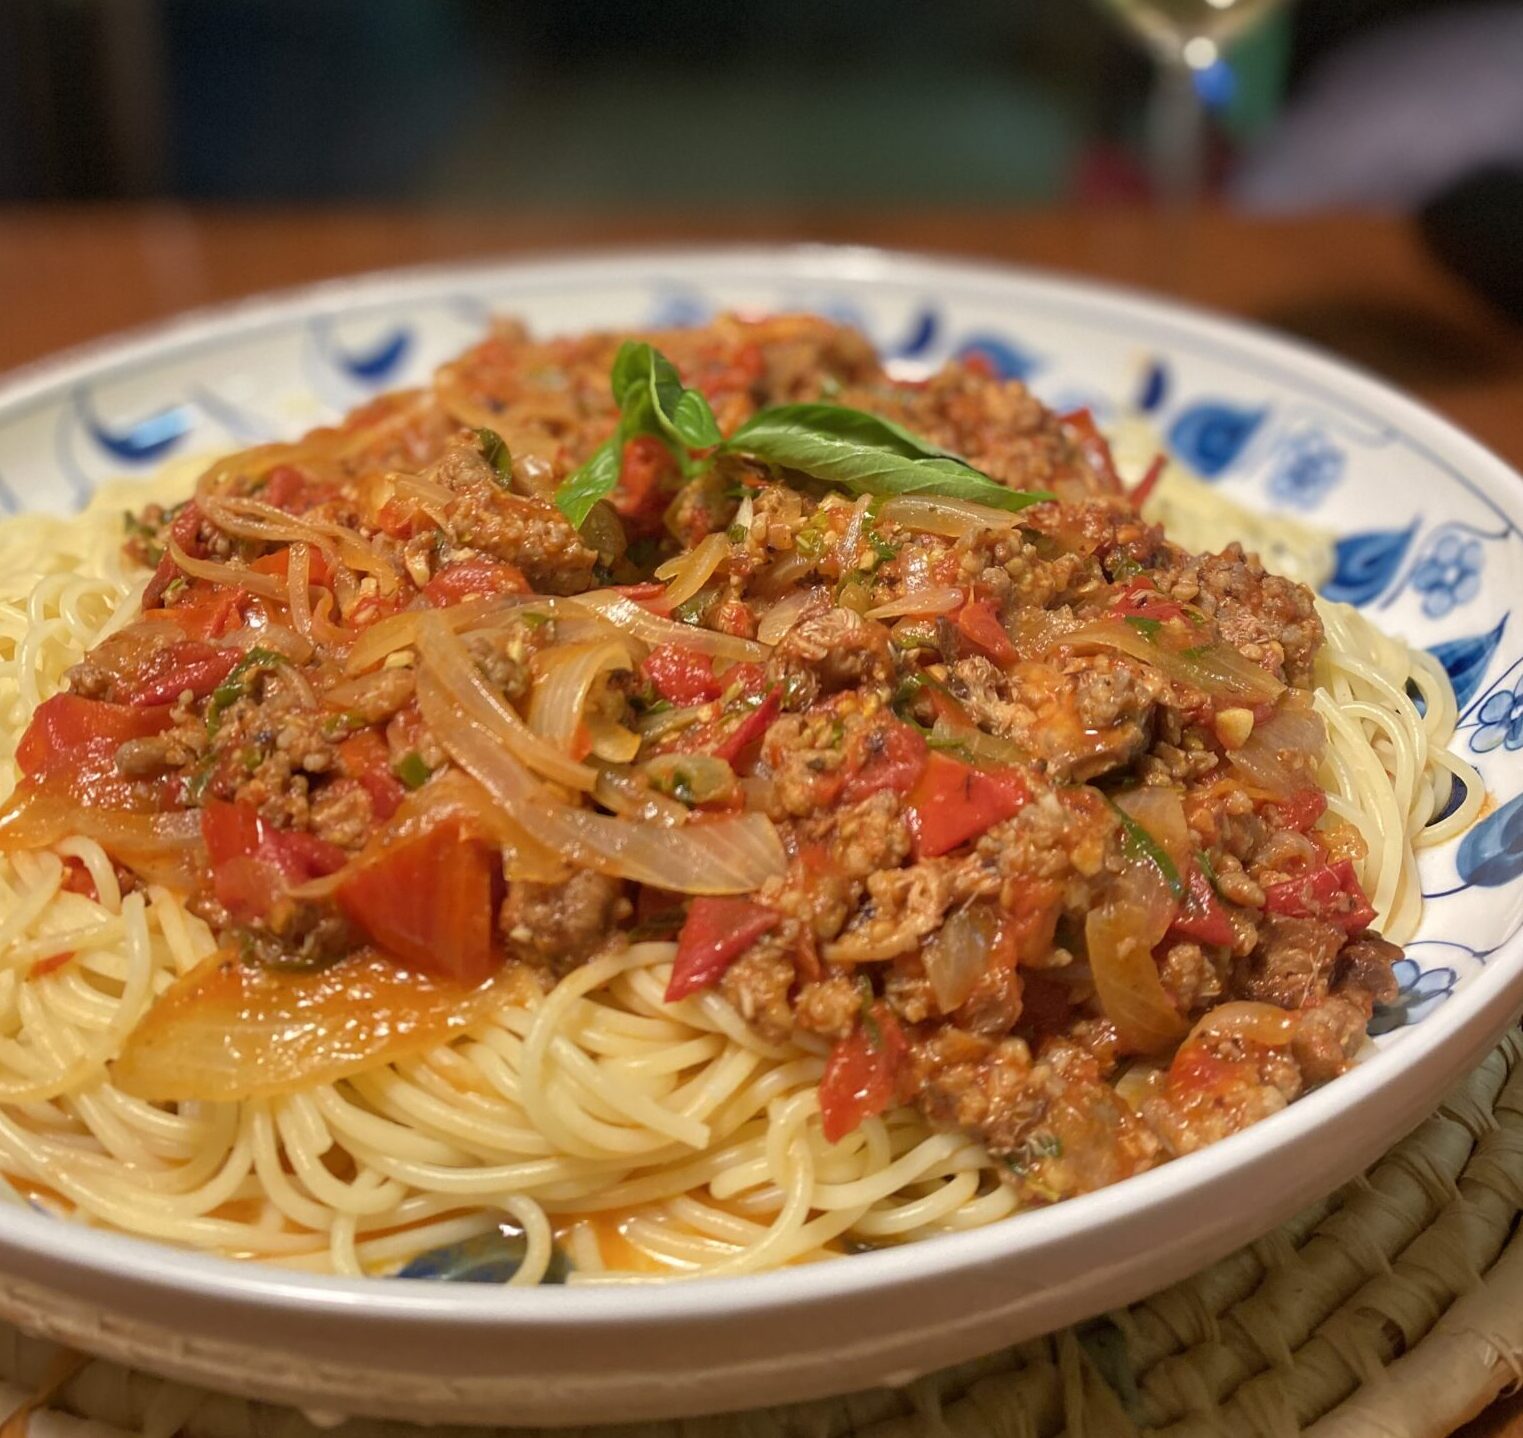
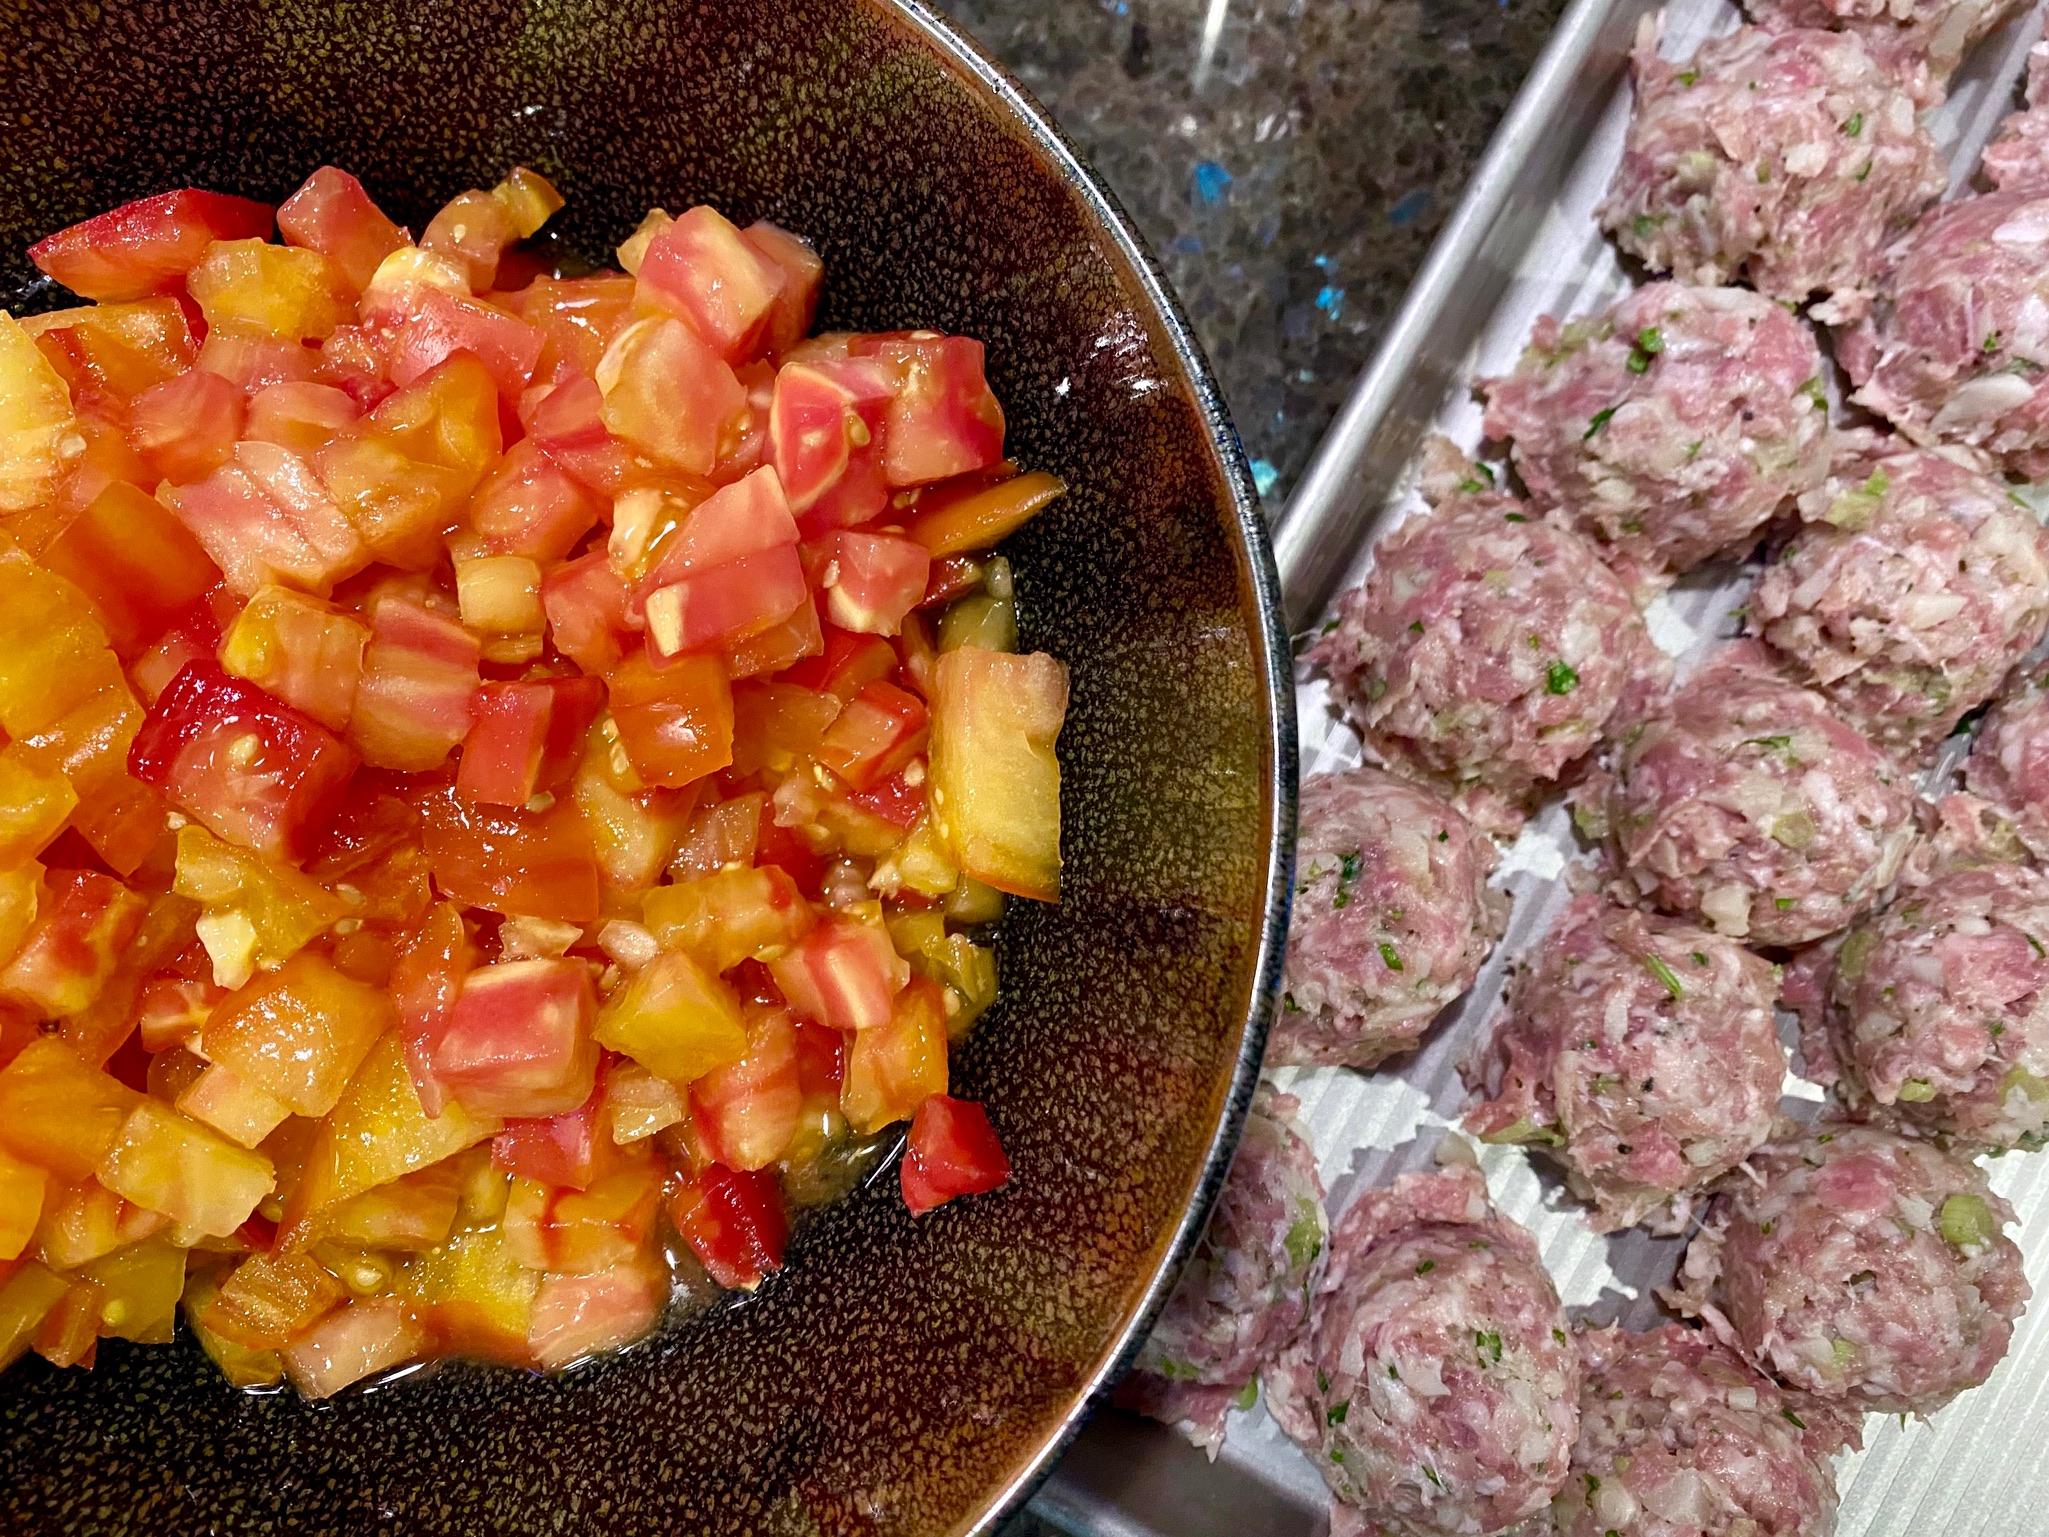
We spent our last evening in the cabin cooking, sipping wine (thanks to whoever left that nice bottle of Chardonnay in the fridge), and playing with Moose.  I had brought this week’s farmers market bounty, dry-farmed tomatoes, onions, and basil from my garden (apparently the only thing I can grow) with us.  We picked up Italian Sausages and pasta and made a quick and easy dish, Fresh Tomatoes, Sausage, and Pecorino Pasta.

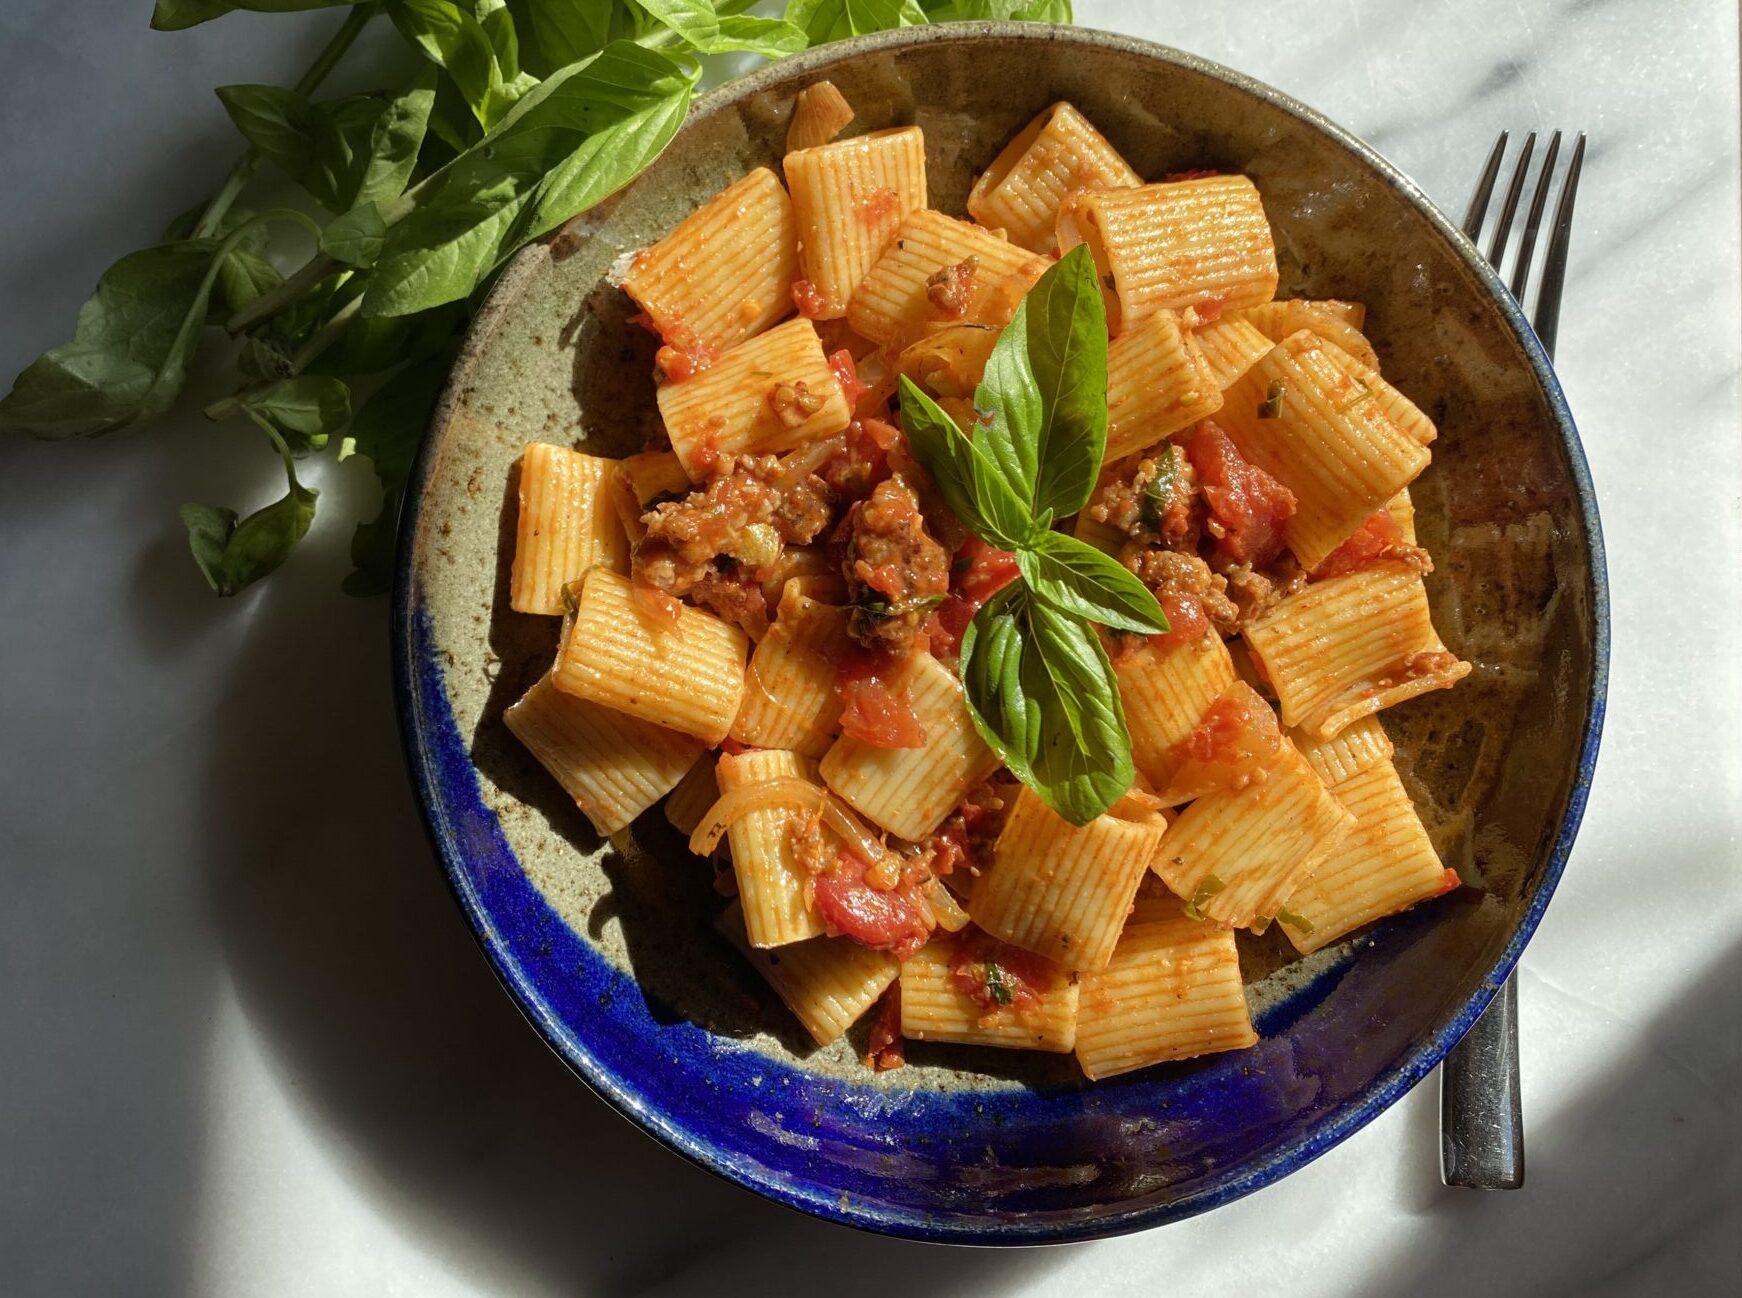
Used spaghettini the first night, I prefer a tube pasta like rigatoni mezze

Tomorrow we start the drive to Salt Lake City, maybe we should turn around and head home?  Guess that would be considered dog-napping though, lol.

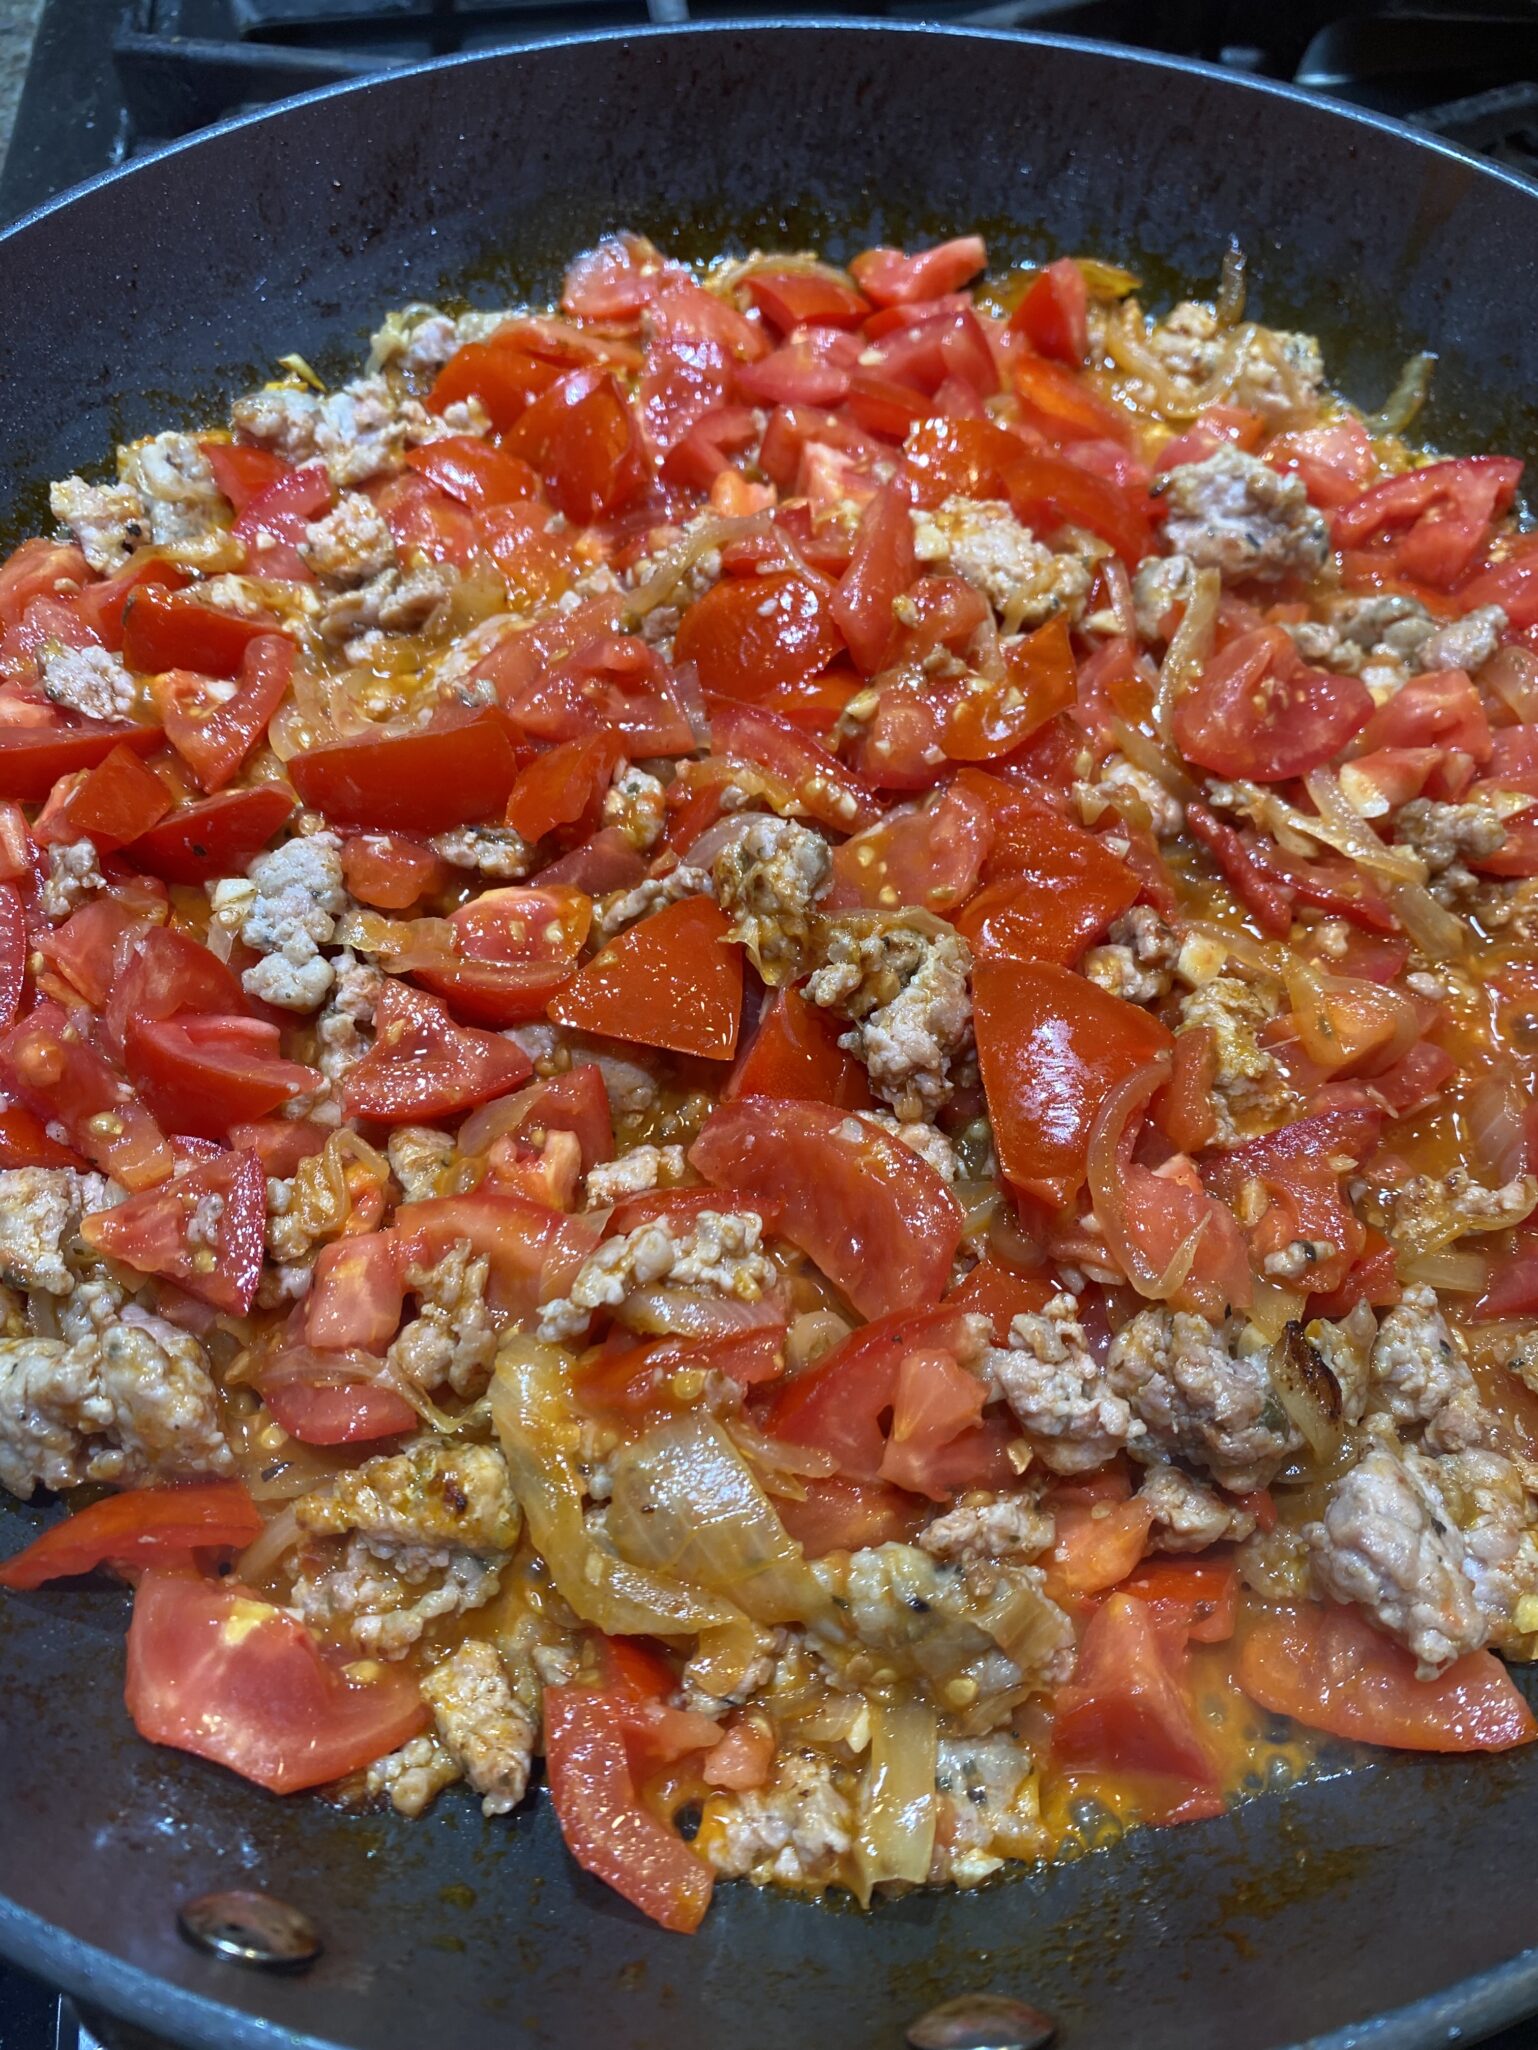
Just what I needed a nice, big, bowl of pasta to ward off the pending “I ain’t got me a dog no more blues”.  This sauce comes together in the time it takes for you to cook the pasta.  Chop your tomatoes, thinly slice an onion, smoosh some garlic, crumble the sausage, combine, and saute for a couple of minutes.  That’s pretty much it.  Right before serving, hit it with some fresh herbs, and grated cheese. The OG version calls for Pecorino Romano, which packs a bigger punch than Parmesan so I cut it back a little.  You could also use Parmesan.

So, while you can still get wonderful fresh tomatoes (we are so spoiled in California) this is an easy, lovely meal.  Bowl food is soul food has always been my mantra.  Round it out with a glass of wine, a fresh salad, and some crusty bread.  Boom, done.

I tried this with canned tomatoes and my advice is, don’t. I doctored it with some sugar and butter but still not the same.  Unless it is the dead of winter and fresh, summer tomatoes are a distant memory…no, still don’t.  This dish is meant for fresh, sweet, tomatoes.  I’m thinking of making a batch and freezing it.  That might work.

Fresh Tomato, Sausage, and Pecorino Pasta

Ripe, summer tomatoes are juicy and delicious in this pasta dish, with no seeding or peeling necessary.
Course dinner, lunch
Cuisine Italian-American
Keyword comfort food, fresh tomatoes, italian sausage, one dish meal, quick and easy, rigatoni
Prep Time 10 minutes
Cook Time 12 minutes

Ingredients

  • 8 ounces uncooked penne or meze rigatoni, or tubular pasta of choice
  • 8 ounces sweet Italian sausage or spicy works too
  • 2 teaspoons olive oil Go crazy, use a tablespoon of oil, lol
  • 1 cup vertically sliced yellow onion
  • 2 teaspoons minced garlic
  • 1/2 teaspoon chili pepper flakes optional
  • 1 ¼ pounds tomatoes, chopped dry farmed or Romas work well, or any ripe sweet tomato, some may have more moisture
  • 6 tablespoons grated fresh pecorino Romano cheese divided. sub Parmesan if you want
  • ¼ teaspoon salt to taste
  • teaspoon black pepper to taste
  • ¼ cup torn fresh basil leaves
  • 2 tbsp Italian parsley, chopped optional

Instructions

  • Cook pasta according to package directions, drain and set aside. In the Cooking Light edition this is adapted from, the recipe omits the salt and oil when cooking. I add salt to the pasta water.
  • A carryover from when the kids were little. I drain the pasta and hit it with butter and parmesan cheese. It seems to give the dish that extra oompf. I then add sauce to the pasta. I do this with my ragus, bolognese recipes also. TOTALLY OPTIONAL
  • If using sausage links, remove casings from sausage.
  • Heat a large nonstick skillet over medium-high heat. Add oil to pan; swirl to coat. Add sausage and onion to pan; cook 4 minutes, crumble sausage. by smooshing with your spatula.
  • Add garlic; cook 2 minutes.
  • Stir in tomatoes; cook 2-5 minutes depending on how you like your sauce.
  • Lower heat; stir in pasta, julienned basil, 2 tablespoons cheese, salt, and pepper. If I have Italian parsley I throw that in too.

Final Touches

  • Pour into a big serving platter or individual bowls. Sprinkle with remaining 1/4 cup cheese or let folks sprinkle their own. Garnish with remaining basil leaves. Enjoy!

Notes

Nutrition Facts
Per Serving: 389 calories; fat 10.7g; saturated fat 4g; mono fat 4.5g; poly fat 0.7g; protein 21.6g; carbohydrates 53.5g; fiber 4.5g; cholesterol 27mg; iron 3.3mg; sodium 595mg; calcium 159mg.
Vietnamese Meatballs In Tomato Sauce (Xiu Mai)

Vietnamese Meatballs In Tomato Sauce (Xiu Mai)

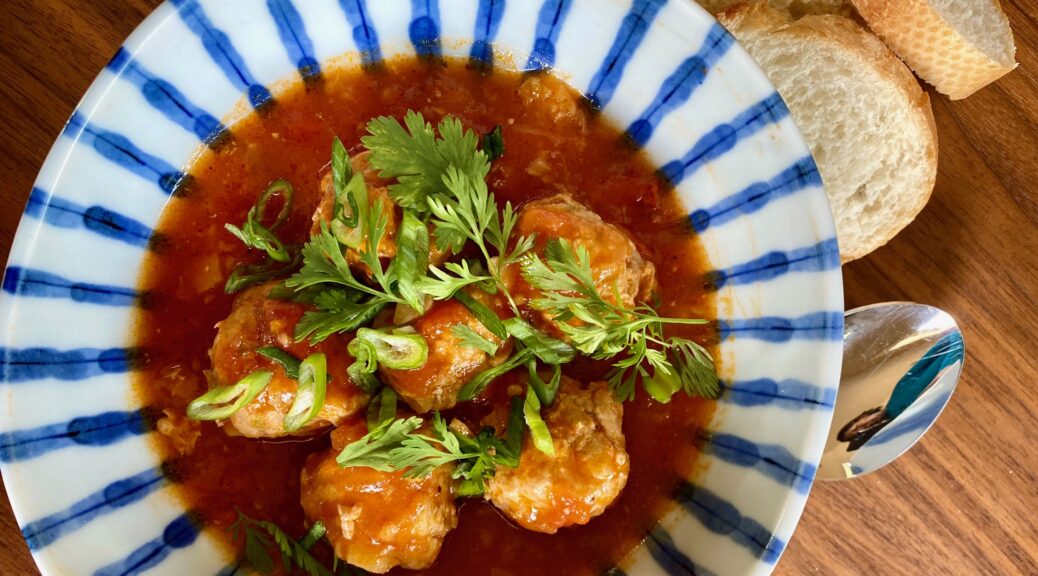
Before tomato season ends give this dish, Vietnamese Meatballs in Tomato Sauce, a try. I came across this dish on IG.  It looked scrumptious, and I’m a sucker for meatballs and fresh tomato sauce.

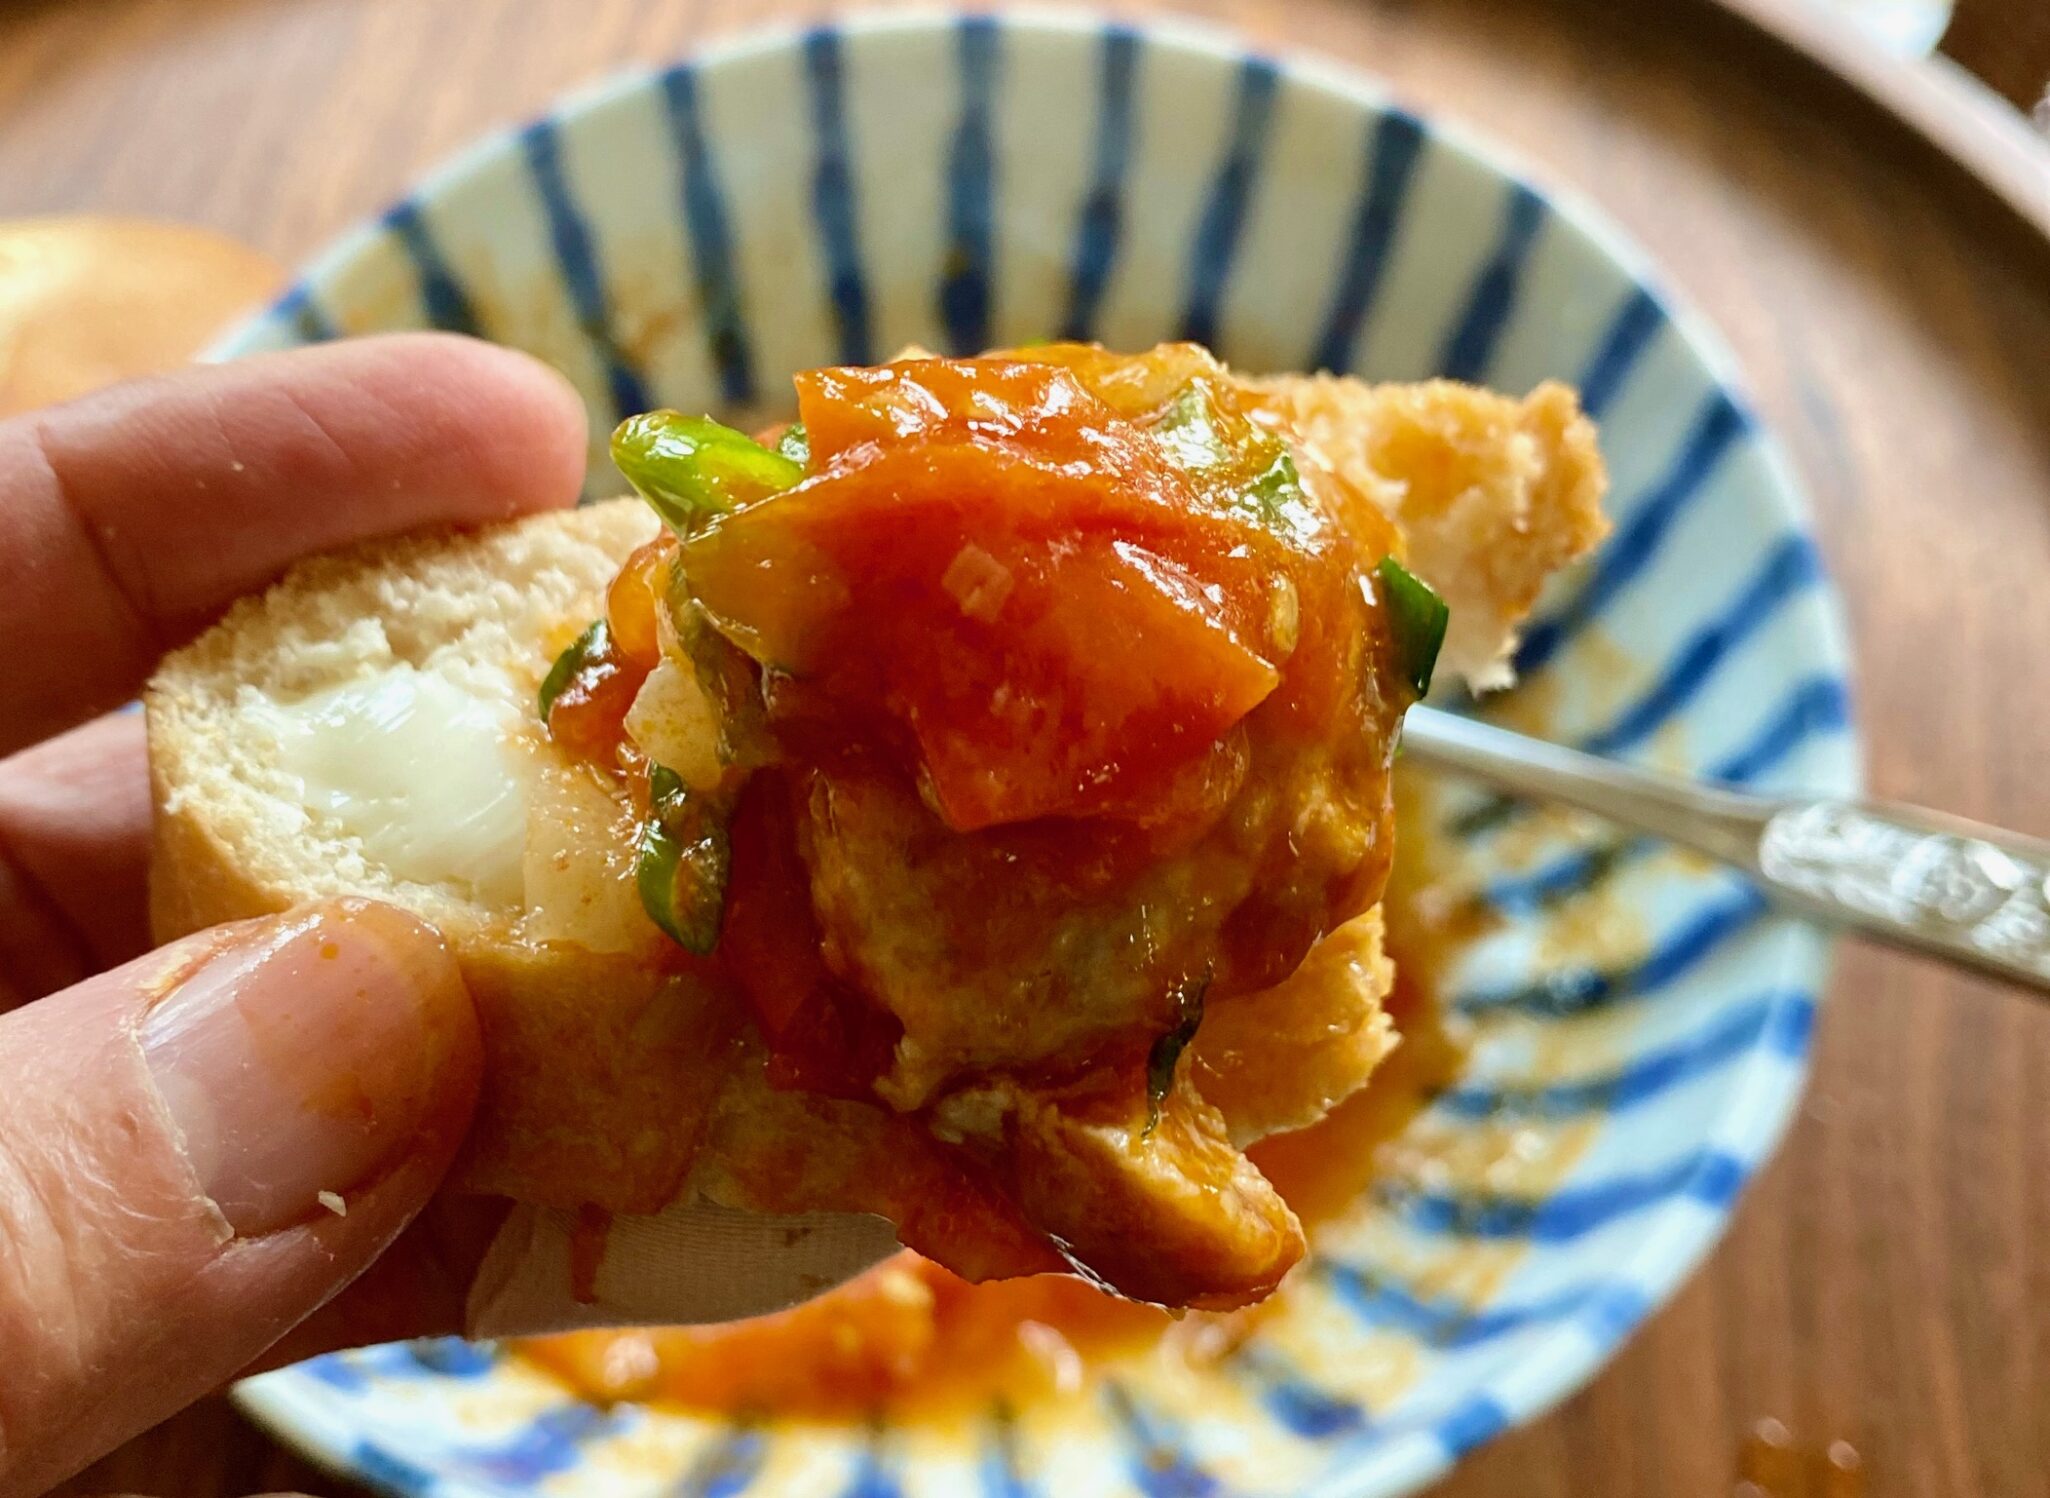
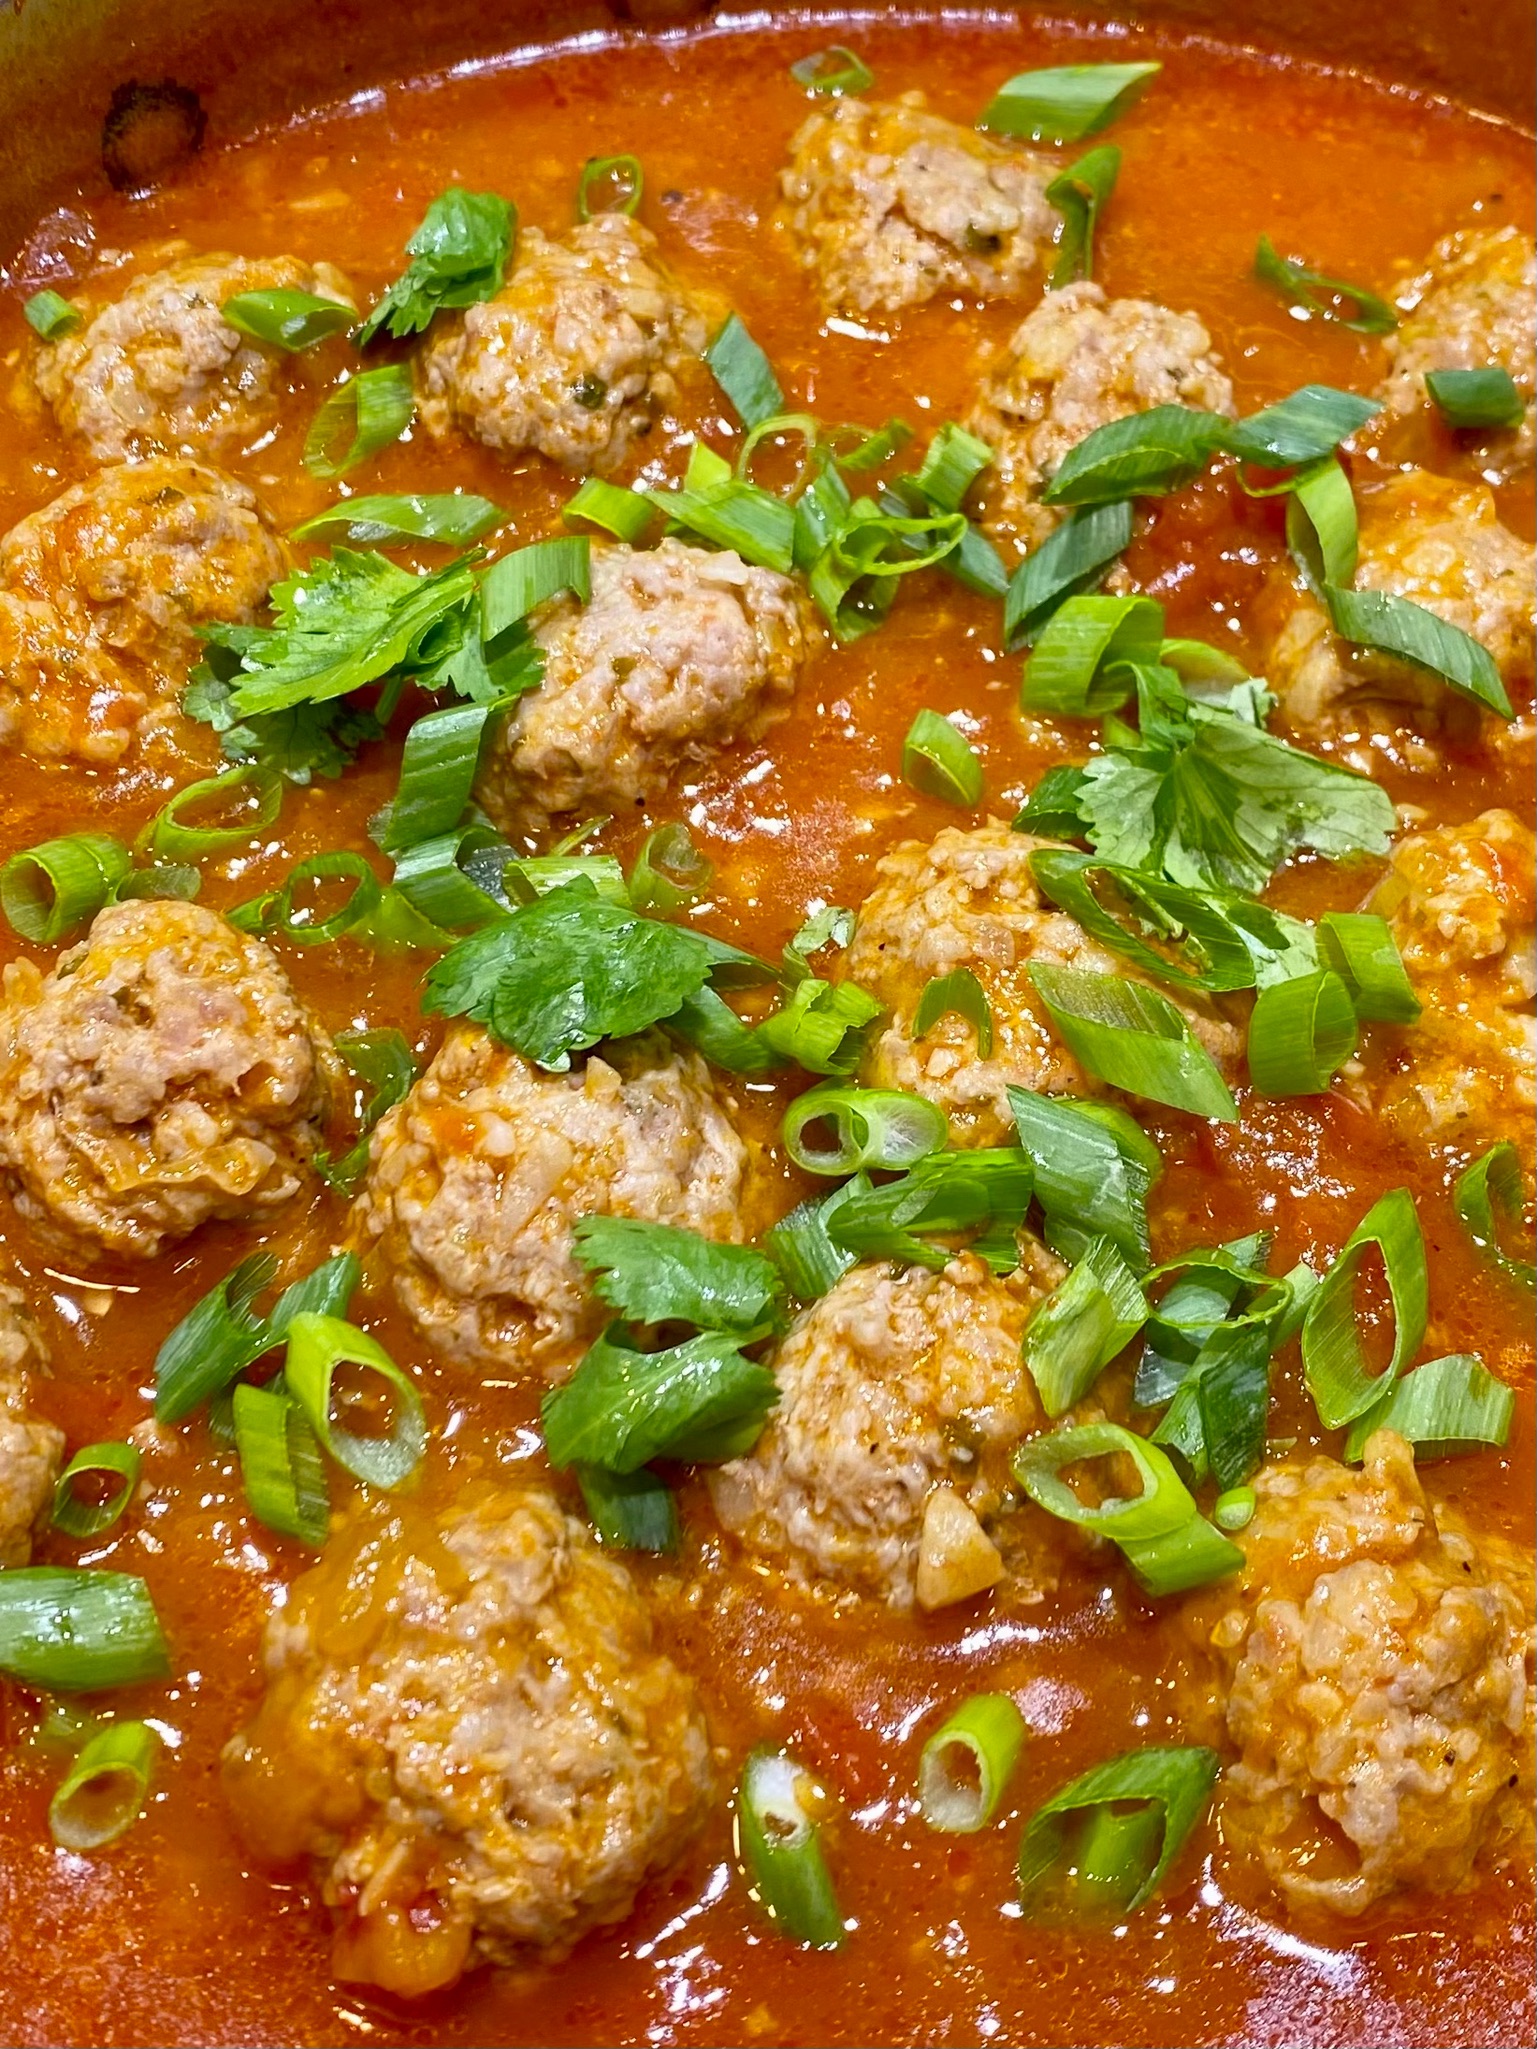
I did a bit of sleuthing and found that this dish is frequently served for breakfast.  Delicious, tender, succulent meatballs in a light, flavorful sweet, tomato sauce, a couple of slices of a baguette on the side to dip into the sauce-yum.  What a way to start your day.

You’ll also find these meatballs in Banh Mi, the Vietnamese version of a meatball sub-sammie.  The bread for a banh mi is a revelation. Incredibly light and fluffy with a thin crisp exterior, a riff by the Vietnamese to suit their taste.  The meatballs nestled in the roll are tender and the sauce is briny, sweet, and flavorful.  To finish, pile pickled radishes, carrots, and a garnish of cilantro, jalapenos, and cucumbers on top of the meatballs.  My kinda sammie!

Meatball Tips

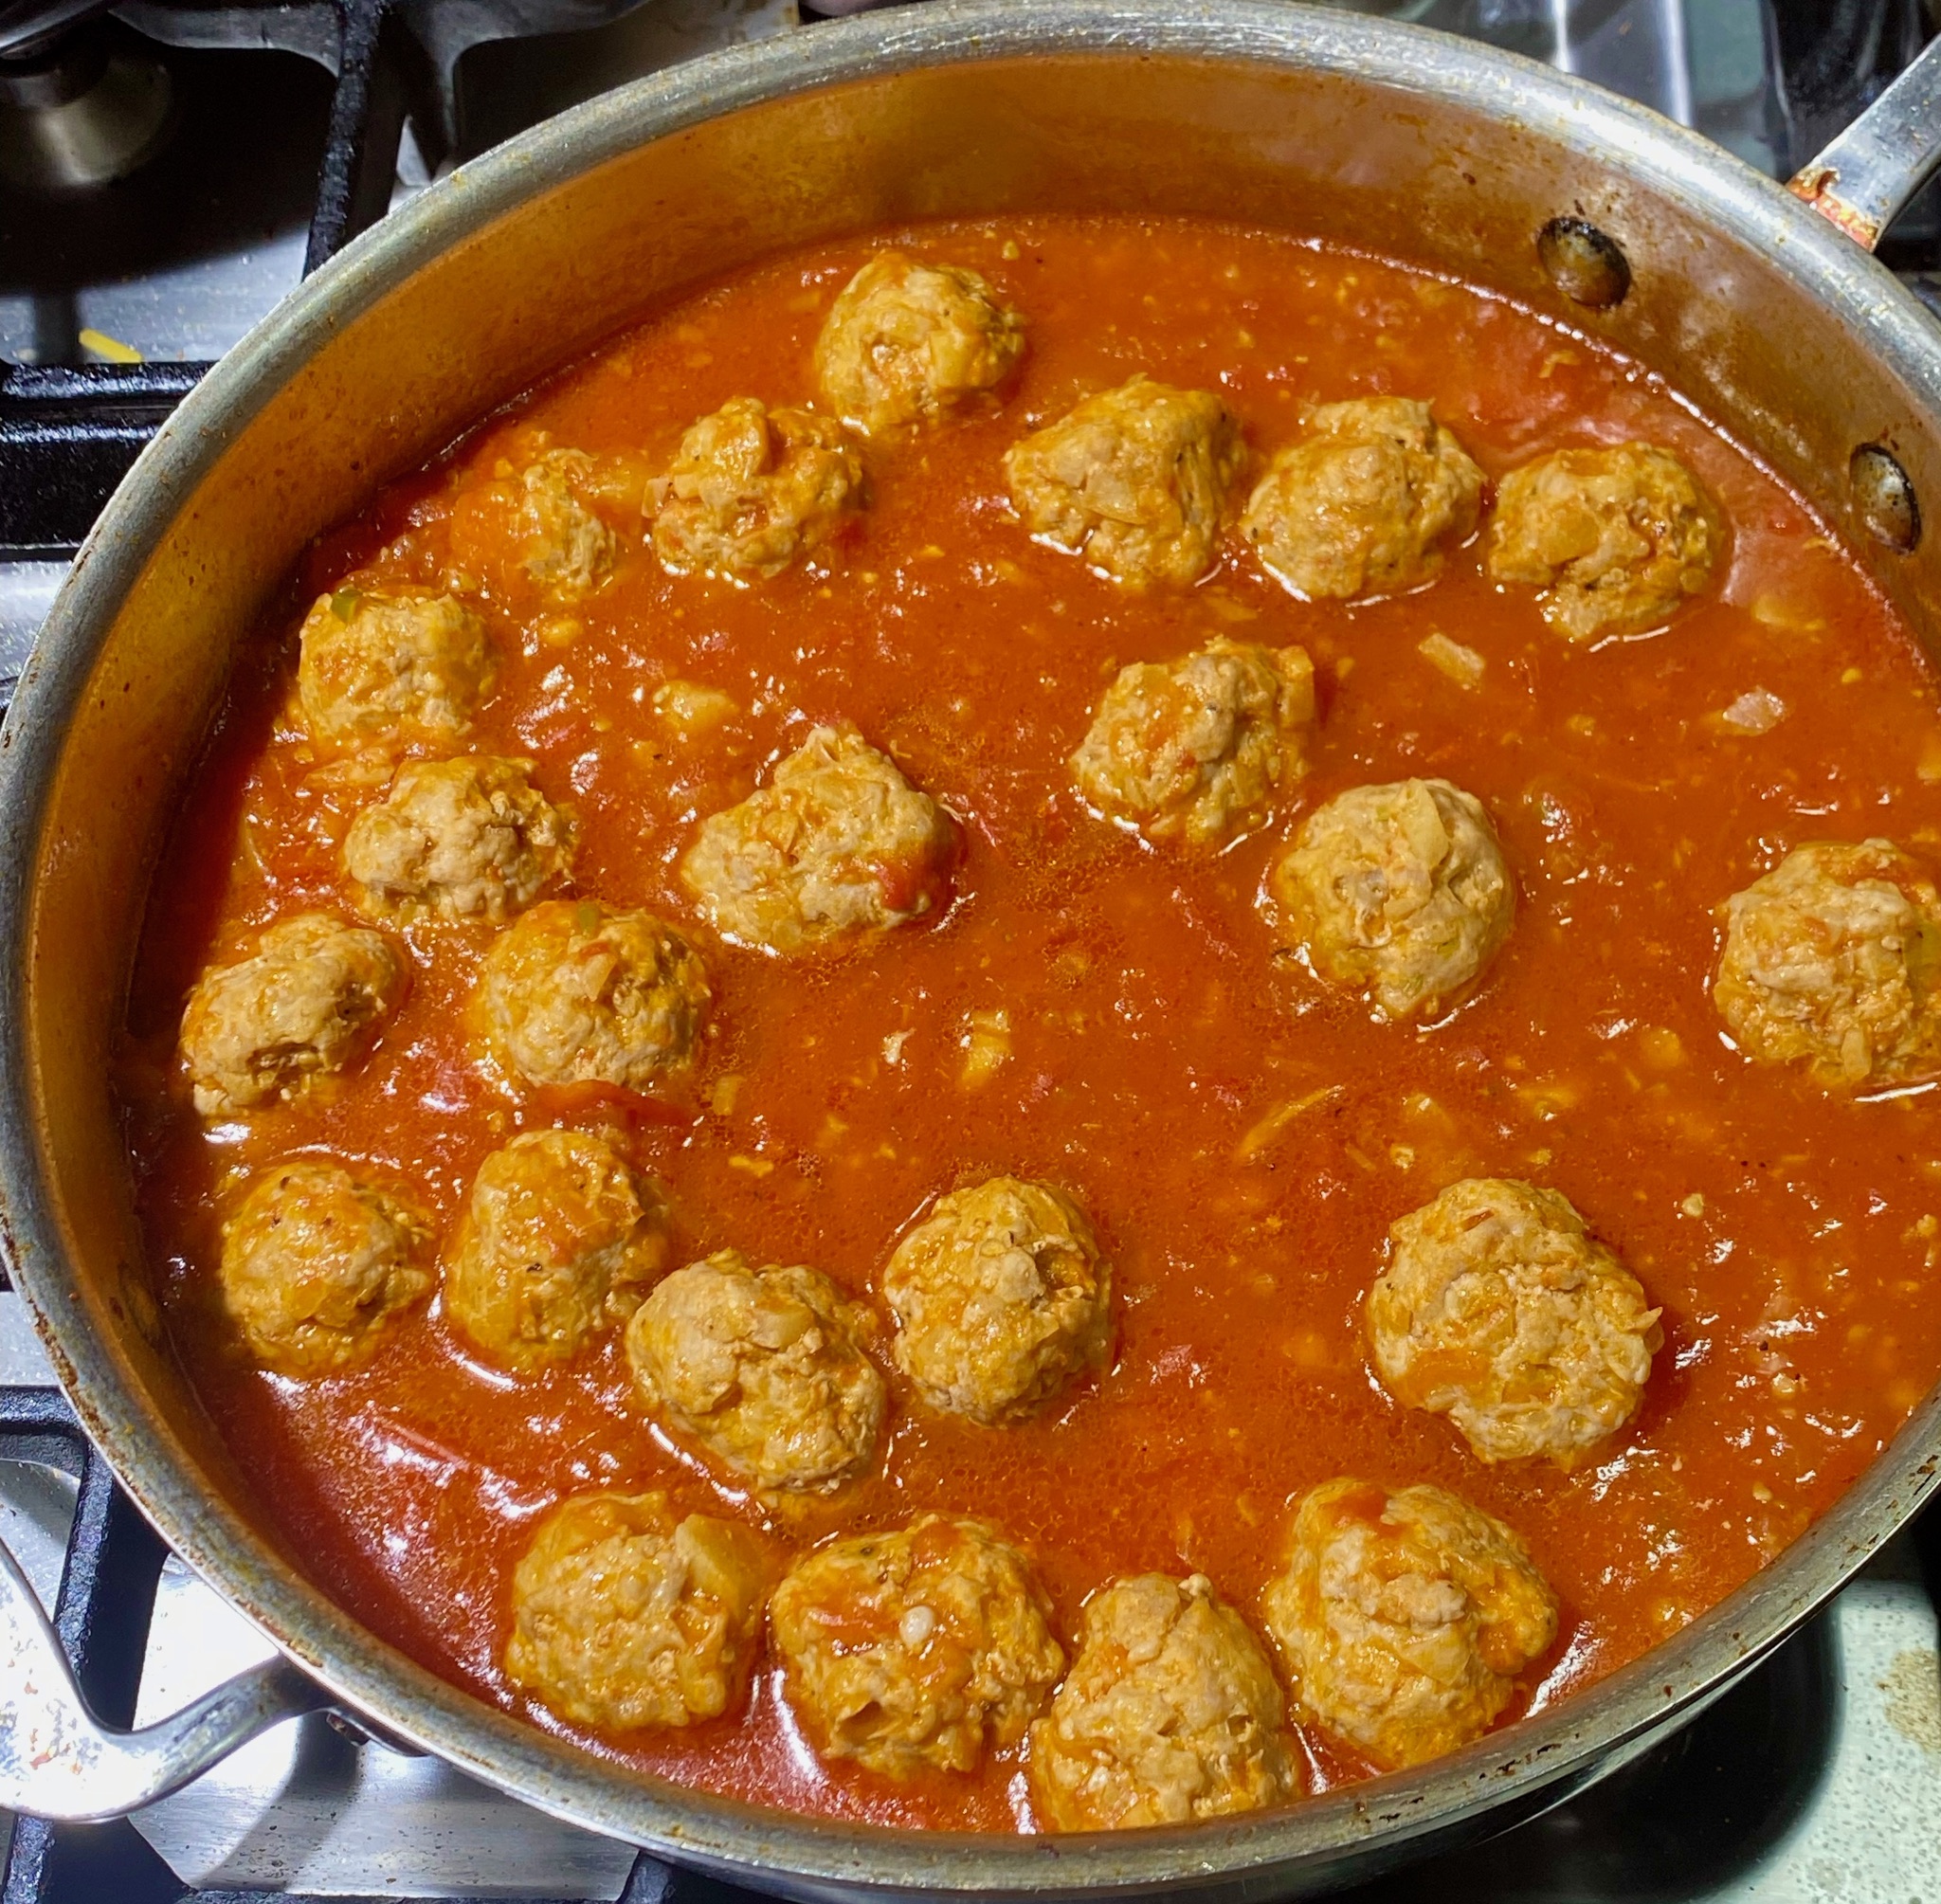
I looked at quite a few recipes and a couple of things stood out.  Steaming the meatballs ensures a tender meatball.  Baking or frying them would work but the meatball won’t be as tender or moist.  The texture is much like Chinese steamed dumplings.  Instead of steaming, gently poach the meatballs in the accompanying tomato sauce. This infuses the tomato flavor into the meat, keeps the meatballs tender, and eliminates the steaming step.

I use pork, the traditional protein source, but I think ground chicken or turkey would work quite nicely in place of the pork.  Use dark meat though, the higher fat content keeps the meatballs moist and tender.

The recipe calls for fresh jicama.  No jicama?  I reach into my pantry for canned water chestnuts which work admirably.  It provides a delightful bit of crunch.  Rinse and drain the water chesnuts and then finely chop.

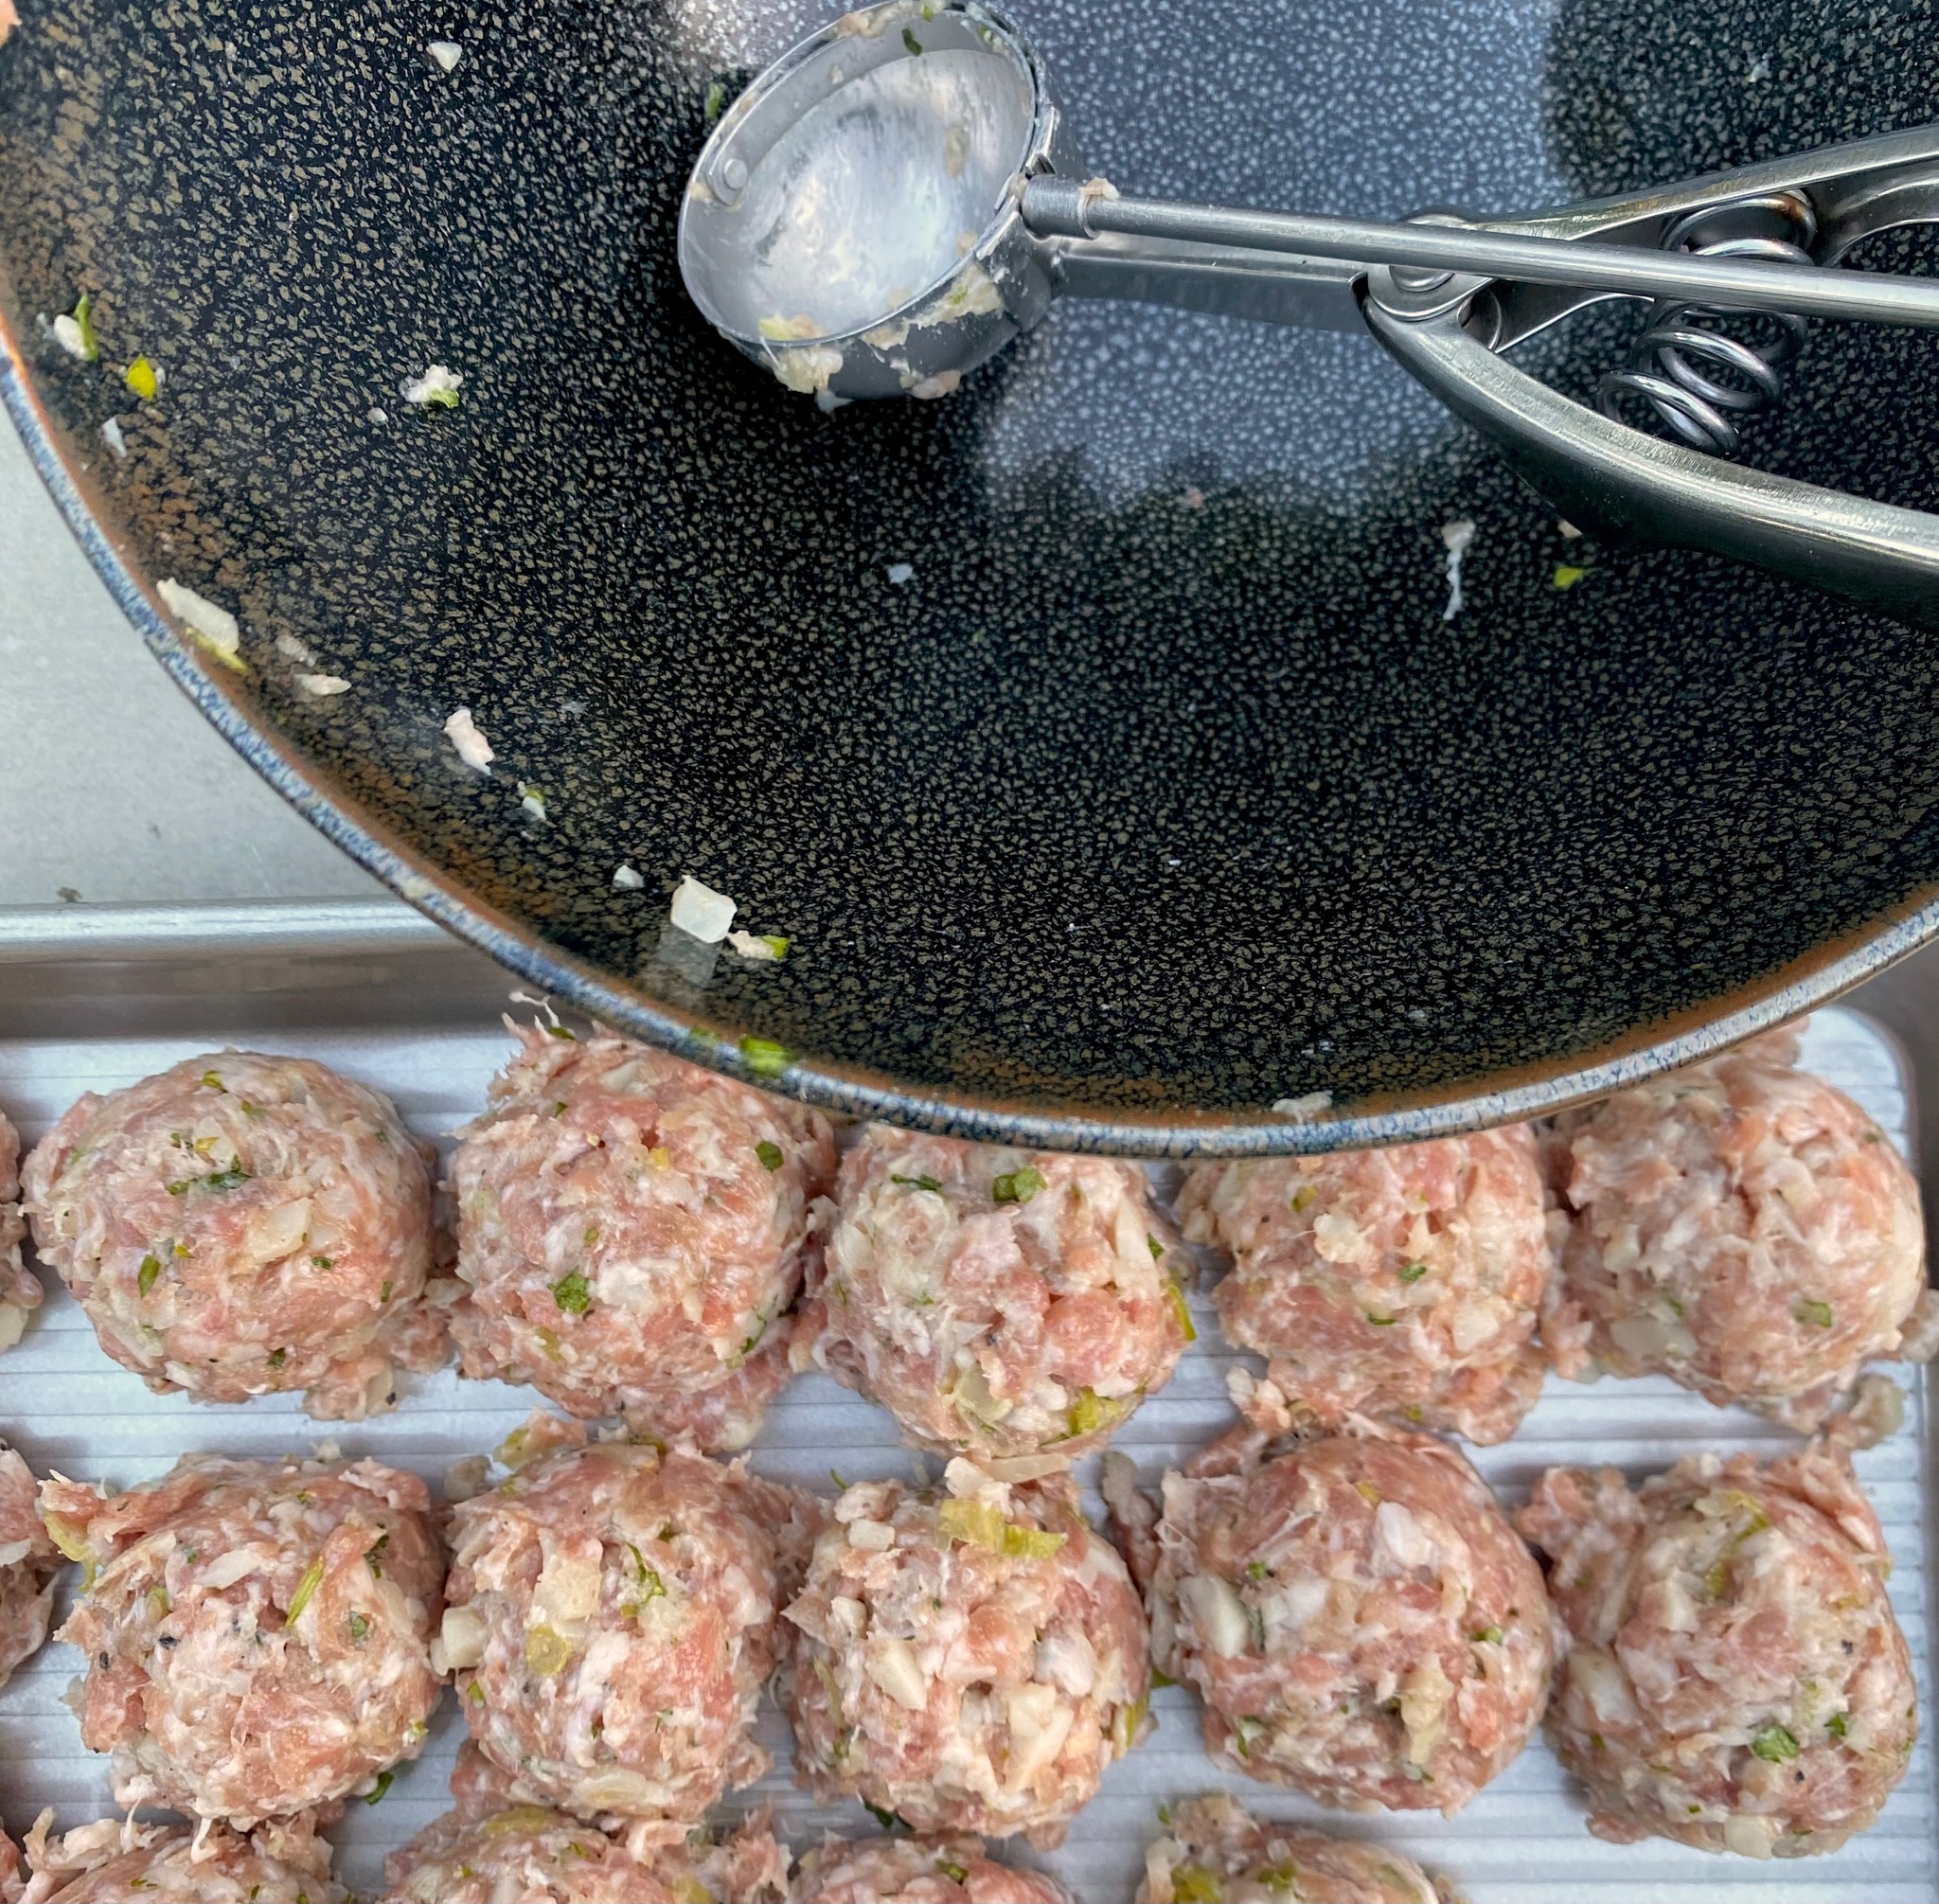
Try not to overmix the meatball mixture.  Mixing too much causes the protein in the meat to bind and contract leading to tough meatballs, a no-no.  Gently mix just to combine the ingredients evenly and stop.  Use your handy dandy ice cream scoop to portion out each meatball.  Easy peasy.

Sauce Tips

Make the sauce with fresh tomatoes (now, before tomato season ends). To enjoy this year around, make a big batch of sauce and freeze it for later.  A taste of summer in the middle of winter is always a good thing.

This is a very quick tomato sauce, for a chunkier sauce, cook the sauce for less time so the tomatoes don’t break down as much.  Use a cornstarch slurry to thicken the sauce.  You can also use stock in place of water for more flavor, or add chicken powder (Asian secret weapon in boosting flavor) if using water.

Banh Mi Me

These meatballs and sauce are ah-mazing in Banh Mi, the Vietnamese version of a sub sandwich.  A crispy light French roll filled with meatballs topped with not only the sauce but pickled radishes and carrots, cucumber slices, and herbs. This is my dream sammie, directions for the fixings for Banh Mi are here, just sub the meatballs for the chicken.  Delish.

Vietnamese Meatballs (Xiu Mai)

Delicious tender meatballs poached in a sweet tomato sauce. Comes together easily, for breakfast or dinner with sliced baguette, or as a delicious filling for a meatball bahn mi
Course Appetizer, dinner, lunch
Cuisine Vietnamese
Keyword 3jamigos.com, meatballs, Vietnamese, xiu mai
Prep Time 20 minutes
Cook Time 25 minutes
Servings 4 servings

Ingredients

Meatballs

  • 4 oz jicama (1 cup) finely diced, substitute water chesnuts 1-5 ounce can, drained and finely diced
  • 3 green onions, thinly sliced, keep the white and green parts separate. Can substitute finely minced shallots 1 large or two small for the meatballs
  • 1 lb ground pork not too lean 80/20 is perfect
  • 1 tsp garlic minced

Seasonings

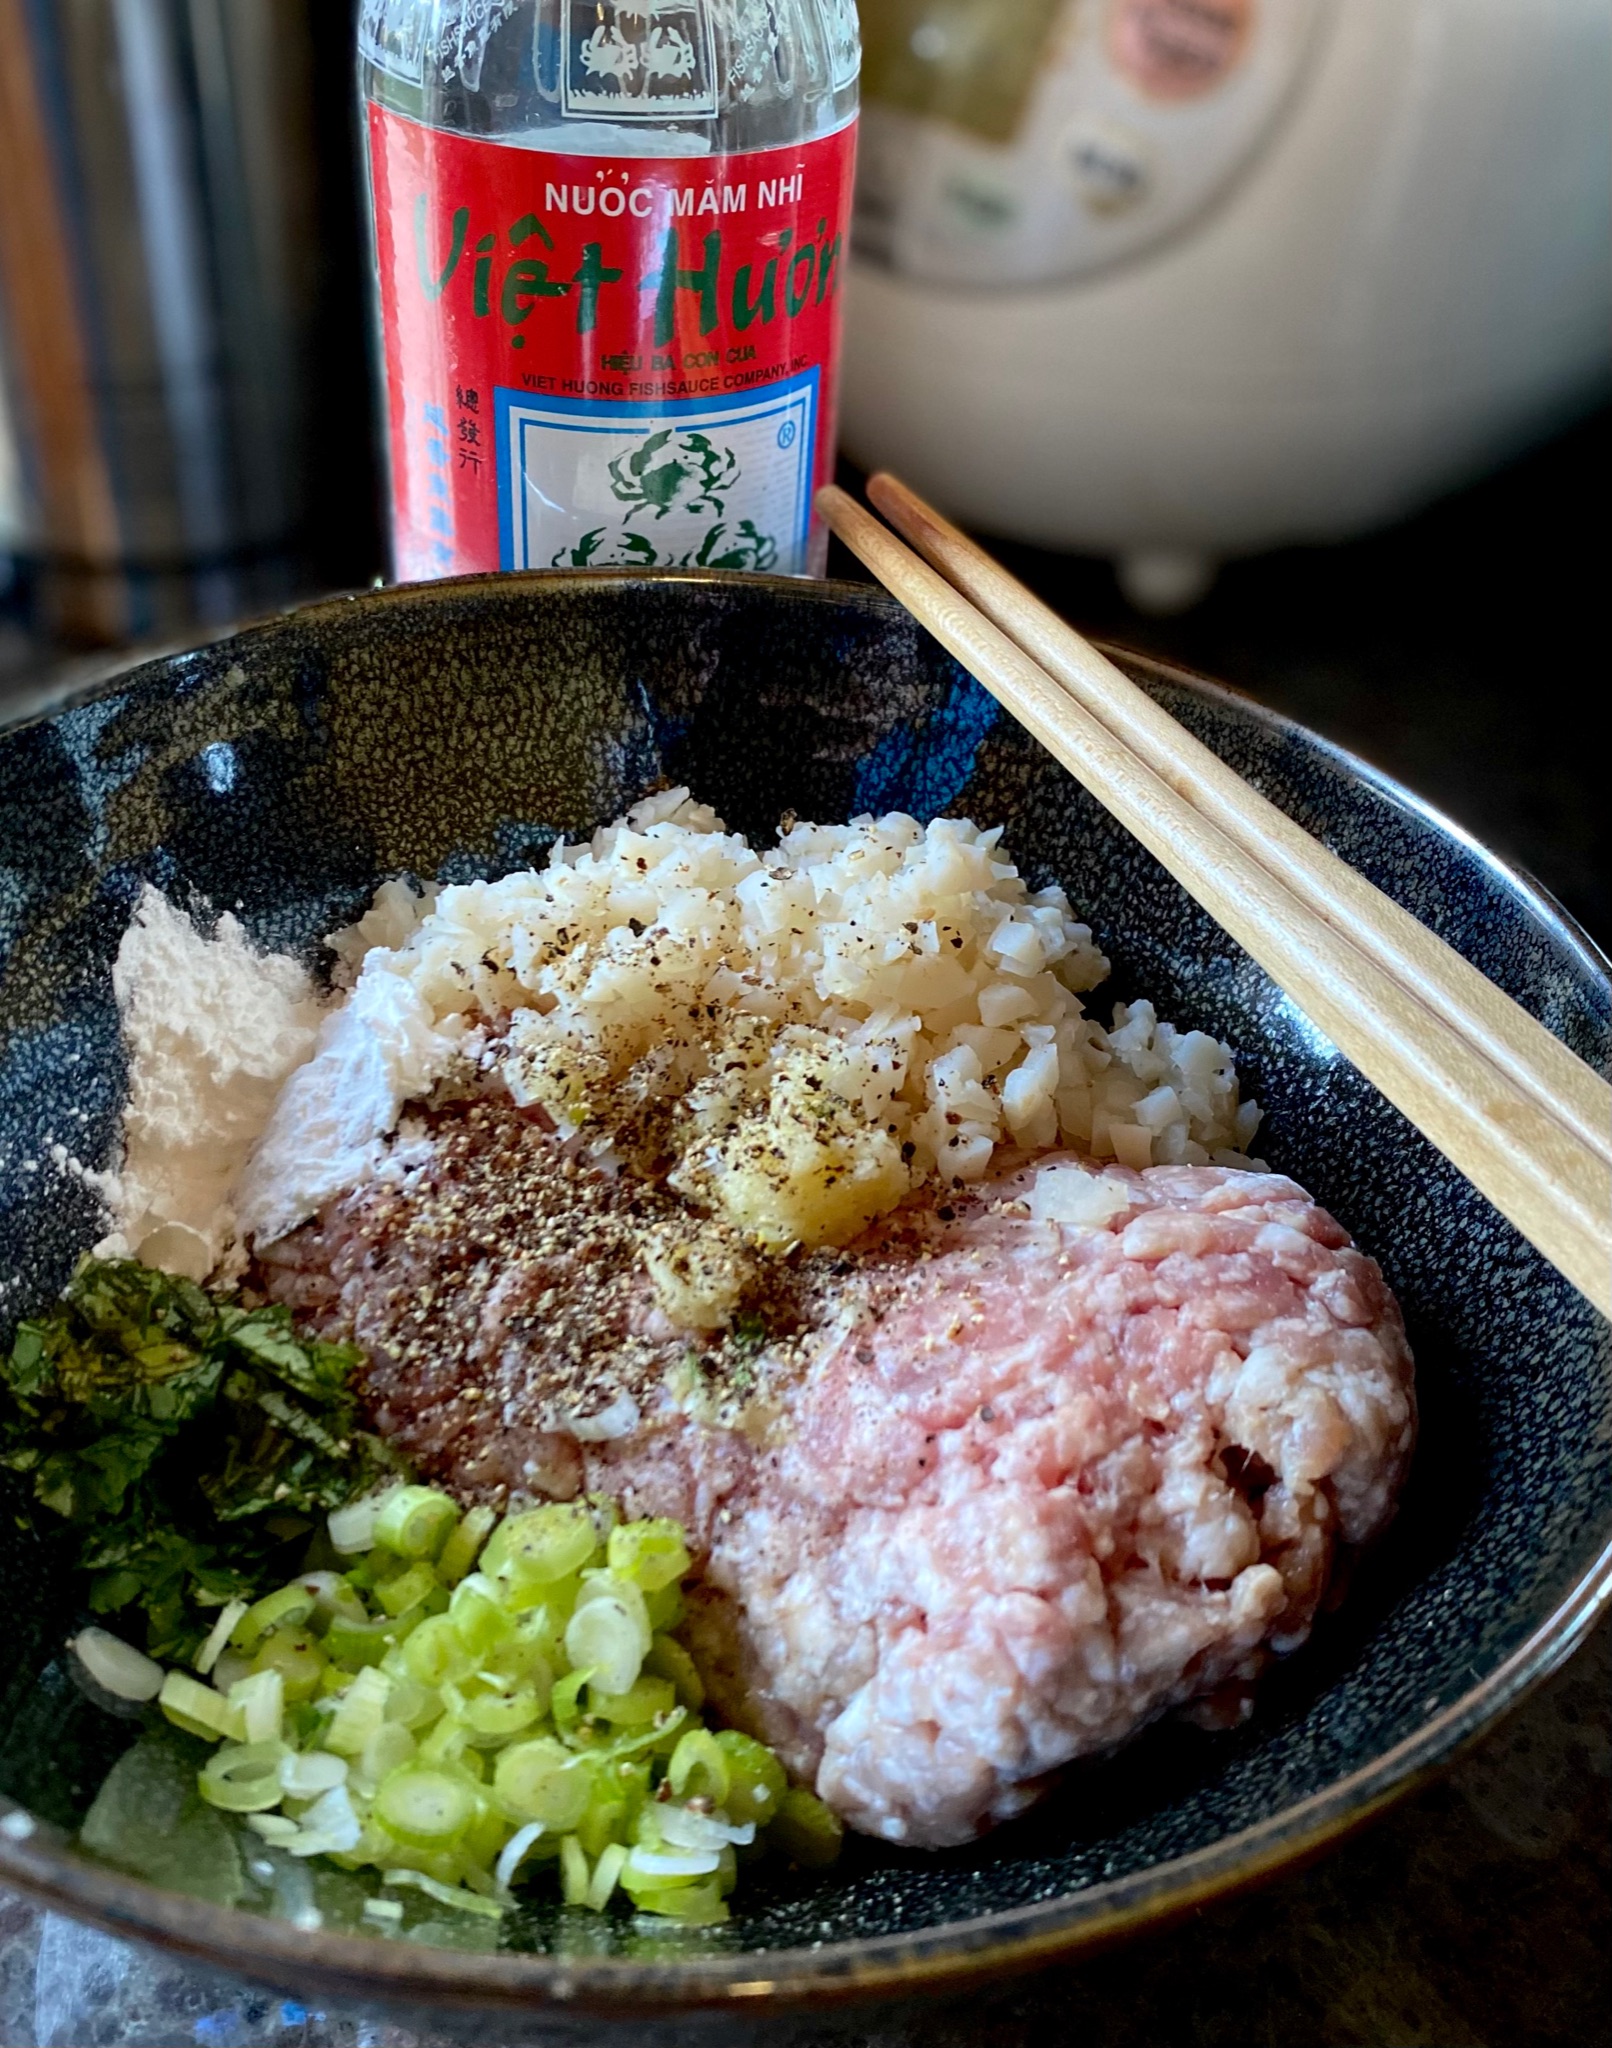
  • 1 Tbsp fish sauce I use 3 Crabs, Red Boat is a bit more concentrated, would also work well
  • 1 Tbsp corn starch
  • 1/2 Tsp salt
  • 1/2 tsp sugar
  • 1/2 tsp chicken powder optional
  • 1/2 tsp ground black pepper

Sauce

  • 2 lbs or 4 medium tomatoes I prefer fresh tomatoes, if tomatoes are particularly juicy, reduce water to 1 cup
  • 1/2 Tbsp vegetable oil
  • 1/2 Tbsp garlic minced
  • 1 1/2 Tbsp tomato paste
  • 1 Tbsp sugar
  • 1 Tbsp fish sauce
  • 1 1/2 cups water can use low-sodium chicken broth in place of water
  • 1/4 tsp ground black pepper

Thickener

  • 2 tsp corn starch
  • 2 tsp water

Garnish

  • Green onions, the reserved thinly sliced green parts from the meatballs
  • Cilanto, loosely chopped optional
  • Fresh red chili peppers, deseeded and thinly sliced optional

Instructions

The Meatballs:

  • Remove the jicama skin using a vegetable peeler. Finely dice the jicama.
  • Cut off the white (root) portion of the green onions and finely chop. Chop the green onion stems. Transfer the green onion stems into a small bowl and set aside for later.
  • In a medium bowl, add the ground pork, jicama, green onion (white) root, garlic, fish sauce, cornstarch, and black pepper. Mix together by hand combining all of the ingredients well. Mix in one direction. Combine just until everything sticks together. Avoid over-working the meat mixture as this will make the meatballs tough.
  • Using an ice cream scoop (#40 ~2 T) scoop out some of the meat mixture and transfer to a large plate. Continue making small mounds until all the meat mixture is used. Wet your palms with water to prevent sticking. Gently roll each of the mounds into a ball. ( I use a #40 ice cream scoop to portion out meatballs and then roll each by hand into a ball).

The Sauce:

  • Chop the tomatoes.
  • Heat a large skillet over medium-high heat. When hot add vegetable oil then add the minced garlic and tomato paste. Saute for 15-20 seconds. Add the chopped tomatoes and stir together. Add the sugar, fish sauce, and water. Stir together combining the ingredients. Bring the liquid to a boil. Reduce the heat to medium-low, cover the pan, and cook for 5 minutes.

Cook the Meatballs

  • Make room in the center of the skillet by pushing the tomatoes to the side. Gently transfer the meatballs into the sauce. Cover and cook on medium-low for 5 minutes. After 5 minutes, rotate the meatballs and cook for another 5 minutes. For a thicker sauce, leave uncovered after adding meatballs.
  • Mix the cornstarch and water until smooth and add to the sauce. Stir gently to allow sauce to thicken. Continue cooking for another 2-3 minutes. Grind ground black pepper.
  • To serve, transfer a few meatballs into a small bowl along with a generous amount of tomato sauce. Top with the chopped green onions. I like garnishing with chopped cilantro and sliced fresh chili peppers. Enjoy these scrumptious Vietnamese Meatballs with crusty bread.
Scallion Mac and Cheese from Little Fat Boy

Scallion Mac and Cheese from Little Fat Boy

I have been focused on cookbooks from the Asian Diaspora.  With the way the world is turning, on a definite lopsided tilt, I want to support my community.  Representation matters, and we need to see POCs, LGBTQ, you know, EVERYONE represented in all walks of life.  The gold standard should be human + compassion, empathy, and vision for a better, kinder, world.  A world you are proud to leave your kids.

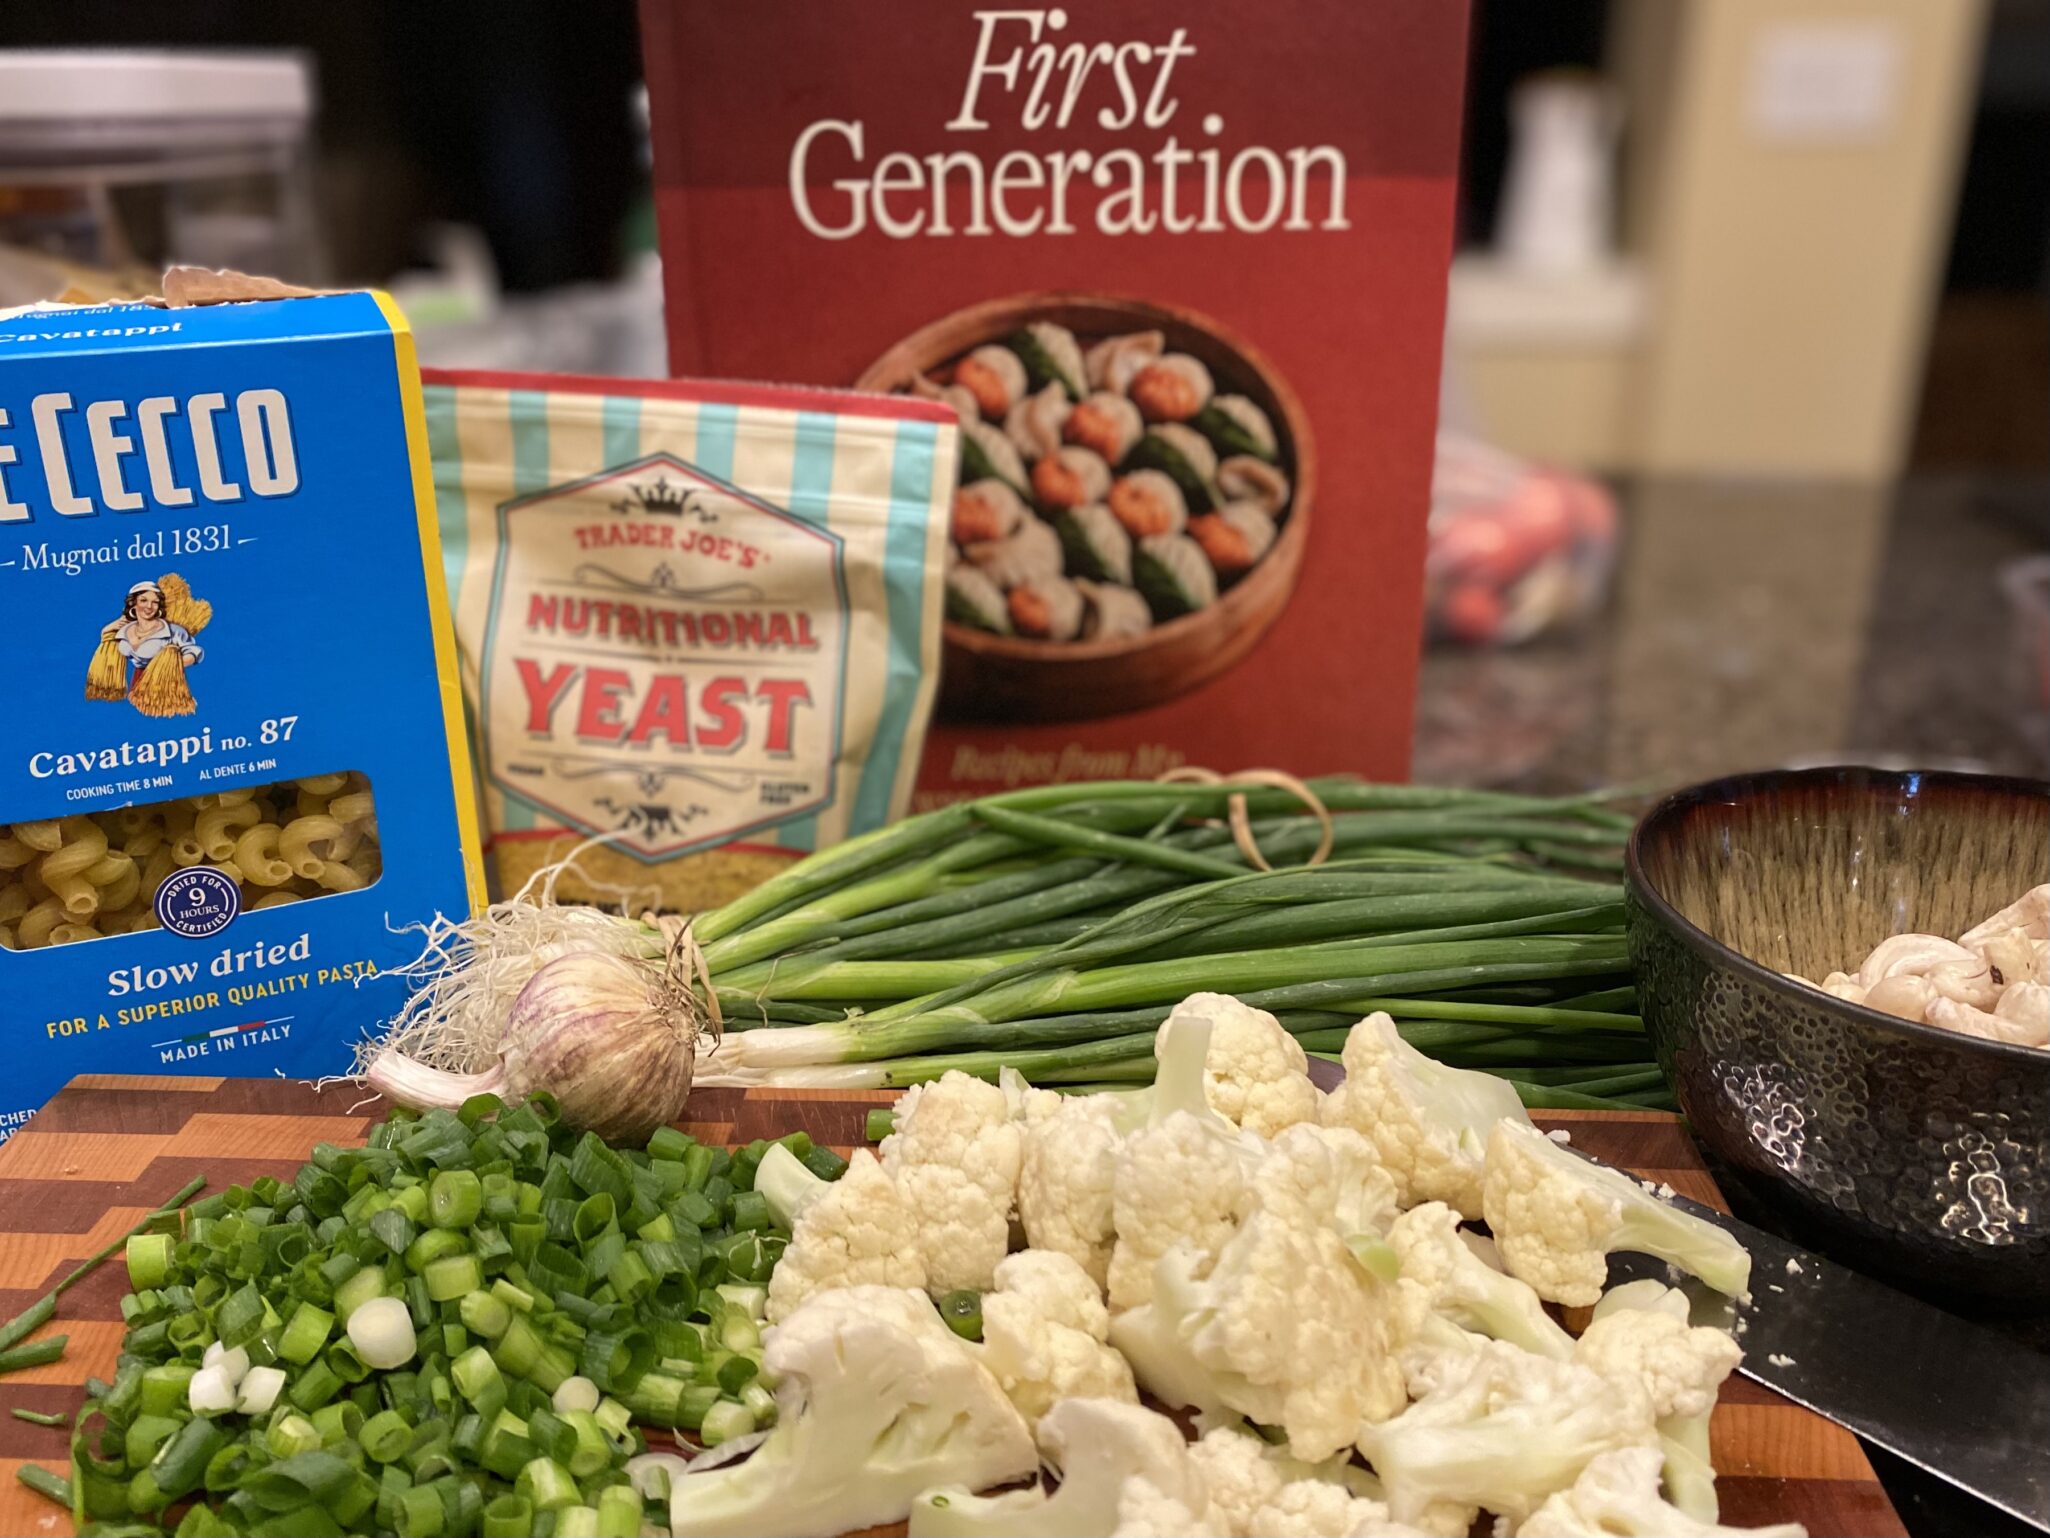
Recently I dashed into the city for another book signing at Omnivore Books on Food.  Frankie Gaw, author of the long-awaited, First Generation:  Recipes from My Taiwanese-American Home was in town and I couldn’t pass on his book signing.

A graphic designer by trade, his evenings were spent creating the blog, Little Fat Boy.  Stories, beautiful photographs, and recipes, woven together in this mash-up of his Taiwanese roots, midwest upbringing, and Southern ties to Memphis. His recipes are fun, a fusion of his upbringing and later West Coast migration.  His recipes make me happy.  Yep, Cinnamon Toast Crunch Mochi or topped with Pepples cereal, tell me you’re not smiling right now.

It’s VEGAN, yeah baby…More, Please

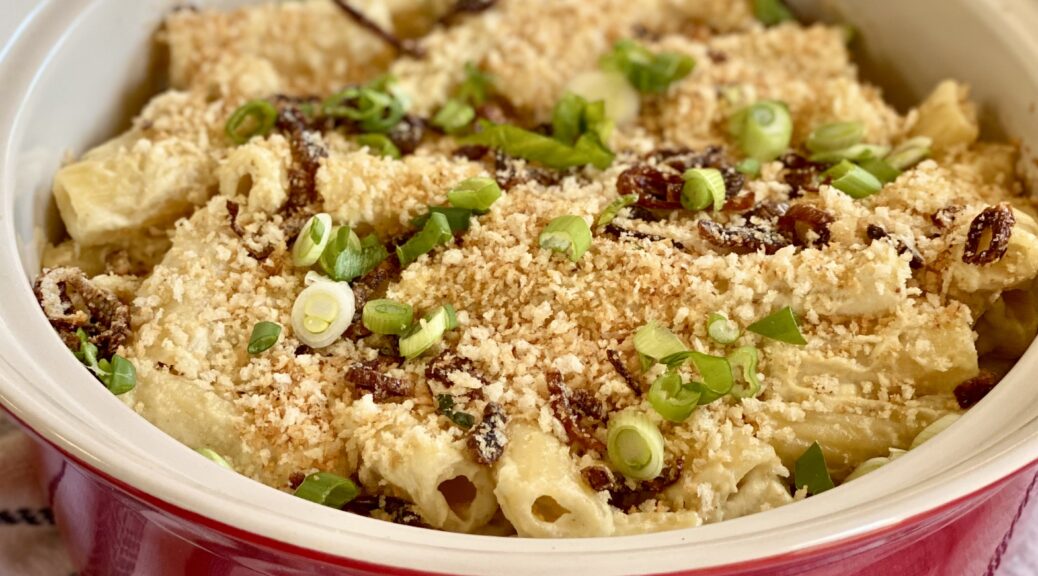
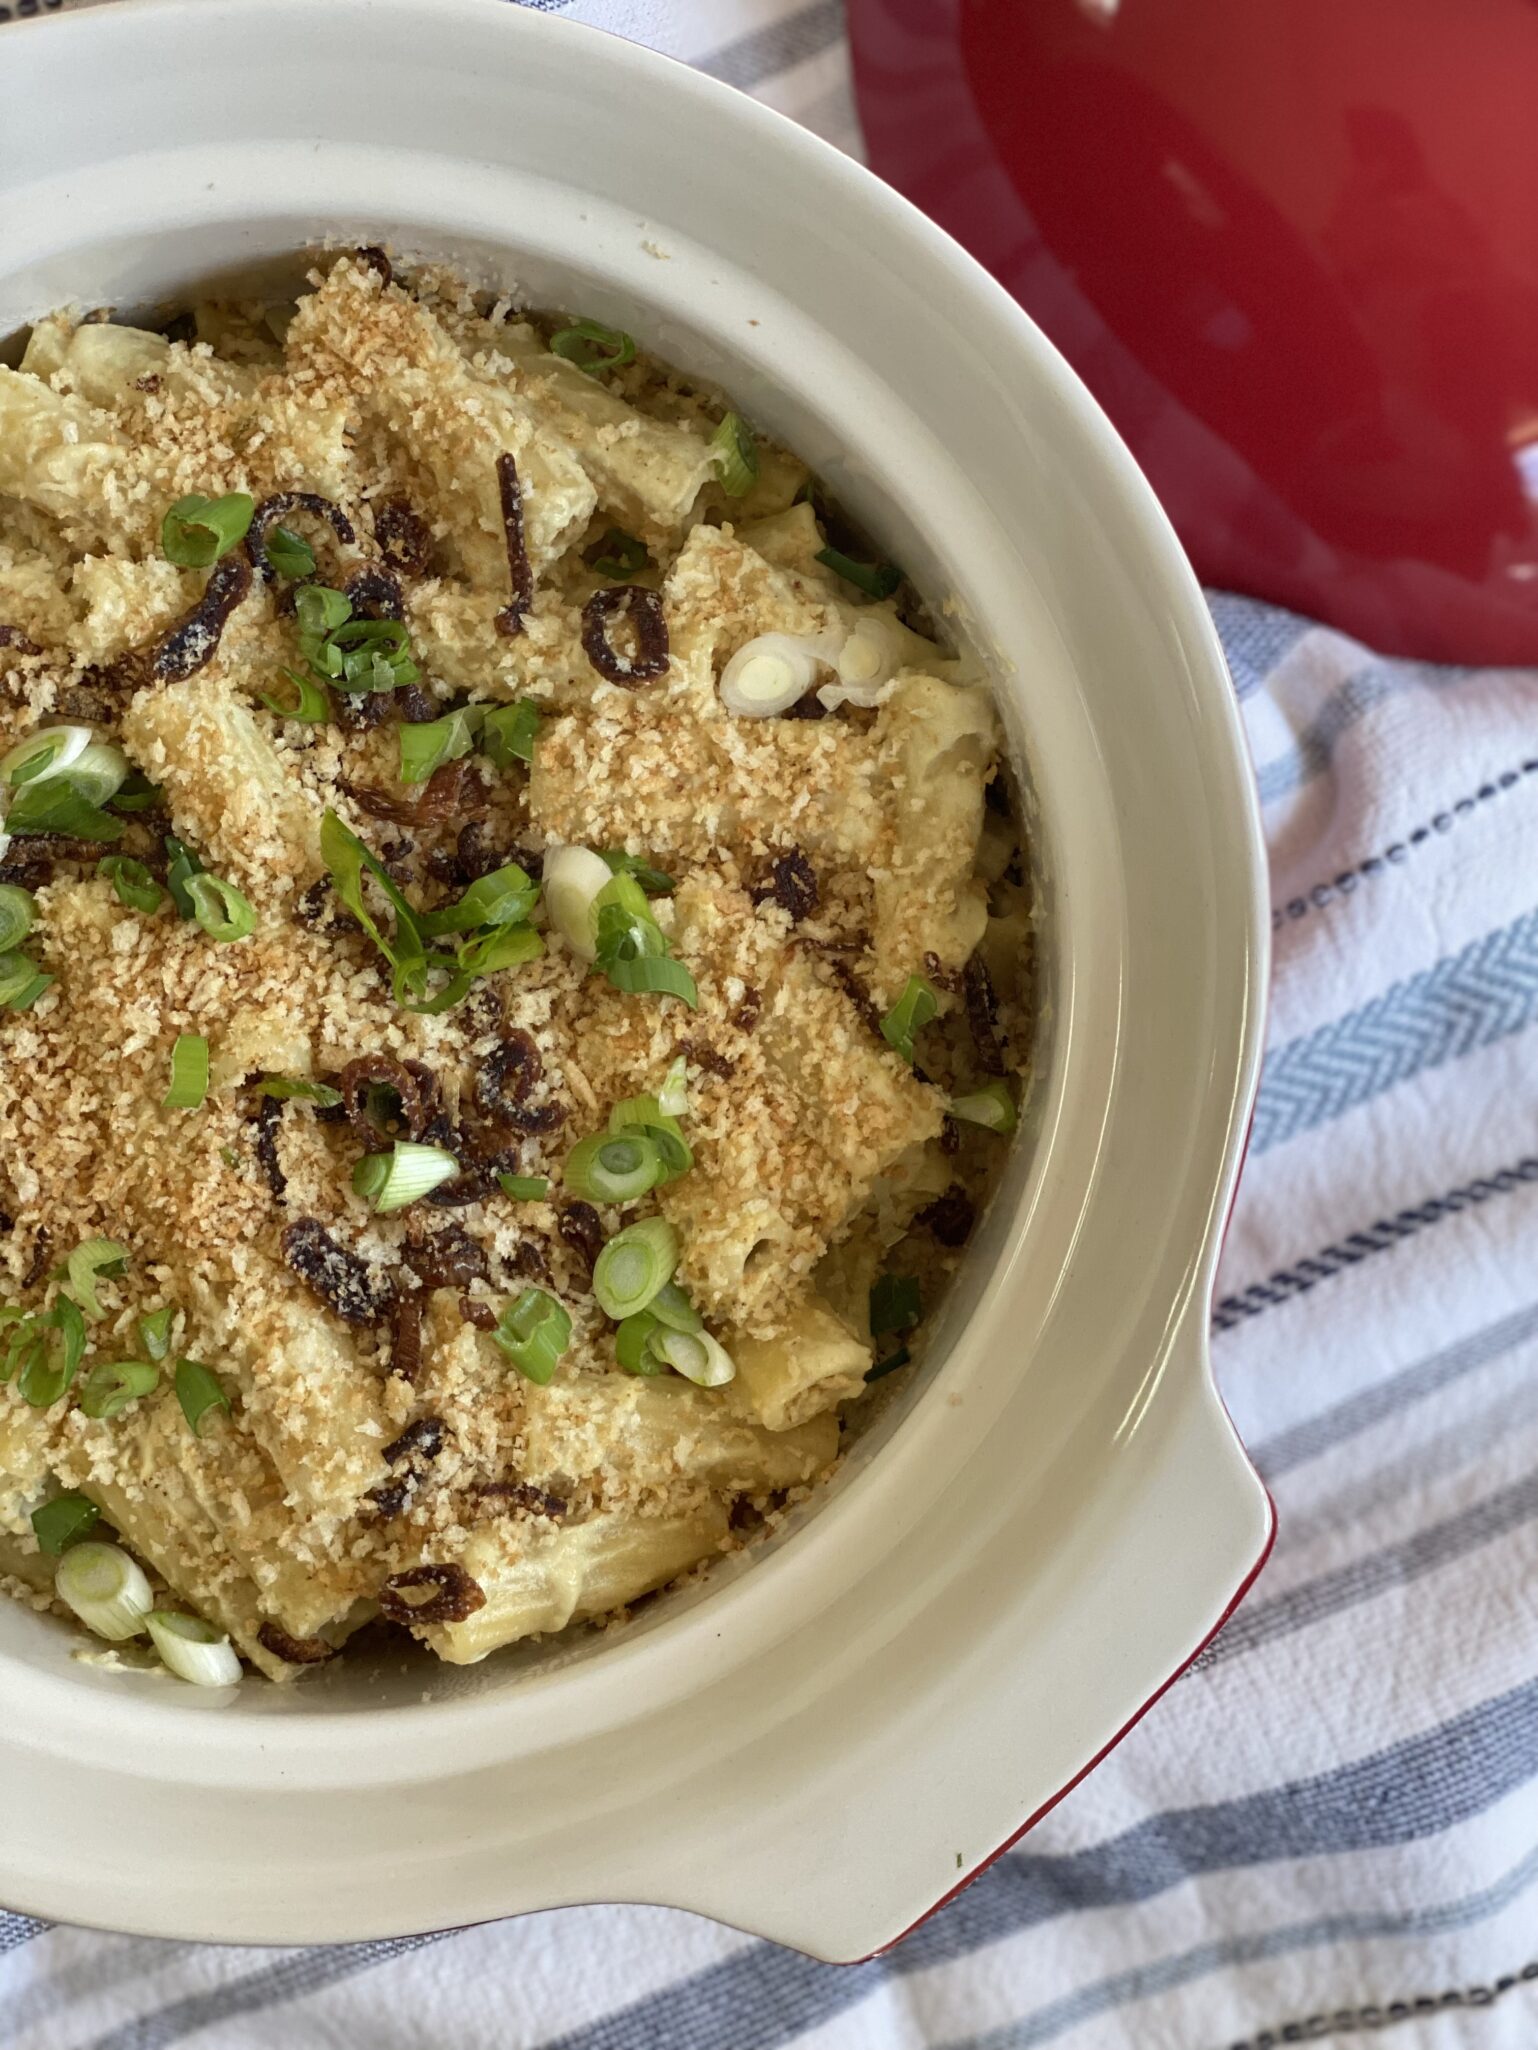
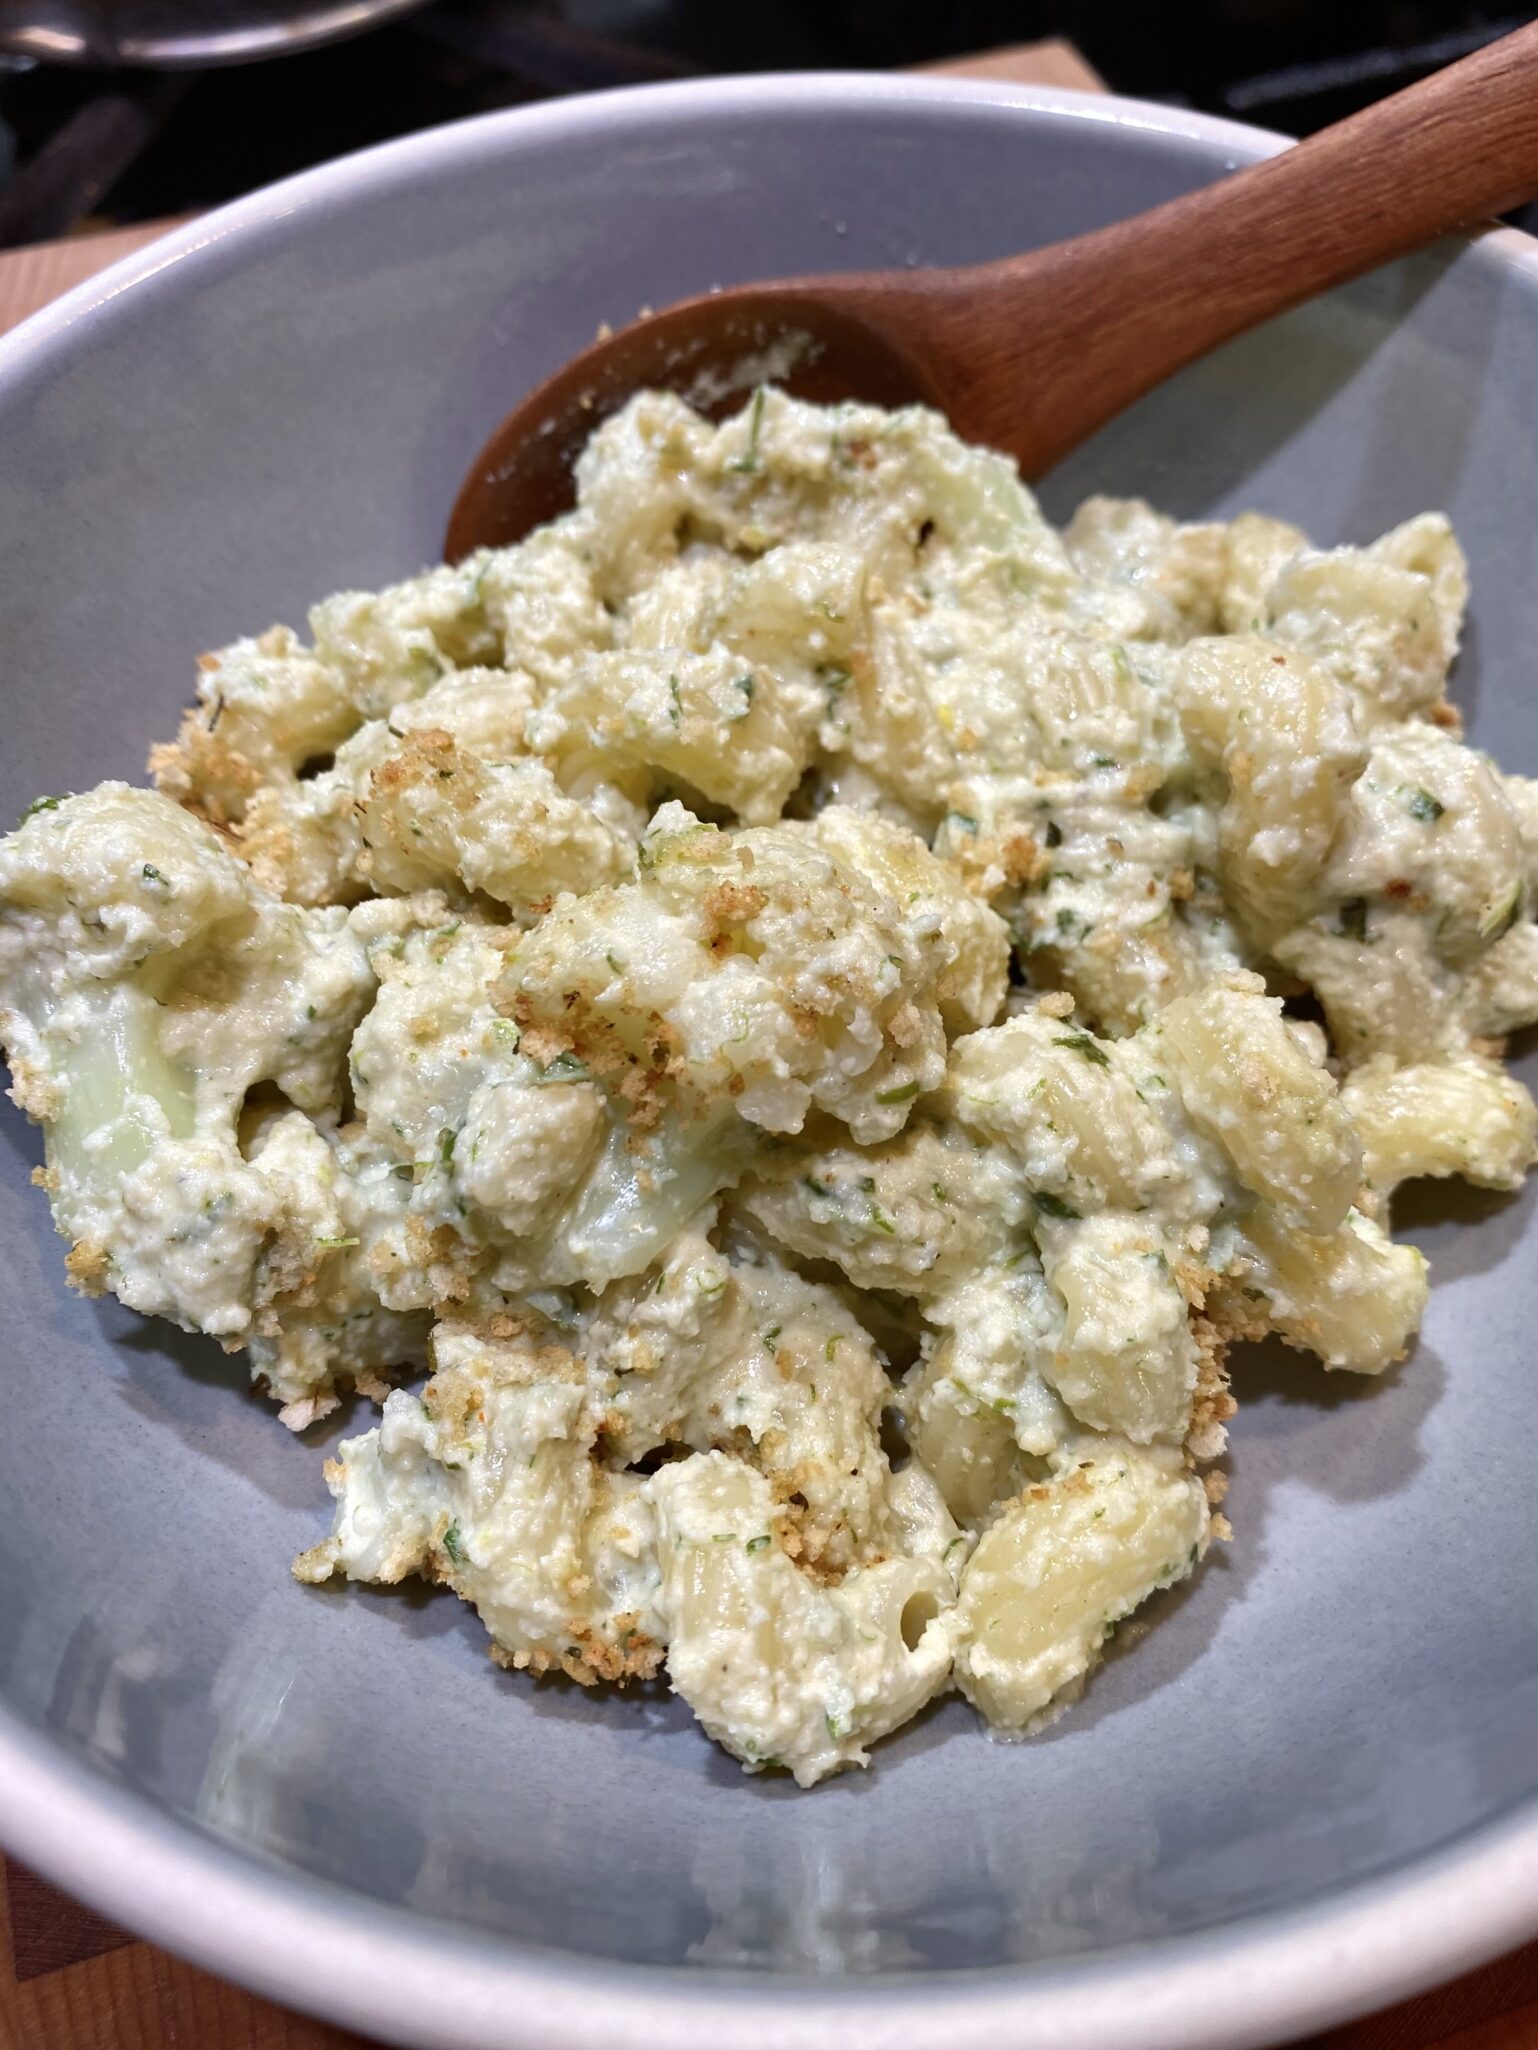
I LOVE mac and cheese. Frankie’s Vegan version is a riff on this much-loved dish.  Is it Mac and Cheese? Nope.  Is it delicious? YEP.  In place of butter, milk, and cheese you’ll find scallion oil, cashews, garlic, and my own little tweak, nutritional yeast.  Pureeing cashews into a creamy, lovely sauce, is really so good, this may become my go-to mac and cheese when I am feeling a little lactose intolerant, lol.

Not gonna lie, cashews are not diet food, just like a lot of nuts.  The upside is they do supply protein, healthy fats, vitamins, and minerals.  Plus, no animal products were used in the making of this..so there is that.  To offset some of the calories in this dish I reduce the pasta and substitute roasted or steamed cauliflower florets.  Yummos.

I like my mac and cheese super saucy so I decrease the amount of pasta, add more cauliflower florets and throw in some mushroom broth to extend the sauce.  The kid in me likes the macaroni cooked beyond al dente, really who eats mac and cheese that’s not soft and squishy?  This is two very generous servings, actually, I think it serves 3-4 people…see the calories won’t be that bad!

Scallion Mac and Cheese

A delicious vegan version of mac and cheese with loads of umami from scallions, nutritional yeast and garlic adapted from Little Fat Boy
Course dinner, one bowl meal, Side Dish
Cuisine Asian-American
Keyword Crazy good mac and cheese, scallions
Prep Time 17 minutes
Cook Time 10 minutes
Servings 4
Calories 425kcal

Ingredients

  • 1 cup raw cashews
  • 4 scallions finely chopped white and green parts divided
  • 1/8 cup olive oil
  • 2 cloves garlic, smashed
  • 11/2 tsp kosher salt
  • 1/2 tsp granulated sugar
  • 1/8 tsp paprika
  • 1 tbsp nutritional yeast
  • 1/4 lemon, juice of
  • 1/2-1 cup water, or pasta water or mushroom boullion
  • 1 tsp hot sauce to taste optional

Toppings

  • 1/4 cup panko
  • 1 scallion, Thinly sliced

Noods

  • 4 ounces macaroni
  • 1 cup cauliflower florets or broccoli approx 4 oz

Instructions

Cashews

  • Before making dish, place cashews in a medium bowl and cover with water by 1 inch. Let the nuts soak for 2-3 hours.

Carbs & Veggies

  • Cook your pasta as directed on package. With about 3-4 minutes to go, add the cauliflower to the pot. Return to boil and cook until al dente (from original recipe-lol. In my book mac cheese needs pasta cooked beyond al dente). Drain and place back in pot. Set aside.

Sauce

  • In a skillet, heat olive oil over medium-high heat. Add scallions and garlic. The oil should not be smoking but hot enough that the aromatics sizzle when added. Stir and cook for about 2 minutes. The scallions should be soft and your kitchen should smell delicious from the scallions and garlic. Transfer all of it to a blender. Set skillet aside, do not wash! You will be using this to brown the Panko Crumbs!
  • Drain the cashews and add to the blender along with the lemon juice, paprika, salt, sugar, nutritional yeast, and water or pasta water.
  • BLEND til smooth. Add additional water or pasta water to desired consistency.
  • Add sauce to macaroni, and stir to combine. Pour into a casserole dish and spread evenly. Sprinkle Panko Crumbs and diced green onions on top, and serve immediately.

The Crumbs

  • The skillet used to fry the scallion and garlic will have residual oil to brown the Panko crumbs. On medium-high heat toss the panko in the skillet until toasty brown.

Notes

This recipe can be doubled for those times you are feeding a big crowd.  In fact,  the original recipe is double this, I cut it in half cause it's a lot of pasta.
Tomato Egg Fried Rice & the Fishy Bits

Tomato Egg Fried Rice & the Fishy Bits

A couple of weeks ago I was reading a post from the Woks of Life, a lovely blog on Asian cooking. Their post was on a classic Chinese dish, Salted Fish Fried Rice.  Salted Fish is a Cantonese ingredient made from white fish like croaker, salted and air-dried.  This process concentrates the flavor of the fish, it’s salty, fish-forward, and well, kinda funky in a good way.  Their twist was to substitute anchovies for the salted fish (hom yu, 鹹魚).  My first thought was “Yum, I gotta try this, I think I have anchovies in my pantry”.
They also have a cookbook out and it’s gorgeous.  If you need (who doesn’t)  a cookbook that covers Chinese cuisine for the novice to seasoned cook, Woks of Life fits the bill. You can order it from Books, Inc. or in the Bay Area, from Omnivore Books which has signed copies.

Dad and Gung Gung 1940s

Tales of My Grandfather

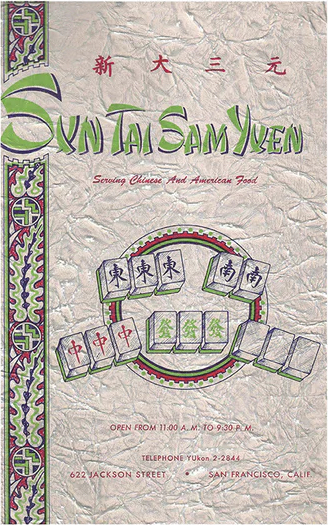
As I read their post, memories of my grandfather bubbled to the surface.  He lived in an SRO (single room only) in the heart of Chinatown above Sun Tai Sam Yuen Restaurant.  It was convenient and comfortable for him.  A line cook at Original Joe’s and at the Fairmont’s Tonga Room he walked to work from Chinatown.  His neighbors, Cantonese men of similar age, had migrated to Gum San (San Francisco) looking for work.
Read More Read More

Corned Beef & Cabbage (Let’s Hash It Out)

Corned Beef & Cabbage (Let’s Hash It Out)

I feel if I am going to eat a meal that is associated with a holiday I ought to learn a little bit about that particular holiday and its significance to the culture or country of origin.  The extent of my knowledge regarding St. Patty’s Day is corned beef and cabbage.
So Friday as I was pulling my corned beef out of the fridge, I googled St. Patrick’s Day.  In a nutshell, Patrick, before he became a saint, is credited with bringing Christianity to Ireland.  St. Patrick’s Day is the day of his death.  A folktale credits him with driving the snakes out of Ireland, symbolism for pagan religions as there are no snakes in Ireland.

Corned Beef and Cabbage is not the chosen celebratory meal in Ireland but rather came about here in America.  Corned beef and cabbage were both relatively cheap and out of necessity became the meal of choice for the poor Irish immigrants striving to make a new life here.  In Ireland, you are more likely to have Irish Stew and Soda Bread.

Shortcut Corned Beef

I will admit, I make this once a year.  Don’t get me wrong, I love Corned Beef, I just don’t make it at home…except on Saint Patty’s Day.  As a kid, my favorite breakfast was Corned Beef Hash by Mary’s Kitchen.  Yep, hash out of a can, I thought it was delicious.

Two things I did differently this year.  On a whim, I splurged on Wagyu Corned Beef Brisket from Costco.  Second, we pulled out the Instant Pot.  With two unknowns it’s hard to know if the Waygu or the IP was responsible for just how delicious the corned beef came out.  It was tender, moist, and delicious.  A variety of recipes found online served as my guide with a shout-out to Simply Recipes.

  • Various recipes I looked at called for a 2.5-pound chunk of corned beef. I don’t know about you, but after cooking,  it shrinks quite a bit and that wouldn’t be enough, not in my family at least. There would be little left for my fav breakfast hash (not acceptable in my book).  The piece I bought was 4 pounds and fit nicely in my 6-quart Instant Pot.  This was enough for dinner, the next day’s lunch, and a generous skillet of hash for that leisurely weekend breakfast.
  • Rinse corned beef thoroughly before placing it in the pressure cooker, helps keep the salt at bay.
  • Place the corned beef on the metal trivet that comes with the Instant Pot, makes it much easier to lift out when it is done.
  • Add 1 quartered yellow onion and a couple of cloves of garlic to the pot.  Sprinkle the seasoning packet that comes with the corned beef and 1 tablespoon of brown sugar on the surface of the meat.
  • Add 4 cups of liquid to the pot.  It may not completely cover the meat, and that’s okay.  The liquid can be all water, water, and beef stock 1:1, or a can of stout and water.  The Wagyu beef was on the salty side.  So be careful with the stock, use low sodium or homemade.

Let’s Get to the Easy Part

Seal your Instant Pot and set it to high pressure for 85 minutes and go relax, but tell everyone you are making dinner, they’ll never know.

Once the cycle is complete, turn off the Instant Pot and allow the corned beef to natural-release for 15 minutes before taking it out.  If it has not completely depressurized, vent the pot before taking off the lid.  Add your potatoes, carrots, and cabbage (that you prepped while it was cooking, oops, forgot to mention).  Place potatoes and carrots into the pot first, then the cabbage on top. Seal the pot and set a timer for 5 minutes.  Quick release when it is done.

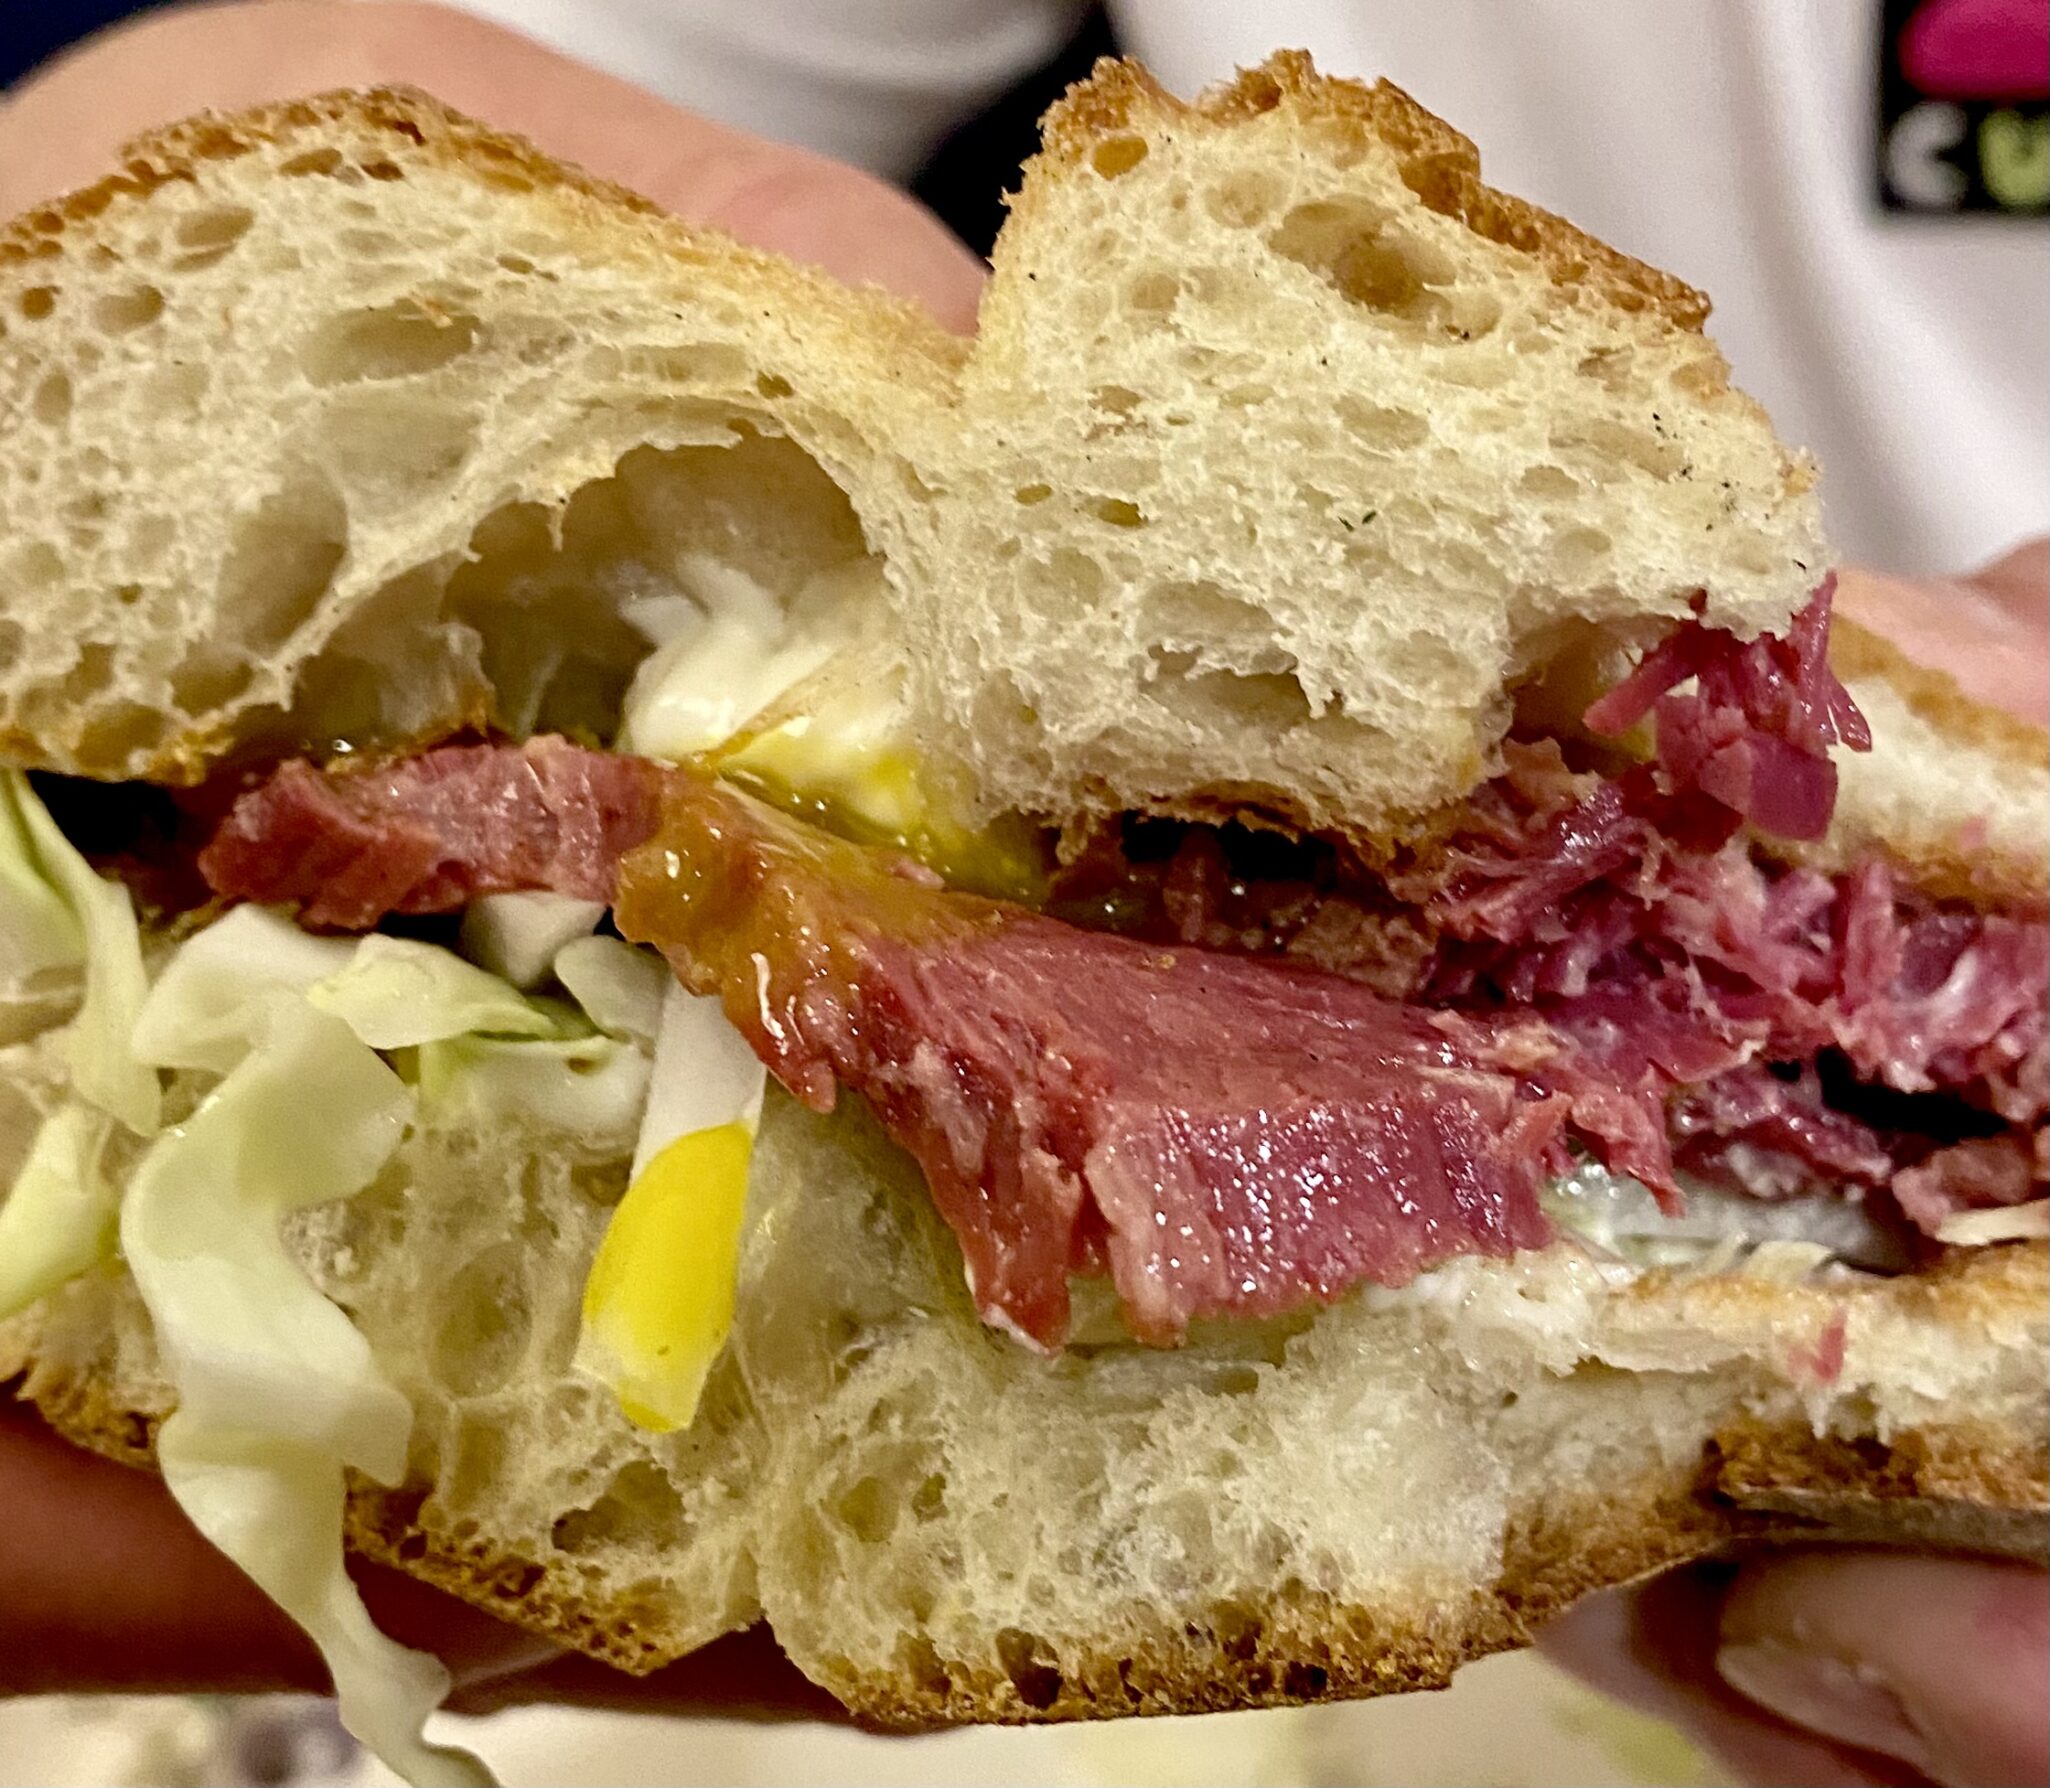
Slice corned beef against the grain.  Serve with honey mustard and veggies on the side or if you are like the Hubster, make a sandwich…yum.  Happy Saint Patrick’s Day!

But What About Breakfast?

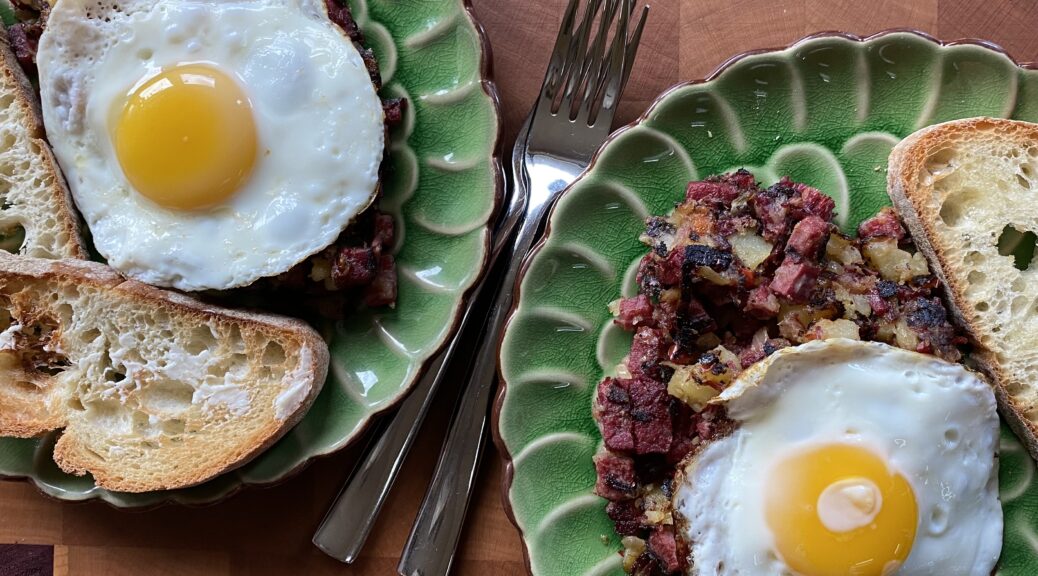
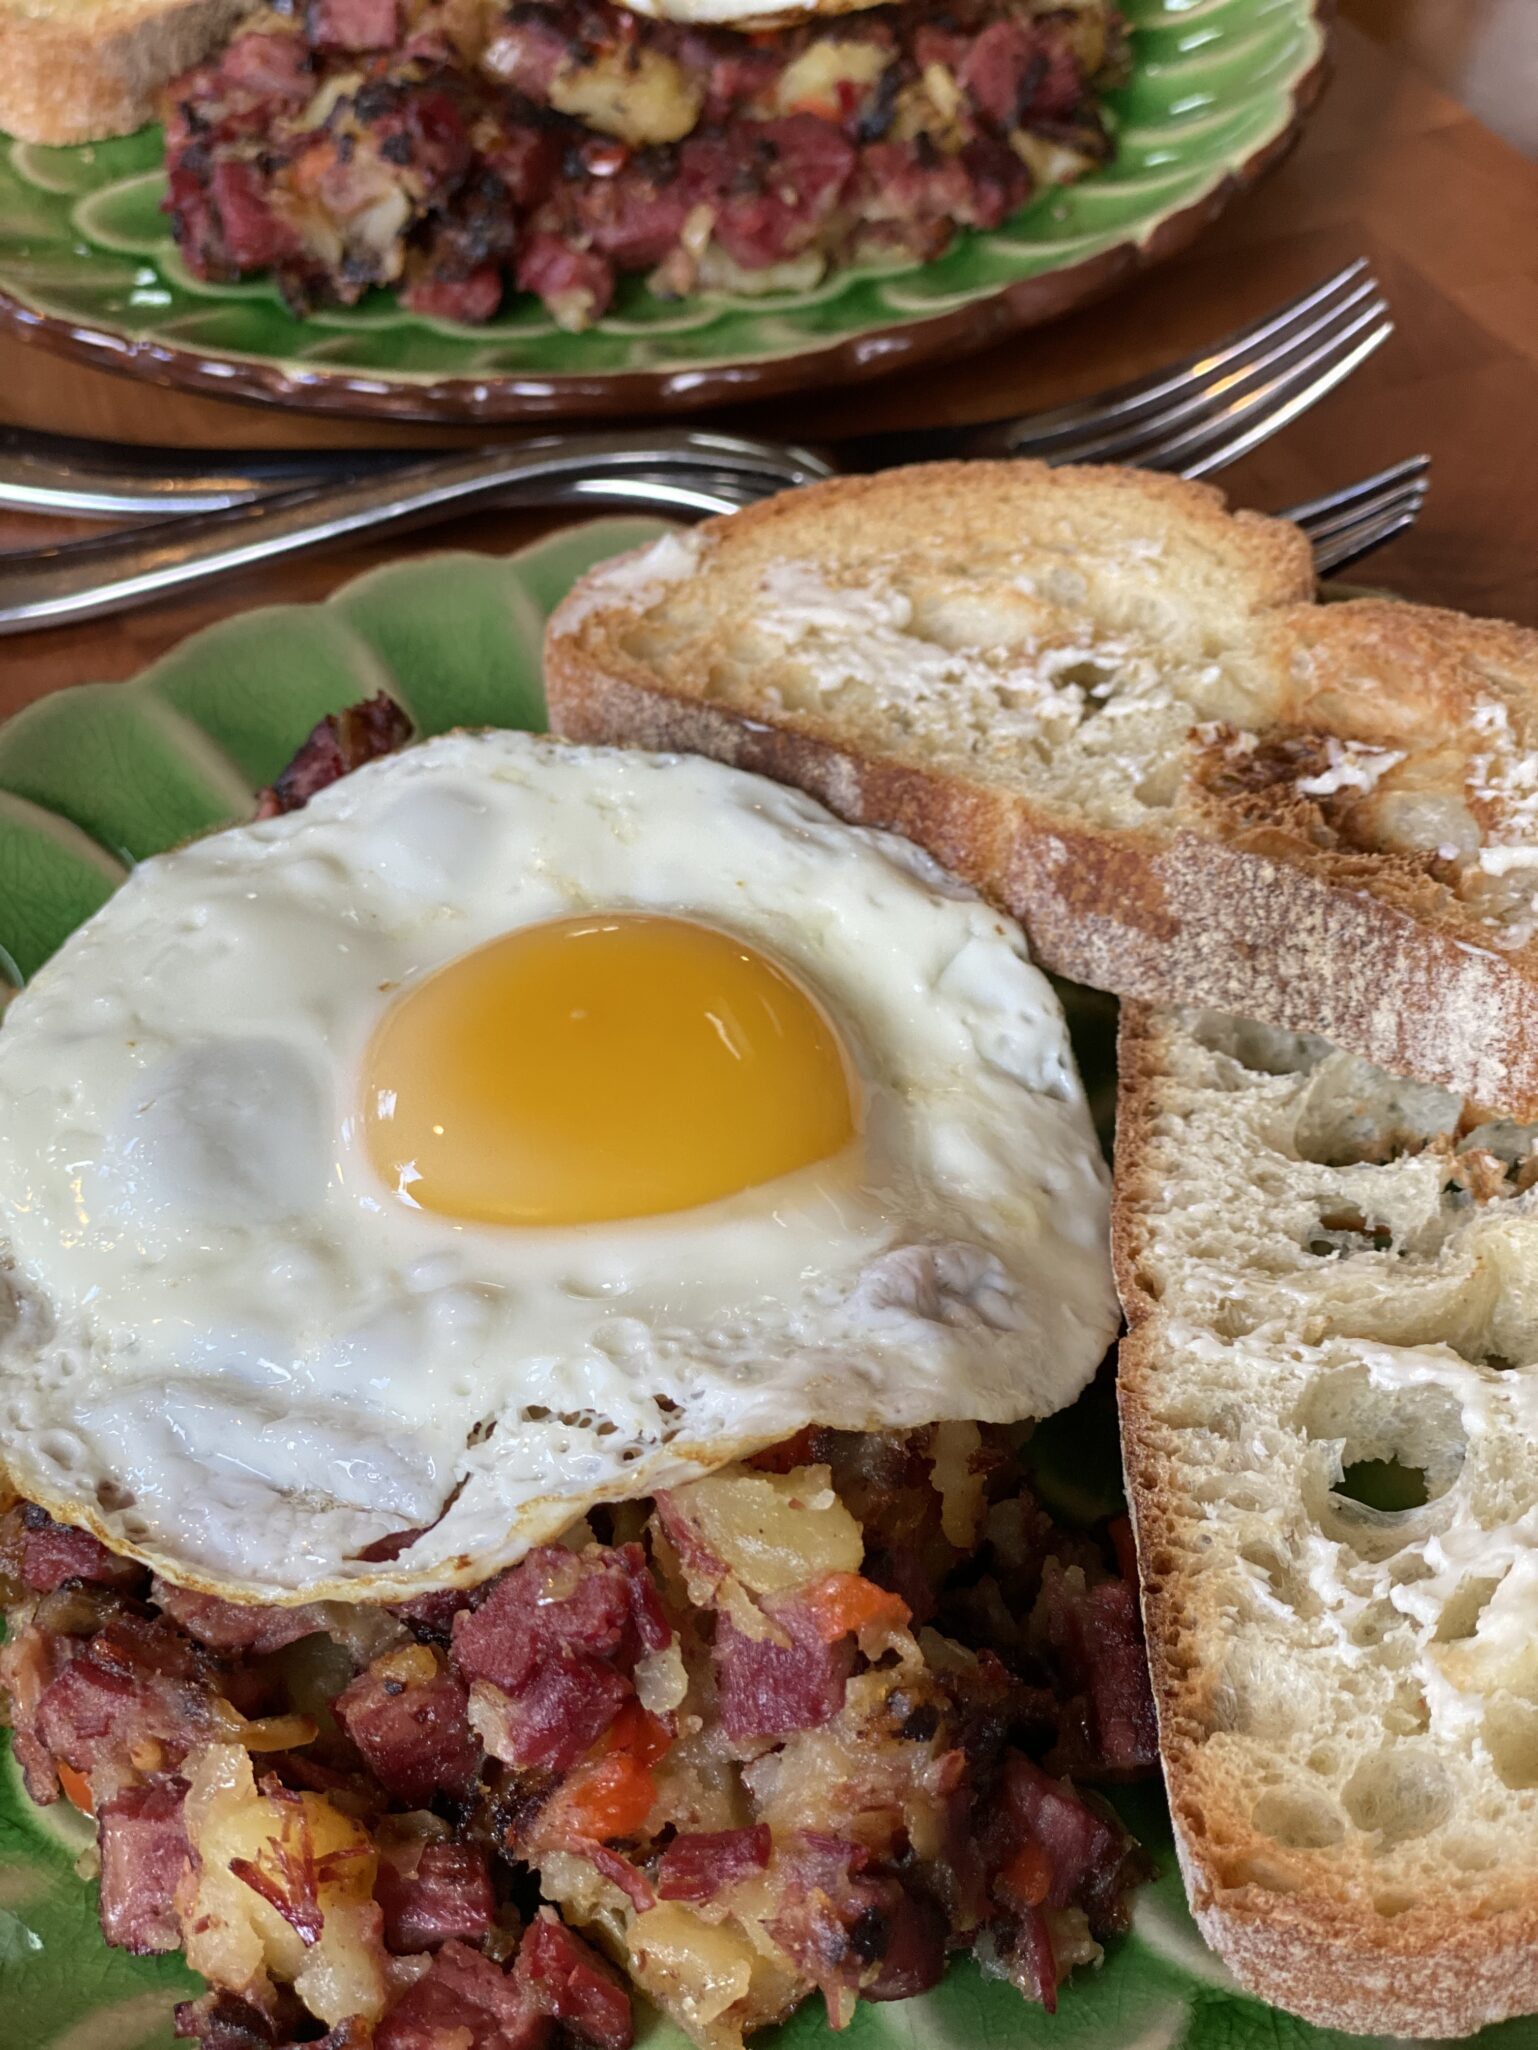
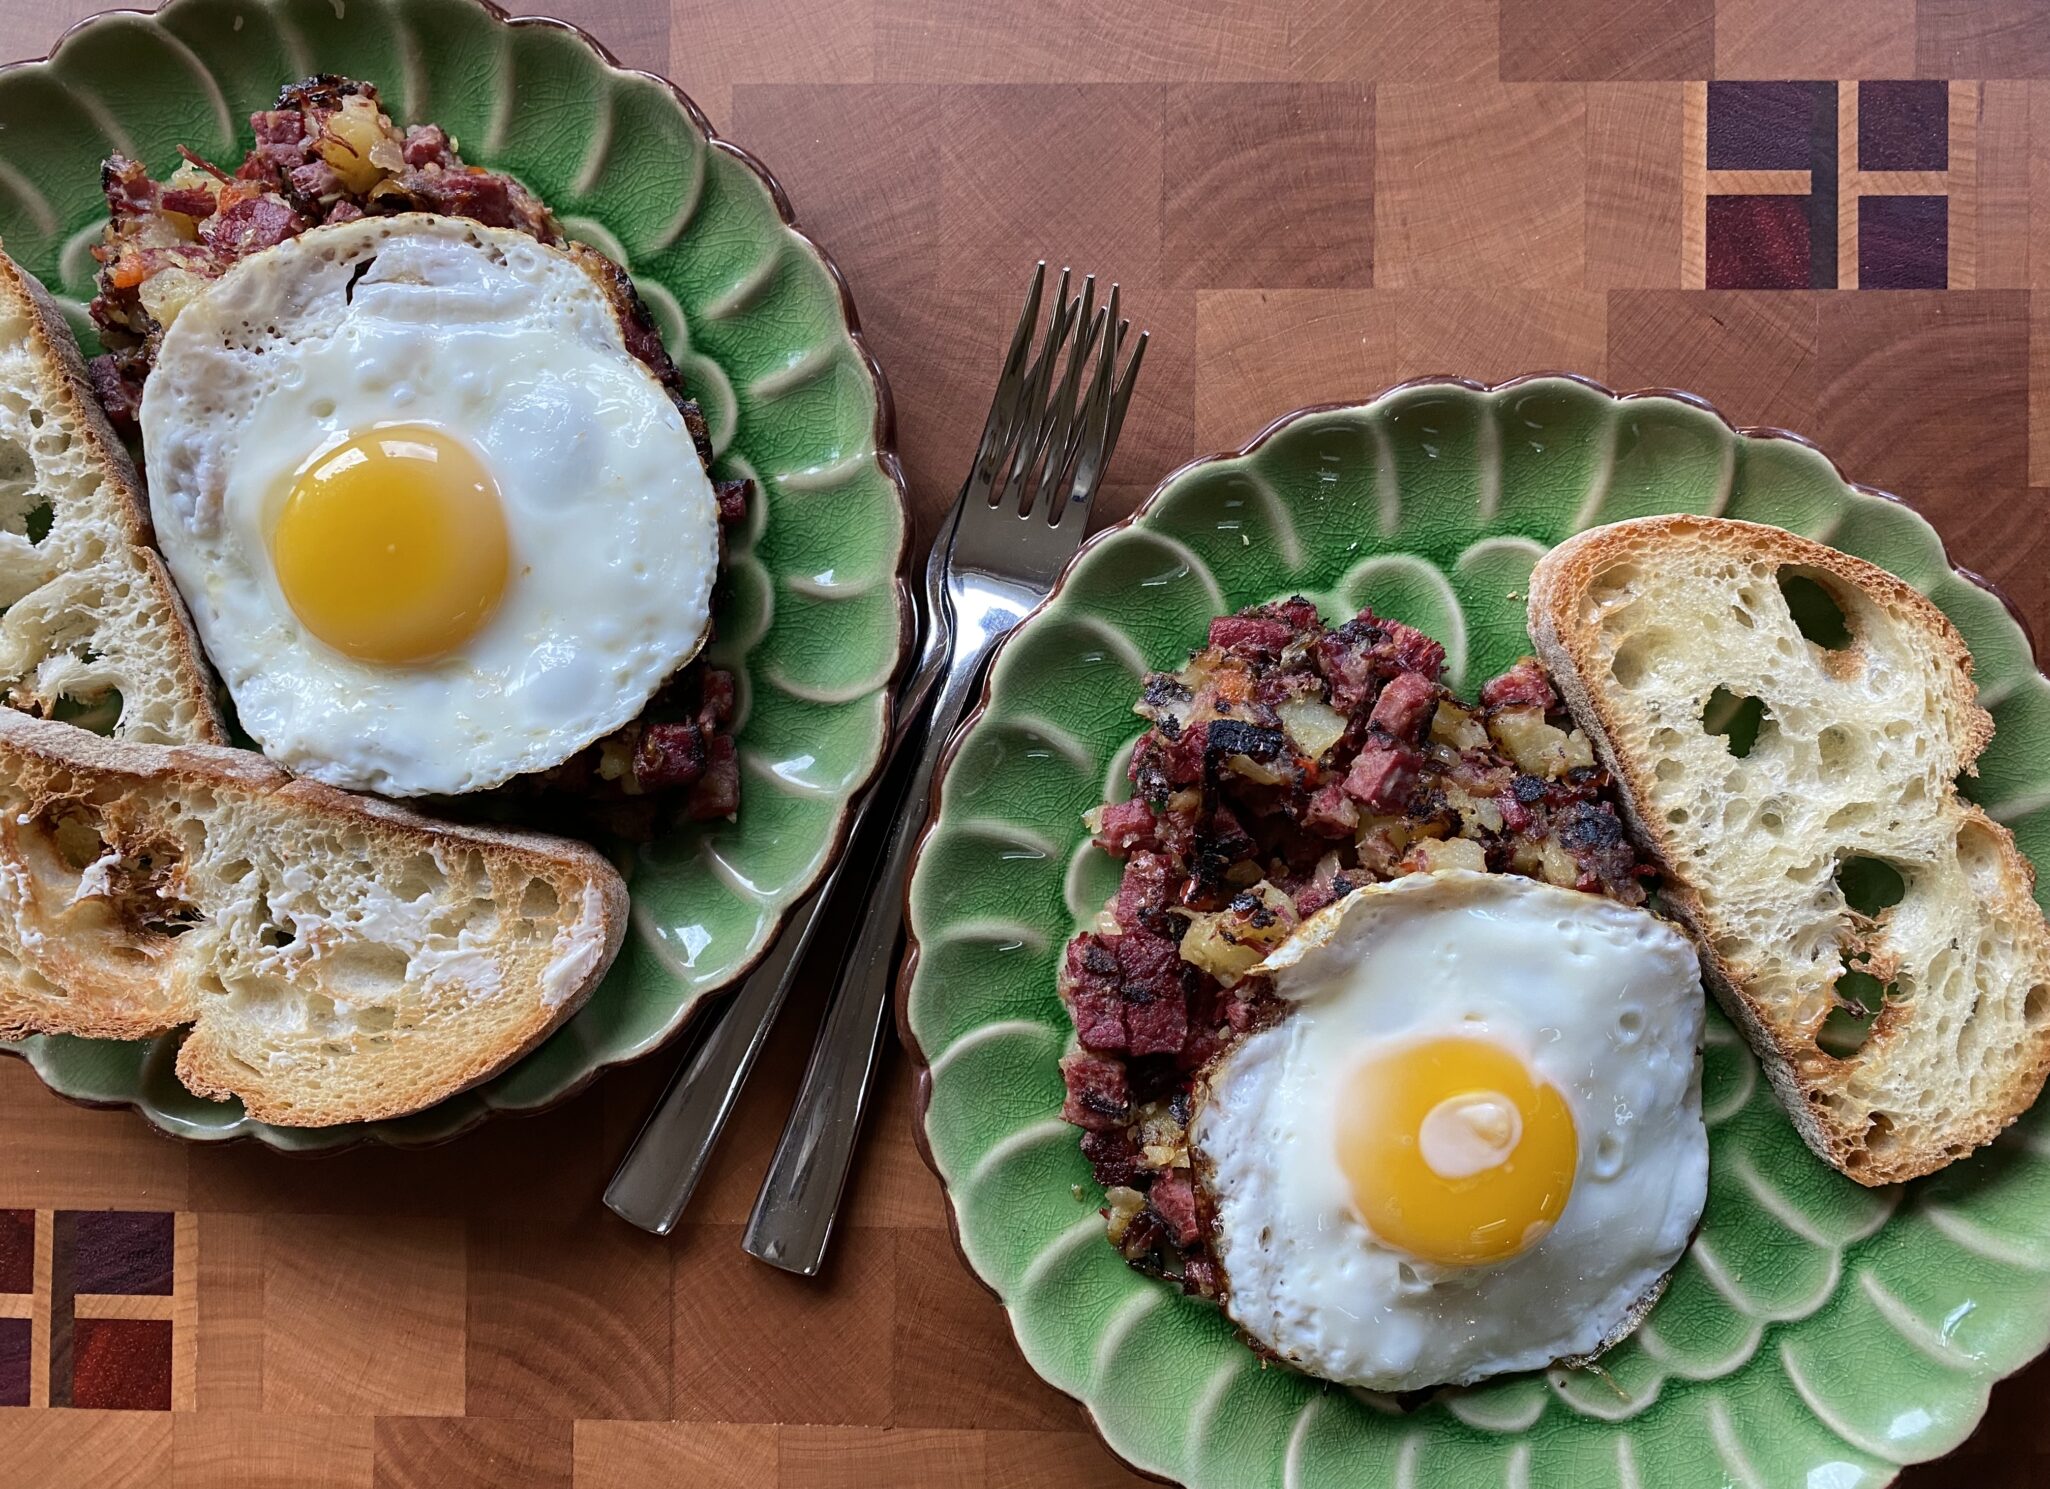
I like corned beef, I LOVE corned beef hash.  The remaining corned beef became Sunday breakfast.  I pulled out my cast iron skillet, the remaining beef and potatoes, chopped some onion and bell pepper, bada-bing-bada-boom, hash.

Feel free to add other vegetables or change the proportions.  This can easily be a veggie-focused hash, more potatoes, throw in the leftover cabbage, add some mushrooms…it will be delightful and perfect for a weekend relaxing breakfast.

Beautiful board made by 3jamigos woodworking.

Corned Beef Hash and Eggs

What to do with leftover corned beef? Hash of course!
Course Breakfast, Brunch, lunch
Cuisine American, Irish-American
Keyword cabbage, Corned beef, corned beef hash, potatoes
Prep Time 10 minutes
Cook Time 15 minutes
Servings 4 servings

Equipment

  • cast iron skillet

Ingredients

  • 2 to 3 tablespoons unsalted butter
  • 1 small onion finely chopped (about 1 cup)
  • 1/4 green or red bell pepper or pepper of choice!, chopped
  • 2 to 3 cups cooked corned beef finely diced or chopped
  • 2 to 3 cups chopped cooked potatoes from dinner 🙂
  • Kosher salt and freshly ground black pepper
  • Chopped fresh parsley or scallions
  • Eggs one per serving

Instructions

  • Heat butter in a large skillet (preferably cast iron) on medium heat. Add the onion and pepper and cook a few minutes, until translucent.
  • Add corned beef and potatoes. Spread out evenly over the pan. Increase the heat to medium-high and press down on the mixture with a heat-proof spatula.
  • Do not stir the potatoes and corned beef, but let them brown. If you hear it sizzling, that's a good sign.
  • Use a spatula to peek underneath and see if they are browning. If nicely browned, use the spatula to flip sections over in the pan so that they brown on the other side. Press down again with the spatula.
  • If there is too much sticking, you can add a little more butter to the pan. Continue to cook in this manner until the potatoes and the corned beef are nicely browned.

Egg-a-licious: Your choice, hash is good with eggs cooked any style

  • Or cook eggs like Shashuka. When hash is close to being done, create depressions in the hash and crack an egg into each spot. Cover skillet for a couple minutes until egg is cooked to your liking.
  • Remove from heat, top with chopped parsley or scallions. Season with freshly ground black pepper and salt to taste.
Happy Chicken Pot Pi Day!

Happy Chicken Pot Pi Day!

Here in California, we have been battered by some extreme weather…more rain, snow and high winds than we have seen in a long, long time.  I hope folks are staying safe, warm and dry.

So we are having a somewhat subdued, quiet Pi Day.  Especially since we haven’t had power all day!  That’s not gonna stop me, pi golly.  I adore pies, sweet or savory, by the slice, as a potable hand pie, you get the pic. So Pi Day is just an excuse to make pie.  A day of cold, wet, blustery weather calls for comfort food so what better dish than Chicken Pot Pie?  

I LOVE Pot Pie.  As a kid, it was a special treat if mom pulled out Swanson’s Chicken or Beef Pot Pies for dinner.  Little did I know, it meant an easy meal for her.  As I got older and my taste became more refined I left behind those Swanson’s pies.

I discovered Marie Callendar’s Pot Pies!  So good, more crust, bigger pie, yum.

My love of pies logically led to making my own pies and this includes savory pies, top on the list is Chicken Pot Pie.   

The Elephant In the Room

Not everyone wants or has a compelling need to start from scratch and that’s OKAY!  It’s perfectly fine to start with cooked chicken (a Costco rotisserie chicken comes to mind), commercial low-sodium chicken stock AND a premade pie crust. Making a Chicken Pot Pie is a labor of love.  If any step, homemade PIE CRUST comes to mind, gives you anxiety, use a shortcut. There are great frozen pie crusts dough and puff pastry doughs that can be used to make a fabulous pot pie. Hate prepping veggies?  Frozen WORKS, really.  But if you want to go the whole nine yards…read on 🙂

For novice pie makes, this is a good recipe to make over a couple of days so it doesn’t seem overwhelming.  Make the pie crust and throw it in the fridge to chill. You could do this up to a couple of days before.  This also applies to poaching the chicken and making the filling too.  The chicken can be shredded, the stock reduced, and the filling made and kept in the fridge until you are ready to assemble the pie.

Pick your favorite veggies, I like mushrooms, carrots, celery, broccoli, potatoes, and peas.  Pretty classic aside from the broccoli.  Blanching the veggies ensures they will be nicely cooked in the pie.  Blanch 10 minutes, the goal is al dente + so they don’t get too soft.  The veggies should be cut roughly the same size for even cooking.  The exception to this would be mushrooms, saute’ these before adding to the sauce.

Sauce Me Up

What holds everything together is a simple bechamel sauce of butter, flour, milk,and stock.  Start by making the roux .  Sauté onions with the butter for flavor and add the flour. Cook this for a couple of minutes before adding the chicken stock and milk.  Simmer sauce until it is thick like gravy, stir constantly.  Season well with salt and pepper.  

Two Pie Camps

There are 2 kinds of pie people in my book, those who like crust (ME) and those who like filling (Can’t even imagine who that is).  So I’ve searched far and wide for a pie crust I like.

I love Dorie Greenspan’s pie crust recipe. It’s buttery and flaky, and best of all, it makes a generous amount of dough, enough for a two-crust pie and a small single-crust pie. That’s a lot of crust.  Which is exactly what I want.

Make the crust by hand or in a food processor.  Be extra vigilant that you don’t overprocess the dough.

This is what your dough should look like coming out of the food processor. 

Gather it up into a disc shape and chill.  Roll out 2 crusts one for the top and one for the bottom.  Follow my tweak below or line your baking dish with the bottom crust and chill again.

Let’s Get to the Bottom of the Pie

Bake your chicken pot pie with a top crust only.  What Deb?!  That’s less crust!  Hold on now…here is the tweak.  Roll out the pie dough for the bottom crust then cut out circles or squares from this sheet equal to a serving of your pie.  Bake them separately.  When it’s pot pie time, place one of these buttery, flaky rounds on the bottom of each plate then topped with a generous wedge of your baked pie over it.  Buttery, flaky, crispy, crust on the top and bottom. This, my friends, is chicken pot pie nirvana.

Let it sit for 5-10 minutes before serving!

So, Happy Pi Day, now go make some pie! Check out my IG Reel for Chicken Pot Pie!

Classic Chicken Pot Pie

Ultimate comfort food. This is the classic Chicken Pot Pie. Buttery, flaky crust with a thick, velvety Bechamel filled with chunks of chicken and veggies. A keeper!
Course comfort food, dinner, One dish meals
Cuisine American
Keyword Chicken, chicken pot pie, comfort food, food for the soul, made from scratch, pie, pot pie, savory
Prep Time 1 hour
Cook Time 1 minute
Servings 6 servings

Equipment

  • 1 food processor

Ingredients

The chicken and stock:

  • 1 3 1/2-pound whole chicken (approximately 3 cups of cooked chicken, shredded or cubed) Shoretcut 1: Sub chicken parts for whole chicken Shortcut 2: Costco Roast Chicken Yeah, you read that right
  • 1 carrot
  • 1 stalk celery
  • 1 small onion halved
  • 2 teaspoons salt or 1 t salt and 1 tablepsoon Better Than Bouillion Chicken Base

Simply Irrecrustable: or Dorie's MoRe CrUsT RecipE

  • 1 1/2 cups all-purpose flour
  • 1/2 teaspoon salt
  • 1/2 cup 1 stick chilled unsalted butter, diced into 1/2-inch cubes (best to chill cubes in the freezer for at least 15 minutes before using)
  • 1/4 cup vegetable shortening chilled
  • 3 to 4 tablespoons ice water

It's All About the Filling

  • 3 med carrots sliced about 1.5 cups
  • 2 stalks celery sliced about 1 cup
  • 3/4 cup green peas frozen or fresh
  • Use any veggies you like broccoli, squash, potatoes. You want about 3 cups of vegetables sliced or chopped.

Da Sauce: This is a generous amount of sauce so you can increase your veggies if you like.

  • 6 tablespoons unsalted butter
  • 1 1/4 cups yellow onion (you have leeway use 1 med or large onion which yields 1 cup to 1-1/2 cups diced onions diced
  • 1/2 cup all-purpose flour
  • 2 1/2 cups chicken stock reserved from cooking chicken
  • 1 1/2 cups milk
  • 1 teaspoon chopped fresh thyme leaves
  • 1/4 cup dry sherry
  • 2 tablespoons minced fresh parsley
  • 2 teaspoons salt to taste
  • 1/2 teaspoon freshly ground black pepper to taste
  • For the egg wash: optional
  • 1 egg whisked with 1 tablespoon water

Instructions

Da Chicken: A whole chicken in a large stockpot with water to make a chicken pot pie casserole. Yep, you read that right.

  • Combine the chicken, carrot, celery, onion and salt or chicken base into a large stock pot. Add cold water until just covered and bring to a boil over high heat.
  • Reduce the heat to a simmer and cook for 45 minutes. Remove the chicken from the pot and let cool for 15 minutes. While the chicken is cooling, continue to boil the remaining water and vegetables in the pot.
  • When the chicken is cool enough to touch, strip away as much of the meat as you can. Place the meat on a dish, set aside. Shred chicken or cube. You should have about 3 cups.
  • Return the chicken bones to the stockpot and continue to boil, on high heat, until the stock has reduced to a quart or quart and a half.
  • Set aside 2 1/2 cups of the stock for this recipe. Freeze remaining stock for a rainy day.

All About the Crust: Simply Recipe Yields only 1 crust. You will need to double it or make Dorie's omitting the sugar

  • Combine the flour and salt in a food processor. Add the chilled butter cubes and pulse 5 times to combine. Add the shortening and pulse a few more times, until the dough resembles a coarse cornmeal, with some pea-sized pieces of butter.
  • Slowly stream in ice water, a tablespoon at a time, pulsing after each addition, until the dough sticks together when you press some between your fingers.
  • Empty the food processor onto a clean surface. Use your hands to mold into a ball, then flatten the ball into a disk. Sprinkle with a little flour, wrap with plastic wrap, and refrigerate for at least 30 minutes, or up to 2 days, before rolling.

Filling It Up

  • Blanch prepped carrots, celery, potatoes, broccoli (if using) in water for about 10-15 minutes. Veggies should be al dente but cooked through. Set aside.
  • In a large skillet, melt butter on medium heat. Add the onions and cook until they're translucent, about 10 minutes. Add the flour and cook, stirring, one minute more.
  • Whisk in 2 1/2 cups of the chicken stock. Whisk in the milk. Decrease the heat to low and simmer for 10 minutes, stirring often until thickened and creamy.
  • Add the chicken, thyme, sherry, peas, blanched veggies, parsley, salt and pepper and stir well. Taste and adjust seasoning if necessary. Pour into prepared baking dish(s)

Pieformers: Assemble

    Bake: Preheat oven to 375

    • Roll out dough on a lightly floured surface to a little less than a quarter-inch thick.
    • Roll roughly to the shape and size of your baking dish. A little bigger so you crimp the edge. Lay pastry over filling and dish.
    • Fold the excess dough under itself and crimp edge of pie.. Cut a 1-inch vents into pie. Use a pastry brush to apply an egg wash to each pie.
    • Line a baking sheet with foil, place pie on baking sheet. Bake at 375°F for 45 minutes, or until the pastry is golden and the filling is bubbling. If the edge gets too dark, cover with foil.
    • Let cool for at least 5 minutes before serving.