

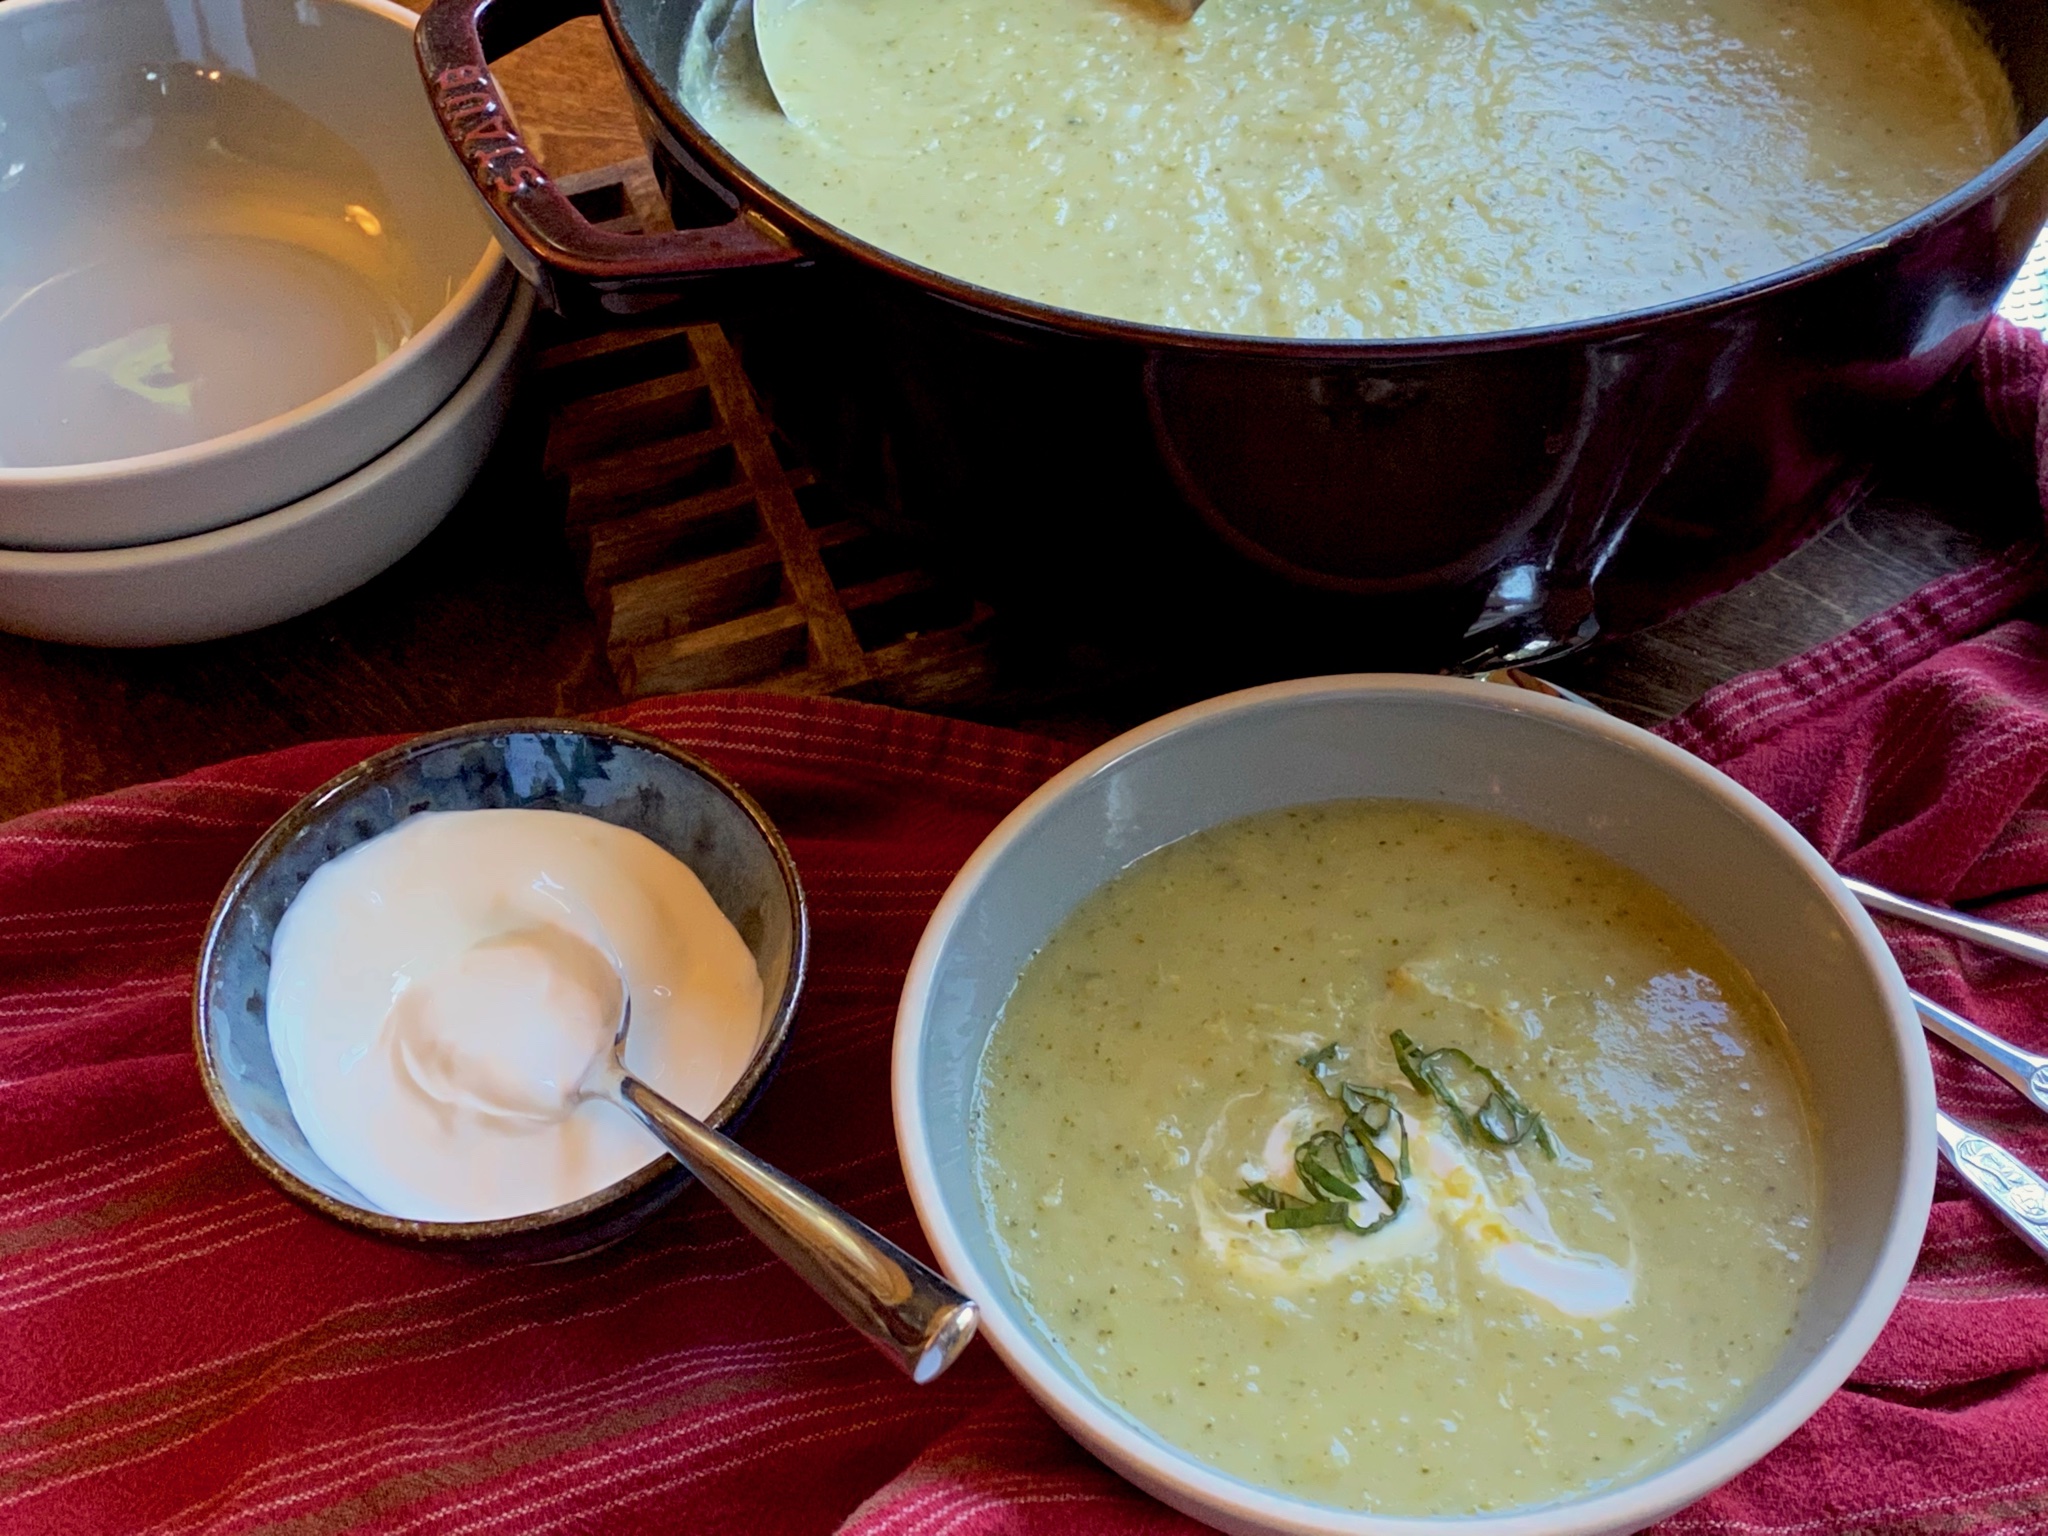
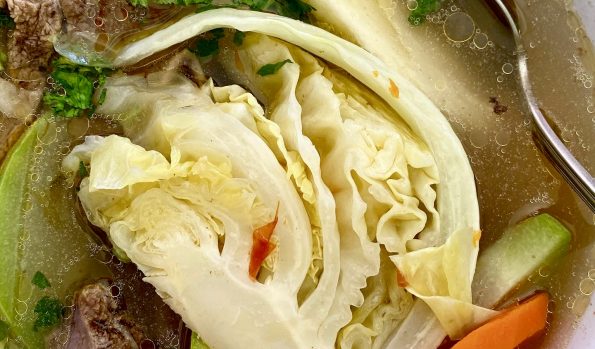
My favorite category for foods is not dessert. Nope, its soup. I LOVE soup. To the age-old question if you were stranded on a desert…

Friday night…my mind was thinking about the upcoming Memorial Day weekend. The plan, grilling on Monday. Something classic, burgers, potato salad, strawberry shortcake, the “Summer…
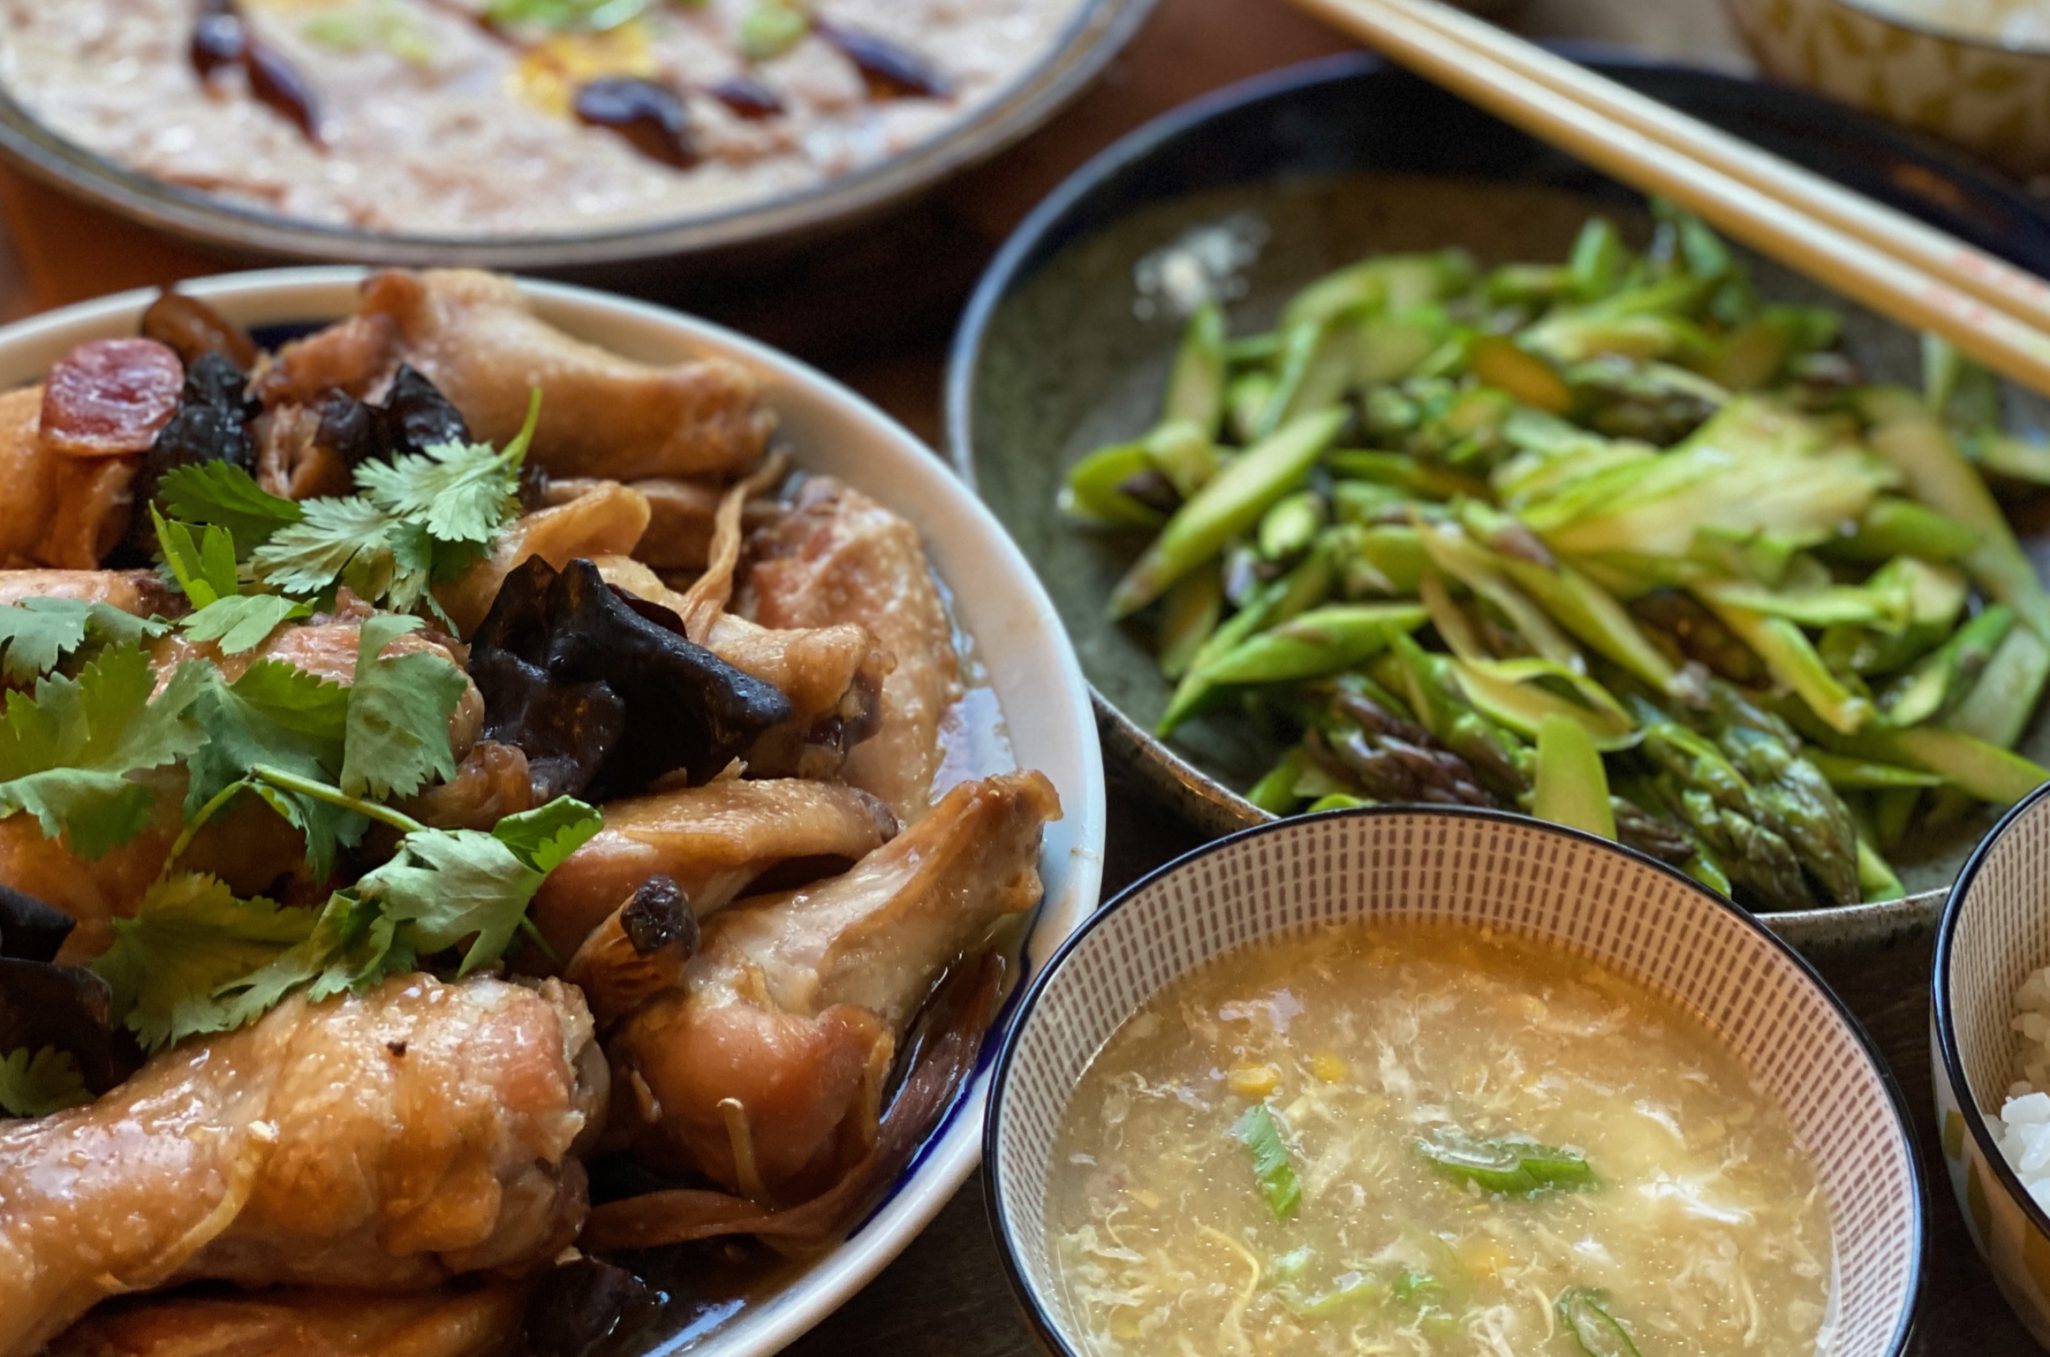
Steamed Chicken with Chinese sausage, Delicious down home dish
My guilty pleasure during the time of COVID has been Sunday morning outings to our local farmer’s market. A chance to get out of the…
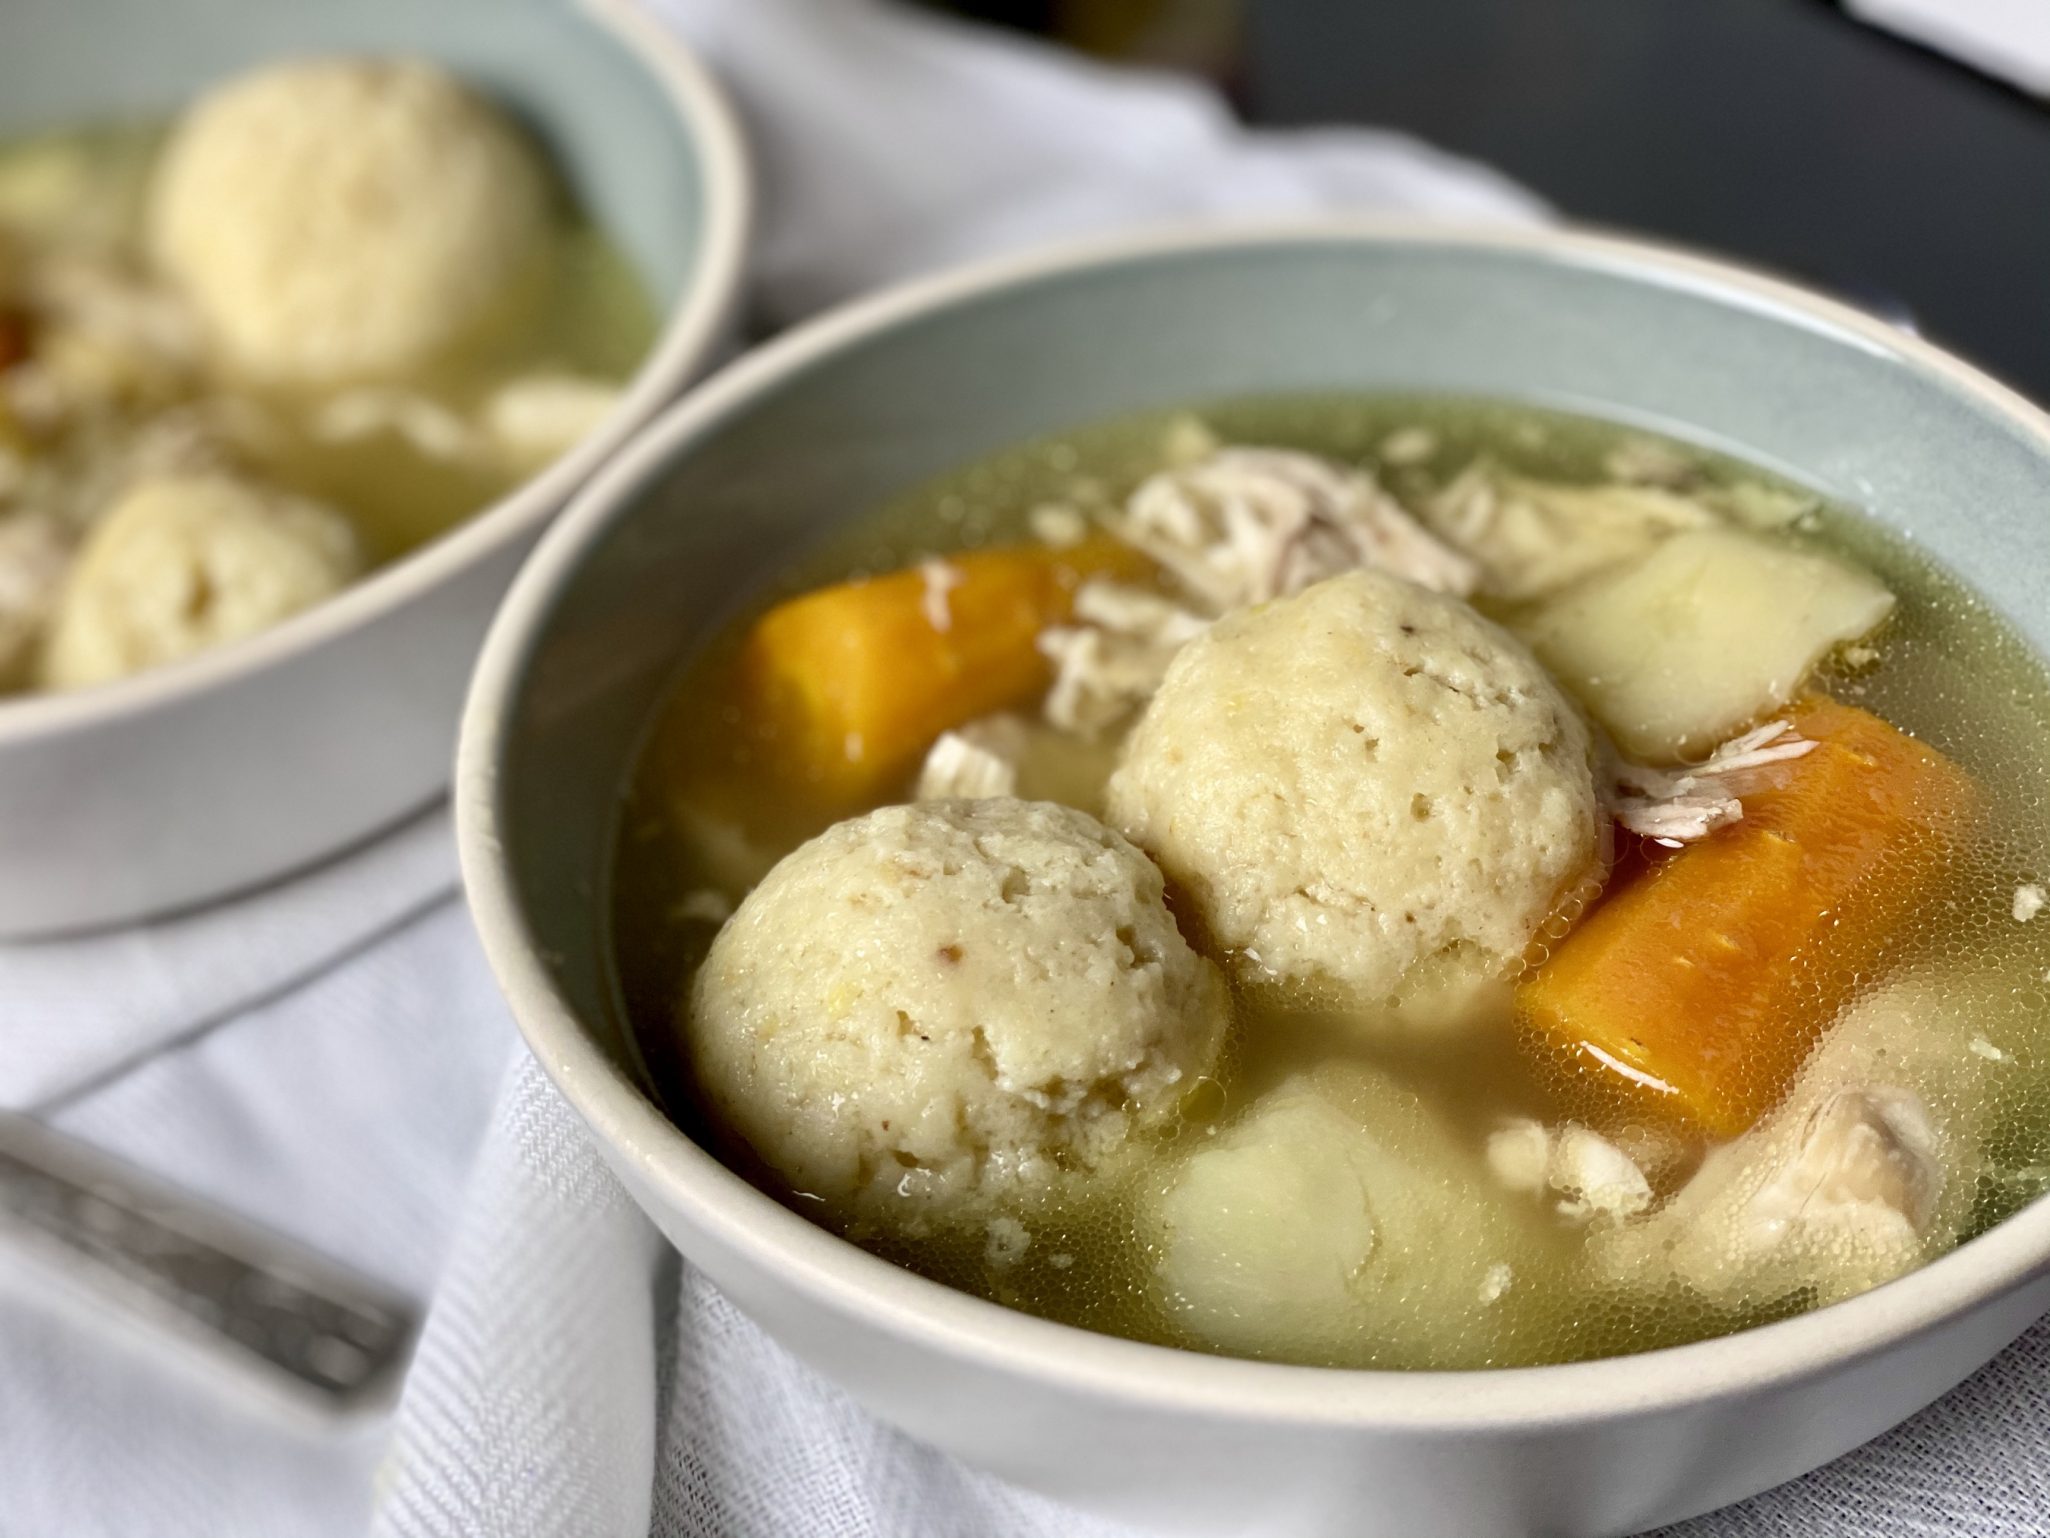
In the time of COVID-19 seems like we are all craving comfort food. I find myself yearning for dishes like soups, stews, foods from my…
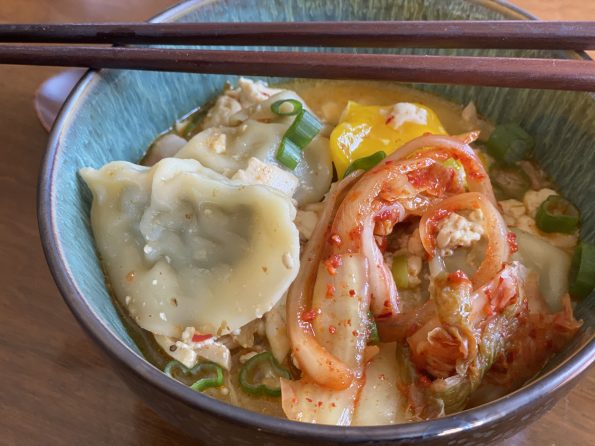
Y’all know I love soup, right? I have about a dozen recipes for different soups on 3jamigos and now I am adding one more, Kimchi…
Last week I headed up to the City to run some errands, check on my mom’s house and visit her at the assisted-living home. We…
Off to see Jorge in Korea! Do you have a bucket list of things to do when traveling, if so, what’s yours? I’d love to…
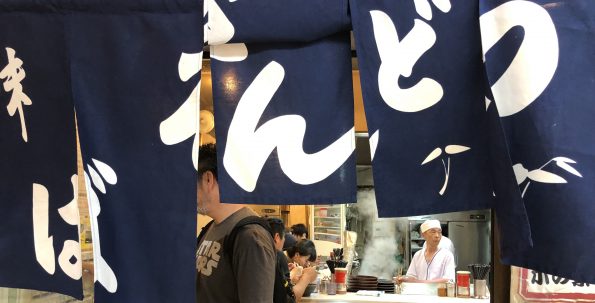
Hang on to your hats, imagine Times Square, with all its neon signs and flashing lights dedicated solely to FOOD. Yep, that’s the only way…