
I created 3jamigos to chronicle our family’s food adventures, recipes, and stories, for my kids. In college, I often called home to ask my dad…
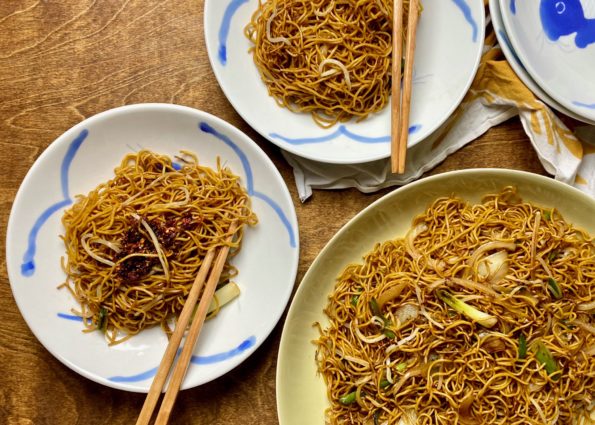
One of my favorite dishes, when we are out for dim sum, is Hong Kong Style Chow Mein or Soy Sauce Fried Noodles (豉油王炒麵). This…
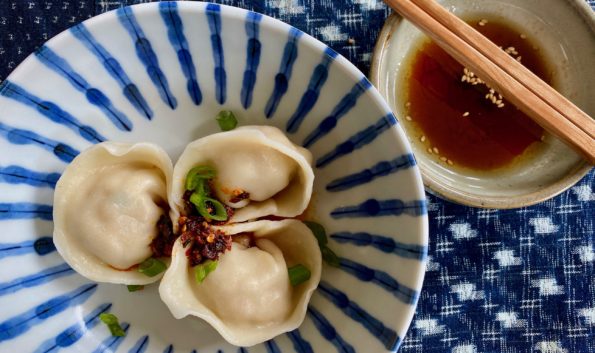
I cannot tell a lie. Most of the time, (we are talking 99.99 percent of the time) we use commercially available wrappers when making dumplings.…

I love dumplings, right up there with bowl food, soul food. In my world, Jeopardy has a couple of categories including “Things You Eat with…
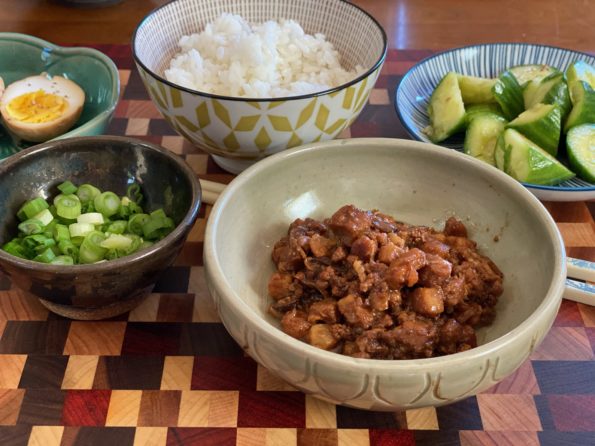
Continuing my virtual traveling by cooking, I’m imagining myself in Taipei right now. I have not been back to Taiwan in ages and yet I…
Only a couple of weeks have gone by since Thanksgiving and I have turkey on the brain, again! Not that I didn’t get my fill…
In these tenuous times, I find myself making comfort food-homey dishes that surround your soul like a warm blanket. One of my family’s all-time favorites…
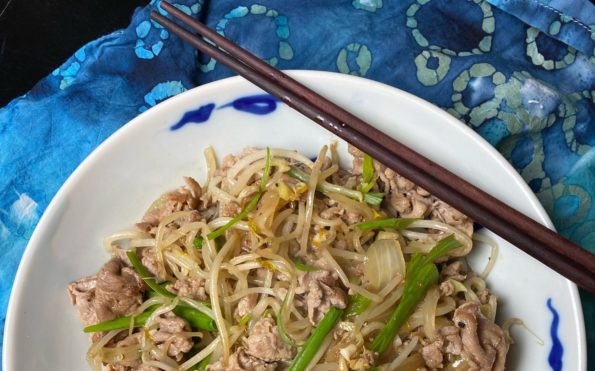
The fires in California have cast an apocalyptic haze to our skyline. We actually hit the water for an early morning row, but coming off…
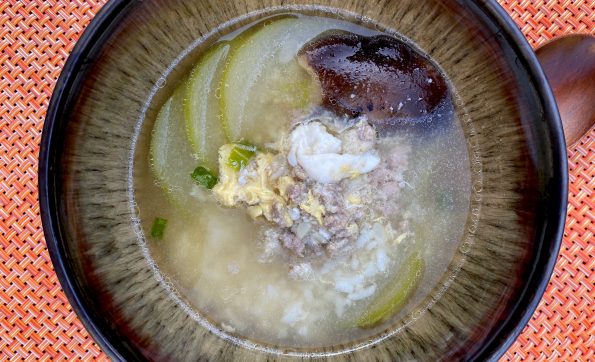
Now don’t freak over the term Fuzzy Squash or Melon. This squash does have a fuzzy exterior but it is scraped off before cooking. You…