Category: Recipes

Recipes I’ve tried and sometimes modified that I think you should try!

Cream Cheese Pound Cake-Eric Kim Makes Sara Lee Proud

Cream Cheese Pound Cake-Eric Kim Makes Sara Lee Proud

I am seriously thinking about adding a new category to 3Jamigos. I’m going to call it “Everything Everywhere All at Eric”.  Serving a dual purpose, a nod to the movie EEAAO and its amazing cast, and of course to Eric.  For those of you not “in the know”, I am referring to Eric Kim, food writer, cookbook author (Korean American: Food that Tastes Like Home), Food52 alum, and current columnist of lots of yummy stuff at the New York Times.

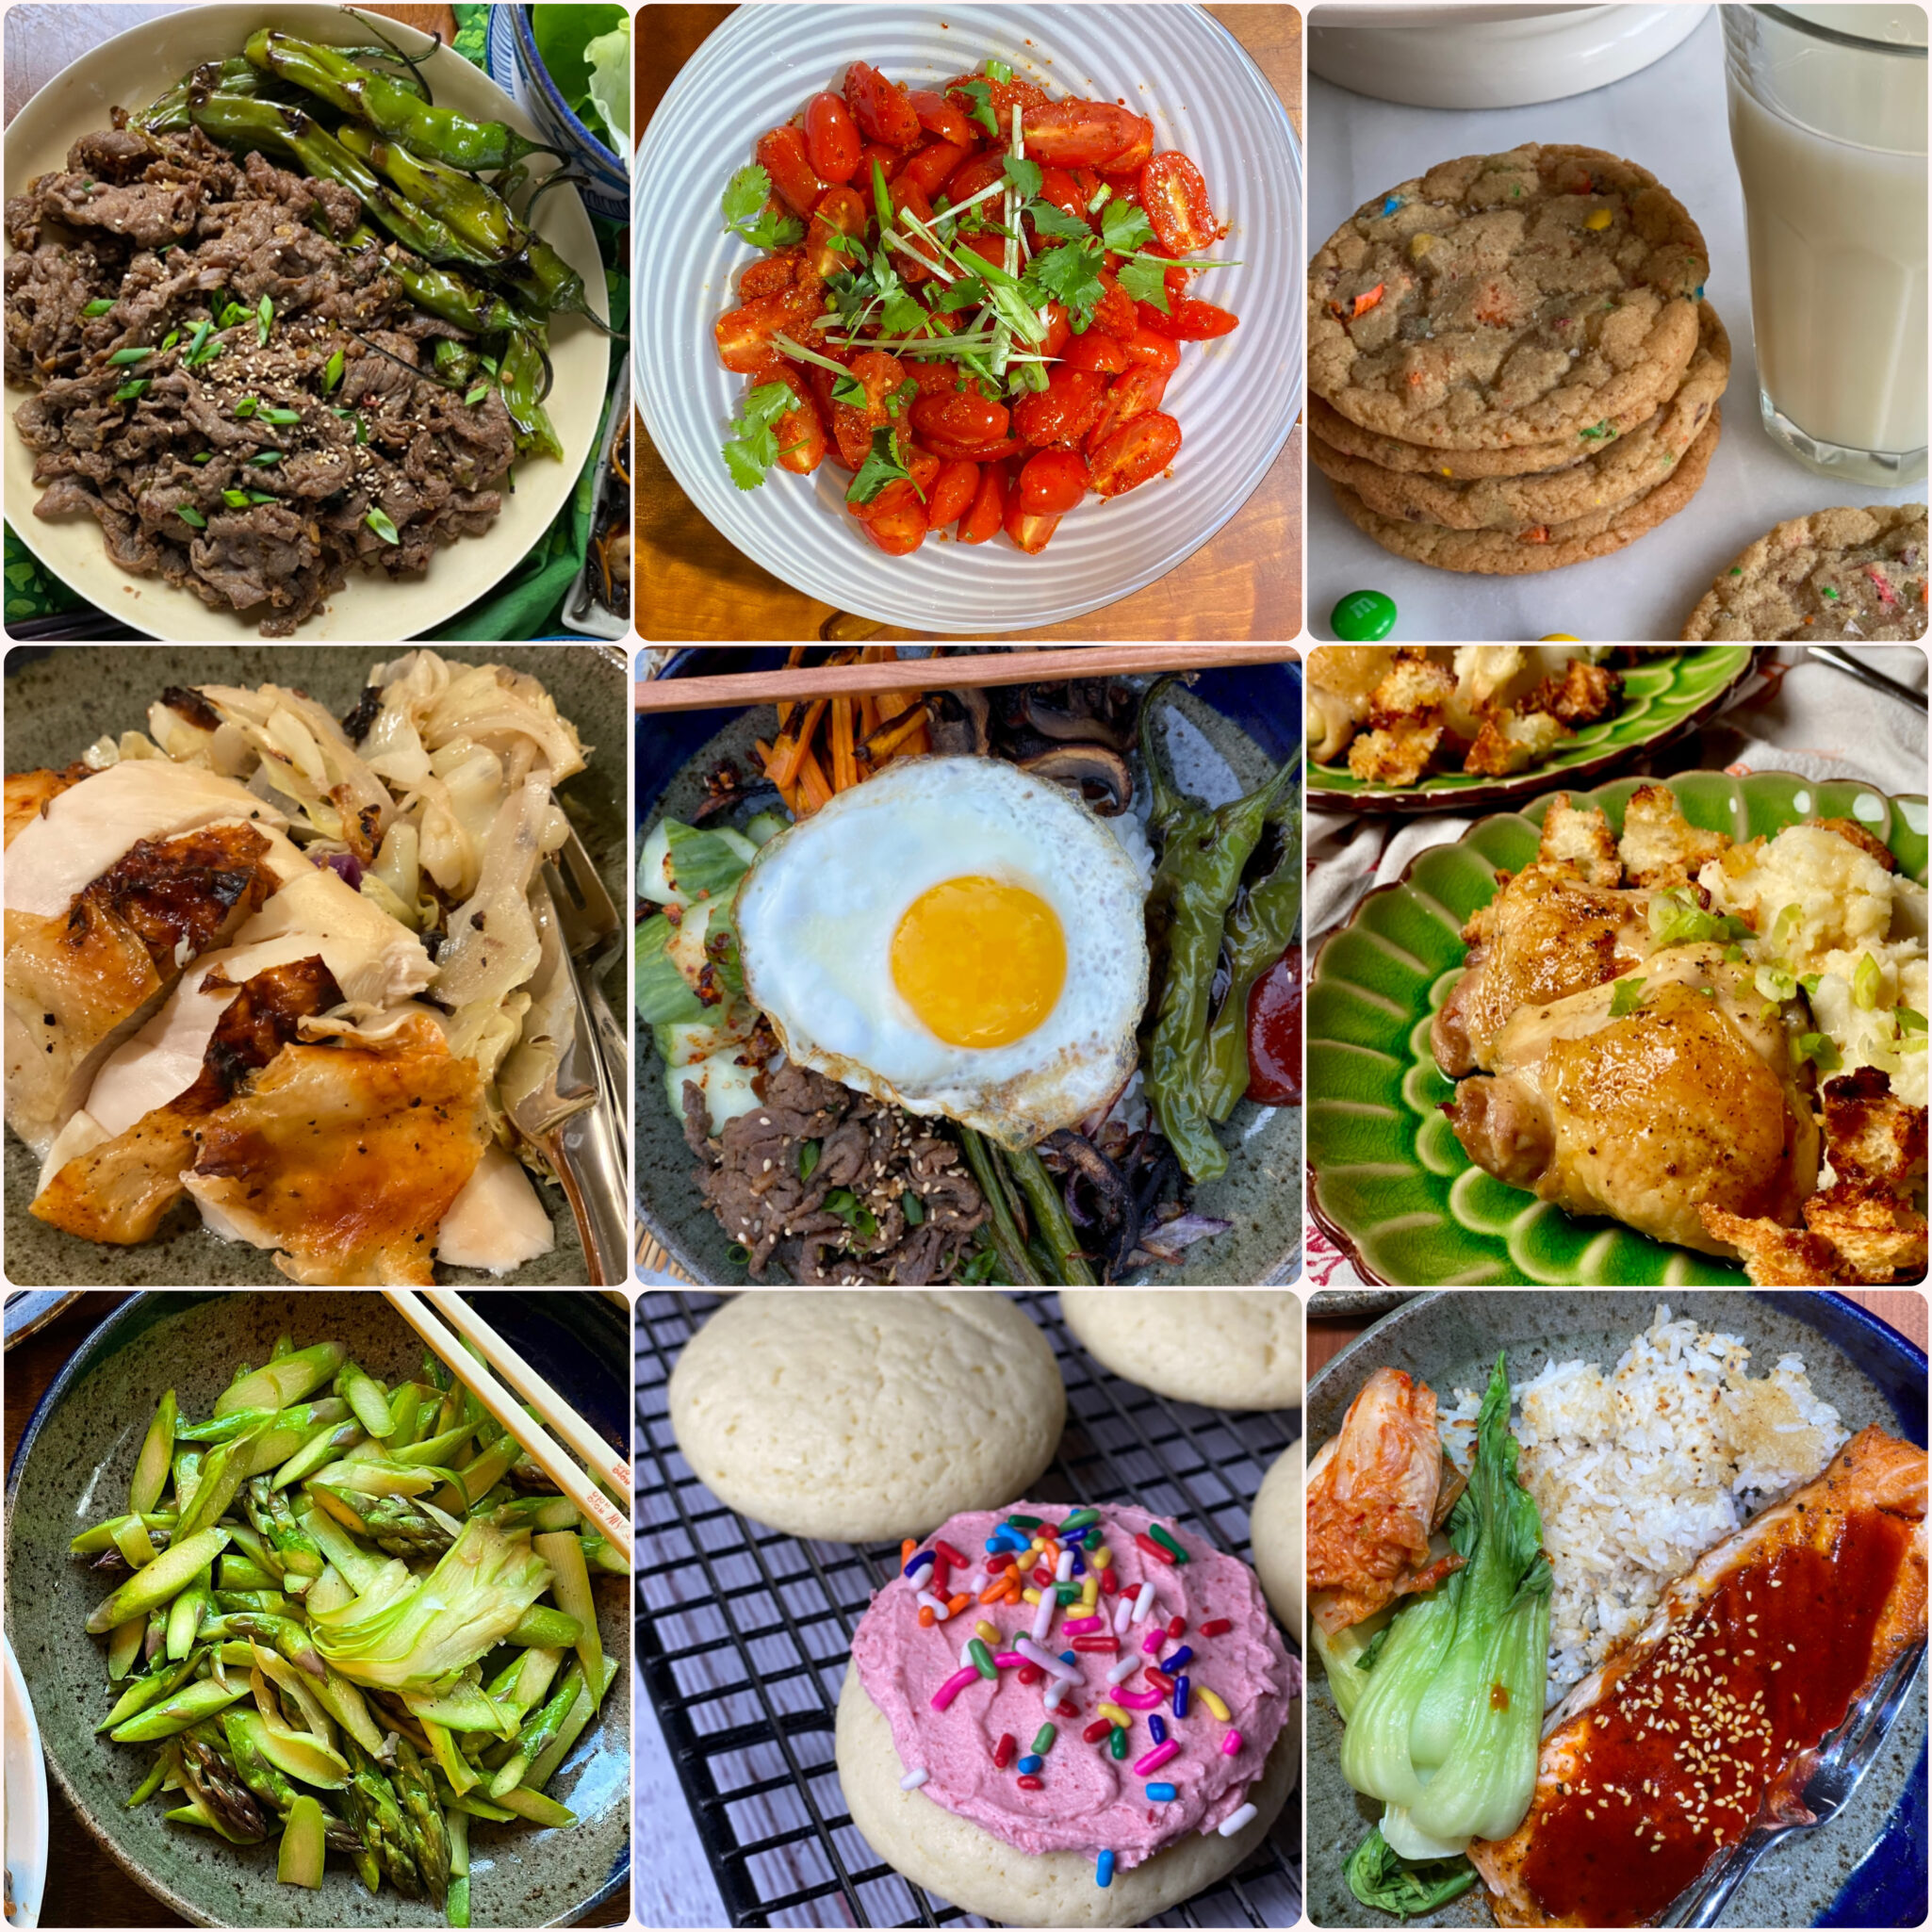
I’ve been following him since his days at Food52 where he wrote a column, Cooking for One.  His writing and recipes are gorgeous, simple, straightforward, and delicious.  I have a backlog of the recipes I have made but haven’t had the time to do them justice in a post.  I will get to them soon.  During the holidays I made his Cream Cheese Pound Cake, it’s divine. Posting about it is long overdue! So here is the list of Eric recipes I have made and love—links to the ones I have posted. I hope you will try them!

Savory

Sweet

Well, the list of savory is overwhelming at this point so I am going to finish off the Sweet category with his Cream Cheese Pound Cake.  It’s delicious and something you should bake right now. It will fill your home with the aroma of butter and sugar and help keep the house warm since our cold, wet, weather is back.  This is the perfect antidote.

Does it bother you when you make something from scratch and the person eating it says, “Wow this tastes just like the one in the grocery store!” Unless it is your hubby, who you would slug, you politely smile, laugh, and let it go.  This cake is reminiscent of the Sara Lee Poundcake we all grew up with.  Don’t be surprised if someone exclaims “This is like Sara Lee’s” and take it as a compliment.

Let’s Get Baking

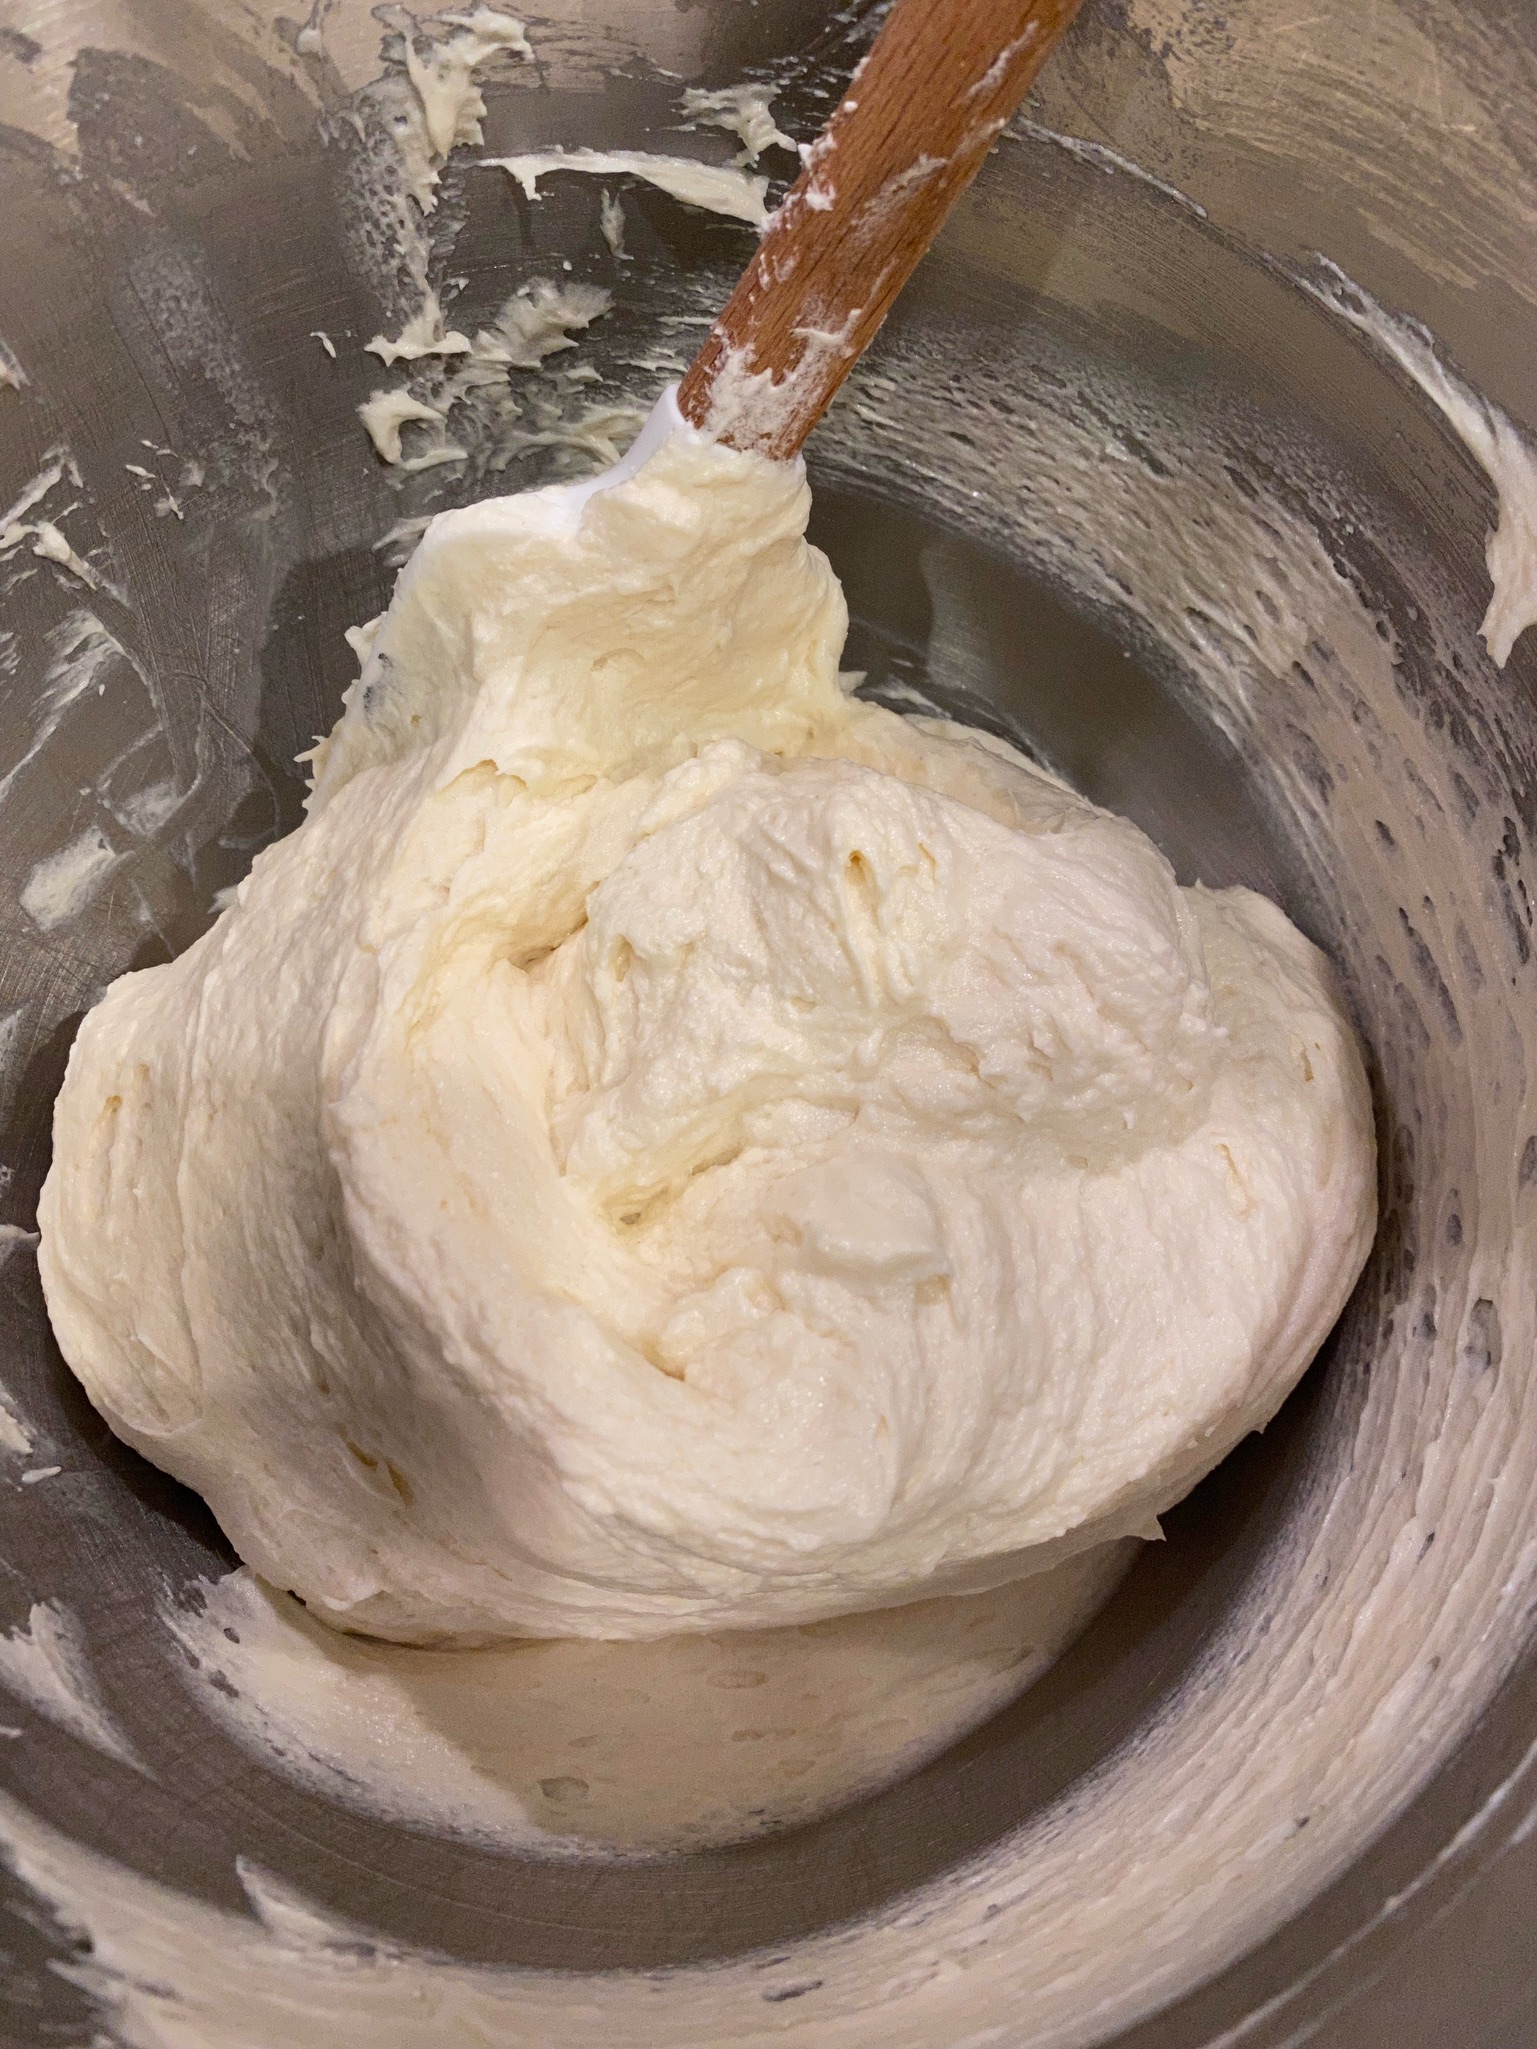
Make sure your butter and cream cheese are at room temperature (about 68 degrees).  Cream cheese adds moisture, richness, and flavor to the cake. Three cups of sugar is pretty typical for a pound cake although this cake may be a little sweeter since it has a smaller amount of flour.  Cream the butter, cream cheese, sugar, salt, and vanilla.  Then add the eggs, one at a time, beating until smooth.  Finally, add the dry ingredients at low speed.  Do not overbeat after adding the flour, this would toughen the cake.

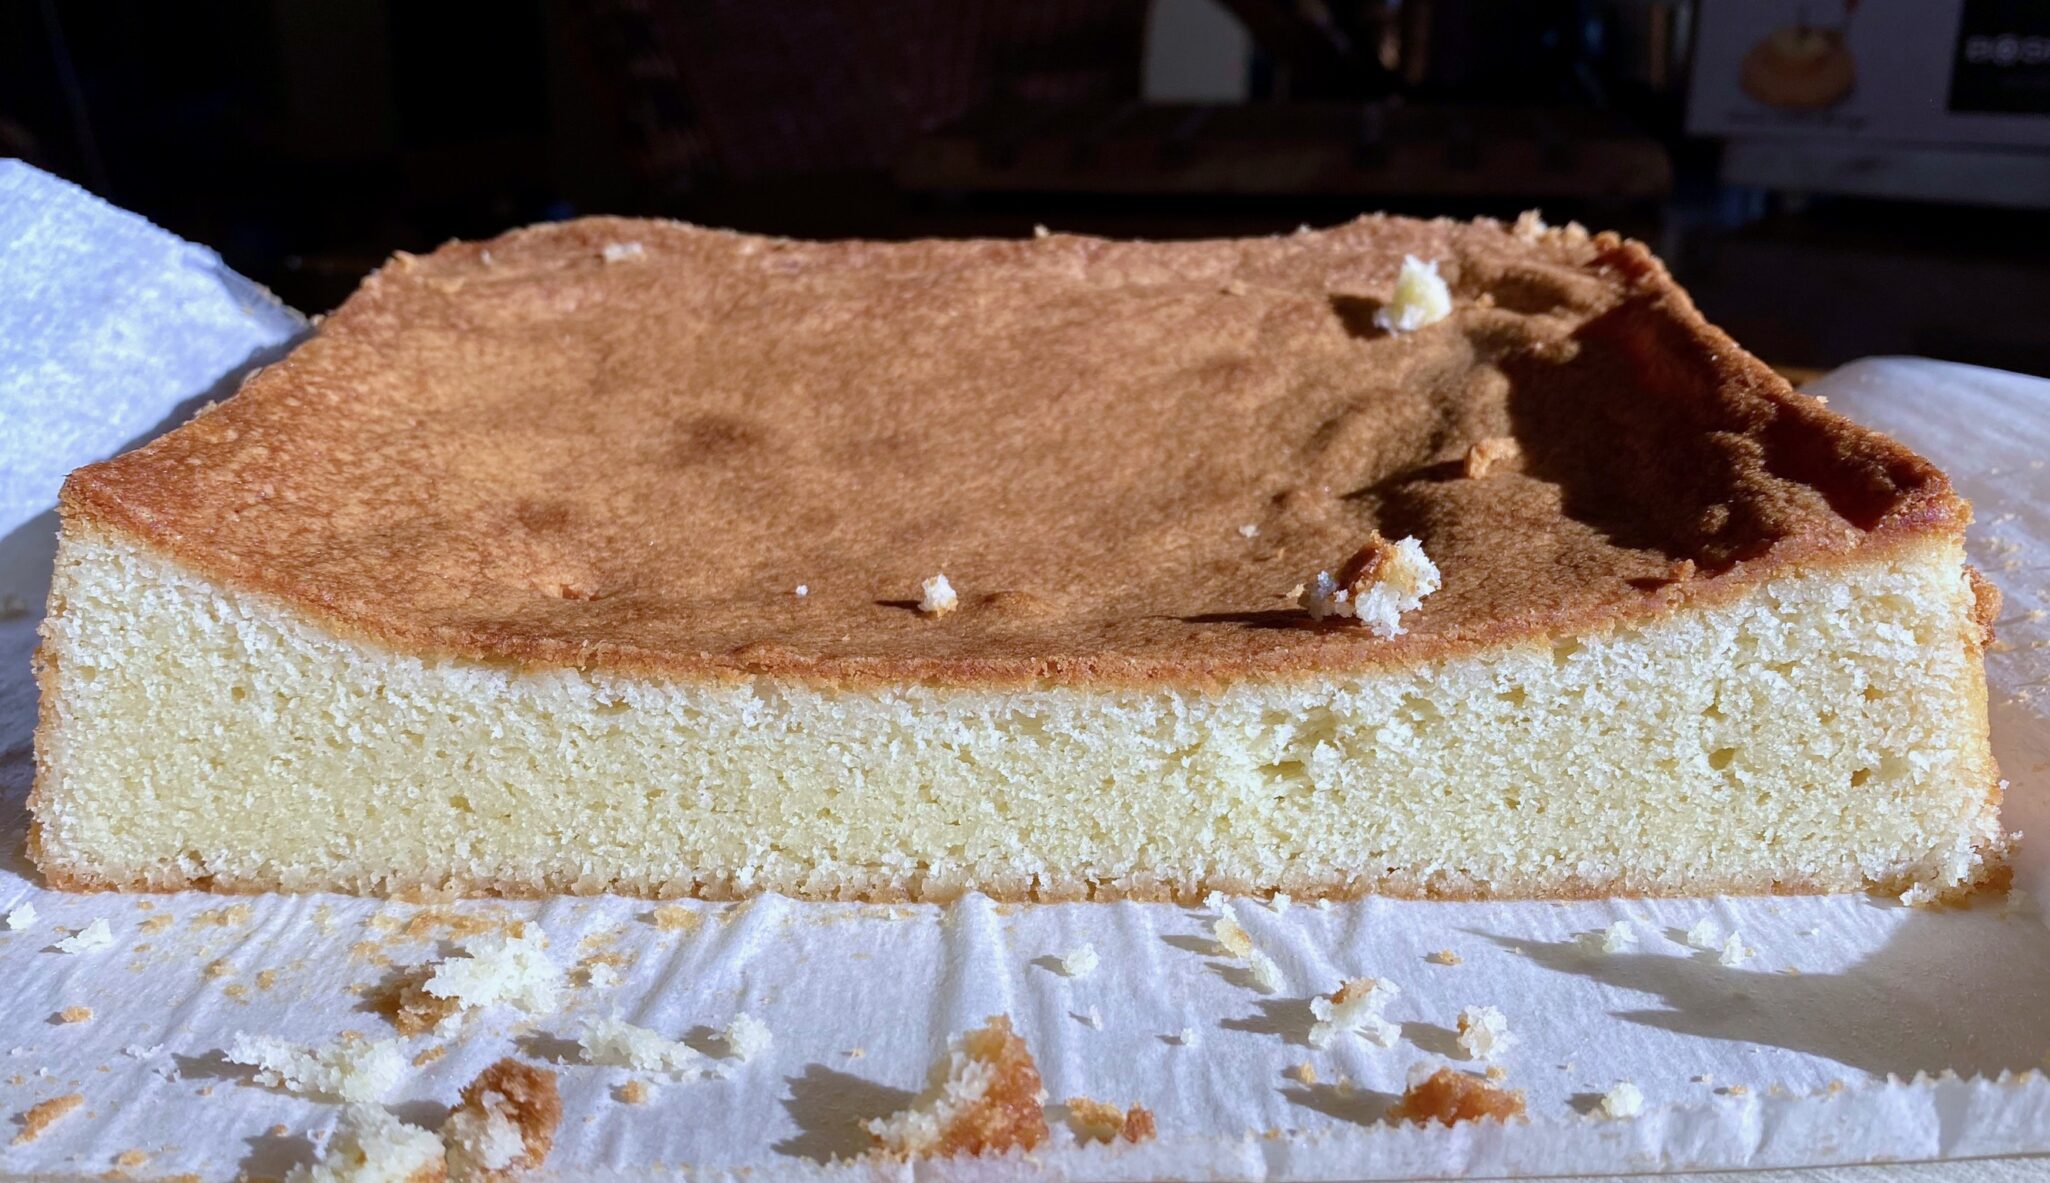
I cut the recipe in half using weights to split it and baked it in an 8×8 square pan. The cake dipped in the middle despite being fully baked. Looking at a couple of recipes for pound cake, for the equivalent amount of butter and sugar, most used 3 cups of flour. Using less flour, in this case, 2.5 cups, may make a softer cake with less structure and therefore lower in the center.   It was still delicious and nothing a nice dollop of whipped cream couldn’t hide.

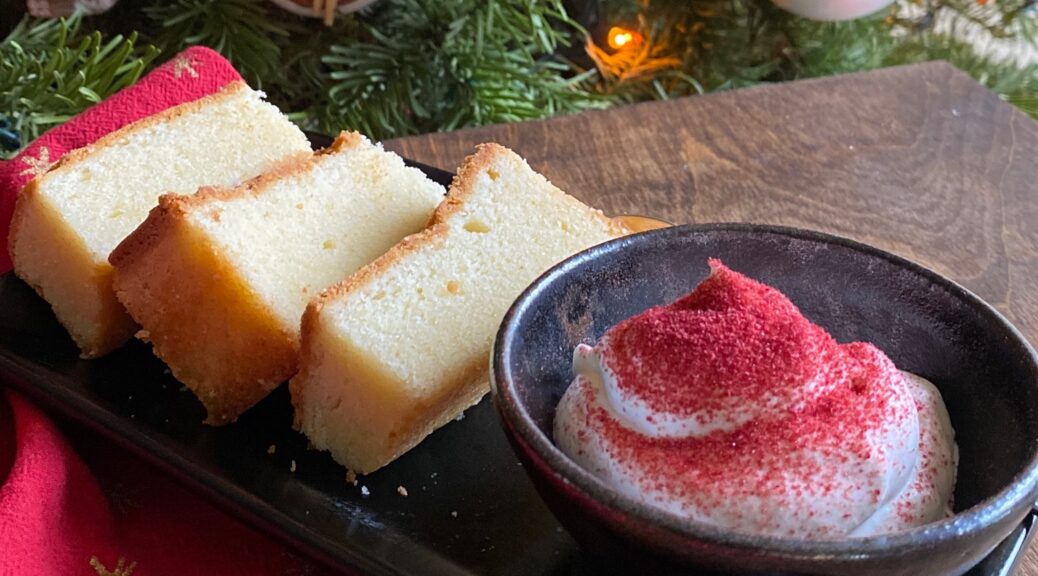
The whipped cream, jam, and raspberry dust are nice additions to the cake but not absolutely necessary.  I skipped the jam and the cake was delicious with just whipped cream and a dusting of ground freeze-dried raspberry.  Fresh berries instead of jam would be lovely too.

Cream Cheese Pound Cake

Just like Sara Lee's Pound Cake! Buttery, slightly dense but tender with a fine crumb. From Eric Kim and the NYT, an absolutely delicious pound cake that will transport you to your childhood.
Course Dessert
Cuisine American
Keyword buttery, Dessert, ERic KIm, freeze-dried raspberries, NYT Cooking, pound cake, whipped cream
Prep Time 20 minutes
Cook Time 1 hour 5 minutes

Ingredients

It's All About the Cake

  • cups all-purpose flour (320 grams)
  • 1 teaspoon baking powder
  • cups unsalted butter (345 grams) at room temperature
  • 8 ounces cream cheese (226 grams) at room temperature
  • 3 cups granulated sugar (600 grams)
  • 1 tablespoon vanilla extract
  • teaspoons fine sea salt
  • 5 large eggs at room temperature

The Bling Finish

  • 2 cups cold heavy whipping cream (473 milliliters)
  • 2 tablespoons granulated sugar
  • ½ teaspoon fine sea salt
  • 1 cup raspberry preserves (305 grams) see notes
  • cups freeze-dried raspberries (34 grams)

Instructions

Make the cake:

  • Position a rack in the center of the oven and heat the oven to 325 degrees. Grease a 9-by-13-inch baking pan; line the bottom and long sides with parchment.
  • In a medium bowl, add the flour and baking powder. Whisk to combine and to break up any lumps. Set aside.
  • Add the butter,cream cheese, sugar, vanilla and salt to the bowl of a stand mixer fitted with the paddle attachment. Mix on medium-low speed to combine. Increase the speed to medium-high and beat until fluffy, almost white, and the sugar is mostly dissolved about 5 to 7 minutes. With the mixer on medium speed, add the eggs one at a time, mixing until smooth after each addition. Use a flexible spatula to scrape the bowl, then beat over medium speed for another minute.
  • With the mixer on low speed, gradually add the dry ingredients and mix until most of the flour streaks have disappeared. Using the spatula, scrape the bowl and gently stir until you eliminate the flour streaks. Scrape the batter into the prepared pan, then smooth out the top.
  • Bake, rotating the pan halfway through, until golden brown and a skewer or cake tester inserted in the center comes out clean, 60 to 65 minutes. When you gently press on the center of the cake with your fingertip, you shouldn’t leave a dent. The internal temperature of the cake should be about 205 degrees. Let cool completely in the pan. (The cooled cake can be covered and kept at room temperature for up to 3 or 4 days.)

Putting it all together

  • If using the jam, spread layer on top of the cake. You could use strawberry or a mixed berry jam also.
  • In the bowl of a stand mixer, whisk the heavy whipping cream, sugar and salt over medium-high until billowy soft peaks form. When you lift the whisk out of the bowl and turn it upside-down, a peak of cream should flop over slightly like a Santa hat. Evenly spread the whipped cream over the jam-topped cake.
  • Add the freeze-dried raspberries to a fine-mesh sieve and hold it over the cake. Using your fingers, pass them through until most of the magenta powder rests atop the frosting like fresh snow and most of the seeds are left behind in the sieve. The entire surface of the whipped cream should be covered in pink dust. Discard the raspberry seeds. Serve immediately.

Notes

Personally, the cake is so damn good, I don't think it needs the jam.  The whipped cream is great and the sprinkling of raspberry dust is more than enough. YOu could also substitute strawberry for raspberry.
This is from the original recipe
Look for a brand of raspberry preserves with minimal ingredients: They should consist of only raspberries, sugar, pectin and some kind of citrus. That will taste more tart and less artificial than one with, say, high-fructose corn syrup and other fruit juices that muddy the natural raspberry flavor. If your preserves taste especially sweet, you can stir in up to 3 teaspoons of fresh lemon juice for added tartness.
Heartfelt Thumbprint Cookies

Heartfelt Thumbprint Cookies

Just in time for Valentine’s Day…2024!

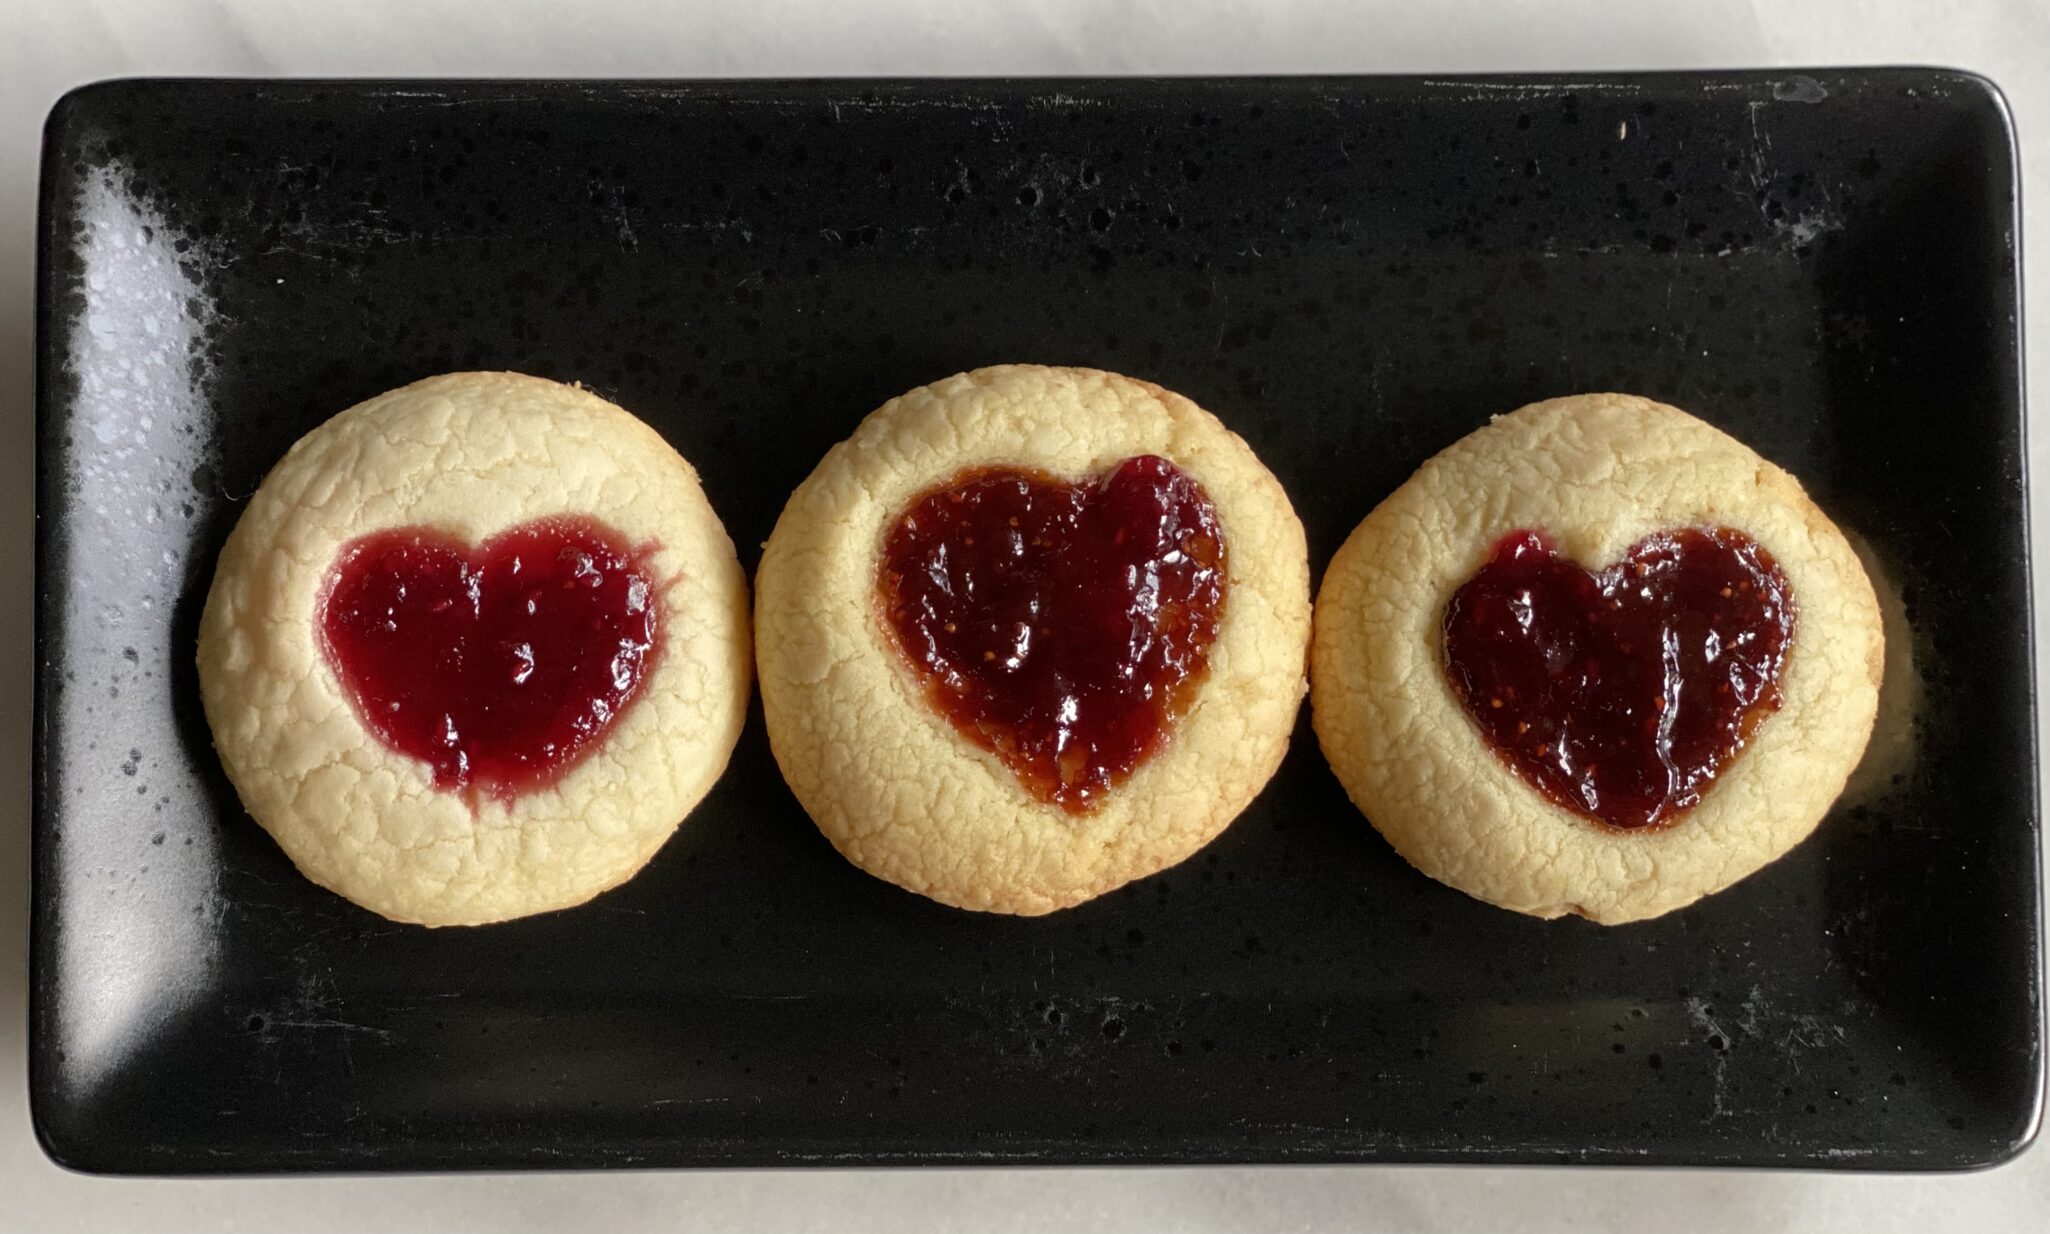
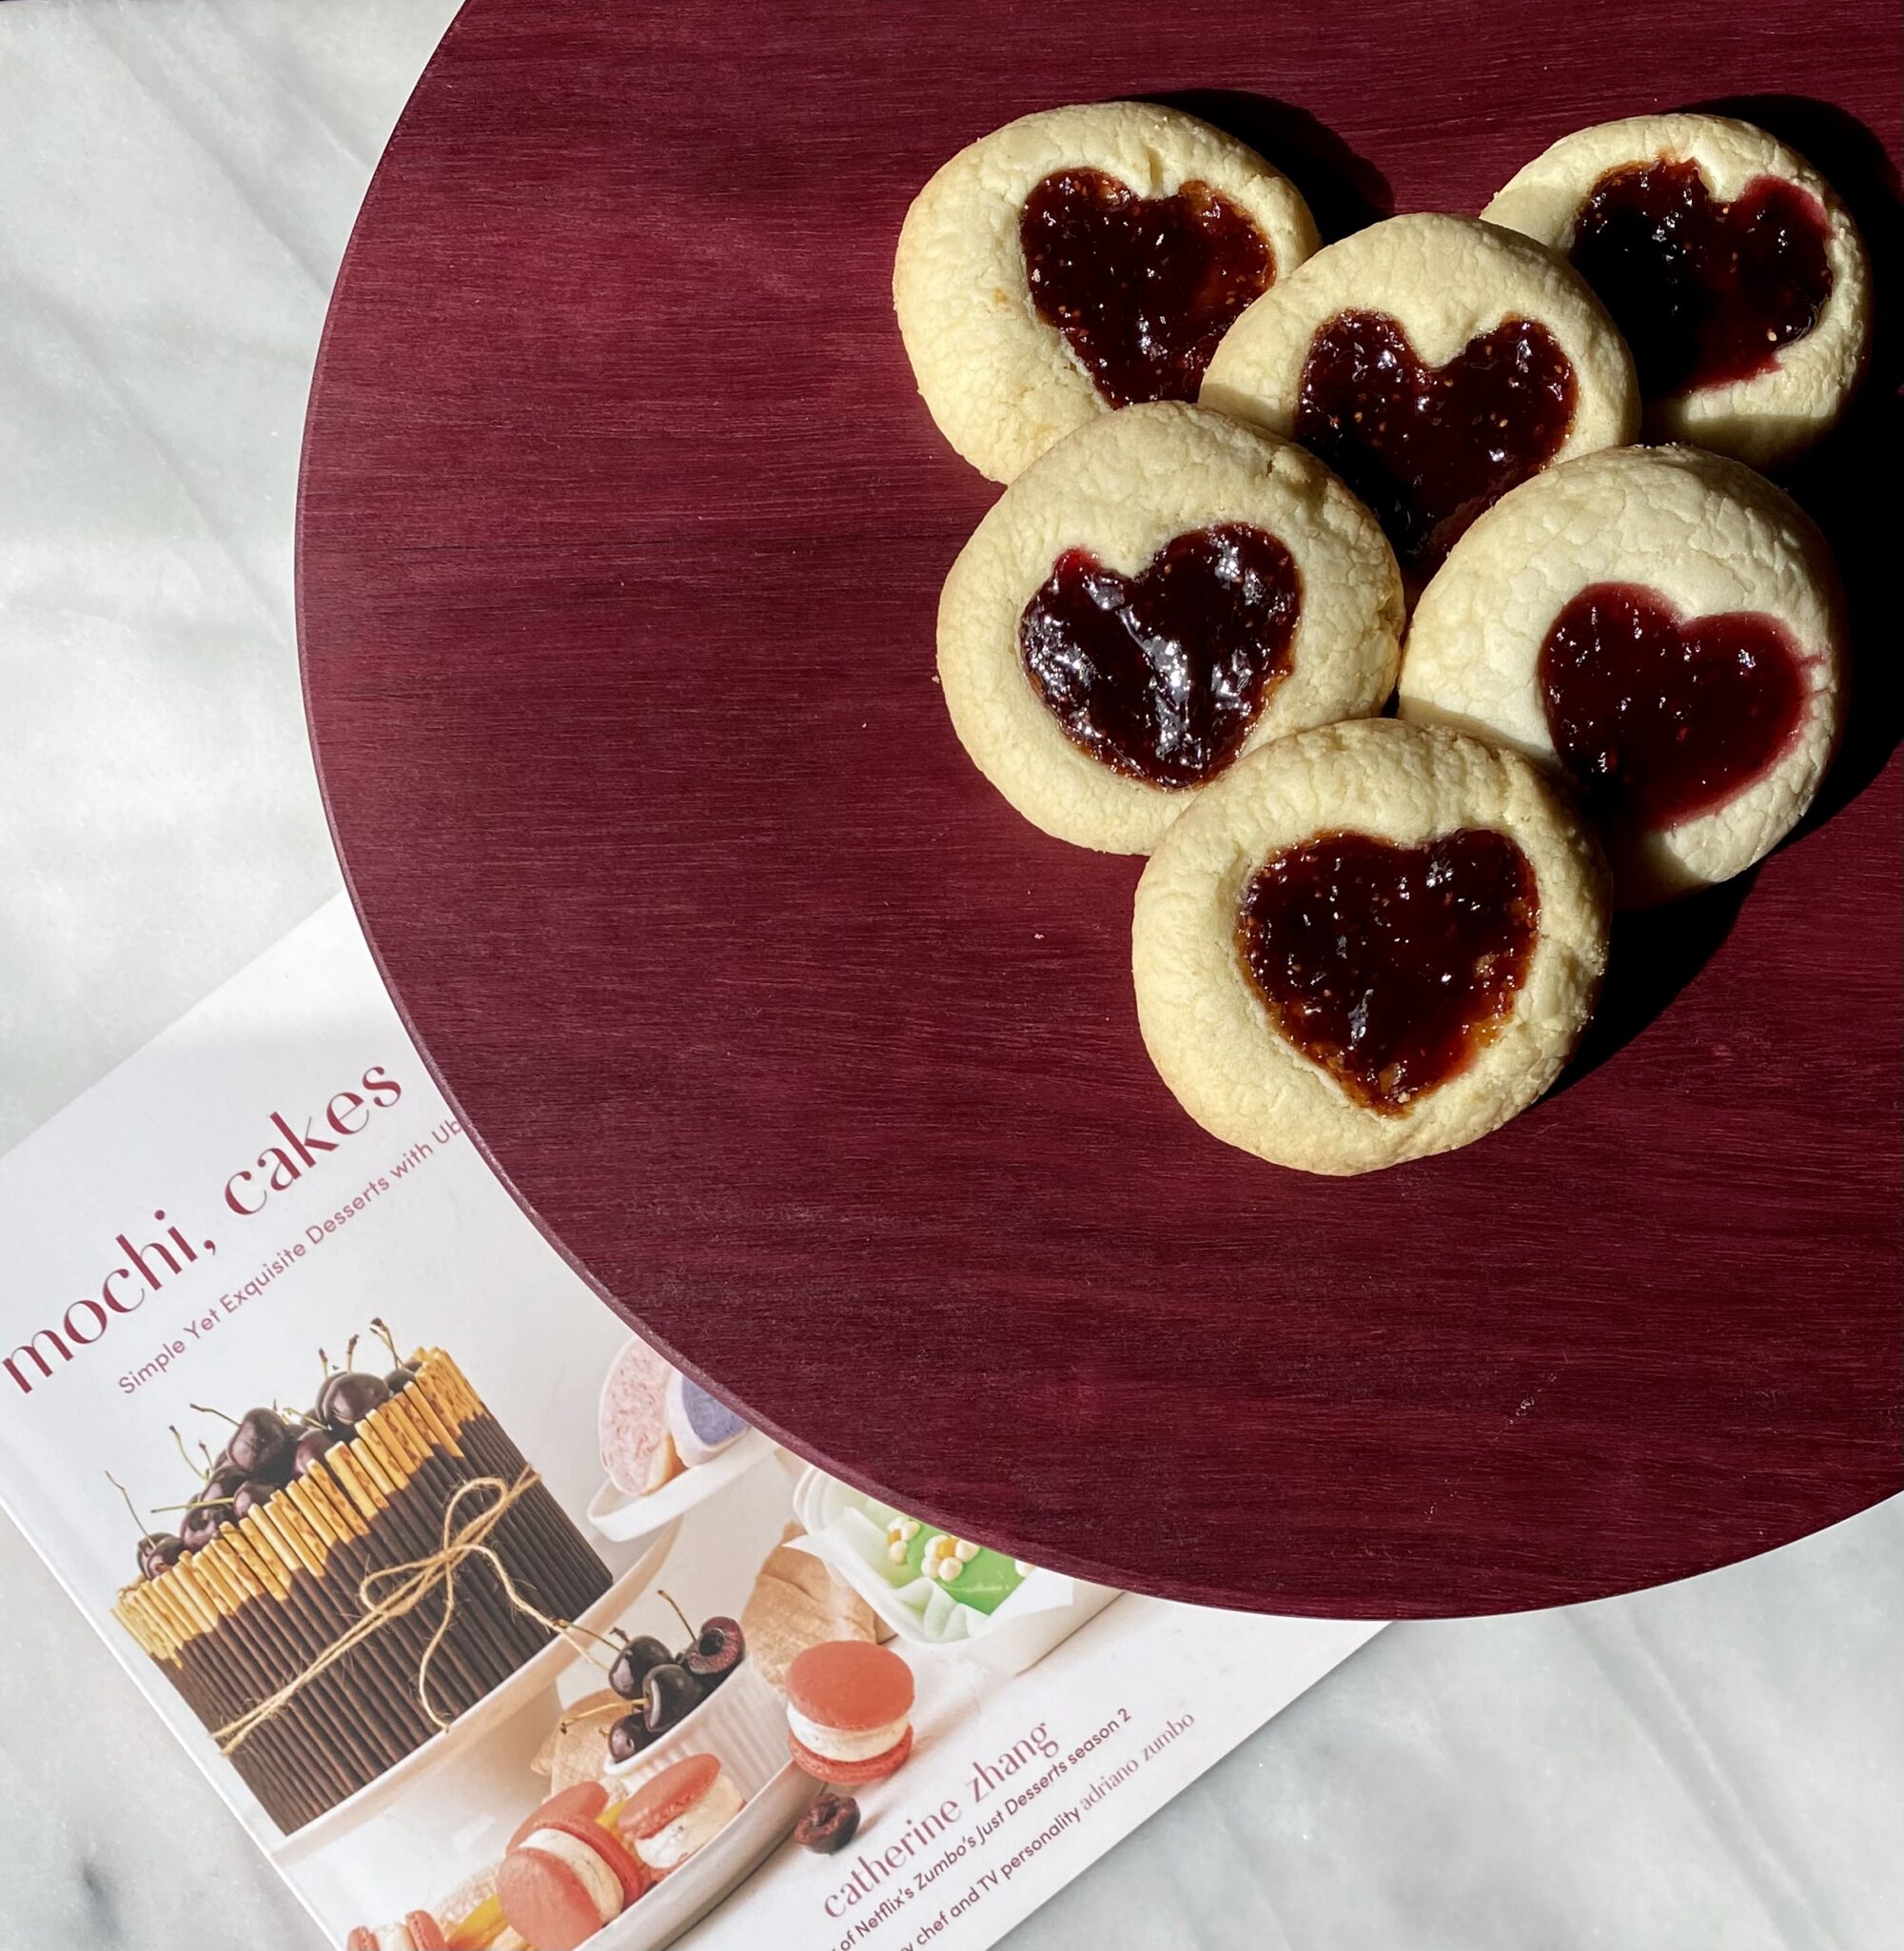
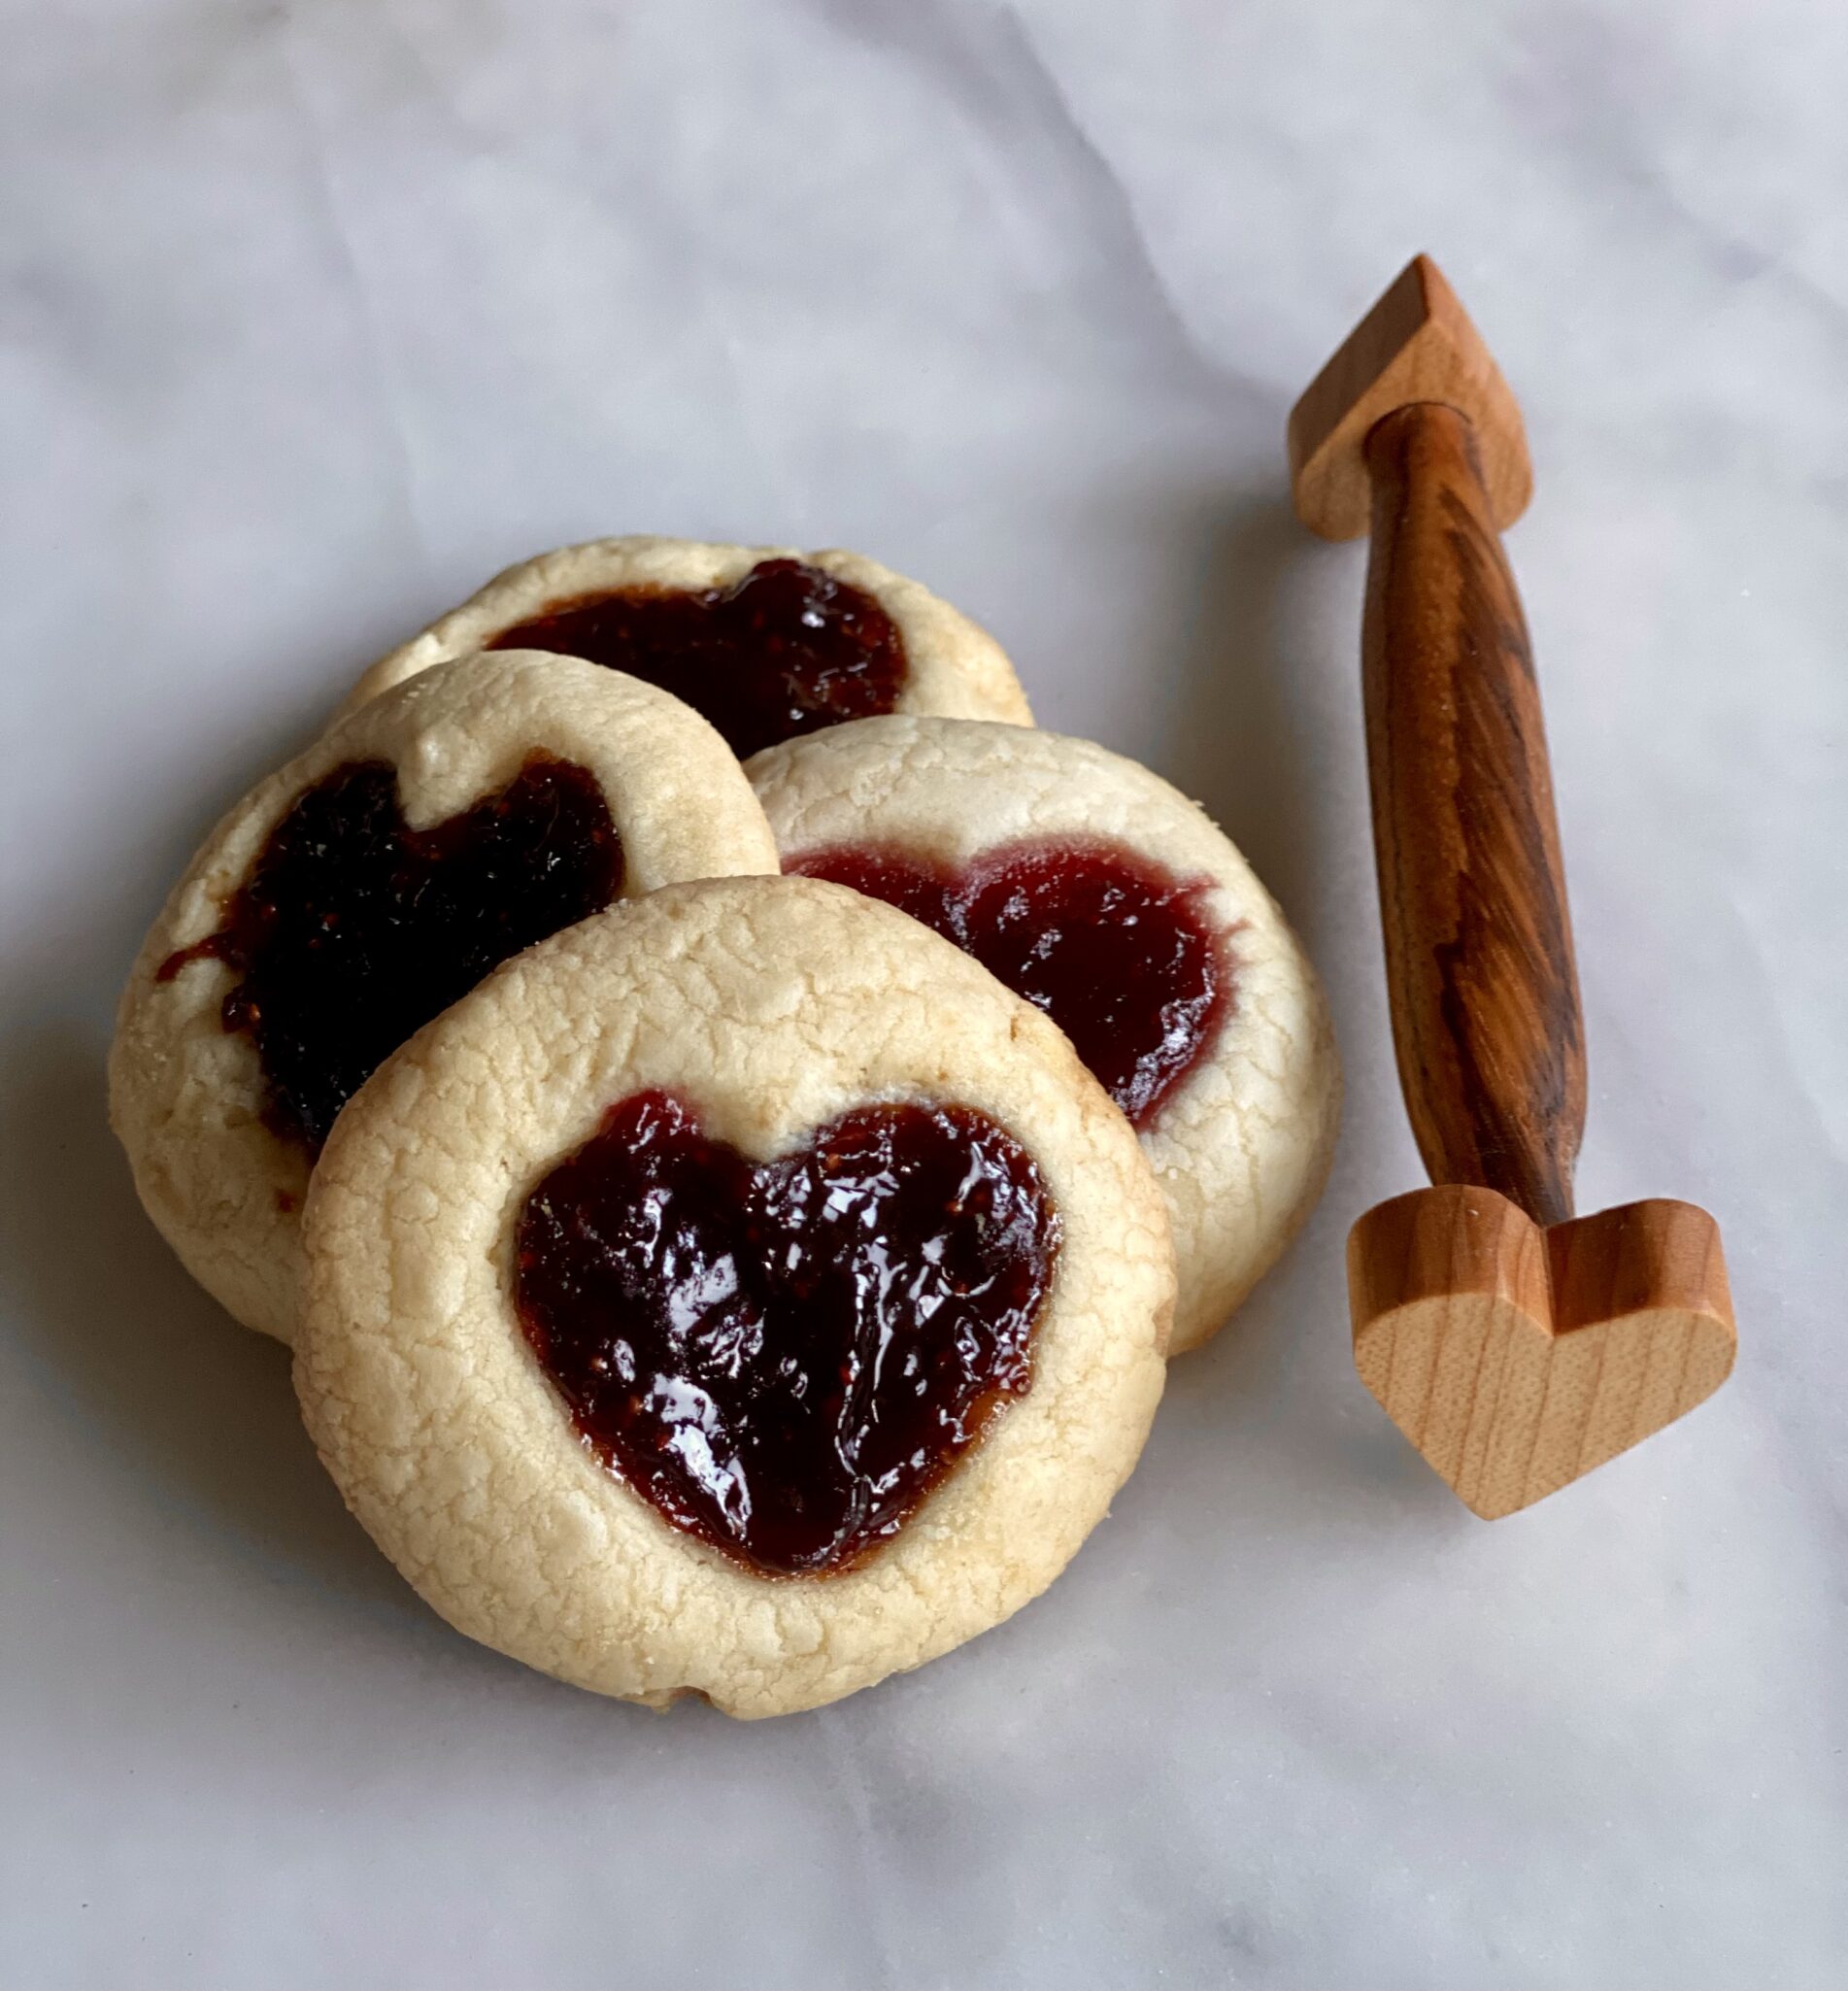
Thumbprint cookies with a heart-shaped center.  Do I hear a collective “Awwwww, how cute”? Yes!  I came across these delectable morsels on a fab blog I follow by Catherine Zhang, Desserts with a Hint of Asian Inspiration.  After watching her on Netflix’s Zumbo, an Australian Baking Contest/Show, I went hunting for her blog.  Cute as a button (I can say that I’m a MOM), she looks like a teenybopper but can razzle-dazzle us with her mad “baking skillz” on both her blog and her cookbook, “Mochi, Cakes and Bakes”. Her skills are beyond her years.  Her book is available at all my favorite places.

Thumbs Up Thumbprints

These thumbprints are buttery, tender, and delicious.  She adds powdered sugar which sweetens and tenderizes the cookie and cornstarch which further lowers the protein content of the flour and ensures a tender and slightly crumbly cookie.  I  added a touch of salt to bring out the flavor.  For a hint of citrus, try adding lemon or orange zest to the dough.  Cream the butter and powdered sugar until light and fluffy, add the egg yolk and vanilla (be generous), and finally, the flour and cornstarch.  Stir just until combined.  Don’t overmix.  Scrape the sides of the bowl after adding each ingredient.

Cookie Hacks

Kudos to the cookie baker, chef, or whomever who had that 💡 moment while scooping out cookie dough, THIS would be so much easier if I used an ice cream scoop.   My cookies will be round and all the same size!  For these thumbprints I used a #50 ice cream scoop (~0.68 ounce or 1.25 tablespoon) which made approximately 12-14 cookies about 2.5 inches in diameter.  Each scoop of dough weighed about 25-27 grams.

Catherine’s thumbprints call for making a cherry jam for the cookie centers.  I opted to use one of the many jams I have, a luscious strawberry jam from my favorite farmer’s market vendor, Live Earth Farm.  Depending on the consistency of your jam, you might have to heat and reduce the jam to thicken it.  This is what I did with their strawberry jam, worked like a charm.

To fill each cookie, use a squeeze bottle.  Put the jam in a squeeze bottle topped with a large bore cap.  I save the honey caps from Trader Joe’s, they work like a charm.

View these hacks on my IG reel under 3jamigos bakes.

Modern Old Inventions to Make it Simple

So, the tweak to this thumbprint cookie is using your thumb and pressing the center of your cookie dough TWICE, in the shape of a V to make the heart.  Two things, it’s a little cumbersome and she must have tiny thumbs, I had to use my pointer finger.

So there I was in my kitchen…

Enter Wes from the garage, his mancave, into the kitchen.

Wes: Whatcha doing?

Me: Making thumbprints with a heart in the middle, it’s a bit more work, but hey, it’s Valentine’s Day.

Wes:  Hmmm, I could make a heart shape stamp, would that make it easier?

Me: YES…back to the garage for you!

A few hours later…

Ooh, I LOVE my ❤️ shaped cookie stamp!  It does make it easier, but you can totally make these with your own little digits!  And, the cookies will be so cute.

Heart Thumbprints

Customizing thumbprint cookies for Valentine’s Day! Use strawberry or raspberry jam and 2 thumbprints in the shape of a V. A delicious, very cute cookie !
Course cookies, desserts
Cuisine cookies
Keyword cookies, strawberry jam, thumbprints, valentine, valentine's day
Prep Time 20 minutes
Cook Time 12 minutes

Ingredients

CHERRY JAM: But feel free to substitute your favorite red jam, like strawberry or raspberry!

  • 150 g Whole cherries approx. 1 cup
  • 50 g 1/4 cup Sugar
  • 1 tsp Lemon juice

COOKIE

Creamed Mixture

  • 115 g Unsalted butter (1/2 cup) room temperature 68 degrees, shuld not be soft and melty
  • 60 g powdered sugar (1/2 cup)
  • 1 Egg yolk
  • 1/2 tsp Vanilla extract

The Dry Stuff

  • 140 g All purpose flour (3/4 cup + 2 tbsp)
  • 15 g Cornstarch (2 tbsp)
  • 1/4 tsp salt
  • 1/2 Tsp lemon or orange zest, OPTIONAL finely grated

Instructions

  • Preheat the oven to 350F

CHERRY JAM

  • Finely chop cherries
  • Combine cherries, sugar and lemon juice in a small saucepan
  • Heat over medium heat for 8-10 minutes until thickened. Cool

COOKIE

  • Combine flour and cornstarch in a bowl. Set aside.
  • Cream butter and powdered sugar until light and fluffy
  • Add egg yolk and vanilla extract, beat until well mixed.
  • Add flour mixture and stir until combined.
  • Use a #50 scoop to form 12-14 balls. If dough is sticky, chill for 10 minutes before scooping. Remove from fridge and roll into smooth balls. This is essential, a smooth surface, or you will have cracks in your finsihed cookie. Create a heart shape in the center of each ball using two thumbprints (I used my pointer finger) pressed in a V shape. Chill for 10-15 minutes.
  • Fill the thumbprint with cooled cherry jam or jam of your choice*
  • Bake for 10-12 minutes, or until lightly golden brown.

Notes

Weigh dough and divide by 12.  Use this as your guide.  Each dough ball will weigh approximately 25 grams.  Each baked cookie will be approximately 2 inches in diameter.
*Use jam of choice.  I like raspberry or strawberry for Valentine's Day.  The jam should be fairly thick so it doesn't run too much.  If need be, heat jam and reduce to thicken it.
The recipe can be doubled
Chicken Wings and Daikon Nimono + TV for Rainy Days

Chicken Wings and Daikon Nimono + TV for Rainy Days

It’s raining once again in California.  Which is the best excuse to stay home (in sweats), watch a lot of TV, bake, and cook.  I started the weekend on a carb bender. First, I made No-Knead Focaccia from Bon Appetit, it gets a big thumbs up, pillowy, springy, and delicious.  Caveat:  You have to start a day earlier for said focaccia, since there is 8 hours of resting time. Then I started on Kristina Cho’s Milk Bread from Mooncakes and Milk Bread, also extremely delicious.  Think of it as the Asian version of Brioche, slightly sweet, buttery, rich, and soft.

THEN, I needed a Bread Bake Break

Well, actually, my hips needed a break.  The combination of being a couch potato and baking is, to say the least, lethal.  I had to pick one, couch or carbs. Couch won.  Mainly because I started watching a cute, sweet Japanese show on Netflix called Makanai:  Cooking for the Maiko House. In a nutshell, two BFFs go off to Kyoto to become geishas.  One becomes a geisha while the other is a total washout but a fabulous cook (thanks to her grandmother), and becomes the Makanai or resident chef for the house, a role usually held by an older woman.  Each episode features something yummy, often a comforting, homestyle dish, made by Kiyo.

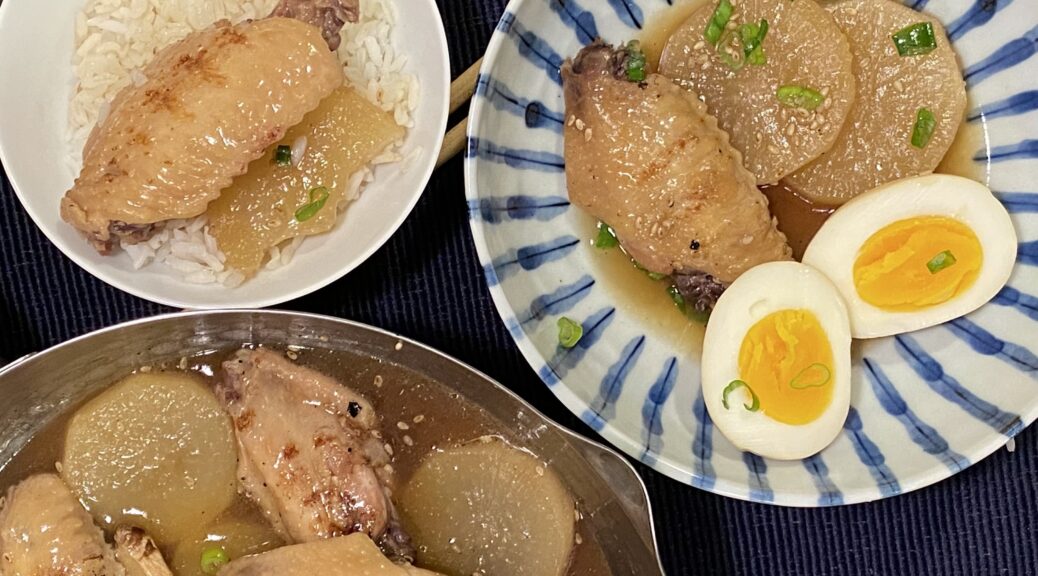
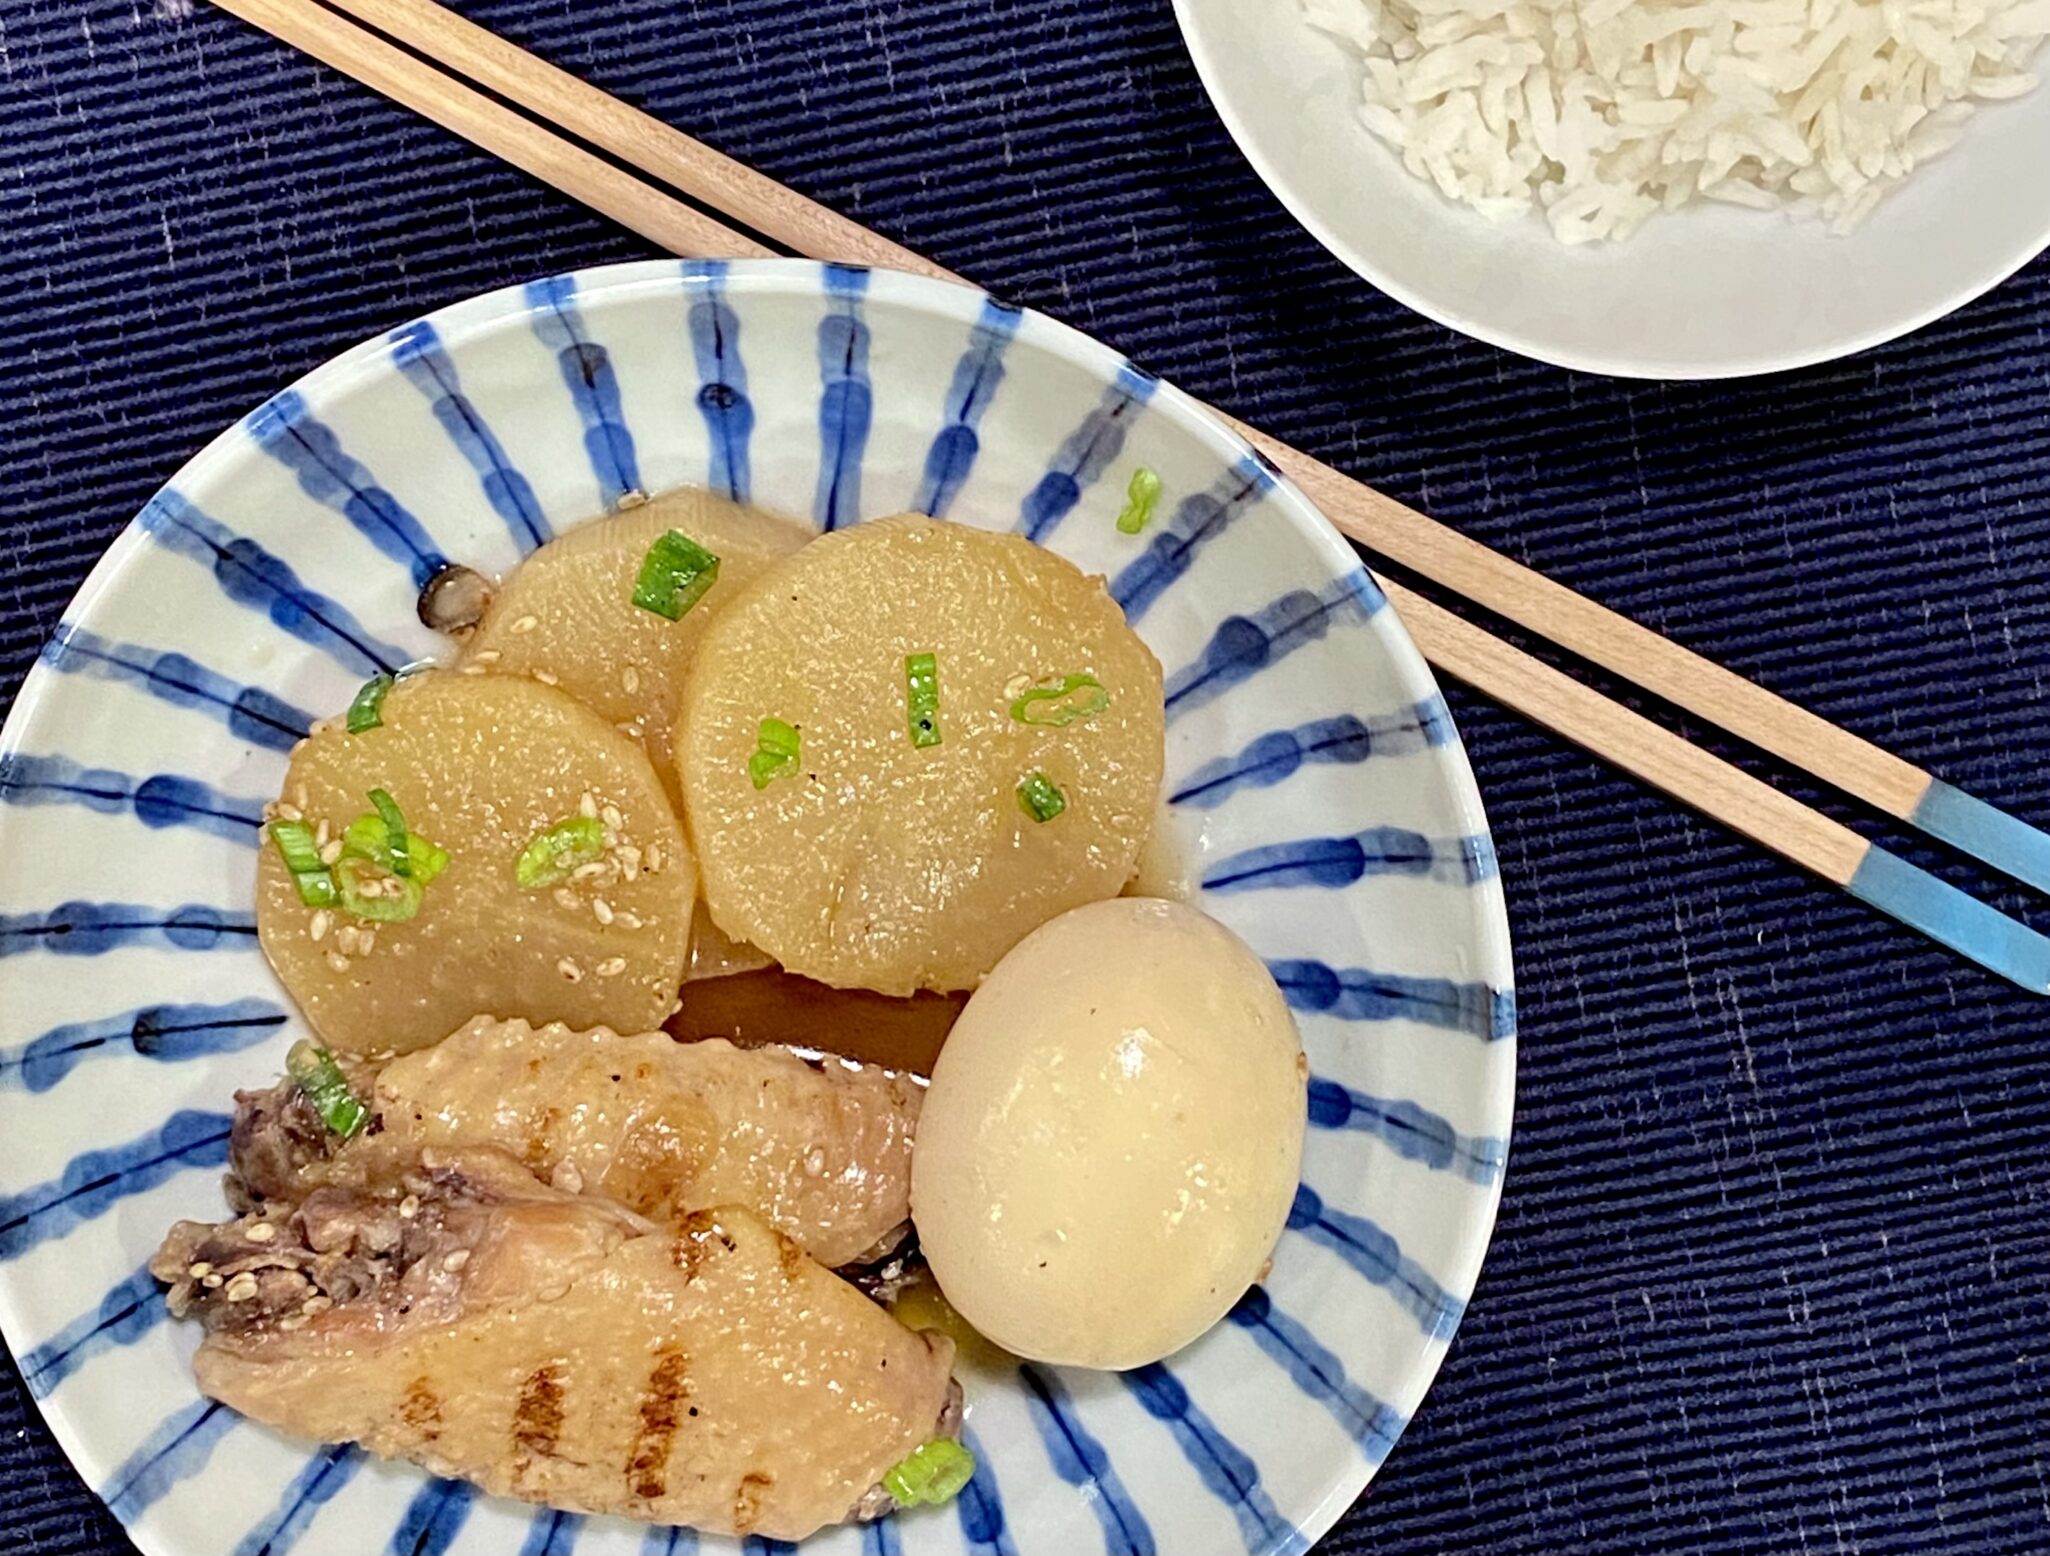
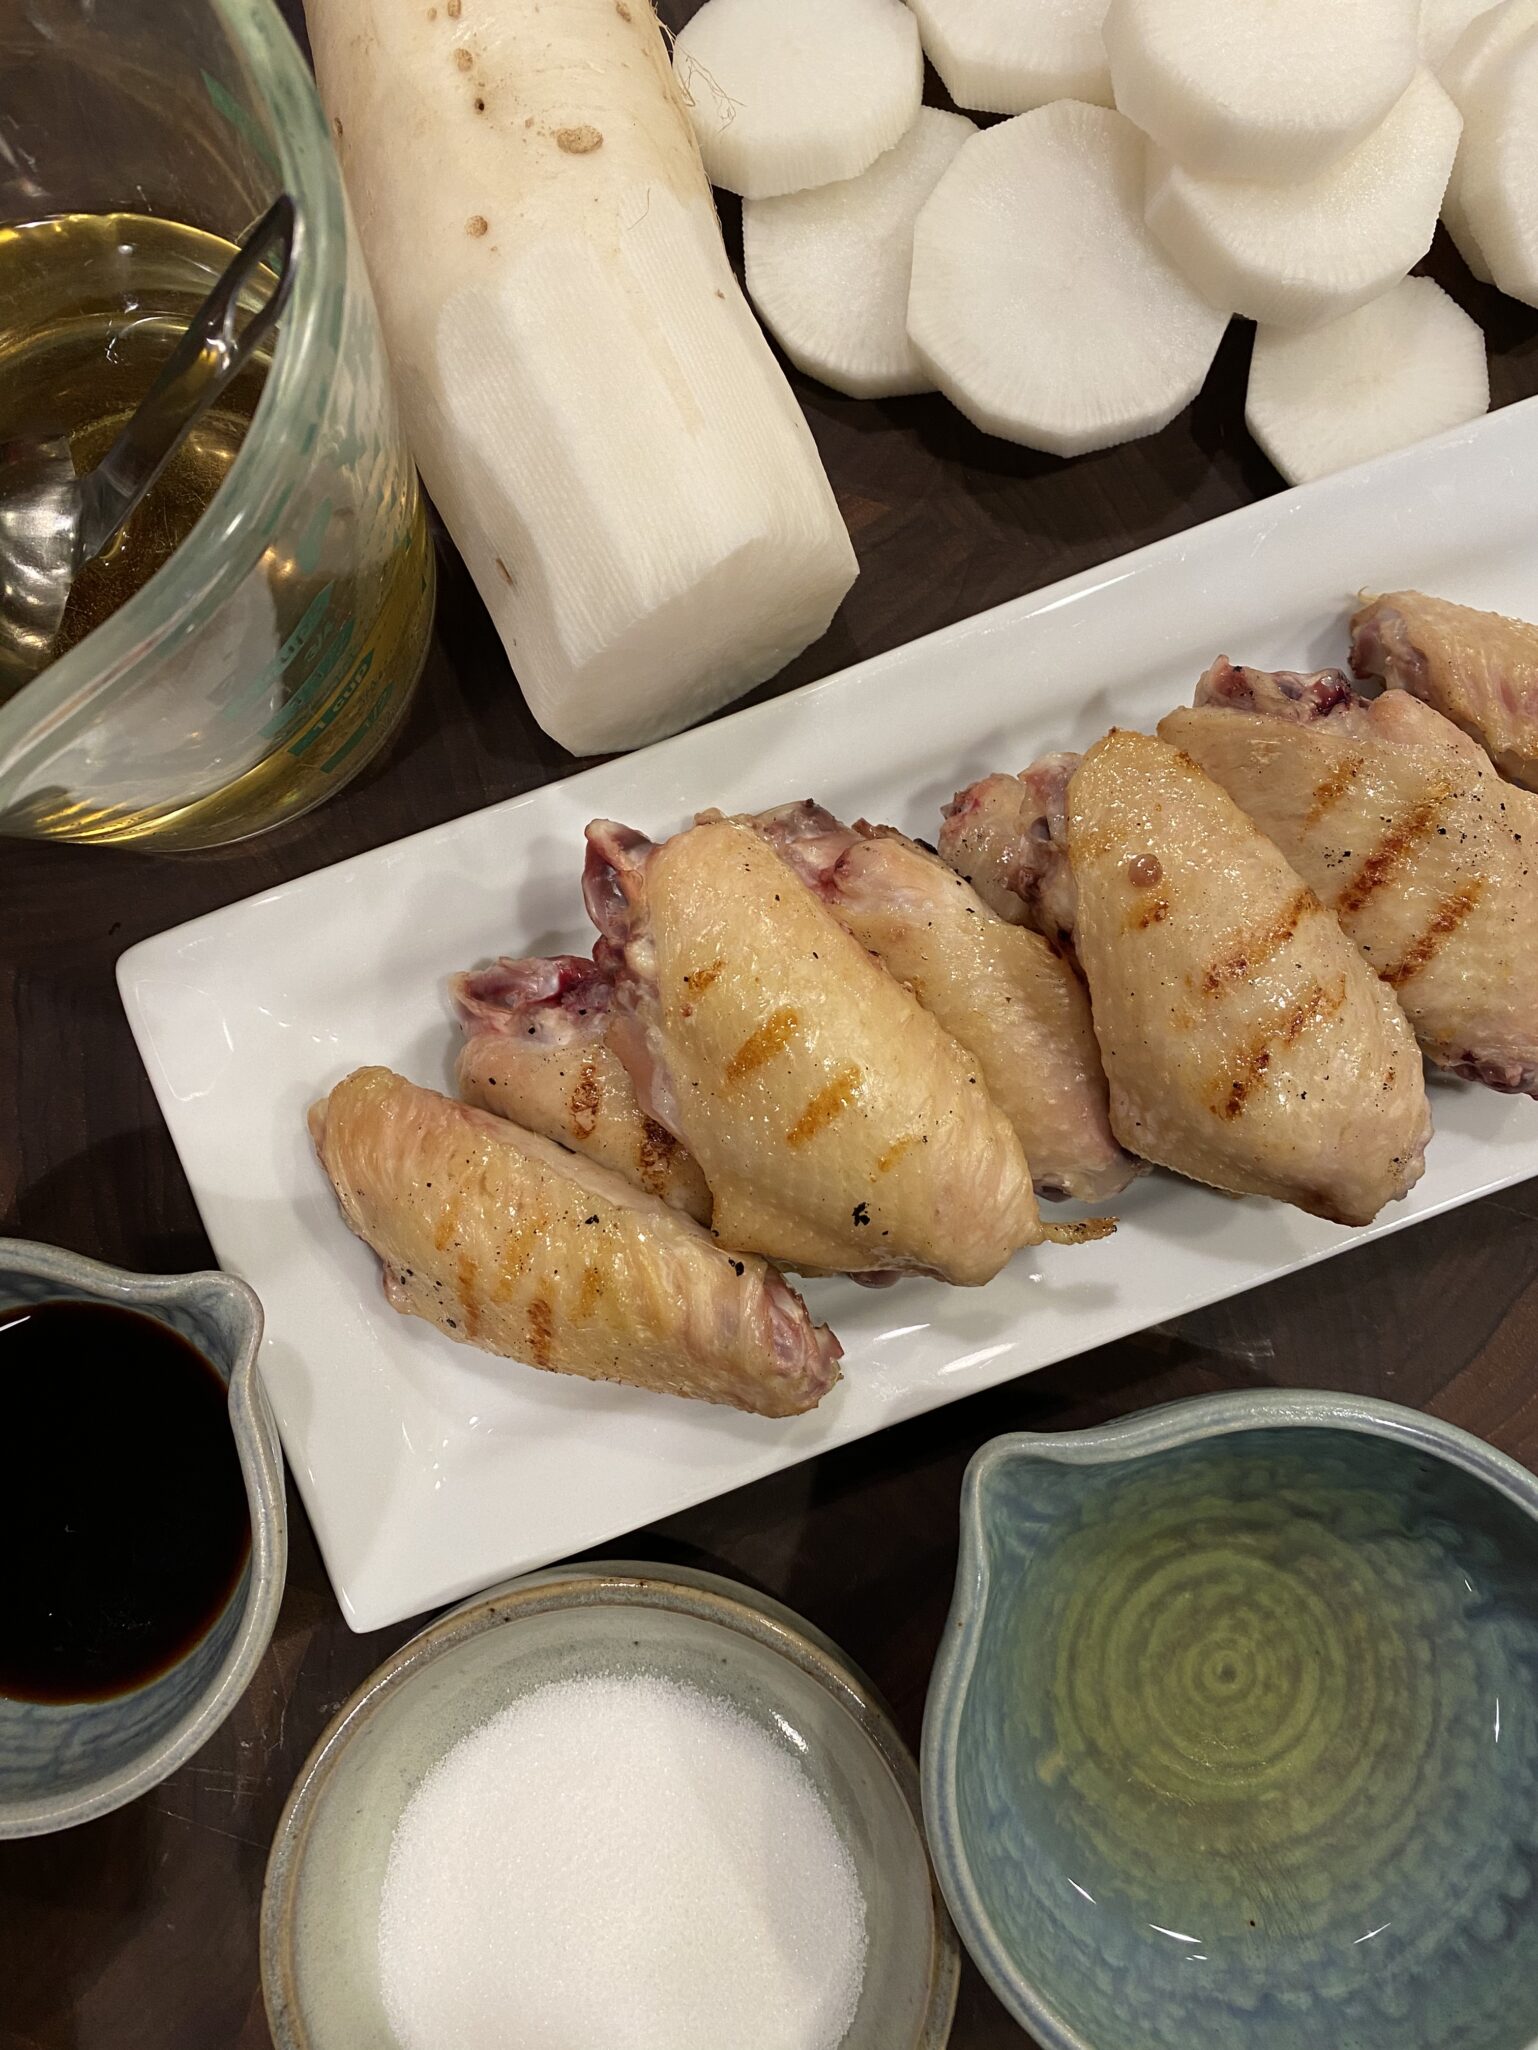
Well, you can’t sit there watching without a bowl of something delicious.  The cold, wet, weather and The Makanai put me in the mood for Nimono.  Nimono, a family-style dish usually contains protein, vegetables, or tofu simmered in a seasoned dashi (stock).  I scoured my fridge and found chicken wings and daikon (radish) perfect for Nimono.

Start by browning the wings.  I got fancy and grilled them, don’t bother, one more pan to clean. Then add your dashi, seasonings, and sliced daikon and bring to a boil. Cover the Nimono with a piece of parchment.  This keeps everything submerged so it cooks evenly.  Lower the heat and simmer for 15-20 minutes or until the daikon is soft. Pierce daikon with a knife to test, if it pierces easily, it’s done.   Korean radish would work well also.

Meanwhile, as the chicken and daikon are simmering, make your eggs.  Use the ramen egg recipe for a soft center yolk.  Cool the eggs and peel.  Place eggs in cold water to chill (so it doesn’t overcook when you put it in the Nimono).

When the radish is soft, Place eggs in Nimono.  Try to submerge them so they absorb the flavor of the broth.  Simmer an additional 5 minutes.

Garnish with green onions, and or sesame seeds.  Serve with rice and eat while sitting in front of the telly watching Makanai, Midnight Diner, or Julie and Julia…

Print
5 from 1 vote

Chicken Wings and Daikon Nimono and Netflix

Simple and quick Japanese braised dish of chicken wings and radish
Course One dish meals
Cuisine Asian, Japanese
Keyword Chicken, daikon, ninono, one pot meal
Prep Time 15 minutes
Cook Time 20 minutes

Ingredients

Ingredients:

  • 8-12 Chickin wings
  • 6-8 Ounce Daikon radish can use Korean radish cut into 1/2 inch rounds
  • 4 Eggs boiled till the yolk is still jammy, see ramen eggs post

Seasonings and stock:

  • 1 Clove Garlic
  • 2 tsp Instant Japanese soup stock (you will need 1 cup of dashi) or make dashi with packet or Shiro dashi
  • 2 tbsp Sugar
  • 1 tbsp Soy sauce if using dashi packet, increase to 2 T
  • 4 Tbsp Sake
  • 2 Tbsp Mirin

Options

  • Add mushrooms or sliced carrots with daikon if you like

Instructions

  • Make dashi and set aside. You can use the powder Hondashi, or dashi bags, or Shiro Dashi concentrate. For concentrate dilute 1:12 Make 1-1.5 cups
  • Peel and cut the daikon into 1/2 inch slices. Set aside.
  • Sauté the chicken wings approximately 2 minutes a side in a 3-4 quart saucepan. They should be light brown.
  • Add dashi to pot followed by soy sauce, mirin and sake. Add daikon on top. Bring to a boil then lower heat to a simmer. Use an otoshibuta (dropped or parchment lid) while simmering although you can forego this step. Simmer for 15-20 minutes or until radish is soft when pierced with a knife.
  • While chicken is simmering, make ramen eggs or hard boil the eggs just until the yolk is barely set. Peel and place eggs in an ice bath. When nimono is done, add peeled eggs to it and let it simmer another 5 minutes. Make sure the eggs are submerged in the broth.
  • Ladle the Nikon into bowls, garnish with green onions and sesame seeds. Serve with rice and a half or whole egg per person. It's worthwhile making nimono in advance, since it tastes better the next day. Or just make a larger quantity to keep. Reheat before eating at home, or reheat then let cool down again if using for bento. Can be stored in the fridge for 2-3 days.
Mille-Feuille Nabe Blooming Delish!

Mille-Feuille Nabe Blooming Delish!

I’m sure I saw this on TikTok or an IG Reel.  It looked so delicious I knew I was going to make it, if not today, definitely tomorrow.  Jackpot, making it today, why?  As most of you know I stop at grocery stores so often I should be classified as a professional food shopper.  The beauty of being a “pro”, I generally have the ingredients for any dish found on the internet, lol. This is a perfect example, a quick perusal of my kitchen and I was in business.

Thinly sliced pork – check. From Asian Market. I always keep some in the freezer, ALWAYS.

Napa Cabbage – check. Picked up a head at the Hankook Market last weekend, cause you never know when you might need some cabbage…

Mushrooms – check. My fridge qualifies as a certified mushroom farm most days.

Dashi or Broth – check. I pulled my bottle of Shiro Dashi from the fridge. Literally concentrated dashi that you dilute with water, VERY good, stupid easy. For a detailed run down check out Guide to Shiro Dashi

OR I can make Dashi with packets from Japan that I keep squirreled away in my pantry.  Again, VERY good,  a bit more work than Shiro Dashi, still super easy.

I won’t go into making my own Dashi cause that would defeat the dinner in a few minutes mantra.

Korean radish – check.  You don’t need it, I just happen to have some so why not?

Staples – check.  Green onions, sesame seeds, soy sauce S&P…Hello? Would not be caught dead without any of these.

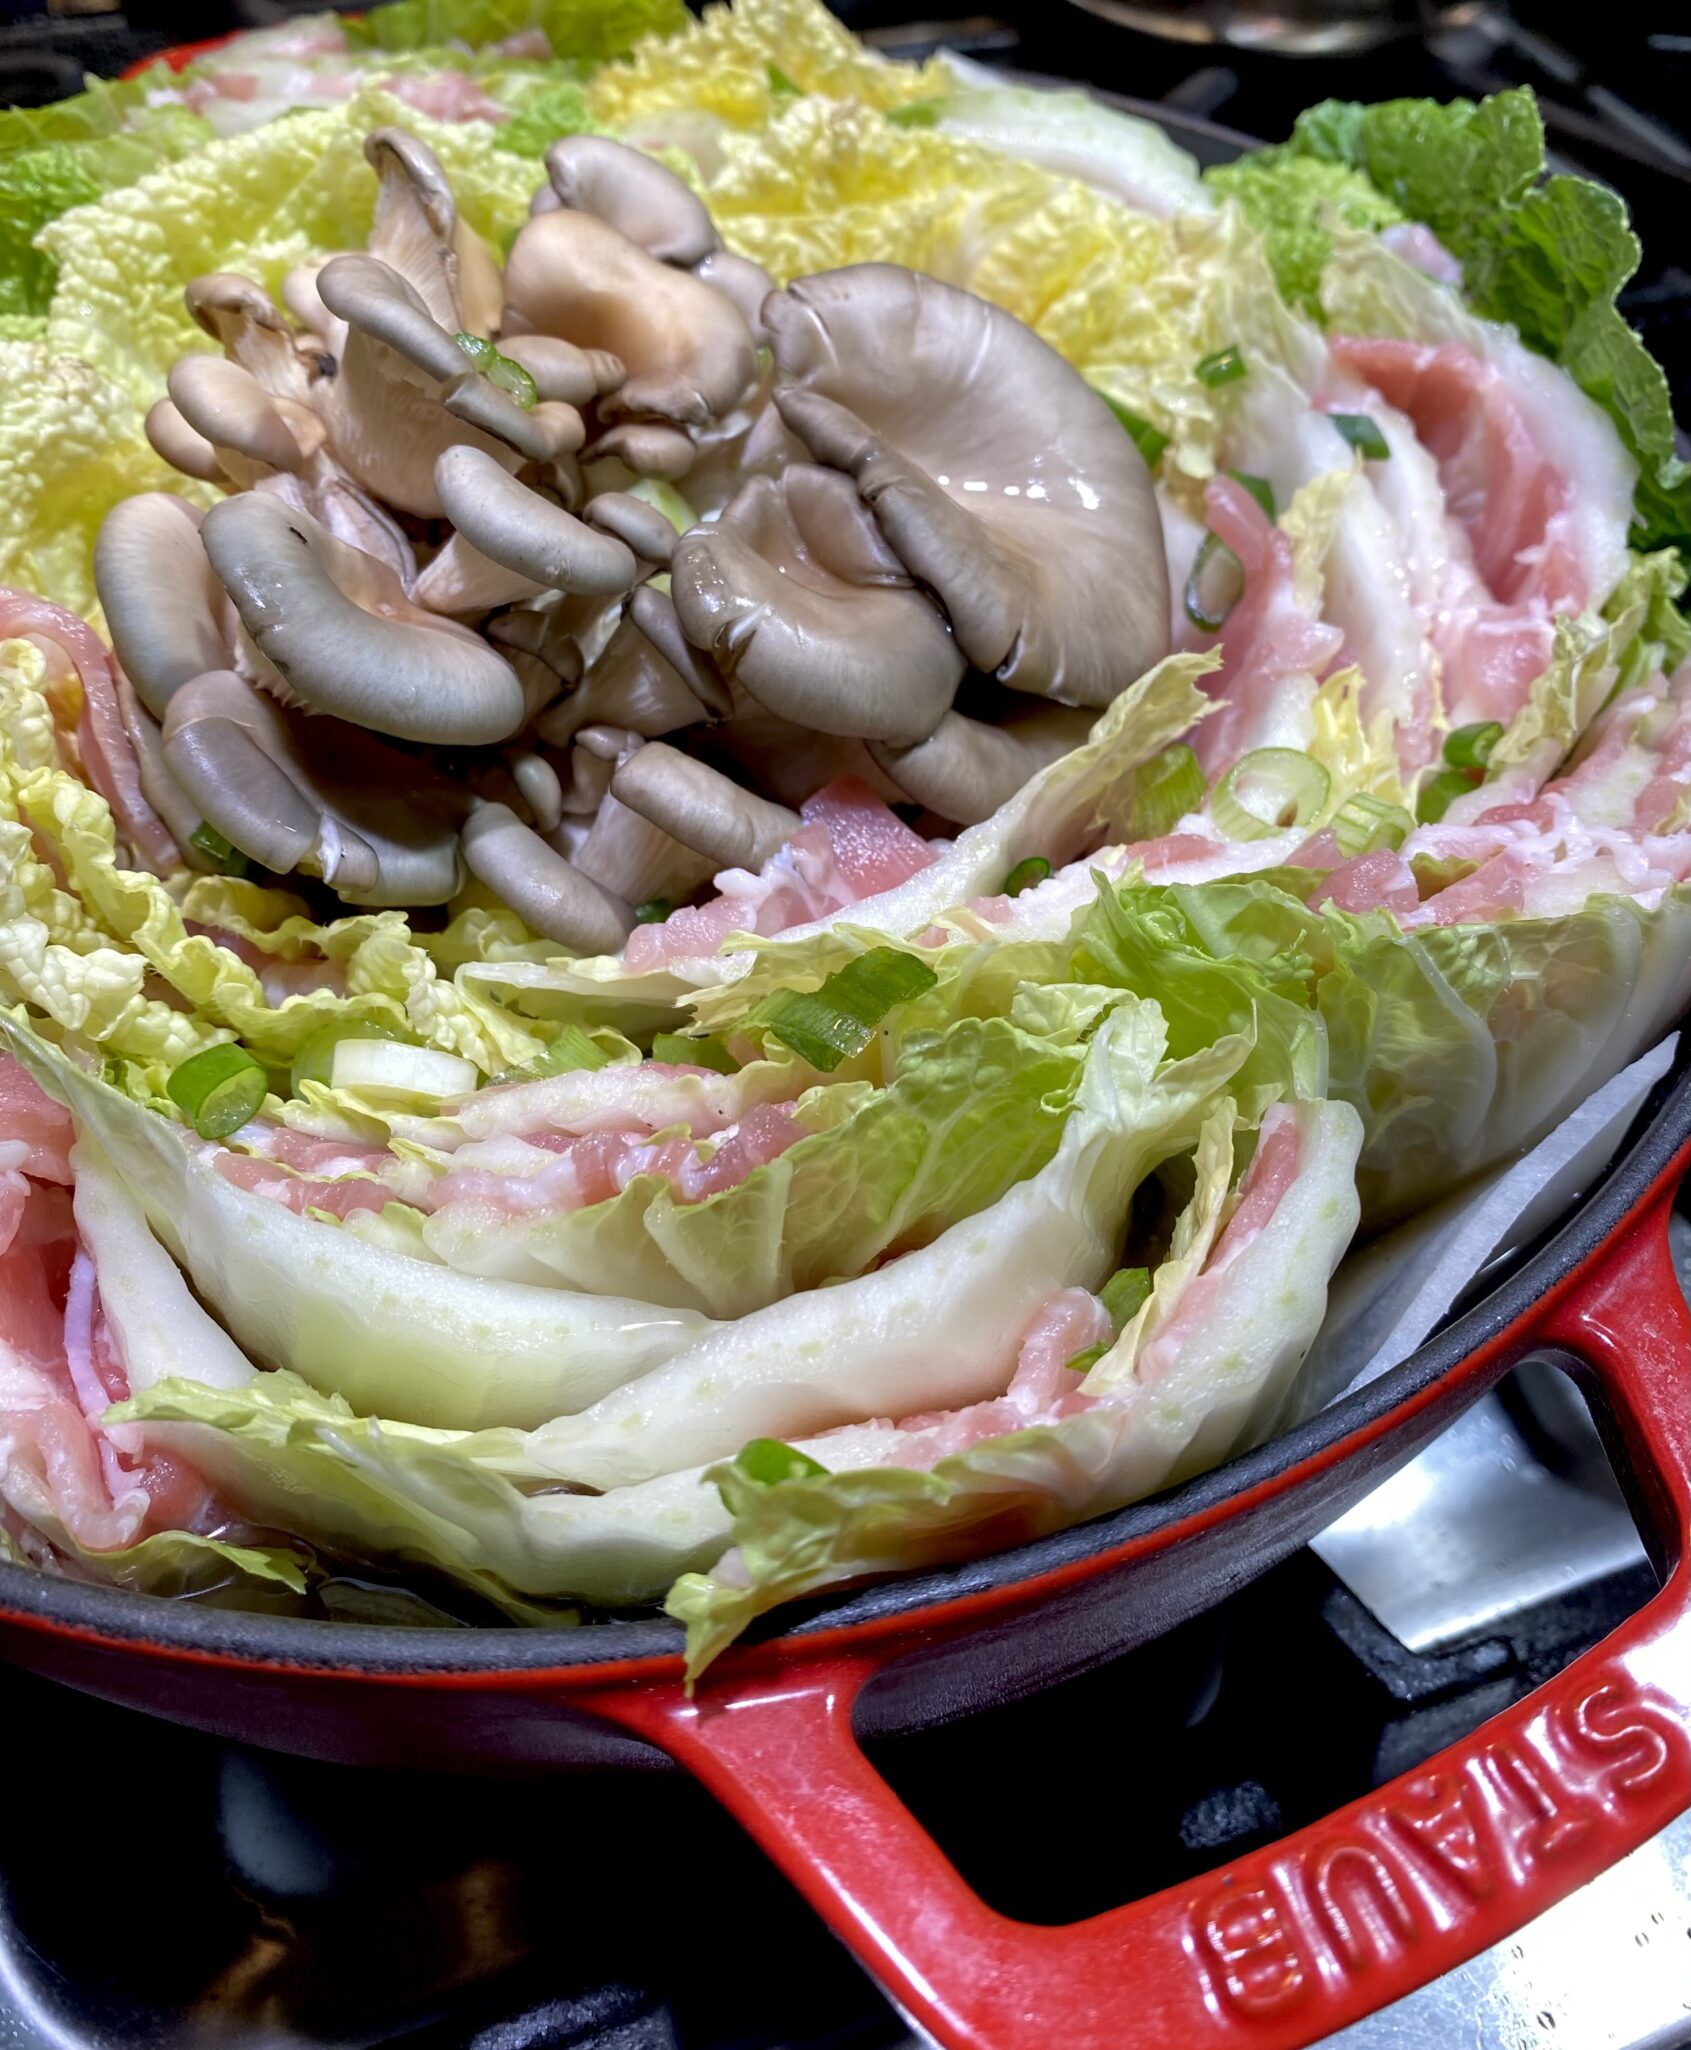
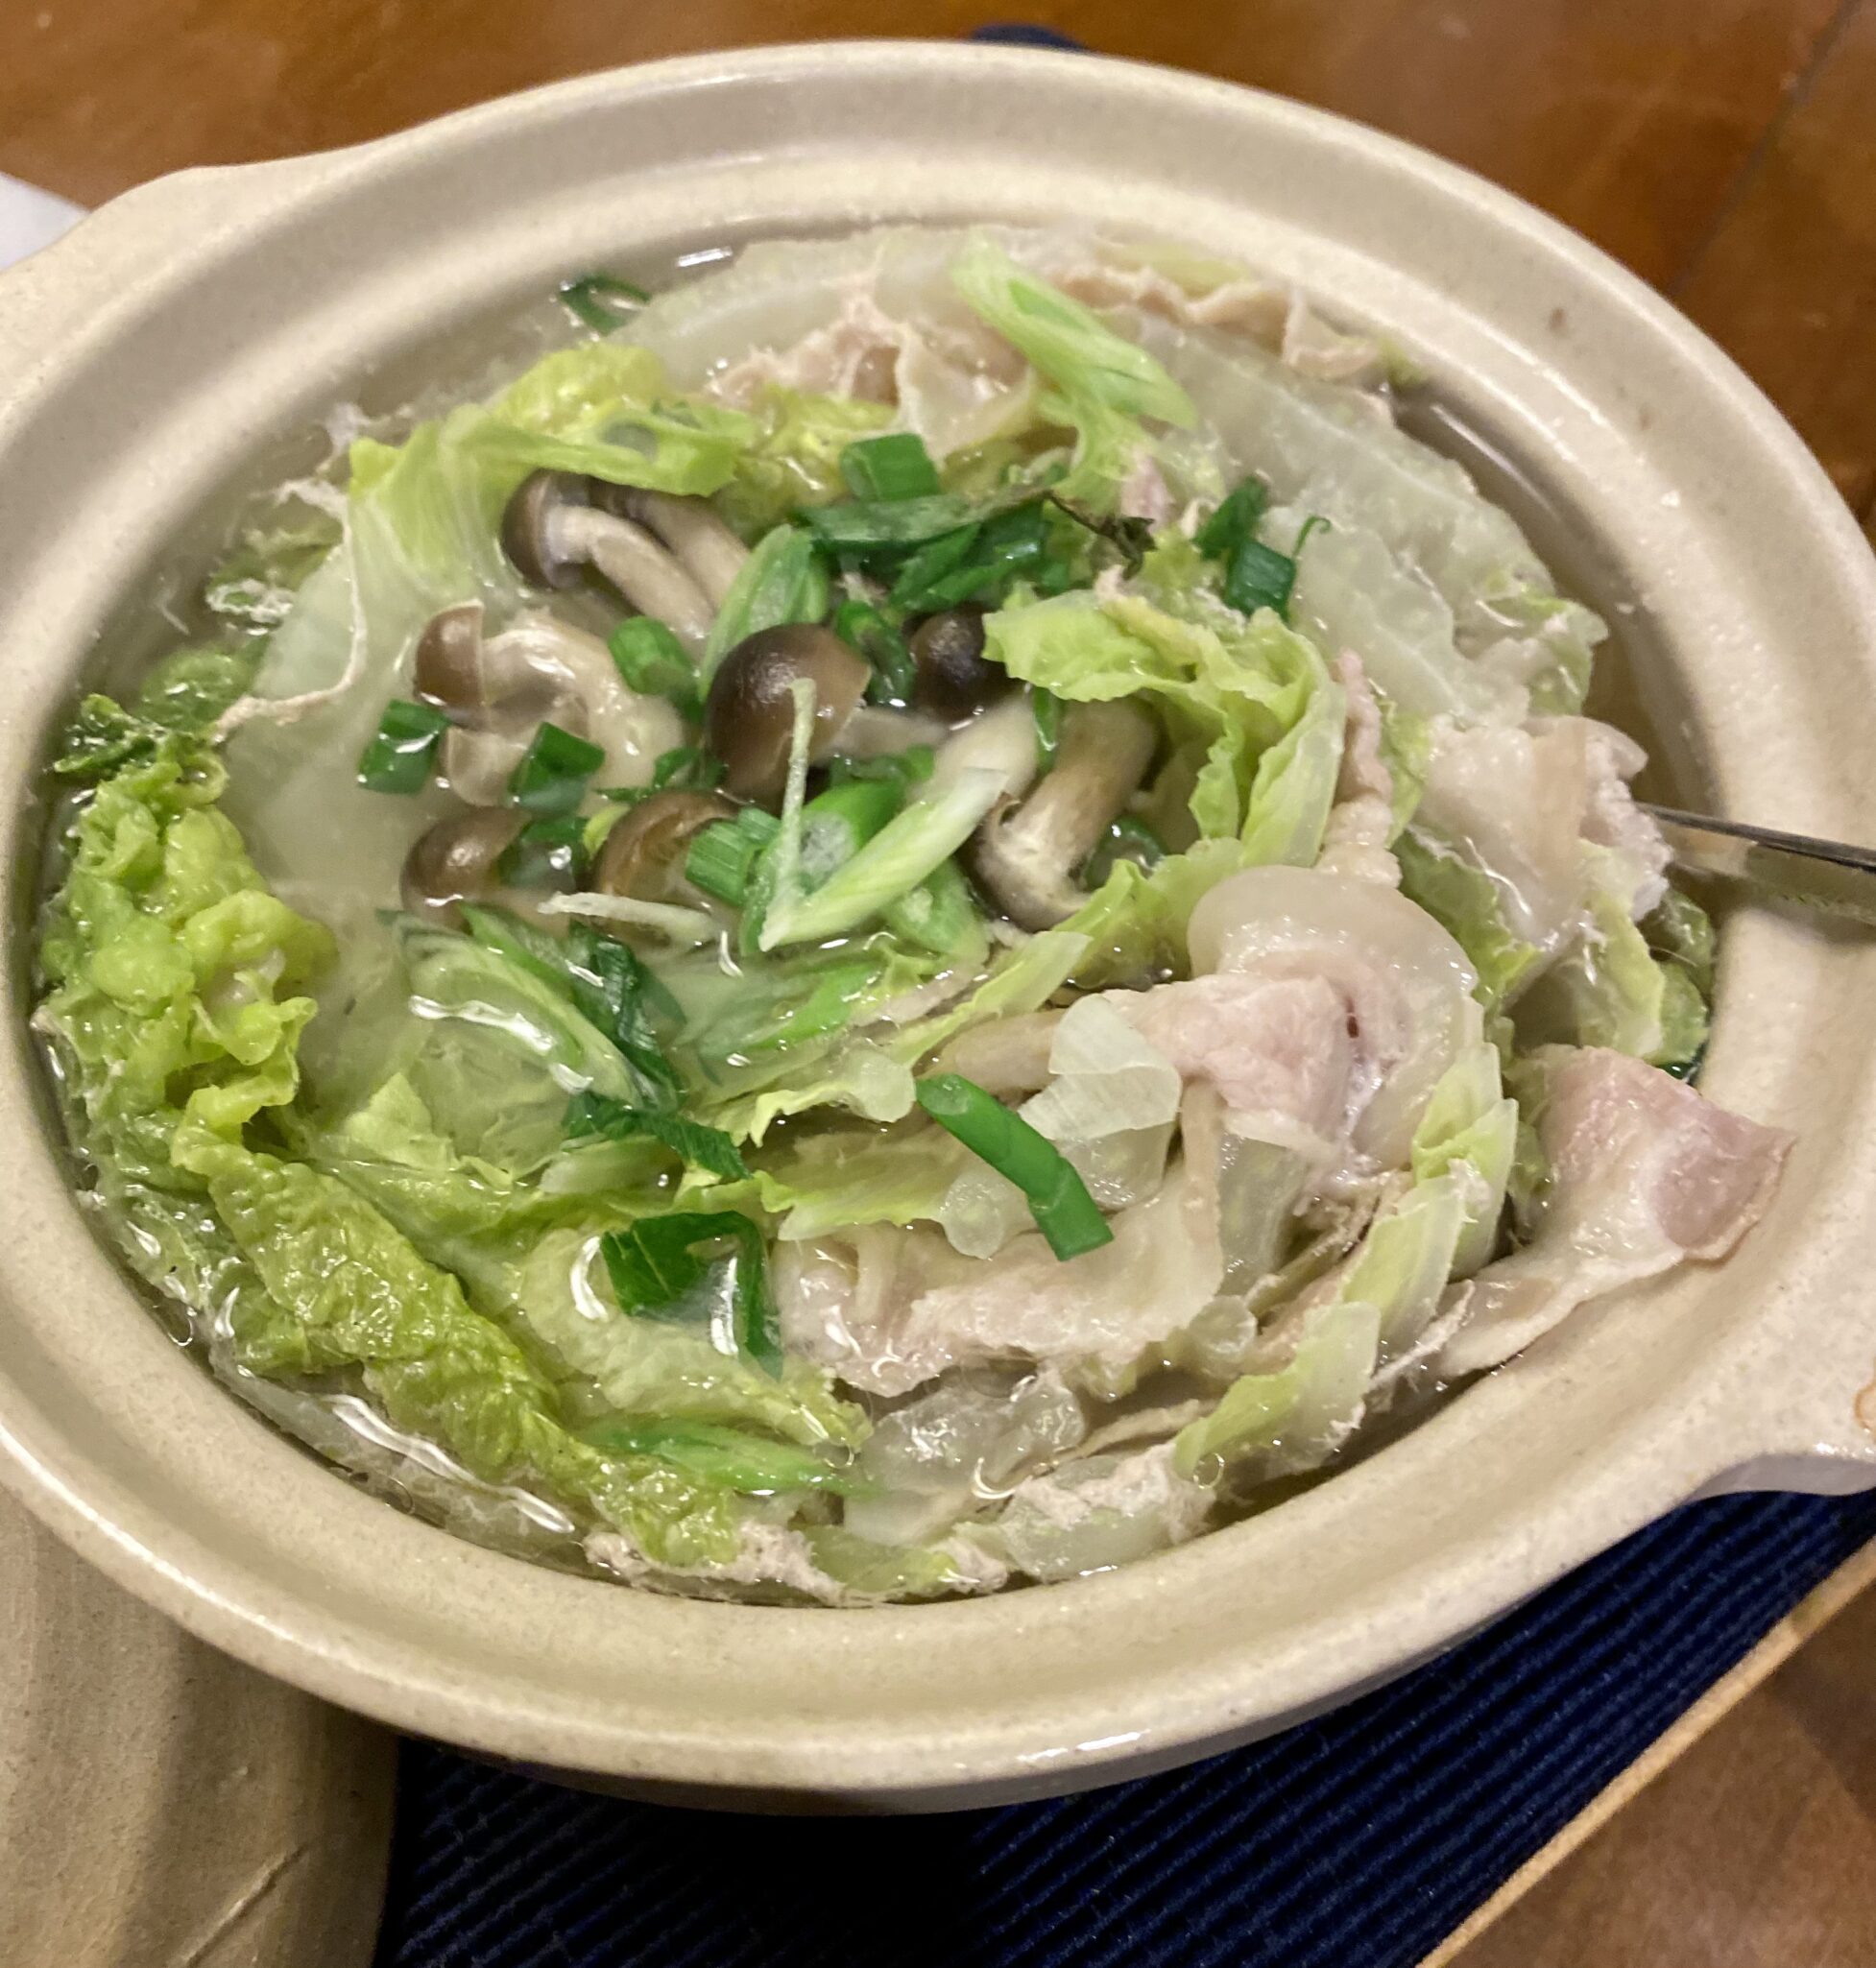
Pot- check. Y’all know I didn’t have to list this but I wanted to mention the tiny Donabe I bought at the MANRESA fire sale.  It gives me JOY.  I also used my gorgeous Staub pot for the family-sized version.

So that’s it, all you need to make this scrumptious, perfect when it is cold and wet outside, quick and easy dish.

Let’s Goooooo!

This is super easy, TRUST ME.  Have I ever steered you wrong?  Start with your Napa Cabbage, wash and separate the leaves.  You only need 1 head of cabbage and you won’t use all of it, unless you are feeding a cast of thousands, then you’re on your own.

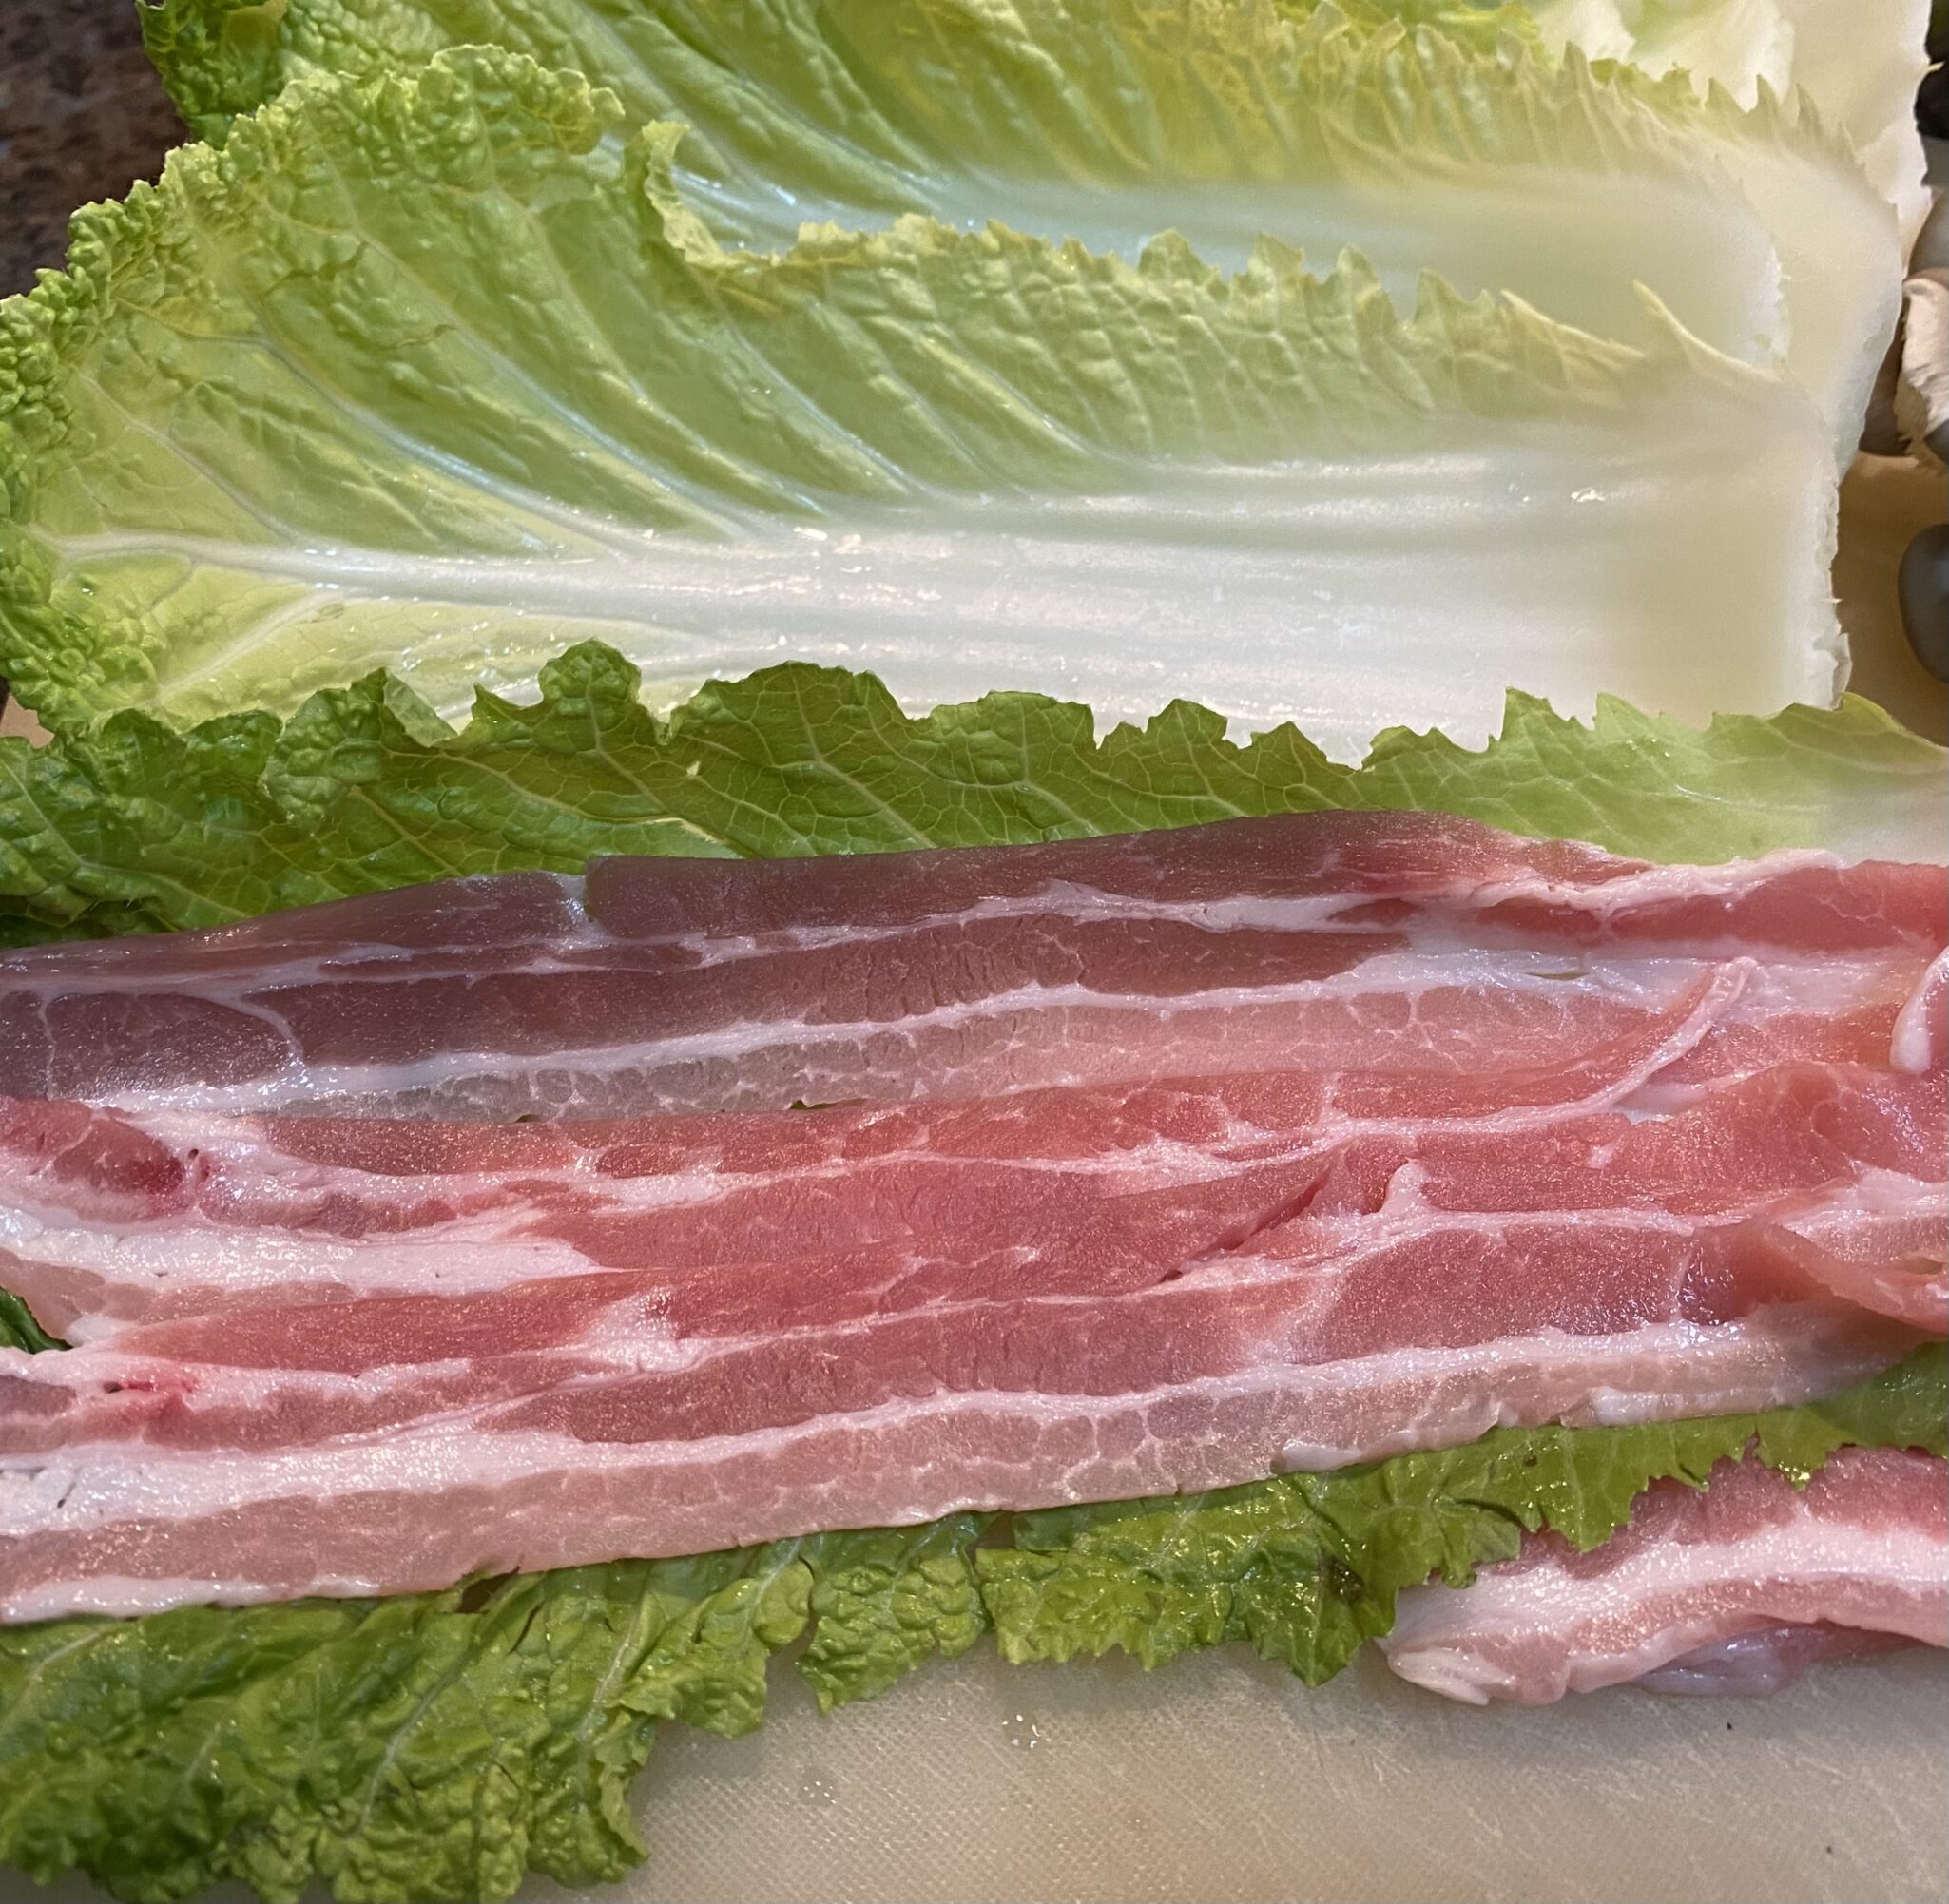
Take out your thinly sliced pork, I’m sure this would work with beef also. Use any protein cut for Shabu Shabu or Hot Pot.  I know you are thinking, 🤔, can I use bacon?  My inclination is no, as much as I love bacon, the flavor may be too much and too salty for this Nabe.  But if you are feeling bold, try it.  Definitely REPORT BACK to me!

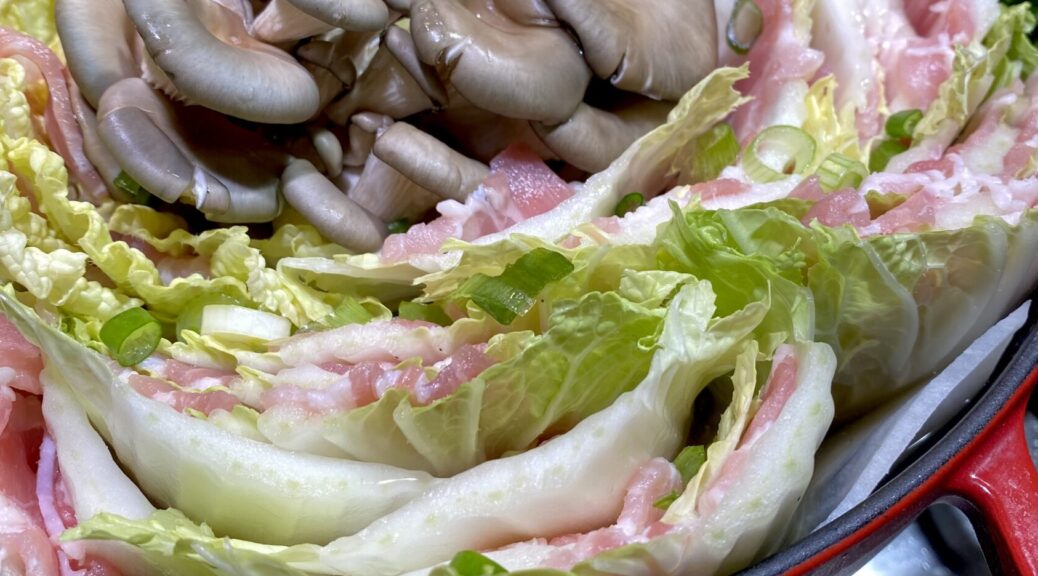
Layer the pork on the Napa Cabbage, covering most of the leaf. Continue layering until you have a stack of 3-4 leaves.  Cut crosswise into 3-4 sections, and try to match it up with your pot.  Each section should be about 2-2.5 inches in height. Definitely not taller as you will need to cover the pot when cooking.  Continue circling the pot with the sections until you reach the center.  I finished with slices of Korean radish surrounding a bouquet of mushrooms smack dab in the middle, totally optional.  But so good.

To finish, add dashi to barely cover the cabbage, cover, and cook.  Cook for 10-15 minutes, the beauty of thinly sliced meats and veggies.  Dinner is served! BACK to the dashi.  Dashi is a fish-based stock, used in many yummy Japanese dishes.  There are ka-zillions of ways to make dashi.  Skip the traditional and time-consuming options.  I use Shiro-dashi alot.  It is a seasoned concentrated fish stock that comes in a bottle.  Dilute Shiro-dashi 10-12 fold for soups and casseroles, EASY PEASY.  The other way is using dashi packets, kind of like tea bags.  Drop it into the water, let it sit to infuse the flavor from the packets, and presto dunzo.

CAVEAT: The Shiro Dashi is seasoned with salt and sugar while the dashi packets just impart the fish flavor.  You will need to add salt or soy if using the dashi packets.

That’s it!  Serve it up with bowls of hot, steaming rice, maybe fry an egg or if you have Mayak Eggs or Ramen Eggs yum. So damn delicious it is criminal.  Or use the flavorful broth on a lovely bowl of noodles, udon noodles would be delicious.

A Picture is Worth a Thousand Words…check out my Instagram for a reel on Mille-Feuille Nabe!

Mille-Feuille Nabe

Japanese Hotpot with Napa Cabbage and thinly sliced pork belly arranged in layers in a donabe of casserole. Dashi serves as the cooking broth that turns this into a lovely dish perfect for cold weather.
Course dinner, Main Course, One dish meals
Cuisine Asian, Japanese
Keyword Mille-feuille, napa cabbage, Pork Belly, soup
Prep Time 15 minutes
Cook Time 15 minutes

Equipment

  • 1 donabe If you have one, but any casserole type pot will do.

Ingredients

Main Ingredients

  • 1 napa cabbage medium size should do
  • 1-1½ lb Thinly sliced pork belly smaller the pot the less you will need
  • 1 bunch of mushrooms like enoki or shiimeji optional
  • Korean Radish or Daikon, thinly sliced optional

Dashi

  • 1 knob ginger 1 inch, 2.5 cm
  • 5 cups dashi See post for dashi options!
  • 2 Tbsp sake cut in half or omit if using Shiro Dashi
  • 1 Tbsp soy sauce cut in half or omit if using Shiro Dashi
  • ½ tsp kosher salt Diamond Crystal; use half for table salt

Finishing Touches

  • green onions, diced for garnish
  • Chili oil or Shichim Togarashi at the table
  • Rice to serve with hot pot or boil some noodles to have with the flavorful broth!
  • Any kind of eggs-Ramen, Mayak or raw that you crack and cook in the broth

Instructions

  • Remove leaves carefully from the base, wash and drain well. Don’t throw away any leaves that naturally came off while rinsing. We’ll use these leaves later on. If you happen to get a ginormous cabbage cut in half or quarters lengthwise. I usually buy small ones so I use the whole leaf. Pat them dry before next step.
  • Layer the pork belly and napa cabbage by placing one slice between each of the leaves. Cover leaves with pork belly, trim if necessary to fit. Repeat 3-4 times depending on size of pot.
  • Cut each napa cabbage wedge into 3-4 pieces each about 2 to 2½ inches (5-6 cm) long. Each section should not be taller than your cooking pot. Try to keep the layers of napa cabbage and pork belly neatly stacked as you slice.
  • Next, start stacking the ingredients in a donabe, hot pot, or regular 10-inch pot. I used a shallow Staub pot with the grill top. Turn the stacks on their side as you pack them so the pink and green layers are visible. Start from the outer edges of the pot and work your way toward the center. Place the thicker cabbage leaves near the outside edge and the tender leaves in the center. Make sure that you pack the pot tightly as the layers will become loose once the ingredients start to cook.
  • If you don’t have enough layers to pack the pot tightly, consider using a smaller pot or place other ingredients in the center. I Like to stuff enoki mushrooms or shimeji mushrooms in the center. Or use slices of radish to surround the mushrooms.
  • Make you dashi. Don’t reduce the salt If you are using dashi from packets since the napa cabbage will release liquid during cooking and dilute the soup. If using Shiro Dashi that is seasoned omit half the soy sauce and sake. Taste your broth, it should not be too salty.
  • Pour the broth into the pot with the napa cabbage and pork belly. Start cooking on high heat. Once boiling, skim off the foam and fat on the surface using a fine-mesh skimmer. Then, reduce the heat to medium low and cook covered until the napa cabbage is tender and the pork belly is cooked through, roughly 8-10 minutes.

Garnish

  • Garnish with chopped green onion/scallion, have shichimi togarashi (Japanese seven spice) on table or sprinkle on top of dish. Serve while hot with rice or boil up some noodles to serve in the delicious broth!
    I like adding a ramen egg or a Mayak egg t round it out.
Chewy Black Sesame Rice Cake #CakeforTimmy

Chewy Black Sesame Rice Cake #CakeforTimmy

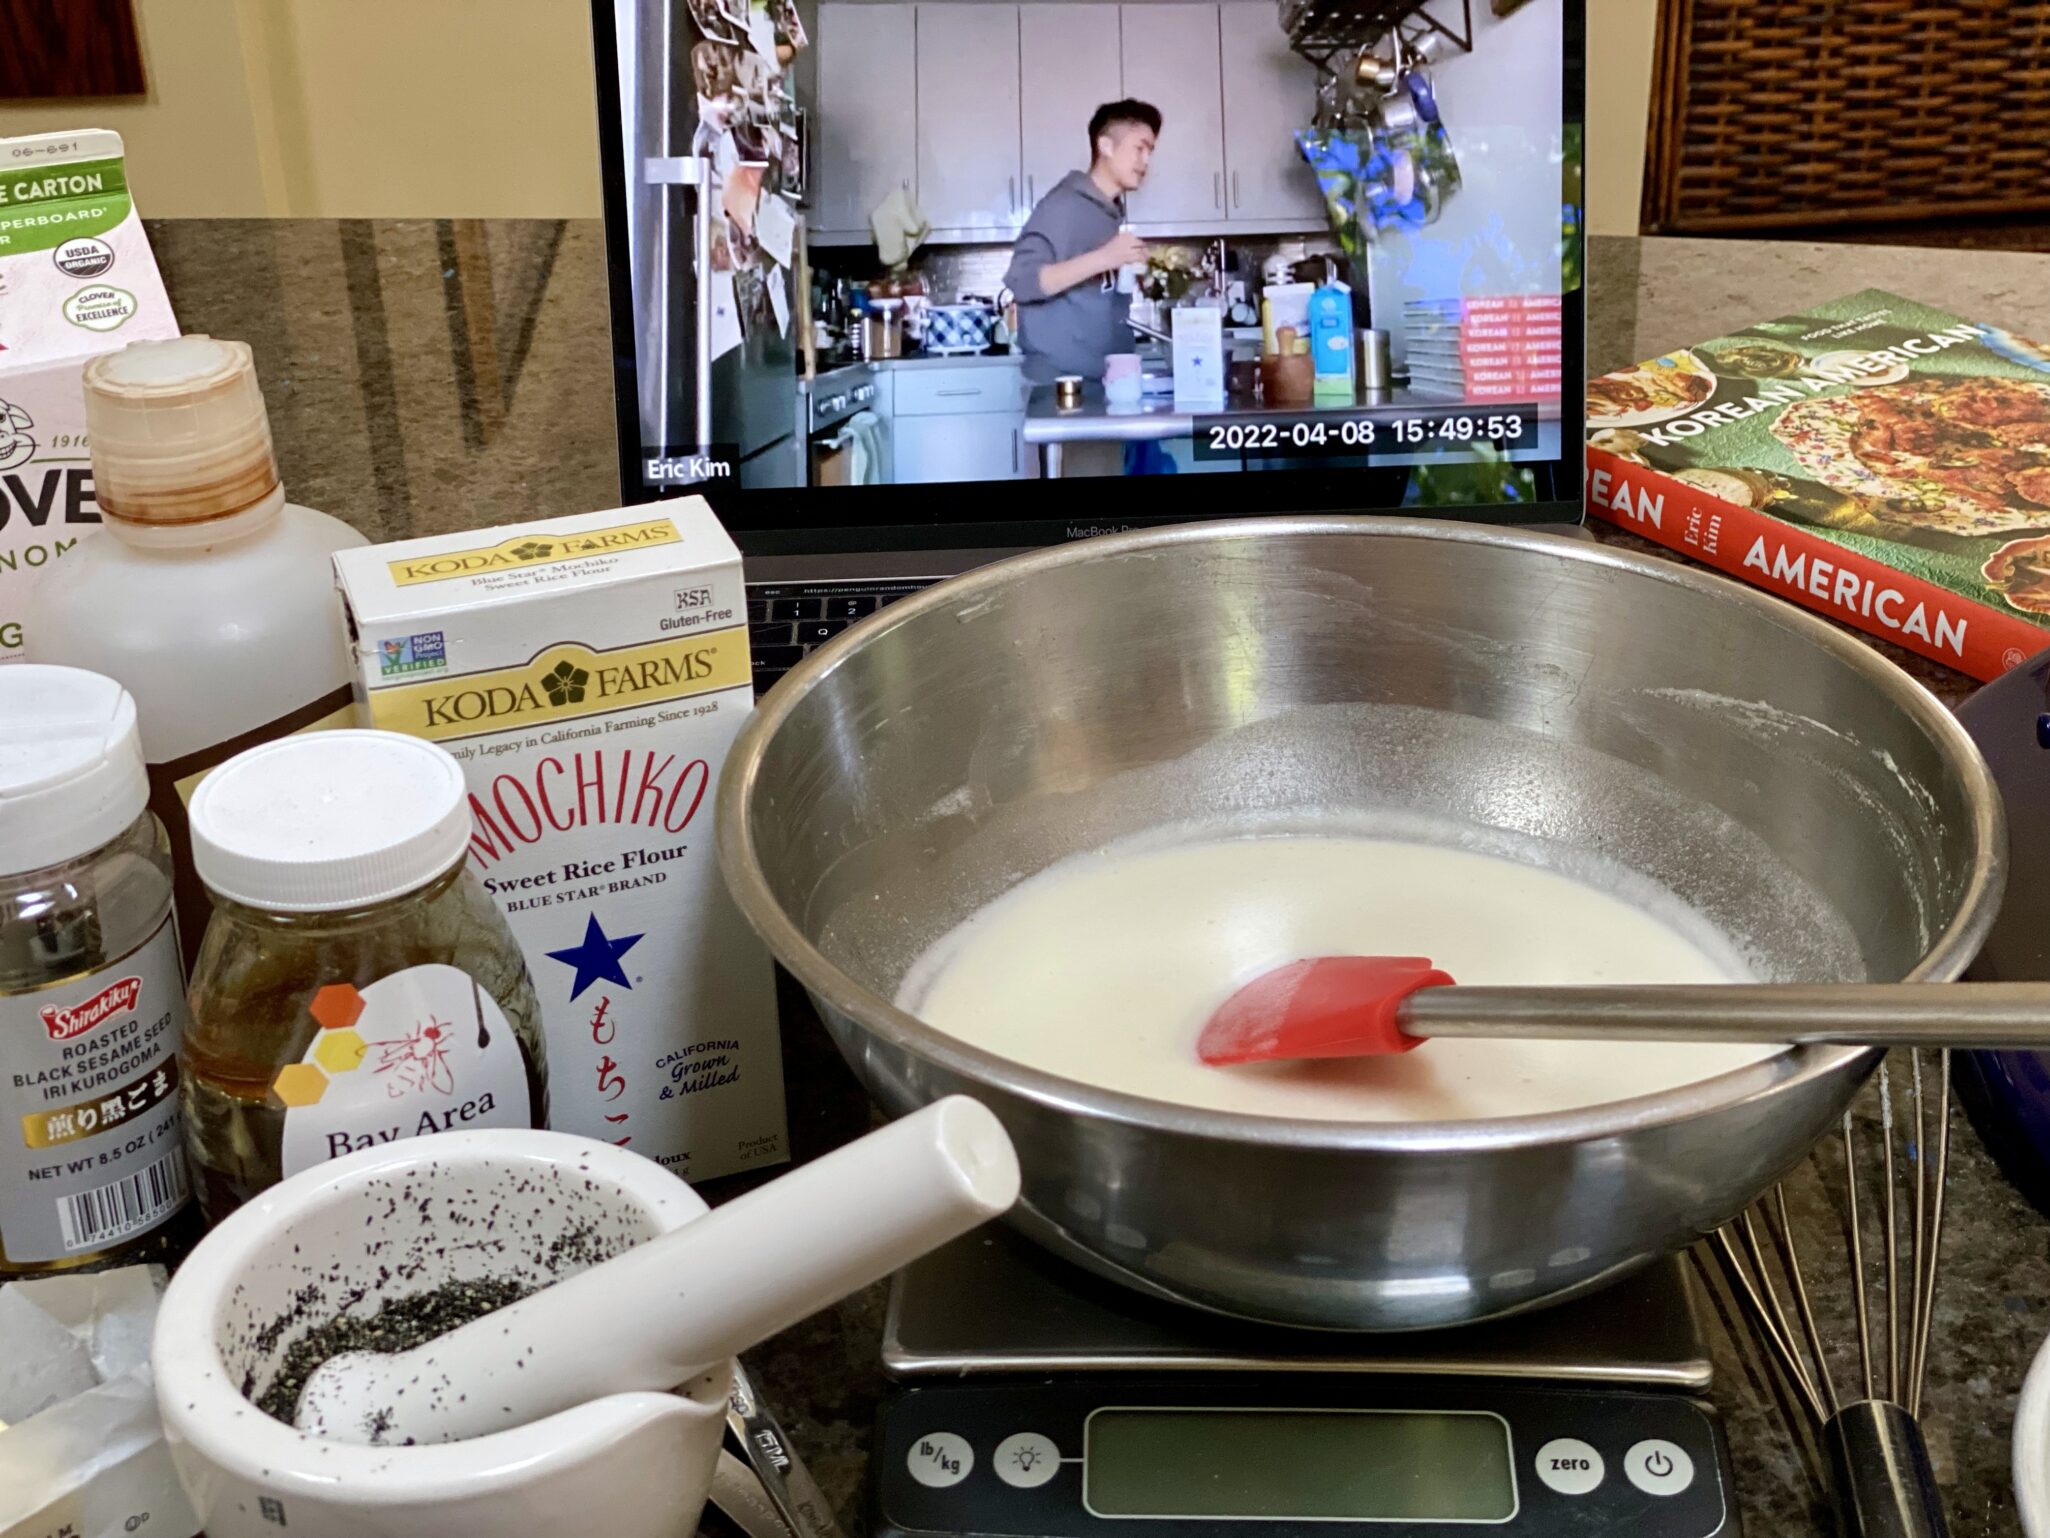
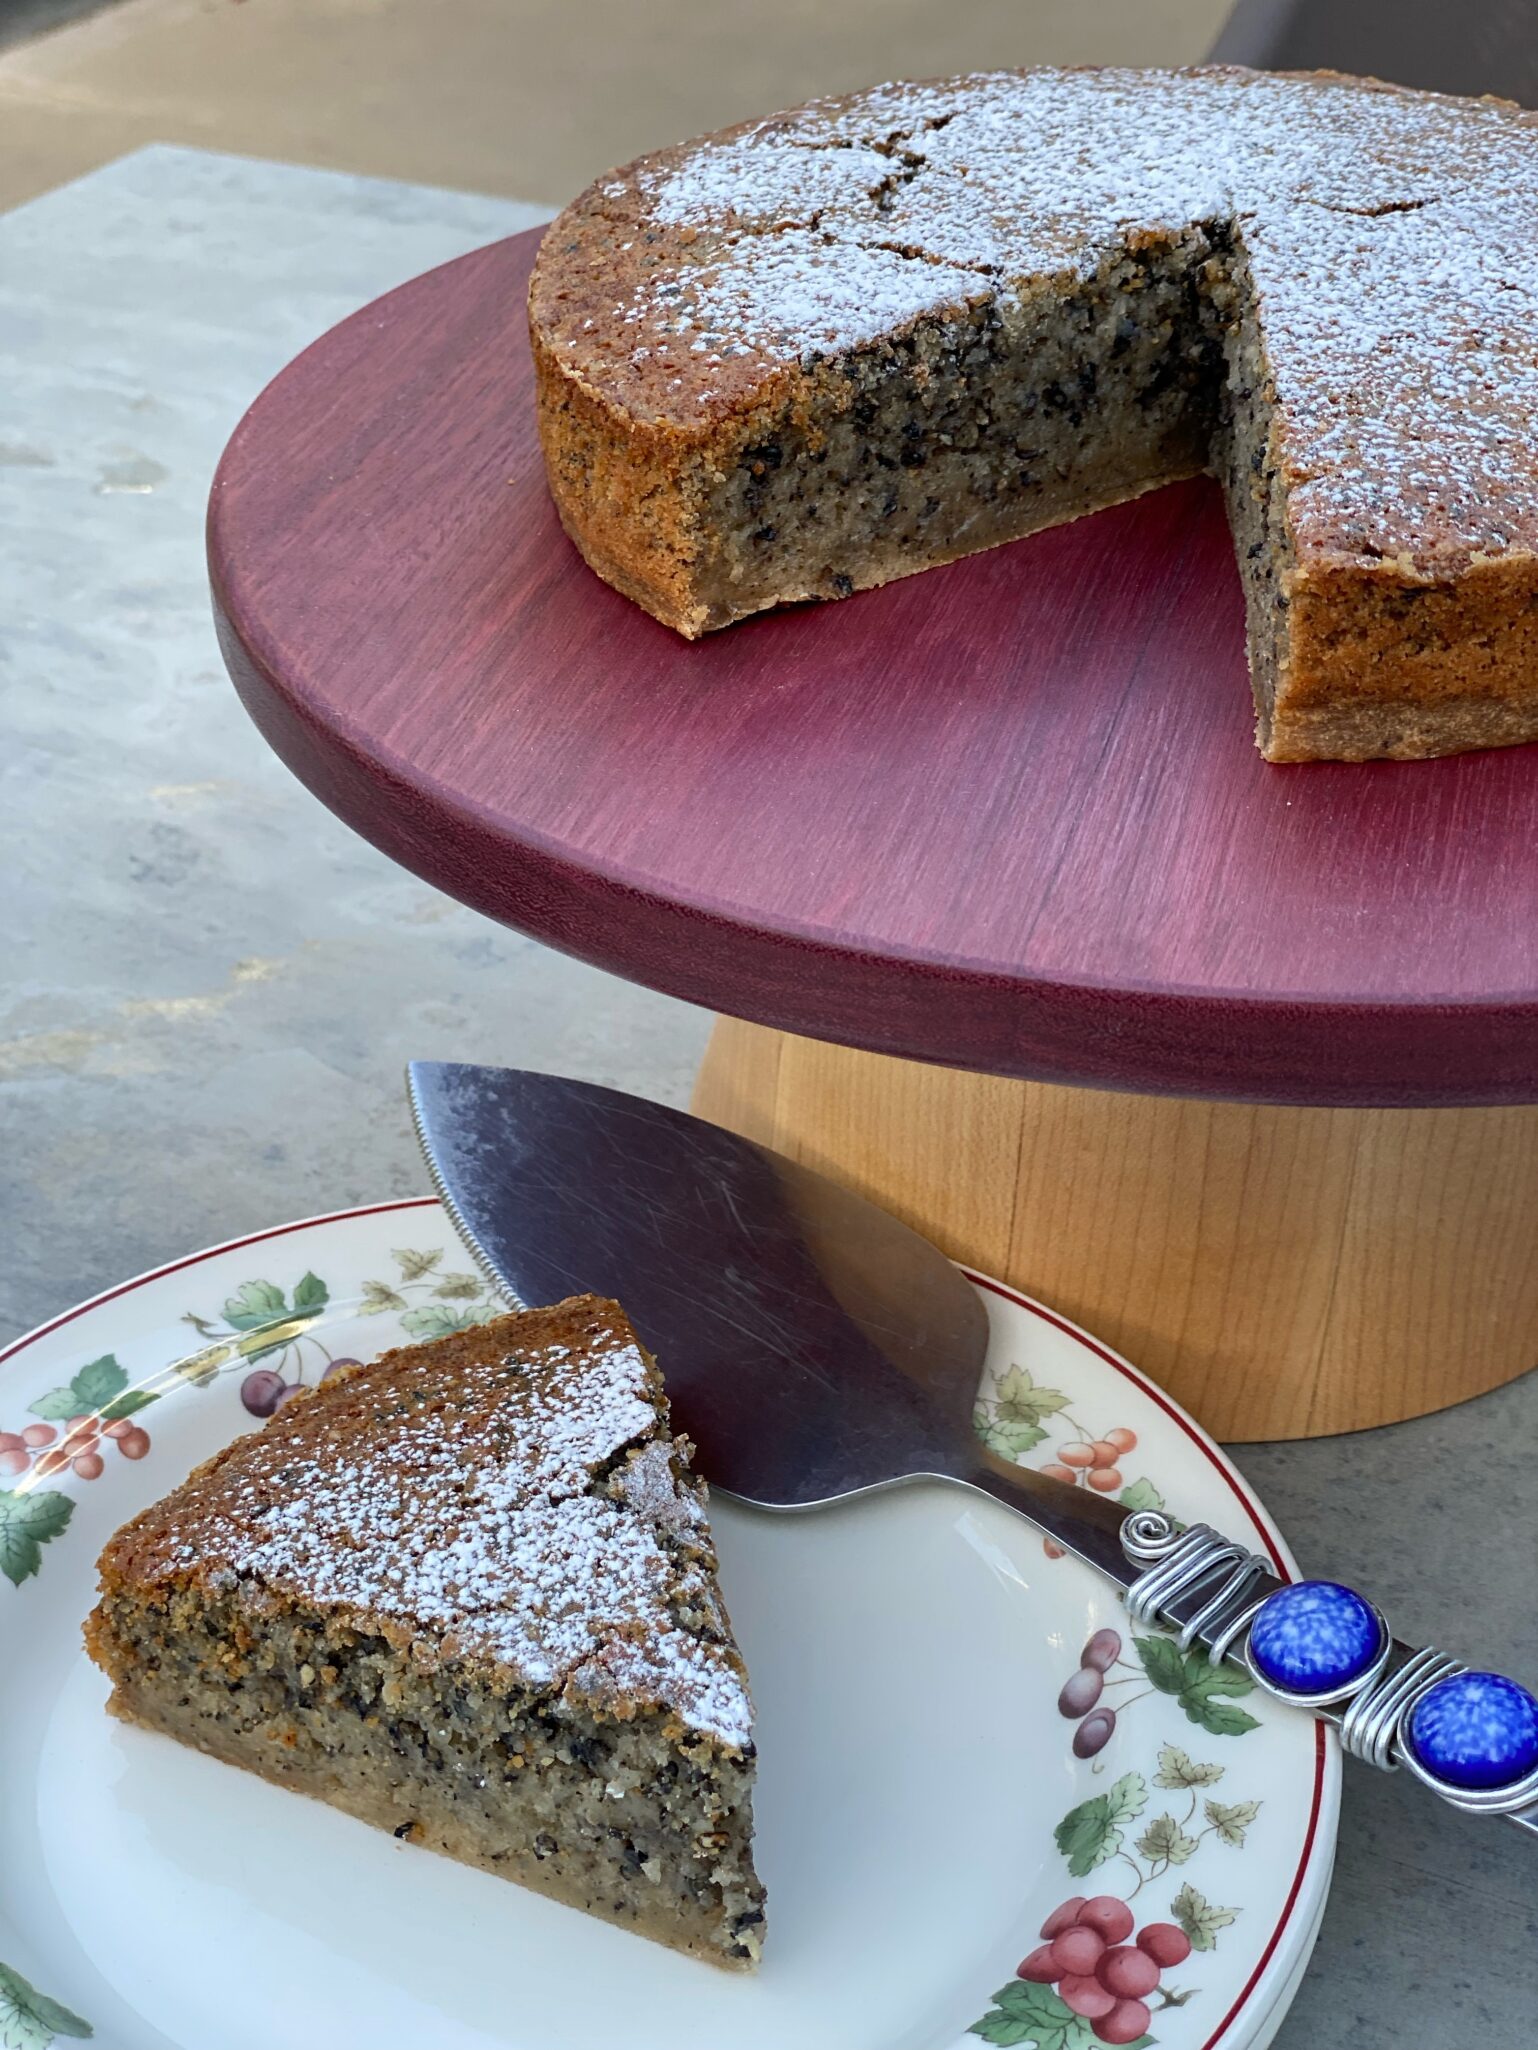
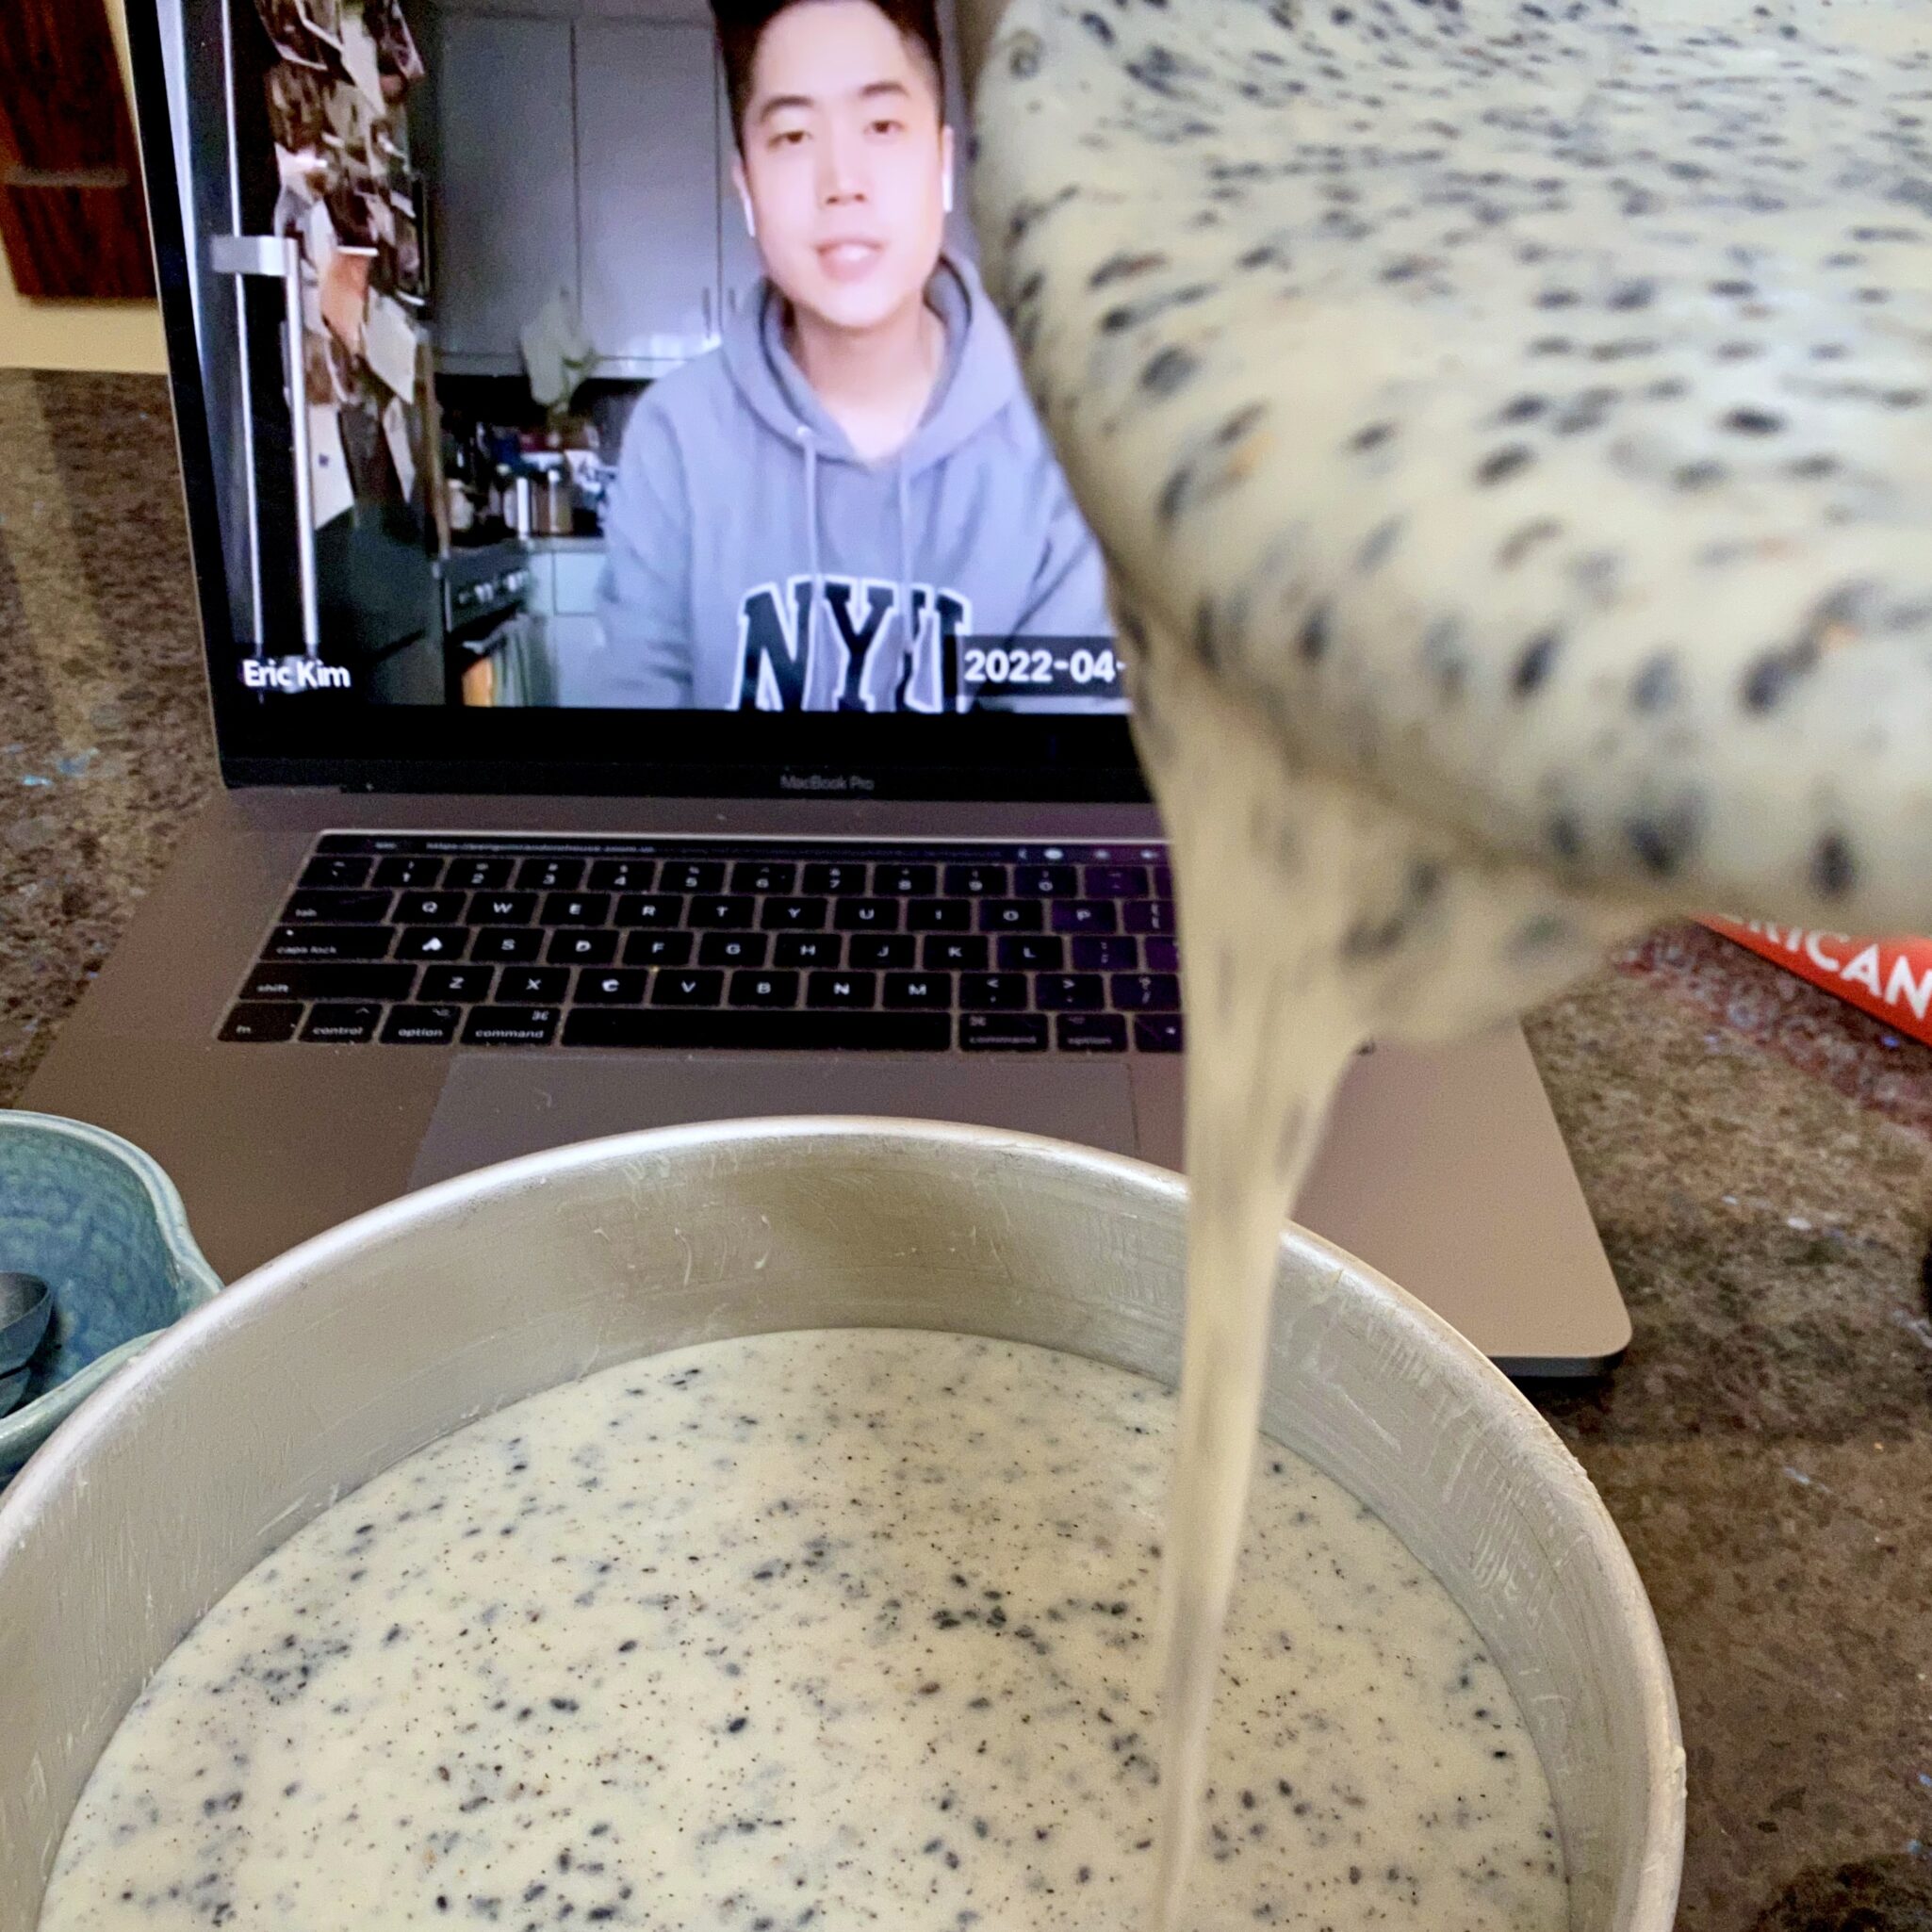
I first made Eric Kim’s Chewy Black Sesame Mochi Cake after a “Bake-a-long” with him, a perk for purchasing his book, Korean American. I was on a “mochi-bender”, if a recipe called for sweet or glutinous rice, I made it.  His cake is not only made with mochi, it has black sesame seeds.  I LOVE sesame seeds in any form, game on.

Bake-A-long

For those of you who #1 Have read this far down, #2  Pretty darn observant…yes, the Bake-A-Long was quite a while ago.  While I loved the sesame flavor and texture of the cake, not gonna lie, the cake was pretty sweet.  Eric seems to have a pretty high sugar barometer.  I made a mental note to file it away in my brain to try again with a smidge less sugar.

52 Reasons To Try It Again

For all the evils of social media (I say this with a half chuckle) the best thing about it has been finding my peeps.  Finding folks with similar interests that I would never in a million years have connected with if not for Facebook or Instagram. A virtual community that shares a common interest.  Groups like Food52’s Cookbook Club on Facebook (yep, you need to use FB) where folks like you and I can share recipes, reviews, and kitchen adventures.

Each month features a new (or old) cookbook, which, if you are like me, a cookbook addict, probably have or are in the process of getting.  It gives me that little shove to open up that cookbook and try it.  It’s also a great resource for tips and reviews for many of the recipes.

This month the selected cookbook is Korean American by Eric Kim.  Which reminded me that I haven’t made anything from it in a while.  Time to tweak that Chewy Black Sesame Rice Cake again.

Oops, I Did It Again.  But as Muffins

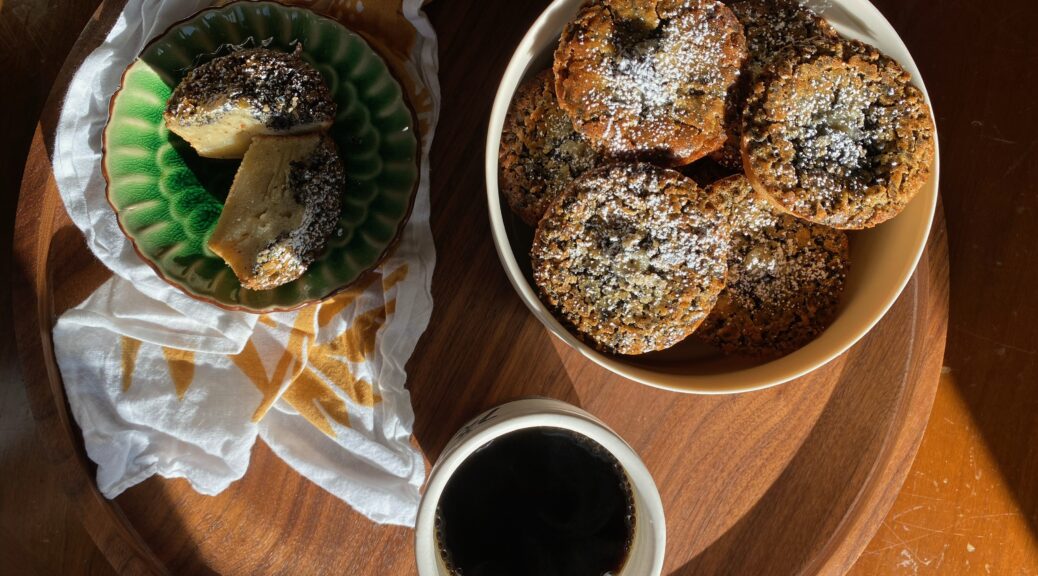
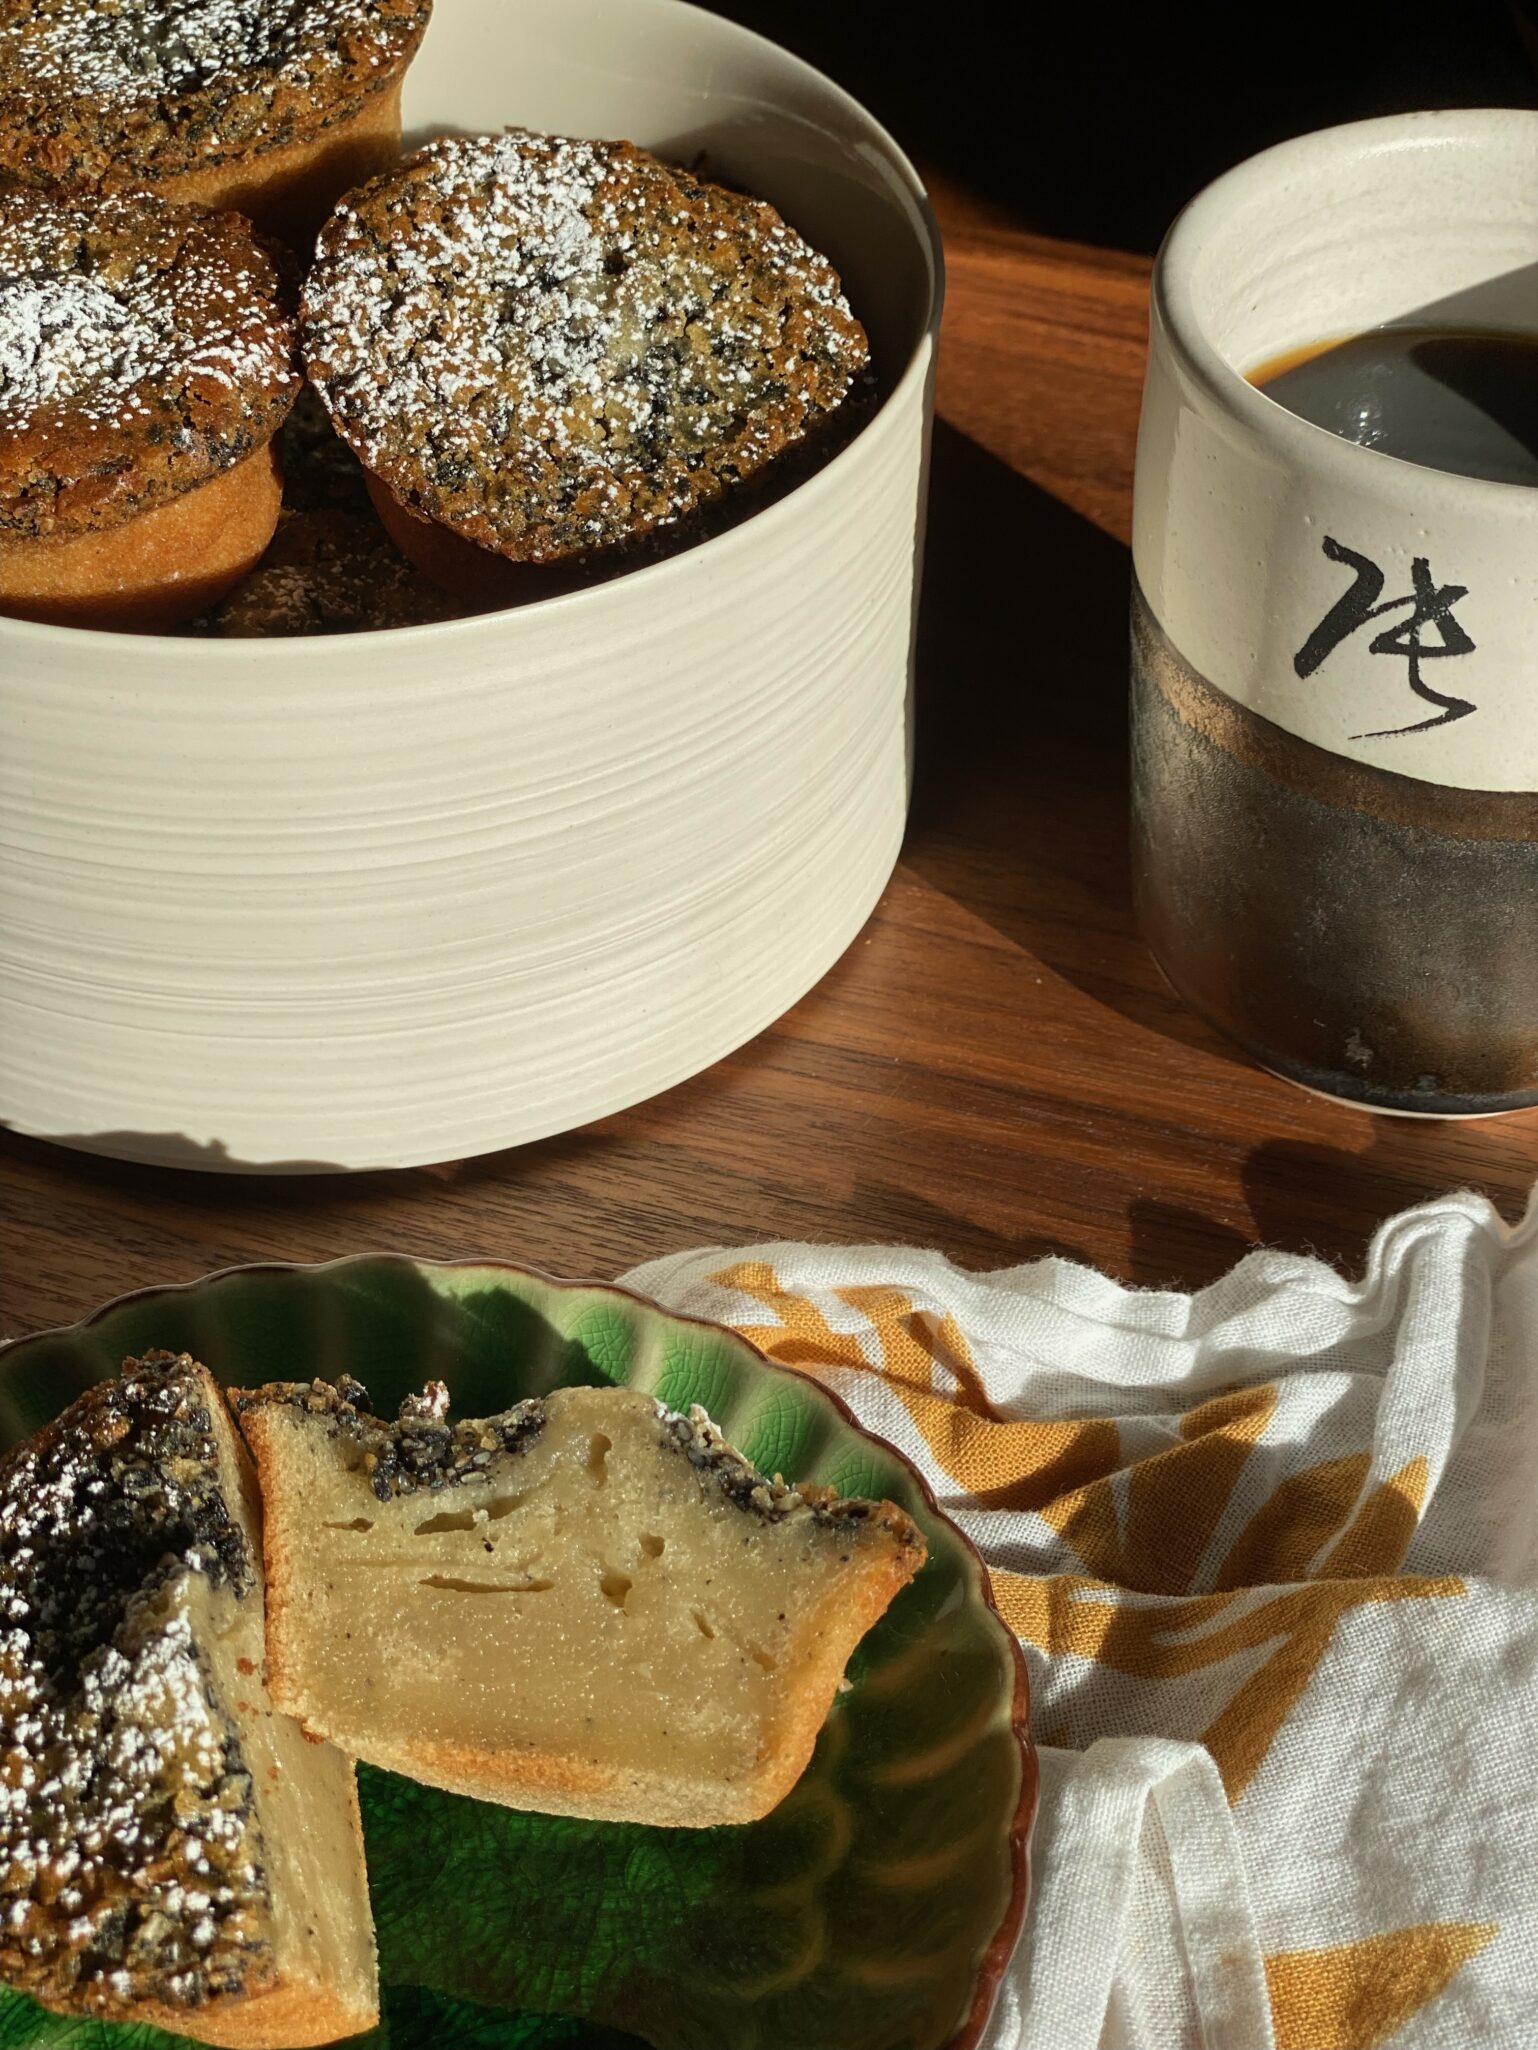
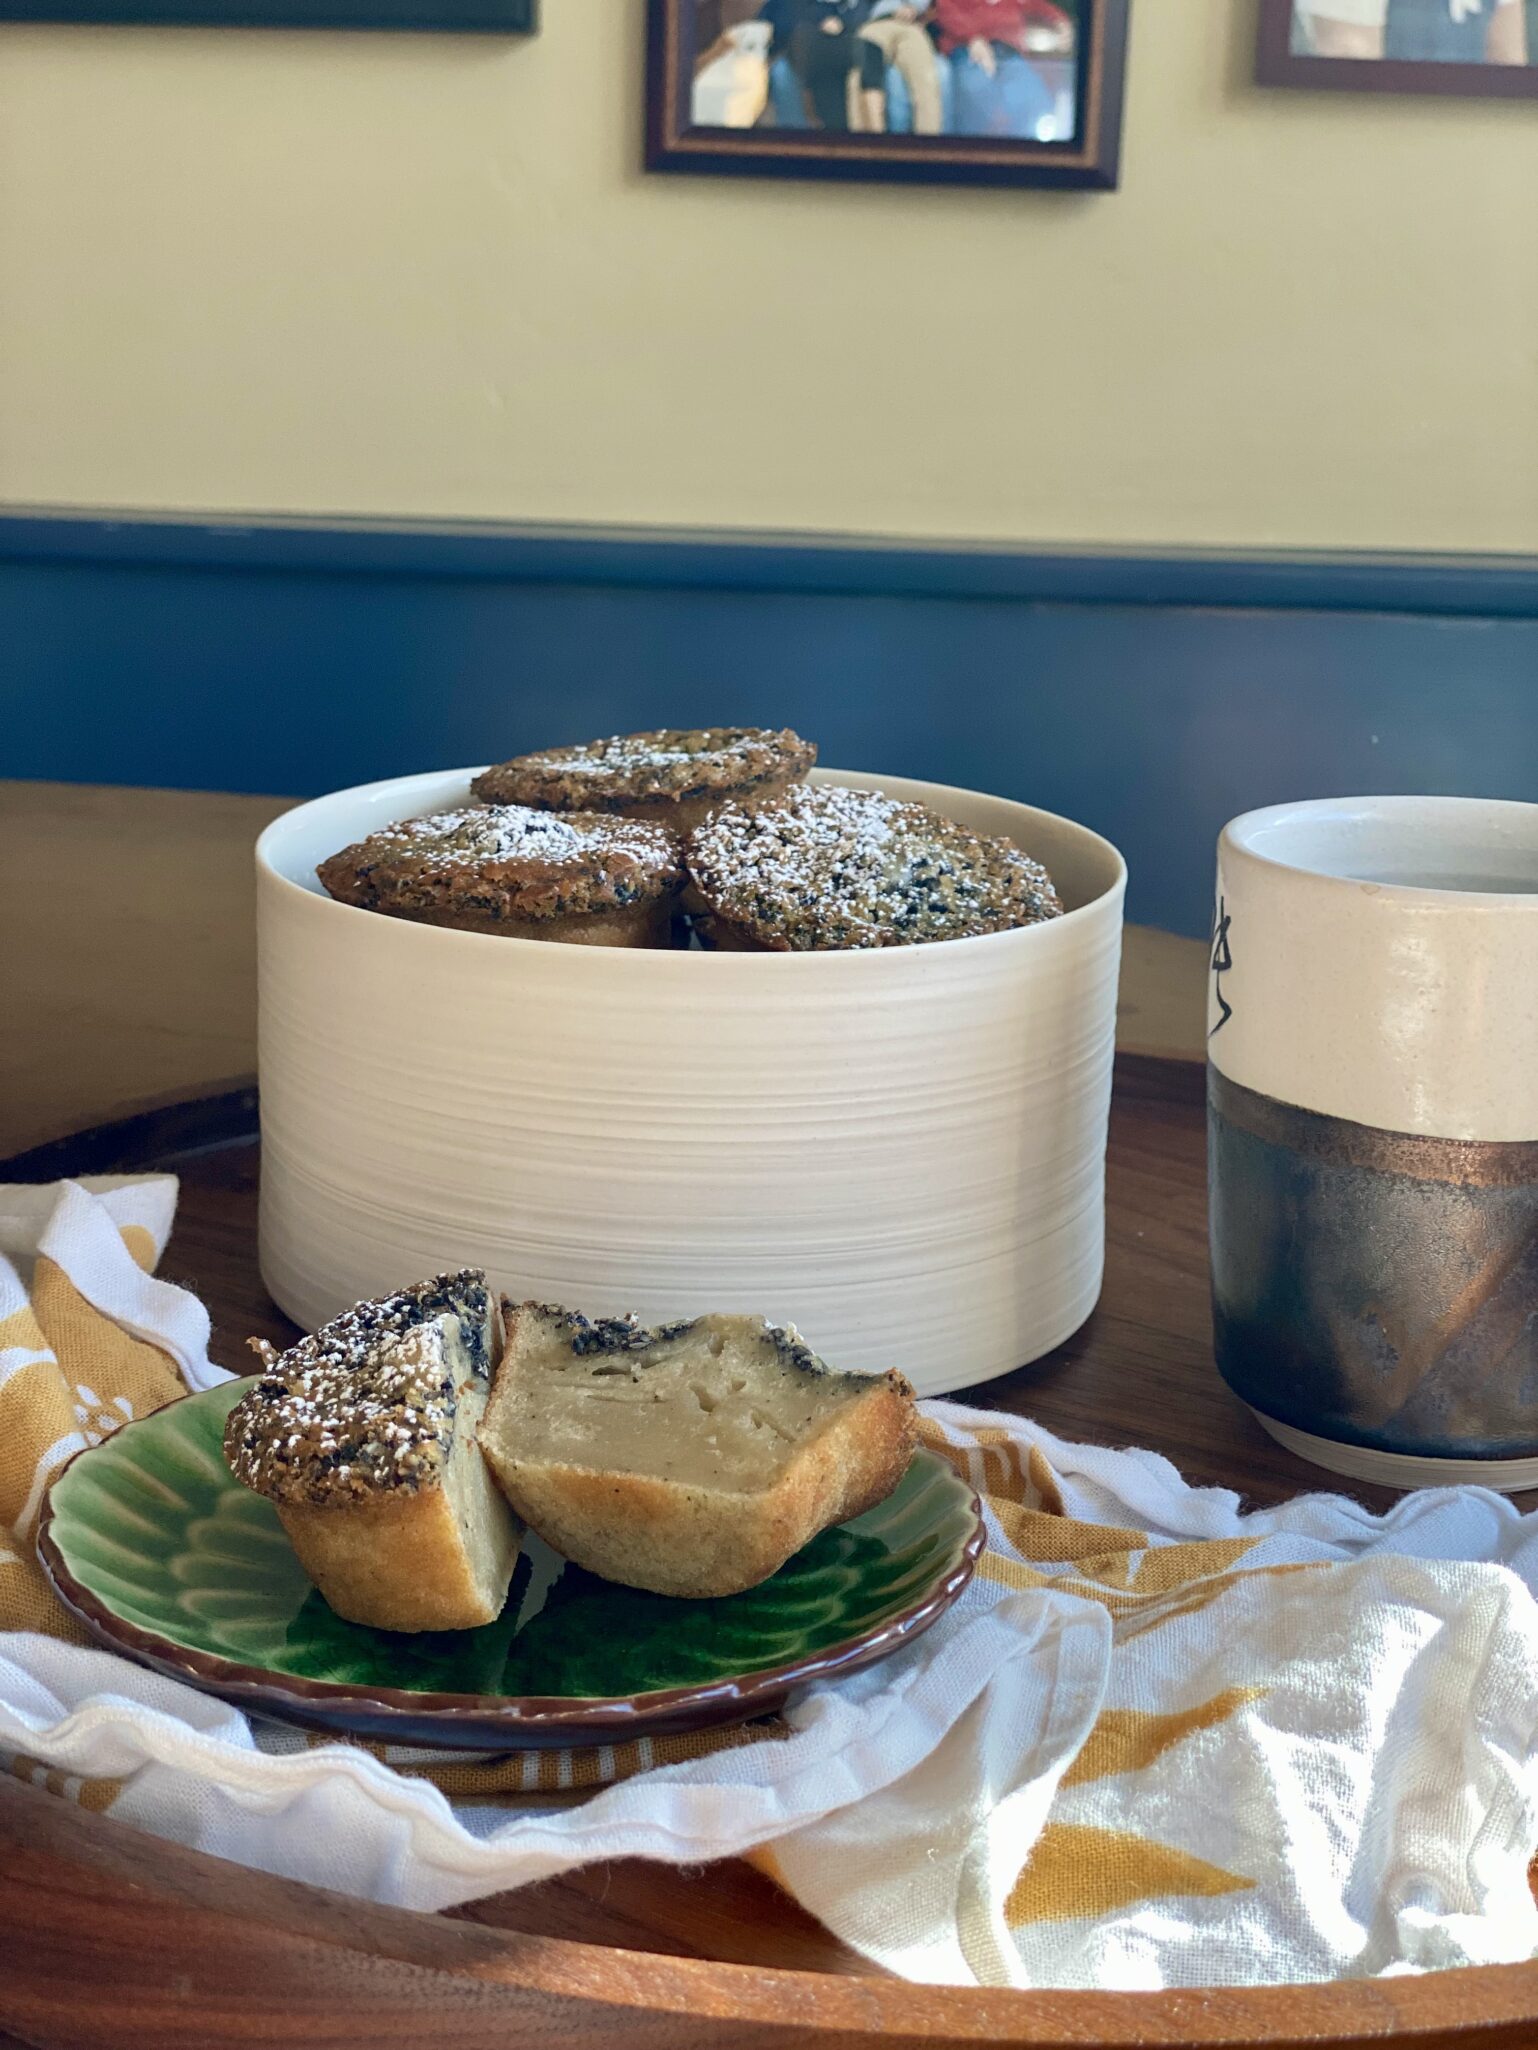
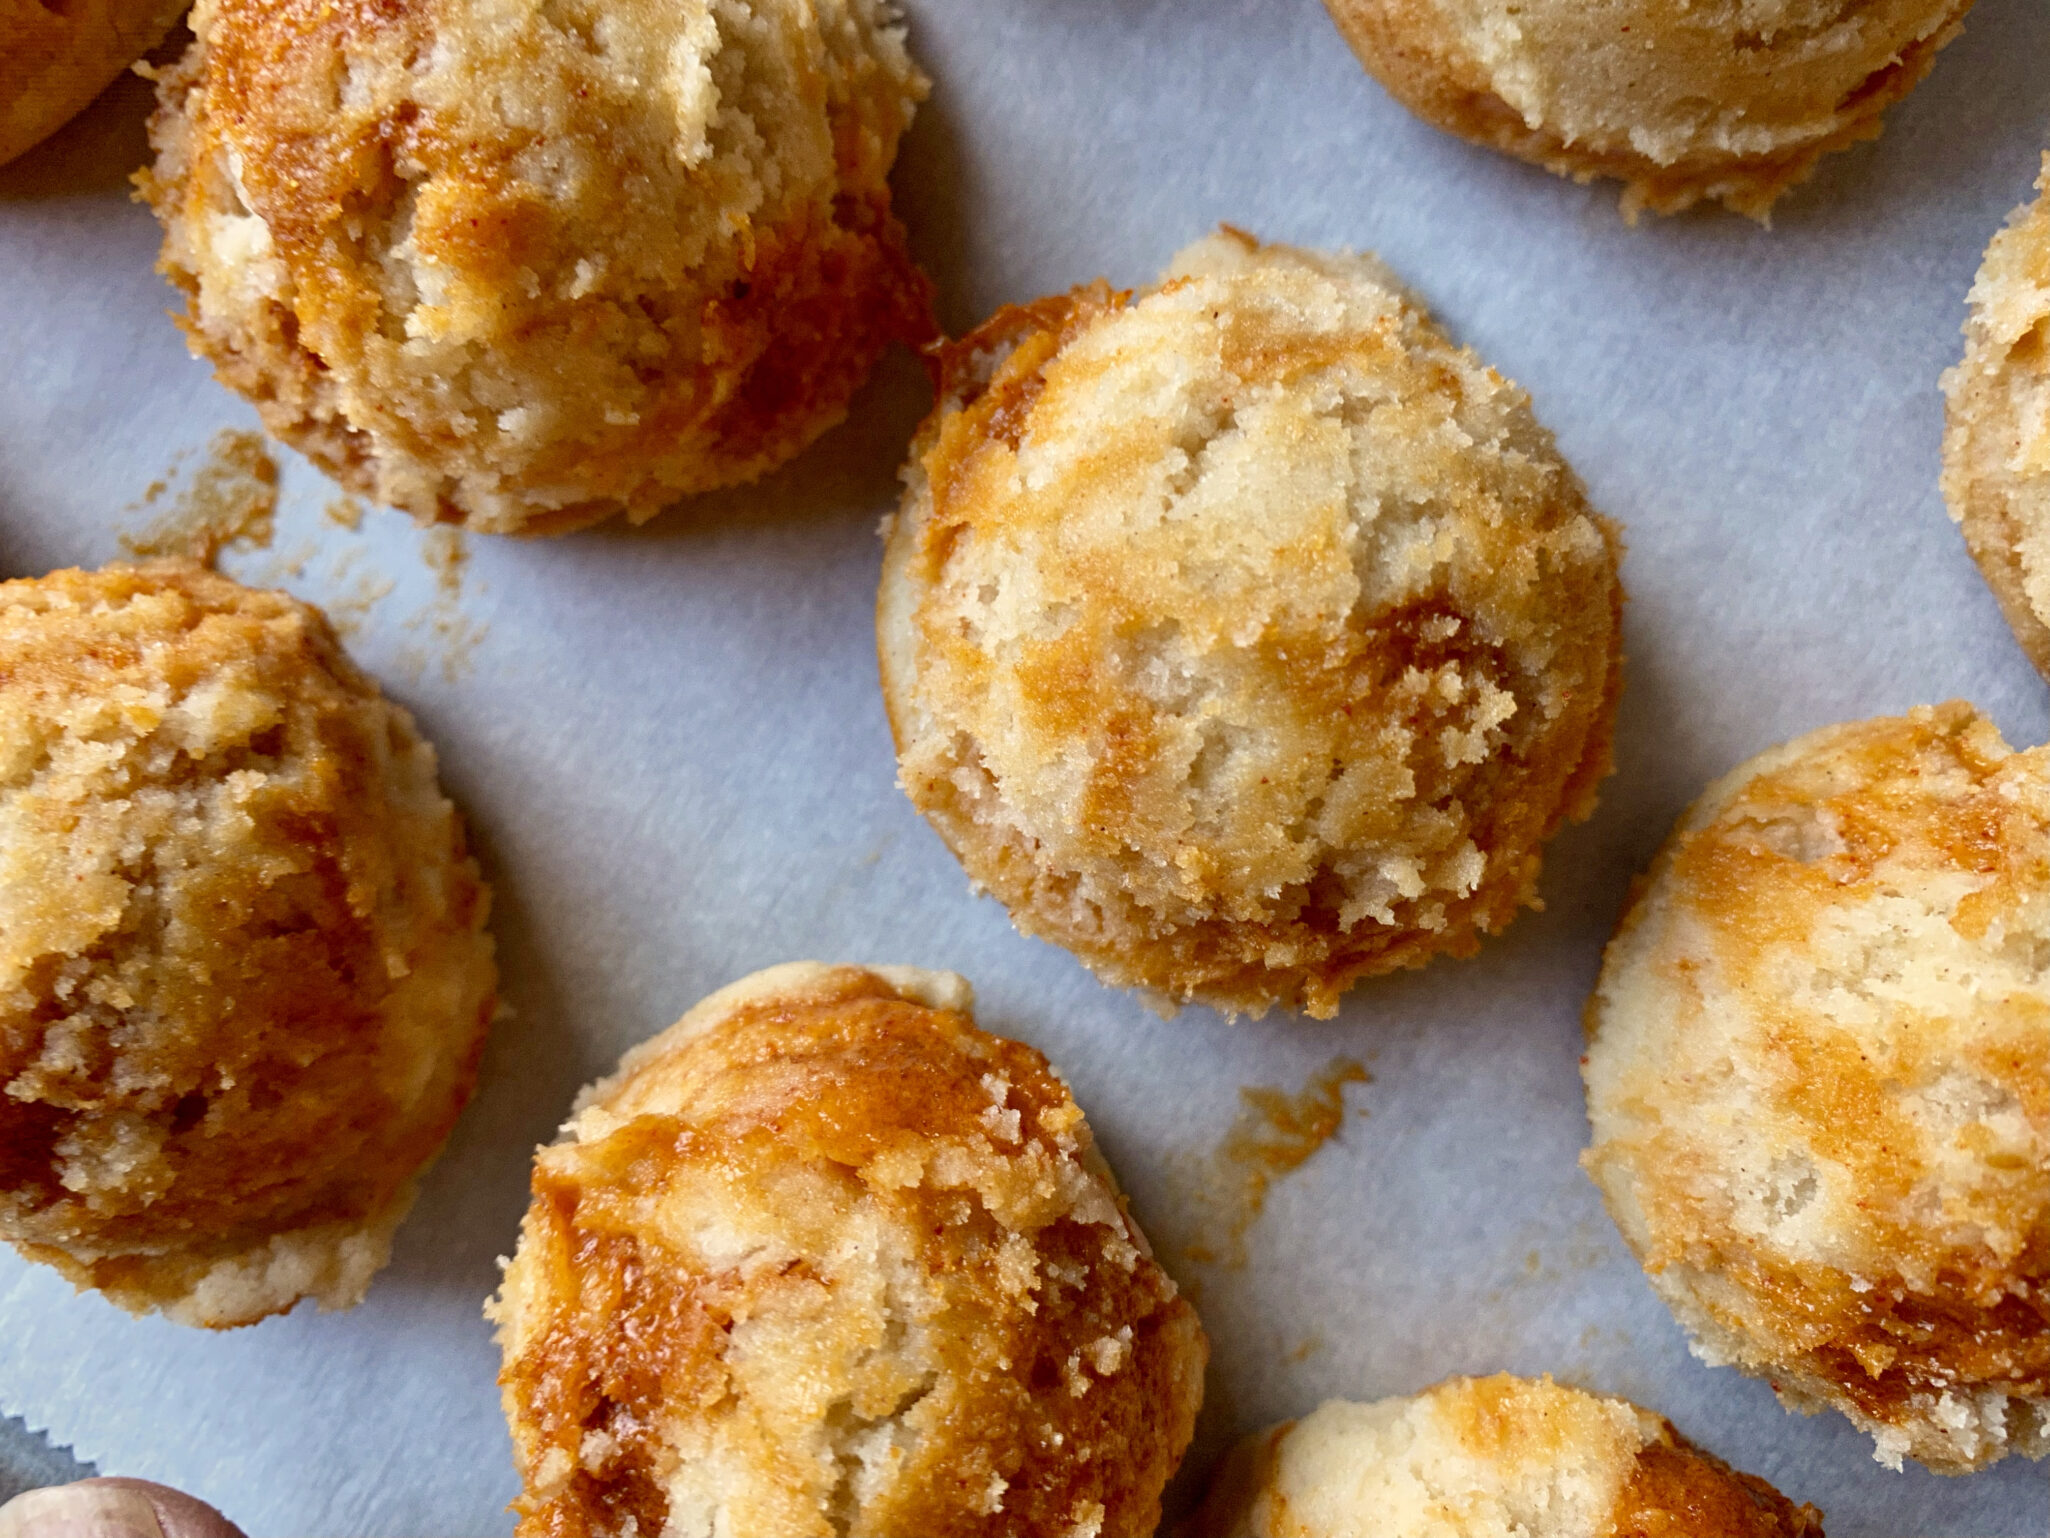
I decreased the amount of sugar in the recipe and made muffins instead of a cake.  Kinda like having my own personal dessert.

Sweet or glutinous rice flour is not to be confused with rice flour.  Sweet rice is much stickier than rice flour.  They are not interchangeable.  Koda Farms sweet rice is known as Mochiko and is pretty easy to find especially at Asian grocery stores.

Black sesame seeds can be found at most grocery stores in the spice section.  Asian grocery stores will also carry sesame seeds in larger quantities and not quite as expensive.  You

To reduce the sweetness cut sugar by 1/4 to 1/2 cup.  I cut it by 1/2 and it was still sweet enough for my taste. You may have to play with a little.  The time between making the original recipe (full sugar load) and when I made the muffins with half sugar taxes my memory as to whether the texture was different

The batter is fairly runny and pourable.  Very doable as a cake or muffins.  Shorten baking time to 20-25 minutes if making muffins.

Looking for something just a little different, gluten-free, and delicious, look no more, it’s right here.

Chewy Black Sesame Rice Cake

A delicious, dense, chewy, sesame flavored cake from Eric Kim
Course Dessert
Cuisine Asian-American
Keyword Black Sesame Seed, cake, chewy, ERic KIm, Mochi
Prep Time 20 minutes
Cook Time 1 hour

Equipment

  • 1 9 inch cake pan or
  • 1 12-cup std muffin pan

Ingredients

  • Cooking spray or butter and flour with plain rice flour

Eggs and Tings'

  • 2 large eggs
  • 1 cup sugar (it's pretty sweet, I use 1/2 cup)
  • ¼ cup honey mild
  • ¾ teaspoon kosher salt

The Wet Stuff

  • 1 cup whole milk
  • 2 tablespoons unsalted butter melted
  • 1 tablespoon vanilla extract yes, 1 TABLESPOON
  • ½ teaspoon toasted sesame oil

The Crunch

  • 4 tablespoons toasted black sesame seeds divided equally in half

The Dry Stuff

  • 1 teaspoon baking powder
  • 8 ounces (227g) glutinous rice flour aka mochiko or sweet rice flour NOT plain rice flour

The Finish

  • Powdered sugar for serving

Instructions

  • Preheat the oven to 350°F. Mist an 8-inch round cake pan with cooking spray or buttered and dusted with rice flour.
  • In a large bowl, whisk together the eggs, sugar, honey, and salt until fluffy and pale yellow, about 2 minutes. Whisk in the milk, vanilla, melted butter, and sesame oil until combined. Ain't gonna lie, I use my mixer on medium speed.
  • Using a mortar and pestle (or a coffee/spice grinder), pulverize 2 tablespoons of the black sesame seeds into a rough powder. It should smell very fragrant. Add this sesame powder, along with the remaining 2 tablespoons of whole black sesame seeds, to the bowl with the egg mixture, followed by the baking powder and rice flour. Whisk to combine, then carefully pour the batter into the greased cake pan. This part you can do by hand or machine.
  • Bake until the top is nicely browned and cracked slightly (this is a good sign), 50 to 60 minutes. You can also insert a chopstick or toothpick into the center of the cake, and if it comes out clean, then it’s done.
    For muffins, fill a 12-cup muffin tin that has been buttered to 7/8 full. Bake for approximately 25 minutes.
  • Cool completely before dusting with the powdered sugar and slicing into wedges to serve. The cake will keep in an airtight container at room temperature for up to 5 days.
Gochujang Caramel Cookies Sweet & Spicy-Winner, Winner from Eric Kim-mer

Gochujang Caramel Cookies Sweet & Spicy-Winner, Winner from Eric Kim-mer

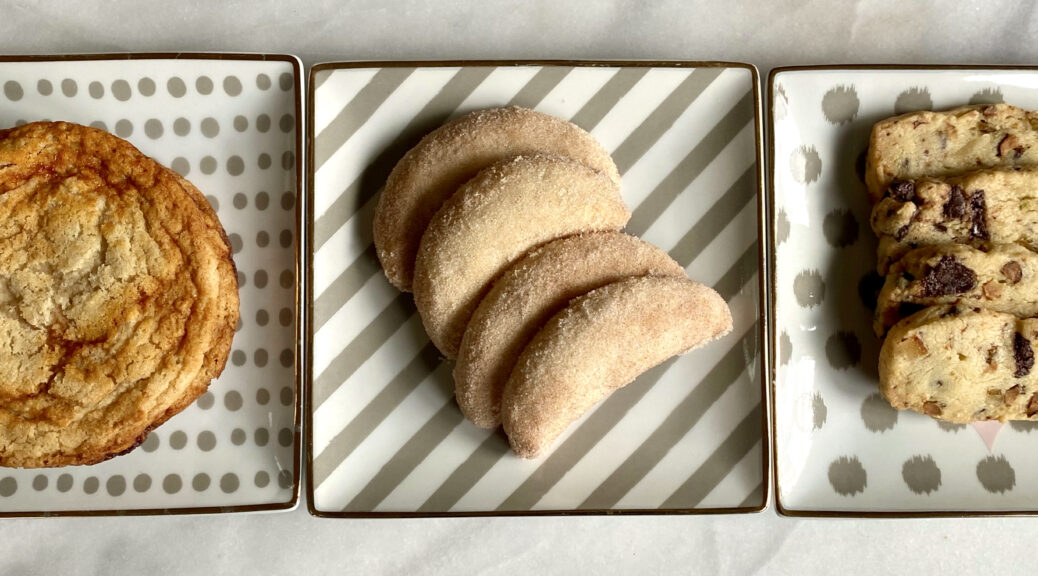
My favorite cookie this past holiday season was Eric Kim’s Gochujang Caramel Cookie.   I worked my way to writing about it by posting my two other favorite new cookies for the season first, Sue Li’s Orange, Pistachio, and Chocolate Shortbread and Rose’s Almond Crescents. Yep, just like the ones your Grandma, Abuela, Oma, or Nonna probably made.

Back to Eric’s holiday cookie for the New York Times.  His first holiday cookie, a couple of years ago was a homemade version of the Lofthouse Grocery Store Cookie.  A cakey, vanilla-forward cookie topped with real buttercream flavored with freeze-dried berries and finished with a generous amount of sprinkles.  So damn good.  Last year’s M&M Cookie, a kid favorite, is a buttery, chewy cookie, dotted with M&M’s, a precursor to this year’s cookie.

Sweet & Spicy

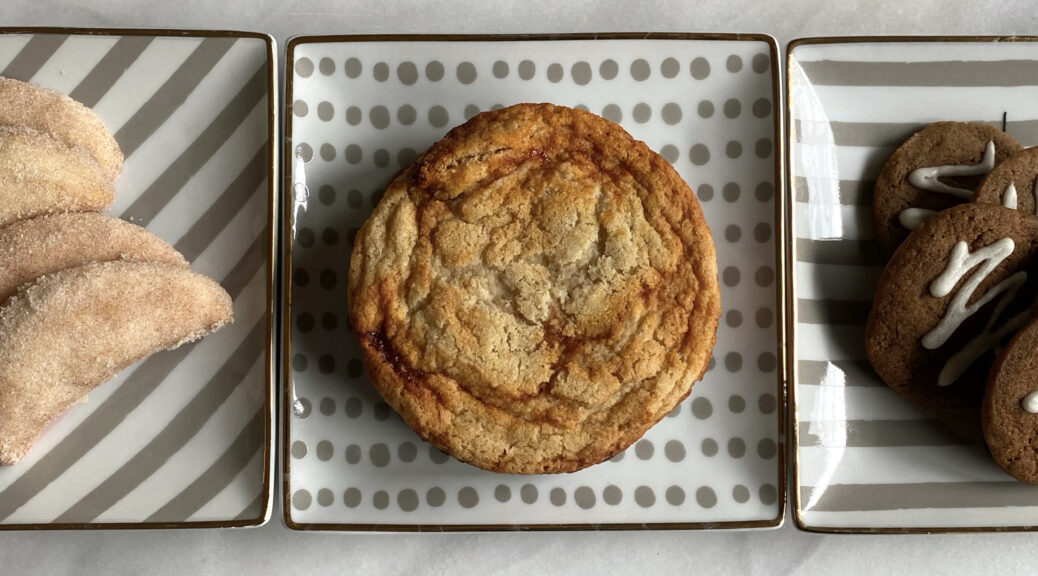
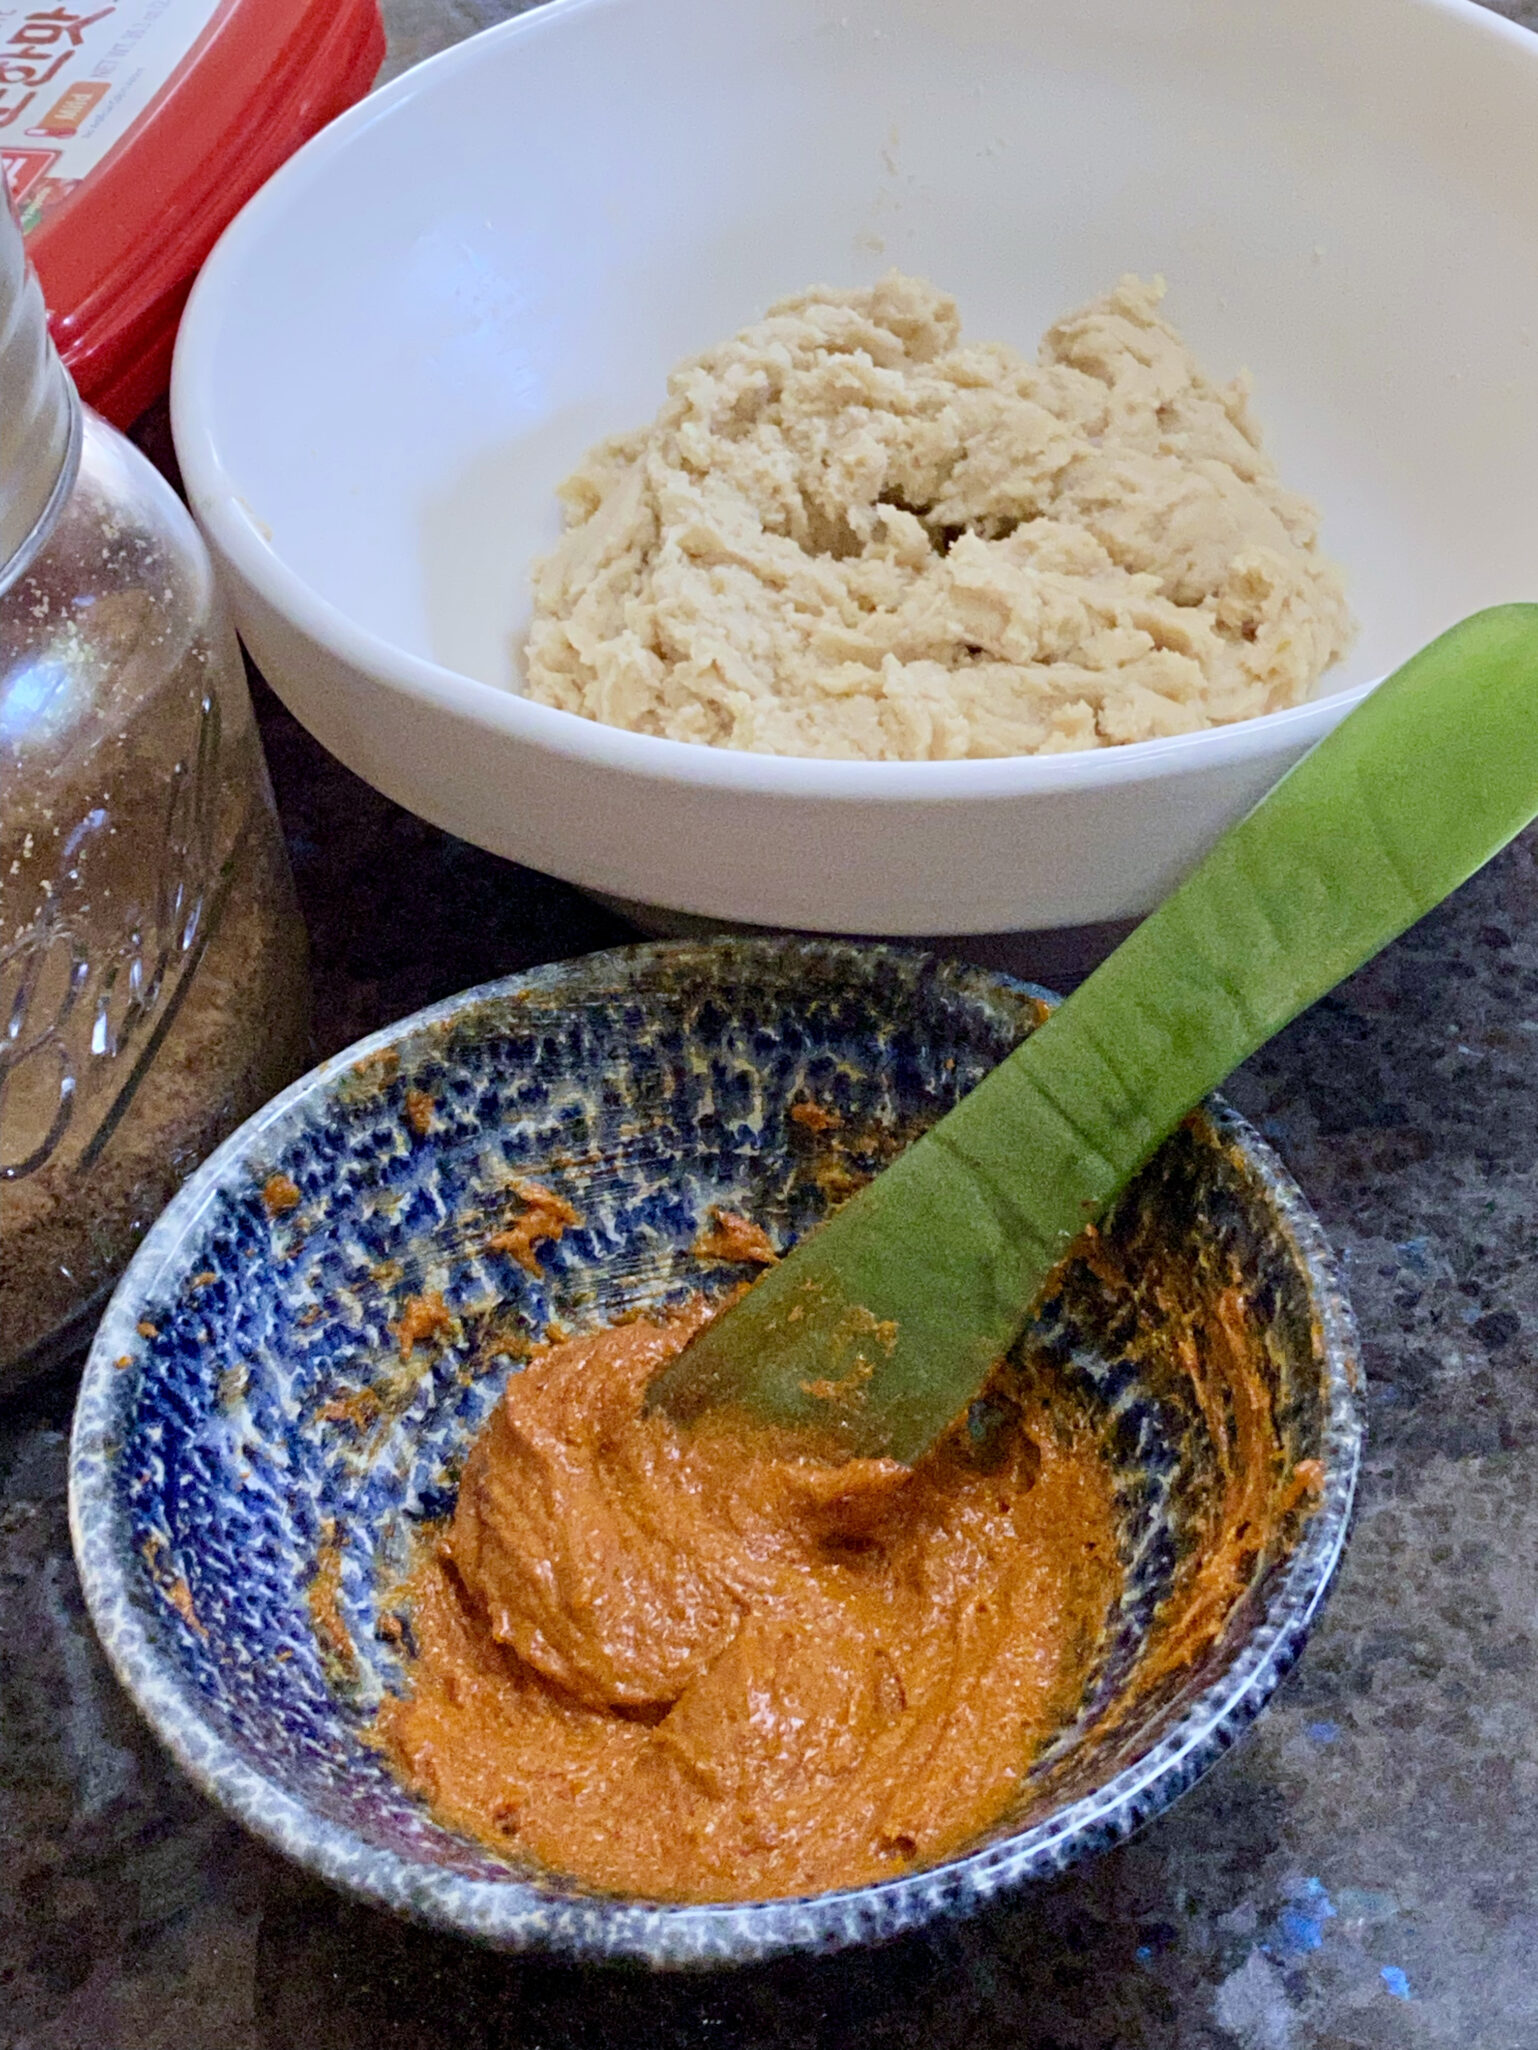
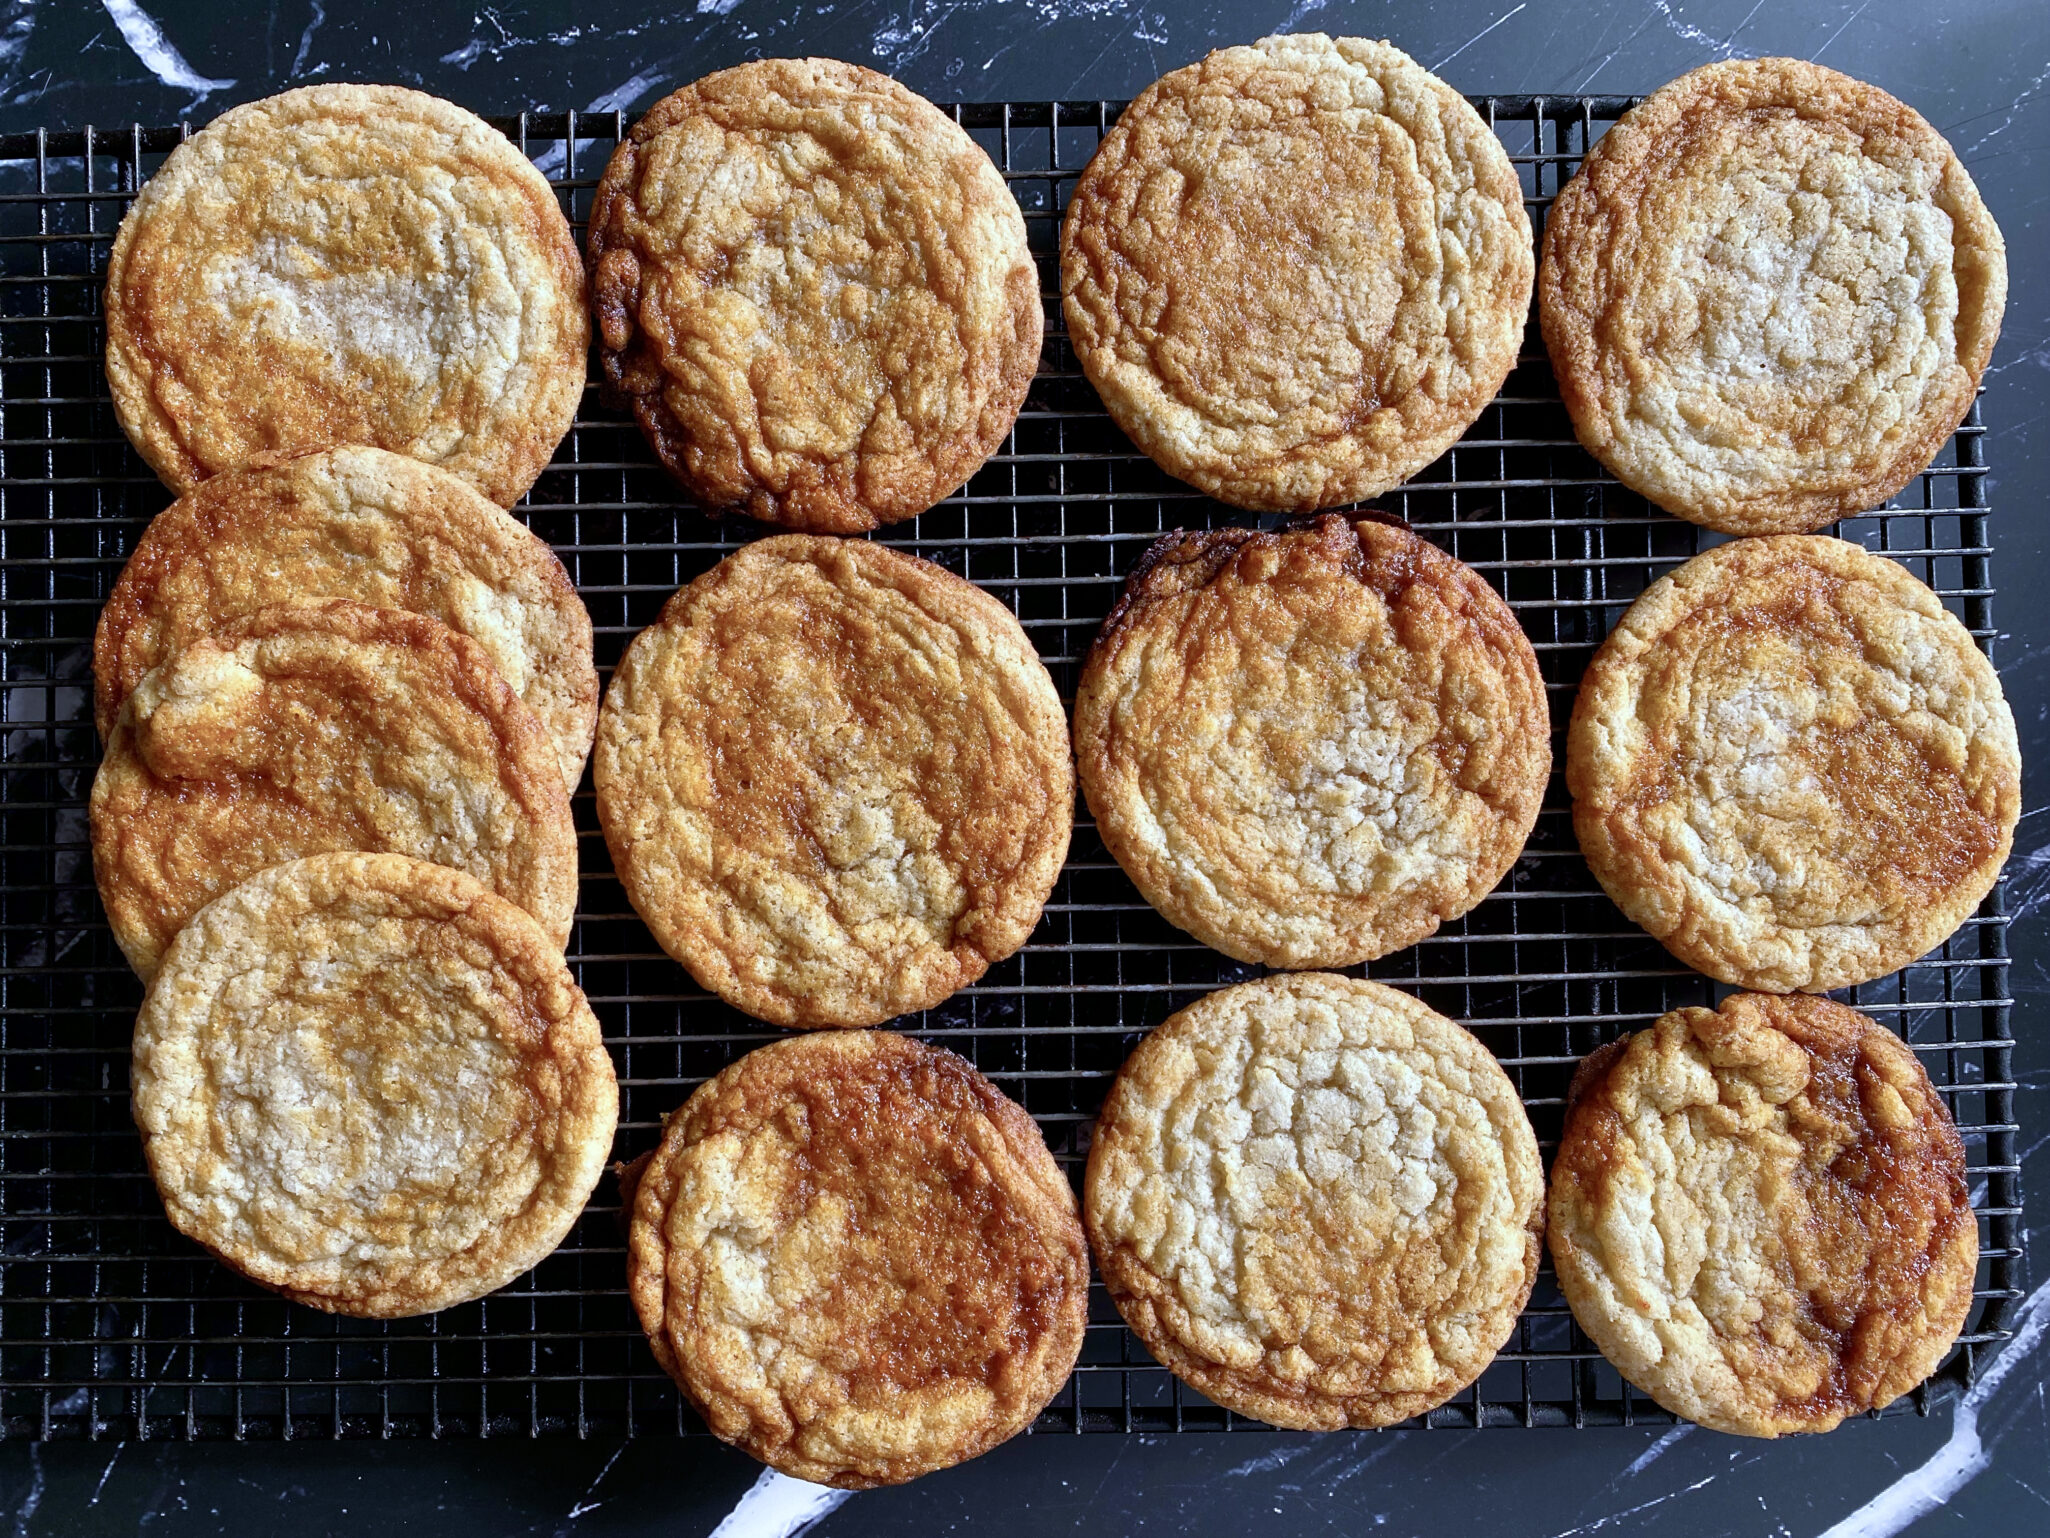
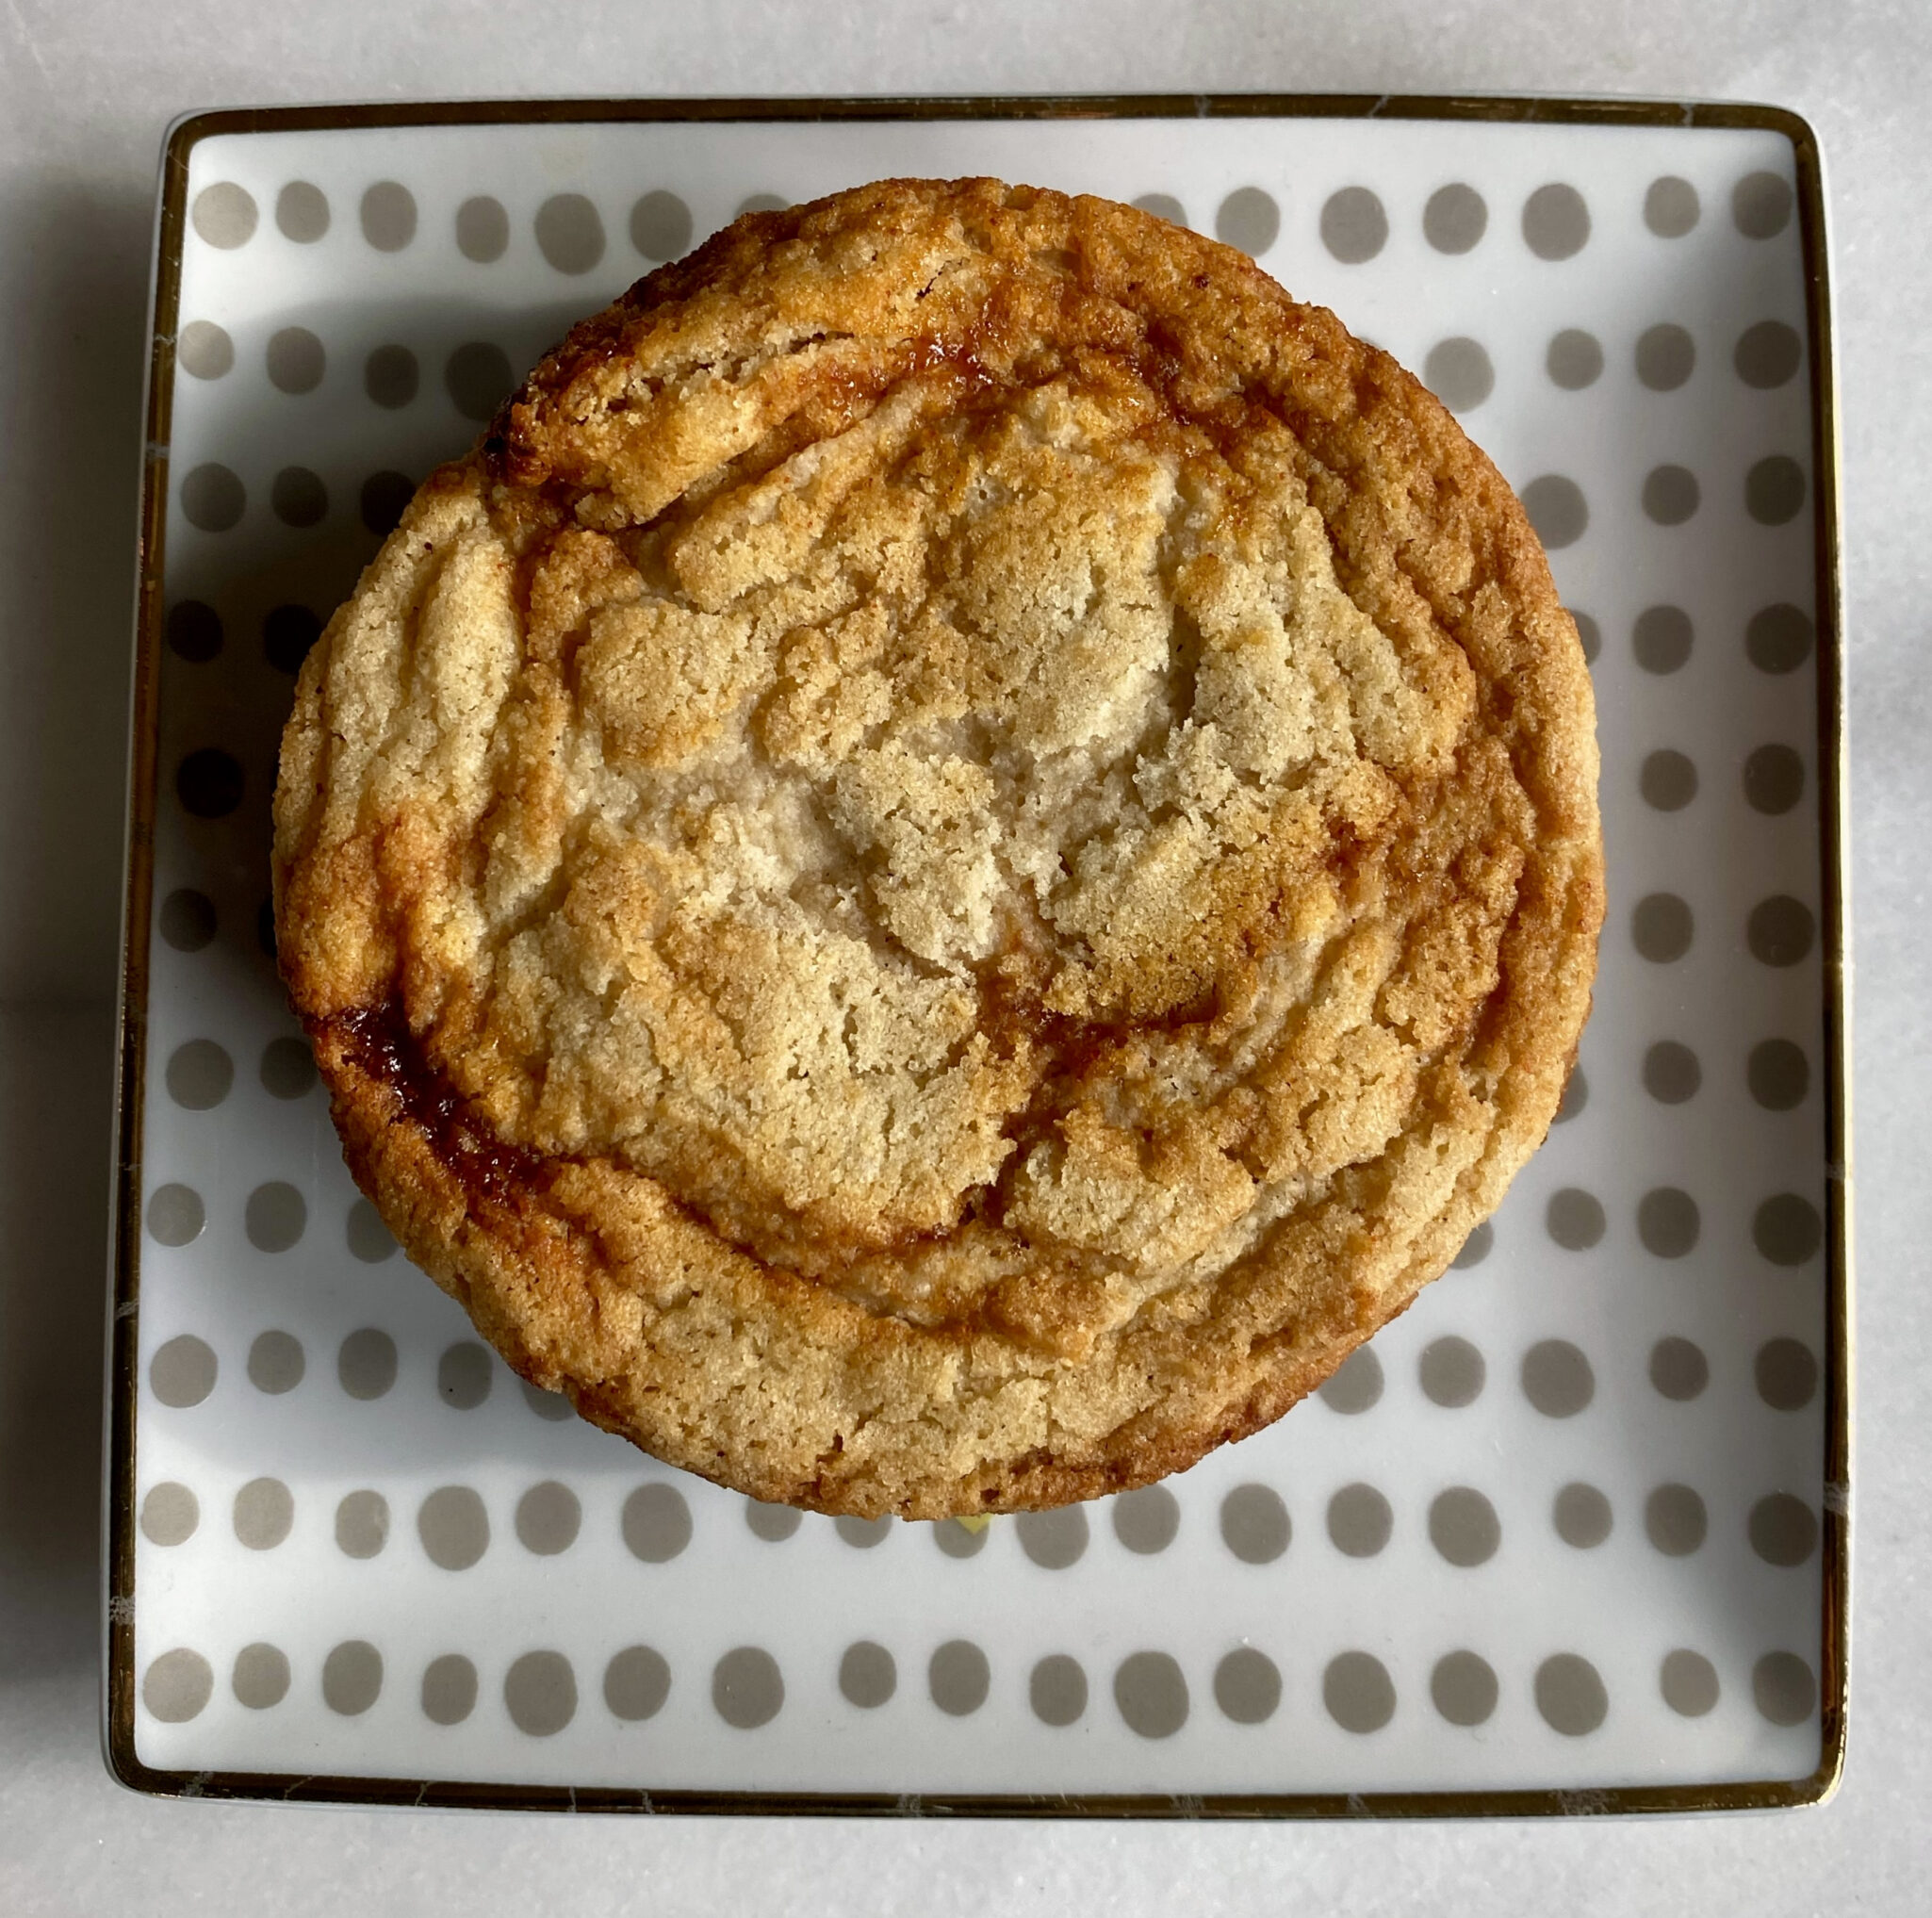
His Gochujang Caramel Cookie is a bold stroke of genius and gumption.  Gochujang is a fermented spicy chili paste with a touch of sweetness, a mainstay of Korean cooking.  But in a cookie?  It works! Ribbons of Gochujang enveloped in a buttery, chewy, vanilla-forward cookie. Butter and brown sugar are mixed into the Gochujang paste to mellow the chili which helps caramelize it while baking.   The trickiest part when making these is to not overmix the Gochujang butter into the cookie dough so you see the orange-colored swirls of Gochujang in the cookie. Not only do they taste fabulous, but they are visually stunning.

Easy Peasy

The key to making these is having soft butter.  Leave the butter at room temperature for at least an hour before. The butter should be soft but not melty.  Although he recommends making these by hand you can use a mixer.  Remember the golden rule-don’t overmix!  If you use a mixer,  stick to the stir and the low-speed setting.

Watch Eric make these cookies for NYTcooking HERE.

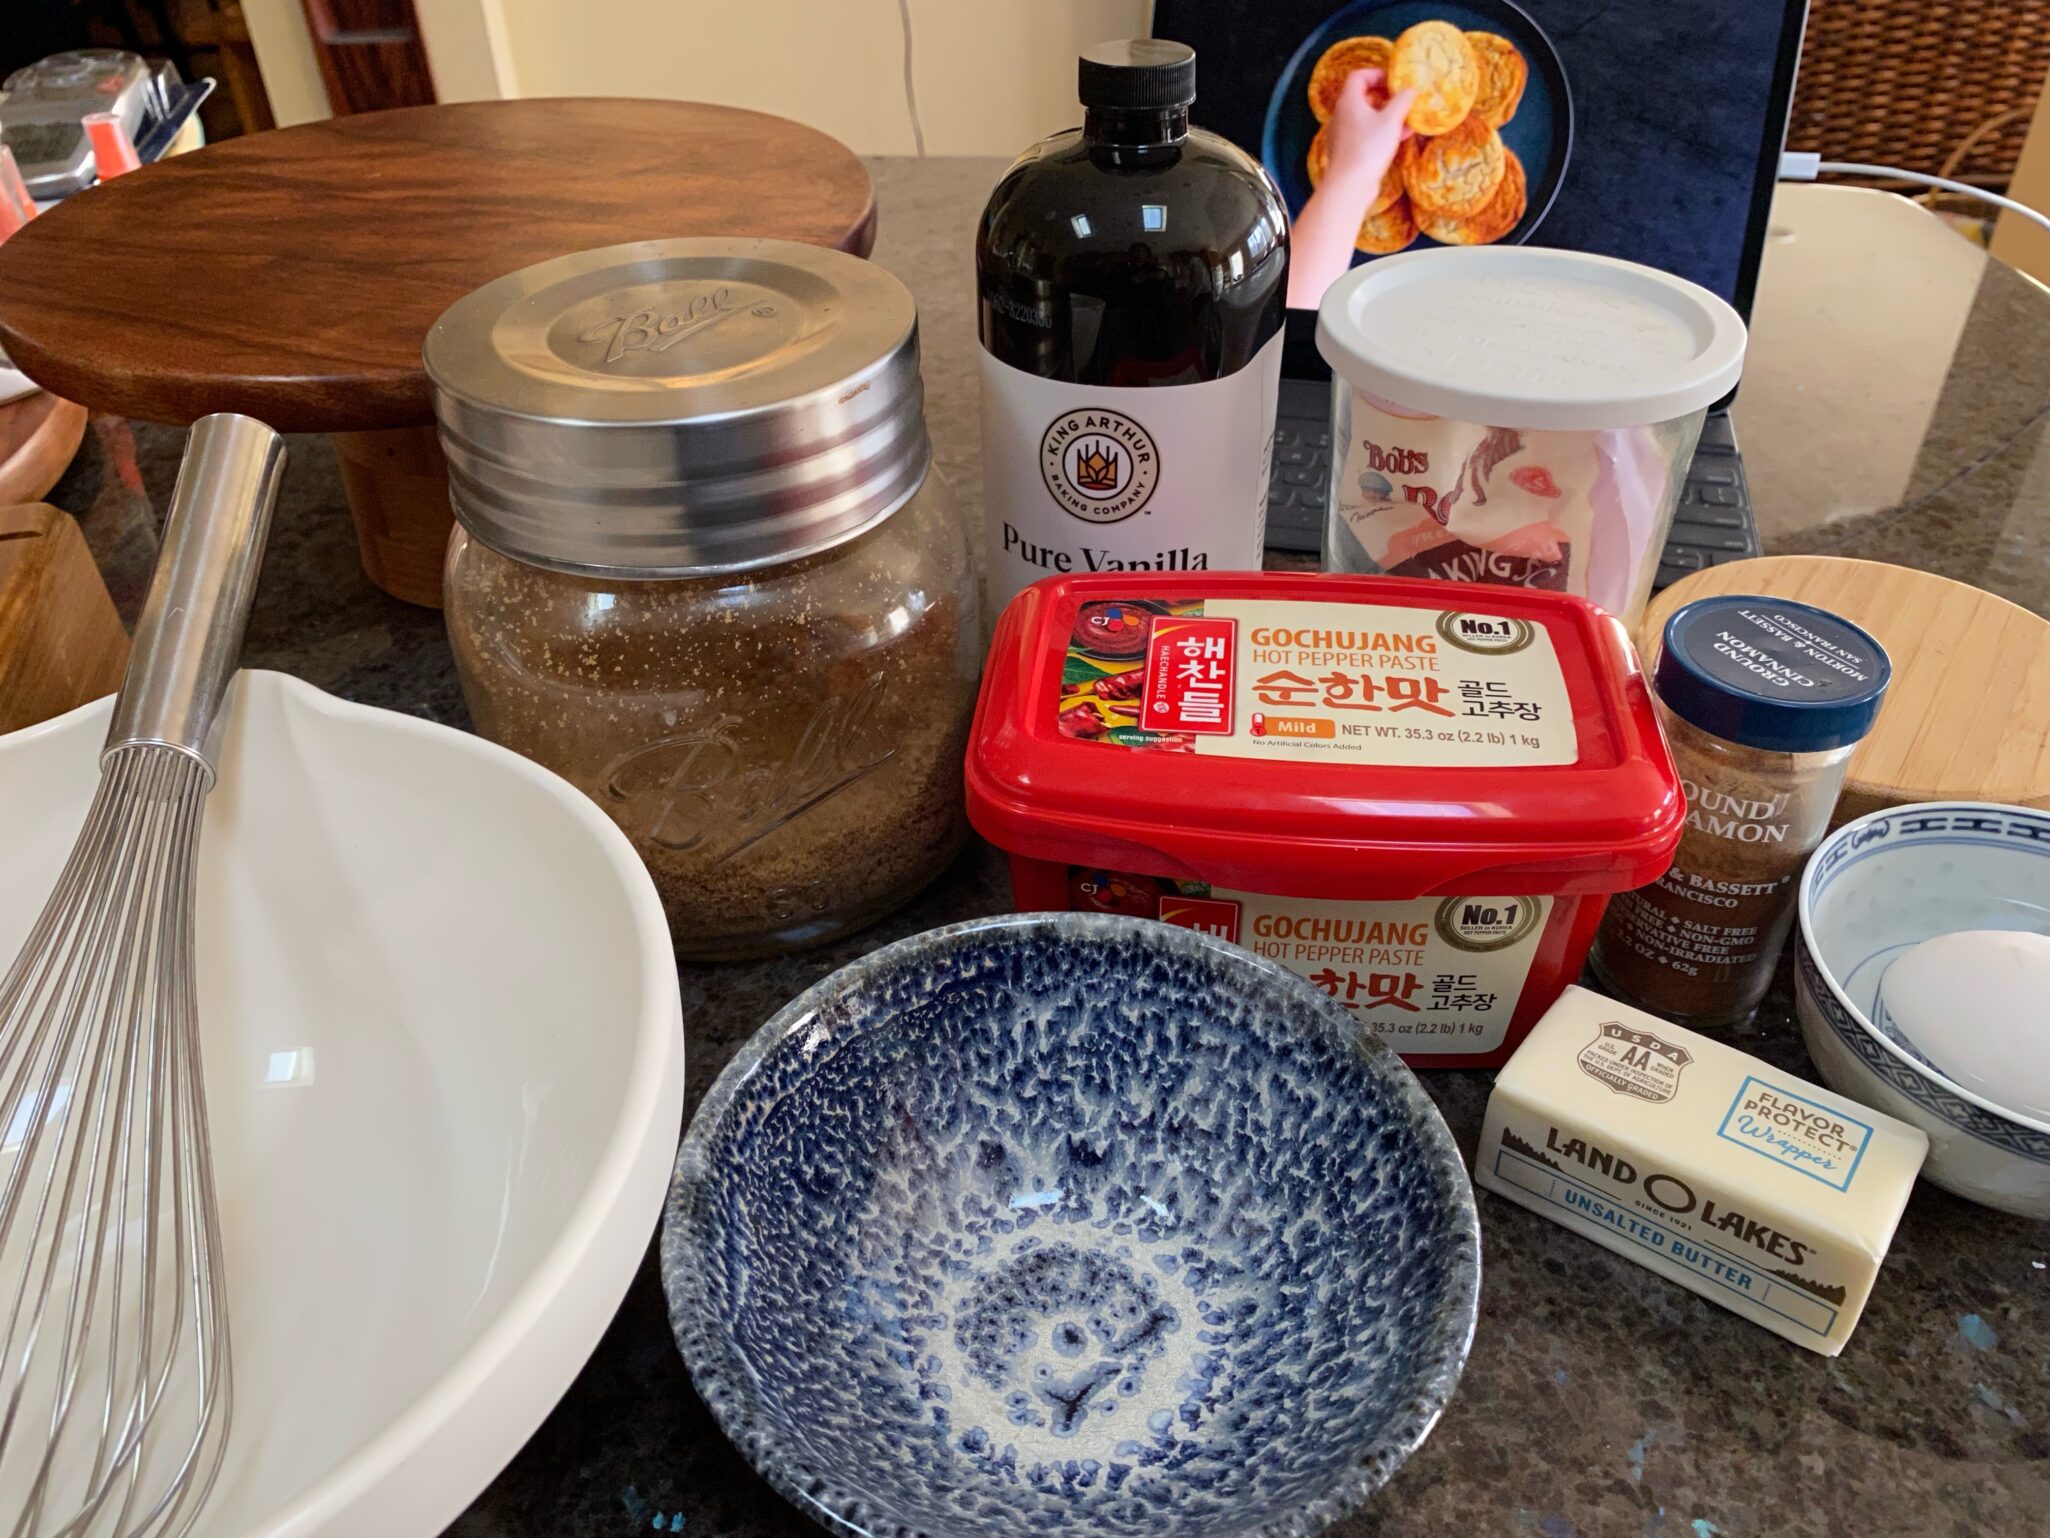
Spicy Pearls of Wisdom- Gochujang Paste is made of chili flakes for heat, glutinous rice for sweetness, and fermented soybeans for flavor.  It is a cornerstone of Korean cooking.  I use the mild paste for the cookies as it does come in various heat levels.  You can find it in most Asian grocery stores or TJ has small tubs of Gochujang made in Korea (full transparency, I haven’t tried it).

Here’s the Hard Part

The tricky part is combining the gochujang butter with the cookie dough.  Eric calls for chilling the cookie dough for a couple of minutes so it is denser than the paste.  The goal is to have streaks of the orange-red paste running through the lighter vanilla dough.  Bites vary in spiciness and sweetness if you don’t blend too much (upping the interest factor).  Spread plops of the paste on the dough and run a small spatula through it to drag the paste into the dough.  NOT TOO MUCH since when you scoop out the dough this will further blend it.  Use a cookie scoop to form balls of dough.  A #40 scoop will give you approximately 18 cookies about 3 inches in diameter with crisp edges and a chewy center.  Reduce baking time to 9-11 minutes.  These are a bit smaller than Eric’s cookie cause I don’t need to eat a 5+ inch cookie and trust me I would, lol.

Cookie Hack

The cookies spread quite a bit so allow lots of space on your cookie sheet for each cute dough ball.  This also allows room around the cookie to use my jar hack/cookie cutter to shape the cookies as soon as they come out of the oven.  The chili paste will spread more than the cookie itself creating a funny-shaped cookie.  Take a cup or a bowl just a little bit bigger than the cookie, place it over the cookie and swirl the cup and cookie.  This “rounds” the cookie out.

Spicy Tip Number 2? Or is it 3?

Have friends and fam that are spice-adverse?  Tell them to pick the cookie that has the least amount of orange!

I adore this cookie for its flavor, texture, and uniqueness!

Gochujang Caramel Cookies

From Eric Kim and NYTcooking, my favorite cookie this past year! Gochujang Caramel Cookies
Course cookies, Dessert
Cuisine Asian-American, Korean-American
Keyword gochujang, Gochujang Caramel Cookie, holiday cookies
Prep Time 20 minutes
Cook Time 11 minutes

Ingredients

Gochujang Butter

  • 1 tablespoon unsalted butter very soft
  • 2 tablespoons packed dark brown sugar
  • 1 tablespoon gochujang paste heaping

Creamed Mixture

  • 7 tablespoons unsalted butter, softened
  • 1 cup granulated sugar (200 grams)
  • 1 large egg at room temperature
  • ½ teaspoon coarse kosher salt (Morton's) or ¾ teaspoon if using Diamond Crystal
  • ¼ teaspoon ground cinnamon
  • 1 teaspoon vanilla extract

Dry Stuff

  • ½ teaspoon baking soda
  • cups all-purpose flour 185 grams

Instructions

  • In a small bowl, stir together 1 tablespoon butter, the brown sugar and gochujang until smooth. Set aside for later, at room temperature.
  • In a large bowl, by hand, whisk together the remaining 7 tablespoons butter, the granulated sugar, egg, salt, cinnamon and vanilla until smooth, about 1 minute. Switch to a flexible spatula and stir in the baking soda. Add the flour and gently stir to combine. Place this large bowl in the refrigerator until the dough is less sticky but still soft and pliable, 15 to 20 minutes.
  • While the dough is chilling, heat the oven to 350 degrees and line 2 large sheet pans with parchment.
  • Remove the dough from the refrigerator. In 3 to 4 separately spaced out blobs, spoon the gochujang mixture over the cookie dough. Moving in long circular strokes, swirl the gochujang mixture into the cookie dough so you have streaks of orange-red rippled throughout the beige. Be sure not to overmix at this stage, as you want wide, distinct strips of gochujang.
  • Use an ice cream scoop to plop out ¼-cup rounds spaced at least 3 inches apart on the sheet pans. (You should get 4 to 5 cookies per pan.) Bake until lightly golden at the edges and dry and set in the center, 11 to 13 minutes, rotating the pans halfway through. Let cool completely on the sheet pan; the cookies will flatten slightly and continue cooking as they cool. *See post for making smaller cookies. I used a #40 scoop which is just shy of an ounce. 1/4 cup is 2 ounces for comparison.
  • The cookies will keep in an airtight container at room temperature for up to 2 days.

Notes

Mixing this dough by hand is highly recommended for the most defined crinkles and the chewiest texture.
NCOTB #3 Almond Crescents Old School New

NCOTB #3 Almond Crescents Old School New

A couple of months ago I reviewed Rose Levy Beranbaum’s new book, The Cookie Bible for Net Gallery.  Long a fan of hers I was excited to take a peek at her latest work, it did not disappoint.  My favorite book is Rose’s Christmas Cookie Book, the bible of Christmas Cookies.  Her attention to detail and explanation of ingredients and techniques guarantee success for even the most novice baker.

The Cookie Leap

Rose’s Christmas Cookies expanded my cookie-verse.  I went from baking chocolate chip cookies (a damn good one though) to making spritz, cut-outs, and crescent cookies-fancy-schmancy festive cookies.  Every Christmas, Rose’s Christmas Cookies is front and center on my kitchen counter.

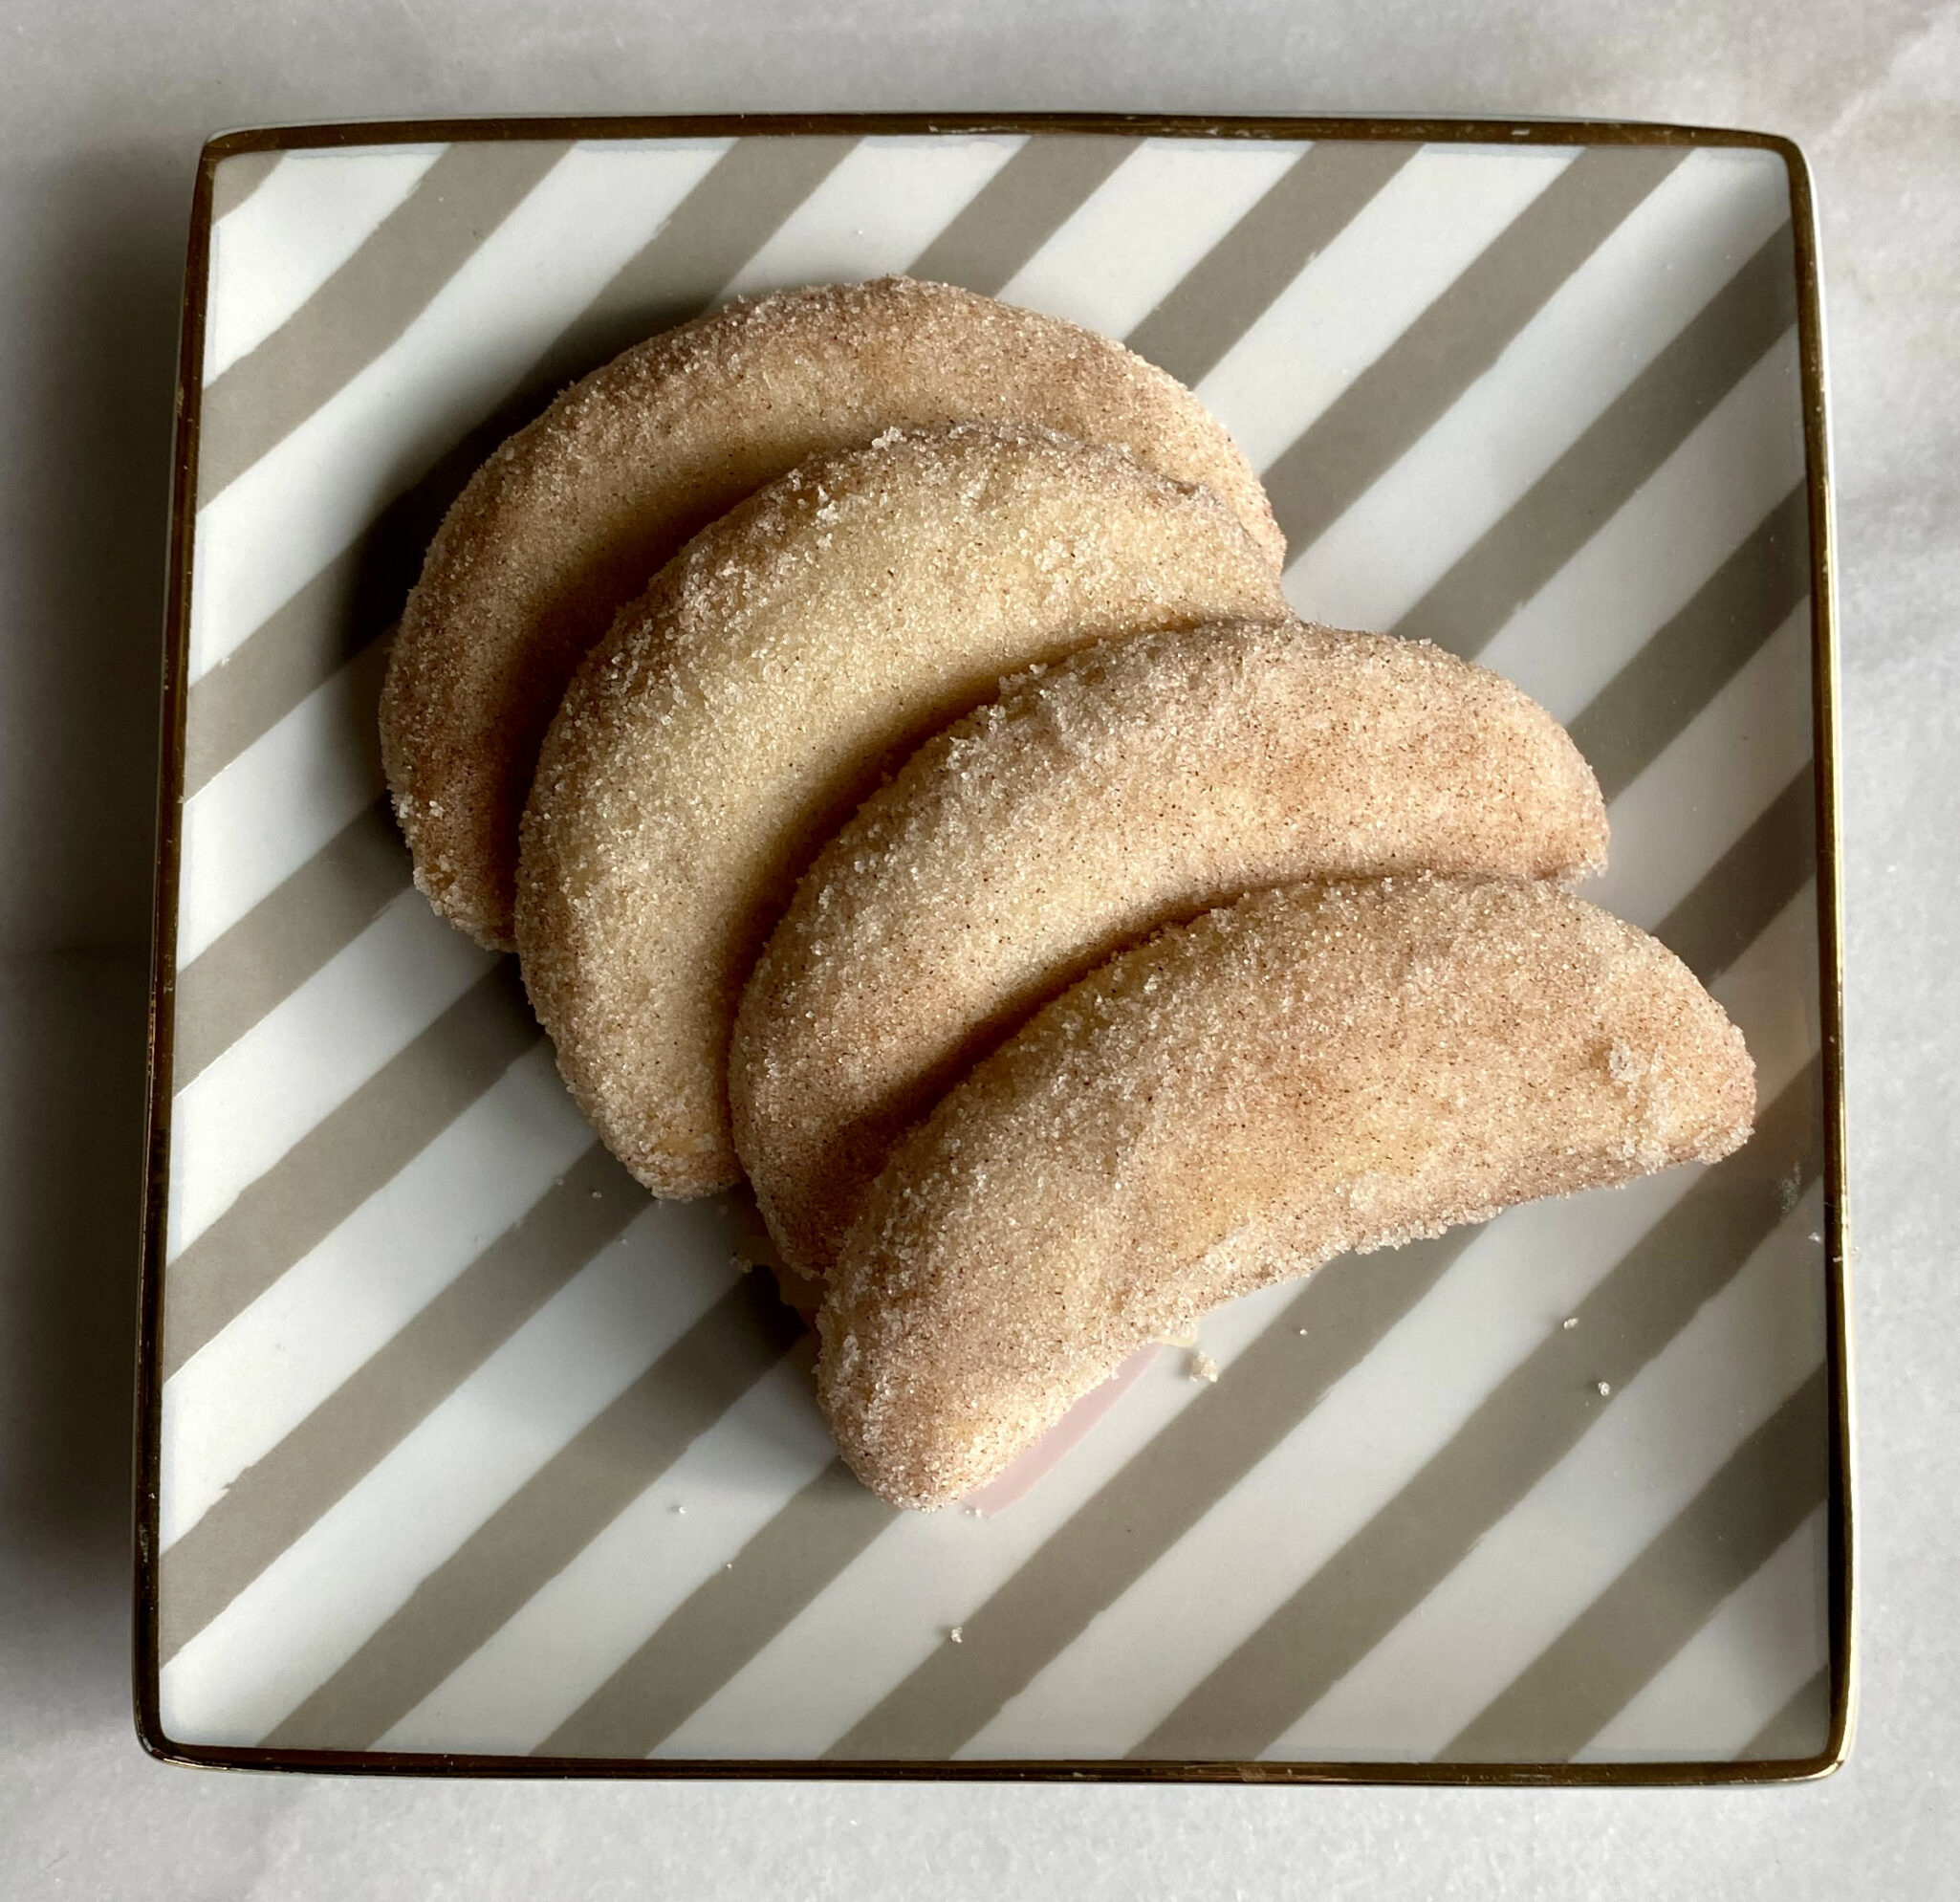
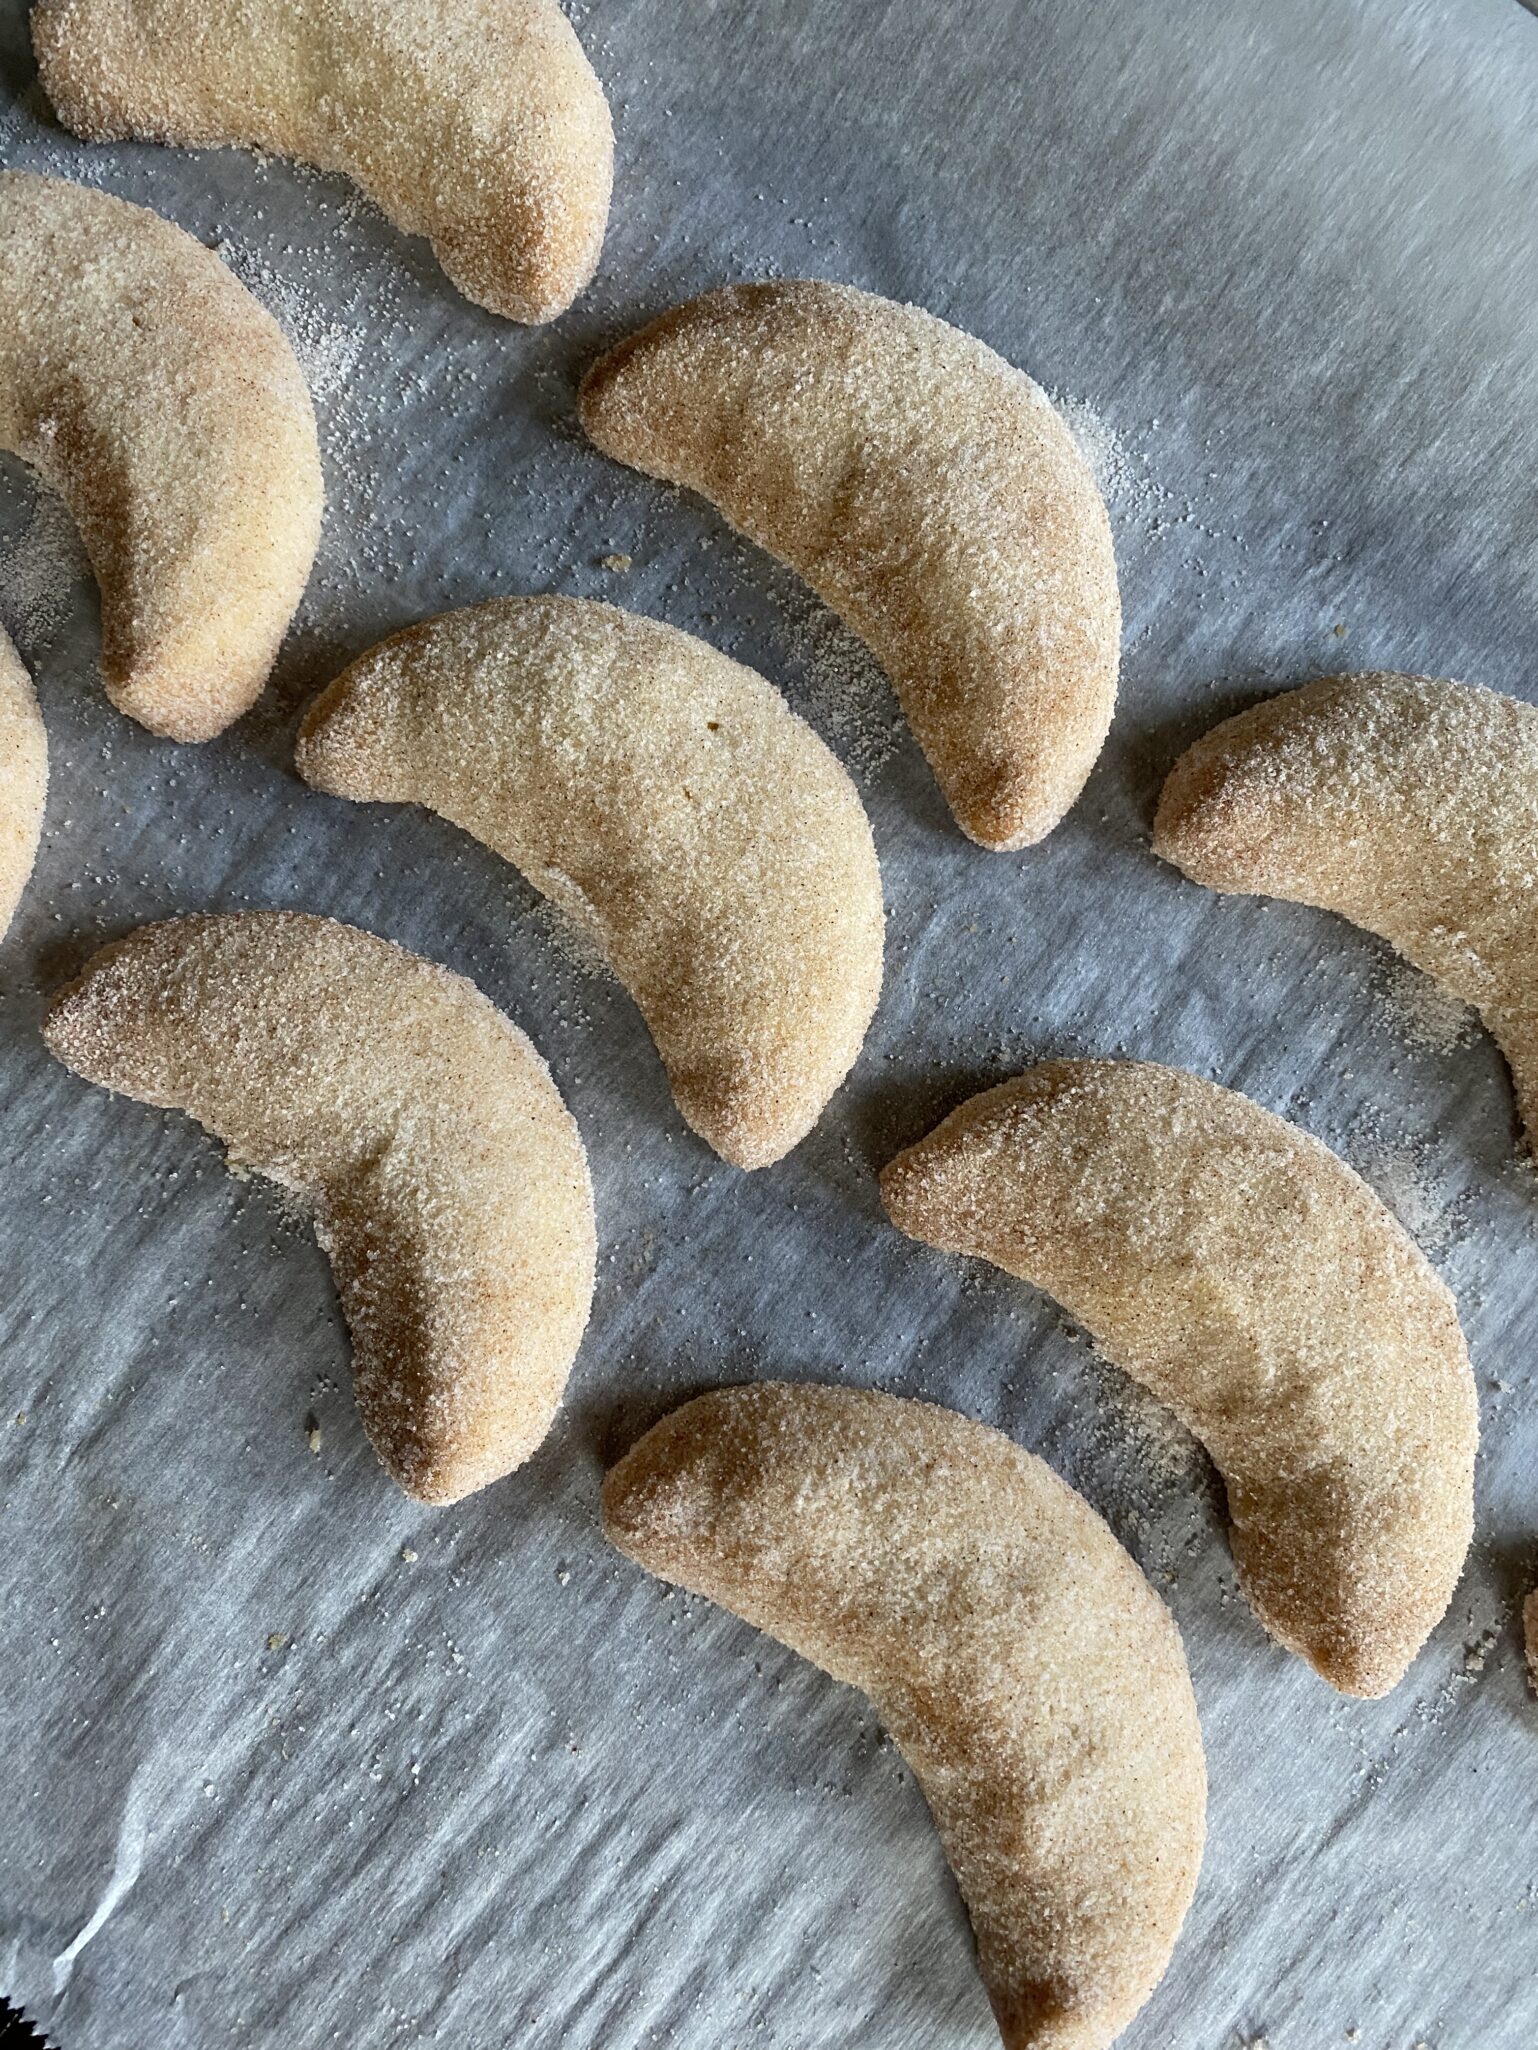
One of my favorites from this book is Rose’s Crescents.  The fact that there are so many variants is indicative of their deliciousness and universal appeal.  Austrian Viennese Crescents, Mexican Wedding Cookies, Greek Kourabiedes, and Snowballs-all start with ground nuts, flour, sugar, and butter mixed together and baked into a buttery, blissful bite. Rose tweaked hers, instead of rolling the cookies in powdered sugar, they are rolled in a mixture of superfine sugar and cinnamon.  Sublime.

Here’s the Good Part

She includes directions on how to make certain recipes in a food processor.  Not all cookies can be made in a processor but the ones you can, simplify the process and shorten the time.  No more waiting for the butter to come to room temp.  It is essentially a one-bowl recipe, how great is that?

The Food Process

Place almonds and sugar in a food processor bowl and process until almonds are very finely ground.  Cut butter into pieces and with the motor running, add butter and process until smooth and creamy.  Scrape down the sides and add flour and salt and pulse to incorporate the flour.  Remove the dough from the processor and gather it into a disc.  Wrap in plastic wrap and refrigerate for 1 hour until firm.

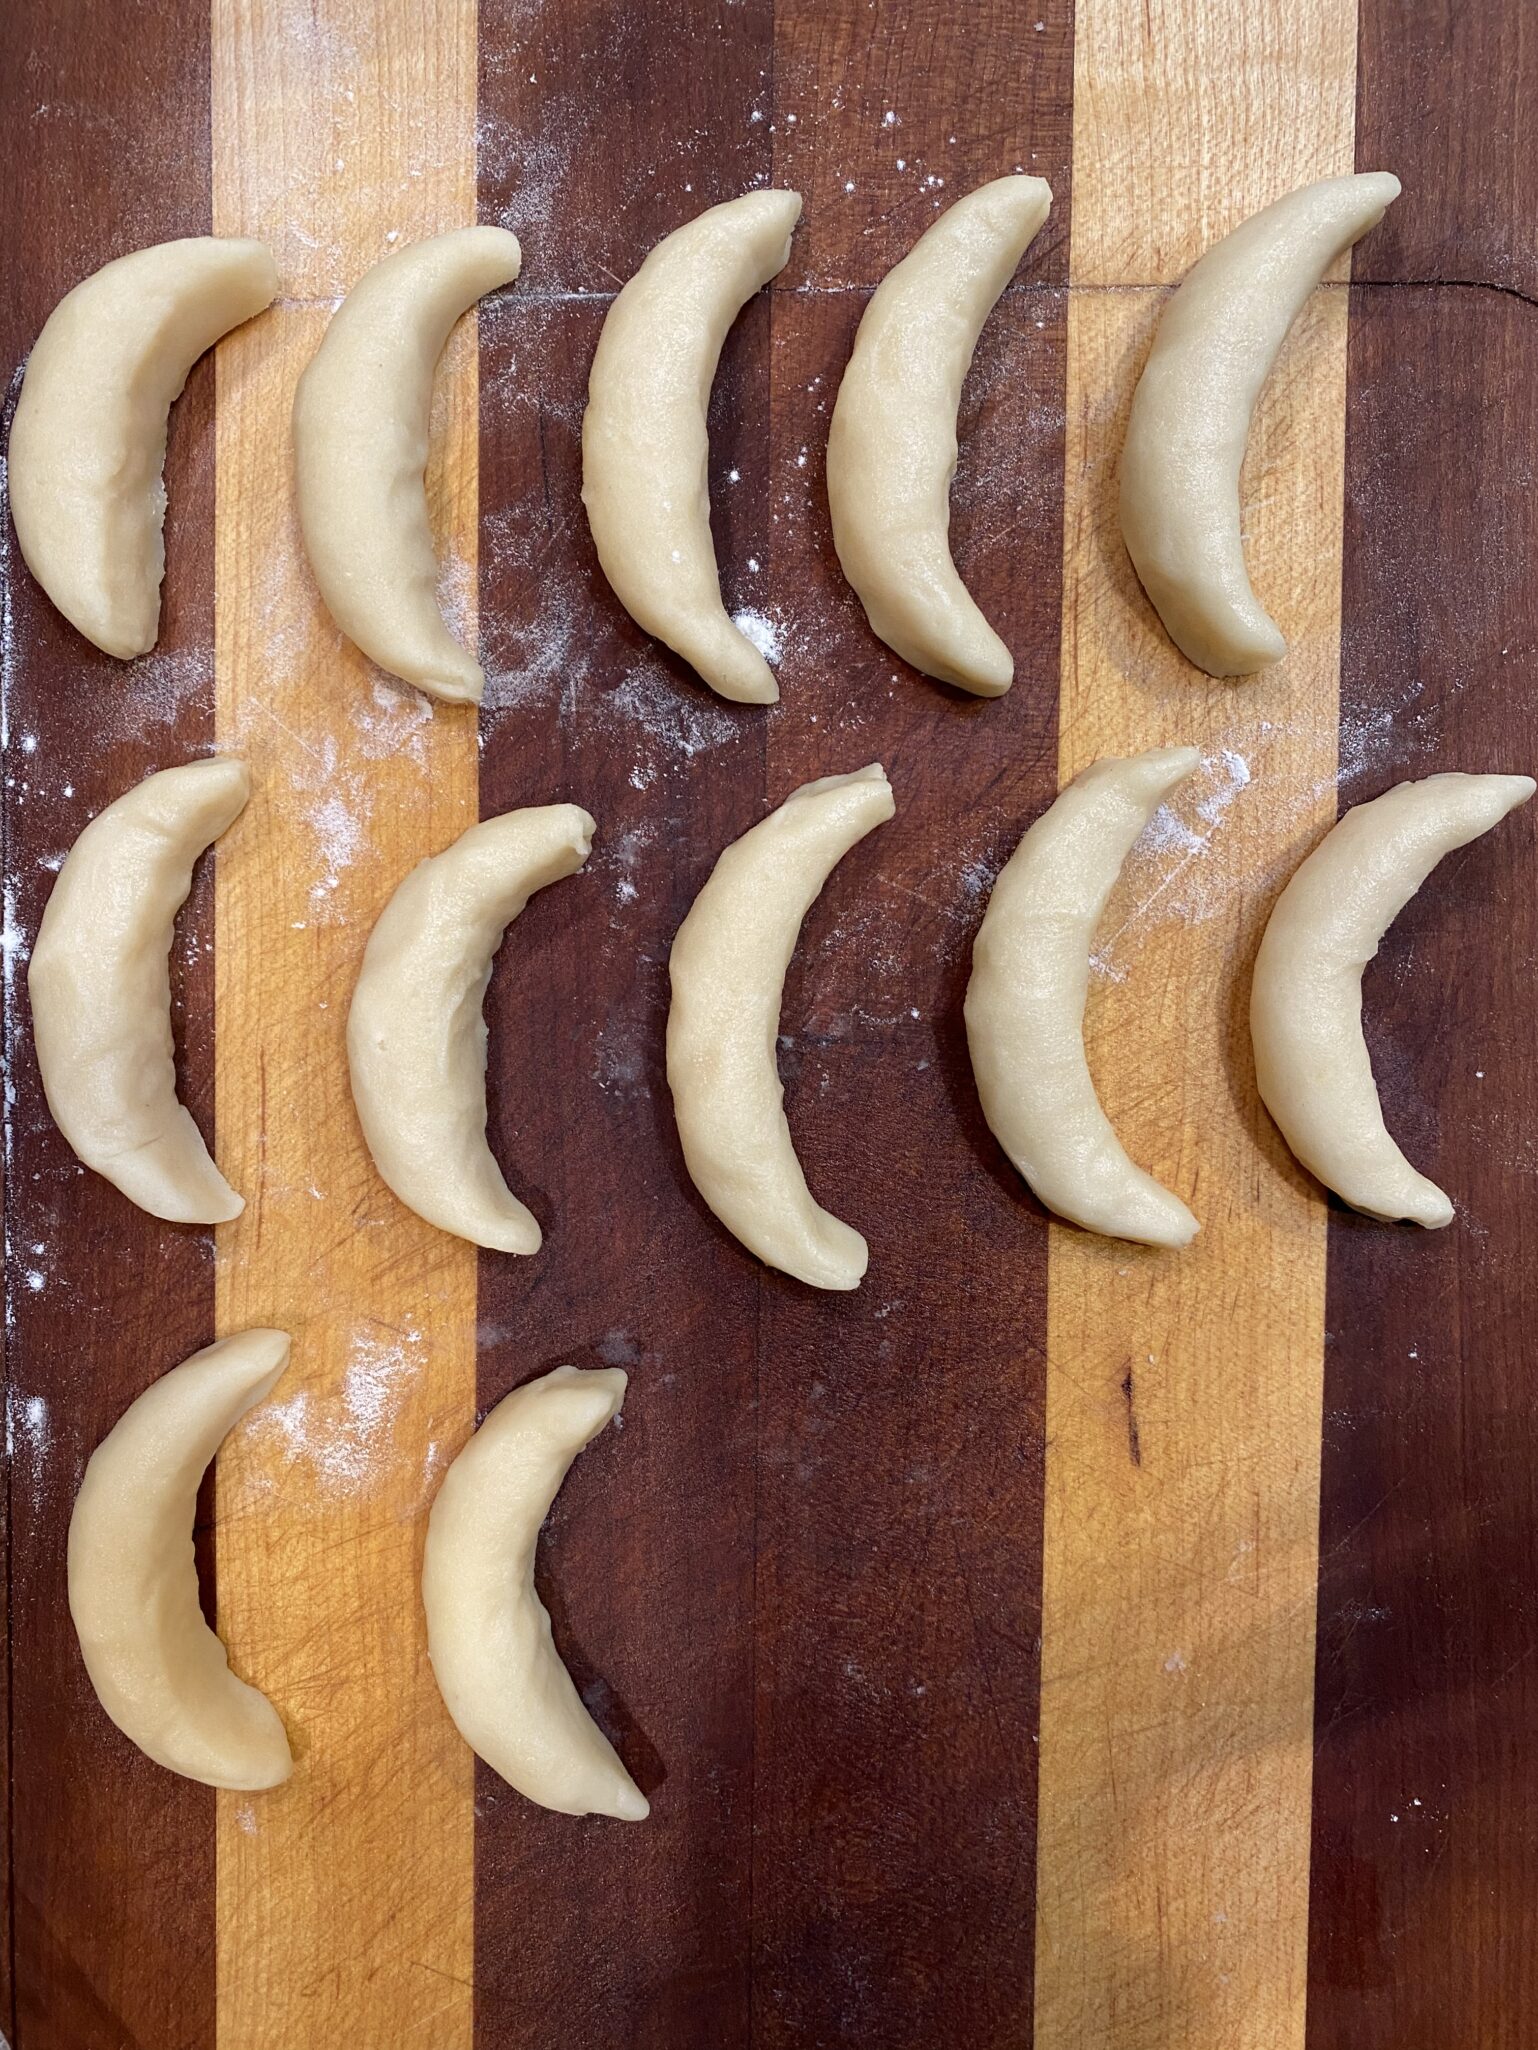
I use a #50 or #60 ice cream scoop (1 tablespoon plus of dough). Roll dough into a cylinder about 2.5-3 inches long.  The dough softens quickly so work fast, use your fingers to roll as your palm has more heat.  As you roll the dough into cylinders, put a bit more pressure on the ends to taper them.  Pinch the ends to fine-tune the shape into points.

I have also made these smaller using a #70 scoop when I want dainty little tea cookies.

I love these cookies.  Don’t wait until the holidays to make them!

Rose's Crescents

Buttery, tender, melt-in-your-mouth cookies, Almond Crescents from Rose's Christmas Cookies.
Course cookies, desserts, holiday dish
Cuisine American
Keyword almond, cinnamon sugar, holiday cookies, Rose's Crescents
Prep Time 10 minutes
Cook Time 16 minutes

Ingredients

The Creamed Mixture

  • 1 c. Unsalted Butter 8 ounces or 227 grams
  • c. Sugar 2.25 ounces or 66 grams
  • c. Sliced Blanched Almonds 2 ounces or 56 grams

The Dry Ingredients

  • 1⅔ c. All Purpose Flour (prefer Gold Medal or Pillsbury AP flour) 8.25 ounces or 235 grams See notes regarding flour
  • ¼ tsp. Salt

Topping:

  • ½ c. Sugar 100 grams
  • ½ tsp. Cinnamon

Instructions

  • Pre-heat oven to 325º.
  • Place almonds and sugar in food processor or blender and process until nuts are finely ground; set aside. See notes in post for making in food processor.
  • Cream butter in large mixing bowl. Add almond mixture; beat until light and fluffy. Gradually mix in flour and salt until well blended.
  • Shape dough into a large flat disk; wrap in plastic wrap and refrigerate 1 hour or until firm.
  • For topping, combine sugar and cinnamon in a small bowl; set aside.
  • Work with one-fourth of the dough at a time; refrigerate remaining dough. Shape dough into ¾ inch balls; roll each into a 3-inch log. Place on unbuttered cookie sheet 1 inch apart. Shape into crescents.
  • Bake 14 to 16 minutes or until set but not brown. Cool on cookie sheet for 10 minutes. While still warm, remove cookies from cookie sheets. Dip into cinnamon sugar turning gently to coat. Finish cooling on wire racks.

Notes

So, why did I specify Gold Medal Flour.  Rose's Christmas Cookies was first published in 1990.  At the time, King Arthur Flour and other Small Company Mills were not widely known.  The standard, easy to get flour was Gold Medal or Pillsbury Flour, bleached all-purpose flour.  The protein content of which is slightly lower than King Arthur or Central Milling.  This can impact your cookies in terms of tenderness and spread.
For cookie recipes I have that date back quite a few years, I use Gold Medal Flour.  If you have Rose's newest book, she will specify the flour to use.  Recipes these days, I check to see what the author has specified first.  More than likely I'll use King Arthur (that's what I normally have in my kitchen) but during the holidays I always have a stash of Gold Medal too!
NCOTB #2 Orange, Pistachio and Chocolate Shortbread (New Cookies on the Block)

NCOTB #2 Orange, Pistachio and Chocolate Shortbread (New Cookies on the Block)

Yay, the Twelve Seven Eight Days of Christmas Cookies!

The best-laid plans of mice and me…sometimes need a tweak.  Actually, not to pat myself on the back or anything, I think I did pretty “good”.  In between holiday baking we took a quick trip to Seattle. Four days of eating, walking, visiting the Space Needle and the Chihuly Garden and Glass, and watching the Forty-Niners beat the Seahawks!  I still managed to bake 8 days of Christmas cookies!

Our holiday cookie box is a mix of old and new cookies.  The tried and true include Scottish Shortbread, Jan Hagel’s (my mom’s favorite), Pecan Tartlets, and the mandatory jam-filled cookie, Dorie’s Jammers (the perfect choice).

The NCOTB (new cookies on the block, a nod to all you boy band fans) include a couple from this year’s New York Times Holiday Cookies.  My favorite of the bunch is Eric Kim’s Gochujang Caramel Cookies (I’ve made three batches already).  Crispy edges, chewy center, buttery with a sweet kick from the Gochujang paste, it’s different and delightful. My other favorite (can you have two favorites?) is Sue Li’s Orange, Pistachio, and Chocolate Shortbread.  Buttery shortbread studded with candied orange peel, green pistachios, and dark chocolate for a visually fun and tasty cookie.

Cookie Caveat

But, the first time I read through the recipe and NOTES (ALWAYS read the notes, foodies are not shy about sharing their opinion of a dish) it became clear that there were a couple of hitches in the recipe.  My OCD-Sherlockian-Watson persona took over.  I poured over the comments and scrutinized the measurements and directions (occupatinal hazard, I’m a pediatric pharmacist).

My dear NYTCooking – Something is afoot, there are discrepancies in the volumes and weights for this recipe, where are your editors? LOL. 3 cups of flour is not 419 grams.  3/4 cup of granulated sugar is not 175 grams.  So, I set about to modify the recipe as best I could:

  • I used 375 grams of King Arthur AP Flour aligning with std measurements for a cup since there were quite a few comments that the dough was too dry & crumbly.
  • Sue Li commented once to use 175 grams of sugar, so that’s what I used.  If there is wiggle room it would be with the sugar, use 150 grams for a not-as-sweet cookie.
  • The butter is also off, I opted to go by weight not volume.
  • I added 1 tsp vanilla, which couldn’t hurt plus added a bit more moisture.

The dough came together nicely.  Do not overmix, once it starts to clump, stop and gather together.

The 8-hour chilling time in the original recipe allows the flour to absorb moisture and hold together.  The modifications result in a nice, moist dough.  You may not need an 8-hour chill time.  The dough needs to be solid enough to slice and still hold its shape.

See how “purdy” the orange, green, and brown specks are?!

The finished cookie was buttery, with a fine crumb texture, with the candied orange, pistachios, and chocolate taking it over the holiday top.  Luckily I squirreled away some dough in the freezer (the beauty of slice-and-bake cookies) that will be lovely on New Year’s Eve with a glass of bubbly!

Print
5 from 1 vote

Orange, Pistachio and Chocolate Shortbread

From NYTcooking, a buttery shortbread studded with candied orange, pistachios, and chocolate perfect for the holidays!
Course cookies, Dessert
Cuisine American
Keyword Dark chocolate, orange, pistachios, Shortbread
Prep Time 20 minutes
Cook Time 20 minutes
Chilling Time 8 hours

Ingredients

Flour Mixture

  • 3 cups all-purpose flour (375 grams)
  • 1 teaspoon kosher salt such as Diamond Crystal or 1/2 t table salt

Butter Mixture

  • 1-1/4 cups unsalted butter (284 grams) at room temperature
  • 3/4 cup granulated sugar (175gms) 175gms =
  • 1 large egg yolk

Add-Ins

  • 1/2 cup candied orange peel (76 grams) roughly chopped
  • 1/2 cup shelled unsalted pistachios (76 grams) roughly chopped
  • 4 ounces bittersweet chocolate coarsely chopped

Instructions

  • Whisk together flour and salt in a medium bowl. Combine butter and sugar in a large bowl, or in the bowl of a stand mixer. Using an electric mixer (fitted with the paddle attachment if using a stand mixer), beat at medium-high speed until the mixture is pale in color, about 2 minutes, periodically scraping down the sides with a rubber spatula (don't skip this, it makes a difference). Add egg yolk and blend until combined.
  • Add flour mixture and mix on low until combined. If there are dried bits of flour left around the bowl, use a rubber spatula to smoosh them in with the dough. Add orange peel, pistachios and chopped chocolate, fold in with a rubber spatula. (The dough will be crumbly (although with the modifications, less so). If necessary, use the electric mixer to add the mix-ins, or work them in with your hands until fully incorporated.)
  • To form the cookies, line an 8 by 8-inch baking pan with plastic wrap and leave a generous amount of overhang on all sides. Transfer the dough to the prepared pan and press firmly to flatten in an even layer. Cover with plastic wrap and chill dough for 8 hours or overnight before baking.
  • Preheat the oven to 350 degrees. Line 2 baking sheets with parchment paper.
  • Using the plastic wrap overhang, remove the dough from the pan and cut the square into three equal rectangles. It's going to be tough to get out of the pan but just be patient and pull gently on the plastic to gradually remove from pan.
  • Cut each rectangle crosswise into roughly 1⁄3-inch-thick slices and lay them flat on the prepared baking sheets, about 3⁄4-inch apart. (If the dough crumbles when slicing, simply push the mixture together to reform the cookie.) Bake until lightly golden on the bottom but still blonde on the edges, 15 to 17 minutes.
  • Remove from the oven, allow cookies to cool on the sheets. The cookies will keep in an airtight container at room temperature for up to 1 week.
Apple Almond Galette (You’re the Apple of My Pie)

Apple Almond Galette (You’re the Apple of My Pie)

When the fall season rolls around, apples begin to crop up at our farmer’s market.  Gone are the days when the only available apples were Red or Golden Delicious (thank goodness)!  The variety of apples is mindblowing.  My intention is to just get a few, but I invariably end up with what feels like a bushel of apples.

Here, There, and Everywhere…Apples

This is why I am constantly bookmarking recipes that sound wonderful and highlight apples knowing full well I won’t be able to resist the fall bounty of apples.  Luckily, I found an Apple Almond Galette from Zoe Bakes.  It’s the perfect recipe “to show off them apples”.  Get a combination of apples, Fujis, Mutsus, Braeburns, Jonagolds, or Honeycrisps.  Yes, you can get them ALL these days.

Better yet, you don’t have to peel the apples as the PEEL is part of the apPEAL of this galette, it’s a win-win and why you want a variety of apples.  Use a mandolin (carefully) to thinly slice the apples.  A knife is very doable, it will just take a bit longer than a mandolin.  The filling is an almond cream easily made in a food processor and consists of almond paste, eggs, butter, and a touch of almond extract.  A lovely combination-apples and almonds.

For the galette crust, I used Dorie’s pie dough (1/2 recipe), but feel free to use your favorite pie crust.  You will need enough dough to create a 13 to 14-inch circle.  Roll your dough on parchment paper so you can then slide it all onto a baking sheet, easy peasy.  Spread the almond filling in the center of the dough leaving a 2-inch border.  Next, take stacks of your sliced apples and arrange them ARTFULLY on the almond filling.  Then fold the edge of the dough over the apples.

The finished galette is not only gorgeous, it’s delicious.  Serve it with softly whipped cream or ice cream.

This galette is now part of our holiday dessert menu every year. It’s a keeper!

Apple Almond Galette

A rustic, delicious riff on apple pie. The apples sit on a layer of almond cream encased in a buttery, flakey pie crust.
Course Dessert, Snack
Cuisine American
Keyword almond cream, Apple galette, apples, zoe bakes
Prep Time 25 minutes
Cook Time 45 minutes

Equipment

  • 1 mandolin optional
  • 1 food processor

Ingredients

Pie Crust

  • 1 recipe of Dorie's pie dough will make 2 galettes

Almond Cream Filling

  • 4 oz almond paste
  • 2 tbsp unsalted butter room temperature
  • 1 tbsp all-purpose flour
  • 2 tbsp sugar
  • 1 egg yolk
  • 1 tsp vanilla
  • 1/2 tsp almond extract

Da Apples

  • 5 large Apples thinly sliced on a mandoline or use a sharp knife and slice
  • Egg wash 1 egg mixed with 1 tablespoon water
  • 2 tbsp granulated sugar for sprinkling over top Can substitute raw or Demerara sugar

Instructions

Galette shell: Use Dorie's Pie crust recipe link below

  • Roll the chilled pie dough to an 1/8-inch-thick circle = 13-14" circle on a piece of parchment paper on a baking sheet or slide the parchment onto a baking sheet.

Almond Cream

  • In a food processor blend the almond paste, flour, sugar, butter, almond and vanilla extracts and yolk until smooth. Spread over the center of the dough, leaving about a 2-inch ring on the outside.

Assemble

  • Arrange apples over the almond cream. Fold the uncovered dough over the apples and pleat to keep it in place. Freeze the galette while you preheat the oven to 425°F.
  • Brush the crust with the egg wash and sprinkle the sugar over the crust and apples.
  • Bake at 425°F for 20 minutes, then reduce the heat to 350°F and bake for an additional 25 minutes or until the apples are tender. Allow the galette to cool to room temperature before sliding it onto a serving plate.
  • Garnish with toasted almonds if you like and serve with a bit of Greek yogurt or whipped cream or ice cream (I like vanilla!).