
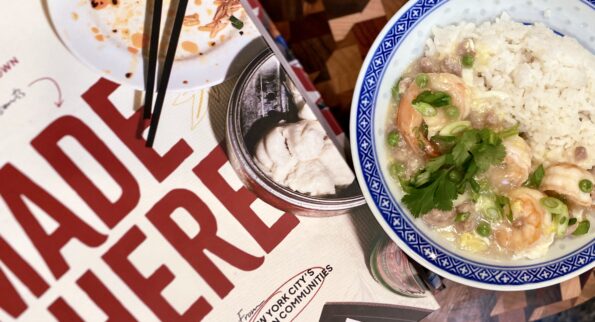
Yet another recipe from the gorgeous cookbook, Made Here created by Send Chinatown Love. In a recent post, I wrote about the Made Here cookbook…
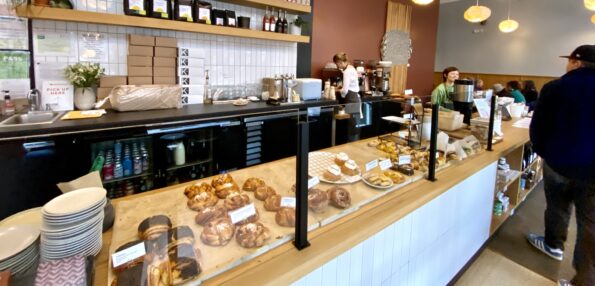
Okay, I cannot tell a lie, my geography knowledge sucks. I sat down to write this post on one of my favorite bakeries in San…
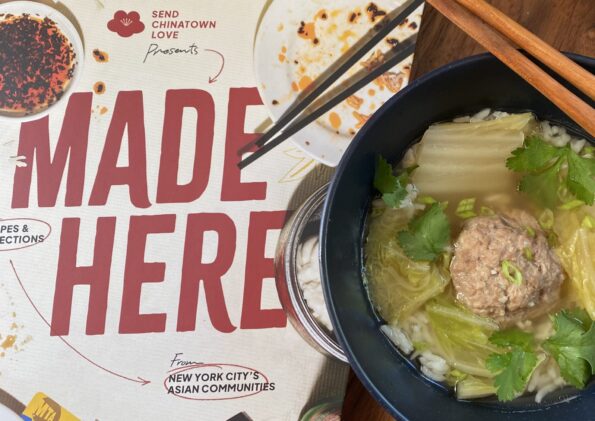
A slew of small mom-and-pop stores and restaurants in NYC Chinatown were hit especially hard during the pandemic. In response, Send Chinatown Love, a volunteer…
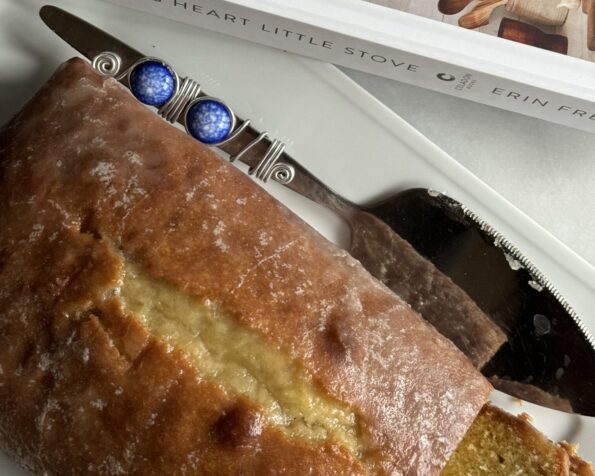
I excitedly headed to the city a couple of months ago to pick up my copy of Erin French’s new book, Big Heart Little Stove.…
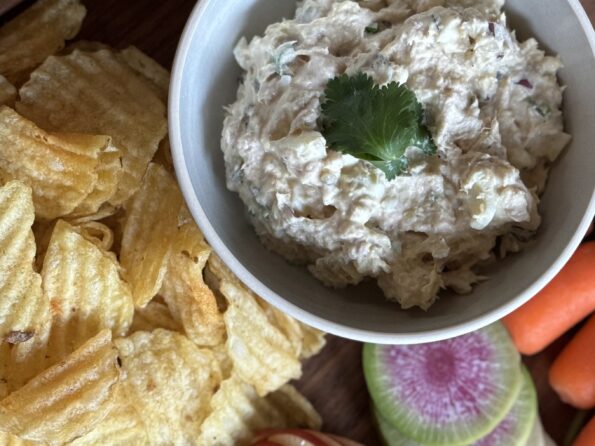
I have been meaning to put the Hubster’s Tuna Dip recipe on 3jamigos for a long time. Tuna Dip is mandatory for every birthday party,…

I LOVE Cream Cheese Frosting,. It deserves its own post, and should not be an afterthought tacked onto a Carrot Cake or Banana Cake recipe.…
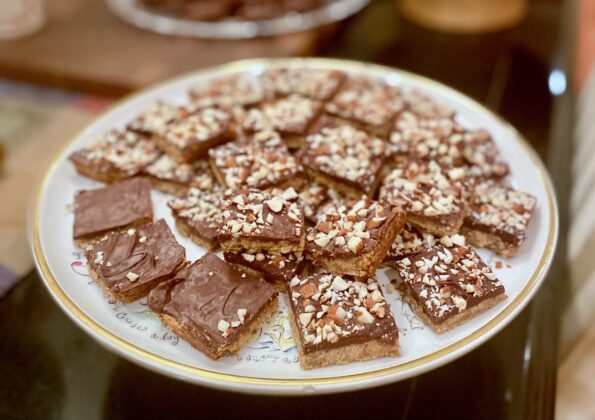
I found it! Buried in my recipe binder, a treasured recipe from my friend Joy’s mom. My favorite holiday cookie, Mrs. S’s Toffee Squares. As…
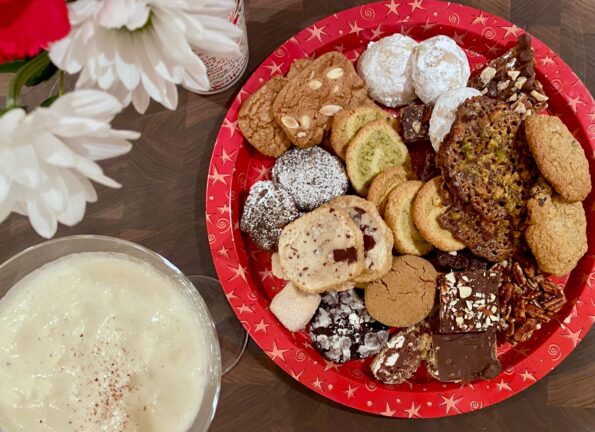
How many of you have had REAL eggnog? Not the ultra-pasteurized, homogenized version of eggnog found in every supermarket during the holidays. Who drinks that…
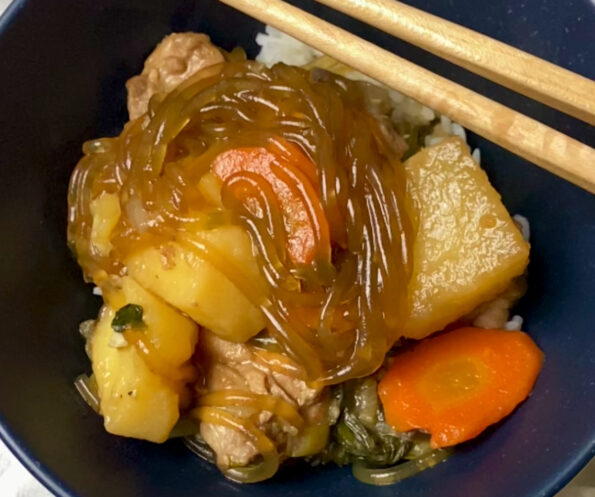
Brrrrr… getting chilly out there. While I love summer, I do look forward to winter. As the temperature drops I start dreaming of dishes that…