

Yay. Back to my second favorite city in the world…New York. In the immortal words of Tony Bennett, I left my heart in San Francisco,…
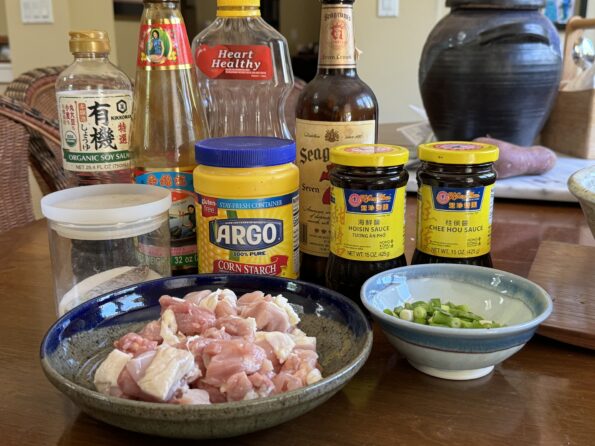
This is another dish from the hubster that lands on the favorite list for all three kids and me, Paper-wrapped chicken (纸包鸡) aka Foil-wrapped chicken.…
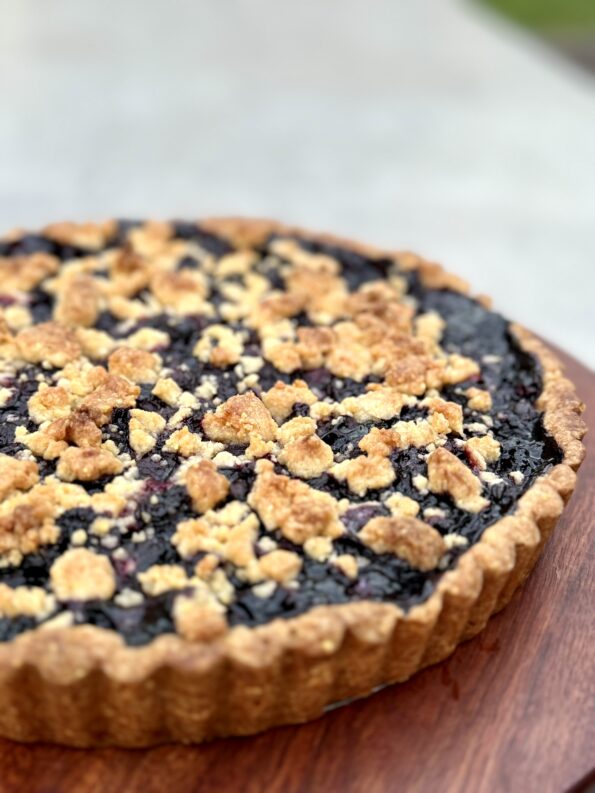
Yikes! Before blueberry season ends, make this Blueberry Cornmeal Tart. From Alison Roman’s Sweet Enough, an easy, absolutely delicious way to take advantage of fresh…
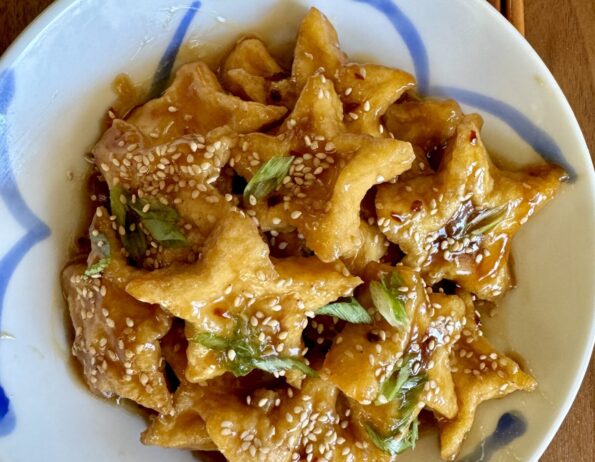
One of my favorite recipes is Kristina Cho’s Honey Sesame Tofu Puffs. She included this easy and delicious recipe in her newsletter several months ago…
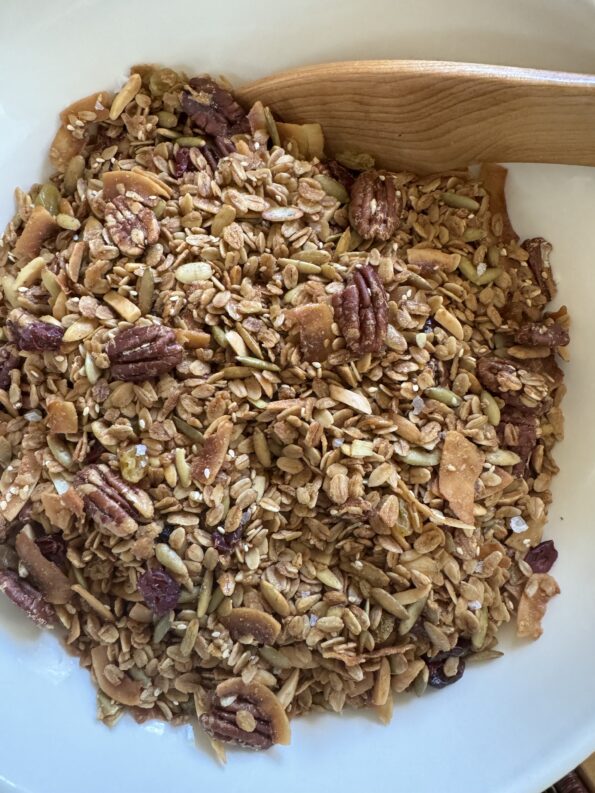
My favorite granola recipe, Jule’s Granola was given to me by my coworker and friend, Julie, years ago. She brought a bag to work one…
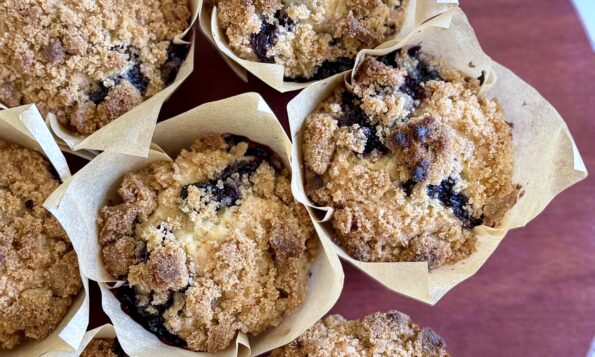
I know, I know…I already have a few showstopper blueberry muffin recipes on 3Jamigos but I just found another one! From Zoe Bakes, her Blueberry…
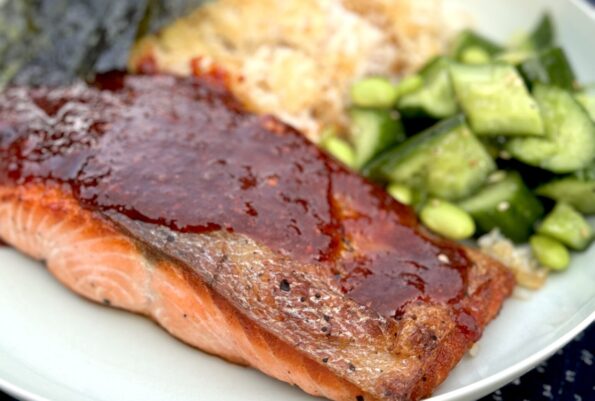
Another winner from Eric Kim, NYTcooking columnist, cookbook author, and writer. Like many of his recipes, this one is very approachable, comes together quickly, and…
The first time I visited Kantine in SF it was raining cats and dogs (where does that saying come from?). I made the mad dash…
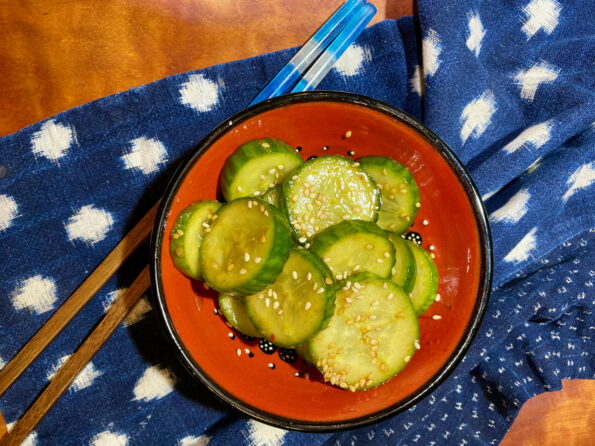
Yep, another cucumber salad recipe on 3Jamigos. I recently came across a copycat of Din Tai Fung’s cucumber appetizer, and of course, had to try…