
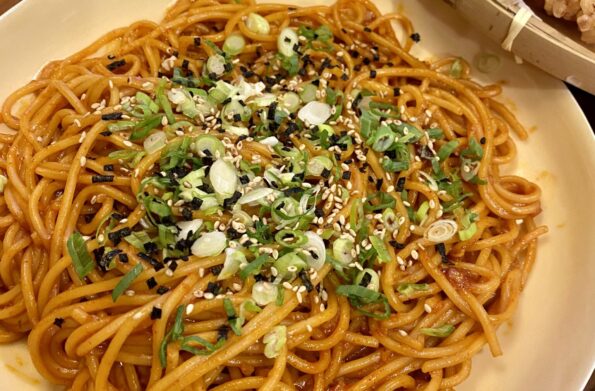
Another winner from Eric Kim, NYTcooking columnist, cookbook author, and writer. Like many of his recipes, this one is very approachable, comes together quickly, and…
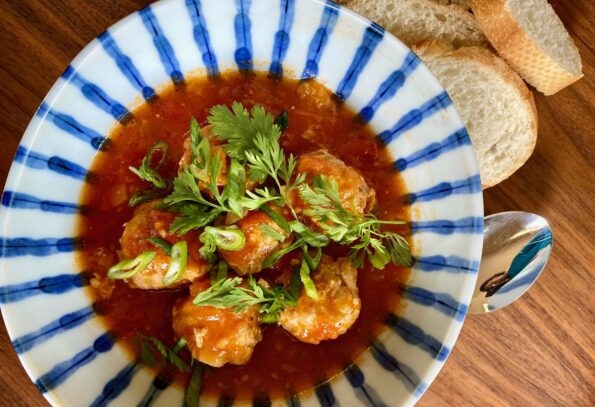
Before tomato season ends give this dish, Vietnamese Meatballs in Tomato Sauce, a try. I came across this dish on IG. It looked scrumptious, and…
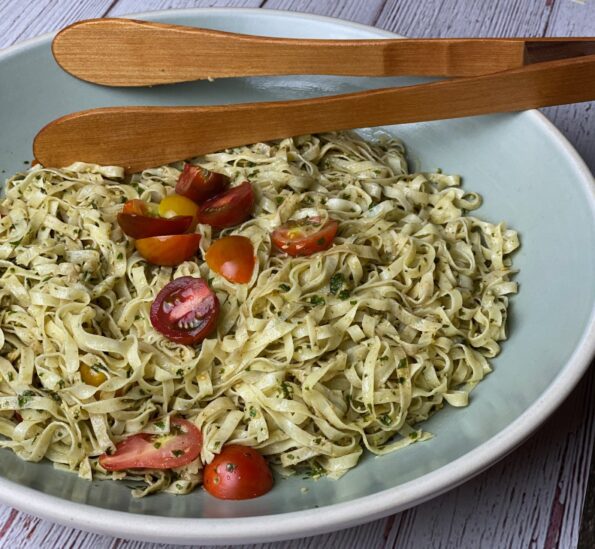
A favorite pasta dish in our house is Pesto with Linguine. Years ago (I mean YEARS AGO), I clipped the LA Times winning Pesto recipe…
My Dad made dinner most of the time. Every evening he would leave the office, shop for dinner ingredients, go back to the office, pick…
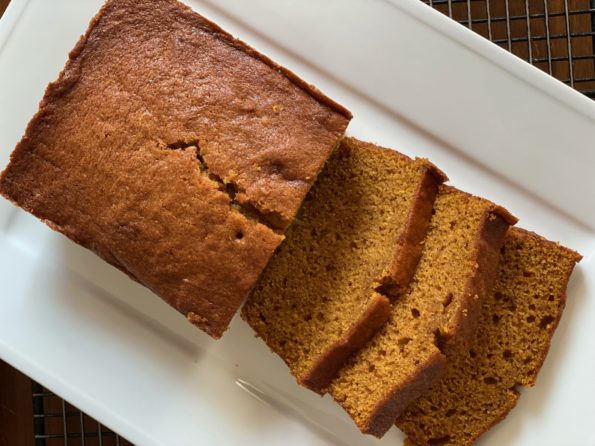
Who else besides me groans at the first sign of the fall season. You walk outside, take in the fall air, admire the color of…
Finally, after months of being a COVID couch potato, I got off my duff and headed up to the reservoir to row again. I had…

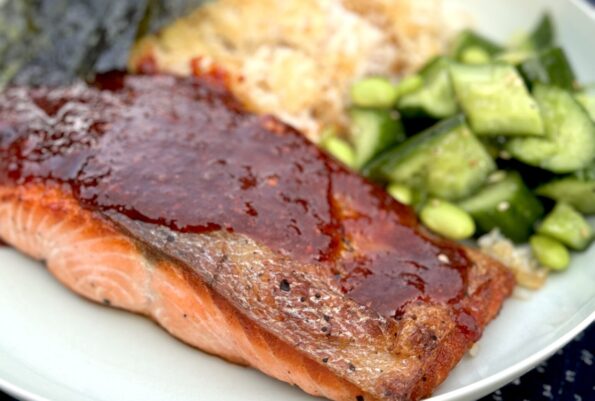
From one of my favorite sites, Two Plaid Aprons, a vegetarian version of Unagi Don! Eel grilled with a sweet and savory sauce or “tare”…

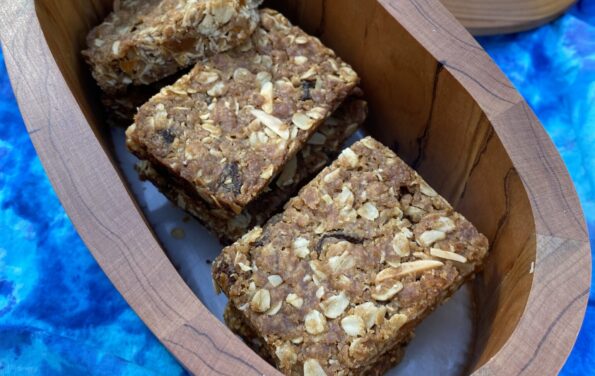
Marching orders in hand, I gathered the ingredients to make Anzac Biscuits. Think Oatmeal Cookie meets Oatcake or Granola Bar…you end up with a biscuit…

Growing up in Chinatown, the standard plate of cookies found on our table was not Chocolate Chip Cookies, but Almond Cookies. Every Chinese Bakery proudly…