Just Another Mochi Muffin (Guava!)
Yes, my romance with mochi muffins continues.
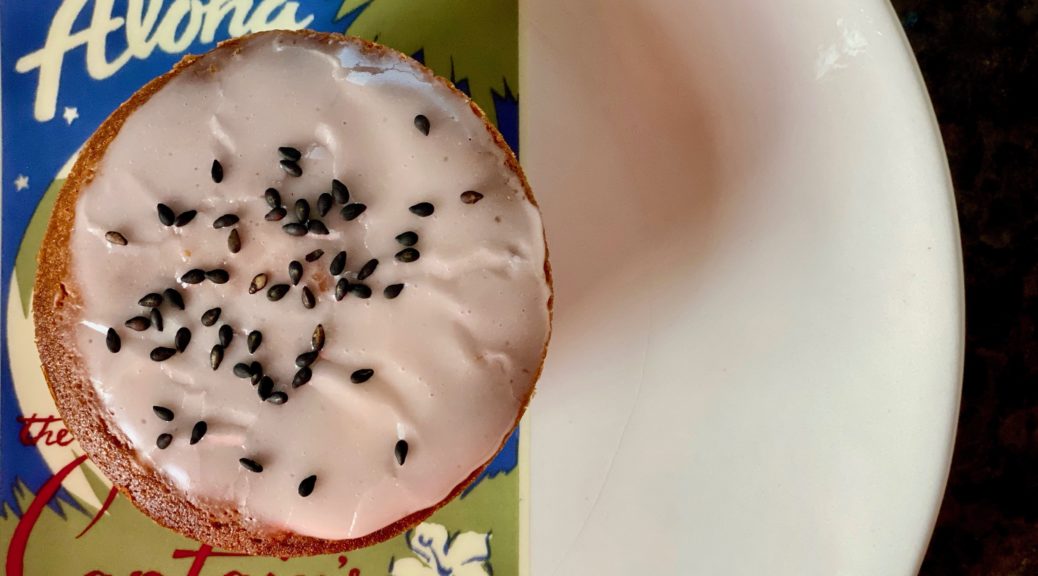
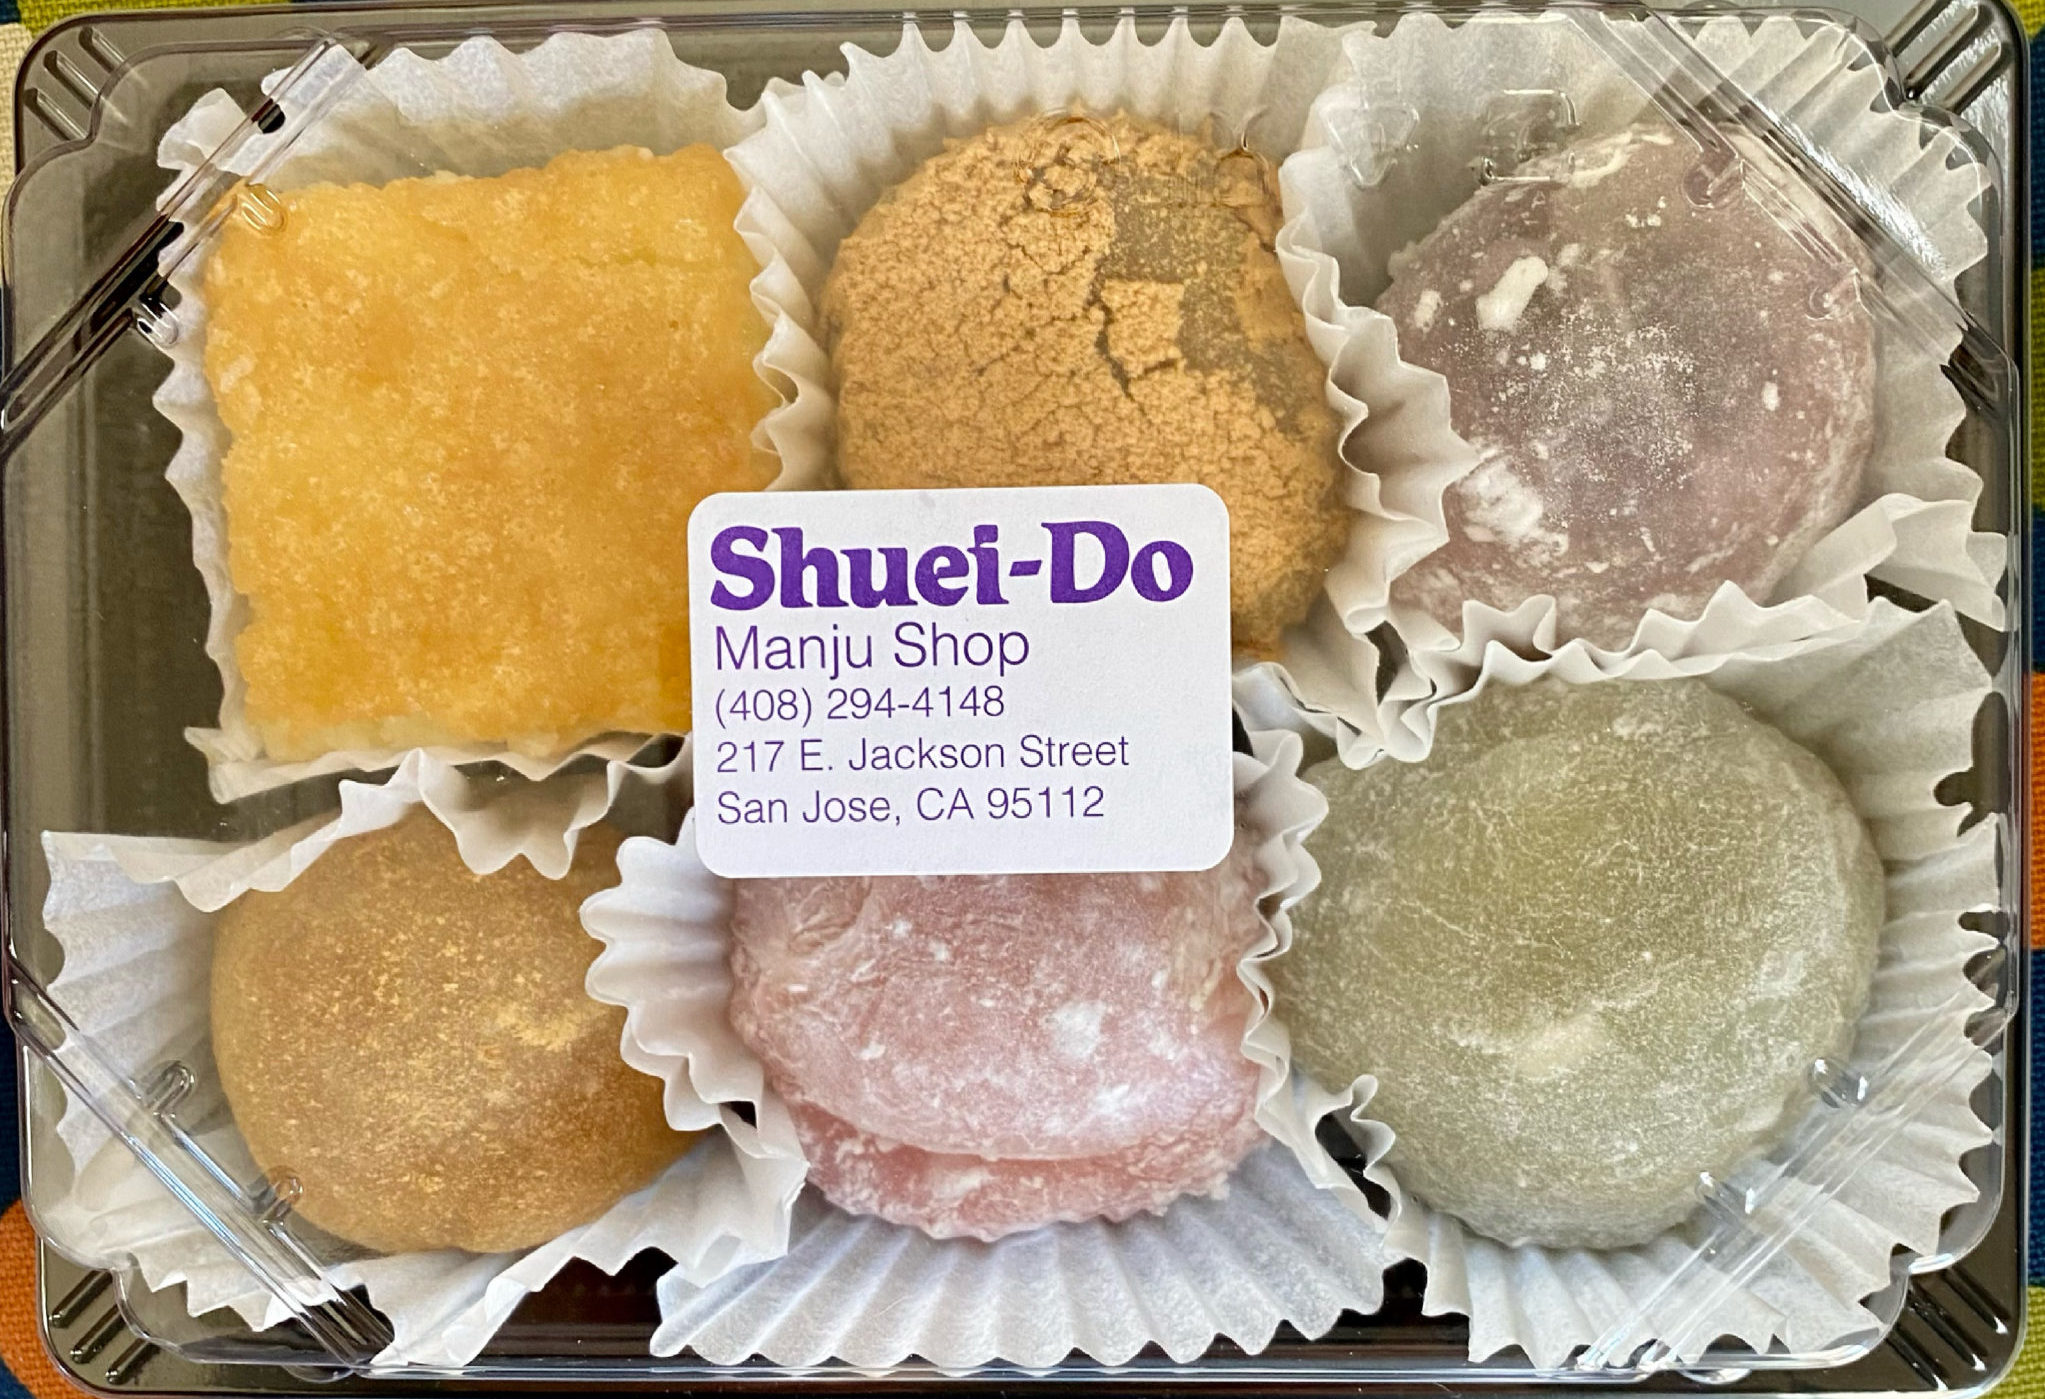
Right next door to Shuei-Do, my favorite manju shop in Japantown, San Jose, is a Poke Shop, Aloha Fresh. As much as I like Poke, I love going for their butter mochi. They kick it up a notch by offering different flavors like guava, lilikoi, or a brownie macadamia nut version …all are absolutely onolicious. Butter Mochi at Aloha Fresh is limited to the weekends but lucky for me and you, Shuei-Do also makes a yummy Butter Mochi. Between the two – you are covered for your mochi fix.
But what if you can’t get to Japantown?
You can make your own AND it’s pretty darn easy.
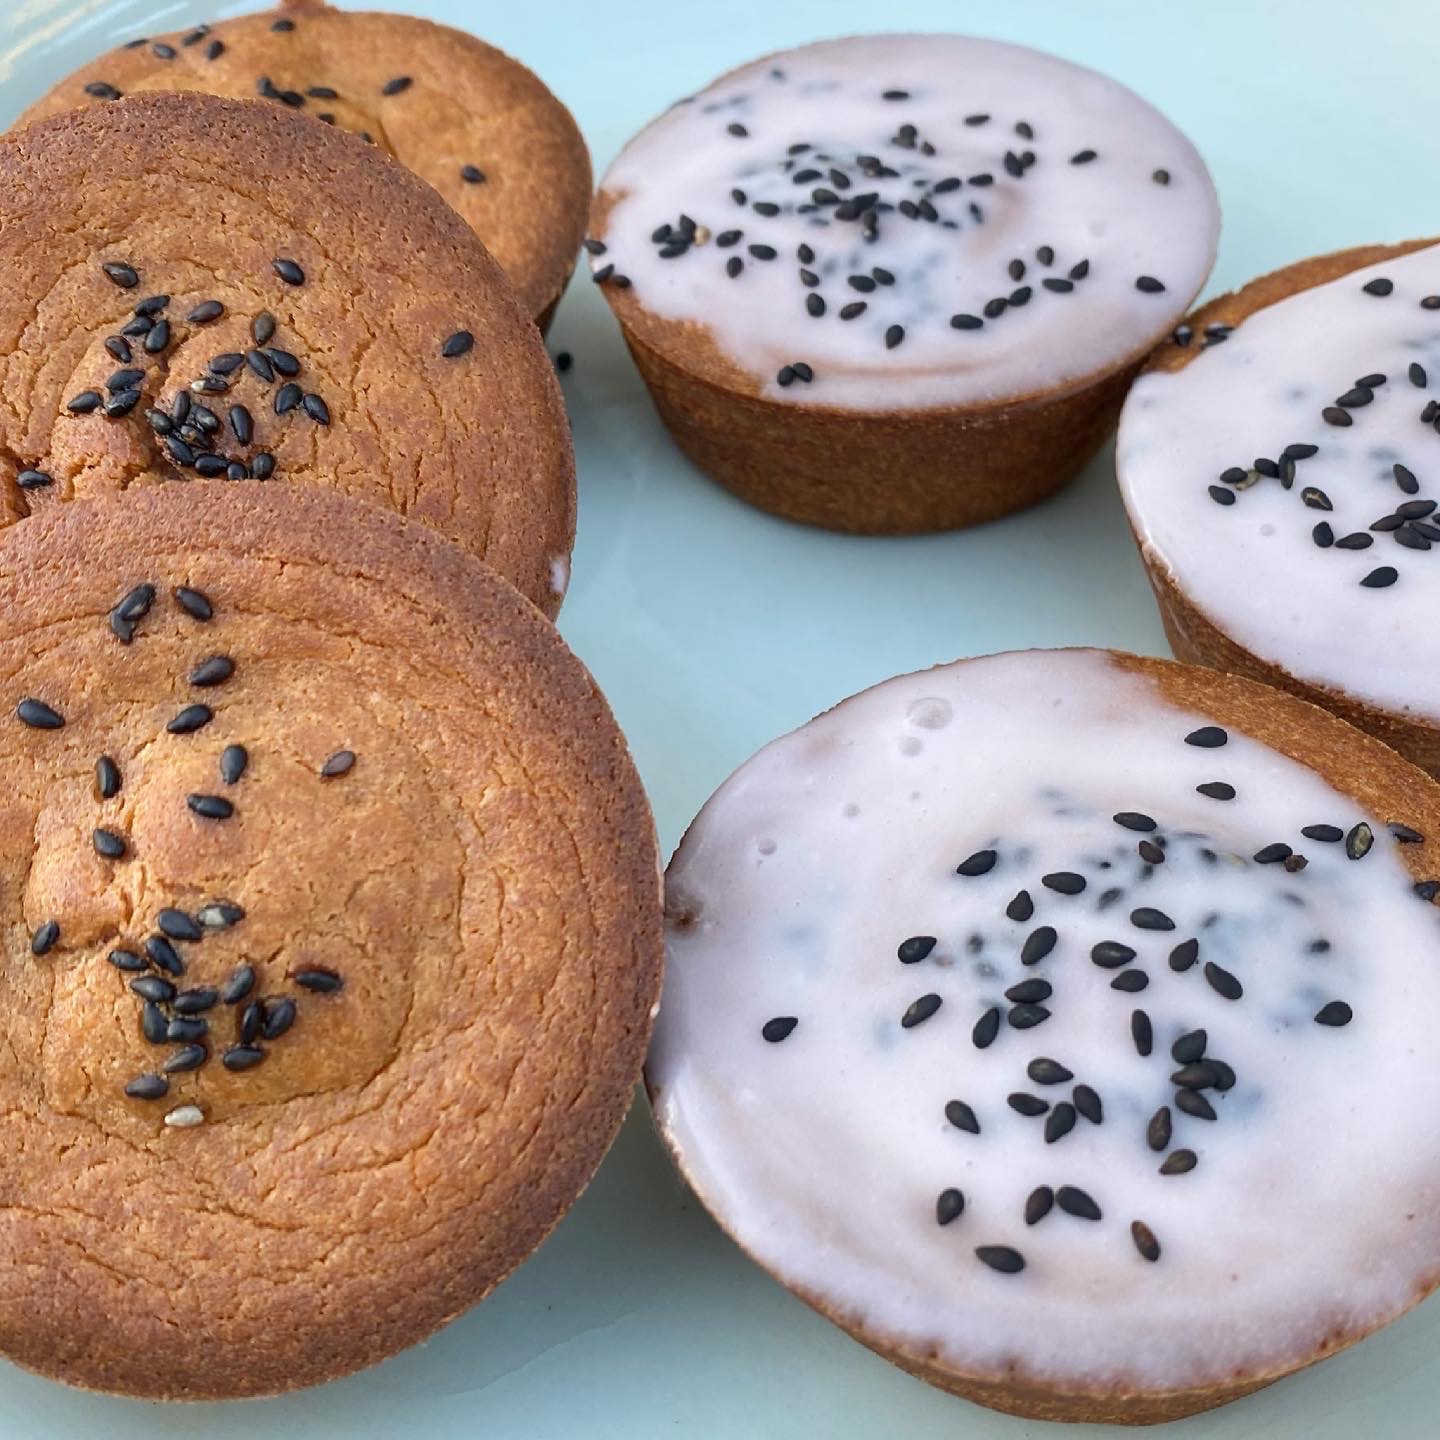
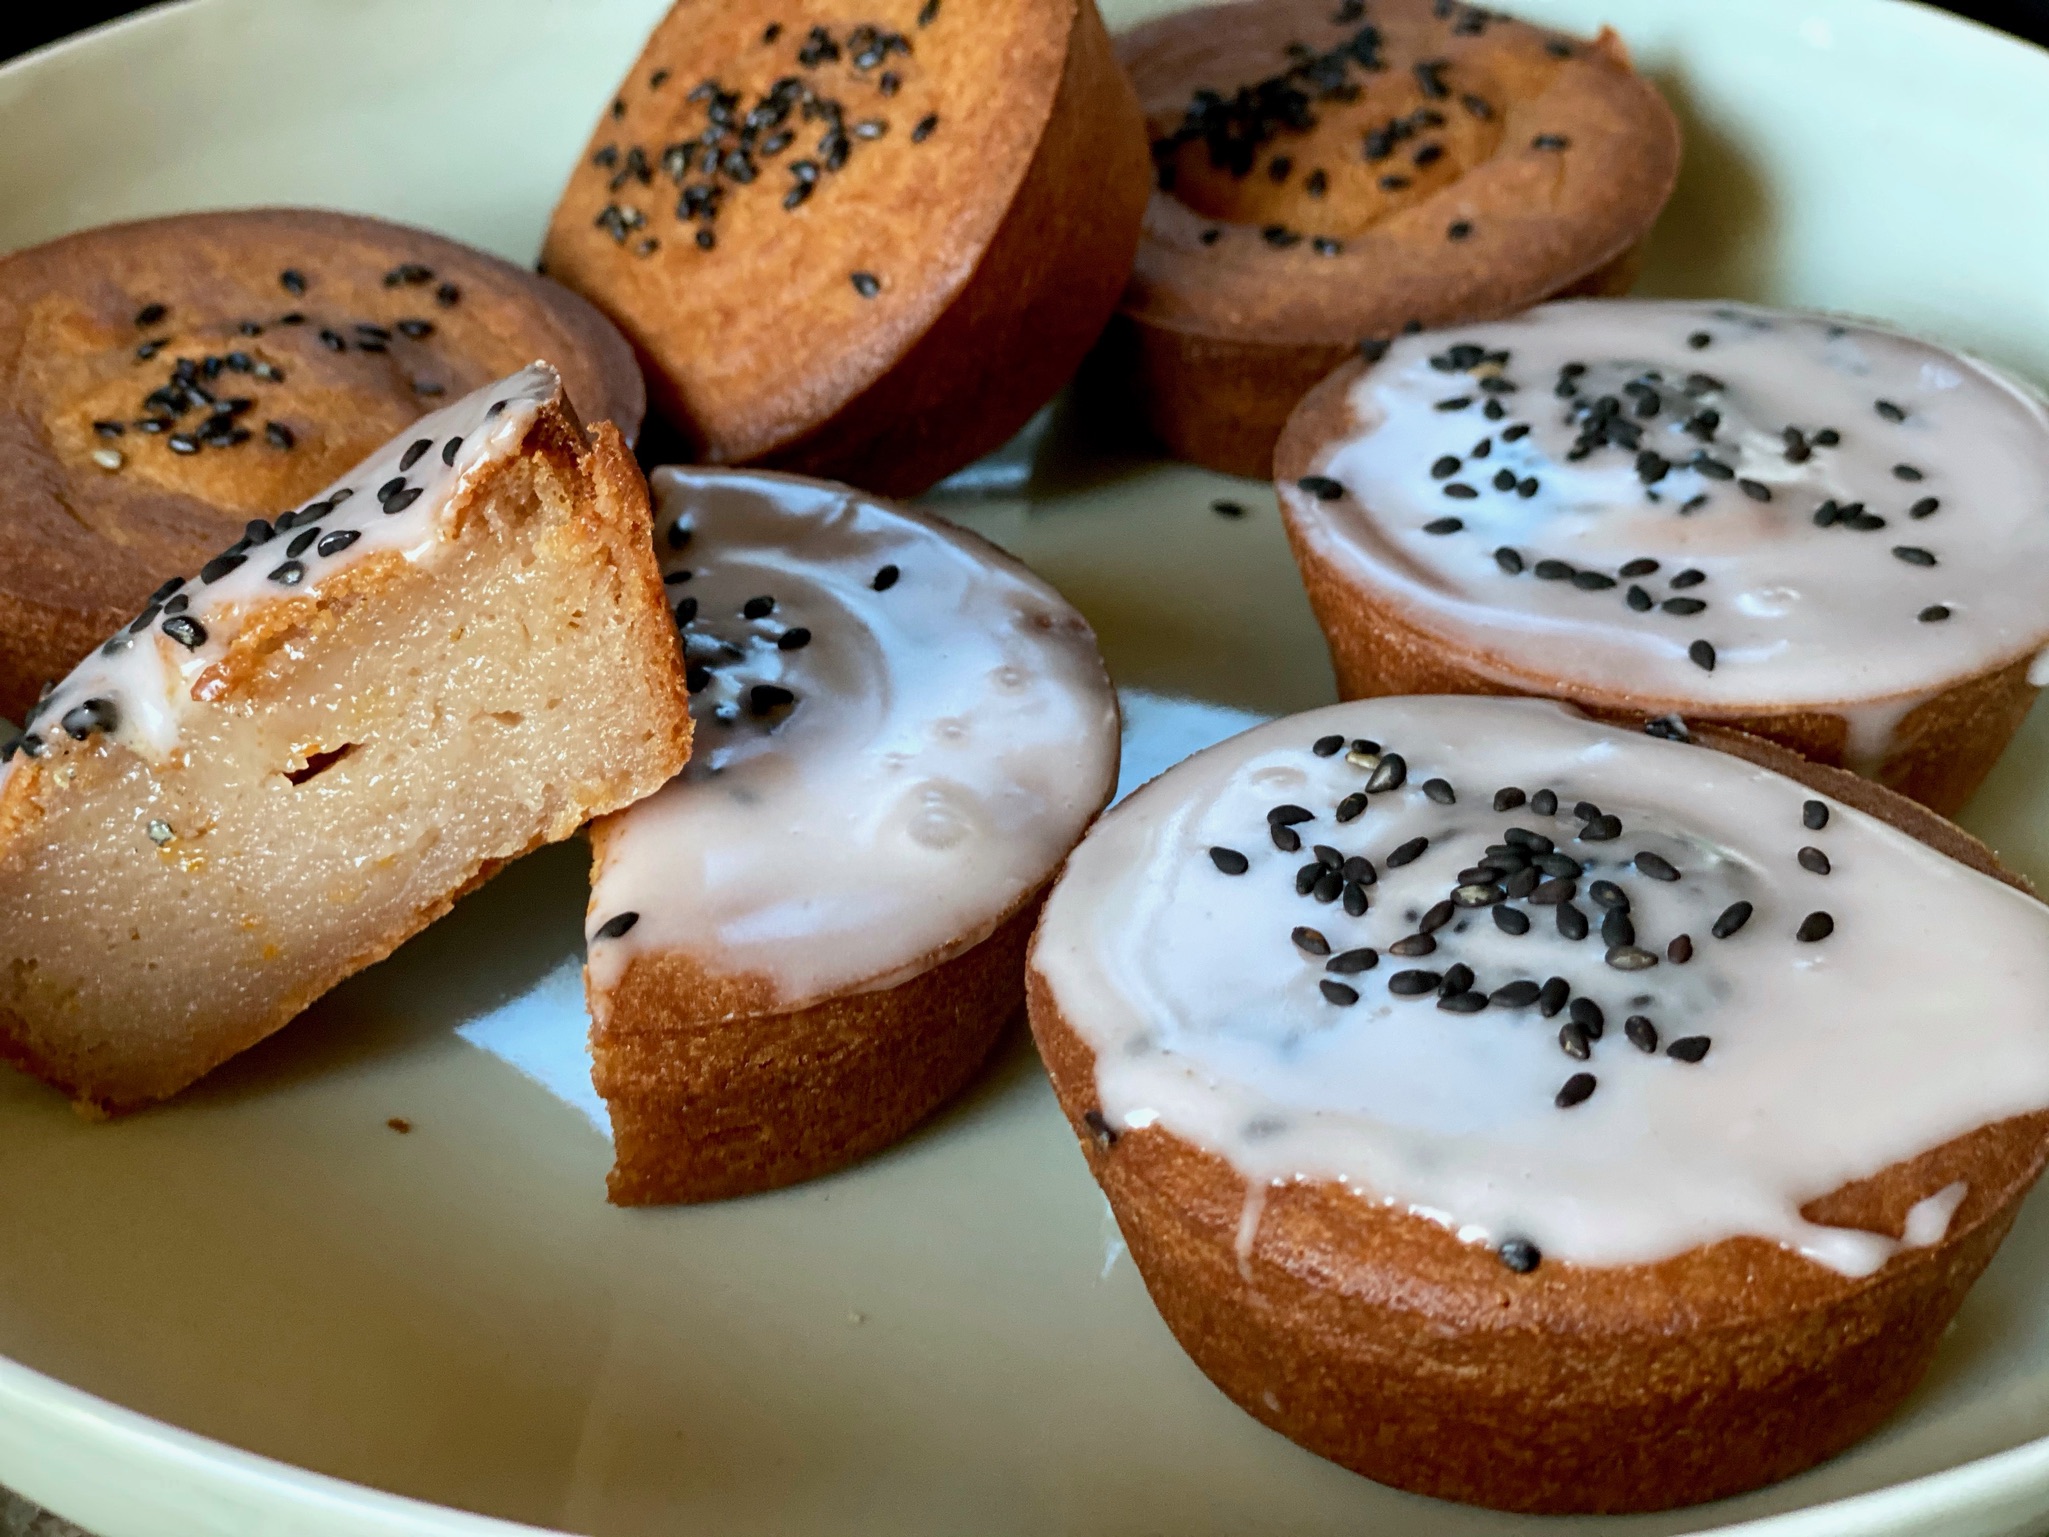
Mochi desserts run the gamut from chewy, bouncy, creamy to moist, a little chewy, and cakey (is that a word?) texture. I wanted a tropical flavor, buttery, crisp on the outside, chewy on the inside treat. A recipe for Blood Orange Mochi Muffins from Cooking Therapy served as inspiration. In place of blood orange juice, I used Guava Nectar. The muffins were delicious and I plan to try different nectars like Hawaiian Sun’s POG, passionfruit, orange, and guava juice next time.
The batter comes together quickly, this is almost one bowl, one wooden spoon, easy territory. The addition of butter is that Hawaiian tweak that makes it so delicious. Fill well-greased muffin tins about 3/4 full. Bake for 45 minutes, or a little longer for a crispier edge. It will lose that crispness with time though. Store at room temp for 2-3 days max. Pop them in a toaster oven to crisp them a little bit. Do not refrigerate. You can freeze them without the icing. Thaw and crisp in the oven. These muffins are moist, chewy, a little squishy, yummy, and addictive.
Ice, Ice Mochi
Making the icing is easy. Whisk the dry ingredients with coconut milk, vanilla, a pinch of salt, and juice. The icing should be loose enough to dip each muffin top into but thick enough to adhere to the surface with only a bit of dripping. After dipping one muffin you can adjust the sugar or liquid for the right consistency. Sprinkle topping of your choice, coconut shreds, orange zest, sesame seeds, or a bit of flaky salt. Let the muffins sit for a couple of minutes so the icing can set, then serve.
Love mochi? Here are more recipes using sweet rice flour! Butter Mochi Muffins, Peanut Butter Mochi, and Chocolate Mochi Donuts.
Tropical Mochi Muffins
Ingredients
- ½ cup butter melted, if using unsalted butter, add 1/4 tsp salt to dry ingredients
- ¾ cup granulated sugar
- 1 cup coconut cream or full fat coconut milk
- 1 tsp vanilla extract
- 2 eggs room temperature
- Zest of 1 orange preferably Cara Cara oranges
- 1 cup guava nectar substitute mango, passion fruit, or tropical fruit blend nectar or orange juice (Cara Cara)
- 2 cups sweet rice flour
- 2 tsp baking powder
Guava Icing
- 2 tbsp Guava Nectar Substitute mango, passionfruit, or tropical blend, or orange juice.
- 2 tbsp coconut milk
- 2 cups powdered sugar
- 1 tsp vanilla extract
- Zest of 1 orange optional
- poppy seeds, shredded coconut, black sesame seeds, orange zest garnish
Instructions
- Preheat oven to 350 degrees F. Grease one 12-cup standard muffin tin.
- Sift the sweet rice flour and baking powder into a small bowl and set aside.
- Add melted butter, sugar, and coconut milk to a large bowl. Mix until combined.
- Add the vanilla extract and eggs. Mix until combined.
- Add the guava nectar and zest. Mix until combined.
- Into the wet ingredients. Mix until a wet batter forms. It should be a pretty loose consistency.
- Scoop batter into the muffin pan. Tap the muffin pan 1-2 times on a flat surface to get rid of the air bubbles.
- Bake for 40-45 minutes until the edges start to brown. For a crispier edge, bake 45-50 minutes. Don't go much longer as it may make the inside drier and a little tougher.
- Cool for 10 minutes in the muffin pan before removing.
Icing
- While the muffins cool, make your icing. Place powdered sugar In a small bowl. Add coconut cream or milk, nectar, vanilla, and a pinch of salt. Stir with a whisk until completely blended.
- When muffins have cooled, remove from pan. Dip the top of each muffin into the icing and place on a wire rack. Sprinkle with sesame seeds, poppy seeds, shredded coconut. The consistency of the icing should be thin enough to dip but thick enough that it doesn't all run off the muffin top. A little bit will roll down the side of the muffin. That's okay!
- The icing is optional. If you don't use it, sprinkle the muffins with sesame seeds or flaked coconut before baking.


9 Replies to “Just Another Mochi Muffin (Guava!)”
Great recipe! I reduced butter and sugar to 1/4 cup of butter and 1/2 cup of sugar, and kept all other measurements as listed. I did use evaporated milk instead of coconut milk, because I was trying to use up an already opened can. It tasted great and the texture was perfect!
Those are great tweaks! I looked back at some of my other mochi recipes and 1/4 cup of butter is more in line with those. I like reducing the sugar idea, especially if using a sweet nectar. Thanks!
I tried the recipe using coconut milk. I topped the batter with guava paste pieces, shredded coconut, and turbinado sugar. Unfortunately the guava pieces sank to the bottom, but still added extra flavor. The coconut/sugar added a crunchy layer. I had the problem with the tops sinking though. Maybe it was my fault because I filled the cavity more than 3/4 full. Next time I will use coconut cream instead of coconut milk or add more flour to make my batter less wet. Either way, the mochi cake was delish. Thanks for sharing.
Yay! Sounds delish! Mochi muffins do flatten out so sinking is expected, especially if you add stuff. Adding a little more flour will help if you are looking for a dome-type finish.
Thanks for your advice. I made the recipe again ( I halved the portion) this time using coconut cream and added 1 – 2 Tbs of sweet rice flour. I added 1/4 cup of shredded coconut. I coated my guava paste bits in flour and sprinkled them on top with toasted coconut and turbinado sugar. I poured the batter into the cavity – 3/4 full. The mochi muffins turned out much better and the guava paste stayed on top! The texture was a little more dense and on point! 5 stars !!!
I’m glad it turned out! I am going to try your tweaks!
Oh no! I double-checked the recipe and the proportions are correct. The flavor is subtle and the consistency of the muffin is much more like mochi than cakey, like a dense, moist marshmallow. I’m going to throw a bunch of things out, which you may not have done but just want to put it out there… Used baking soda not baking powder? I have made this mistake before! Sweet Rice flour not plain rice flour, which will not work. It should work fine with coconut milk. Hmmmm. If it was too gooey for you, you might want to try the Butter Mochi Muffins which have a higher portion of the flour component. It is definitely denser and a bit cakeier. I am assuming you baked it as muffins not in a baking pan? If you baked it in a 9×13 it would take considerably longer. Hope this helps!
I’ve made this 2 times now. This recipe is a keeper. Also, it’s something a bit different than the standard sweets you find at parties. Made it with guava nectar and POG (passion-orange-guava) nectar. Both were great. The icing was a bit too sweet for me which is unusual as I love sweet things. I may try it in a mini-tart pan as I love the crispy edges!
Thanks!