Category: Vegetarian

Just in Time for Cinco de Mayo! Ridiculously Easy Salsa

Just in Time for Cinco de Mayo! Ridiculously Easy Salsa

A while back on a visit to The Big Apple, we stopped at Brookfield Place for a quick bite.  Near the World Trade Center, The Brookfield has an upscale food court (this is an understatment).  You won’t find corn dogs and pretzel bites, what you will find-organic kale and quinoa salads, Pad Thai, avocado toast, sushi…the trendy hipster options are endless.  After agonizing over what to eat, grab your food and pounce on the first table near the windows.  Enjoy the spectacular view of the Hudson while you eat.

I decided on an egg dish (can’t remember exactly what I had) but it needed a punch of flavor.  Back to the stand where I ordered my eggs.  “Do you have any salsa”? The woman in line behind me rudely interjects “RIGHT in front of you”. I glance at the counter, turn to her and say “SALSA not salt” (you schmuck).   The counter guy hands me a couple of packets of hot sauce with an apologetic “uh, will this do?” I take them and quickly walk away so he doesn’t hear me sigh.

New York City, you don’t know what you are missing…

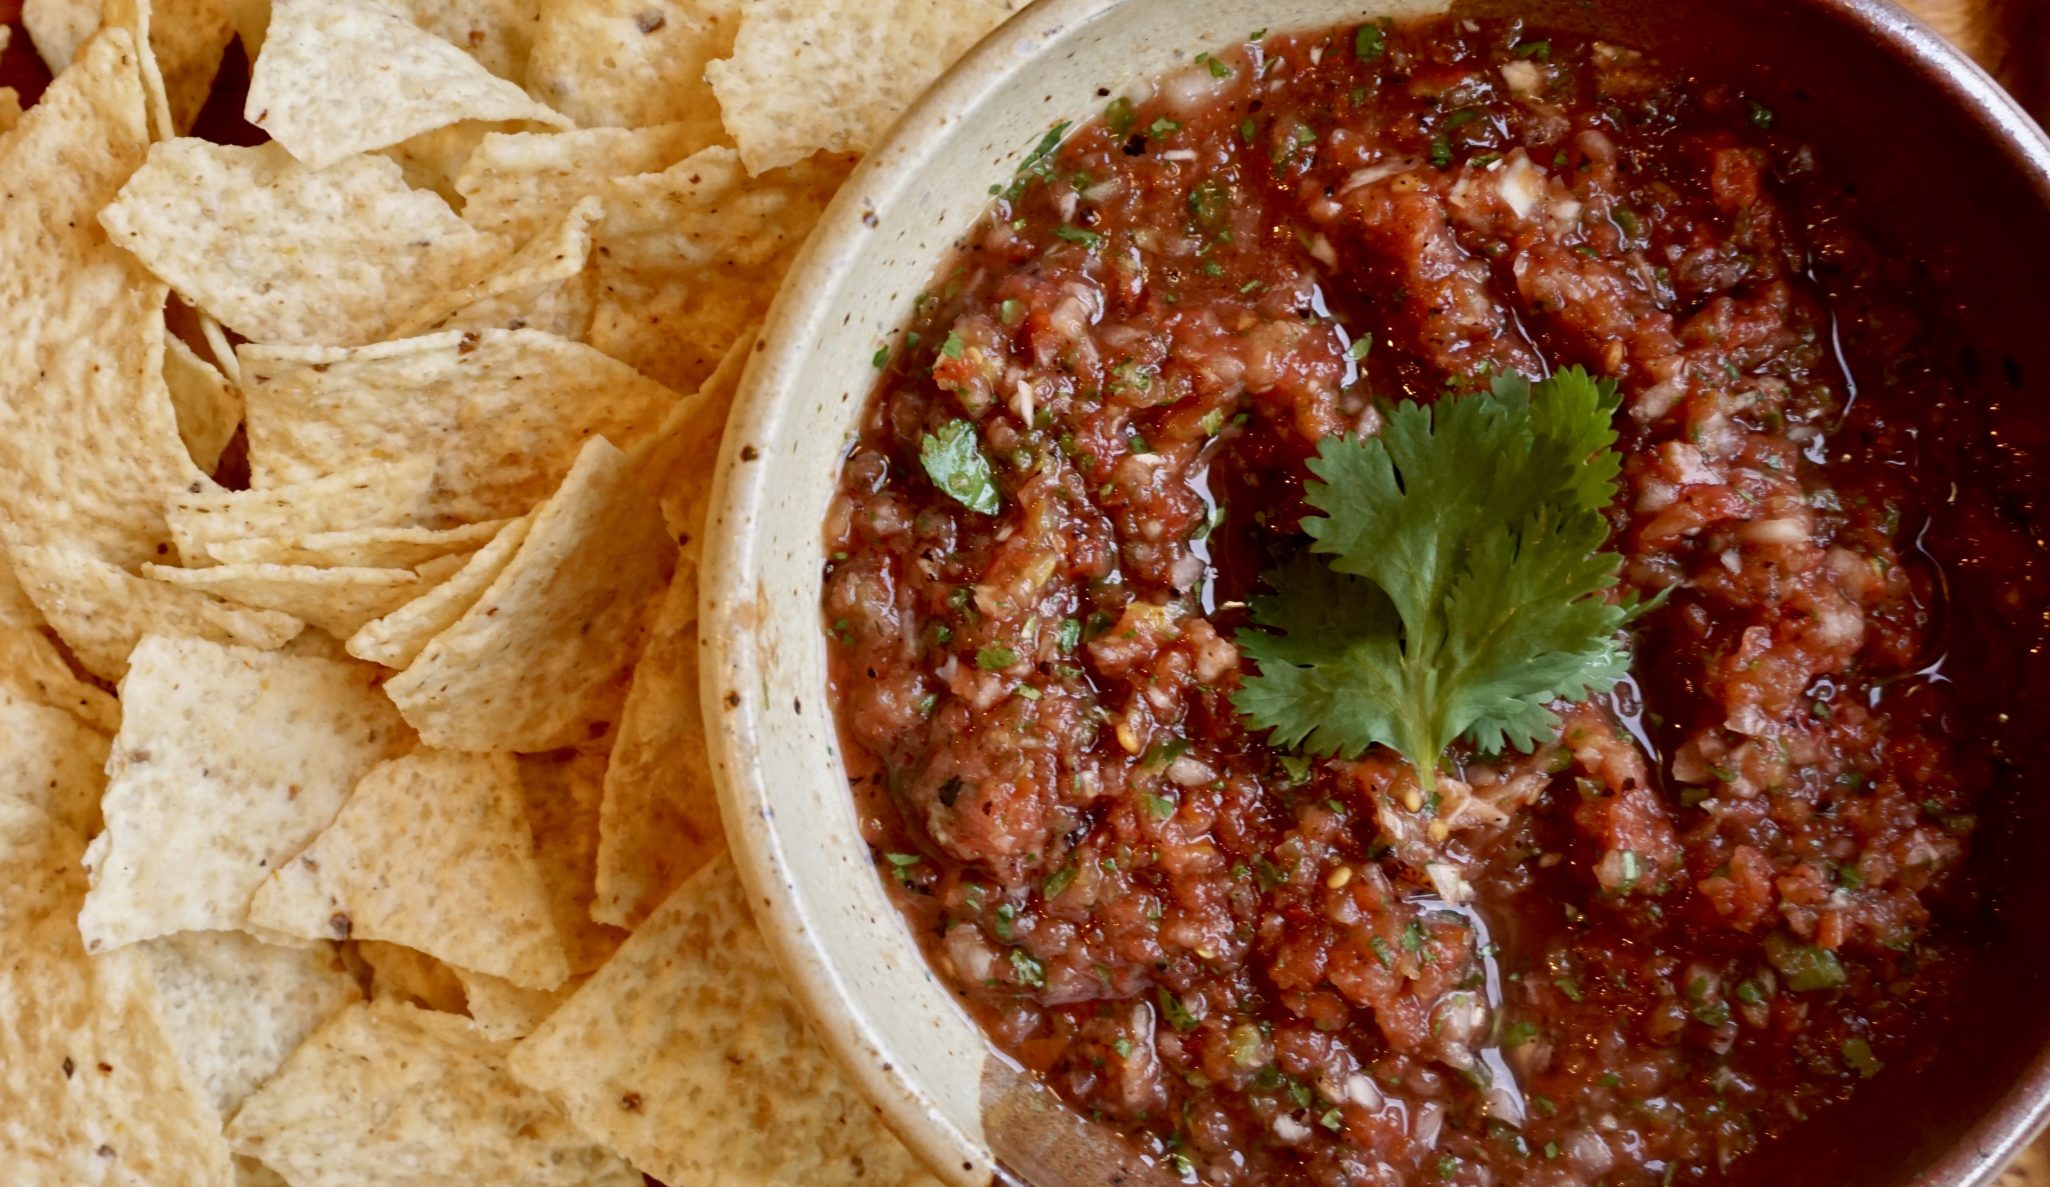
With Cinco de Mayo coming up I pulled out a salsa recipe I had come across in the blog Cookie + Kate. This salsa is SUPER EASY and a snap to put together.  This leaves plenty of time to mix up a batch of your favorite Margaritas, the perfect foil for chips and this salsa.
Easy salsa

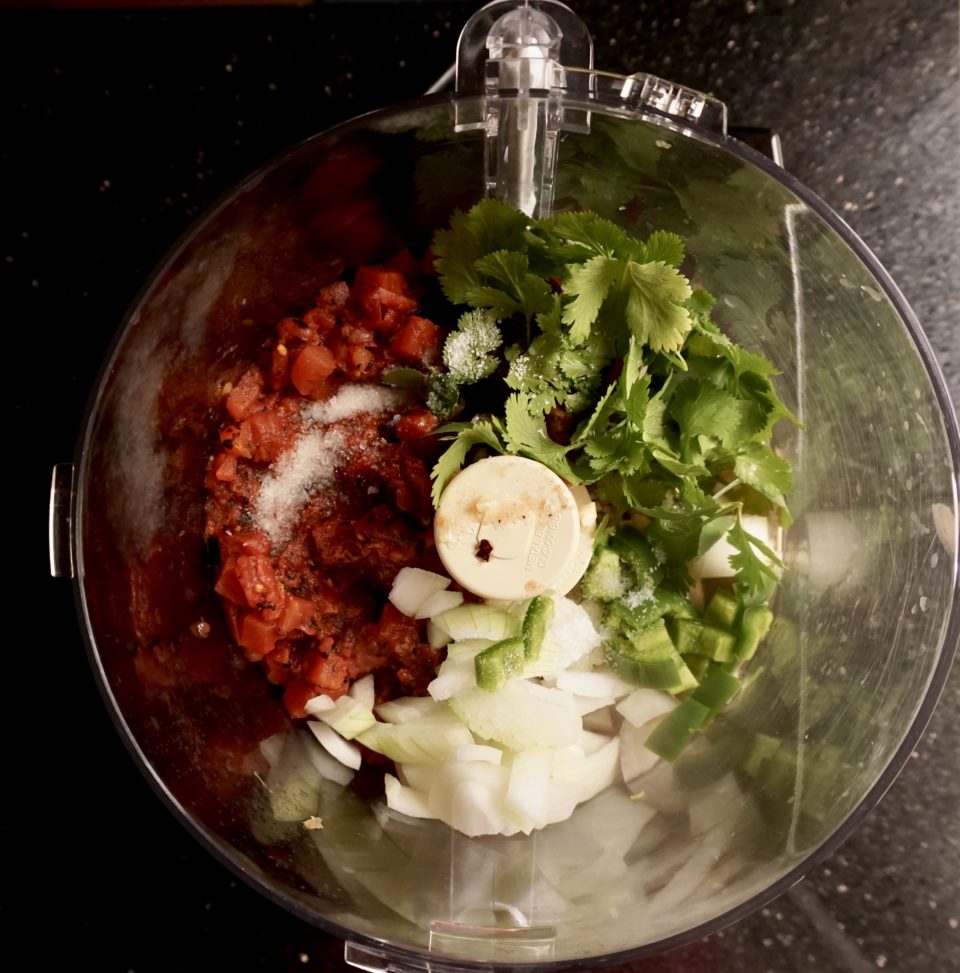
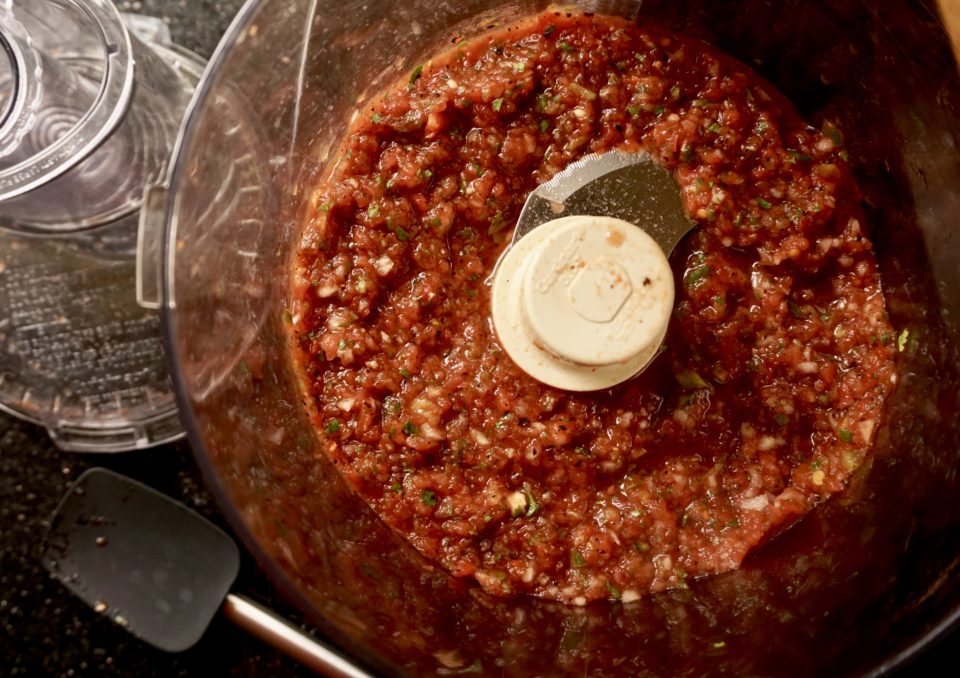
The secret?  The salsa starts with a can of FIRE-ROASTED TOMATOES.  TJ’s has their house brand version that I have used with good results and Muir Glen makes organic fire-roasted tomatoes. Drain the tomatoes well or it will be watery.  Throw the tomatoes in your food processor along with coarsely chopped garlic, jalapeno, diced onion, cilantro and a bit of lime juice and salt.  Give it a whirl and voila’ SALSA TIME.  Want it spicier, add more jalapeno.  Bit more tangy? Extra squeeze of lime.  Added punch? 2 garlic cloves instead one.  It’s entirely up to you.
Just in Time for Cinco de Mayo! Ridiculously Easy Salsa

Ingredients

  • 1 can 15 ounces diced fire-roasted tomatoes
  • 1-2 cloves of garlic roughly chopped
  • ½ cup roughly chopped white onion about ½ small onion
  • ¼ cup lightly packed fresh cilantro leaves
  • ½ medium jalapeño seeds and ribs removed, and roughly chopped
  • 1 tablespoon lime juice more if needed
  • 1 teaspoon Kosher salt or 1/2 teaspoon sea salt

Instructions

  • Drain off about half of the tomato juice from the can (about ⅓ cup) and discard it.
  • In a food processor:
  • Add the tomatoes and all of the remaining juice from the can. Add the garlic, onion, cilantro, jalapeño, lime juice, and salt.
  • Pulse the mixture until it is mostly smooth and no big chunks of tomato or onion remain, scraping down the sides as necessary.
  • Season to taste with additional lime juice and salt, if you like.
  • Serve the salsa immediately or store it for later.
  • This salsa keeps well in the refrigerator, covered, for about 1 week.


Smashed Potatoes, A Smashing Success

Smashed Potatoes, A Smashing Success

Jamie and I love happy hours so whenever she comes home we usually throw together a couple impromptu gatherings.  Drinks and finger foods are part of our MO. Half the fun is perusing cookbooks or the Internet looking for yummies for our casual soirees. Jamie came across a recipe for Smashed Potatoes on the site Damn Delicious…uh-oh, boil em’, mash em’ stick em’ in a stew.  It’s like Pavlov’s Dogs, mention potatoes and I immediately parrot Sam-Wise Gamgee.  Drives my family crazy.

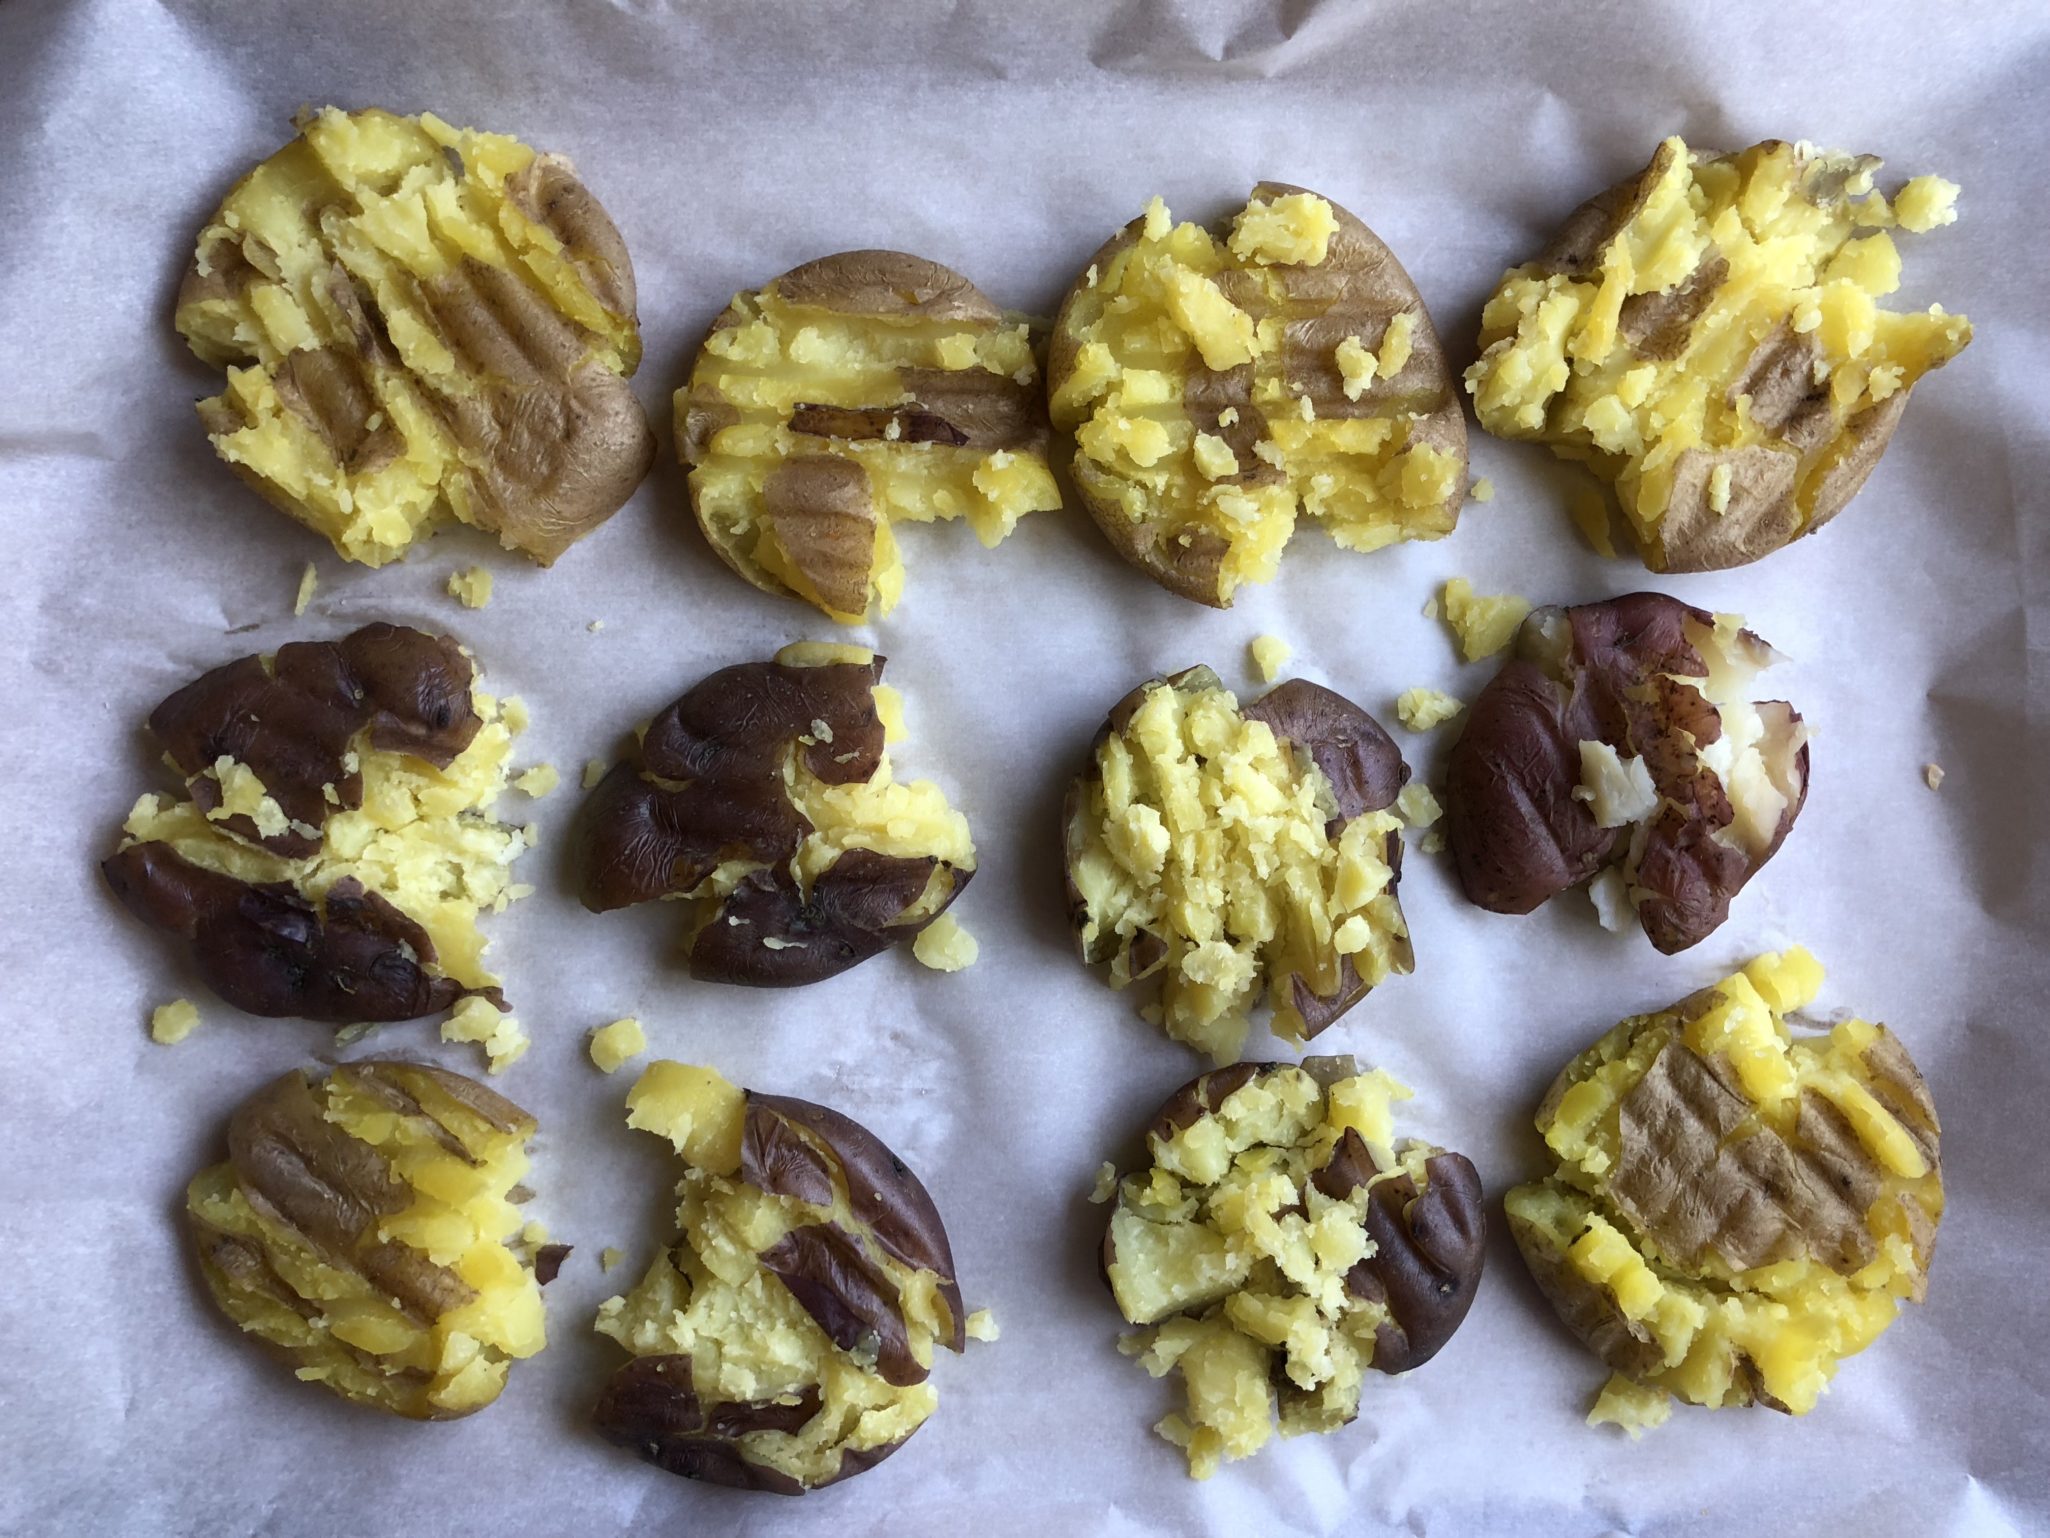
Back to the recipe, very easy and very tasty.  We like getting a variety of potatoes, reds, golds, purple all about 2 inches, you know, not too big, not too small. but just right The potatoes are boiled until tender. Removed and smooshed with a potato masher (you could probably use a fork) until flattened.  The spuds are seasoned with garlic, thyme, salt and pepper then drizzled with olive oil.  Place in oven for about 20 minutes to crisp and voila’, potatoes with soft and creamy centers and crispy edges.  Serve with sour cream if you like.  So, so, good.  So, so, simple.

We had pancetta in the fridge, so we added a generous sprinkle of it over the smooshed potatoes before baking. You can use rosemary in place of thyme, bacon instead of pancetta, butter instead of olive oil, sprinkle with parmesan, whatever your imagination dreams up. A combination I plan to try includes smoky paprika and rosemary with a squeeze of lemon,  Damn Delicious posted a new riff, Crispy Dijon Smashed Potatoes.  Can’t wait to try it!

Smashed potatoes with Garlic and Thyme

So next time you need a tasty bite, try these smashed potatoes.  Added bonus, they’re gluten free, dairy free if you don’t use cheese and a perfect vegetarian dish if you skip the pancetta/bacon.  Delicious!

Smashed Potatoes, with Garlic and Herbs

Course Side Dish, Vegetable
Cuisine American
Keyword fingerling potatotes, Roasted potatotes
Prep Time 15 minutes
Cook Time 20 minutes

Ingredients

  • 18-24 small potatoes yukon, reds, purples or a mix washed and scrubbed clean
  • 2 tablespoons olive oil
  • 3 cloves garlic minced
  • 1 tablespoon fresh thyme leaves
  • Finely diced pancetta or bacon optional
  • Kosher salt and freshly ground black pepper to taste

Instructions

  • Preheat oven to 450 degrees F.
  • Lightly oil a baking sheet or line with parchment. Put a couple of squeezes of oil on the parchment
  • In a large pot of boiling water, cook potatoes until tender, about 15-20 minutes; drain well.
  • Place potatoes onto the prepared baking sheet. Using a potato masher or fork, carefully smash the potatoes until flattened but still in one piece.
  • Top with olive oil, garlic and thyme. (Combine minced garlic and thyme with oil and drizzle on potatoes)
  • Sprinkle with salt and pepper and pancetta!
  • Bake for 18-20 minutes, or until golden brown and crisp.
  • Serve immediately.

Notes

To microwave potatoes.  Wash and place in a microwavable. Cover with a vented lid of plastic wrap with a few holes punched in it. 
Microwave at full power for 8-10 minutes, stopping halfway to stir.  I have a 700 watt microwave so if your microwave's wattage is higher, try 7 - 9 minutes.  Test by piercing with a fork.  
Olive Oil Shortbread with Rosemary & Chocolate Chunks, A Tale of Two Wedges

Olive Oil Shortbread with Rosemary & Chocolate Chunks, A Tale of Two Wedges

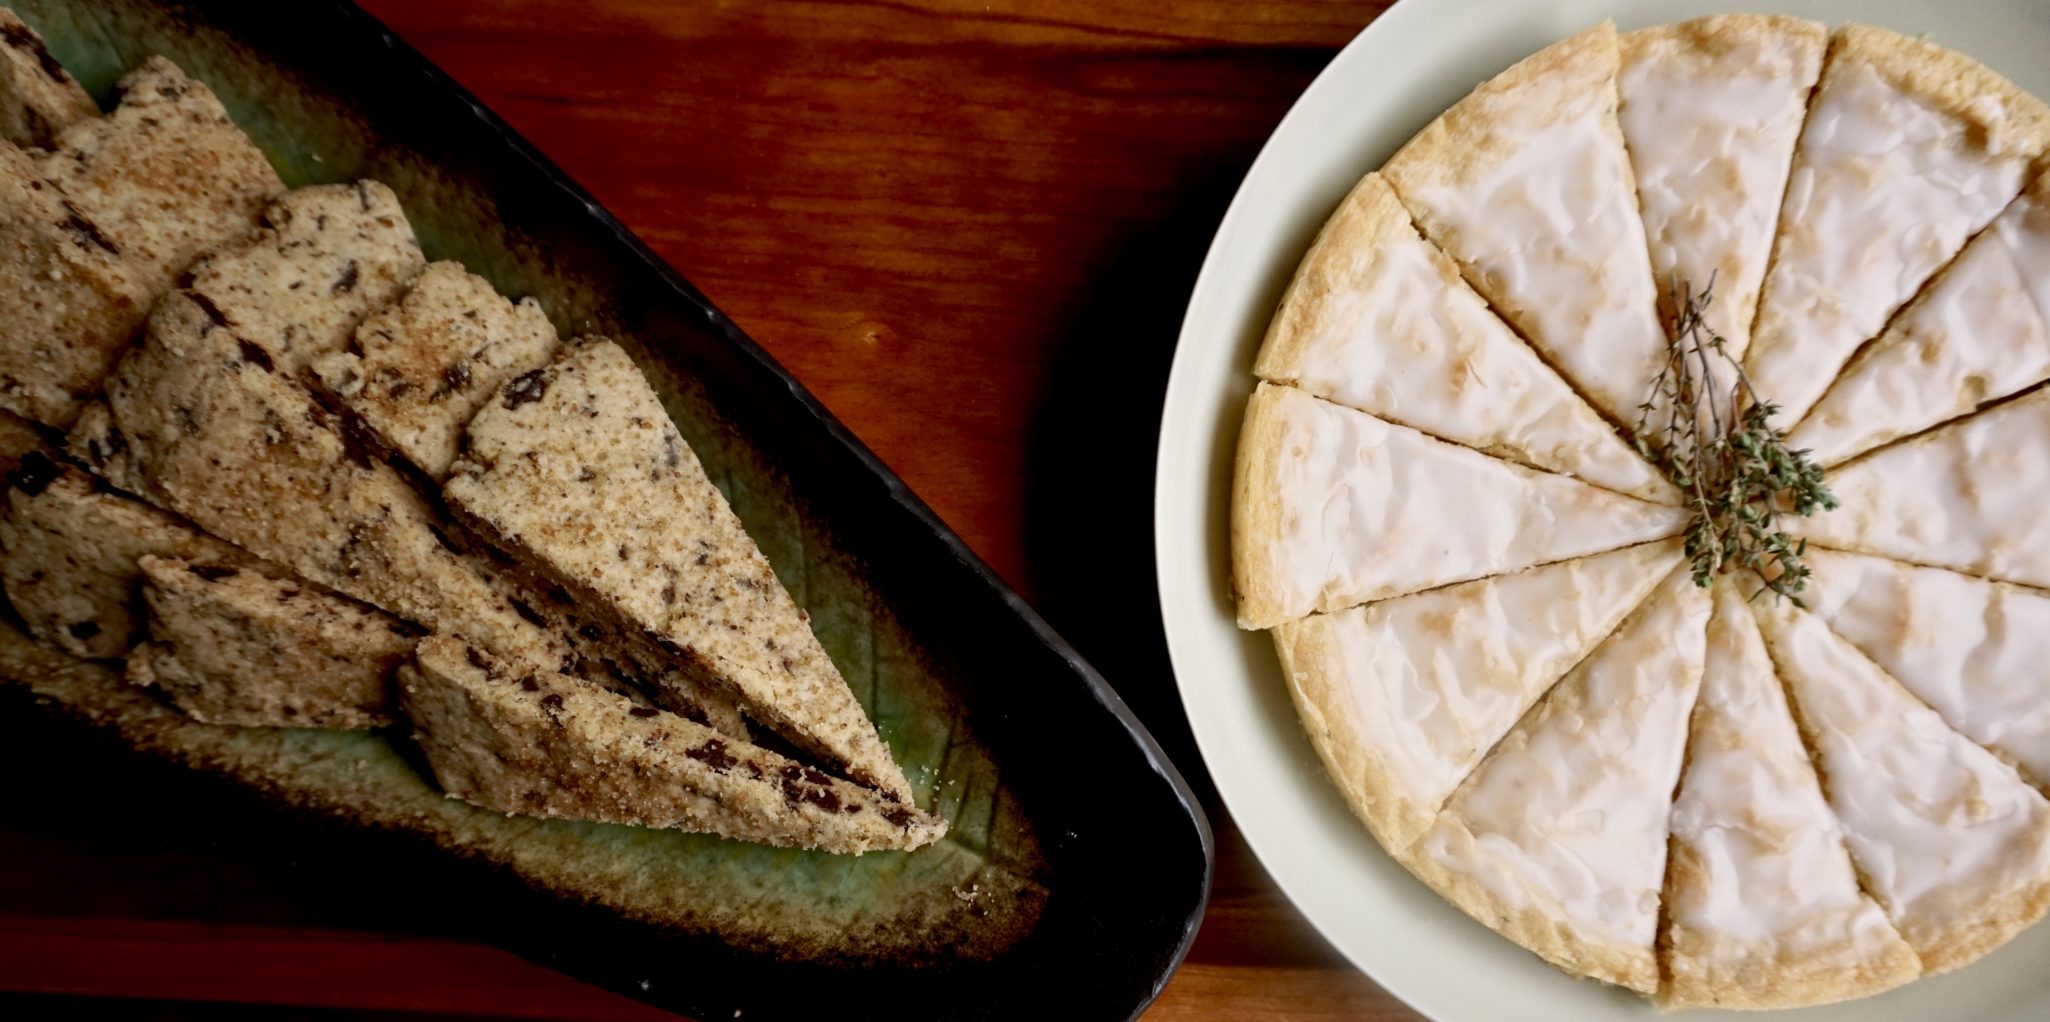
Last week was a busy work week and several evening commitments were on my to-do list. One of the realities of living in the Bay Area is the exceptionally ugly commute (up 1.5 hours to go 25 miles-yeah-go figure) so my commute has taught me to ALWAYS VOLUNTEER TO BRING DESSERT since I invariably run late.  So my plan was to make cookies,  I could make them in advance, bring them with me to work, go directly from work to each function, and be forgiven for being late because who gets mad at anyone who brings homemade cookies?!

I needed a vegan option as well as a regular sweet bite for the meetings.  I decided the Grapefruit Thyme Shortbread (it’s my flavor of the month cookie) would be my non-vegan cookie.  The vegan option was going to be a bit trickier, I am a butter-believer.  As luck would have it, a recipe for Olive Oil Shortbread with Rosemary and Chocolate Chunks from Smitten Kitchen Every Day Cookbook popped up on my feed.  Hmmm, now how did Facebook know I needed a vegan dessert recipe?

Not funny?  Too soon?

Olive Oil Shortbread with Rosemary and Chocolate Chunks

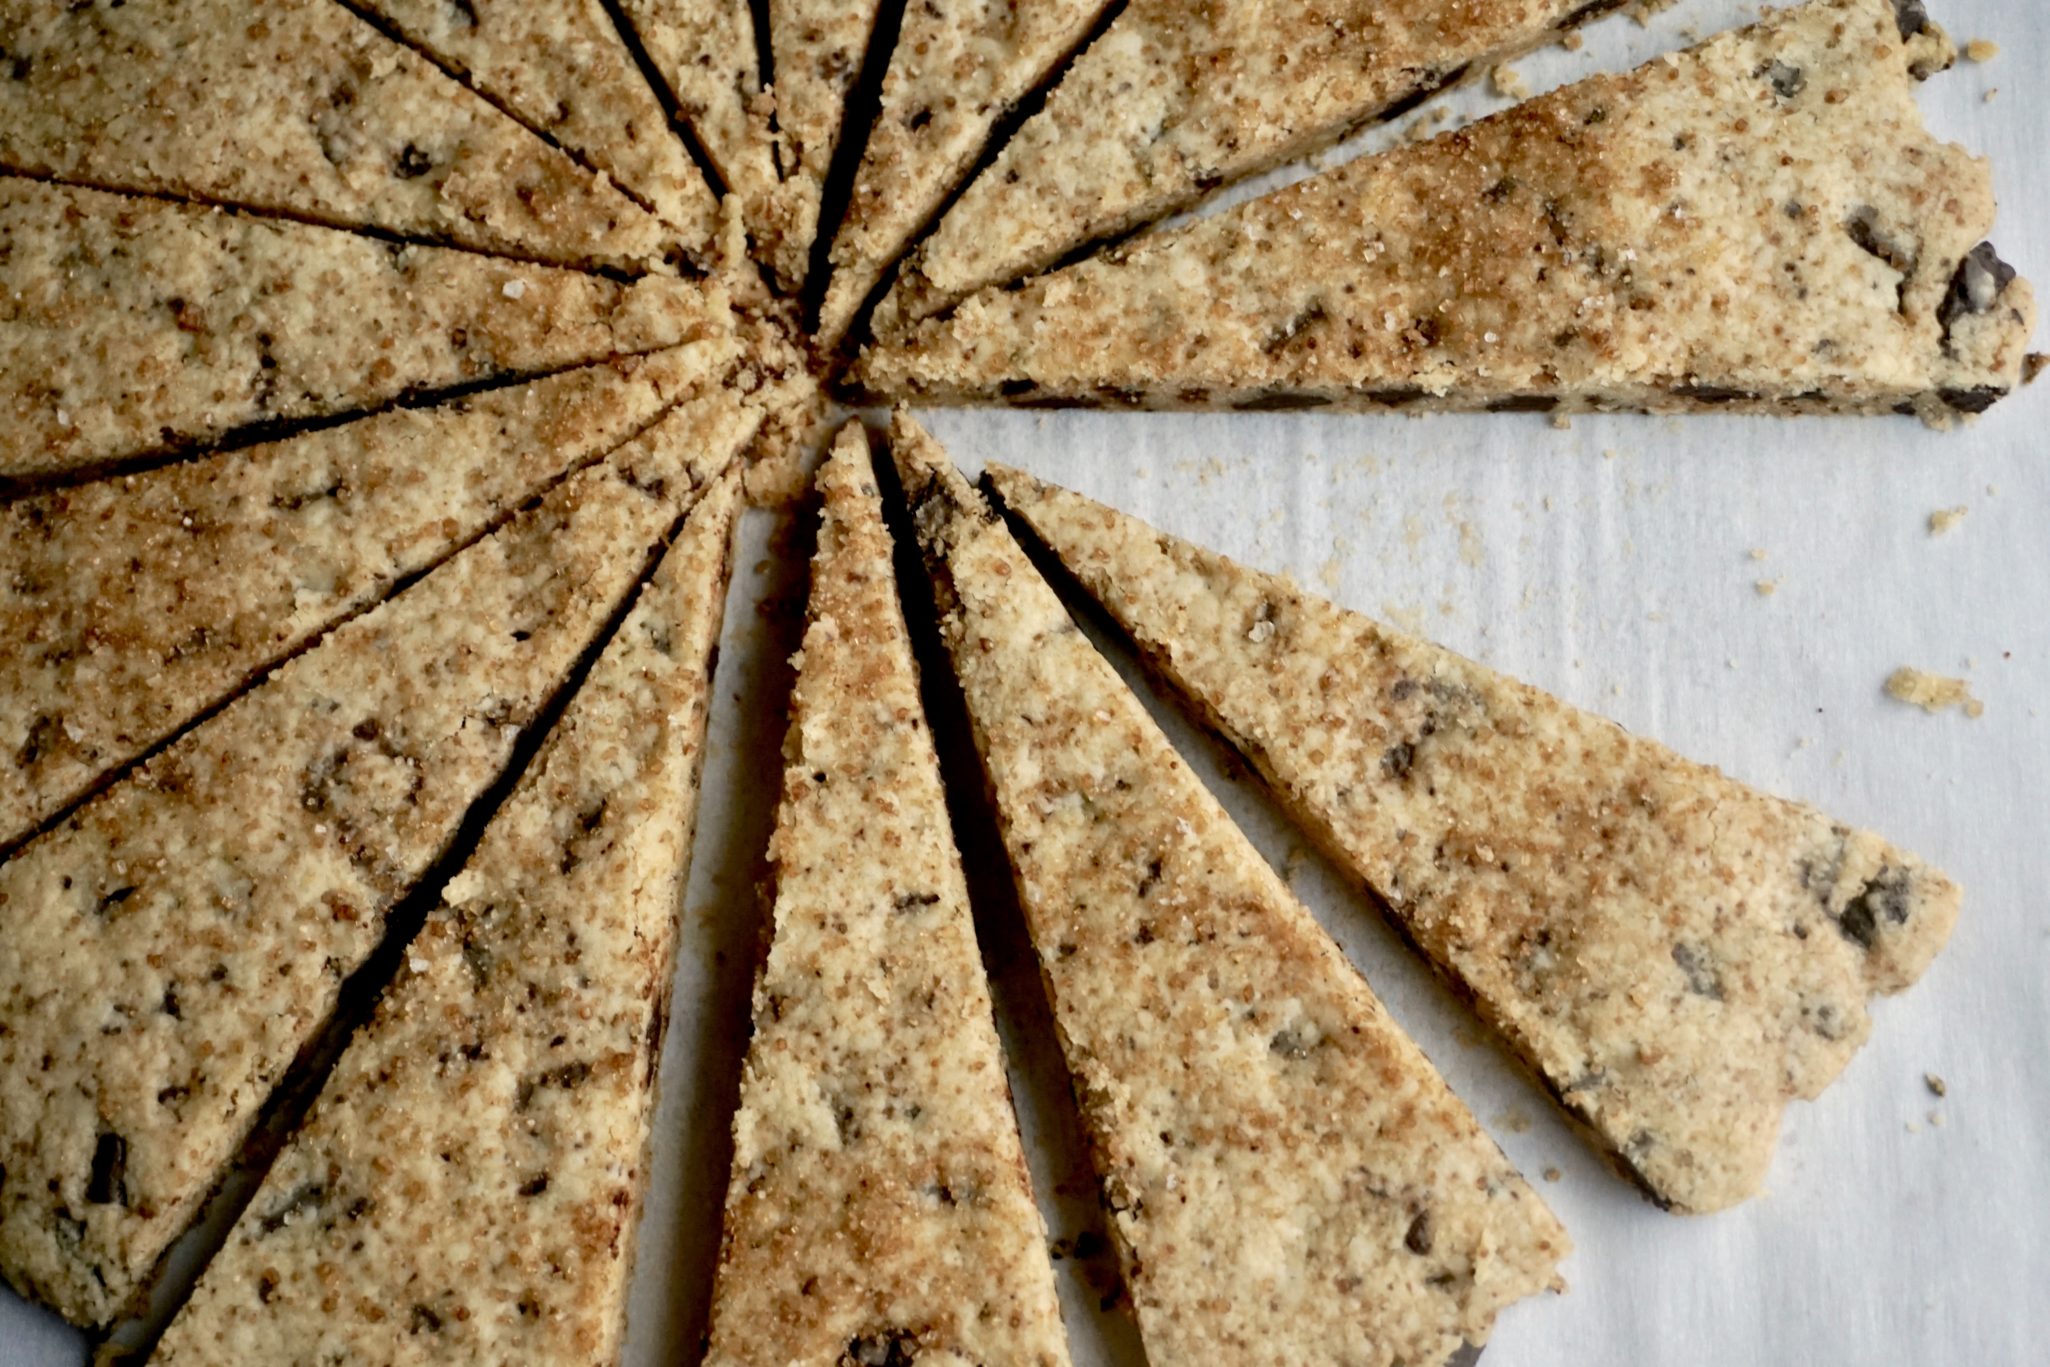
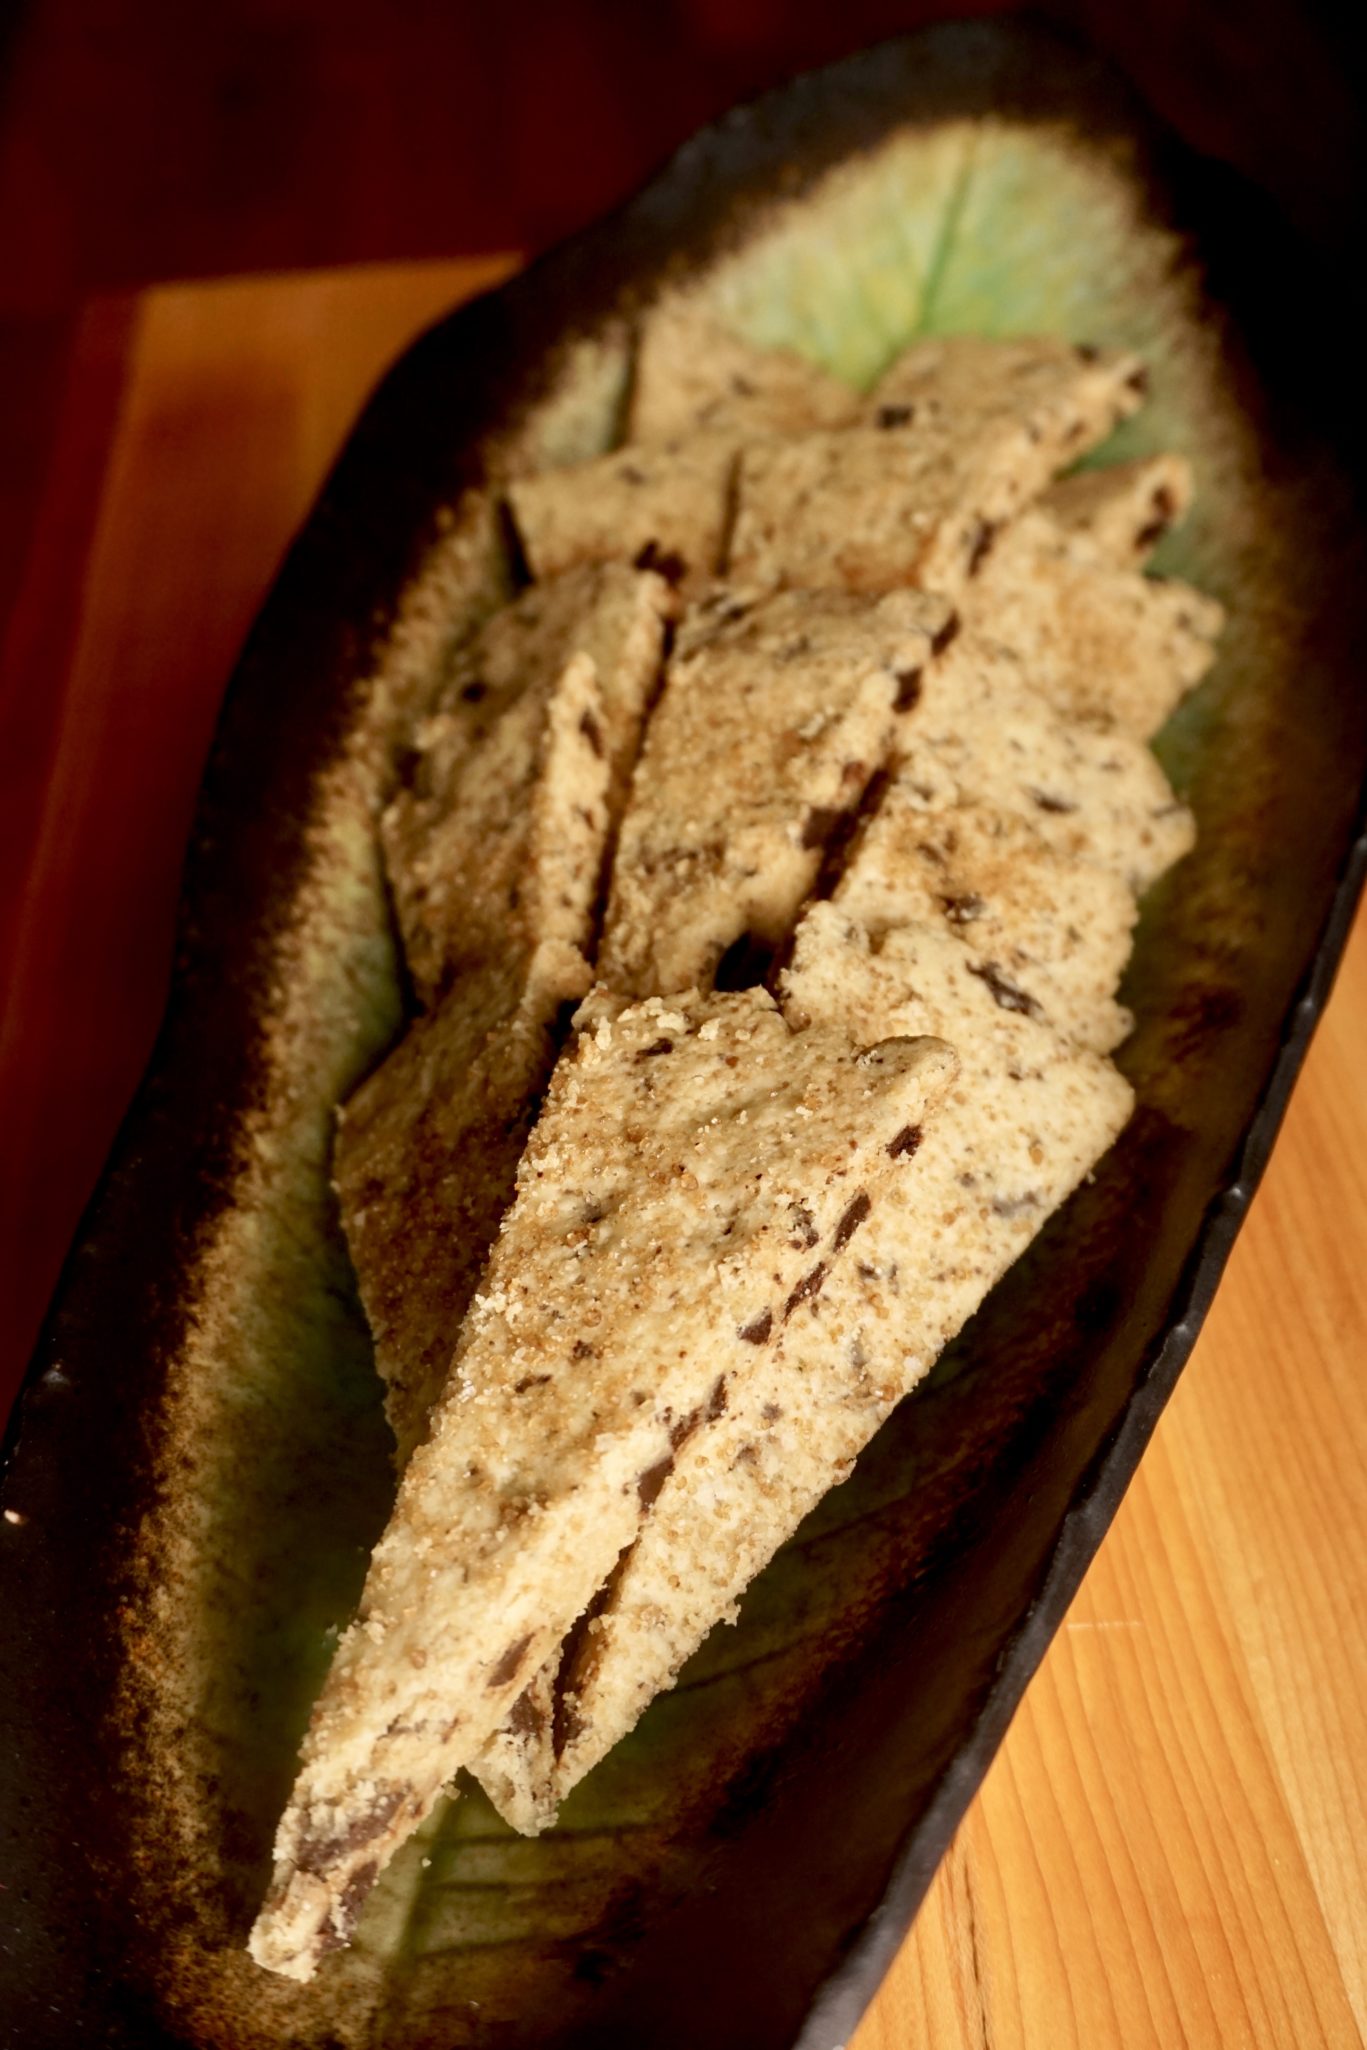
Surprisingly (at least to me), the rosemary and chocolate meshed well.  The flavors really stand out and I didn’t think about the no butter factor. The sprinkling of turbinado sugar on top provided a nice crunch while the cookie itself had a nice fine crumbly texture.

Olive Oil Shortbread with Rosemary and Chocolate Chunks

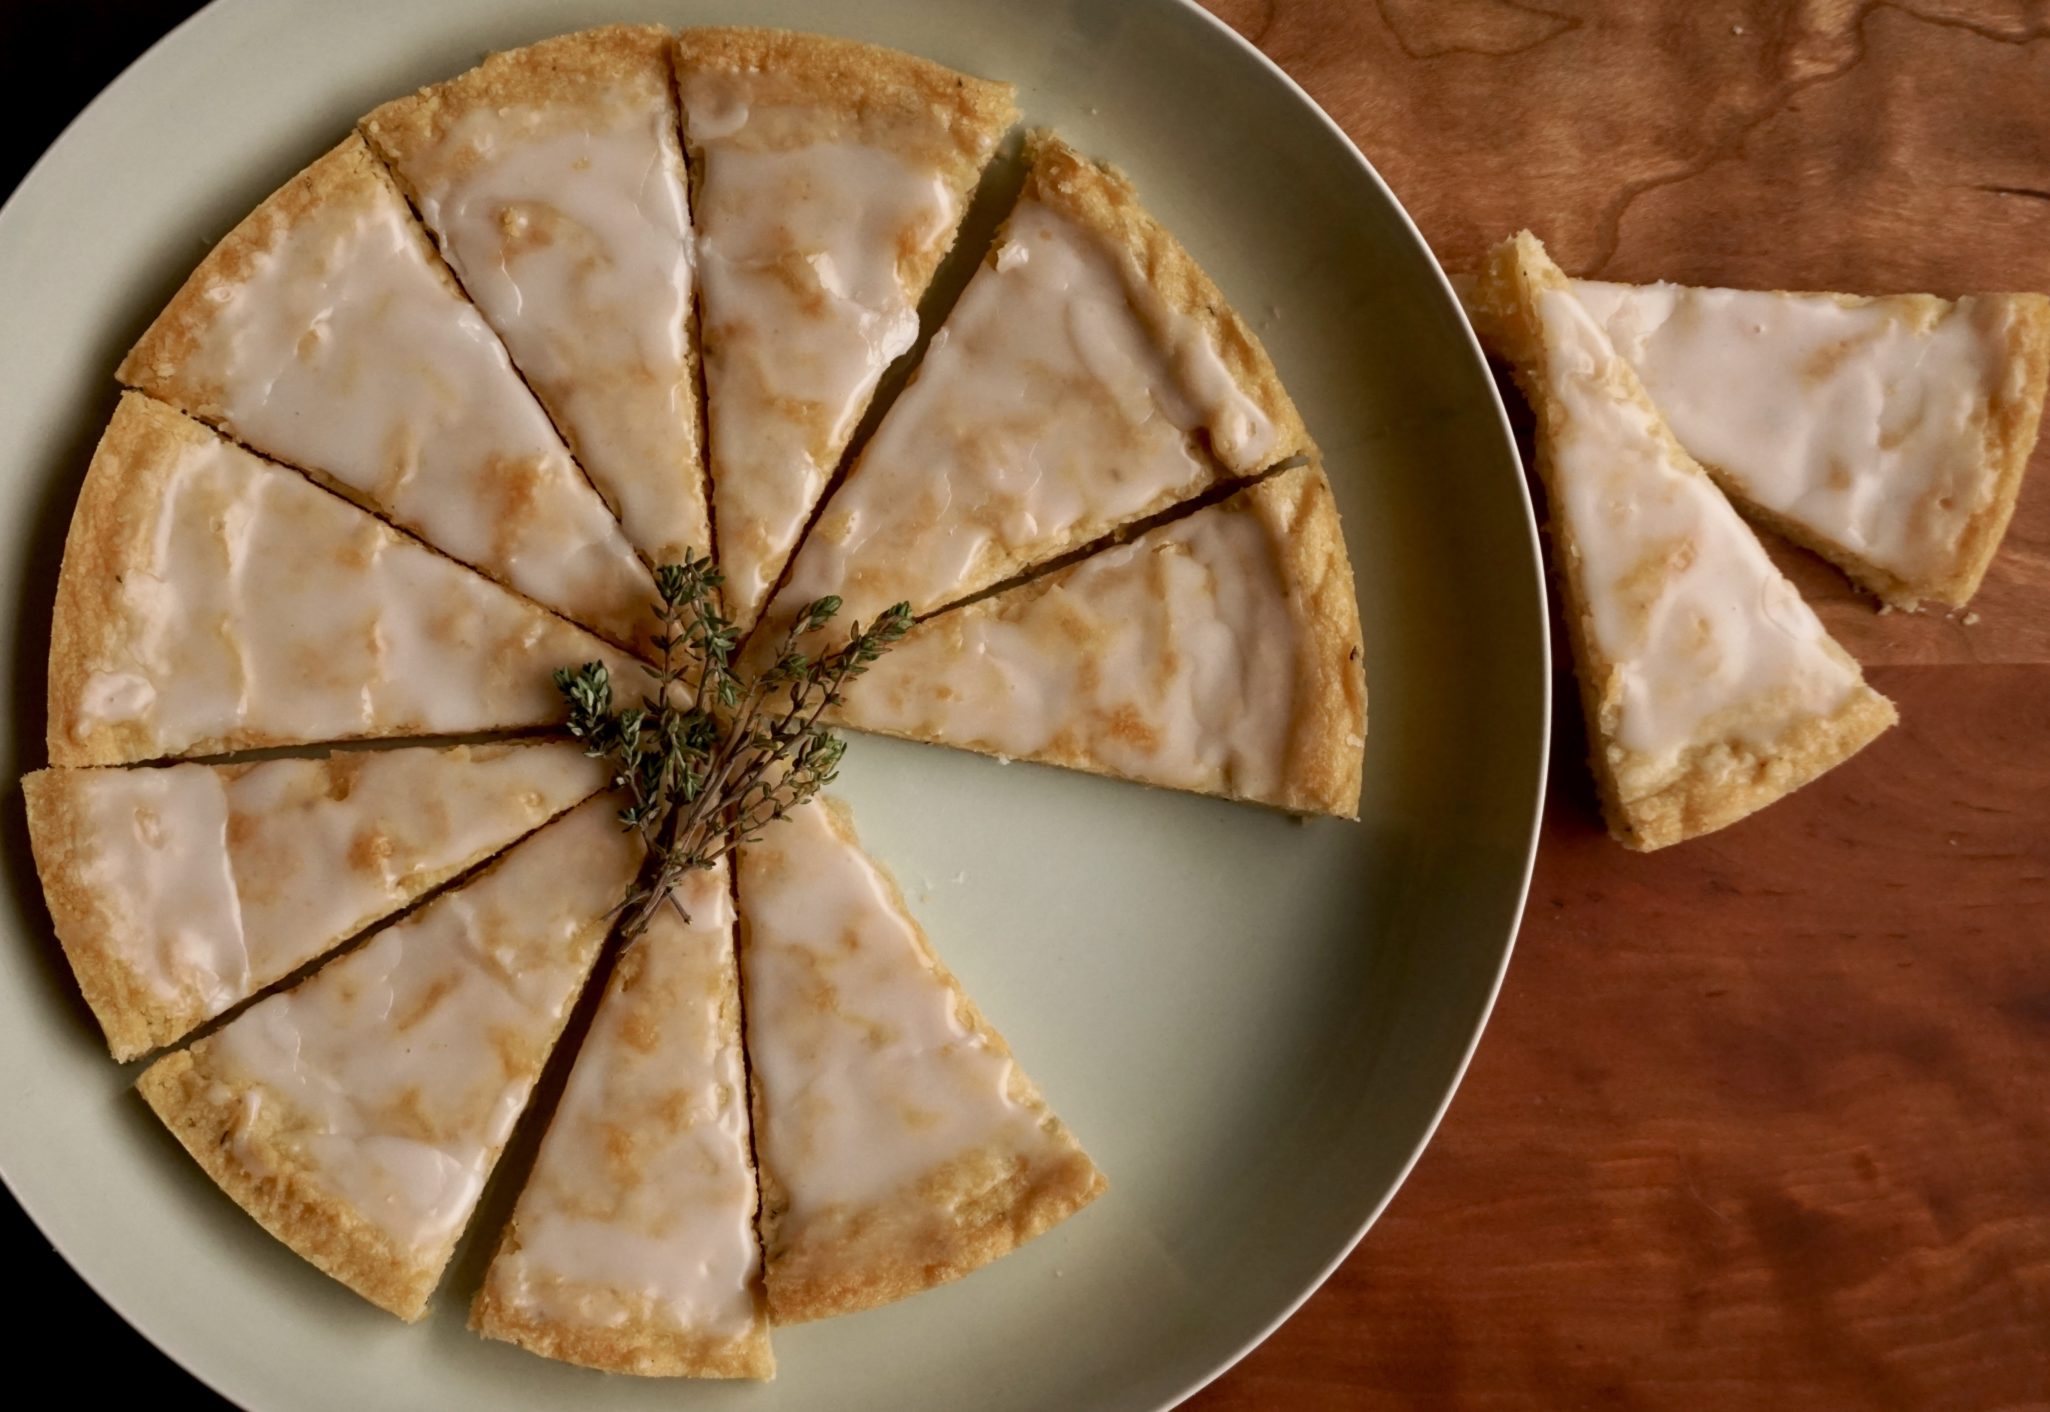
I changed the baking method for the Grapefruit Thyme Shortbread, my non-vegan option.  Wanting a more traditional shortbread and keeping with my wedge theme, I baked it in a round pan and cut it into wedges right out of the oven.  Unlike the first time I made them, this version had a casual, rustic appeal.  While the cutout version had a fine crumb and crisp edges. These are a bit softer, almost cake-like, without the crisp edges. Still delightful, just different.  Putting on my ATK hat, made sense due to the differences in baking methods. I consider this a bonus, 2 cookies for the “dough” of one.

Grapefruit Thyme Shortbread Post

Grapefruit Thyme Shortbread

Olive Oil Shortbread with Rosemary & Chocolate Chunks

Ingredients

  • Smitten Kitchen /every Day by way of Food52
  • 1 1/2 cups 195 grams all-purpose flour
  • 1/2 cup 60 grams powdered sugar
  • 2 tablespoons 25 grams, plus 1 teaspoon (5 grams) turbinado (raw) sugar
  • 1/2 teaspoon fine sea salt
  • 1/2 cup 120 ml mild olive oil
  • 1 teaspoon finely minced fresh rosemary leaves
  • 1/2 cup 85 grams semisweet chocolate, chopped into small chunks
  • 1 egg white beaten until loose (optional not vegan 🙁 )

Instructions

  • Heat the oven to 325° F.
  • In a large bowl, whisk together the flour, powdered sugar, 2 tablespoons turbinado sugar, and the salt.
  • Add the olive oil and rosemary and stir to combine.
  • Add the chocolate chunks and stir again.
  • Gather the dough with your hands into one mass.
  • Roll out the dough to an 8- to 9-inch roundish slab between two sheets of parchment paper. Remove the top sheet and use the bottom to slide the cookie round onto the back of a large baking sheet.
  • If desired—it merely provides a little shine—brush the cookie with the egg white. Sprinkle with remaining 1 teaspoon turbinado sugar. Bake for 20 to 25 minutes.
  • Slide the cookie round carefully onto a cutting board while the cookie is still totally hot. Cut with a sharp, thin knife into desired shape(s). Let cool completely, then separate.
  • Do ahead: This dough keeps well in the freezer. Baked cookies keep for 2 weeks in an airtight tin at room temperature.
  • Note: For a milder flavor, replace half of the oil with a neutral/flavorless one. You can cut this into shapes with cookie cutters, too, but the chocolate provides a little resistance.
Japchae-Oppa! Korean-Style, Sexy Noodles, Op Op

Japchae-Oppa! Korean-Style, Sexy Noodles, Op Op

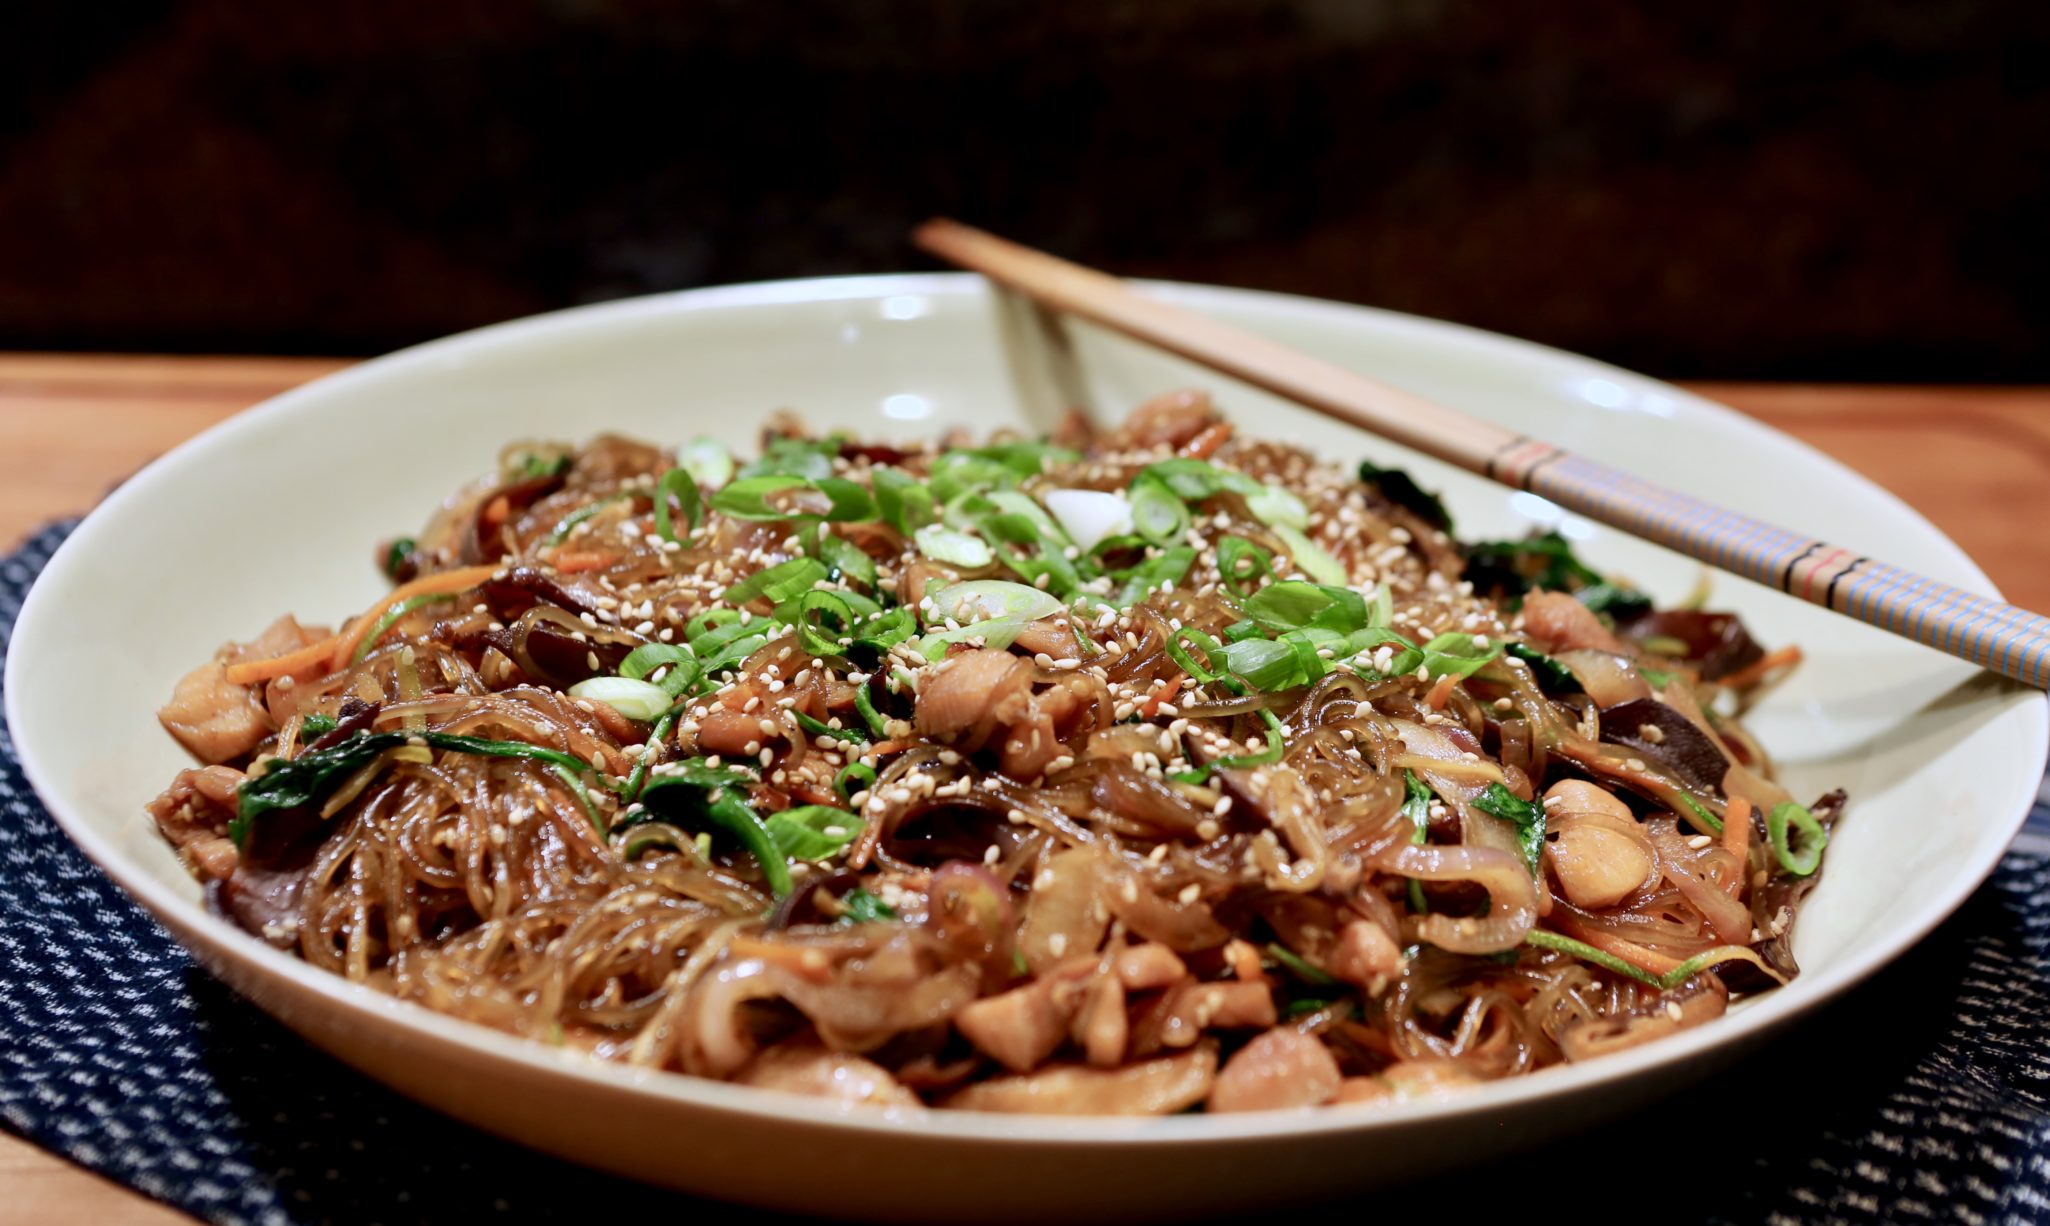
I decided to throw a surprise birthday party for the hubby. Since it was an impromptu event, I kept it simple. Just a handful of friends on a Friday night to help him celebrate another year.  The menu included his favorites, cheesecake, apple pie, and sushi from our favorite place. Badabing, easy peasy-done.  Then I started to worry, what if folks don’t eat fish?  Then I thought, what if I don’t have enough food?  A cardinal sin…so I added a few more of his favorites, Korean short ribs, Galbi, Ceasar Salad, and Japchae, a delicious Korean noodle dish.

The Skinny on the Noods

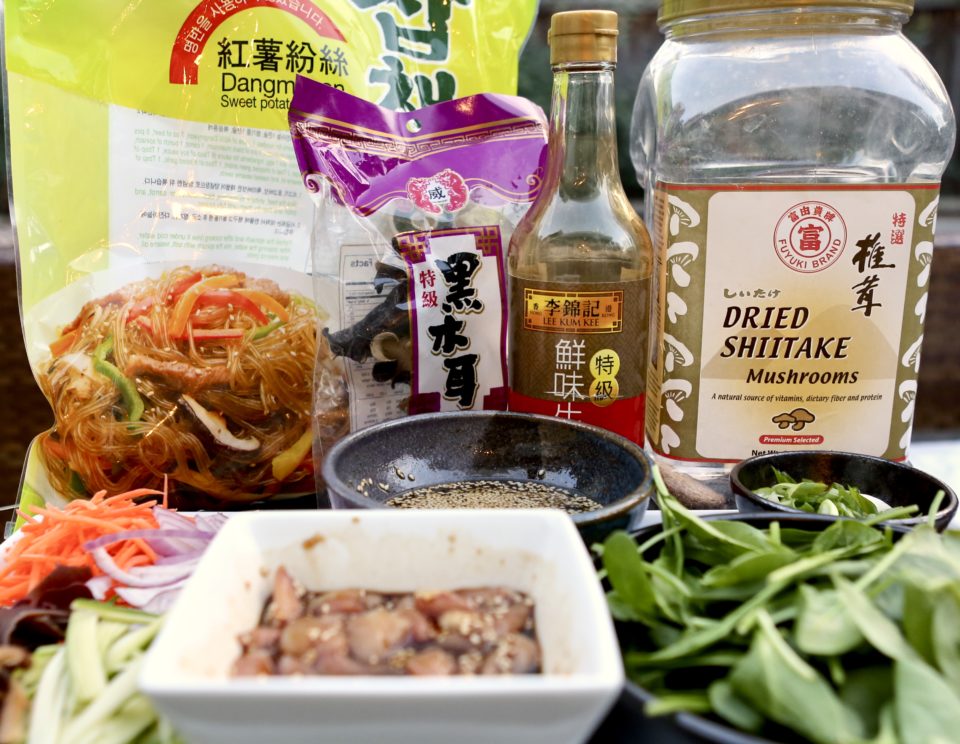
Japchae is Wes’s favorite noodle dish.  It starts with sweet potato noodles also called glass noodles (당면 Dangmyeon) for their transparency.  The noodles have a bit more elasticity and bite than wheat pasta and absorb seasonings well.  Season the noodles with soy sauce, sesame oil, garlic, and sugar, which gives the noodles that characteristic delicious garlicky, sweet-salty flavor.

The beauty of this dish is its flexibility.  Serve Japchae as a simple side dish, banchan, or as a main dish made with protein and vegetables.  Vary the kinds of vegetables and protein, but always include shiitake mushrooms, yellow or red onions, and secret sauce (ok, not really a secret just the Korean quadfecta of soy, garlic, sugar, and sesame).

Beyond that, go CRAZY!

Add wood ears-fungi for crunch, carrots, spinach, zucchini, or watercress for veggies and chicken or beef for protein. Other additions include slices of fishcake and strips of scrambled egg.  Knock yourself out.

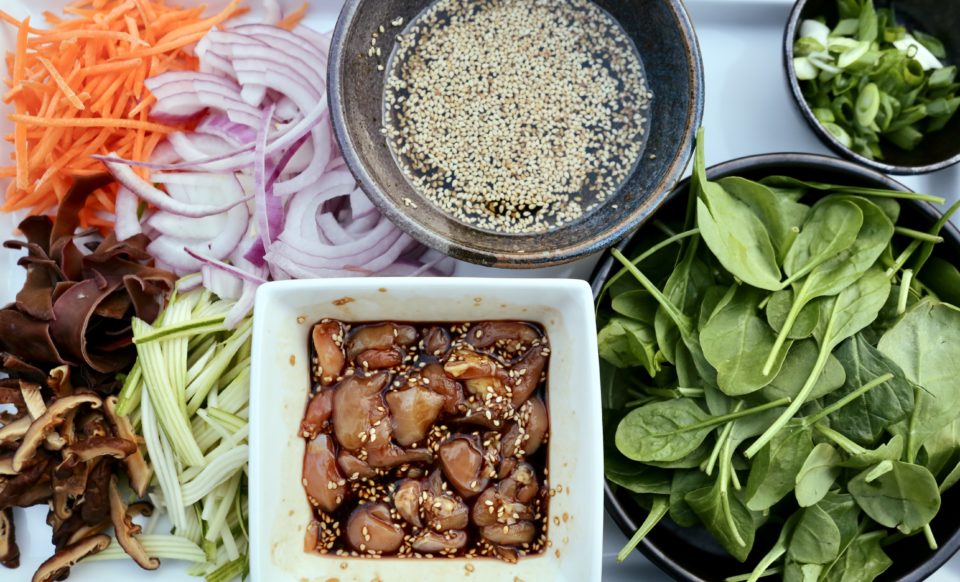
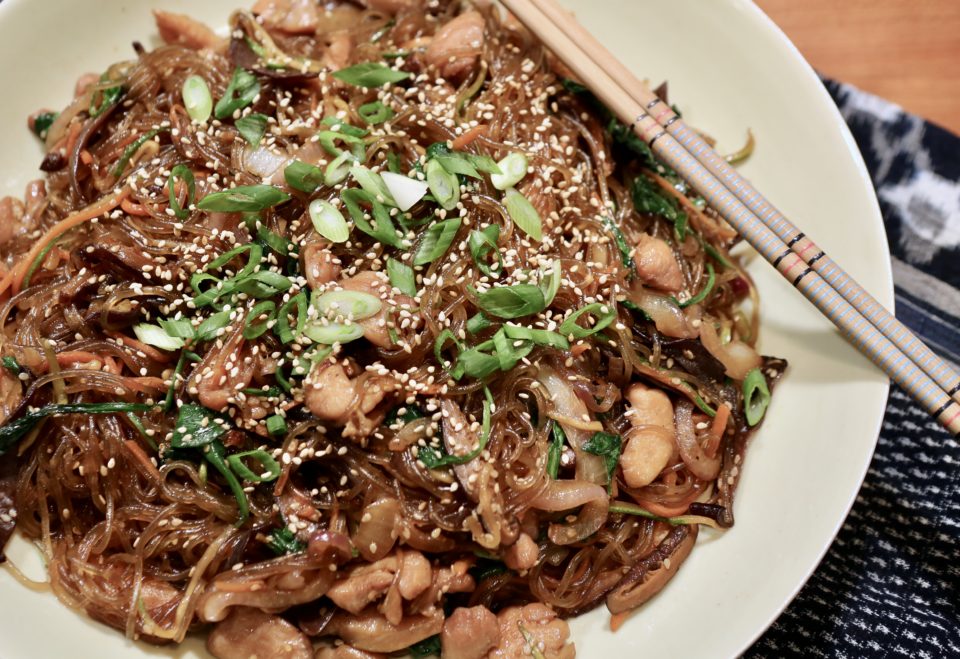
Wes’s birthday version included chicken, carrot, zucchini, wood ear mushrooms, and spinach.  Yummo.

The key to this dish is advanced prep work.  Julienne vegetables, cut chicken into bite-sized strips, and make the sauce.  Soak the noodles, shiitake mushrooms, and black fungus in water. The noodles should be soaked in room temp water for an hour or two, so start your prep early.  You could make this a vegetarian dish by omitting the protein and marinating sliced shiitake mushrooms or pressed tofu.

Korean Jap Chae

My go-to recipe for Japchae is from a favorite cookbook called Hawaii’s Aloha Recipes published by The Japanese Women’s Society of Honolulu.  My copy is food-stained, pages tattered, filled with handwritten notes.  In short, well worn and well-used.  It’s my favorite cookbook for down-home Hawaiian/Asian cooking. Wirebound with few photos, but filled with treasured family recipes and stories-books like this one were created by folks to raise money for their church, temple, or community.  A reflection of who we are and the foods we have eaten for generations.

Aggie's Japchae, Oppa Korean-Style, Sexy Noodles Op Op

Classic Korean Noodle Dish, Japchae a family favorite
Course noodles, Side Dish
Cuisine Asian, Korean
Keyword japchae

Ingredients

  • 1 pack of glass noodles sweet potato noodles
  • 1/2 pound flank steak or chicken cut into strips
  • 1 cup carrots julienned
  • 1 cup string beans French cut or zucchini strips
  • 1/2 cup yellow onions sliced
  • 6 dried shiitake mushrooms soak in hot water until soft. Squeeze excess water, remove stem and julienned
  • 1/2 bunch watercress or spinach
  • 1/2 cup black fungus soaked and cut into strips
  • green onions

Seasoning for noodles:

  • 4 T soy sauce
  • 2 T sesame oil
  • 1.5 T granulated sugar
  • 1 T roasted sesame seeds
  • 1/8 tsp black pepper

Marinade for protein

  • 1/2 tsp fresh garlic minced
  • 2 T soy sauce
  • 3/4 tsp sugar
  • 2 tsp prepared sesame seeds

Instructions

  • Soak noodles in room temp water for 1-2 hours until soft then drain. Alternatively boil for 7 minutes, drain and cool. Cut into 3-4 inch lengths. Set aside.
  • Cut beef or chicken or pork into strips. MIx seasonings and combine with protein. Set this aside too.
  • In a frying pan or wok, heat 1-2 T oil, add shredded carrots and fry just until tender. Don't overcook. Sprinkle with a little salt. Remove to plate.
  • Follow same procedure with zucchini or string beans. Add to plate with carrots.
  • In same wok, add 1 T oil and 1 tsp sesame oil, heat and add yellow onions, sir fry for approximately 1-2 minutes. Add chicken (beef), fry until half done, add mushrooms and wood ears and spinach, fry until meat is completely cooked.
  • Add noodles and sauce to wok, add carrots and zucchini to pan. Mix to combine.
  • Garnish with green onions and eggs.

Optional:

  • Fry 1 well beaten egg in an oil pan. Tilt pan to spread egg mixture into a thin sheet. Turn once. Remove and cool. Cut egg into thin strips.
  • Dish can be served warm or room temperature.
Mushroom Bourguignon (New Year’s Resolution #1)

Mushroom Bourguignon (New Year’s Resolution #1)

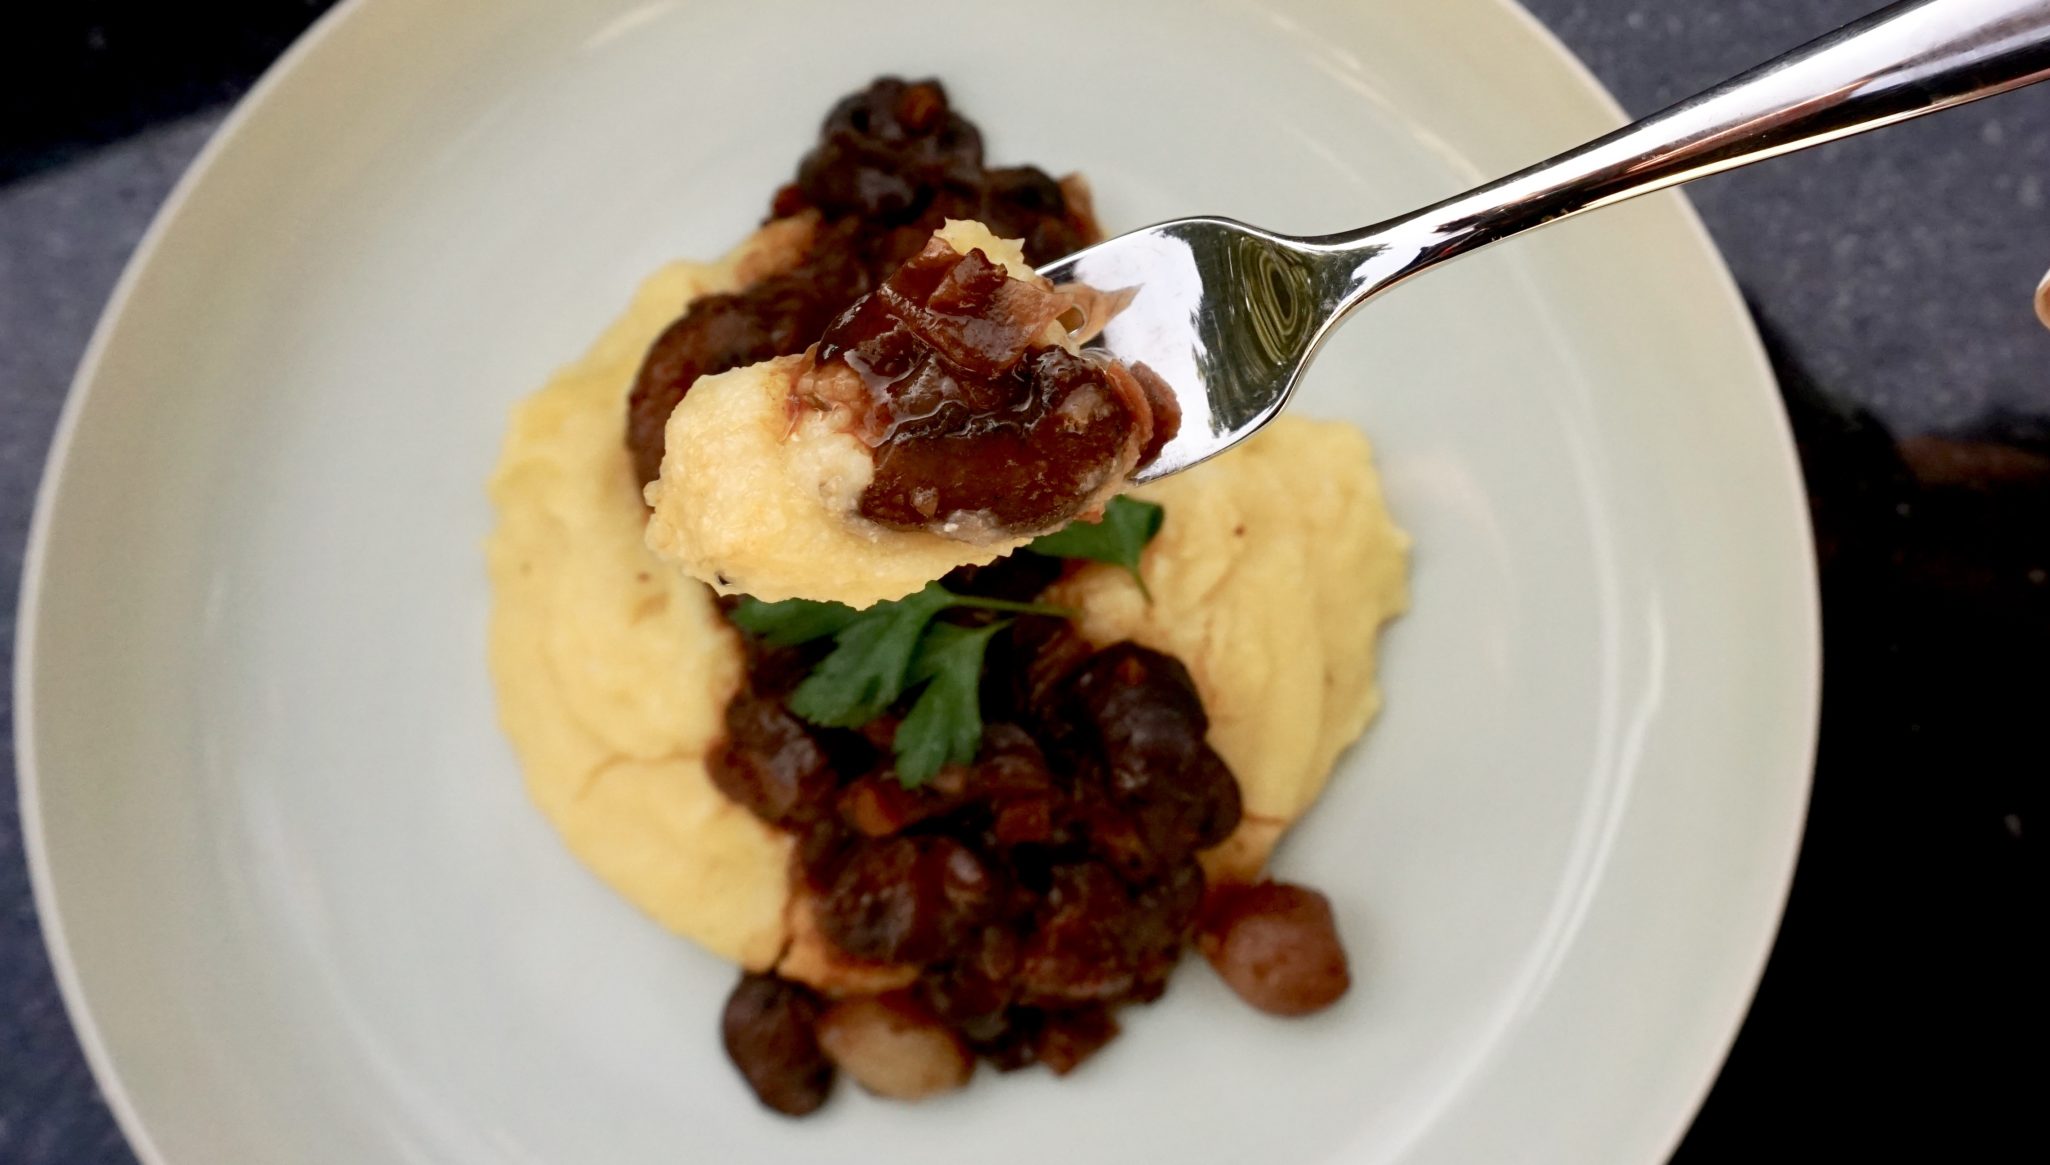
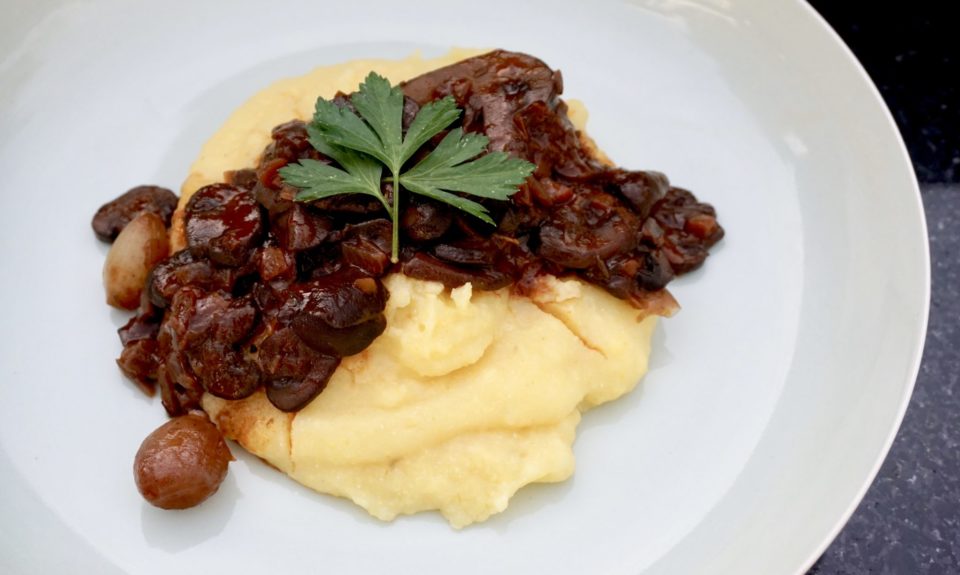
I have a bucket list of New Year’s resolutions this year. Resolution #1, “EAT MORE VEGGIES and less meat”. This is going to be EASY and I am going to be a BOSS and slay this resolution. Why? Recipes like Smitten Kitchen’s Mushroom Bourguignon, that’s why.  It’s hearty, warming, a great stand-in for stews and it takes a fraction of the time to make as it doesn’t contain any meat.  I have been eyeing this recipe for quite awhile so with the cooler weather and my new year’s resolution it was definitely “fun”-ghi time.

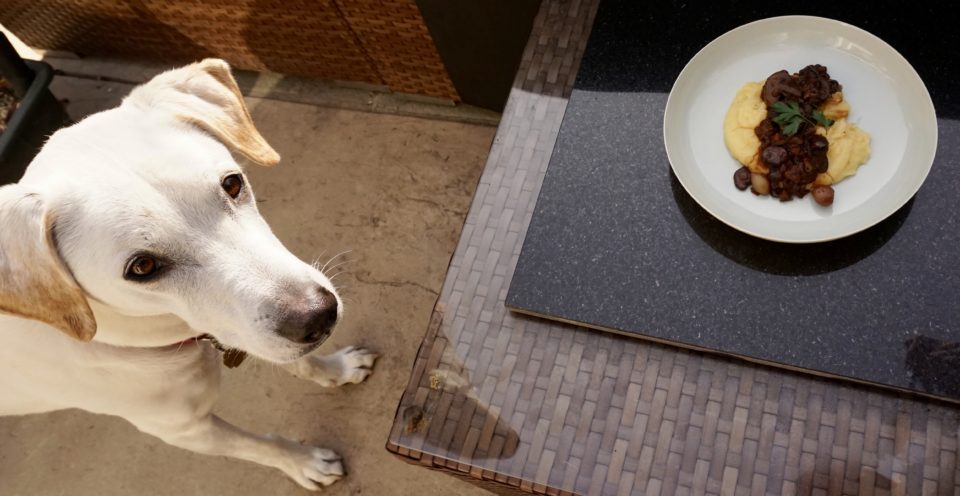
Where’s the beef!? Sorry Sammy, you’re looking in all the wrong places

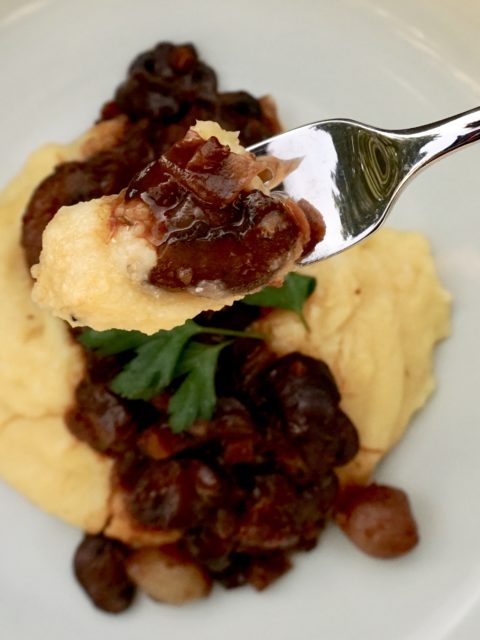
I decided to serve the mushrooms over a bed of creamy polenta, others have opted for noodles which looks equally delicious.  I’m a sucker for polenta or grits. When I was a kid I was a Cream of Wheat/Malto-meal fan whereas the rest of my family fell into the Quaker Oats oatmeal camp.  It’s a textural thing I guess, that and I loved the Cream of Wheat commercials, “Come in from the Cold”.

I used cremini mushrooms although I think a mushroom medley would work beautifully.  Next time I make this dish I think I’ll throw in shiitake mushrooms and portabellos to give it a meatier taste and texture.  Not being a strict vegetarian I opted for beef broth for the stock but feel free to use a vegetable broth. I’m also wondering if a little fish sauce (thank you Kenji Alt-Lopez) would up the umami factor for us omnivores.  I will let you know!

So 2018 resolution #1 gets a running start thanks to Smitten Kitchen’s Mushroom Bourguignon.  Next on my list? Cauliflower Steak and Puree from Genius Recipe.  Let the Veggie Times Roll.

(Mushroom Bourguignon) New Year’s Resolutions

Ingredients

  • 2 tablespoons 30 ml olive oil
  • 2 tablespoons 30 grams butter, softened
  • 2 pounds 905 grams Portobello mushrooms, in 1/4-inch slices (you can use cremini instead or a medley of mushrooms)
  • 1 cup 115 grams pearl onions, peeled (thawed if frozen)
  • 1/2 carrot finely diced
  • 1 small yellow onion finely diced
  • 1 teaspoon fresh thyme leaves or 1/2 teaspoon dried thyme
  • Table salt
  • Freshly ground black pepper
  • 2 garlic cloves minced
  • 1 cup 235 ml full-bodied red wine
  • 2 tablespoons 35 grams tomato paste
  • 2 cups 475 ml beef or vegetable stock (beef broth is traditional, but use vegetable to make it vegetarian; the dish works with either)
  • 1 1/2 tablespoons 12 grams all-purpose flour
  • Egg noodles for serving also goes well with polenta or grits
  • Sour cream and chopped chives or parsley for garnish (optional)

Instructions

  • 1. Heat 1 tablespoon olive oil and 1 tablespoon butter in a medium-sized Dutch oven or heavy saucepan over high heat. Sear the mushrooms and pearl onions until they begin to take on a little color— your mushrooms will make a delightful “squeak- squeak” as they’re pushed around the hot pan— but the mushrooms do not yet release any liquid, about 3 or 4 minutes. Remove mushrooms and onions from the pan and set aside.
  • 2. Lower the flame to medium, and add the second tablespoon of olive oil. Toss the carrot, onion, thyme, a few good pinches of salt, and several grinds of black pepper in the pan, and cook for 5 minutes, stirring occasionally, until the onion is lightly browned. Add the garlic, and cook for just 1 more minute. Season with more salt and pepper.
  • 3. Add the wine to the pot, scraping any stuck bits off the bottom, then turn the heat all the way up and reduce it by half, which will take about 4 to 5 minutes. Stir in the tomato paste and the stock. Add back the mushrooms and pearl onions with any juices that have collected, and bring the mixture to a boil; reduce the temperature so it simmers for 10 to 15 minutes, or until both the mushrooms and onions are very tender.
  • 4. Combine the flour and the remaining butter with a fork; stir this into the stew. Season to taste with salt and pepper. Lower the heat, and simmer for 10 more minutes. If the sauce is too thin, boil it down to reduce to a “coating” consistency. Season with additional salt and pepper if needed.
  • 5. To serve, spoon the stew over a bowl of egg noodles (polenta or grits would work well), dollop with sour cream, if using, and sprinkle with optional chives or parsley.
  • Do ahead: The mushroom stew reheats very well on the second and third days, in a large saucepan over low heat.
So Eat It, Just Eat it (Roasted Cauliflower with Cumin, Turmeric and Lemon)

So Eat It, Just Eat it (Roasted Cauliflower with Cumin, Turmeric and Lemon)

When I was a kid there was a definite hit list of vegetables we absolutely hated.  My brother and I had all sorts of tricks to avoid eating them.  We would stuff our mouths full of peas, run to the bathroom and spit them out.  We weren’t too big on brussels sprouts or cauliflower either, we would drop them in our napkins and again run to the bathroom to toss them out.  In defense of these veggies, our vitriol came not from the veggies themselves, but from the method of preparation.  Peas were often from a can (uh-huh, how many of you remember canned peas, greenish-gray mush balls-bleah). Cabbage and cauliflower were boiled-just the smell emanating from the kitchen would make us run and hide.  Brussels sprouts were absolutely horrible, bitter, sulfurous, and barely edible.

These days the quality of today’s produce is so much better. We can go to our local farmer’s market and find just picked brussels sprouts and cauliflower, vine-ripened tomatoes or corn that was still on the stalk that morning.  We have also discovered new ways to cook said vegetables that are INFINITELY better than boiling or steaming.

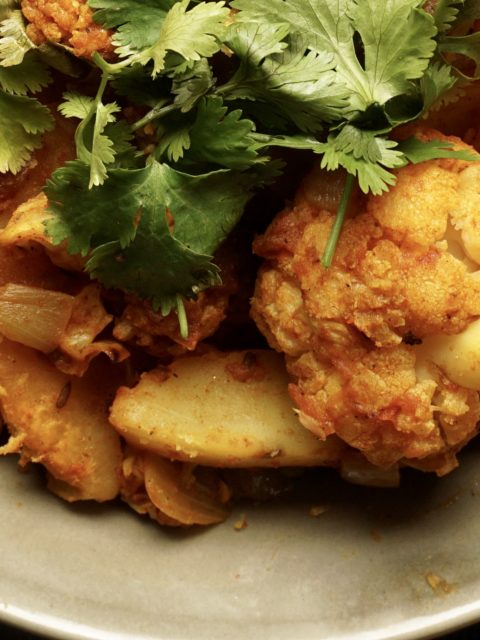
FOR EXAMPLE. I love roasted vegetables.  Roasting brings out the sweetness in veggies like cauliflower or brussels sprouts, making them absolutely delicious. Perusing Meera Sodha’s Made in India I came across a recipe for Roasted Cauliflower with Cumin, Turmeric, and Lemon. My first thought? Oh yeah, SO making that.

The recipe, like many in the book, calls for a mortar and pestle to grind the spices.  I know what you are thinking, oh please, you don’t have a mortar and pestle do you?  Way back when I graduated from pharmacy school I received a set of spatulas from Eli Lily (pharmaceutical gorilla) and a mortar and pestle.  They have served me well…just not in my profession.  The spatulas and the mortar and pestle were long ago re-purposed and added to my culinary gadget collection.  The mortar and pestle proved to be the perfect tool for grinding spices and making the spice paste for this dish.

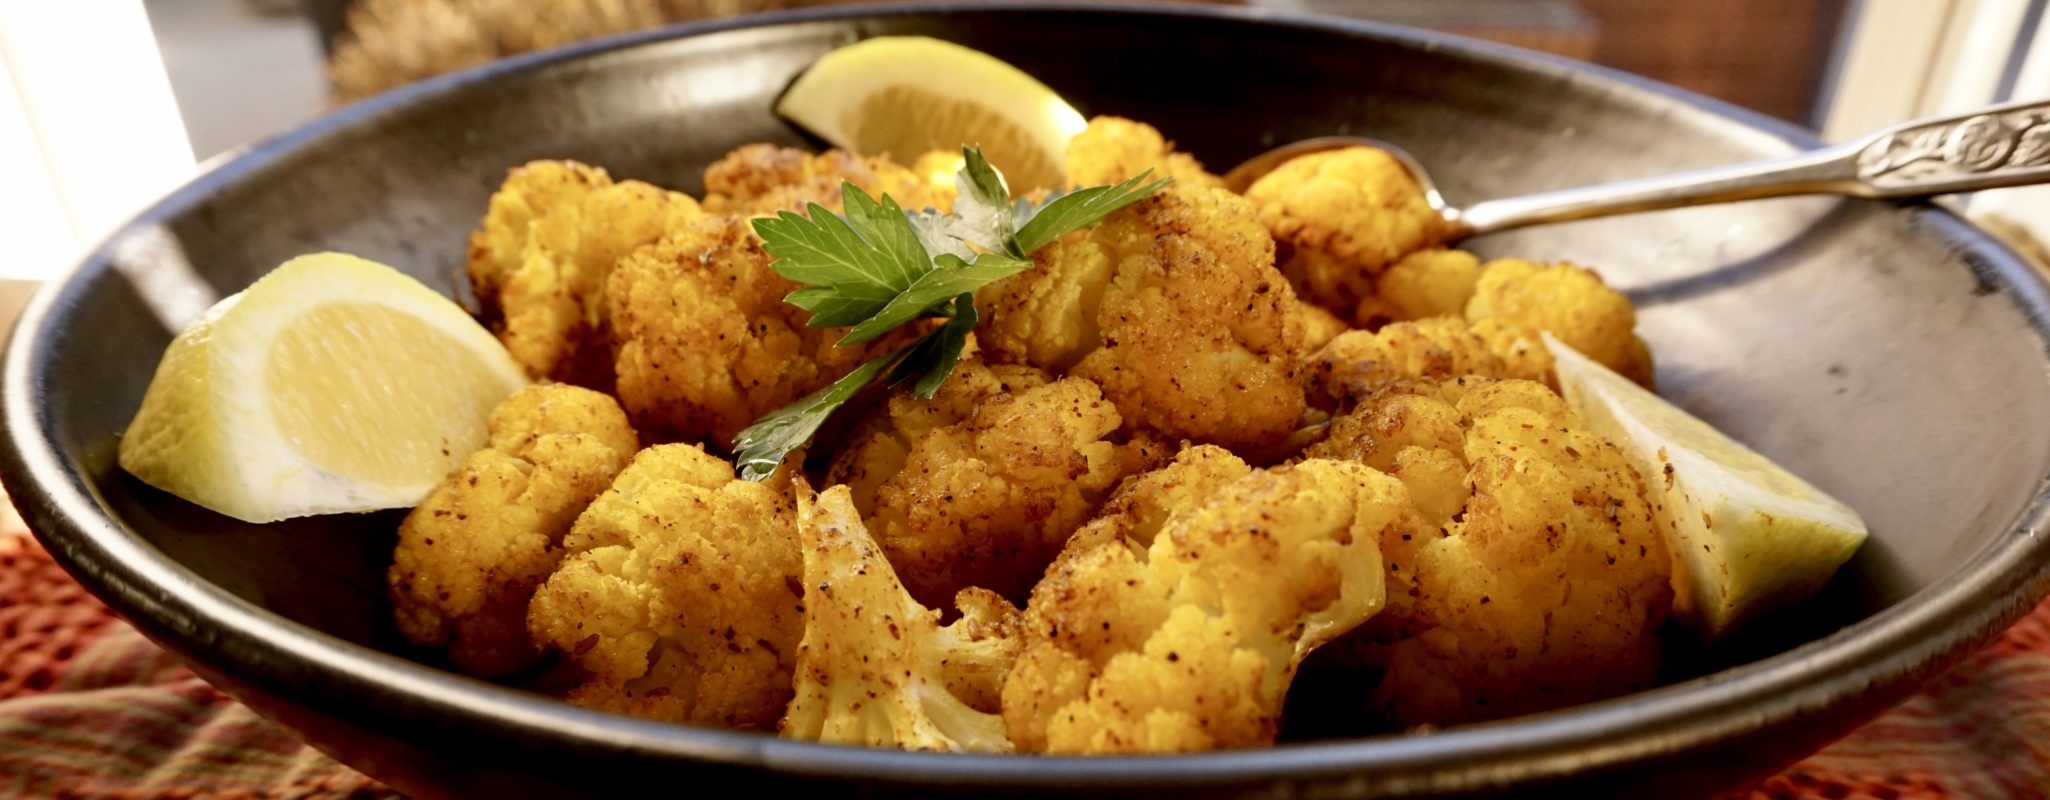
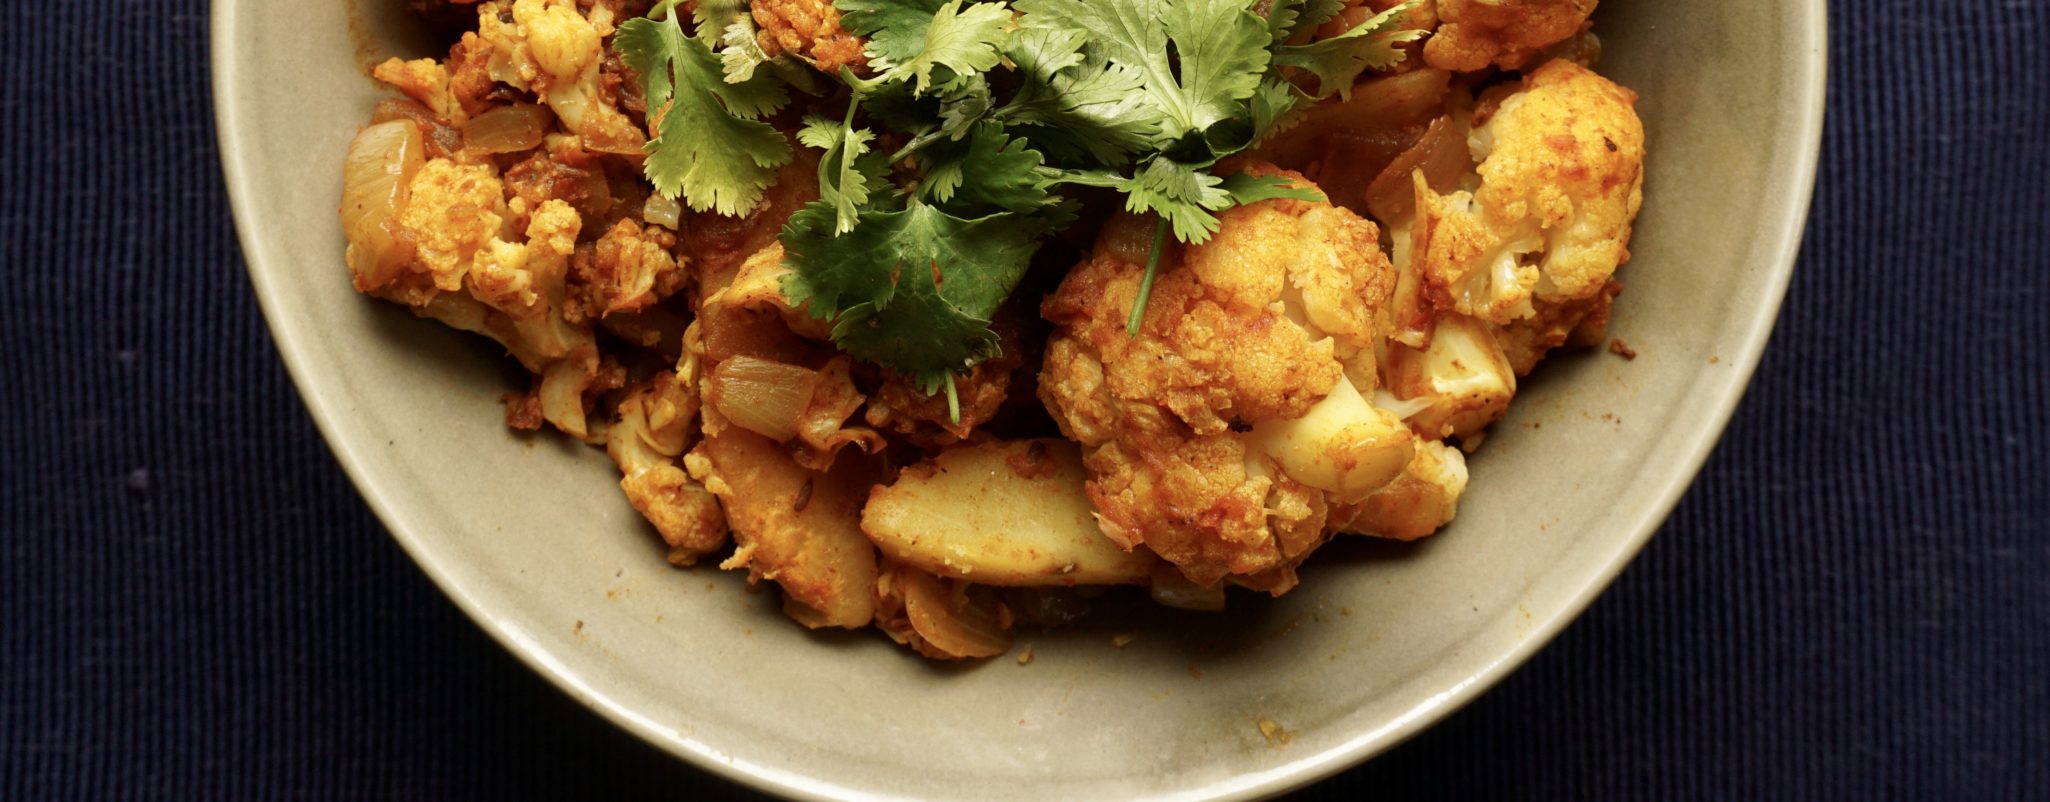
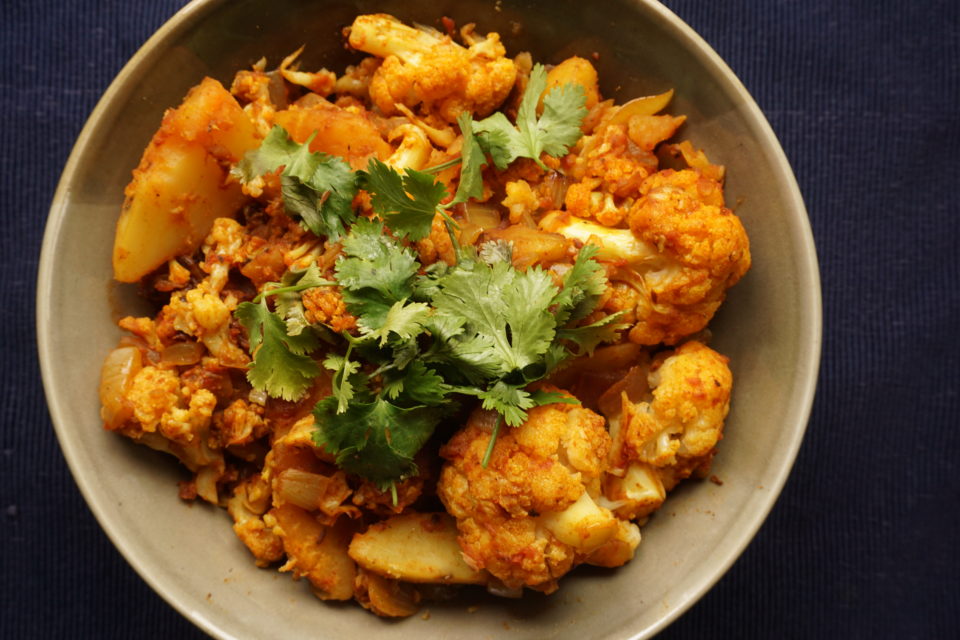
The cauliflower is blanched for a quick minute, seasoned with the spice oil which gives it a vibrant golden yellow hue.  Pop it in the oven for a quick roast and yep, dunzo, dinner is ready.  A bowl of warm cauliflower, crispy on the edges, creamy in the center seasoned with cumin and turmeric in just thirty minutes.  I am thinking about adding cubed potatoes the next time I make this, a riff on Aloo Gobi.

Excuse me it’s time for me to run TO the dinner table.

Roasted Cauliflower with Cumin, Turmeric and Lemon

Ingredients

  • 1 large head of cauliflower around 1 1/4 pounds
  • 2 teaspoons cumin seeds
  • 1 to 1 1/4 teaspoons salt
  • 1 teaspoon chili powder
  • 1/2 teaspoon ground turmeric
  • 5 tablespoons canola oil
  • 1 lemon

Instructions

  • Preheat the oven to 350 degrees. Line two oven trays with foil and bring a deep-sided pan of water to a boil.
  • Wash the cauliflower, pull off the leaves from around the side, and discard. Break the cauliflower into small, fairly even-sized florets and set aside.
  • Put the cauliflower into the saucepan of boiling water and blanch for 1 minute, then drain really well. Let it dry for around 5 minutes in its own steam; if it is waterlogged it won’t crisp up nicely in the oven.
  • Using a mortar and pestle, grind the cumin along with the salt, then add the chili powder and turmeric, followed by the oil. Mix it all together really well.
  • Lay the cauliflower out onto trays in one layer and drizzle the spicy oil over it. Make sure the cauliflower is well coated
  • Put trays in the oven for around 30 minutes, shaking them every 10 minutes or so to ensure the florets roast and brown evenly. If they start to burn, loosely cover them with foil.
  • Put the roasted cauliflower in a dish or bowl, and squeeze the lemon over the top before serving.
  • Adapted From “Made in India” by Meera Sodha

Happy birthday Claire!

A-Looo? Anybody there? It’s Gobi time! (Cauliflower and Potato Curry)

A-Looo? Anybody there? It’s Gobi time! (Cauliflower and Potato Curry)

Do you remember Bend It Like Beckham?  A little movie about soccer and following your dreams that launched a couple of careers (Kira Knightly for one) and was a sleeper hit.  Though a certified sports nut I really loved the scenes of the family gatherings and delicious food.  It reminds me of my own crazy family gatherings where down home food and “sage advice” from elders are the order of the day.  In between bites of fried noodles or dumplings my cousins and I nod in respectful agreement at our aunties and uncles then turn our heads to each other and roll our eyes when the inquisition begins.  Boyfriend? Girlfriend? When you getting married?  The food and their good intentions make the interrogation worth it.

Hidden in the DVD of the movie I found an entertaining bonus clip of the mom and auntie demonstrating how to make Aloo Gobi. A cauliflower and potato curry flavored with onions and tomatoes and spiced with garam masala, chili, ginger, garlic and cumin.  Inspired by the clip I made their version but this time went searching for another recipe.

So I turned to a favorite blog, Ministry of Curry and typed in Aloo Gobi. BINGO, up popped not just a recipe for Aloo Gobi but an Instant Pot version.  The pressure cooker makes short work of the dish.  Perfect for a quick weekday meal.

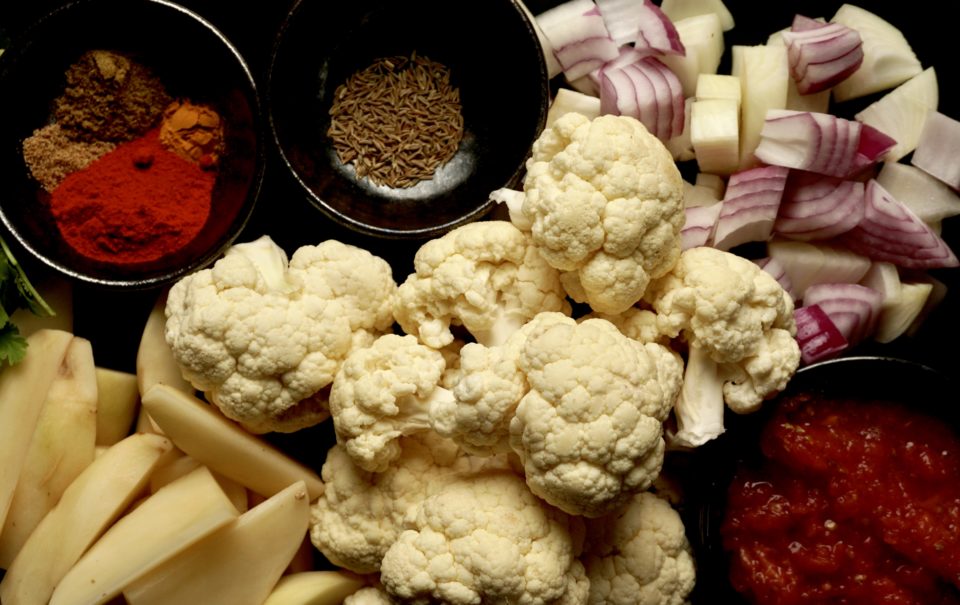
Prep the ingredients and have them ready to go into your pot.  I cut the cauliflower in good sized chunks and sliced the potato into wedges.  If you are a spice wimp like me use half the amount of garam masala.  Saute’ the spices and vegetables in the pot, cover, pressure cook for a couple of minutes. Voila’ dinner is on the table in the blink of an eye.  If you like your cauliflower with a bit of bite cook for 2 minutes.  I prefer them softer so I use 3 minutes.   Quick release the pressure or the veggies will be too soft.  Tasty dishes like this make it so much easier to focus on eating more vegetables and less meat.  Good for us and for the planet.

This dish can also be cooked on the stovetop.  Saute the onions, garlic, ginger and tomatoes. Add spices except salt and garam masala just like the IP recipe.  Stir in the cauliflower and potatoes, add water and  reduce heat to medium. Cook for 6-8 minutes stirring occasionally.  Add garam masala and salt, stir, cover and continue to cook until potatoes and cauliflower are at desired doneness approximately 10 minutes.  Stir in cilantro reserving some for garnish.  For conventional cooking cut the vegetables smaller or par-boil them halfway this will shorten the cooking time.

A shortcut to peeling and cutting your tomatoes, grating!

A-Looo? Anybody there? It’s Gobi time! (Cauliflower and Potato Curry)

Ingredients

  • 1 medium onion thinly sliced
  • 1-2 cloves of garlic minced
  • 1 tsp fresh ginger minced
  • 2 plum tomatoes grated
  • 4 cups cauliflower florets cut into 2 inch pieces
  • 1 medium russet potato peeled and cut into wedges
  • 1 tbsp cooking oil or ghee
  • ½ tsp cumin
  • ½ tsp turmeric
  • 1 tbsp mild Kashmiri red chili powder Less if using a spicier chili powder
  • 1 tbsp cumin-coriander powder spice blend
  • 1-1/2 tsp garam masala Add 1/2 to 3/4 tsp for a mild to medium spicy curry
  • 1 tsp salt
  • cilantro for garnish lots

Instructions

  • Turn Instant Pot to Saute mode.
  • Once the hot sign displays add oil and cumin seeds. Sauté for 30 secs.
  • Add onions and mix well. Cook covered with a glass lid on for 3-4 min.
  • Add ginger and garlic, stir and cook for additional minute.
  • Add tomatoes, mix and cook covered for 2 minutes.
  • Add turmeric, red chili powder, cumin-coriander powder, garam masala and salt. Mix well.
  • Add potatoes and cauliflower florets. Add ¼ cup of water. Mix well.
  • Put Instant Pot lid on with pressure valve to sealing. Cook on Manual(Hi) for 3 mins. Note: Cook for only 2 mins if you like cauliflower to be more firm.
  • Quick Release and stir gently. Garnish with cilantro.
  • Serve hot with naan. I like mine with rice.


Garlic Rice-Love Letter to Rice

Garlic Rice-Love Letter to Rice

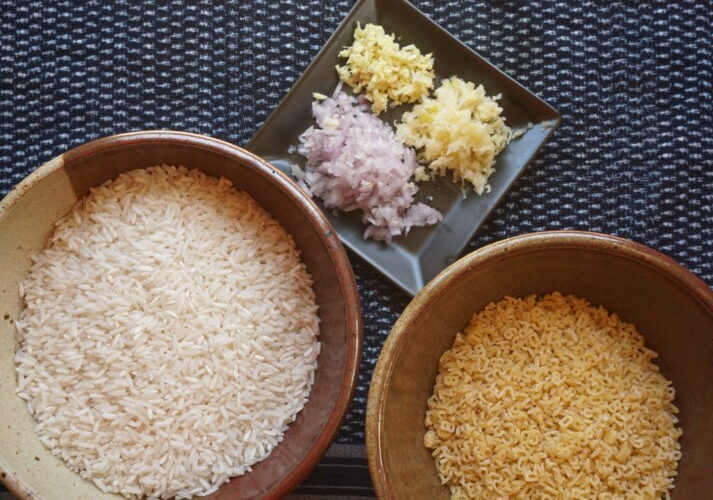
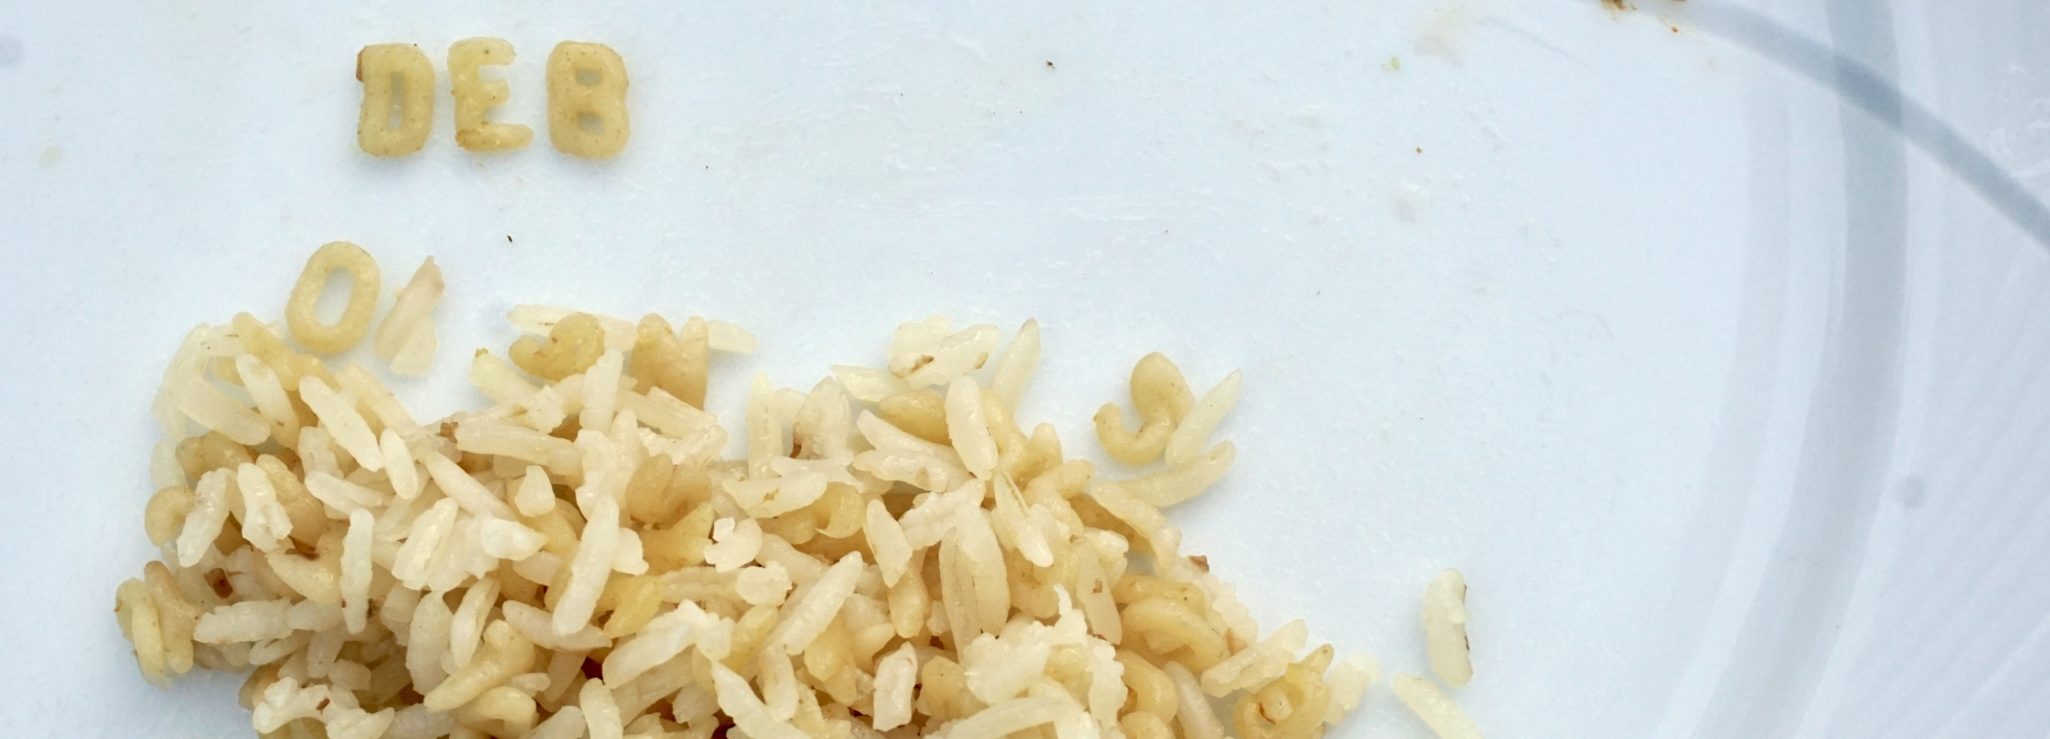
On one of our weekend food treks, hubby and I headed to East San Jose in search of egg rolls and banh mi. Right in front of the entrance to the market was a display of different dried pasta on sale including tiny little pasta shaped like letters. Woohoo!  Haven’t seen pasta letters in ages. When the kids were little I would make rice pilaf using alphabet pasta. The kids loved it and called it “letter rice.”  They would spell their names and challenge each other to spell as many words as possible on their plates. We were totally bummed when our market stopped carrying our beloved alphabet pasta. A search of other markets came up empty so  I resorted to using star and rice-shaped pasta. Not the same, but a good life lesson for my kiddies…you can’t always get what you want.

Alphabet Soup? Nope, Rice

I took a picture of the display with my phone and sent it to the kids with the exclamation “LETTERS!” then I bought a couple of bags (ok, more than a couple) to have on hand for when they come home.

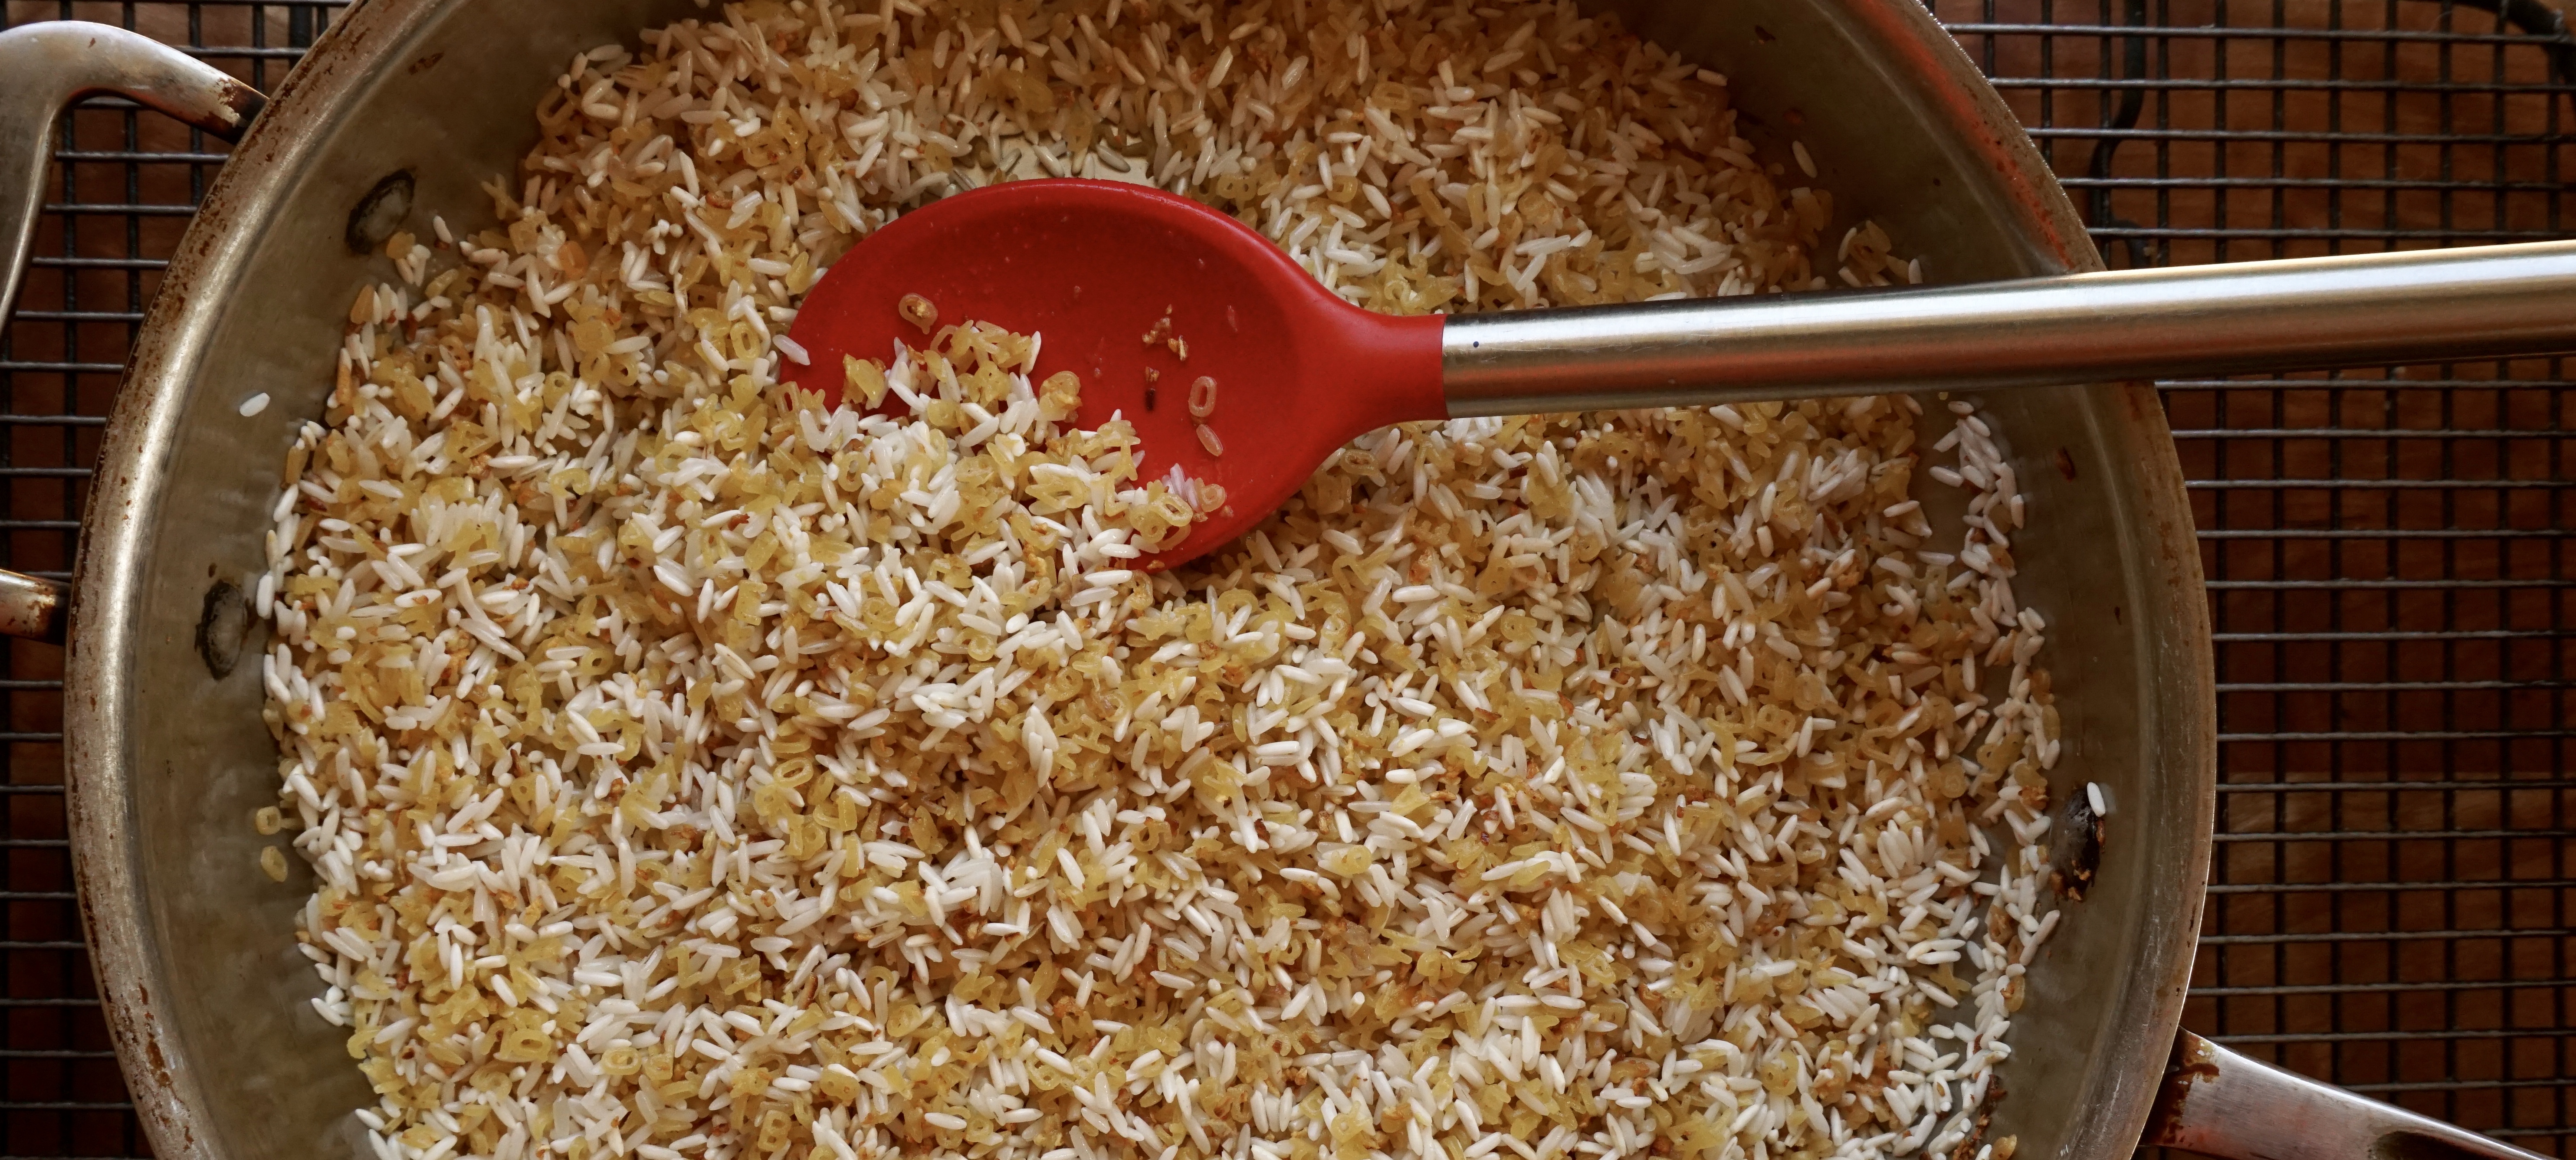
Letter rice is a fusion of rice pilaf and Hainanese Chicken Rice, a Singaporean dish of poached chicken and rice.  Use the broth from the poached chicken to cook the rice for a double-flavored whammy.  First sautéed the rice with the Asian trinity of garlic, ginger and onions, toss it in a rice cooker (because I don’t know how to cook rice any other way), and cook in the reserved stock.

IT IS STUPID EASY

Maybe not as easy as making plain rice but with little effort you can jazz up your rice making it delicious and fun to eat.  Kid-tested, kid- approved.

Mains that aren’t “saucey” beg for letter rice as an accompaniment.  Letter rice in our house accompanies barbecued ribs or chicken, grilled fish, and STEAK. Yum.

Like many of the recipes, this one lends itself well to changes.  Tweak the Asian trinity.  Replace onions with shallots, or use only garlic and omit the ginger and onions.  Having steak?  Use beef stock instead of chicken. Vegetarian? Use mushroom or vegetable stock instead.  I throw in dried mushrooms to intensify the flavor.  You can use all rice and skip the letters but why would you skip the cute-shaped pasta.

The recipe is easy to remember.  For every cup of uncooked rice, use 1 fat clove of garlic (or 2 skinny ones), 1/2 to 1 teaspoon of ginger, and 1/2 shallot.  For each cup of rice or pasta, use 1 tablespoon butter or oil.  Saute’ the aromatics first, and when they begin to brown add the pasta and rice.  Watch garlic, do not let it burn or it will taste bitter.

The quirky part of this recipe is I only know how to cook rice in a rice cooker (I should be embarrassed-I am).  I use the cup that comes with the rice cooker to measure my rice but a standard 1 cup measure for the pasta.  For 2 cups of rice,  use 1 cup of pasta and fill the rice cooker with the stock up to the 3-cup line.  Yep. Easy peasy if you have a rice cooker…

Love Letter to Rice (Garlic Rice)

asian rice pilaf
Course dinner, Rice, Side Dish
Cuisine Asian-American
Keyword Garlic Ginger Rice, pilaf, rice
Prep Time 10 minutes
Cook Time 45 minutes
Servings 4

Ingredients

  • 2 cups long grain or basmati rice (measured in standard cup that comes with the rice cooker its equivalent to 3/4 cup
  • 1 standard measuring cup any small shaped pasta stars, letters, acini de pepe, or orzo
  • 3 tablespoons butter or vegetable oil or 50/50 of each

Aromatics

  • 3 large cloves of garlic finely chopped (garlic lovers or those living among vampires feel free to increase the amount of garlic)
  • 1 shallot finely chopped (or 1/4 yellow onion or 1 green onion green and white parts, finely chopped)
  • 2 teaspoons minced ginger optional

Liquid

  • Homemade or low sodium chicken broth can substitute beef or vegetable stock approximately 3-4 cups
  • 1/2 to 1 tsp salt
  • 1/4 cup dried sliced shiitakes or dried mushroom mix optional

Garnish:

  • green onions
  • cilantro leaves
  • 1 tsp sesame oil

Instructions

  • Melt butter or oil in pan
  • When butter is fully melted add garlic, shallots and ginger and saute' over medium heat until garlic begins to brown.
  • Add pasta and rice to pan. Stir to coat rice and pasta with oil thoroughly.
  • Put rice and pasta mixture in rice cooker and fill to the three cup line. If using dried mushrooms add them at this point.
  • Set to cook and you're done!

Back from school for the summer, Jordan requested “char Siu” style barbecued ribs and letter rice which prompted this post!  Here is the marinade for the ribs. Grill over indirect heat for 25-30 minutes in a covered bbq.  Flip and baste halfway through, then baste ribs with honey and grill over direct heat to slightly char ribs.

Do Not Play with Your Food, LOL

I remember my mom yelling at my brother and me “STOP PLAYING WITH YOUR FOOD, JUST EAT IT!”  Where is the fun in that?

Thai-rrific Noodles

Thai-rrific Noodles

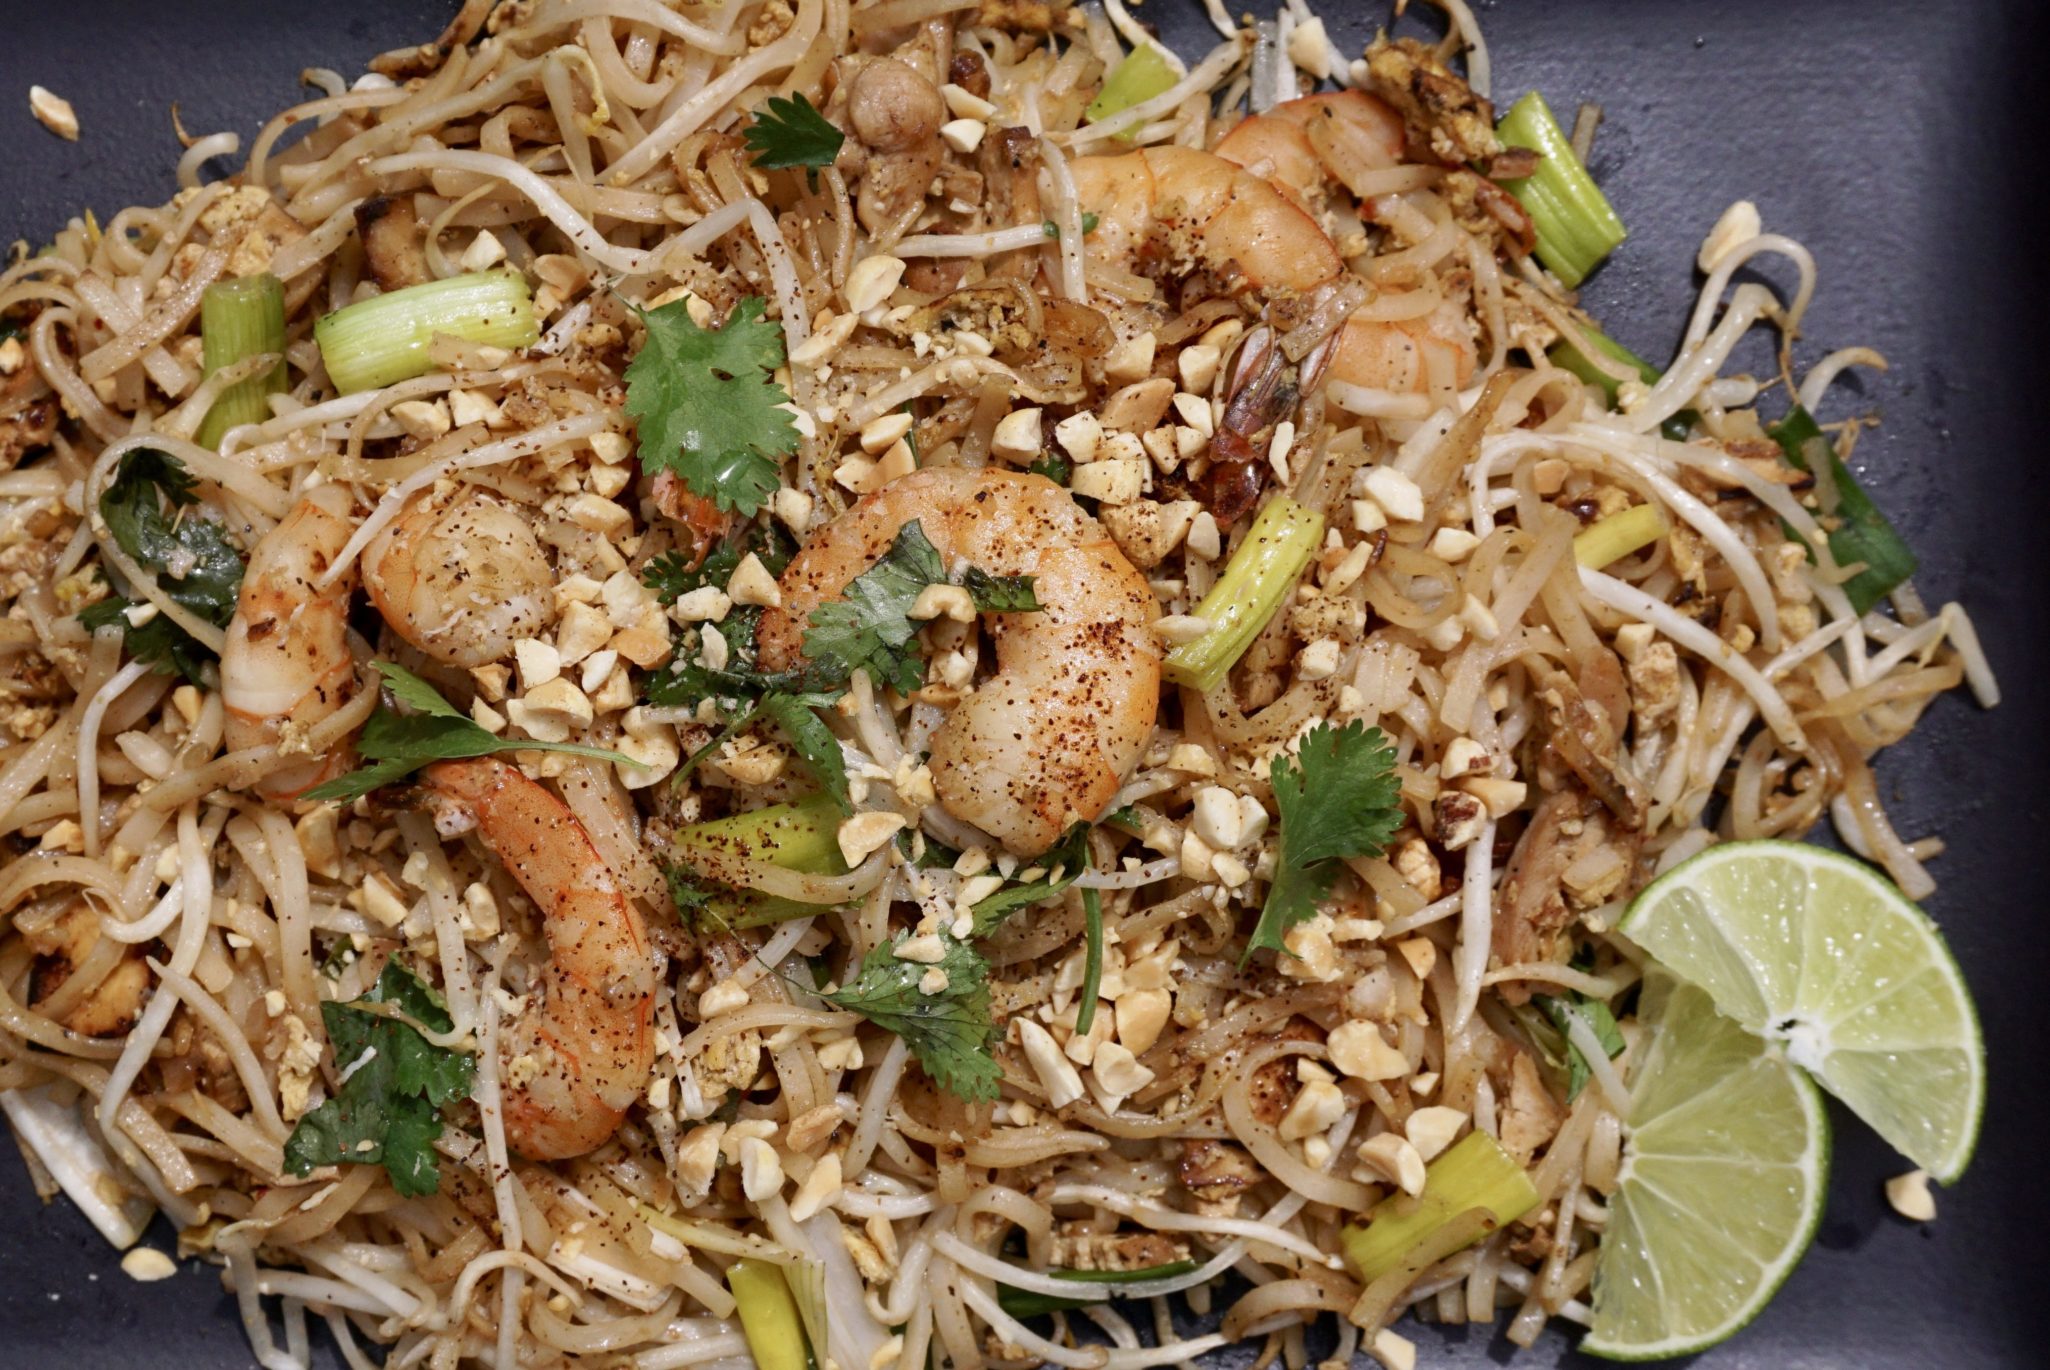
My hubby has a certain MO when it comes to food.  Over the years he has become a much more adventurous eater but for the most part he sticks to what he likes and when he likes something, he will eat it all the time.  Well, not all the time but pretty darn regularly.  I think of it as phase eating.  There was his pizza phase, which thankfully was during his training days-before me.  Currently he is in a Thai food phase. Favorite dish, Pad Thai of course.  Which is alright with me, I love Pad Thai. What’s not to like? Rice noodles stir fried with shrimp, bean sprouts, onions, tofu, flavored with fish sauce, tamarind and chilis.  Sweet, spicy, tangy, a flavor explosion.

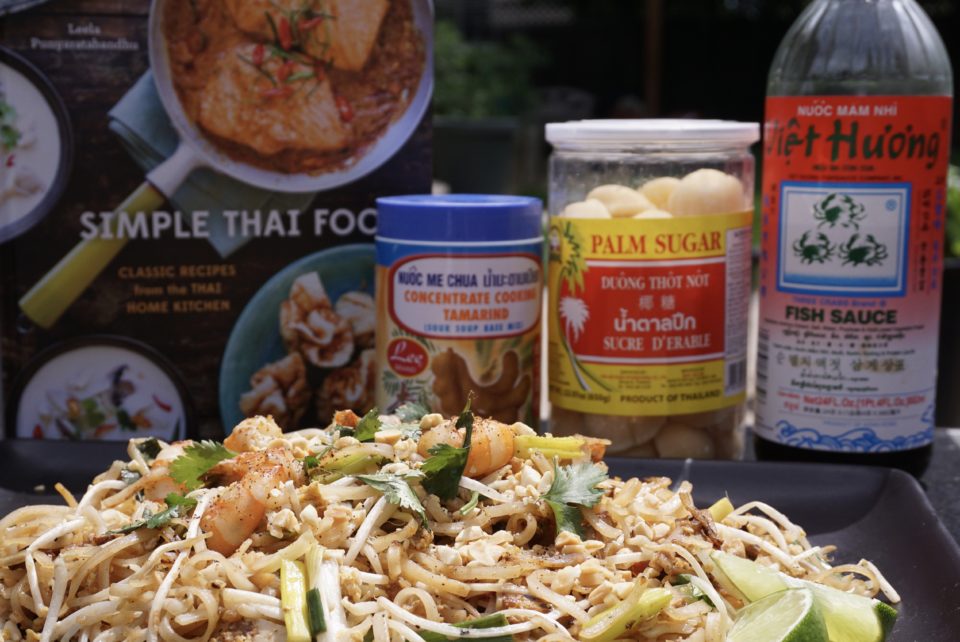
After Wes came home for the umpteenth time with take out Pad Thai I decided I should try my hand at making Pad Thai. I pulled out my copy of Simple Thai Food (YES I have a Thai cookbook) and flipped to the recipe for Pad Thai.  I scanned the ingredients and much to my chagrin all I had on hand was the fish sauce.  Off to the market.

Tamarind paste-check, Palm sugar-check, radish-check, rice noodles-check.  Grab some shrimp, bean sprouts, cilantro, limes and onions, let’s go home and make a plate of deliciousness.

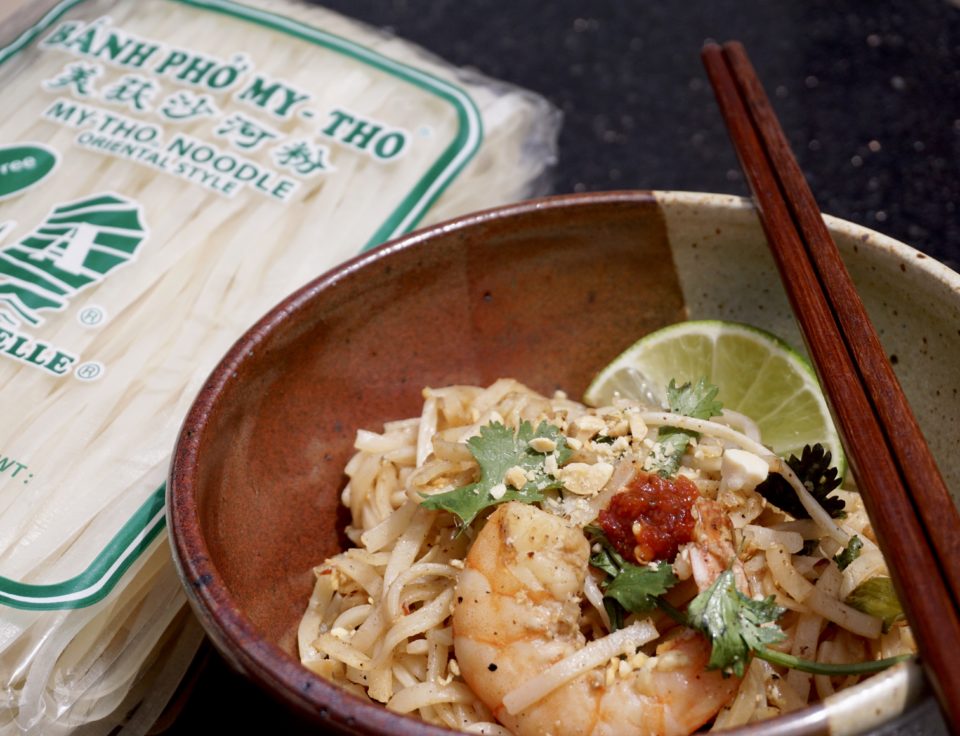
There is a bit of prep to be done.  Making the sauce, cutting the vegetables, shelling the shrimp and soaking the noodles.  The rice noodles, like pasta come dried but you don’t need to cook it.  You do need to soften the noodles though.  You can either soak them in cool water for 30-40 minutes or if you are in a hurry, soak them for 3 minutes in HOT water.  Drain the noodles and set them aside.  Don’t leave them in the hot water for any longer as the noodles will get mushy.

Not feeling shrimp? You can use beef, chicken or pork in place of the shrimp.  I used a combination of chicken and shrimp in my Pad Thai.  Cut the chicken, beef or pork into bite size pieces that will cook quickly.  Think stir fry.  You can omit the animal protein all together for a vegetarian version.


Pad Thai (Adapted from Simple Thai Food)

Iconic Thai rice noodle dish, Pad Thai you can make at home!
Course dinner, lunch, noodles, One dish meals
Cuisine Thai
Keyword pad thai, rice noodle dish, rice noodles, Thai
Prep Time 45 minutes
Cook Time 7 minutes

Ingredients

  • 4 ounces dried rice noodles 1/8 to 1/4 inch wide

Sauce

  • 2 tablespoons tamarind pulp
  • 2 tablespoons fish sauce I like 3 Crabs brand
  • 3 Tablespoons palm sugar grated or 2 tablespoons brown sugar
  • 1/4 to 1/2 teaspoon chili flakes

Aromatics

  • 1 shallot finely chopped
  • 2 medium cloves garlic minced
  • 1/4 cup finely chopped preserved relish* optional
  • 2 tablespoons tiny dried shrimp soaked in hot water for 15 minutes and drained*
  • 5 tablespoons vegetable oil divided
  • 6 ounces skinless boneless chicken breast trimmed of visible fat and sliced into 1/4-inch thick strips or 6- 8 ounces large raw shrimp, peeled and deveined or a combination of both
  • 6 ounces extra firm tofu cut into matchsticks 1" long, 1/4 inch wide
  • 2 eggs lightly beaten
  • 6 Chinese chives or green part of 3 green onions cut into 1 inch lengths
  • 2 cups bean sprouts or 1 cup bean sprouts + 1cup shredded red cabbage

Condiments:

  • 1/3-1/2 cup roasted peanuts finely chopped
  • 1 lime cut into wedges for garnish
  • Fish sauce
  • Red Chile powder
  • Sugar
  • Cilantro sprigs

Instructions

  • Place dried noodles in room temp water and cover for 30-40 minutes until soft enough and pliable enough to wrap around finger without breaking. Drain and set aside.
  • Or bring enough water to a boil to cover noodles. Place noodles in bowl and put heated water over noodles. Let stand for 3 minutes, drain and set aside.
  • In small bowl, stir together sugar, tamarind, fish sauce and chili flakes. If using palm sugar make sure to crush or grate the sugar to help it dissolve. Set aside.
  • Heat 3 tablespoons of oil in a flat bottom wok or large frying pan (non-stick), add noodles and stir fry for about 1 min making sure the noodles are soft and coated with the oil.
  • Add sauce mixture to pan, stir fry for additional minute to coat noodles with sauce.
  • Push noodles to one side of pan, add & heat remaining oil. Add shallot, garlic, radish, tofu and dried shrimp to open side of pan. Stir fry additional minute.
  • Add shrimp or protein to shallot mixture side of pan and cook until the shrimp or chicken is almost cooked through 1-2 minutes.
  • Clear center of pan and pour eggs in, stir the eggs similar to cooking scrambled eggs.
  • Once eggs are cooked and most of moisture from noodles has evaporated, stir everything together.
  • Just before removing pan from the heat, fold in half the sprouts, green onions or chives and/or cabbage. AS soon as the vegetables are mixed in remove from heat and plate.
  • Garnish with remaining sprouts, peanuts, cilantro and condiments as desired. Place lime wedges on plate to squeeze on noodles.
  • Serve immediately YUM