
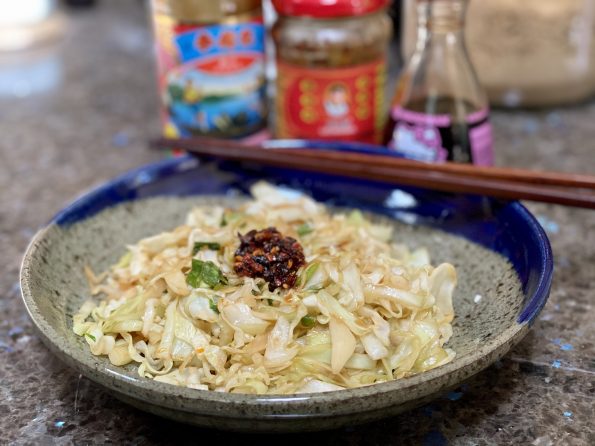
I love cabbage. This has been a recent revelation. I’m not quite sure why cabbage has grabbed my attention but I find myself throwing it…
I consider my weekly trip to our local Farmer’s Market as my sanity break from COVID-19. As the weather warms not only are more folks…

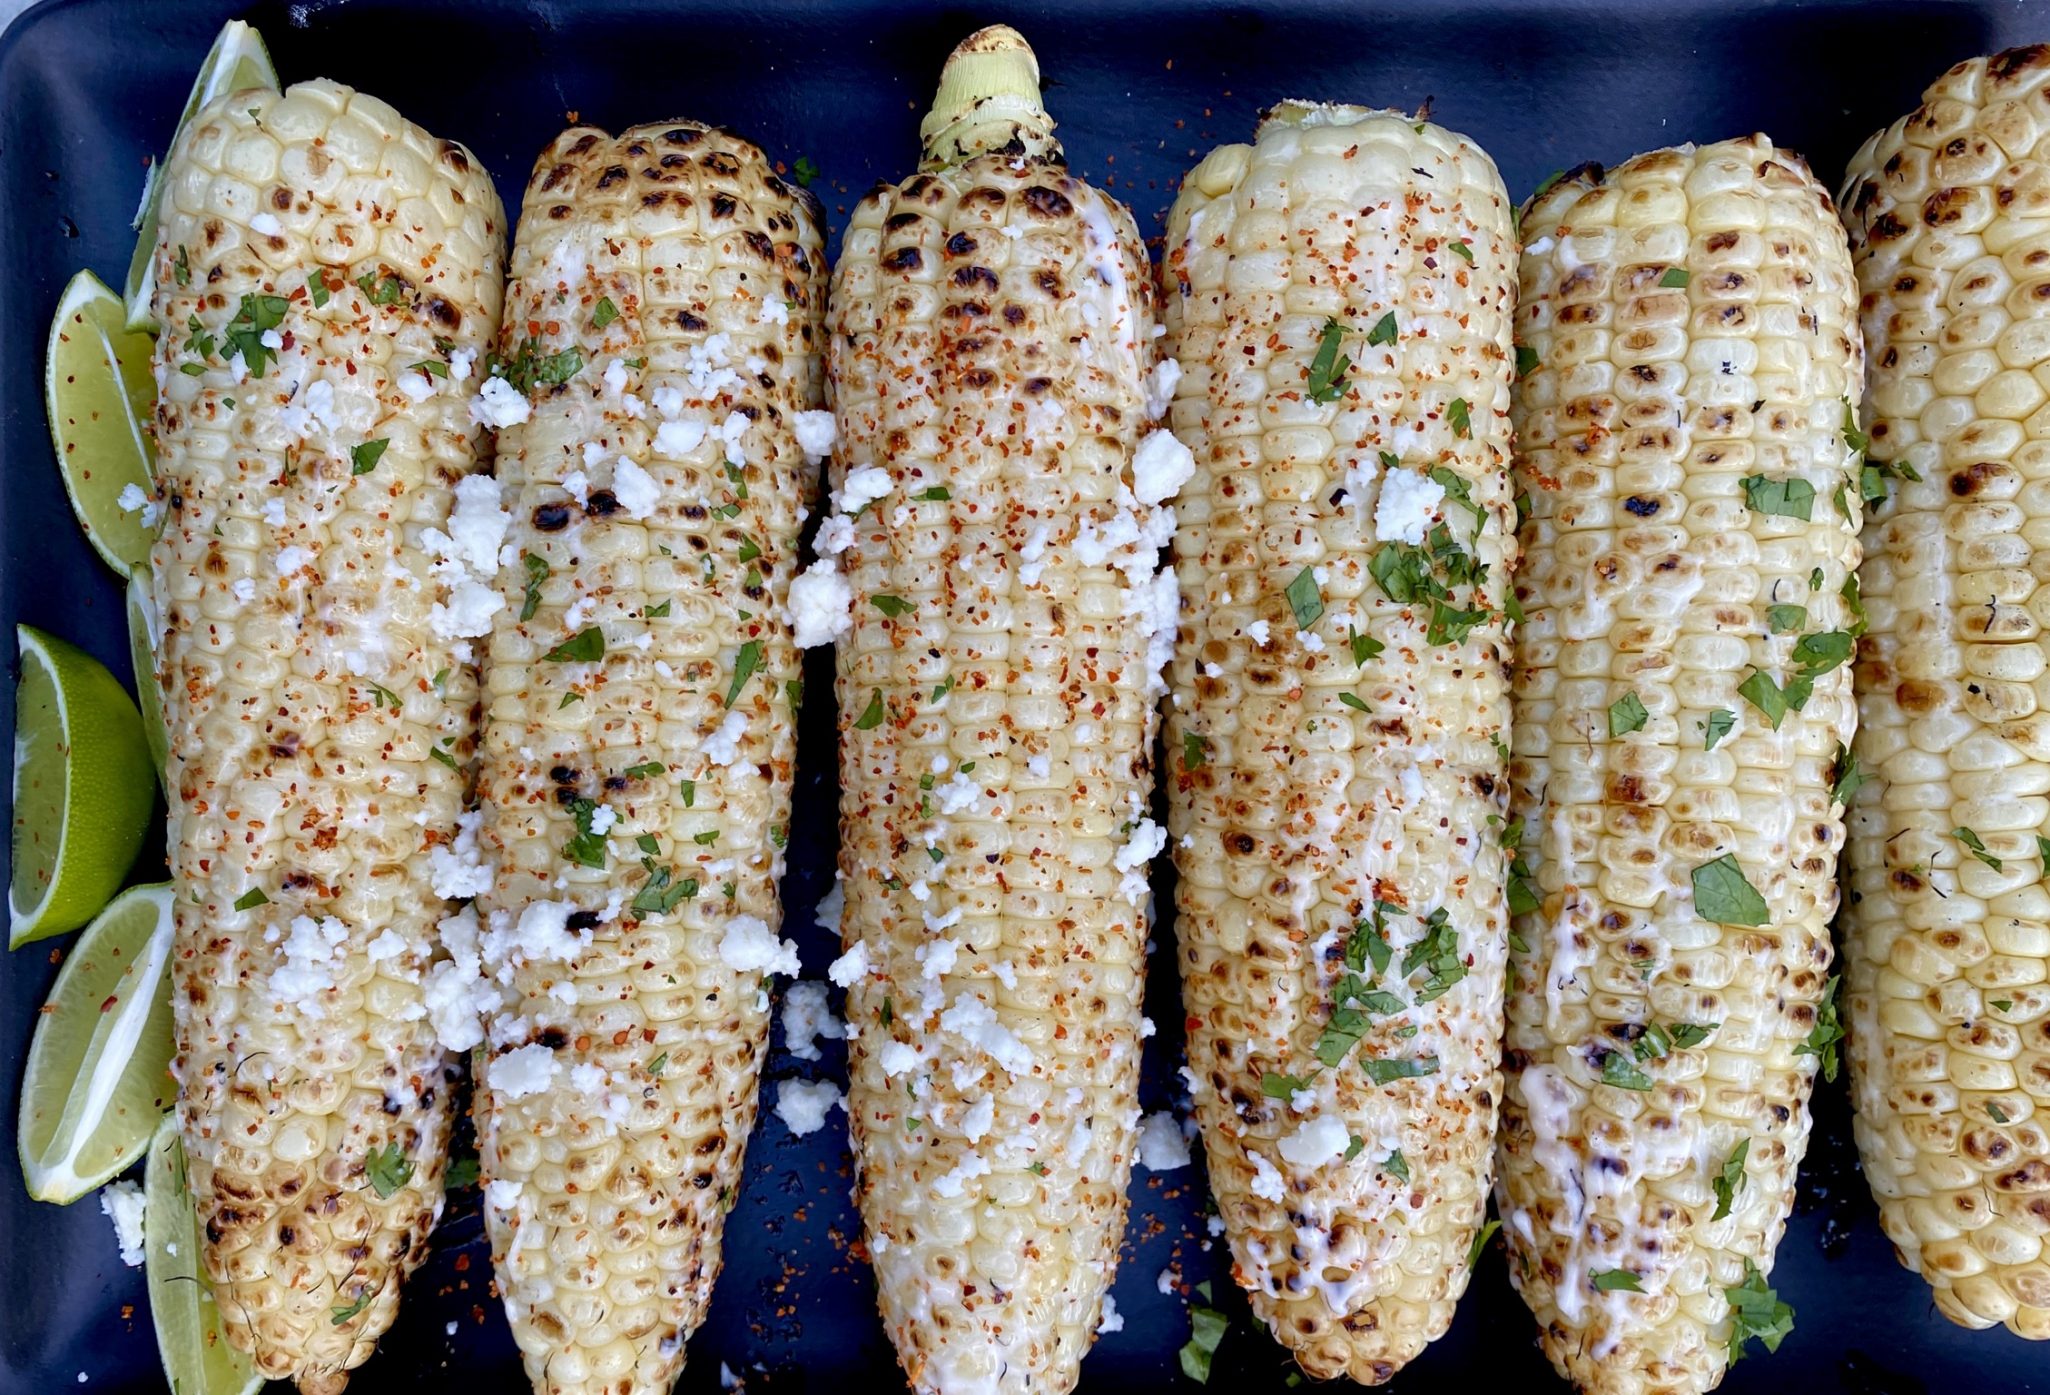
Friday night…my mind was thinking about the upcoming Memorial Day weekend. The plan, grilling on Monday. Something classic, burgers, potato salad, strawberry shortcake, the “Summer…
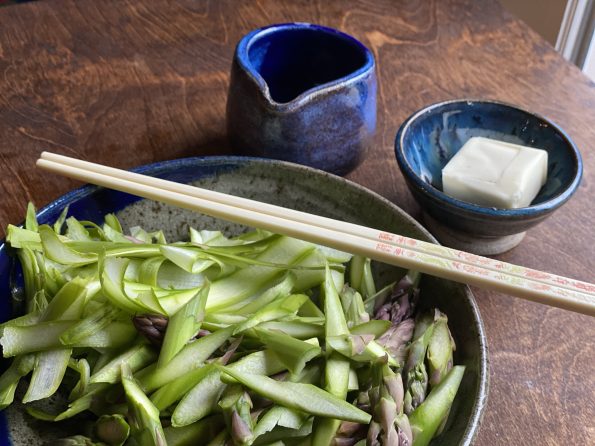
A simple and delicious way to enjoy asparagus. Just a little bit of butter, soy sauce as you saute asparagus and a dash of salt…
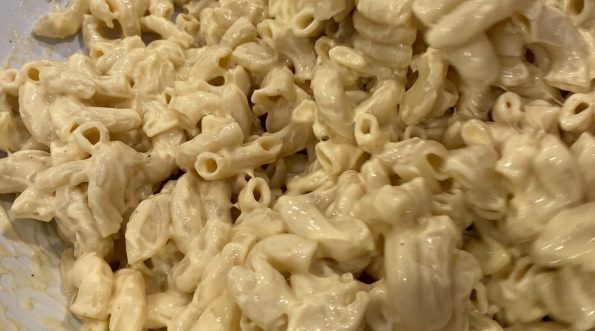
Happy National Cheese Day! Any excuse to make a family favorite, mac and cheese. I love mac and cheese. I unabashedly admit as a kid,…
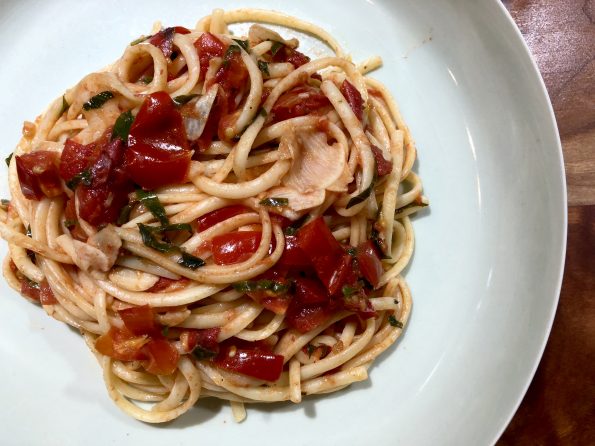
I found myself in the city one evening last week driving down Van Ness Ave. If you have driven down that boulevard lately, it has…
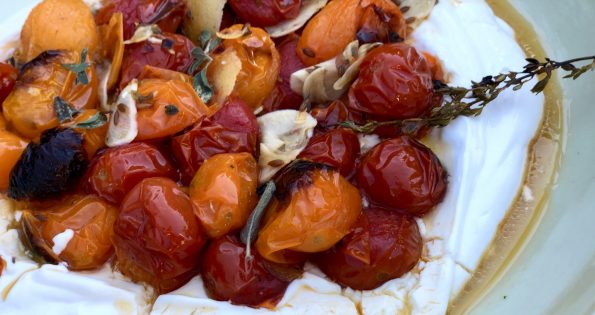
I have a couple of go-to appetizer dips that I use ALOT (a certain Artichoke Dip comes to mind). Every time I make one of…
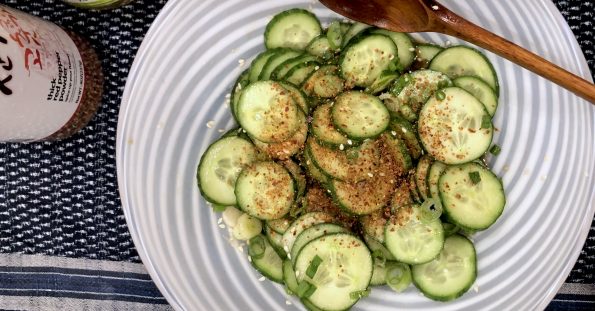
Are you like me? I hate making salads. I love salads, but prepping veggies, not so much. I only have enough bandwidth to prep maybe…
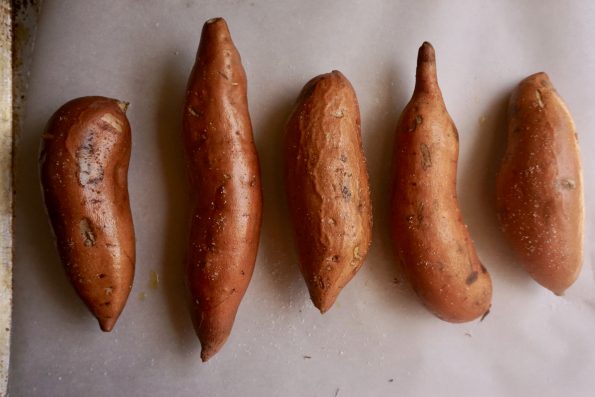
This is going to be a short post. I wanted to make sure I posted while all of you are harvesting your bushels of homegrown…