
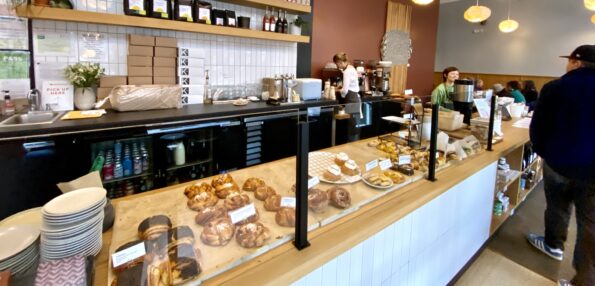
Okay, I cannot tell a lie, my geography knowledge sucks. I sat down to write this post on one of my favorite bakeries in San…
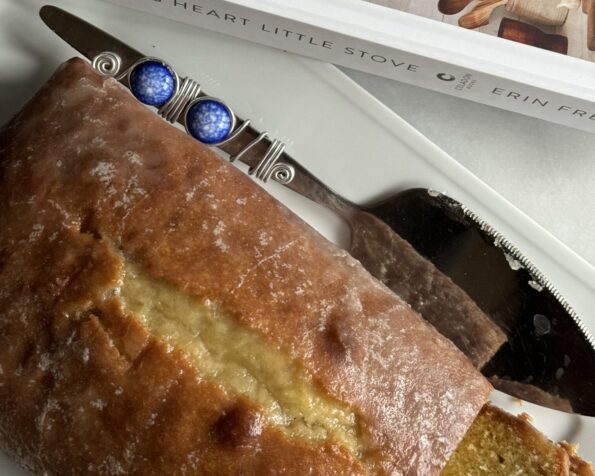
I excitedly headed to the city a couple of months ago to pick up my copy of Erin French’s new book, Big Heart Little Stove.…

I LOVE Cream Cheese Frosting,. It deserves its own post, and should not be an afterthought tacked onto a Carrot Cake or Banana Cake recipe.…
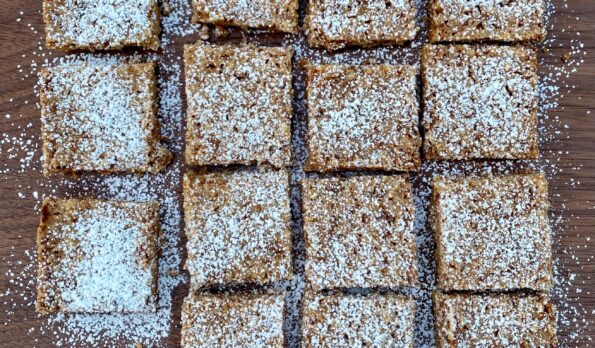
The Me. The cookbook addict missed a book signing at Omnivore Books. Literally, took my eye off the book and completely missed Natasha Pickowicz’s More…
After one Head of the Charles Regatta, we headed to Vermont for some R&R. Our first stop was King Arthur Baking. We stayed at a…

It sucks to feel helpless which is exactly how I felt while watching the coverage of the wildfires in Maui. In a twisted way, it…
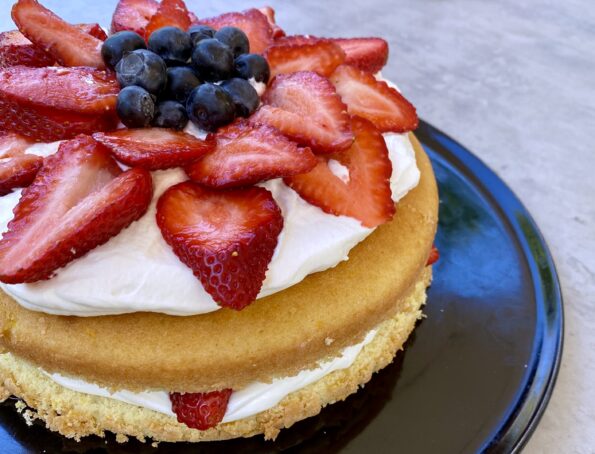
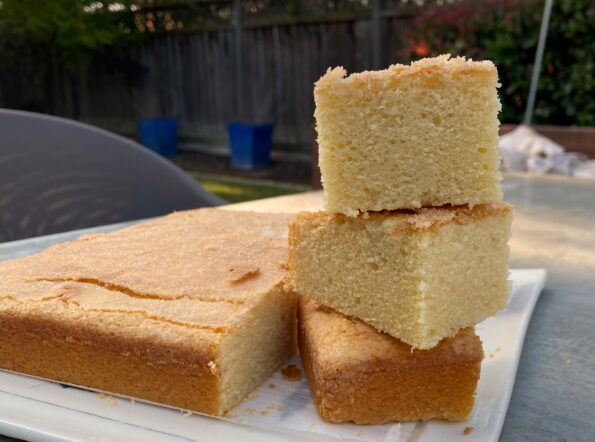
When my oldest was a tyke his favorite cake was the Barefoot Contessa’s Strawberry Country Cake. This was his cake of choice for his birthday…
Growing up, one of my favorite places was Ping Yuen Bakery on the corner of Grant Ave. and Pacific Ave. A hop, skip, and a…
Here in California, we have been battered by some extreme weather…more rain, snow, and high winds than we have seen in a long, long time. …