
Right before the pandemic hit we capped off a year of traveling by going to Maui. A celebration for the hubster’s birthday and his early…
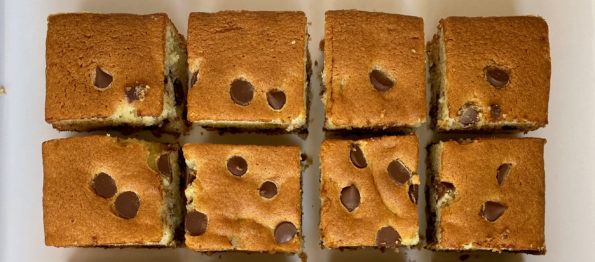
Rounding out Joy Cho month also known as Cakenado, I made her Chocolate Chip Sour Cream Snack Cake. It all started with her Mochi Banana…
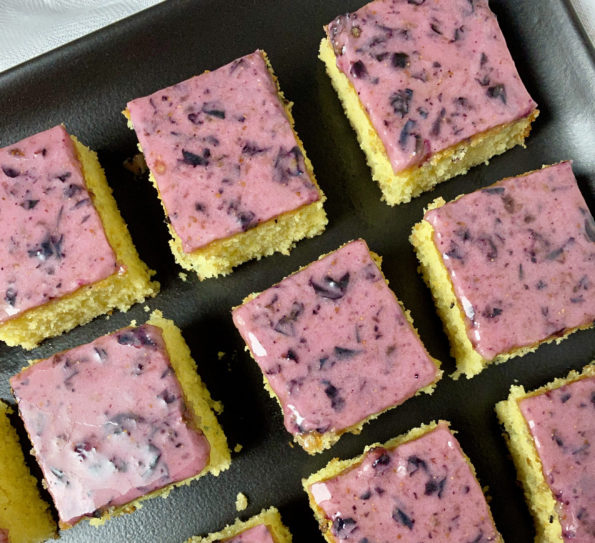
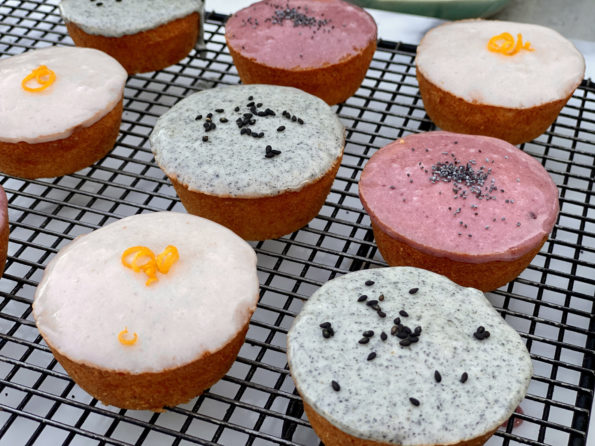
Continuing on my “All Things Joy” thread. Joy Cho, creator of Sour Cream Gem Cakes posted yet another winning snack cake (in Eater this time),…
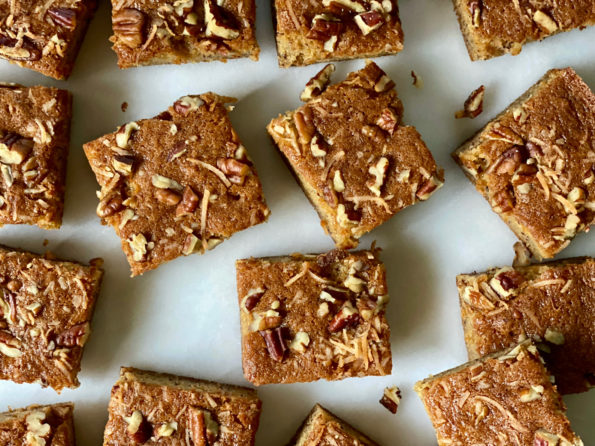
I think of myself as a pie person but lately, I have found myself baking cakes. Not fancy multi-layer show-stopper cakes, simple one layer, easy…
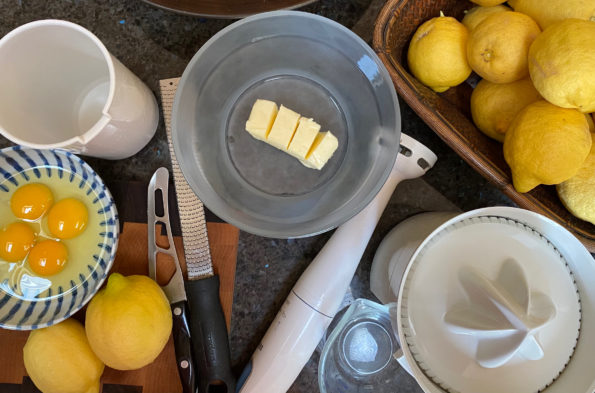
When Tree Gives You Lemons…..Make Lemon Curd! Outside my kitchen window grows one of my few garden successes, a lemon tree. While Meyer Lemon trees…
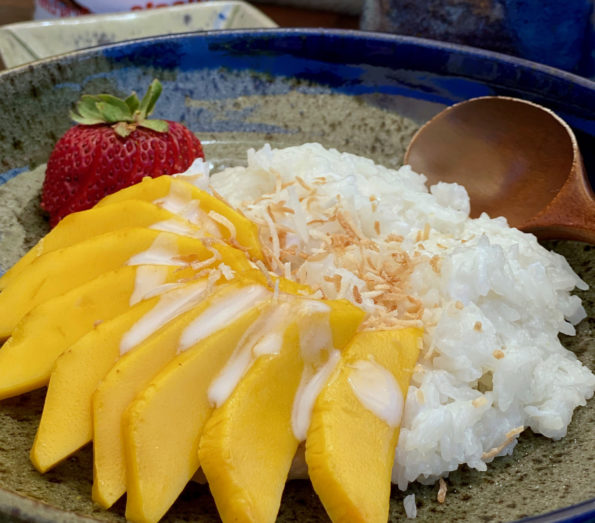
Raise your hand if you have had Mango Sticky Rice. Just trying to gauge in the pantheon of delicious desserts, where Mango Sticky Rice lands. …
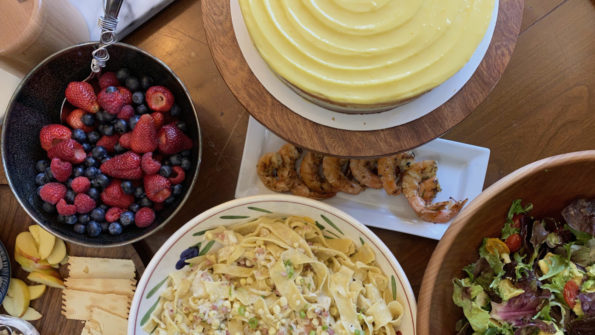
Mui is back from Minneapolis for a visit, she arrived Saturday just in time for Mother’s Day! For the first time in over a year…
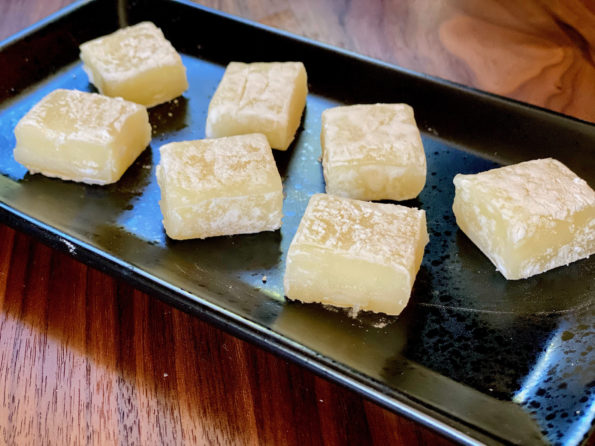
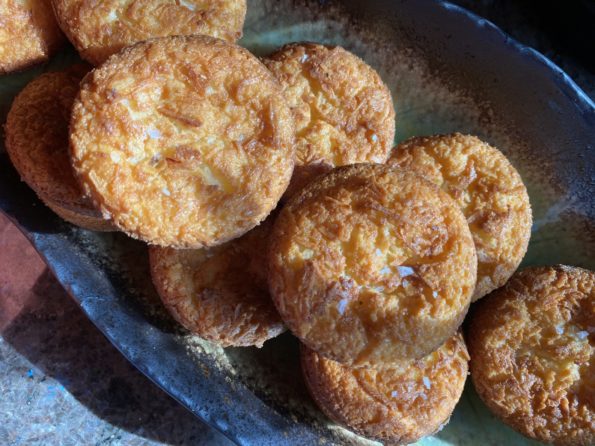
Yes, on the Mochi treat trail once again. Aside from being delicious, Mochi is pretty darn easy to make thanks to Mochiko Sweet Rice Flour. …
Skipping across my feed lately have been a series of articles on chefs adapting to life during the pandemic. As we know, the food industry…