
I am the happy owner of Anyday Cookware, a set of bowls designed for the microwave. A podcast junkie, I am hooked on “All Things…
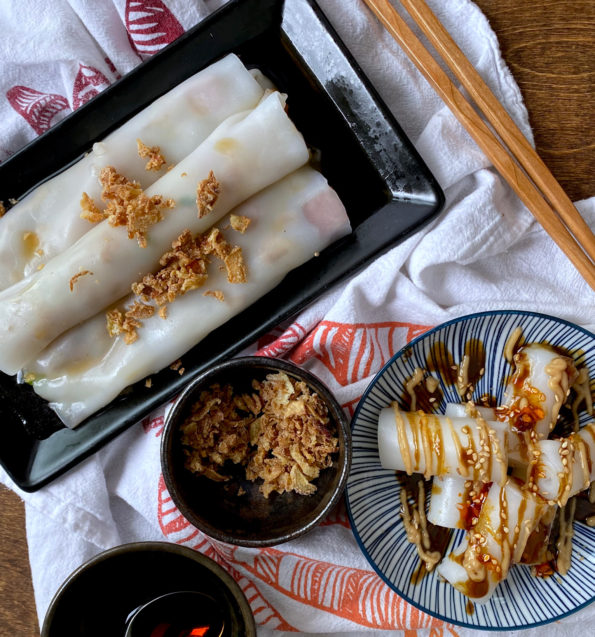
One of our favorite lunch outings is going for Dim Sum or Yum Cha. Dim Sum refers to the dazzling array of bite-size dumplings and…
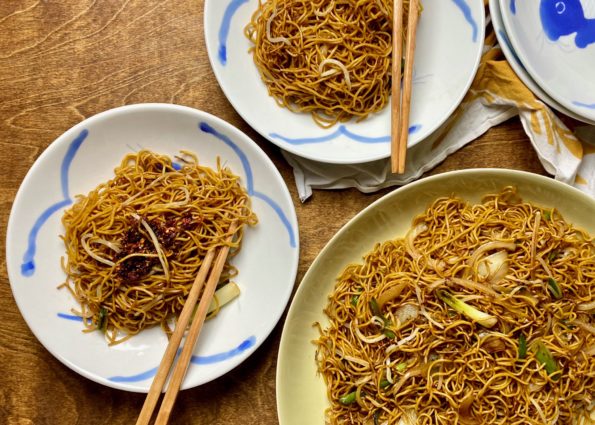
One of my favorite dishes, when we are out for dim sum, is Hong Kong Style Chow Mein or Soy Sauce Fried Noodles (豉油王炒麵). This…
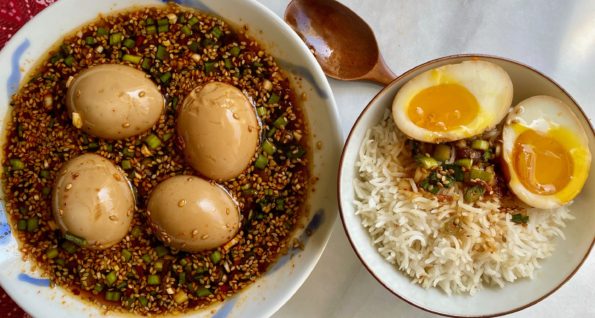
Originally, this post was going to just be about the latest Korean craze, Mayak Eggs (마약계란). TikToks, Reels, IG Stories, folks “egging” everyone on to…
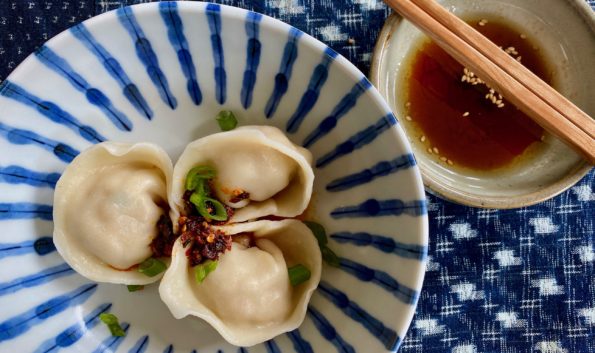
I cannot tell a lie. Most of the time, (we are talking 99.99 percent of the time) we use commercially available wrappers when making dumplings.…

I love dumplings, right up there with bowl food, soul food. In my world, Jeopardy has a couple of categories including “Things You Eat with…
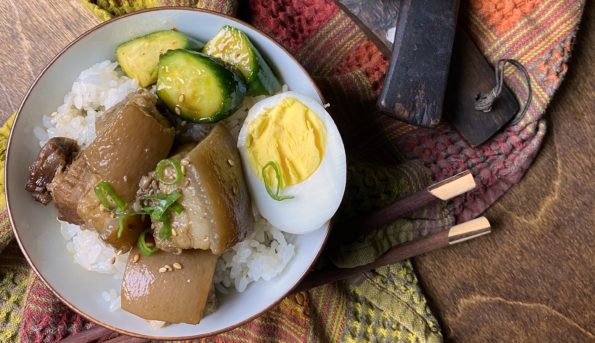
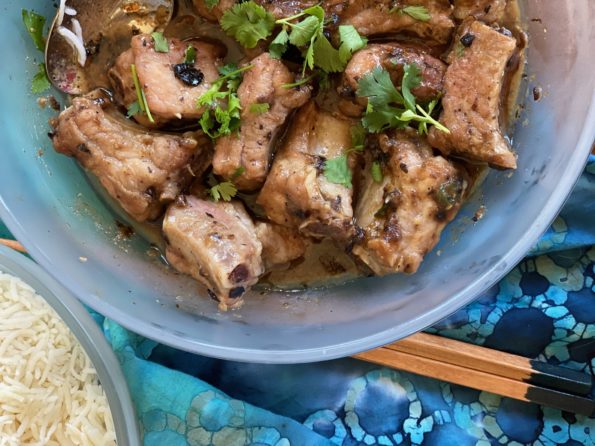
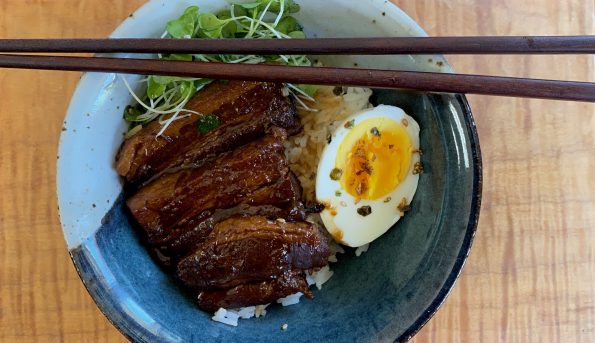
Bowl + Spoon = Soul Food My favorite equation, like Eat = MC(squared), which, in my book, stands for M-meat, C-Cooked & Crazy delish. After…
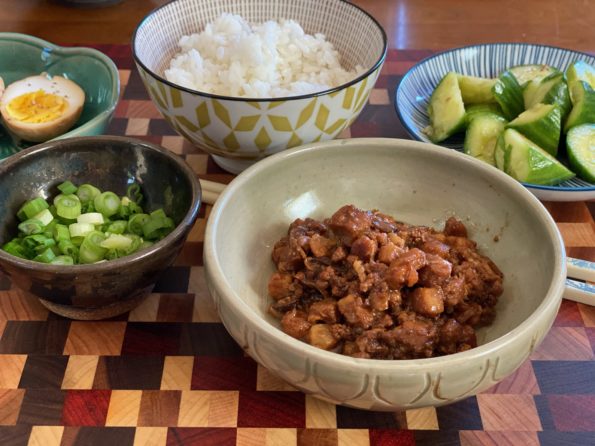
Continuing my virtual traveling by cooking, I’m imagining myself in Taipei right now. I have not been back to Taiwan in ages and yet I…
This post has been sitting on the back burner for a while, the majority of the time because I kept tinkering with the recipe. The…