
It’s raining once again in California. Which is the best excuse to stay home (in sweats), watch a lot of TV, bake, and cook? I…
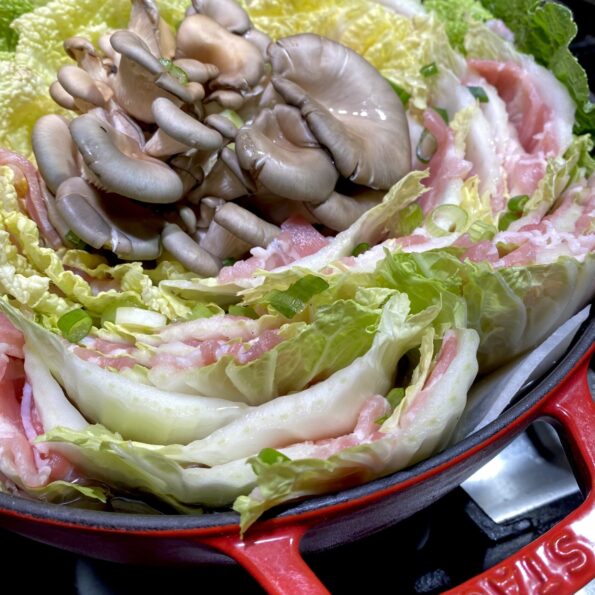
I’m sure I saw this on TikTok or an IG Reel. It looked so delicious I knew I was going to make it, if not…
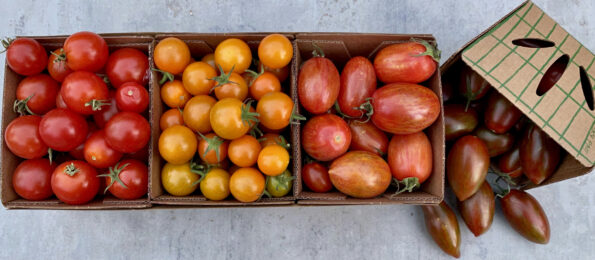
I have taken over tomato duties from the hubby who has given up on becoming an urban farmer. We just haven’t had any luck with…
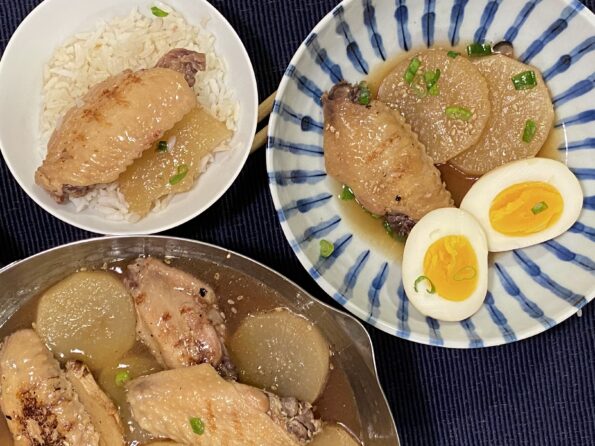
I have a total backlog of recipes I want to share with you and this one is top on the list. I have made this…

From one of my favorite sites, Two Plaid Aprons, a vegetarian version of Unagi Don! Eel grilled with a sweet and savory sauce or “tare”…

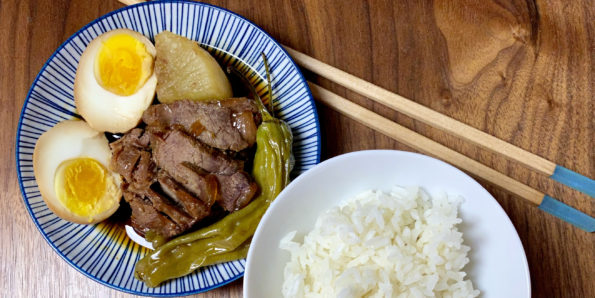
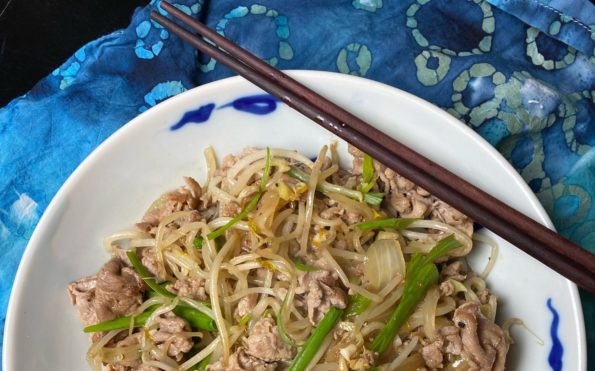
Waat Dan Fan (滑蛋飯) is one of my absolute all-time favorite down-home Cantonese dishes. The literal translation is Slippery Egg Rice. This version includes beef…
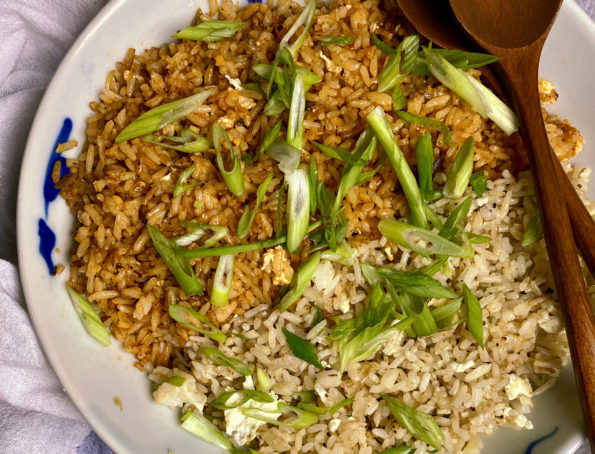
I LOVE fried rice. Posted on 3Jamigos are my favorites, my Dad’s Fried Rice and Kimchi Fried Rice. Until now, I was very content with…
I created 3jamigos to chronicle our family’s food adventures, recipes, and stories, for my kids. In college, I often called home to ask my dad…

I appreciate our backyard now more than ever as it has served as an escape during the quarantine. While it’s not very big and there…