Category: Proteins

beef, pork, poultry, fish

Grilled Pork #2 Belly up to the Table for Some Delicious Pork and Conversation

Grilled Pork #2 Belly up to the Table for Some Delicious Pork and Conversation

The kids were all home for a couple of days, which is a miracle in itself, so we threw a party! Really, it was to celebrate the twins’ graduation from college (boy that went fast) and the end of tuition days. I polled the kids to see what they wanted for eats, after all, that’s the Asian mom way of saying I love you…” what would you like to eat?” and the response was “anything, Mom”. Ugh, no help.
Maybe I needed a theme? Comfort foods? Where they have been and where they are going? Hmm, that had potential. So I went with it.

Where they have been: Where they are going

Houston, Texas for Jamie….Queso!!! You need munchies at a party so Queso and tortilla chips would be perfect. Besides, she is moving to Minneapolis and cheese is HUGE there too right? Anyone care for some cheese curds?
Nashville, Tennessee for Jordan, hmmm…bbq! To combine it with where Jordan is going, Korea, I decided on Grilled Pork Belly and Khal Bi (marinated Beef cross-cut ribs). I just killed two birds with one stone! I’m a genius, lol.
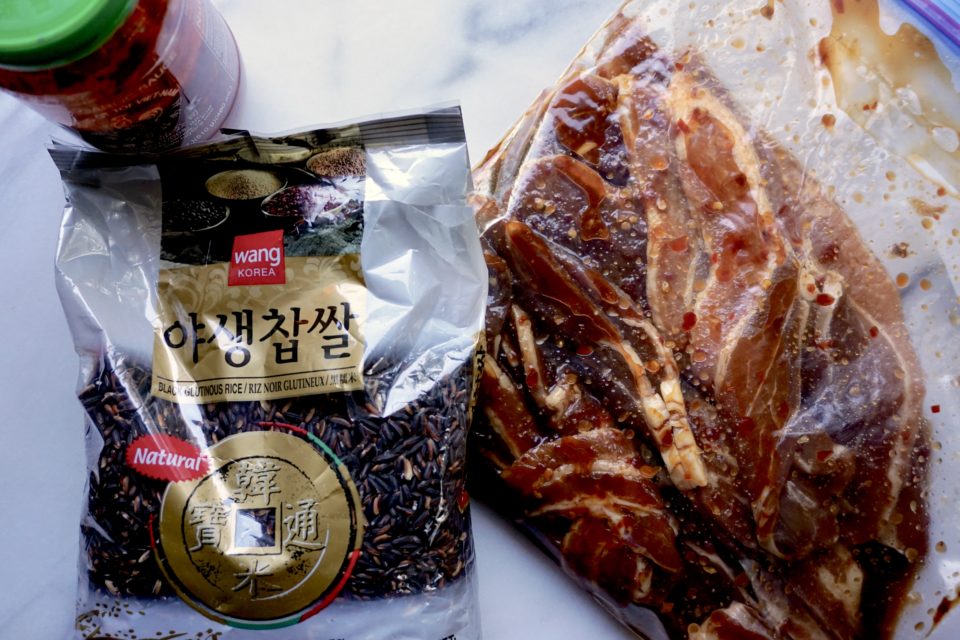
Spicy Grilled Pork Belly

Black Rice and Marinated Pork Belly waiting for the grill to fire up.

The food was casual, friendly, and easy, mostly family favorites.  I pulled out my Somen Salad recipe, perfect for a crowd and the warm weather.  We fired up the grill for the Khal bi (marinated beef ribs) and Spicy Grilled Pork Belly.  Jorge put out the tortilla chips with the Queso Dip, salsa, and Wes’s famous tuna dip.  Bowls of fresh berries from the Farmer’s Market rounded out the menu.  For the grand finale, Jamie made a DELICIOUS banana cake (nooo, forgot to take a photo of it) filled with a chocolate ganache and covered with Cream Cheese Frosting.

We all gathered around the table to eat, gab, laugh and enjoy each other’s company. Isn’t that what it is all about?

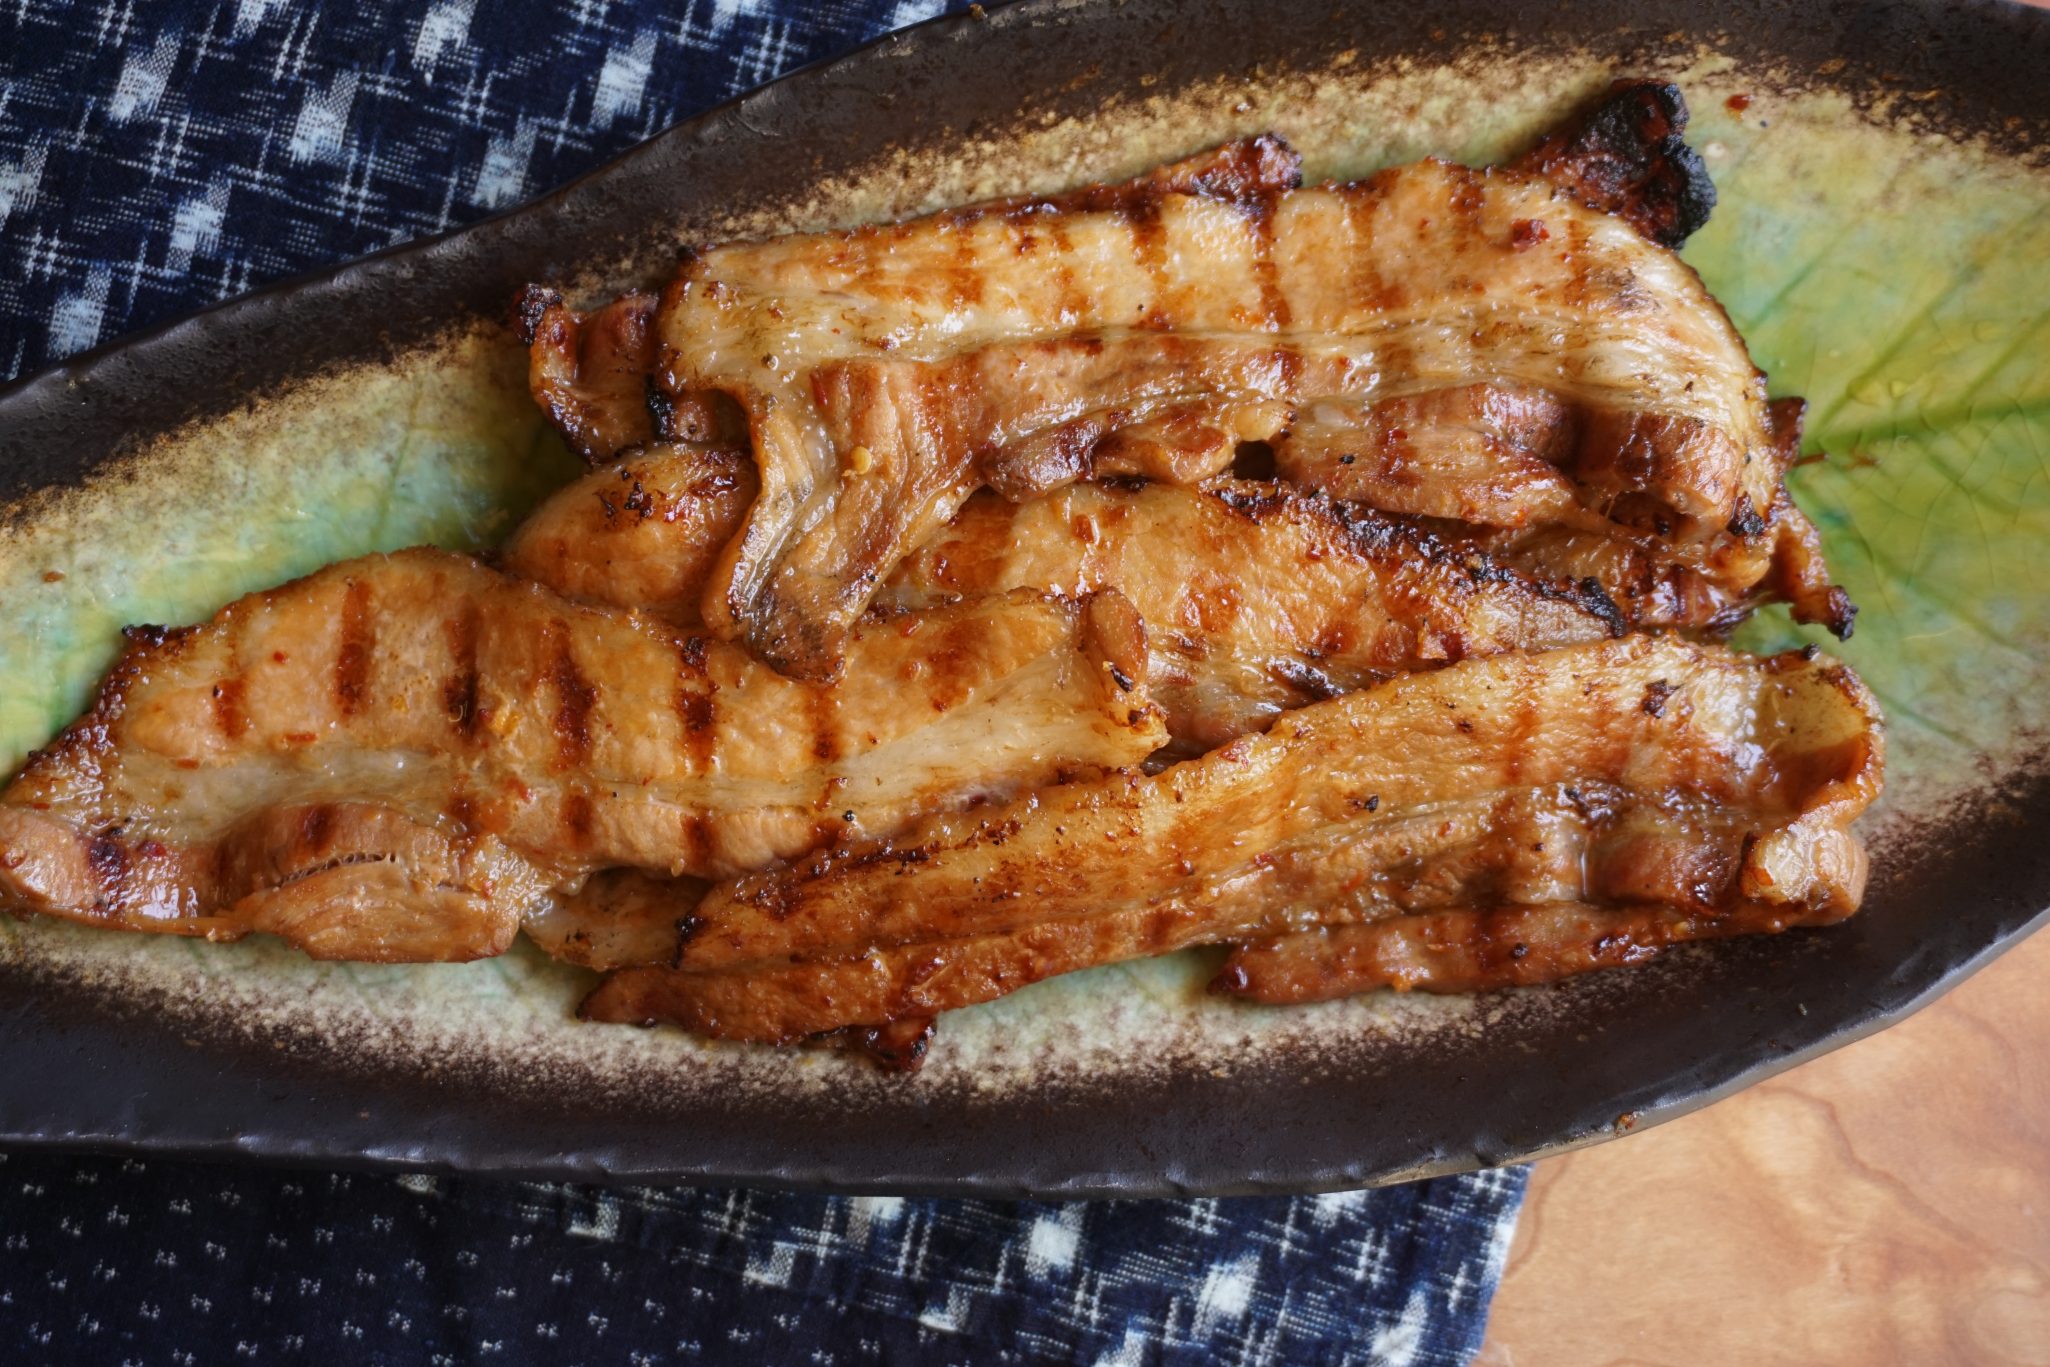
The Spicy Grilled Pork Belly was a hit.  The pork is cut into thick slices similar to thick-cut bacon and marinated in chili sauce, brown sugar and soy sauce. I adapted the recipe from the blog Barefoot in the Kitchen and it is SUPER SIMPLE and delicious!  We served it with purple rice, Gochuchang (Korean chili paste) and lettuce to be wrapped like a taco.

Purple Rice, Purple Rice

The purple rice is novel and fun and requires nothing extra except for 2 tablespoons of black rice mixed with your regular rice.  As it cooks the rice turns a really cool shade of purple. Your friends will think exotic and fancy, take the credit with a smile.  Regular short grain rice would work and for carb haters, cauliflower rice is a great sub. The pork would also make a screamin’ slider.  Top sliders with Siracha mayo and an Asian slaw of cabbage, onions, and pickled ginger. YUM.
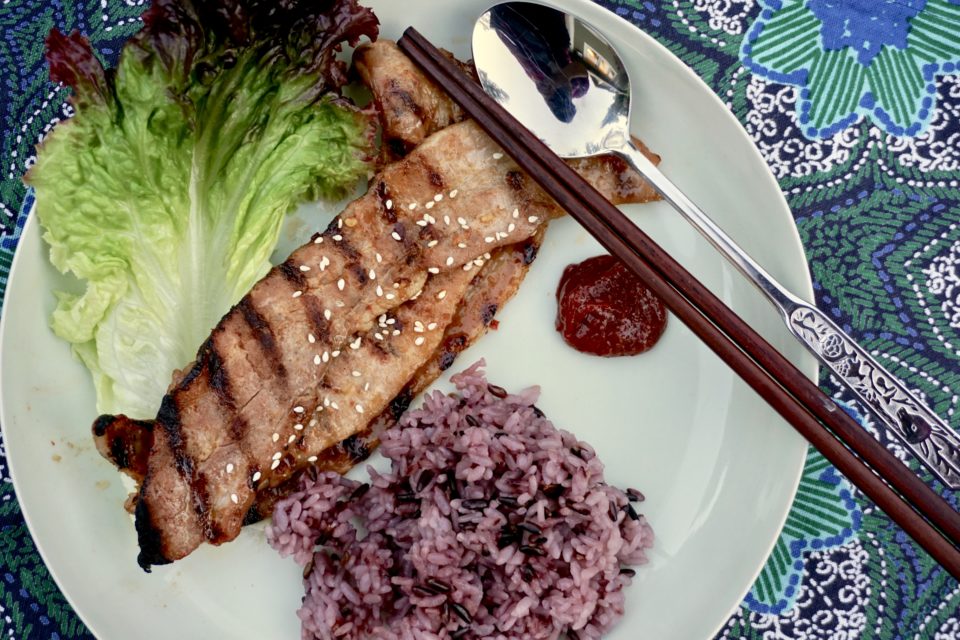
SpicyGrilled Pork Belly

Spicy Grilled Pork Belly

Grilled Pork belly, sweet, salty, spicy and delicious!
Course Main Course, Meat, pork
Cuisine Asian, Fusion
Keyword bbq, gochujang, Pork Belly
Prep Time 15 minutes
Cook Time 10 minutes
Total Time 25 minutes
Servings 4

Ingredients

  • 1 pound pork belly thick sliced (you can find it at most Asian markets)

Marinade

  • 2 tablespoons soy sauce pref Sempio 707
  • 2 tablespoons olive oil
  • 3 large garlic cloves minced
  • 2 tablespoons chili paste use either Siracha with garlic or Gochuchang chili pepper paste
  • 3 tablespoons light brown sugar
  • 1/2 -1 tablespoon sesame oil
  • 1 teaspoon kosher salt
  • 1/4 teaspoon freshly ground black pepper

The Finish

  • 1 head of red lettuce or butter lettuce
  • Chili pepper paste Gochuchang
  • Toasted Sesame seeds
  • Green onions
  • Rice

Instructions

  • Remove the skin from the pork belly and slice the meat into 1/8" - 1/4" wide strips. If you don't have access to already cut pork belly.
  • Stir together the soy sauce, olive oil, garlic, chili paste, sugar, sesame oil, pepper and salt in a mixing bowl.
  • Place the meat in the bowl with the marinade and toss to coat thoroughly. Marinate for 1 hour.
  • Preheat the grill to HIGH. Grill the strips of pork belly for 2 minutes, flip and grill another 2-3 minutes.
  • When the pork has cooked through, remove from the grill and place it on a paper towel lined tray.
  • Sprinkle green onions and sesame seeds to garnish
  • Serve with rice, lettuce and pepper paste for wraps or in a roll as a sandwich or tortilla as a taco with an Asian slaw and siracha mayo.
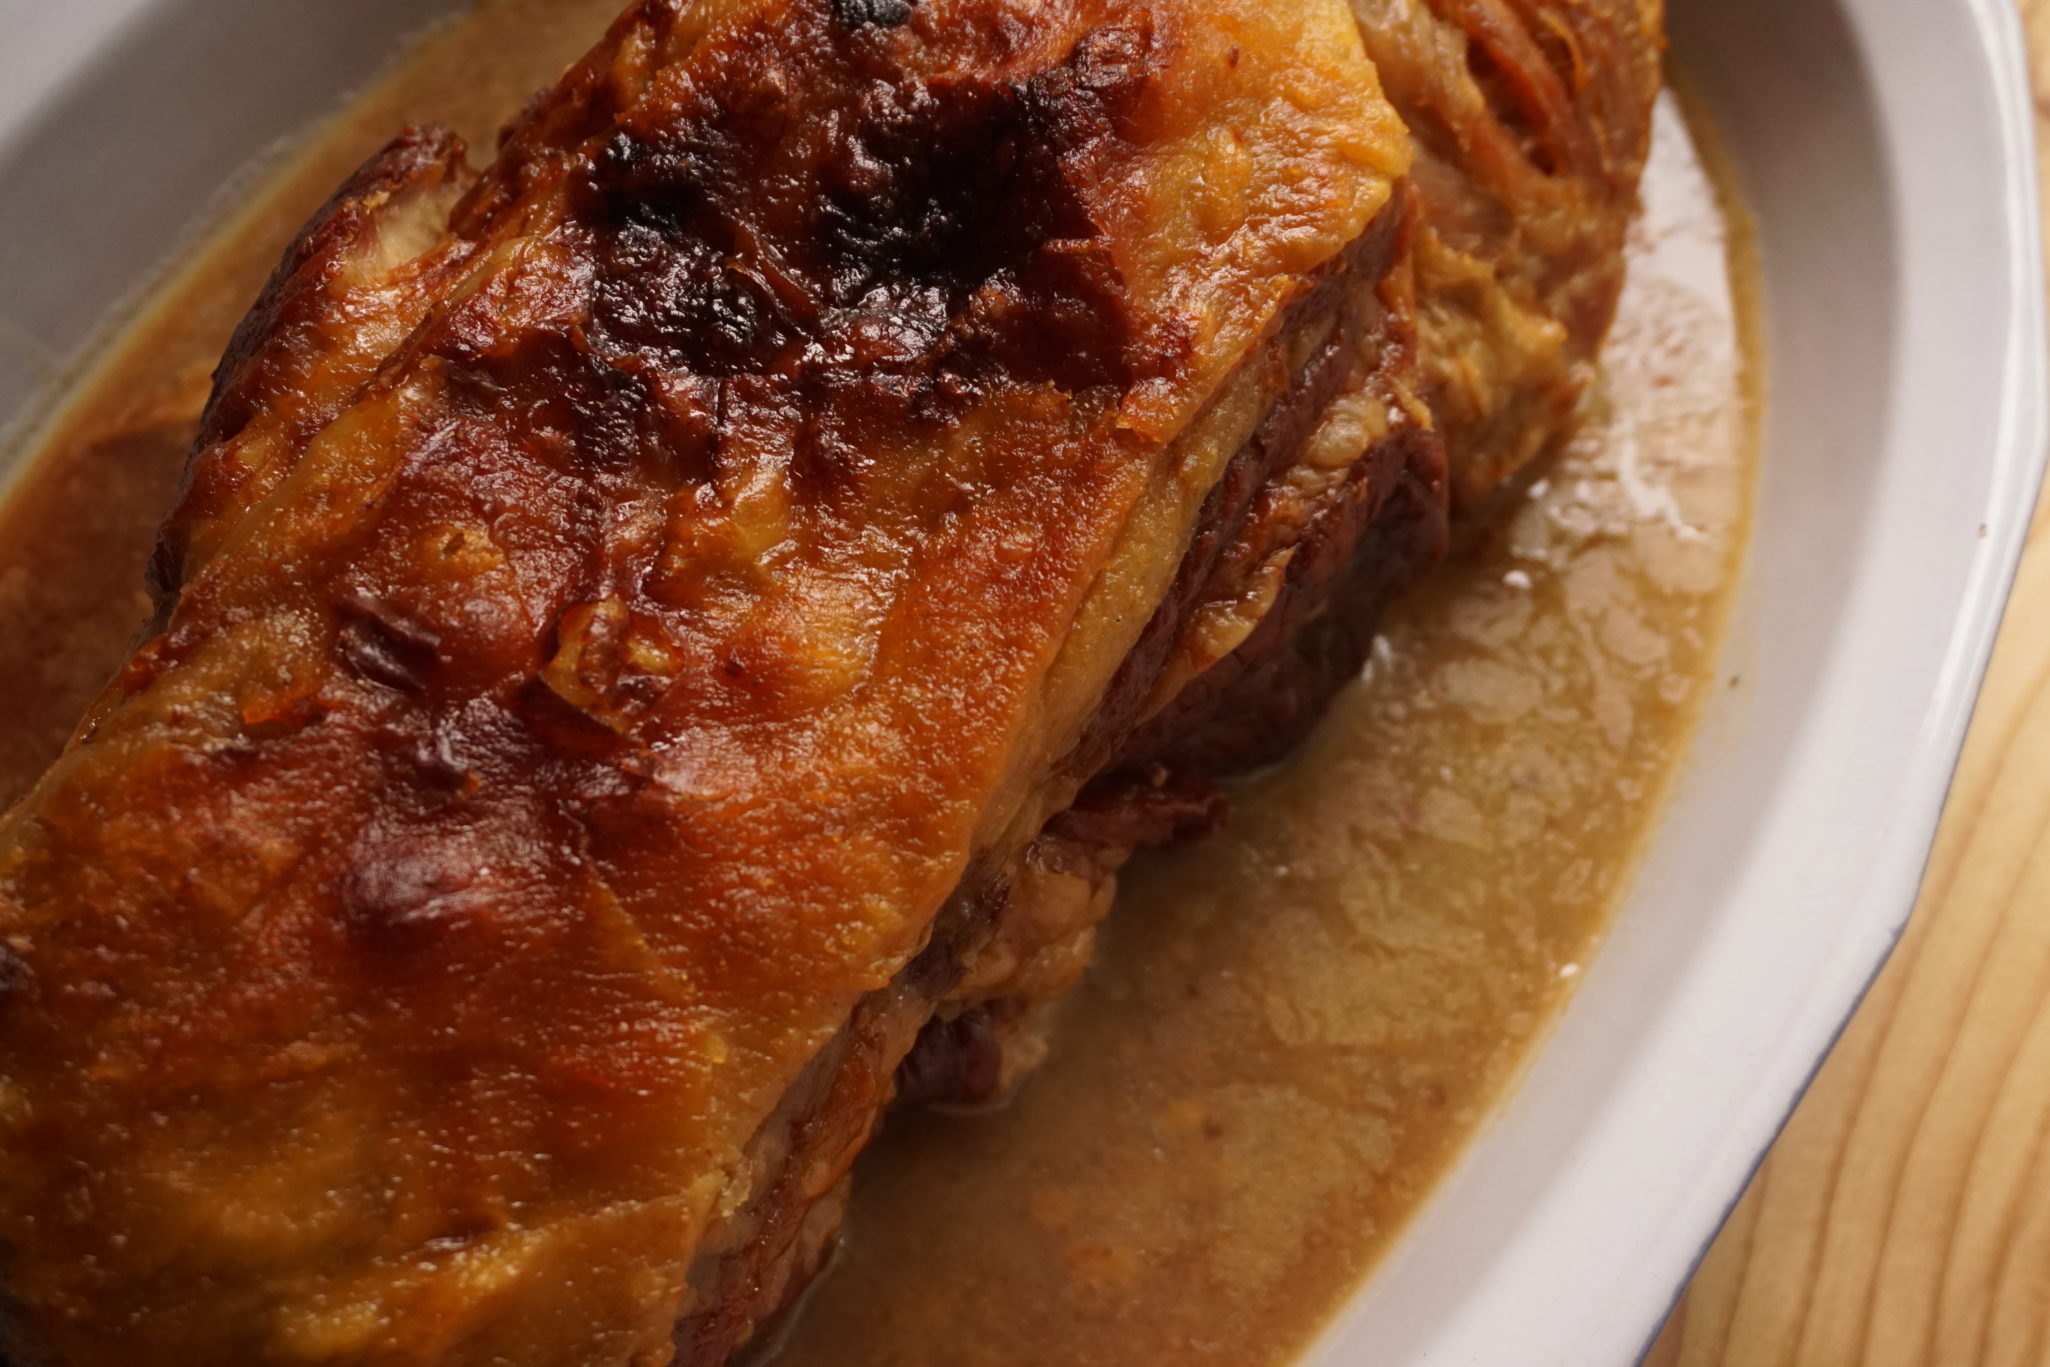
The Name is Pork, Slow Roasted Pork (Sam Kass)

The Name is Pork, Slow Roasted Pork (Sam Kass)

One of my favorite recipes from Sam Kass’s book: Eat A Little Better is his Roasted Pork Shoulder.  Don’t let the time commitment scare you.  Prep is as easy as rubbing salt all over the roast, letting it sit for 2 hours then popping it in the oven for…

5 hours

So, yes, you will need to plan in advance and start early.  By dinner time you’ll be ready to dazzle. You can serve the roast as is or transform it into delicious dishes like carnitas tacos, pulled pork sammies with your favorite barbecue sauce, or a yummy pasta ragu.  Sam’s book includes ways to use this roast as the base for a variety of tasty options.  All lip smacking delicious.

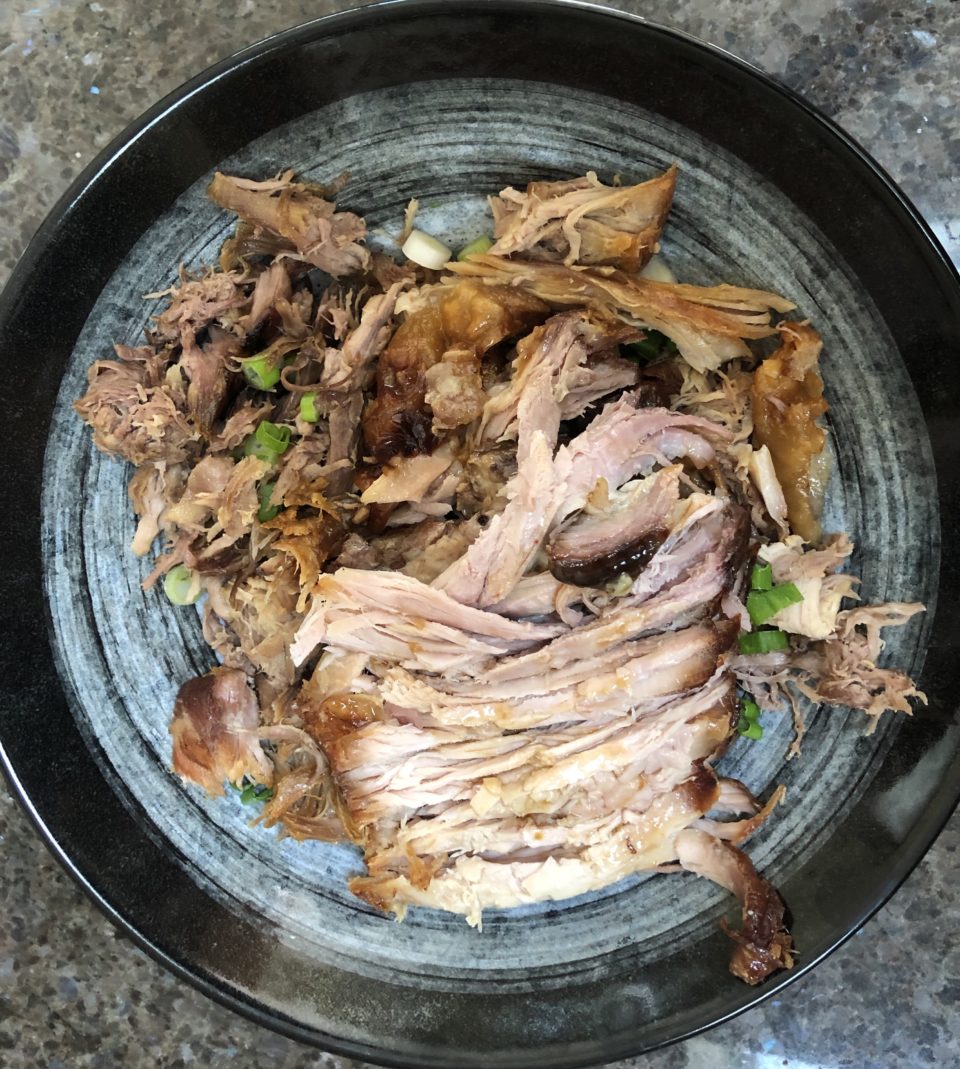
Roasted Pork shoulder shredded


The Name is Pork, Slow Roasted Pork (Sam Kass)

Ingredients

  • 1 5-6 pound bone-in pork shoulder Boston Butt
  • Kosher Salt
  • 1 cup low sodium chicken broth or dry white wine

Instructions

  • Rub the pork all over with 1 tablespoon salt. Let it sit for 2 hours at room temperature
  • Preheat oven to 300 degrees
  • Put the pork fat-side up in a heavy roasting pan lined with parchment or foil. Place roast in oven and roast for approximately 5 hours until the meat is deep golden brown and fall off the bone tender. Start checking at about 4 hours.
  • To finish you may broil the top for a darker crisper top.
  • Teansfer roast to a plate. Deglaze pan with stock or wine stirring up bits on the pan.
  • Serve with pork or drizzle on top.
  • You can jazz up the rub with garlic or rosemary, minced and mixed into salt.


Let’s “Taco Bout” It (Carnitas Tacos)

Let’s “Taco Bout” It (Carnitas Tacos)

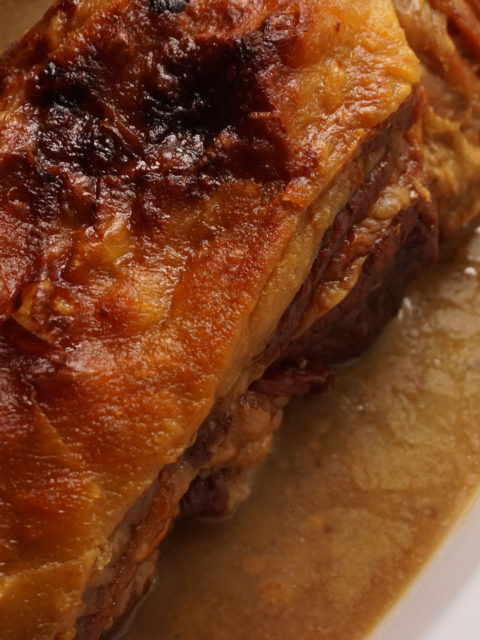
I have been working my way through Sam Kass’s Cookbook Eat a Little Better and have to say it is pretty darn good!  A family favorite has been his Roasted Pork recipe. Start with a nice 5-6 pound pork shoulder and slow roast it in the oven for 5 hours.  You are rewarded with a beautiful mahogany colored, crispy on the outside, meltingly tender on the inside, hunk of deliciousness.  Yum.

But as delicious as it is, IT IS STILL A WHOLE LOTTA PORK.

And as much as I enjoyed standing at my kitchen counter and pulling shreds of warm, succulent, salty pork off the roast and popping them in my mouth, I hardly made a dent.

Variations on a Pork Roast to the Rescue.

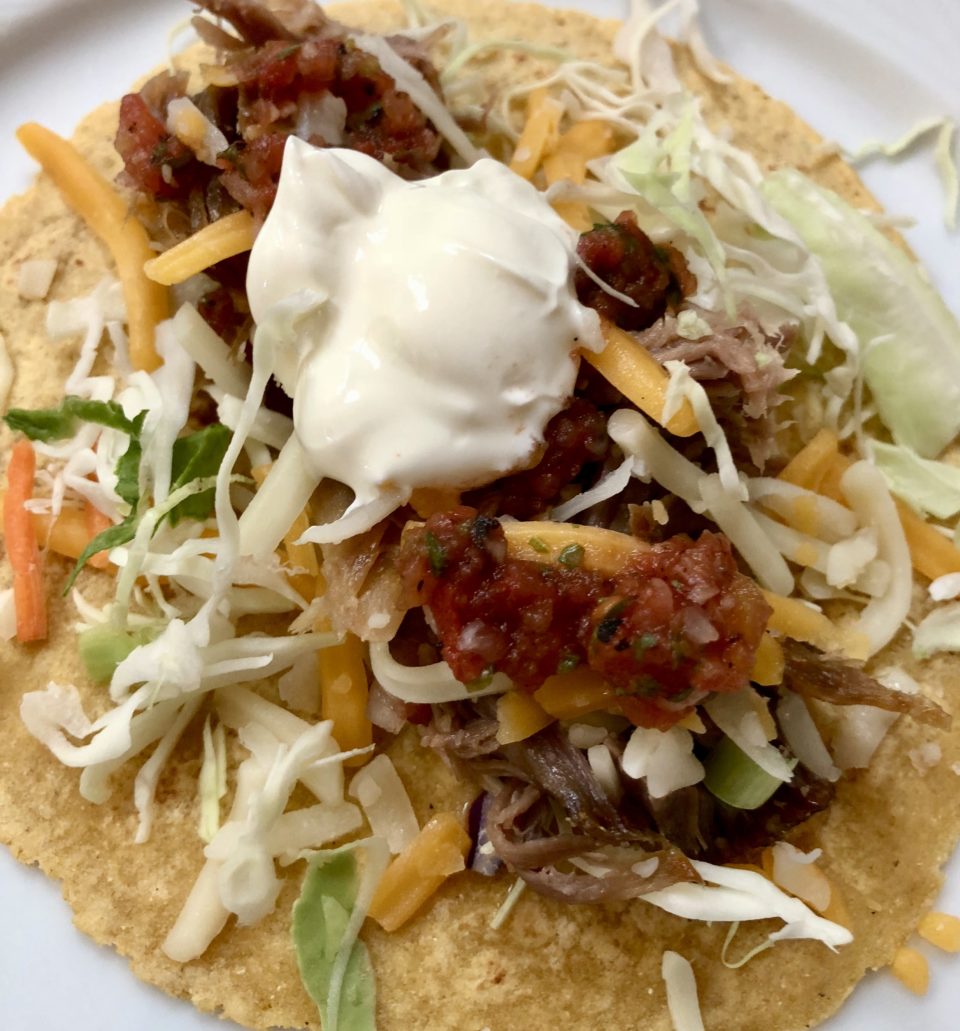
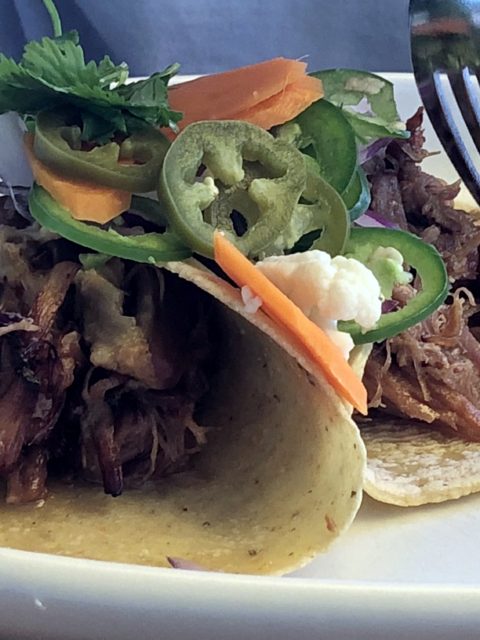
First on the list…TACOS

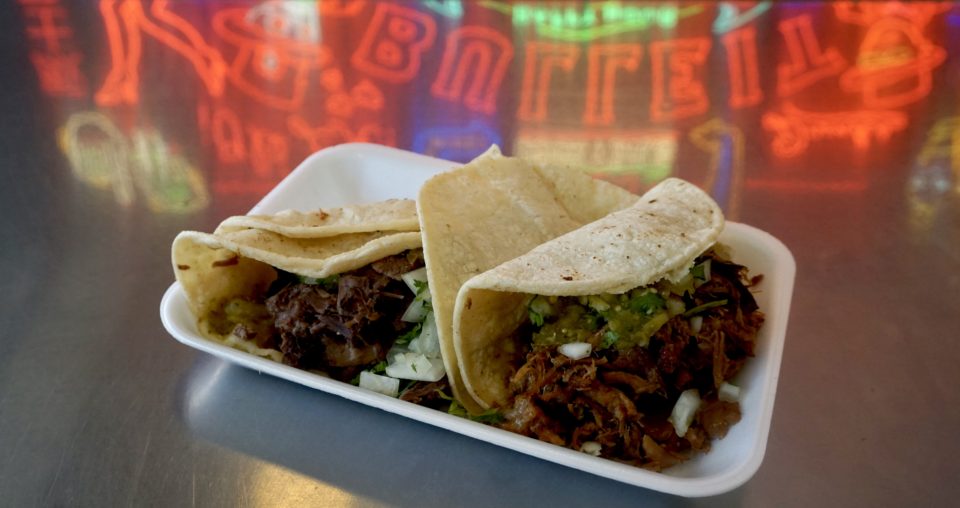
CArnitas tacos Villa Moreliana

THE HISTORY OF TACOS by 3Jamigos

1960s: Taco shells out of a box-the equivalent of Chinese chow mein noodles out of a can (I can’t even), ground beef with tomato sauce, Lawry’s Taco Seasonings packet, iceberg lettuce, shredded yellow cheese, and tomatoes. They were good when I was a kid, now-not so much.  The perils of growing up.

1970s: Tex-Mex Tacos:  Visited San Antonio and had a Puffy Taco Moment. OMG! How can a taco shell be crispy and soft at the same time? Another, please.

1980s: Tacos in Mexico City: Tacos come on a plate with soft corn tortillas and toppings piled on top.  A sprinkle of onions and cilantro, splash of salsa. #SoDamnDelicious. Mom and I sneak off the tour bus to eat tacos…..#RealTacos

1980s:  I’ll take 2 1980s and skip the 1990s.  Roadtrip to San Felipe and Ensenada.  First stop: Buy a six-pack of Coronas and head for the nearest taco stand then head to beach.  Freshly caught fish or shrimp, batter-fried, tossed in a soft tortilla with cabbage, salsa and crema…3 for a dollar.  I have died and gone to seafood taco heaven.

2000s: Live and Eat in LA:  Just about to order Lengua and Carne Asada tacos from fav Taco truck (cheap and open “All Night Long”, props to Lionel Ritchie)when… Wait, there’s a crazy ass long line at that truck over there called Kogi Truck, let’s check it out. Korean BBQ Tacos?!  Mind blown.

2010: Kids work health fair at local church.  After service, Carne Asada Tacos served fresh off the grill for 1.00 a piece.  Kids (3 of them) eat 26 tacos.  The next year the tacos go up to 1.50!  La Vic’s Orange Sauce, say no more.

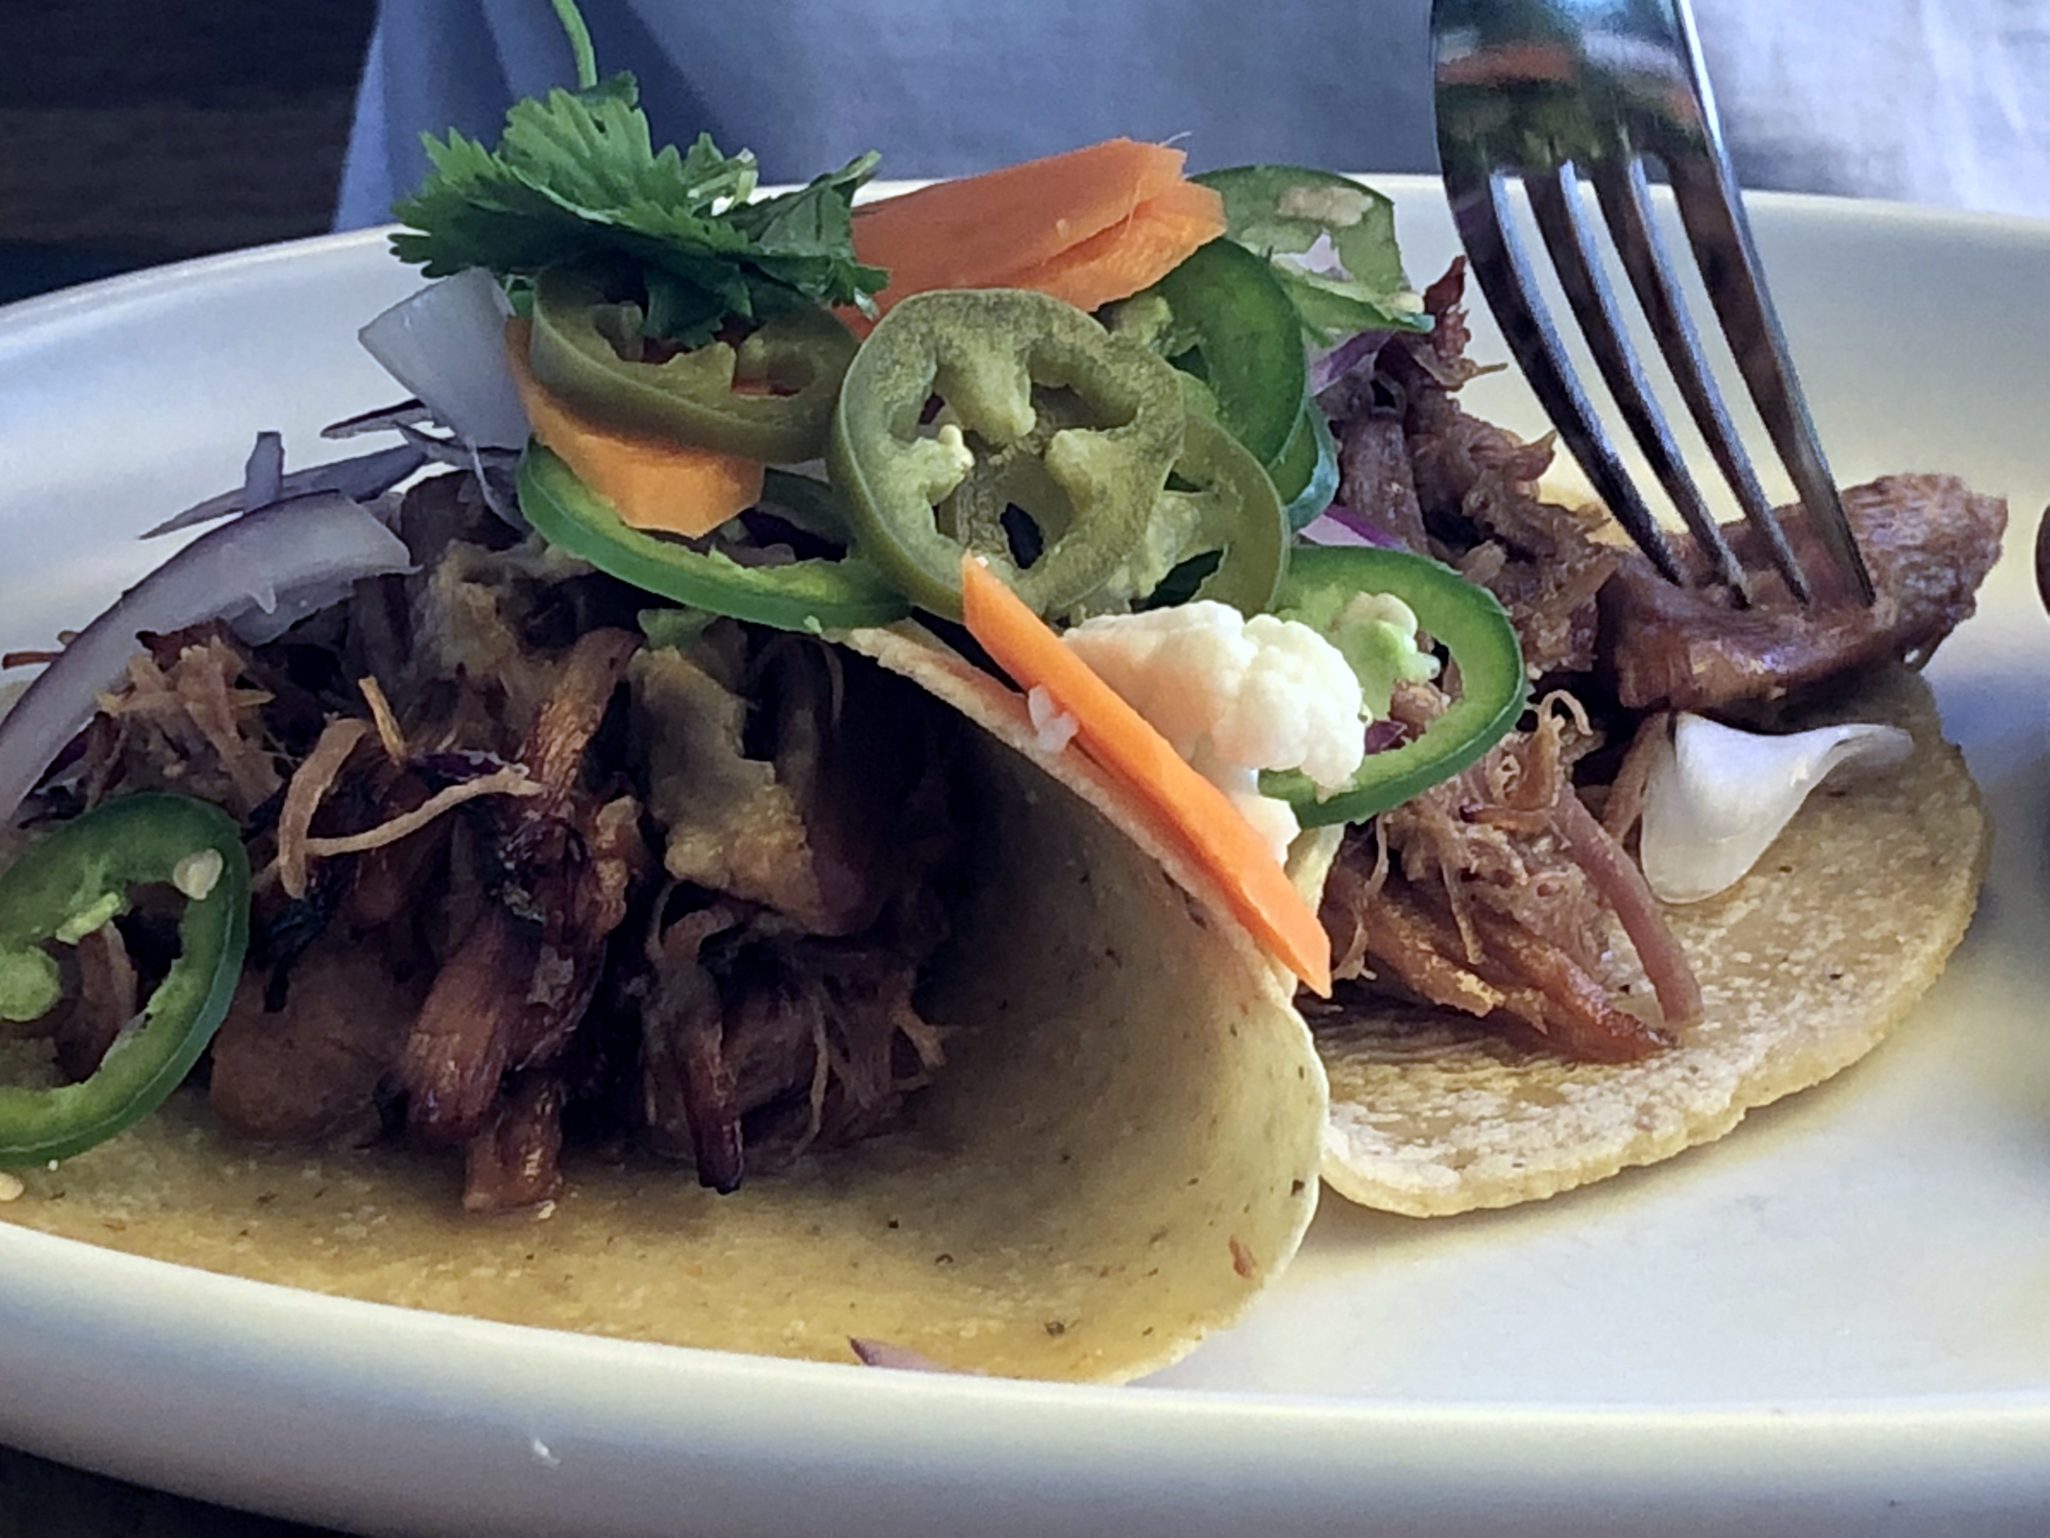
2018:  Villa Moreliana in LA Grand Central Market 1.75 per taco.  My favorite, Mixed Carnitas Taco.  Comes with shredded pork, tongue, snout, trotter, and chicharrones.  Go. Now. Eat.

NopalitoSF  Carnitas tacos in a hipster setting near Divisadero Street, $14.50,  Really? Afraid so. But damn, they are good.

Making my own with Sam Kass’s Roasted Pork Shoulder and homemade salsa.   #SoDamnDelicious #EatAtHome #AsManyTacosAsIWant

Make your own tortillas too! Easy flour tortillas or corn tortillas from King Arthur Baking.

Carnitas tacos

Let’s “Taco Bout” It Carnitas Tacos

Ingredients

  • Slow Roasted Pork
  • Corn Tortillas Trader Joes makes a nice corn tortilla or La Tortilla Factory has a nice corn & Wheat handmade tortilla

Toppings: Put them all out or keep it real with onions, cilantro and lime wedges

  • shredded cabbage
  • chopped white onions or red onions Soak in cold water to mellow onion
  • Cilantro
  • Avocado slices
  • Pico de gallo
  • Your favorite salsa or try the easy homemade salsa on my blog

Instructions

  • Shred 1-2 cups of roasted pork. To crisp the edges and reheat pork, place shredded meat in a saute' pan with 1-2 tablespoon of oil until heated thru and crispy on the edges. Transfer to warm plate.
  • Heat tortillas. Put different toppings out and let people go crazy.
  • Allow everyone to make their own tacos.
  • #TacoTime
NOM-NOM-licious Chicken and Gravy (Instant Pot Chicken and Gravy)

NOM-NOM-licious Chicken and Gravy (Instant Pot Chicken and Gravy)

AN HOUR AND A HALF commute home from work left me cranky and hungry.  I slammed my stuff down on the kitchen table and headed to the fridge, yanked the door open and searched for something quick to make for dinner.  I found a whole chicken I had bought the day before and thought ugh, that will take a while…I WANT TO EAT NOW.

Lightbulb moment

I remembered I had saved an Instant Pot recipe for Chicken and Gravy from NOM NOM Paleo.  Quick and easy, the perfect solution for my dinner dilemma. Though not a strict Paleo diet follower, I like the NOM NOM cookbook and blog and have an affinity for the NOM NOM author (plus I love saying NOM NOM).  Like me, she is a pharmacist by trade, a fellow drug pusher-legit one, lol.  The natural crossover between being a pharmacist and being a cook or baker.  Numbers, measurements, proportions, being a bit OCD- all part of both professions.

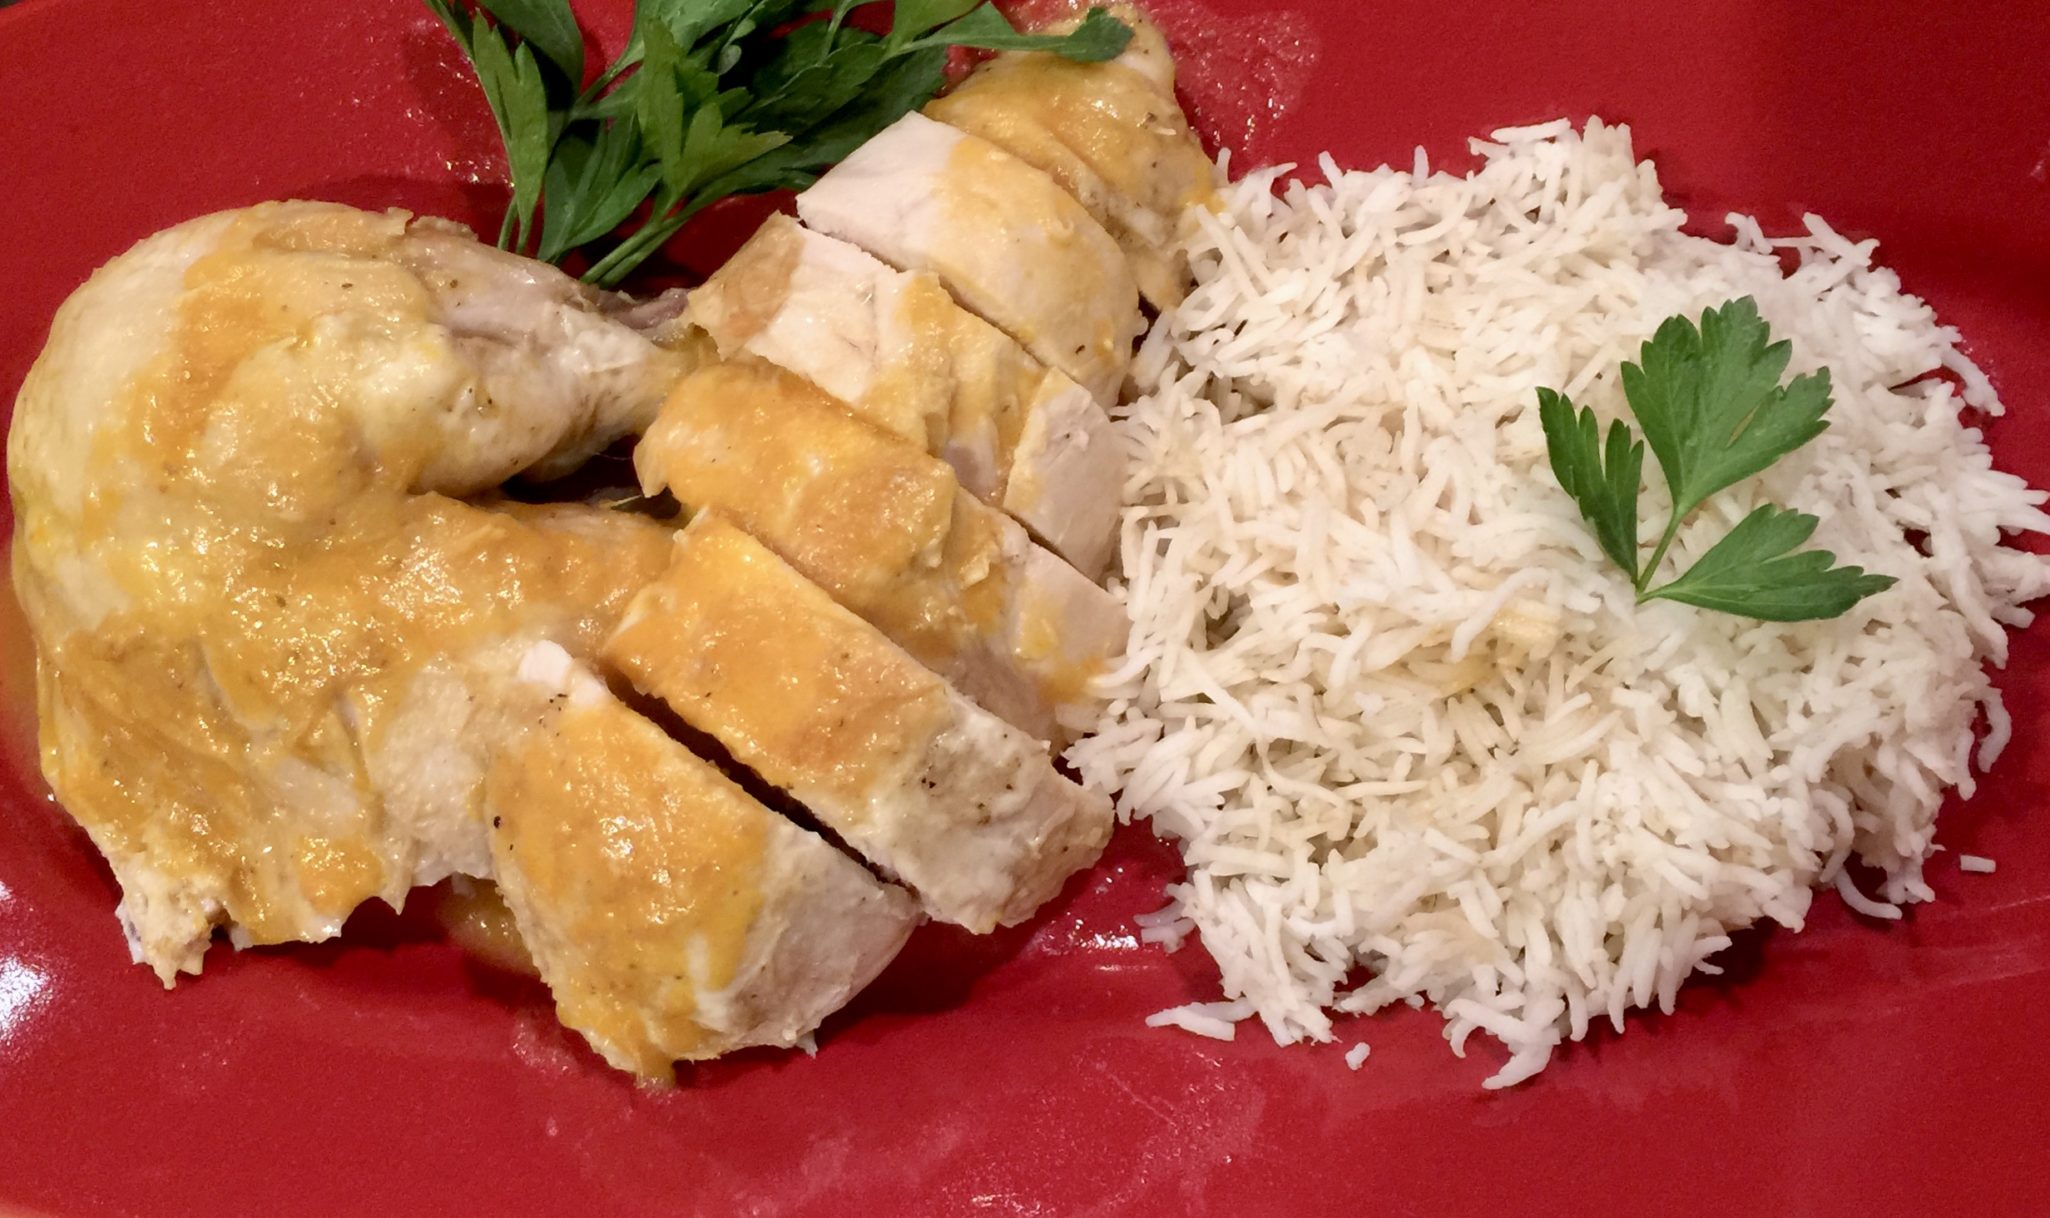
A few easy steps and dinner is on the table in 44 minutes and 37 seconds at most.  See, pharmaceutical precision.  While the chicken is cooking, make some rice or egg noodles to go along or if you want to keep this a paleo meal, make cauliflower rice or potatoes (Po-ta-toes! Boil them, mash them, stick them in a stew. Lovely big golden chips with a nice piece of fried fish-that line pops in my head every time). The sauce is so yummy you will want something to soak up every drop.

The recipe calls for browning the chicken in your pressure cooker, taking it out and sautéing onions, garlic and a bit of tomato paste, putting the chicken back in the pot, on top of the onions, adding a bit of broth and setting the pot timer to 20 minutes cooking.  Yep, that’s it.

Saute onions and garlic until soft.

Add tomato paste and broth to pot. Place a wire rack on top to hold the chicken.  You can add a bit of herb for additional flavors such as a sprig of thyme, oregano or rosemary. Just to kick it up a bit.

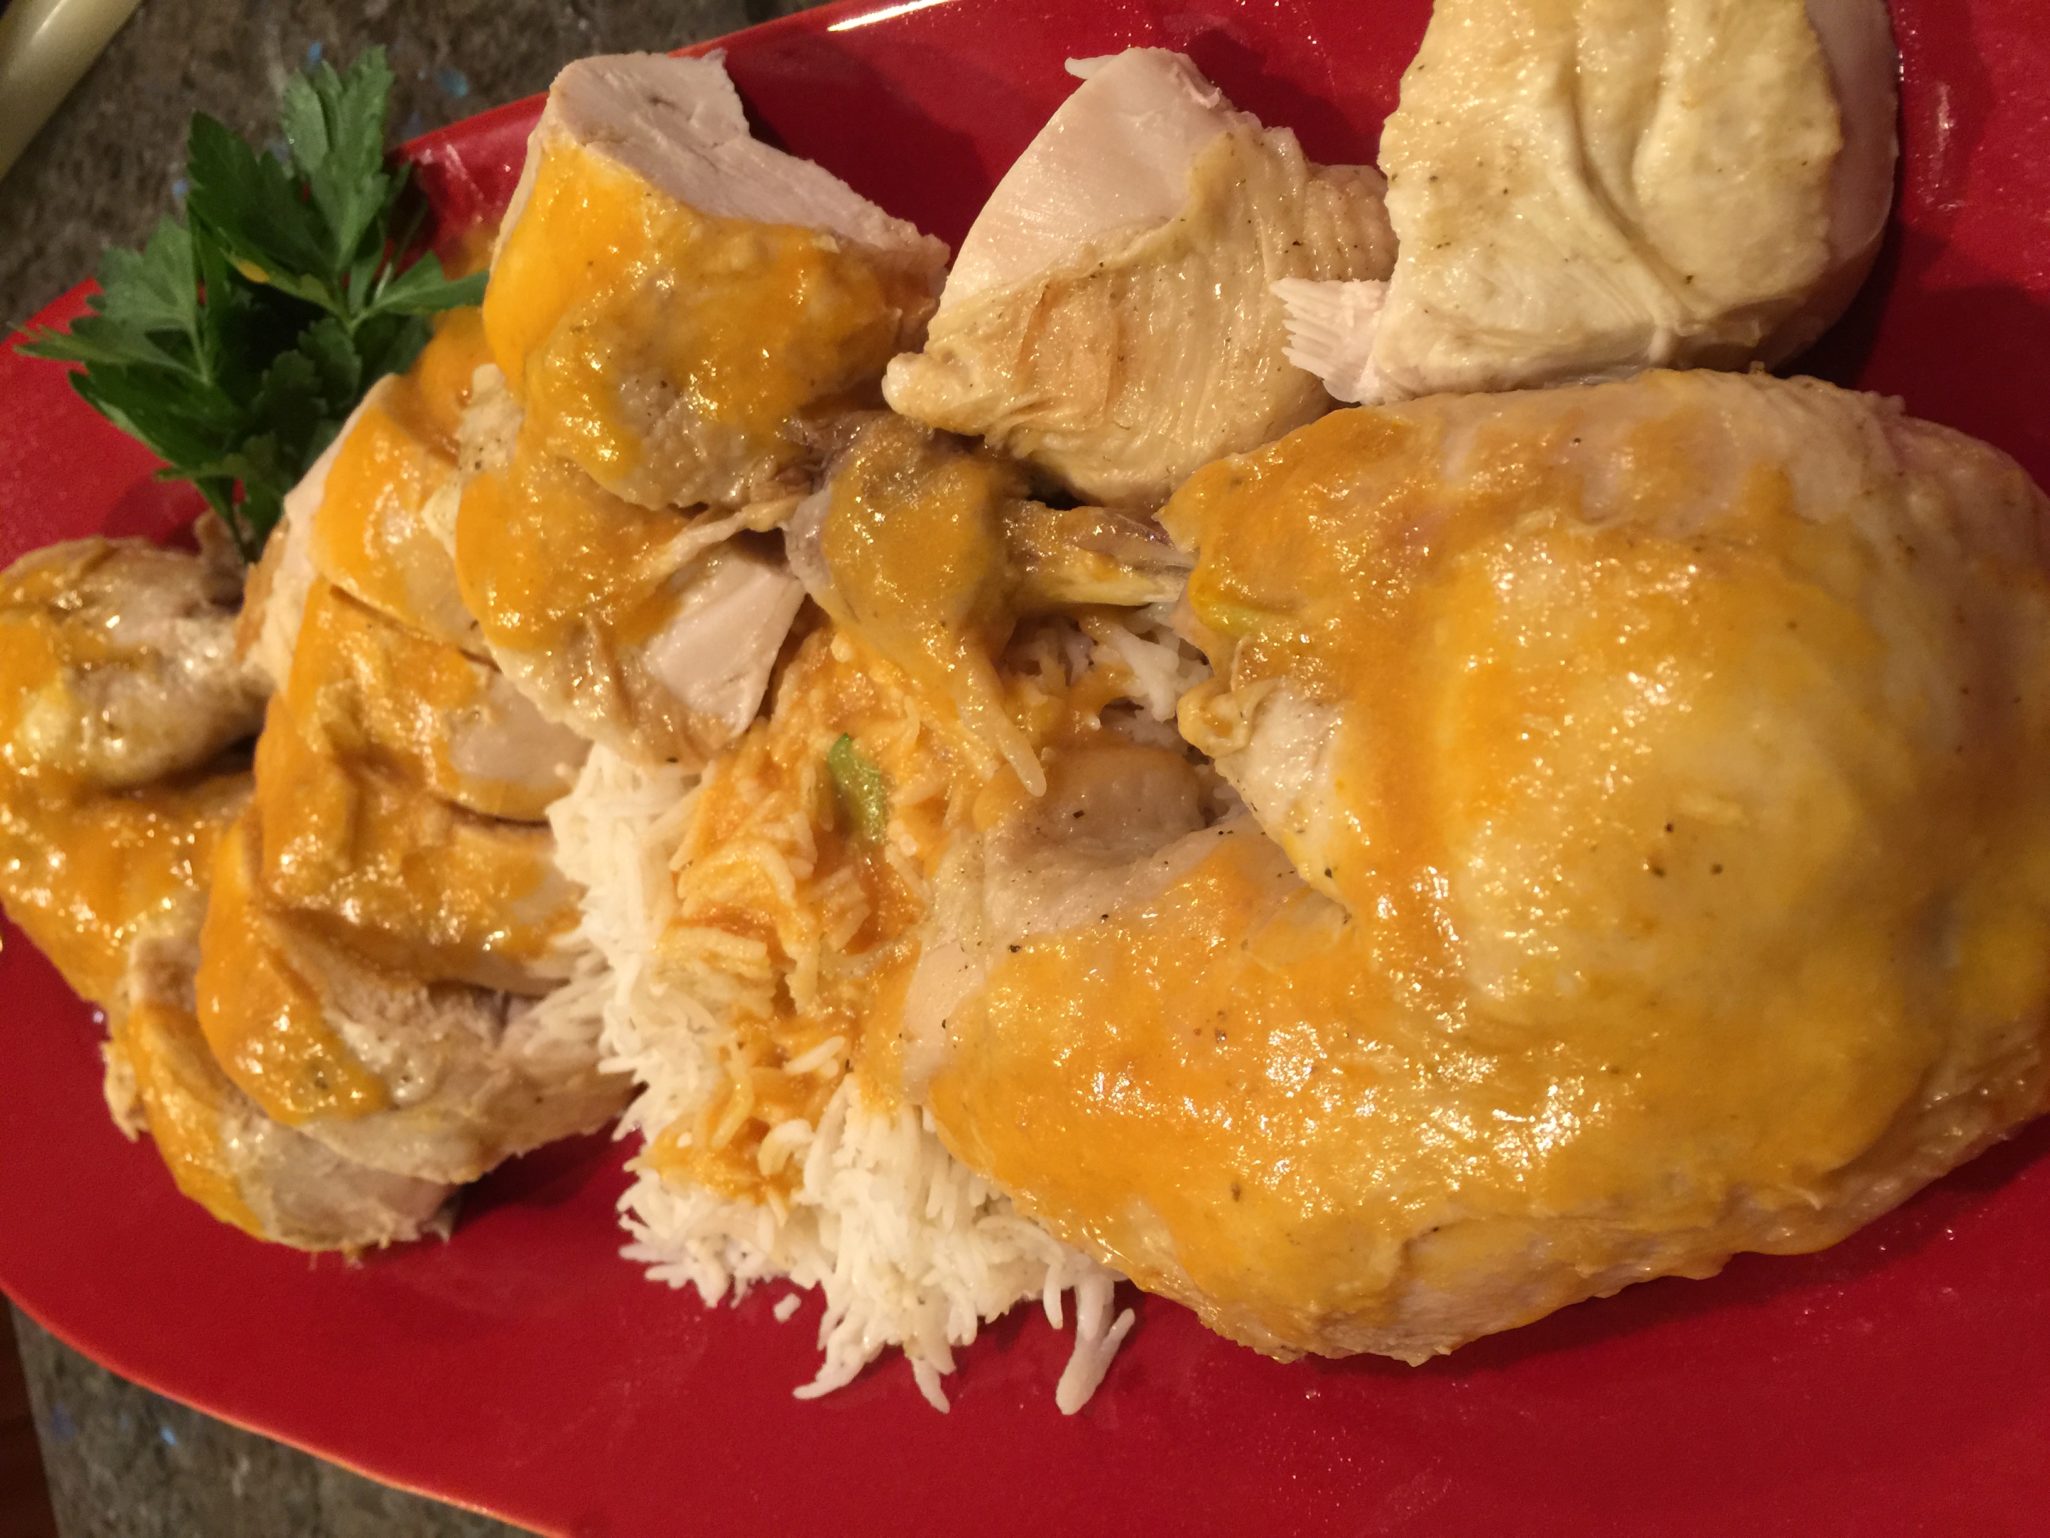
After removing the chicken (and fresh herb sprigs), use a hand blender to puree the onion-garlic mixture which becomes the luscious gravy-yum yum. The original recipe calls for thickening the sauce but I didn’t bother.  I wanted to dig in!  So delicious!!!!!

Dinner is served and elevated my mood to happy, happy, happy.

NOM-NOM-licious Chicken and Gravy

delicious, easy, pretty darn quick, Instant Pot Chicken and Gravy
Course dinner
Cuisine Asian-American
Keyword Chicken, gravy, Instant Pot, nomnom
Prep Time 20 minutes
Cook Time 37 minutes

Ingredients

  • Adapted from Nom Nom Paleo
  • 1 4-pound organic chicken (a bigger chicken won’t fit in a 6-quart Instant Pot)
  • 1.5-2 teaspoons kosher salt if using table salt, cut amount to 1 teaspoon
  • ¼ teaspoon freshly ground black pepper
  • 2 tablespoons of ghee or vegetable oil divided
  • 2 large yellow onions diced (or use 1 yellow, 1 red)
  • 6 garlic cloves peeled
  • 2 teaspoons tomato paste
  • ½ cup chicken stock
  • 1 tablespoon cornstarch mixed with 2 T water

Instructions

  • Sprinkle 2 teaspoons salt and ¼ teaspoon pepper all over the chicken, inside and out. Tuck the wings behind the back.
  • Add 1 tablespoon of ghee or oil to the pressure cooker, press “Sauté” function on your electric pressure cooker.
  • When the fat is shimmering, sear the chicken breast-side down in the center of the pot for approximately 5 minutes or until lightly browned.
  • Flip the bird breast-side up. Cook for another 5 minutes or until browned on the back. Don’t worry if the skin sticks and tears—the skin won’t be crispy when you’re done cooking anyway. You’re just browning the skin to deepen the flavor of the gravy.
  • Transfer the chicken to a plate and add the remaining tablespoon of ghee or oil to the pot. Once it is heated, toss in the chopped onions, 6 garlic cloves, and a sprinkle of salt.
  • Cook for 1 to 2 minutes or until softened.
  • Stir in 2 teaspoons tomato paste and cook for about 30 seconds.
  • Turn off the sauté function. Pour in ½ cup broth, scraping up any browned bits.
  • Add steamer insert to the bottom of the pressure cooker, and lay the bird on top of it, breast-side up. Cover and pressure-cook on high for 20 minutes).
  • Turn off the electric pressure cooker, and immediately release the pressure manually. Open the lid and transfer the chicken to a plate or carving board. Tent the cooked bird with foil, and rest it for 10 minutes.
  • Use an immersion blender to purée the contents of the insert to make a smooth gravy. Season to taste with salt and pepper.
  • If you want to thicken the gravy, mix 1 tablespoon cornstarch with 2 tablespoons water. Then, turn on the sauté function and bring the contents to a simmer. Stir in the arrowroot powder slurry and cook until thickened.
  • Carve the chicken and top with gravy. Garnish with parsley if desired.
  • Make sure to have a ginormous bowl of rice or buttered noodles to serve along side..just for the extra gravy!
Good Morning Mr. Phoods (Cilantro Chutney Chicken Curry)

Good Morning Mr. Phoods (Cilantro Chutney Chicken Curry)

Good morning Mr. Phoods:
The dish you are about to take-on requires that you answer the following questions.  Your answers will determine whether you should proceed with this post or not.

Do you like cilantro?

What does cilantro taste like to you?

If you answered NO and it tastes like soap exit NOW by clicking on MII consolation 

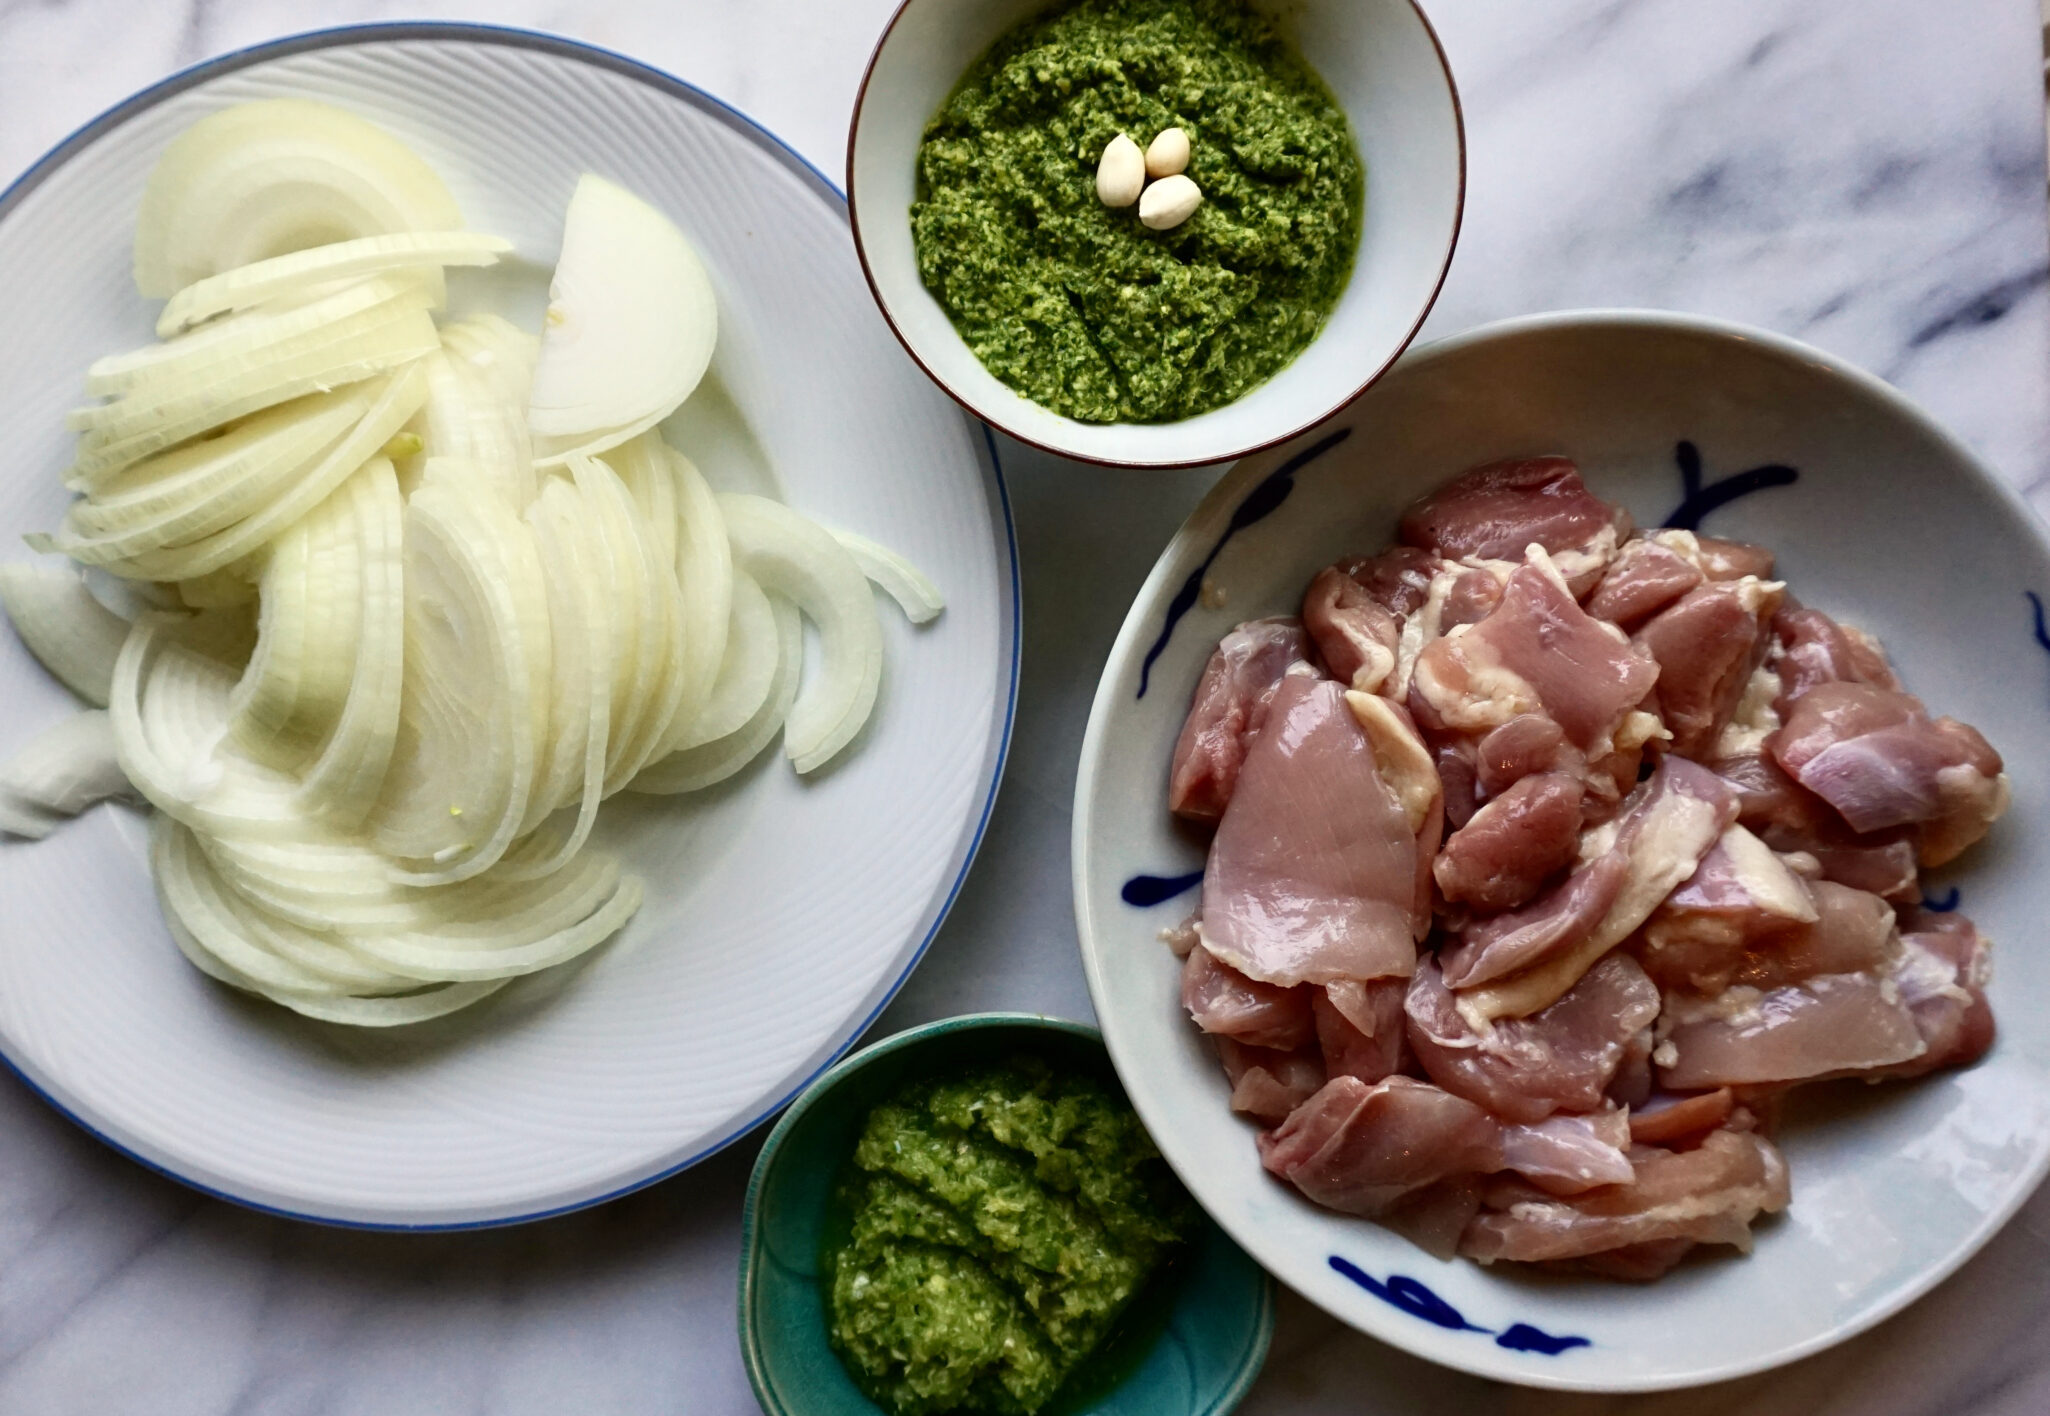
If you answered yes and yumminess, I LOVE cilantro…your mission, should you decide to accept it, will be to run to the store for cilantro, boneless chicken, peanuts, garlic, and onions and make this dish. As usual, if you or any other MII fans (Made In India) should be caught while making this dish you will be required to….invite me over for dinner. If not, the secretary (again me) will disavow any knowledge of you.

Yes, Meera Sodha’s Cilantro Chutney Chicken from her book Made In India is that good.  It inspired me to create this homage to one of my all-time favorite TV shows.

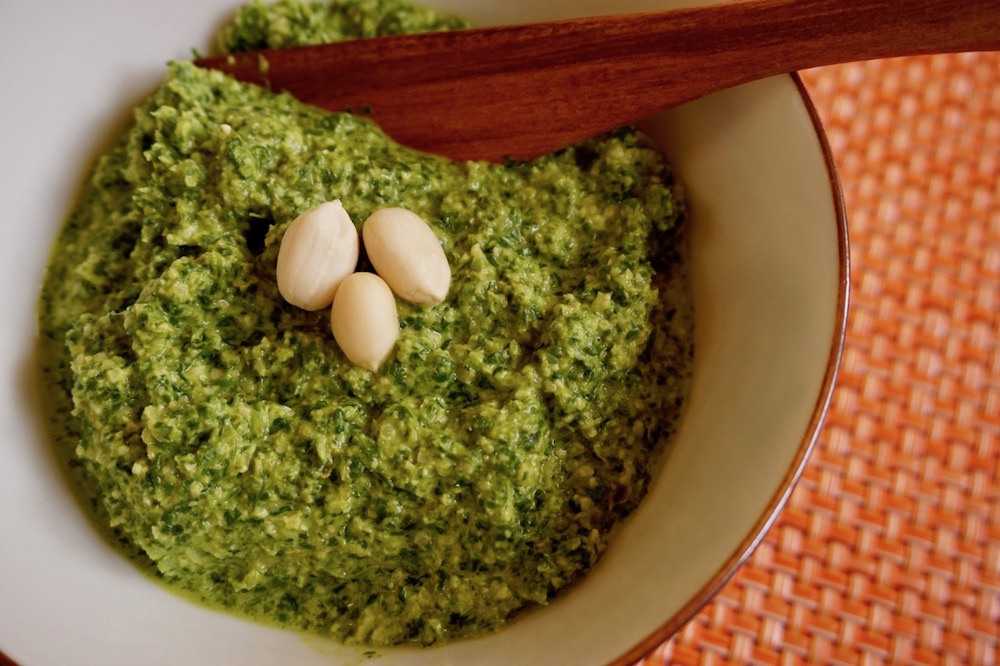
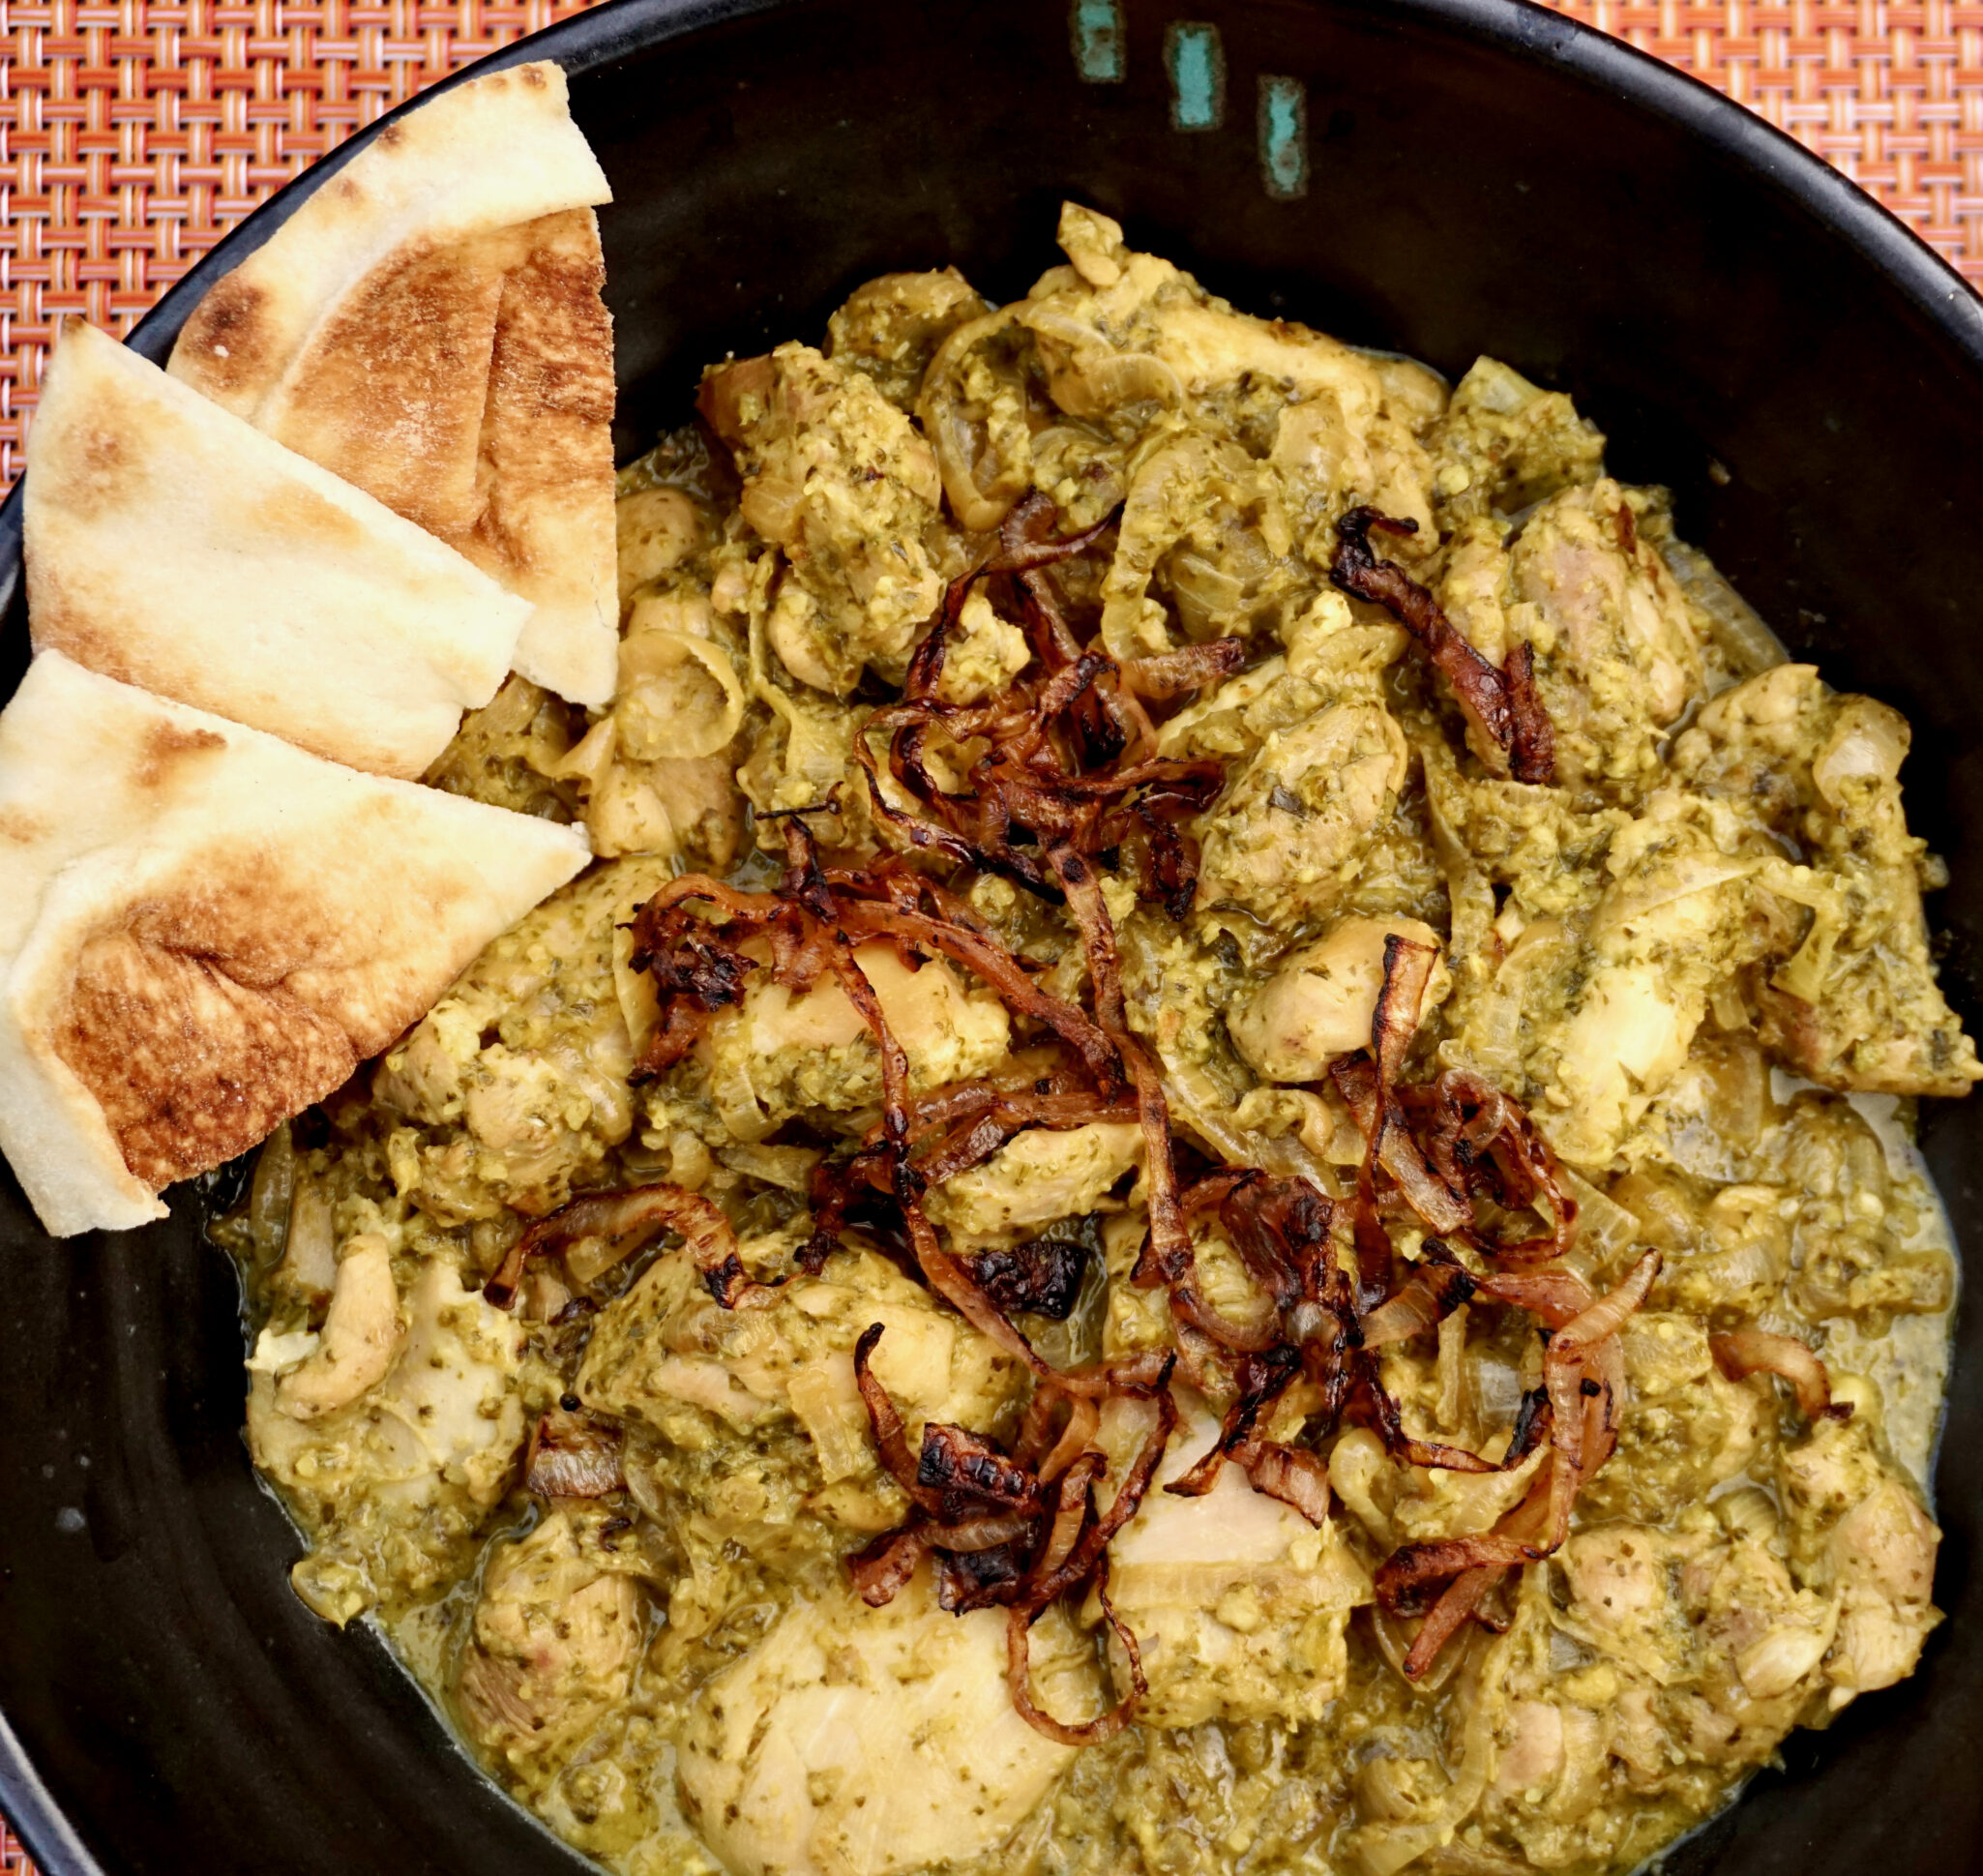
Start by making the chutney.  The chutney is sweetened with brown sugar, umami filled from the cilantro, and tangy from the lemon juice. The peanuts give it body. The green chili adds a spicy finish.  If you can’t find Indian green chilis, you can use jalapenos or serranos, not quite the same but will work in a pinch.  If you have extra chutney after making the chicken, spread it on some naan or crackers. Make it in a blender or food processor.  thin the chutney with a bit of water if it seems too thick.

This cilantro chicken curry is very user-friendly. Despite being a newbie at cooking Indian cuisine, this dish was not intimidating and very “doable” and took just minutes to make.  First, saute boneless chicken with onions and the garlic-ginger paste, then add the cilantro chutney and simmer until the chicken is tender. That’s it!

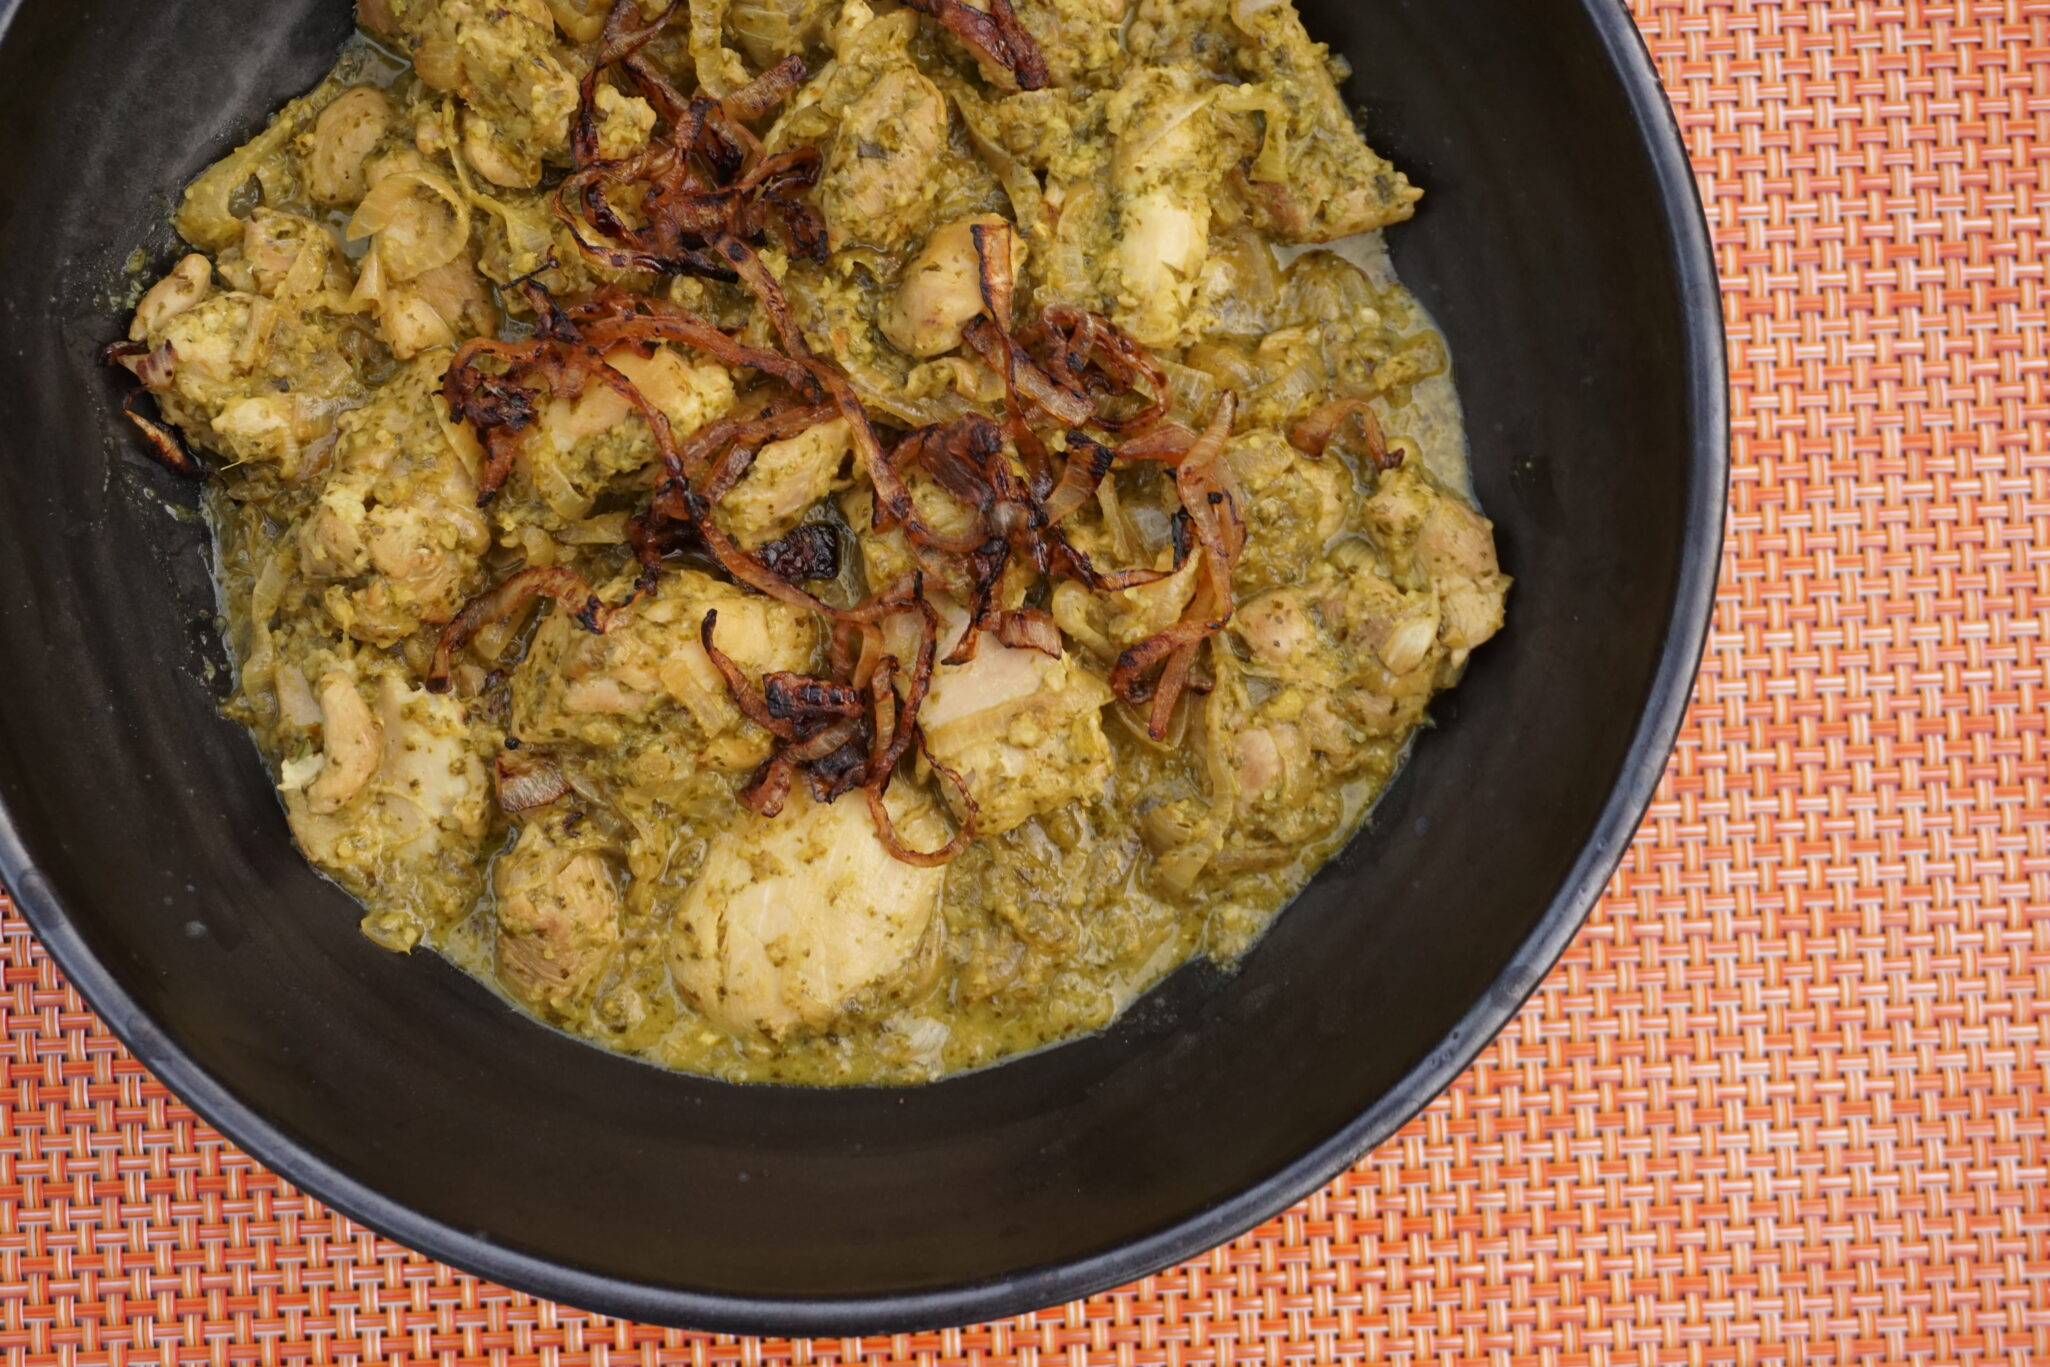
Top with the reserved caramelized onions. This dish is delightful.  Every bite is a flavor explosion.    It’s a great one-pot meal perfect for a quick weekday dinner.

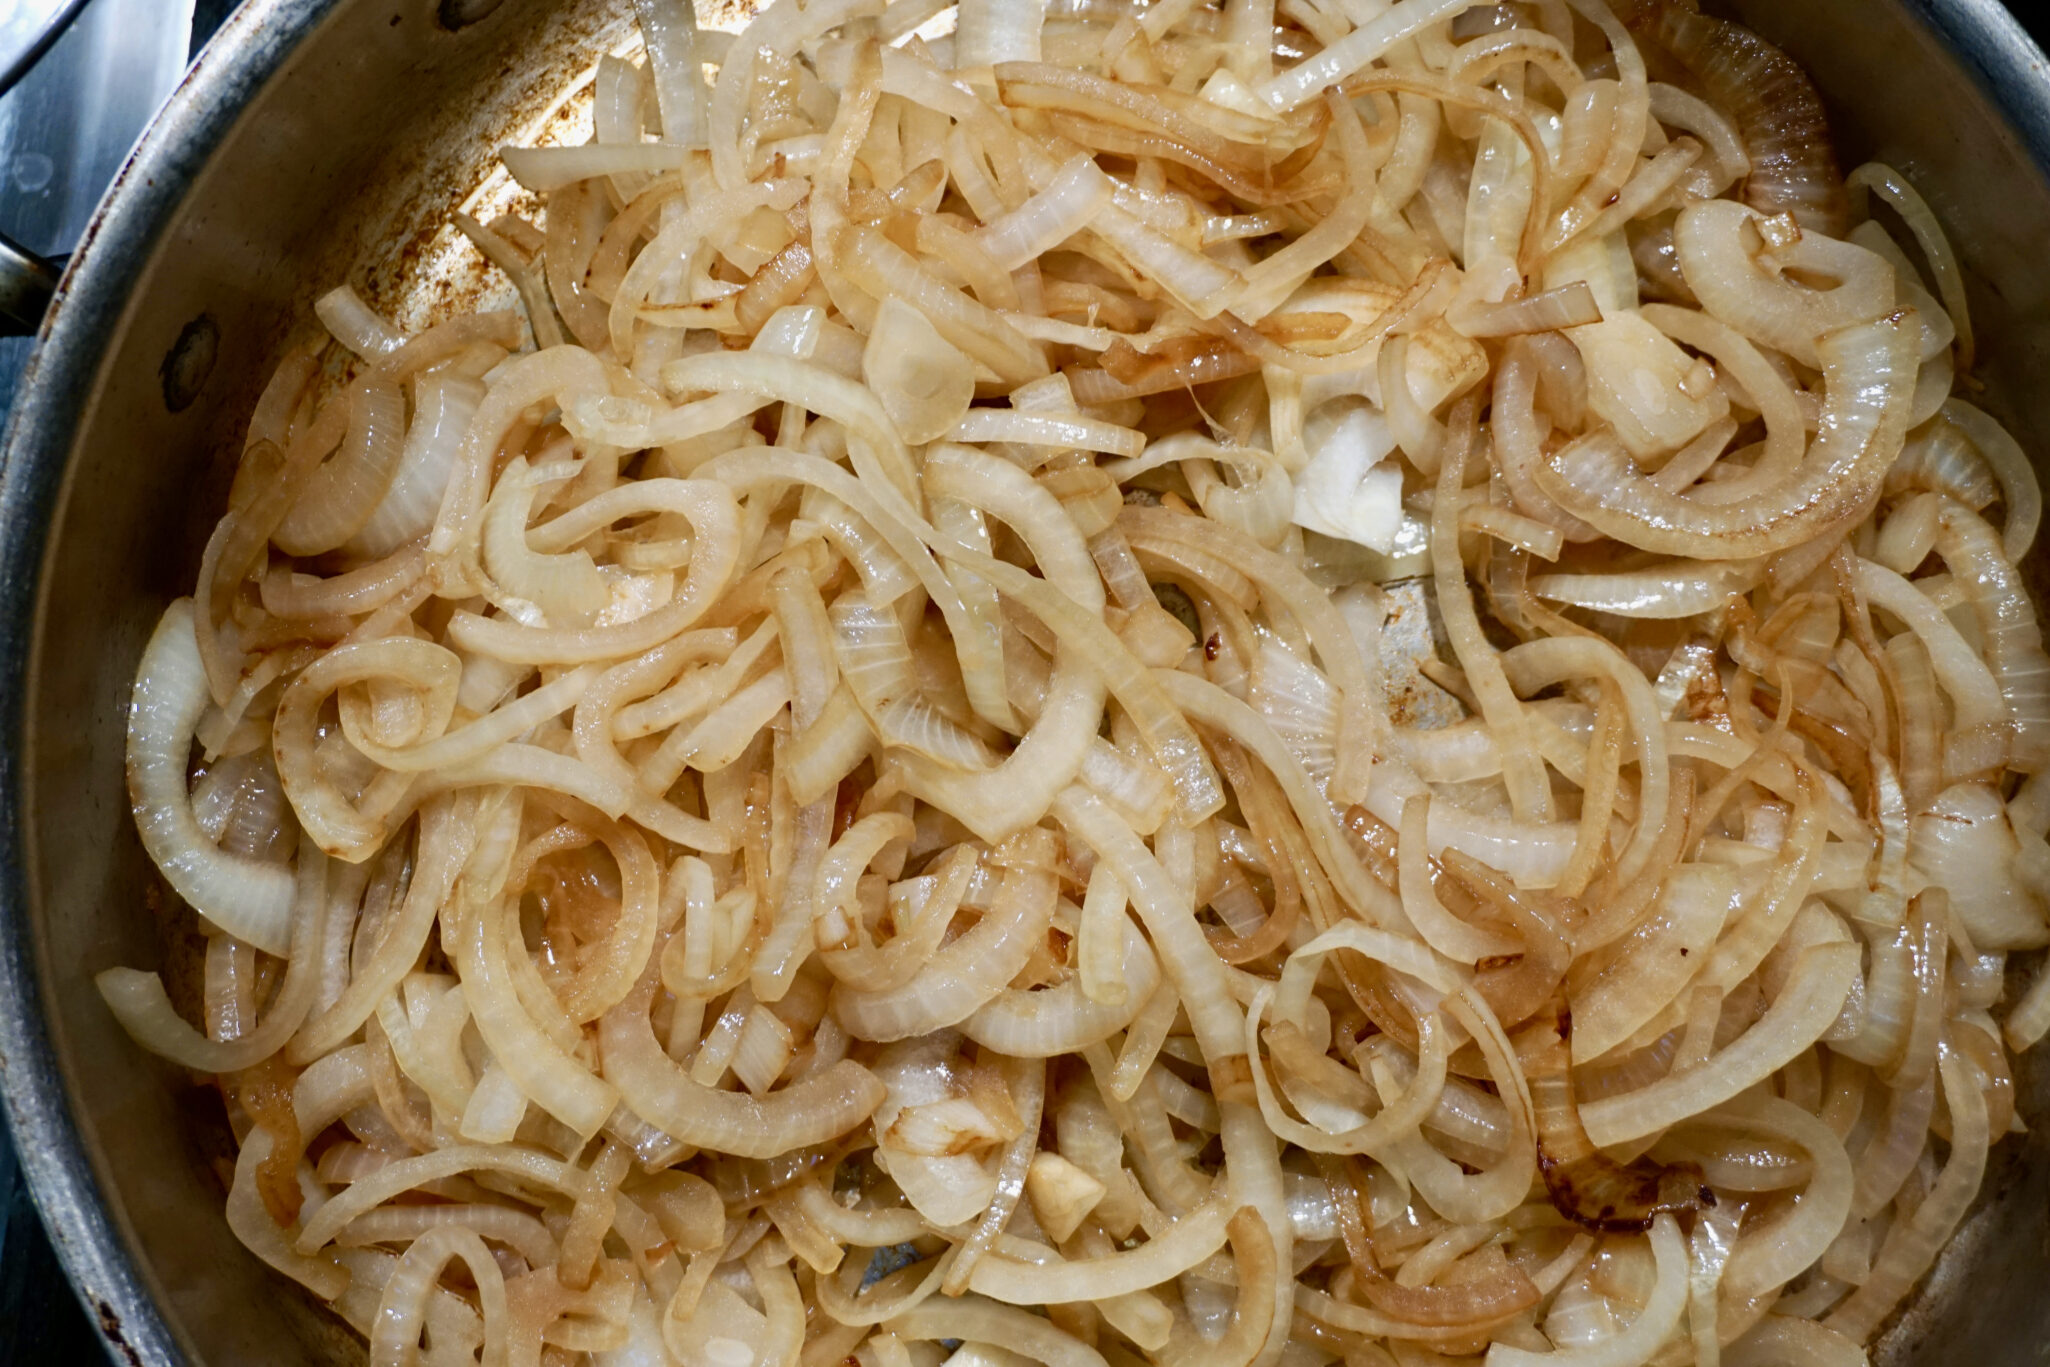
On its way to becoming caramelized onions, yum.

Quick and easy…if you should decide to accept this Mission Possible, you’ll be handsomely rewarded.

Garnish with the onions and cilantro.  Serve with warm Naan and fragrant Basmati Rice.

Enjoy!

Good Morning Mr. Phoods (Cilantro Chutney Chicken Curry)

Prep Time 17 minutes

Ingredients

Ginger Garlic Chili Paste

  • 2- inch piece of ginger peeled and roughly chopped
  • 6 cloves of garlic roughly chopped
  • 3/4 fresh green chili roughly chopped (seeded if you prefer less heat)
  • salt

Chicken

  • 1 3/4 pounds skinless boneless chicken thighs, chopped into 3/4 x 1-inch pieces
  • 6 tablespoons cilantro chutney recipe follows

Caramelized Onions

  • 2 tablespoons canola oil
  • 2 onions finely sliced

Cilantro Chutney

  • 4 ounces cilantro
  • 2 ounces peanuts unsalted and unroasted
  • 4 tablespoons lemon juice
  • 1 teaspoon salt
  • 4 teaspoons brown sugar
  • 1/4 teaspoon ground turmeric
  • 2 to 3 small fresh green chilis roughly chopped (seeded if you prefer less heat)

Instructions

Chicken Curry

  • Throw the ginger, garlic, and green chili into a mortar and pestle, along with a pinch of salt, and bash up to a coarse paste.
  • Put the oil into a wide-bottomed, lidded frying pan on a medium heat. When it’s hot, add the onions and fry, stirring occasionally, for 6 to 8 minutes, until they are starting to turn golden. Transfer half of the onions to a bowl and put to one side.
  • Add the ginger, garlic, and green chili paste and cook for around 3 minutes. Put the chicken pieces into the pan, sear them on all sides and add the chutney. Stir the chutney, pop the lid on, and turn the heat down to medium-low. Cook for around 15 minutes until the chicken is cooked through and tender.
  • In the meantime, transfer the onions from the bowl into a small frying pan and continue to cook them on a medium heat for another 10 to 15 minutes, until they are dark brown, soft, and sweet, then take them off the heat.
  • Add 1/2 teaspoon of salt (or to taste) to the chicken little by little, until it tastes just right, then take it off the heat.
  • Scatter the caramelized onions over the top of the curry just before serving. Serve alongside some steaming hot basmati rice or a pile of hot, homemade chapatis.

Chutney recipe instructions:

  • To wash the cilantro, fill a bowl full of cold water and put the cilantro in it. Move the cilantro around in the water, then take it out and shake off the excess water.
  • Roughly chop the stems and leaves and put them in a blender. Add the peanuts, lemon juice, salt, sugar, turmeric, and 2 small chilis, and pulse them in the blender until the mixture has a smooth, almost pesto-like consistency. Add some water to help the mixture to blend if necessary. The result should be a smooth cilantro chutney which is equally sweet, fiery, and lemony. Add the remaining chili, or more lemon juice, salt, and sugar to balance it to your taste, then spoon it into your clean jar.


FALL Into One Pot Meals (Instant Pot Korean Beef Stew)

FALL Into One Pot Meals (Instant Pot Korean Beef Stew)

As summer winds down I head to the back of my closet to pull out my sweaters and jeans. I also start yearning for comfort foods like stews and hearty soups. Over the weekend we made the rounds to our favorite food marts. We find short ribs for a delicious hearty Korean stew called Khal Bi Jim and right next to the short ribs…oxtails!

Are you thinking what? Oxtails?  Are they really swish, swish, in the back of the …yep, they are. Haven’t tried them?  The meat is rich and flavorful. It has a bit more texture than short ribs and if you like chomping on bones, you’ll love oxtails. There is another reason to give this recipe a whirl…

INSTANT POT

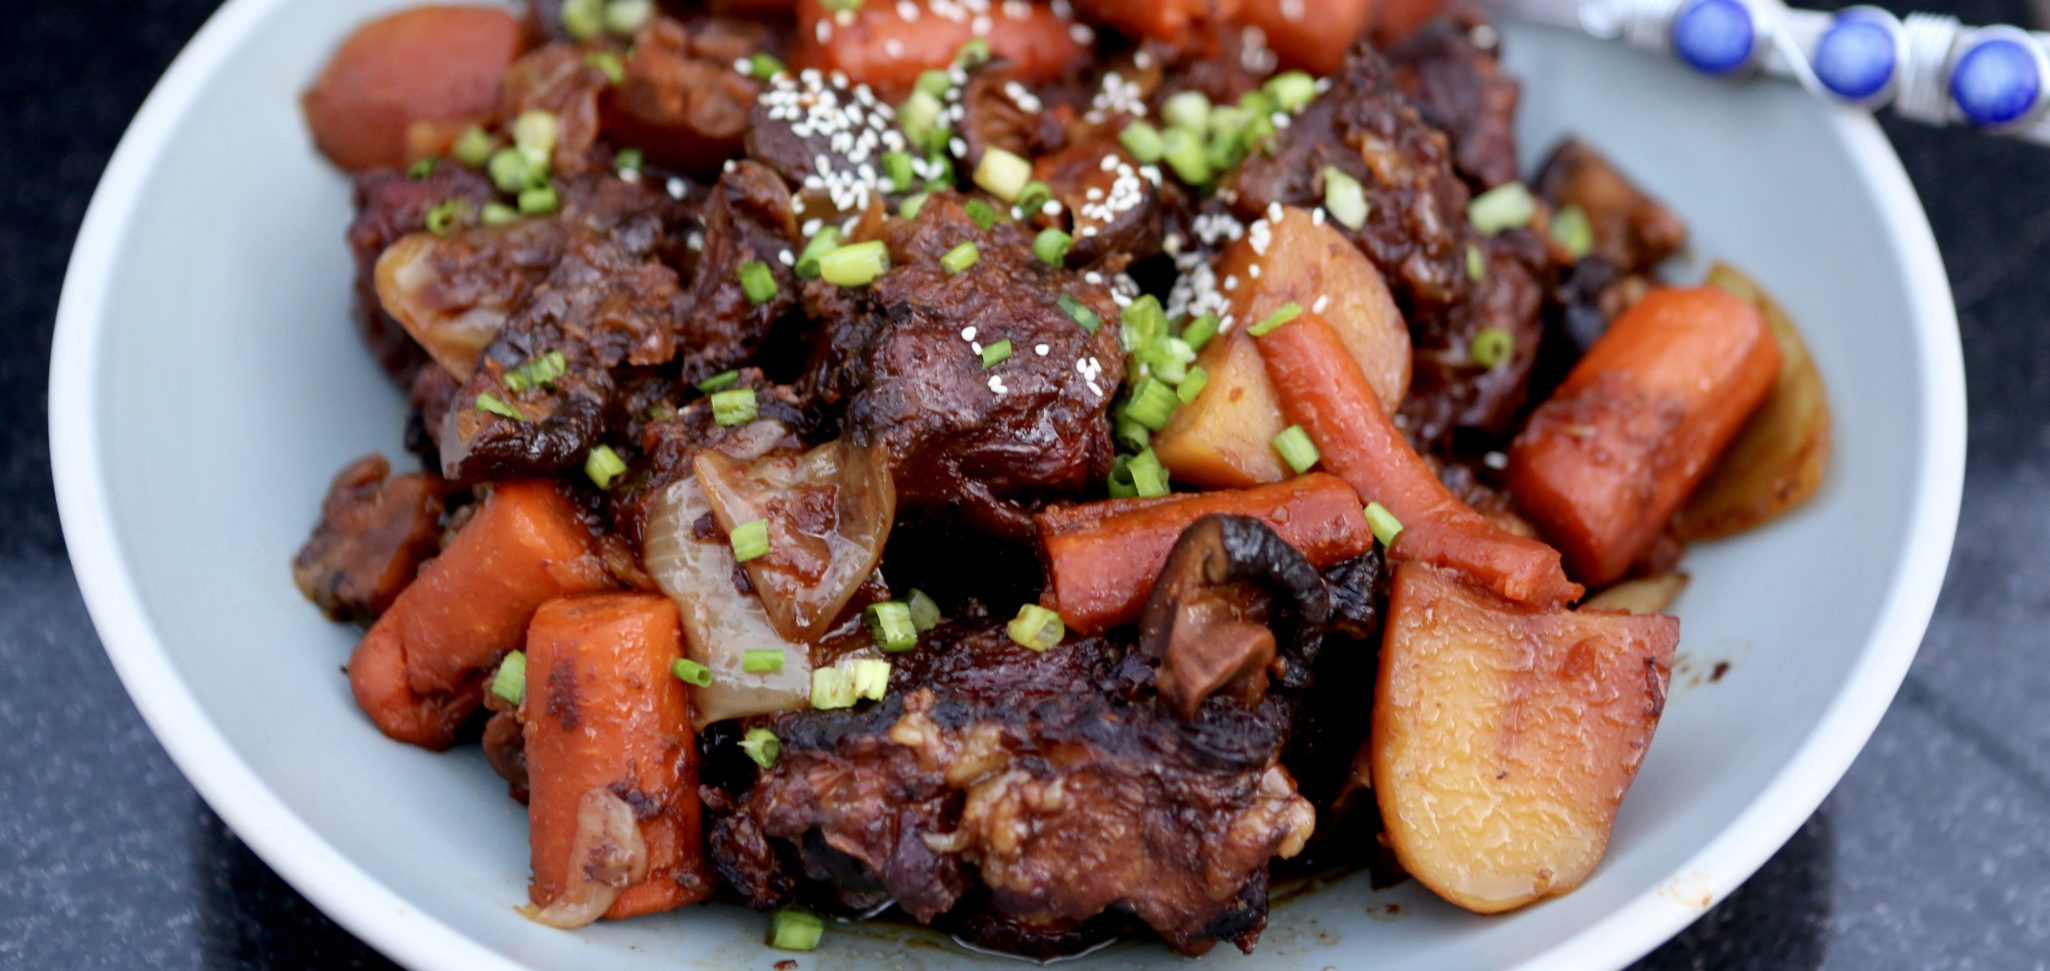
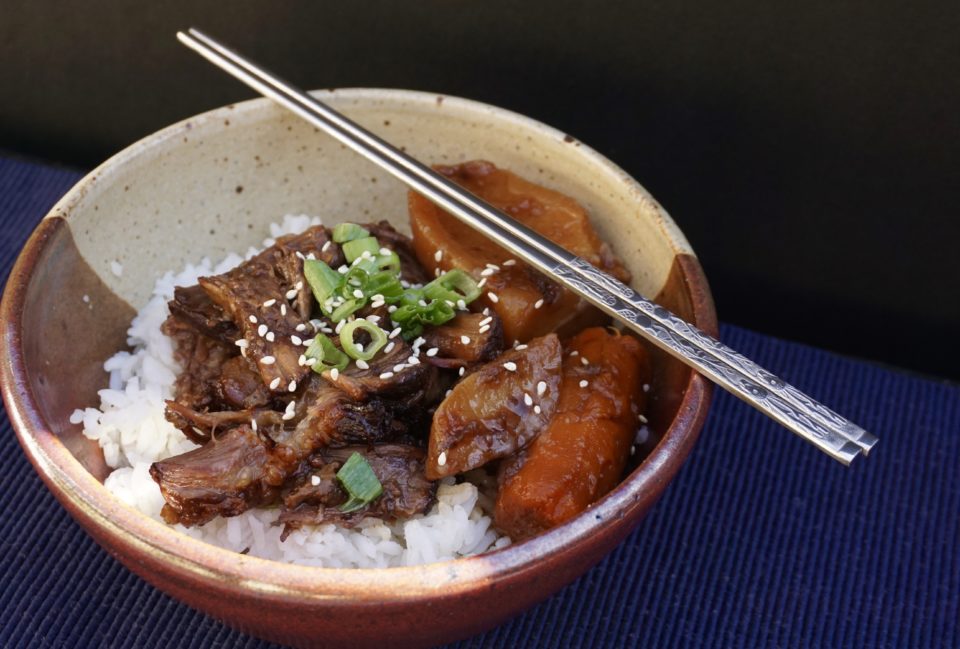
I google oxtails, pressure cooker and the blog Korean Bapsang pops up with a recipe for Koriijim or braised oxtails. Bingo. Normally oxtails need quite a bit of time braising to get to the tender fall-off-the-bone stage (which is generally around 3 hours). This means starting pretty darn early in the day to have dinner on the table at a decent time. This time?  Brown the oxtails, pour the marinade/sauce over the meat, top it with carrots, potatoes, and onions.  Then, twist the lid on and set the cooking time to 45 MINUTES. Yep, not a typo-45 MINUTES. Whoa, less than half the time to cook this dish. WOOHOO.

The recipe calls for onions, mushrooms, and carrots. I like lots of vegetables so I added potatoes and extra carrots.  I might even add squash or another root vegetable like parsnips next time. If you don’t have dried shiitakes you can use fresh mushrooms. The recipe calls for a Korean plum sauce, maesil cheong, a sweet-sour sauce often used as a sweetener.  Not having any I used Chinese plum sauce, which may be totally off base but it’s what I have and it is sweet and a bit tart. You can skip it altogether and use sugar and honey, 1 tablespoon of each.

Classic Asian flavors-soy sauce, sesame, garlic, ginger, and onions in a hearty, down-home stew. Delicious. As the weather starts to cool try this dish. If you are really not thrilled with oxtails try this with bone-in short ribs cut into 2-3 inch pieces (ask your butcher) just as tasty.  I love autumn.

FALL Into One Pot Meals (Korean Beef Stew)

Ingredients

Adapted from Korean Bapsang

  • 3 to 4 pounds oxtail
  • 1 medium onion cut into large chunks
  • 2-3 carrots cut into large chunks
  • 1 white potato cut into large chunks Yukon Golds for a less starchy, russets for starchy
  • 3 to 4 dried shiitake mushrooms briefly soaked and quartered (use fresh mushrooms if not available)

Braising liquid

  • 1/2 cup soy sauce
  • 1/2 cup rice wine or mirin a sweet Japanese cooking wine
  • 1/2 medium Asian pear or 1 bosc pear or apple, grated
  • 2 tablespoons minced garlic
  • 1 inch ginger grated (about 1 teaspoon)
  • 3 tablespoons honey or sugar
  • 3 tablespoons maesil cheong or 1 more tablespoon honey or sugar
  • pepper to taste

Garnishes

  • 1 tablespoon sesame oil
  • 2 scallions roughly chopped (and some finely sliced for optional garnish)
  • sesame seeds-toasted

Instructions

  • Trim off excess fat. Rinse the oxtail pieces and let them sit in cold water for 10 to 20 minutes to draw out excess blood. Drain well, and pat dry with paper towels.
  • Press the “Saute” button on the Instant Pot. When the pot is hot, add 1 tablespoon of canola or vegetable oil. Sear the oxtail pieces in two batches, browning all sides. Or sear in separate pan and place in Instant Pot
  • Combine ingredients for braising liquid and pour the braising liquid over oxtails. Add the vegetables.
  • Close the lid tightly. Press the “Meat” function, and using the “+” button, increase the time to 45-48 minutes. 48 minutes for softer meat. When finished, the Instant Pot will automatically turn to the “Keep Warm” mode. Leave the pressure cooker alone for about 10 minutes before opening the lid.
  • Stir in the scallion and the sesame oil. Remove the meat and vegetables from the pressure cooker. Strain the cooking liquid into a bowl to skim off the fat. Pour sauce over the ribs.
  • Garnish with the optional scallions and sesame seeds. Serve with hot rice.
Ginger Scallion Sauce Poultry in Motion

Ginger Scallion Sauce Poultry in Motion

DI went to the city to grab a bite to eat with my kid Jeffrey and my Mom. Jeffrey suggested a joint that serves poached chicken and rice. Loves it, goes there all the time.

I said, you’re KIDDING, right?  Not that I don’t like chicken but this sounds a whole lot like Chinese White Cut Chicken or Singaporean Hainan Chicken which I make ALL the TIME. Yep, same dish, but served in a hipster space with people willing to wait in line and pay gobs of money to have. REALLY?

Down-home comfort food made by grandma although you can get it at a hole-in-the-wall Asian restaurants or buy it at a Chinese deli to take home (usually hanging in the windows by the neck, lol).  But to become the star of a menu and served in a cool space in the middle of Hipsterville? Who would have thought something as simple as poached chicken would become all the rage. Recently opened in the Marina, Rooster and Rice is my kid’s go-to place. Chicken, white rice (ok, you can probably get brown rice) and a dipping sauce. It comes with a bit of broccoli or cucumbers and if you want, a bowl of chicken soup. BUT that’s all. Sheesh.

Why didn’t I think of that?

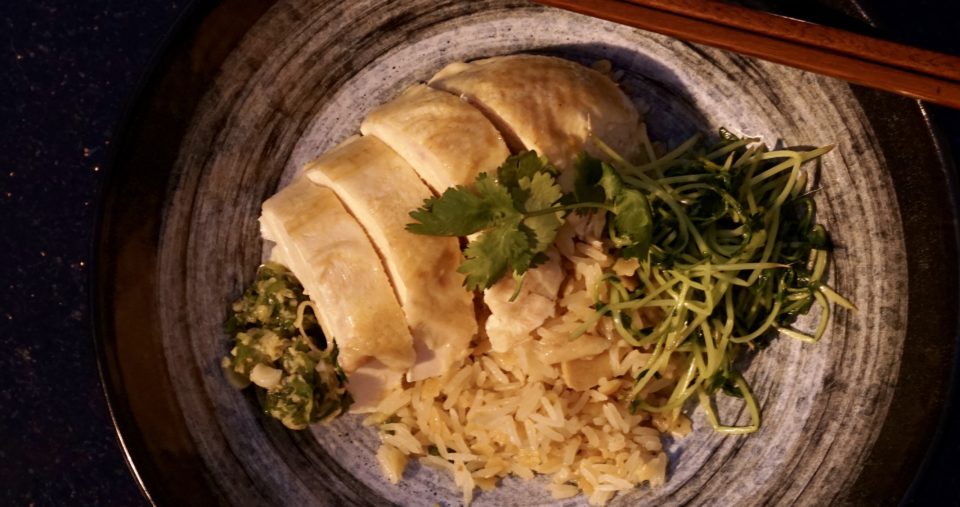
My version of Chicken and Rice

I did a bit of sleuthing (hello Google) and concluded that ground zero for poached chicken rising to rock star status might have been Portland at Nong’s Khao Man Gai Food Truck. Nong P. got her start as a line chef at the popular Thai restaurant Pok Pok.  She left to literally go on the road with a food truck serving her chicken and rice. It was wildly popular and she was able to open a brick and mortar place of the same name. Rooster and Rice also serves the Thai version.  It’s dipping sauce is bean-based and is sweet, salty and spicy.  Delicious. The dipping sauce for Hainan or Chinese white cut chicken is based on salt or soy sauce, includes ginger and scallions and is finished with oil. Yummmmmmm.

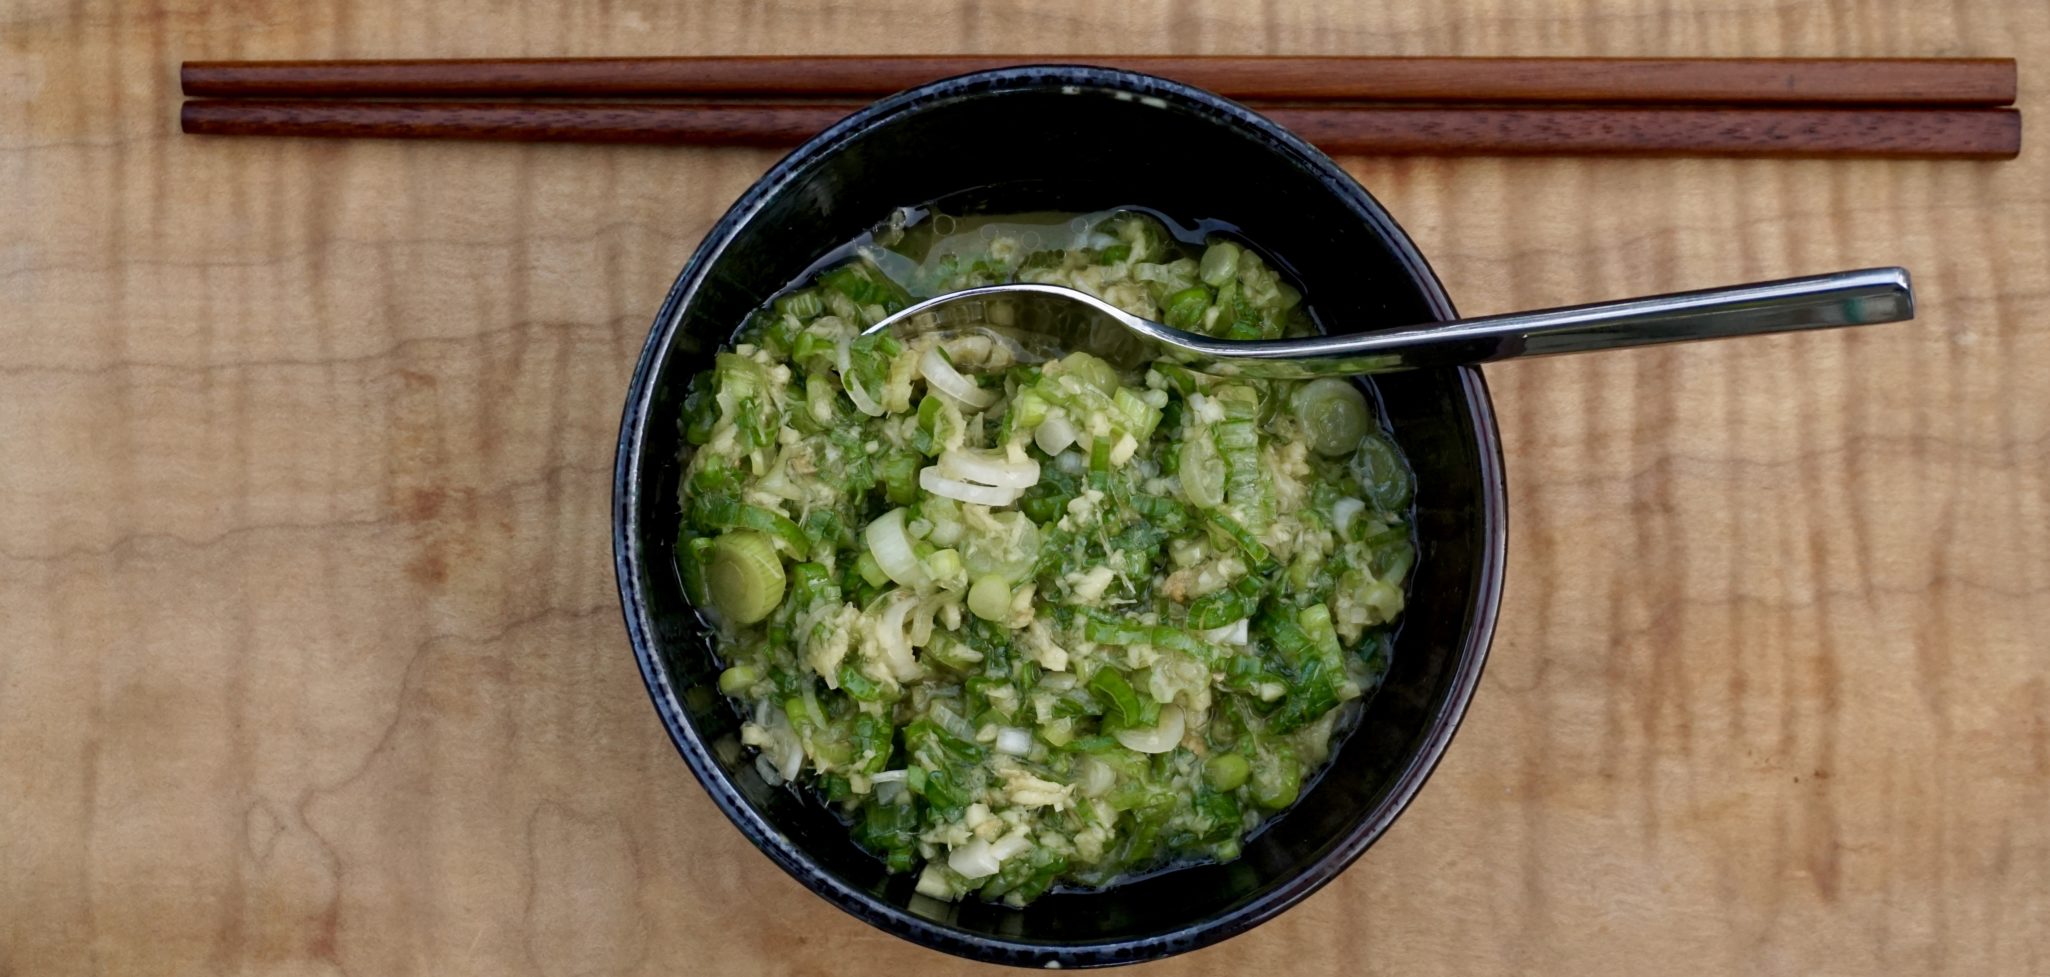
I am partial to the ginger scallion sauce which I have posted with my Simple Poached Chicken recipe but I did want to try David Chang’s (Momofuku) Ginger Scallion Sauce. His recipe has made the rounds on  Epicurious, Saveur, Bon Apetit’ website, your auntie’s blog, EVERYWHERE.  All wax poetically about it. Its good on everything even slathered on your skin apparently. So, I made it and it’s good alright but is it Nirvana?  Hm.  It is ridiculously easy and extremely versatile.  It is lovely on noodles, fish, your kids if they forget their sunblock (I’M KIDDING), on grilled tofu or mushrooms (yay for vegetarians) and of course CHICKEN. It’s the perfect pairing like Fred and Ginger (my fav). Similar to the sauce for Hainan Chicken or White Cut Chicken it starts with ginger, scallions, and salt and soy sauce but unlike mine, the oil is not heated and it includes a touch of vinegar. I leave it to you to pick which is your favorite. Definitely make the chicken (it’s incredibly delicious and easy) and try the different sauces.  Love to know which is your favorite.

Mother of All Sauces Momofuku Ginger Scallion Sauce

All purpose delicious sauce for chicken,
Course condiment, Sauce
Cuisine Asian
Keyword ginger, poached chicken, scallions
Prep Time 15 minutes
Cook Time 5 minutes

Ingredients

  • 2 1/2 cups thinly sliced scallions greens and whites; from 1 to 2 large bunches
  • 1/2 cup finely minced peeled fresh ginger
  • 1/4 cup grapeseed or other neutral oil
  • 1 1/2 teaspoons usukuchi light soy sauce
  • 3/4 teaspoon sherry vinegar
  • 3/4 teaspoon kosher salt or more to taste

Instructions

  • Mix together the scallions, ginger, oil, soy, vinegar, and salt in a bowl.
  • Taste and check for salt, adding more if needed.
  • Best after 15 or 20 minutes of sitting, ginger scallion sauce is good from the minute it's stirred together up to a day or two in the fridge.
  • Use as directed, or apply as needed.
Miso Honey Ribs, To BBQ Or Bake That Is The Question

Miso Honey Ribs, To BBQ Or Bake That Is The Question

The kids were home for about a week but we were so busy running around we never got around to our annual summer burger cook-off.  Disappointing but little did I know the chance to flex my culinary muscle would happen anyways.  Each year Saveur magazine presents awards for the Best Food Blog. While perusing the finalists I found a recipe for Honey Miso Ribs on the blog  Son of a Southern Chef. They looked mouthwateringly delicious.  Lazurus Lynch, a 23-year-old, cute as a button, southern chef, is the creator.  It is filled with energy, whimsy, and fun.  He oozes so much personality it practically slaps you in the face.  Look out Guy Fieri, this kid is the real deal and a natural for TV.

A tub of organic miso from the Ferry Plaza Farmer’s Market and a 3-pack of ribs from Costco in the fridge meant I was destined to make his rib recipe. Dinner was set, and off to rowing.  I came home and 2 racks of ribs were sitting on the counter coated with a dry rub.  Hubs casually says I used a couple of racks, what do you want to do with the last rack?

WHAAT?  ARE YOU CHALLENGING ME TO A RIB COOK-OFF?

GAME ON DUDE

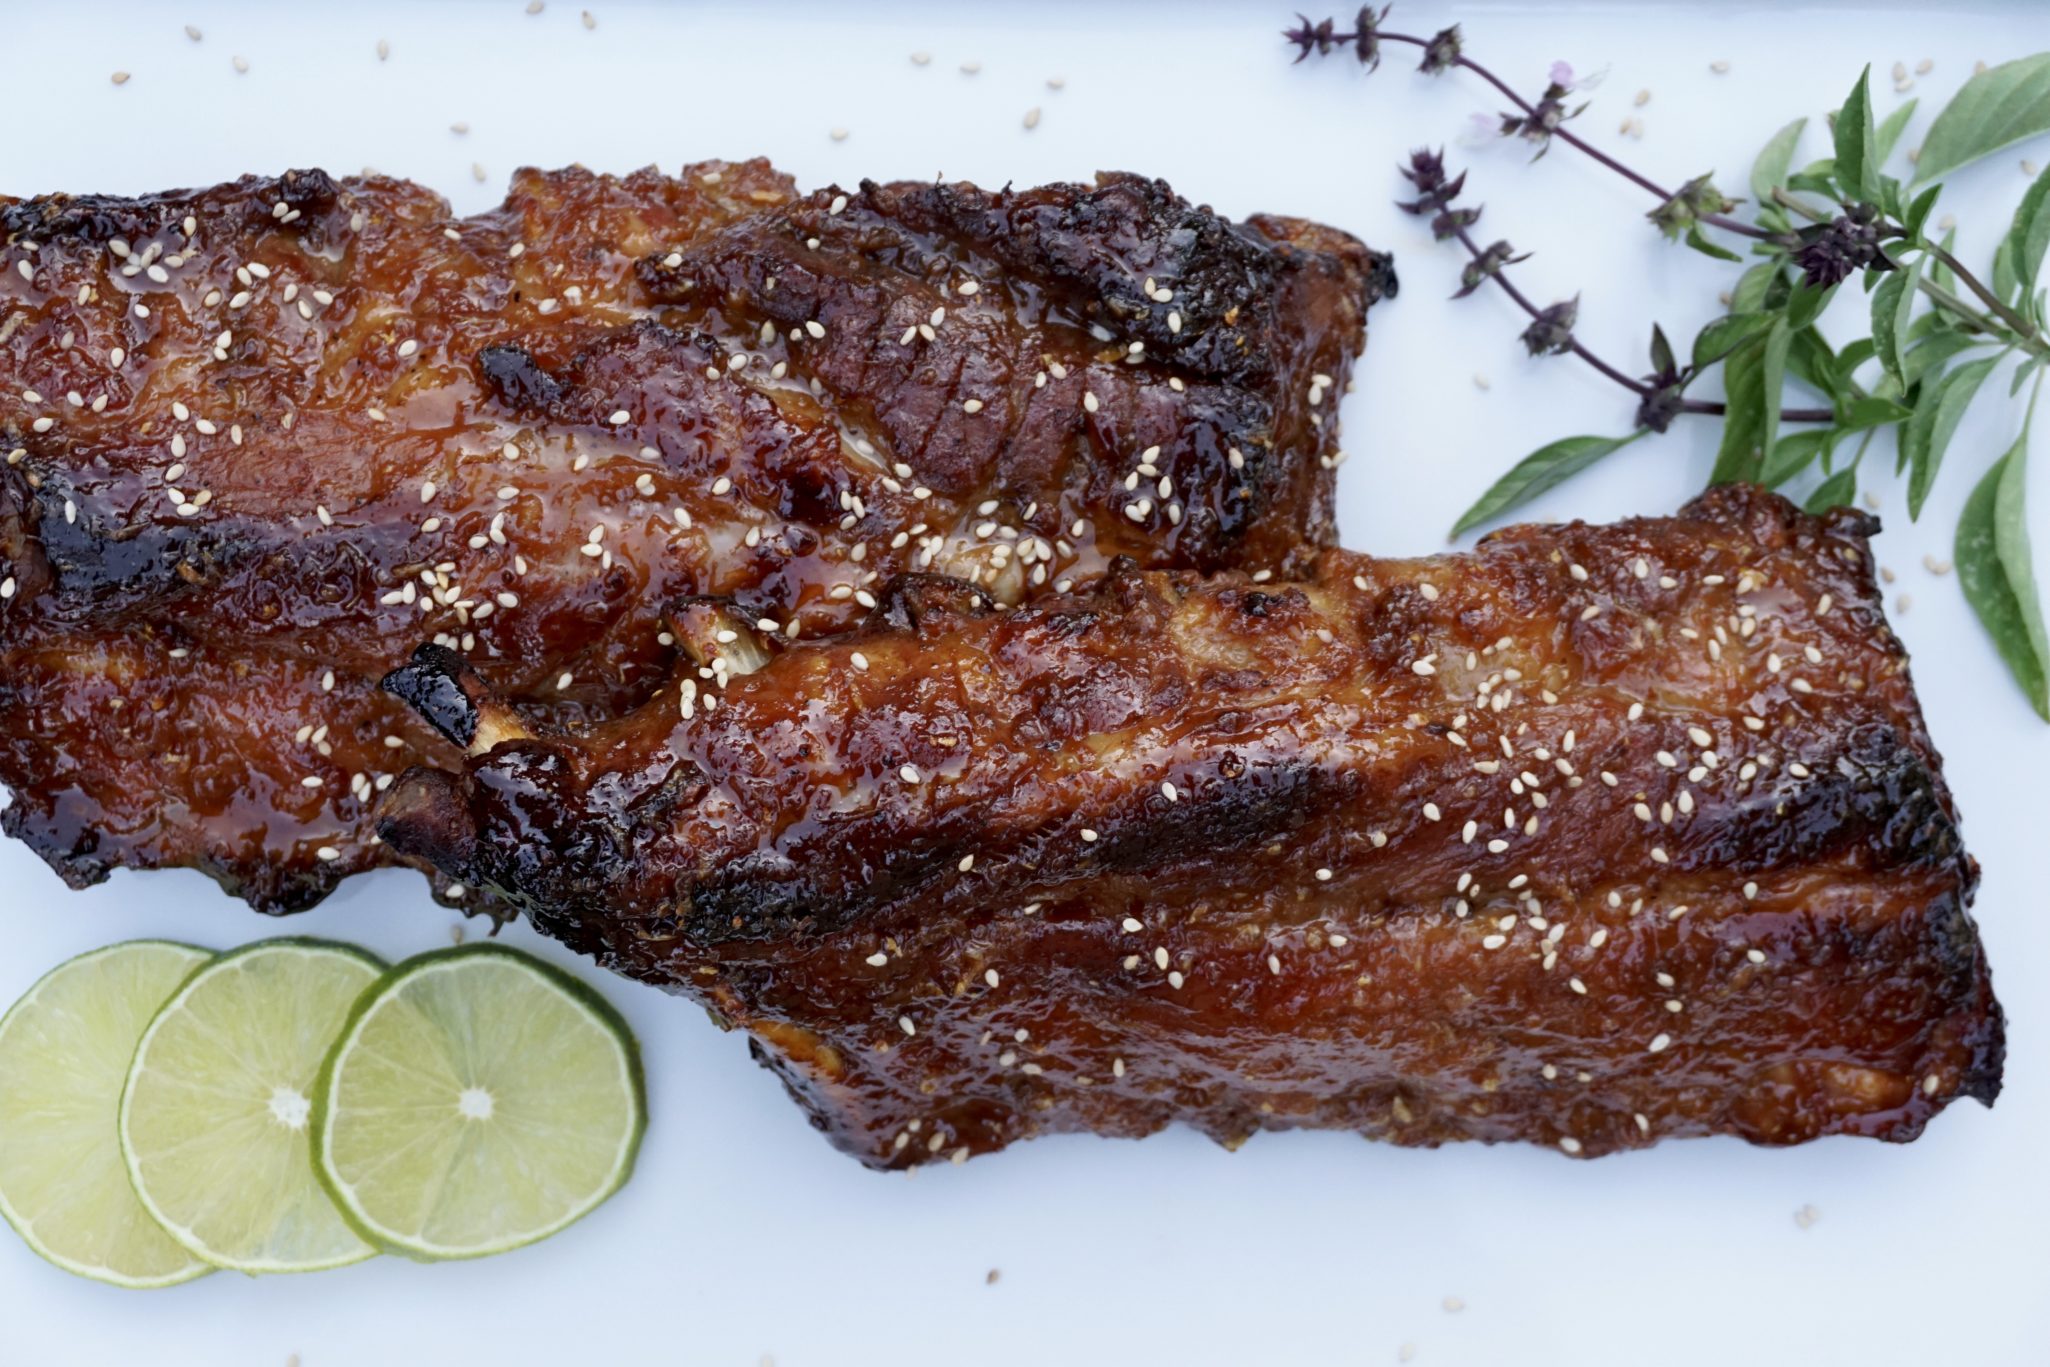
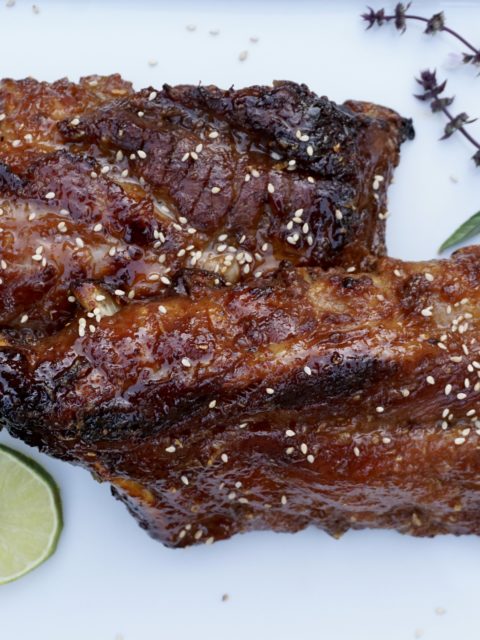
Laz’s recipe called for oven-baking the ribs, painting on the glaze, and then baking the ribs for an additional 30 minutes.  The glaze is comprised of Japanese miso ( a soybean paste that is salty and flavorful), ginger, garlic, soy, lime, and sesame.  I wanted a touch more acid so I increased the lime juice and rounded up the soy sauce to a tablespoon.  Baste the ribs a couple of times during the last half hour of cooking, done. Serve em’ up.  Pretty darn easy.

On the other hand, Wes’s ribs call for PAINSTAKINGLY smoking them for hours and hours and rotating them on the grill CONSTANTLY.  His BBQ sauce contains about a million ingredients and needs to be cooked on the stovetop and then brushed on his ribs about 50 times for the last 2,700 seconds of cooking (makes it sound like a long time right?).

I’m not trying to create bias or anything…

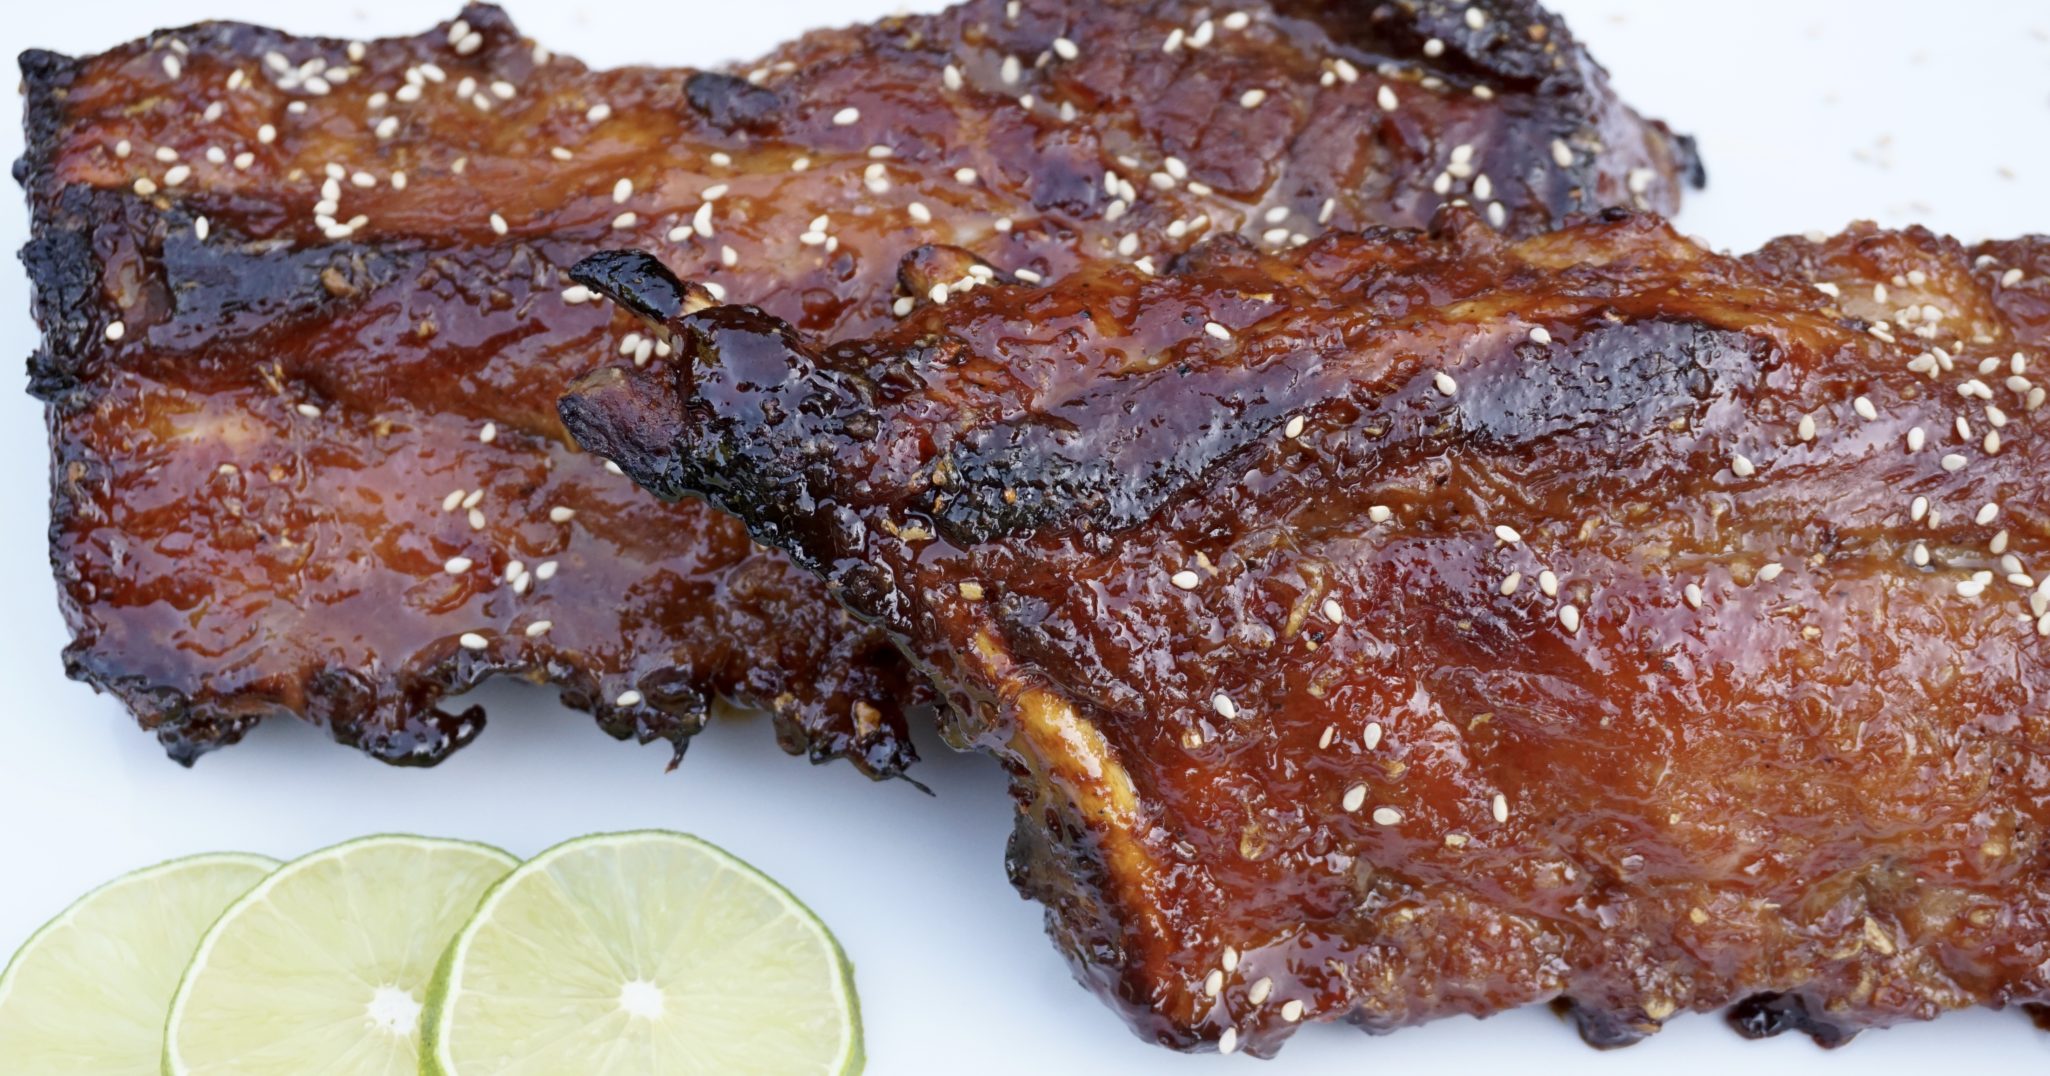
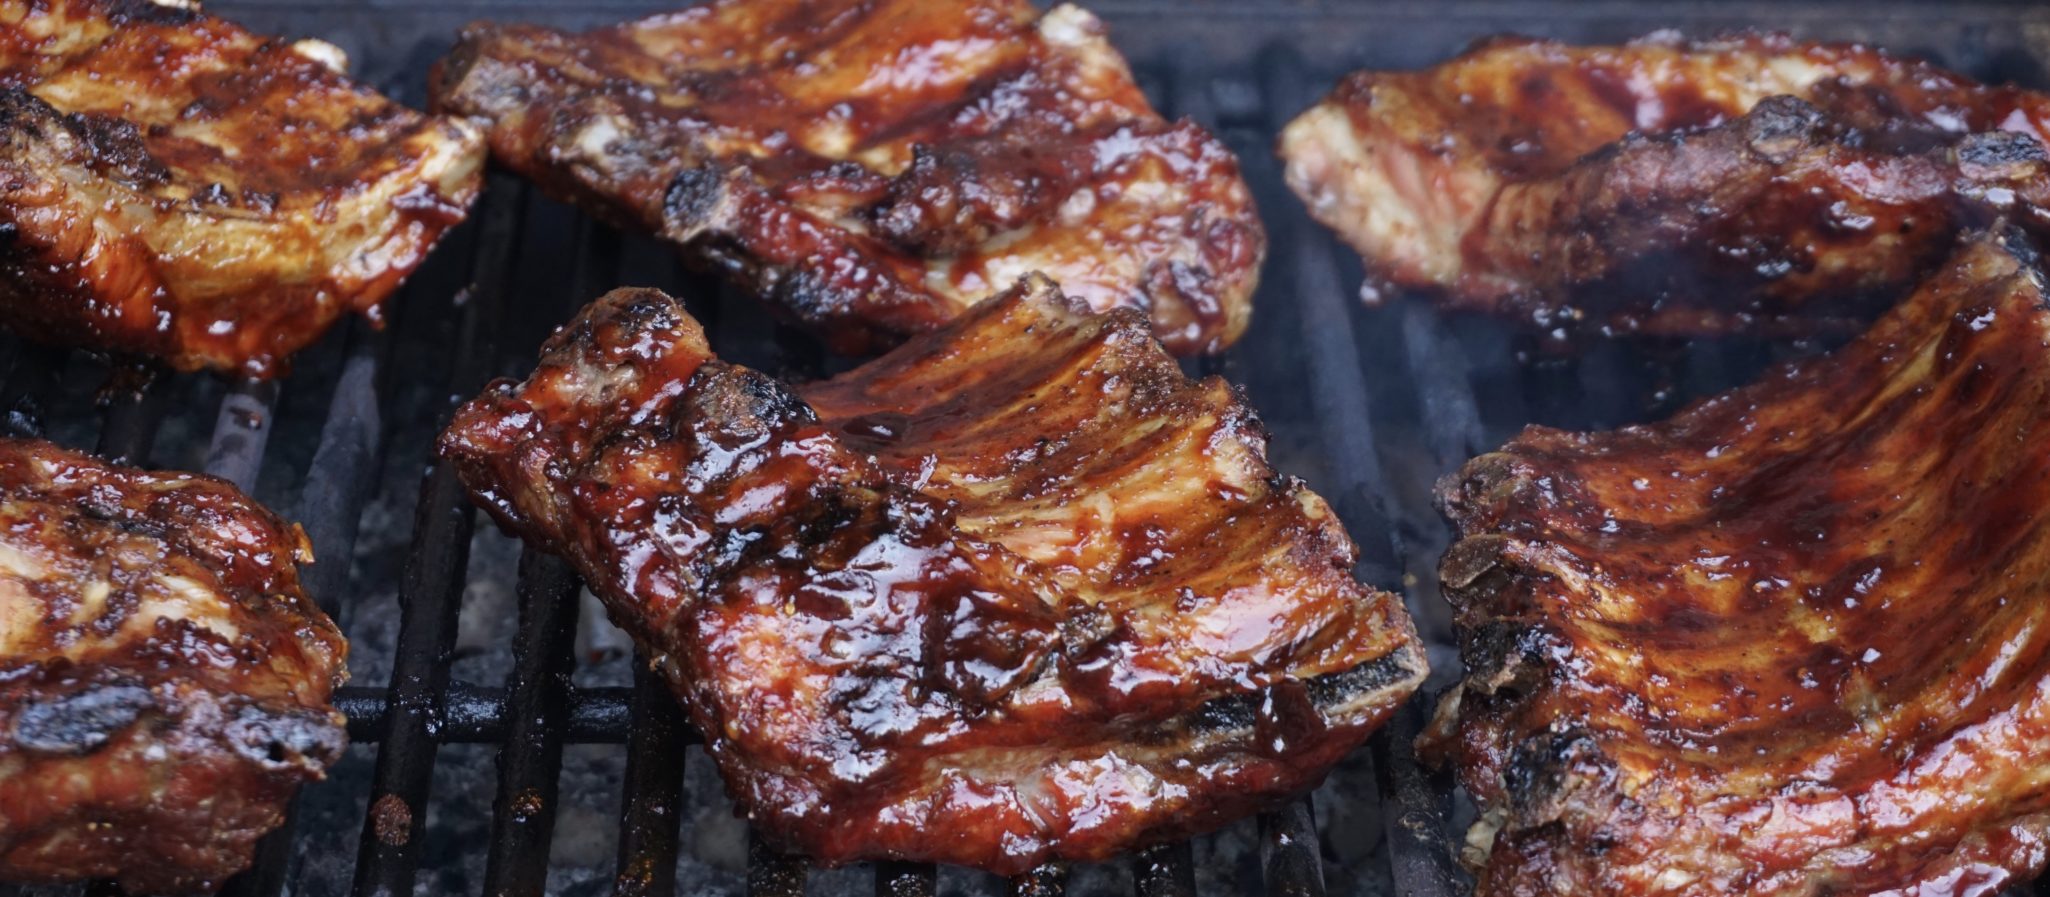
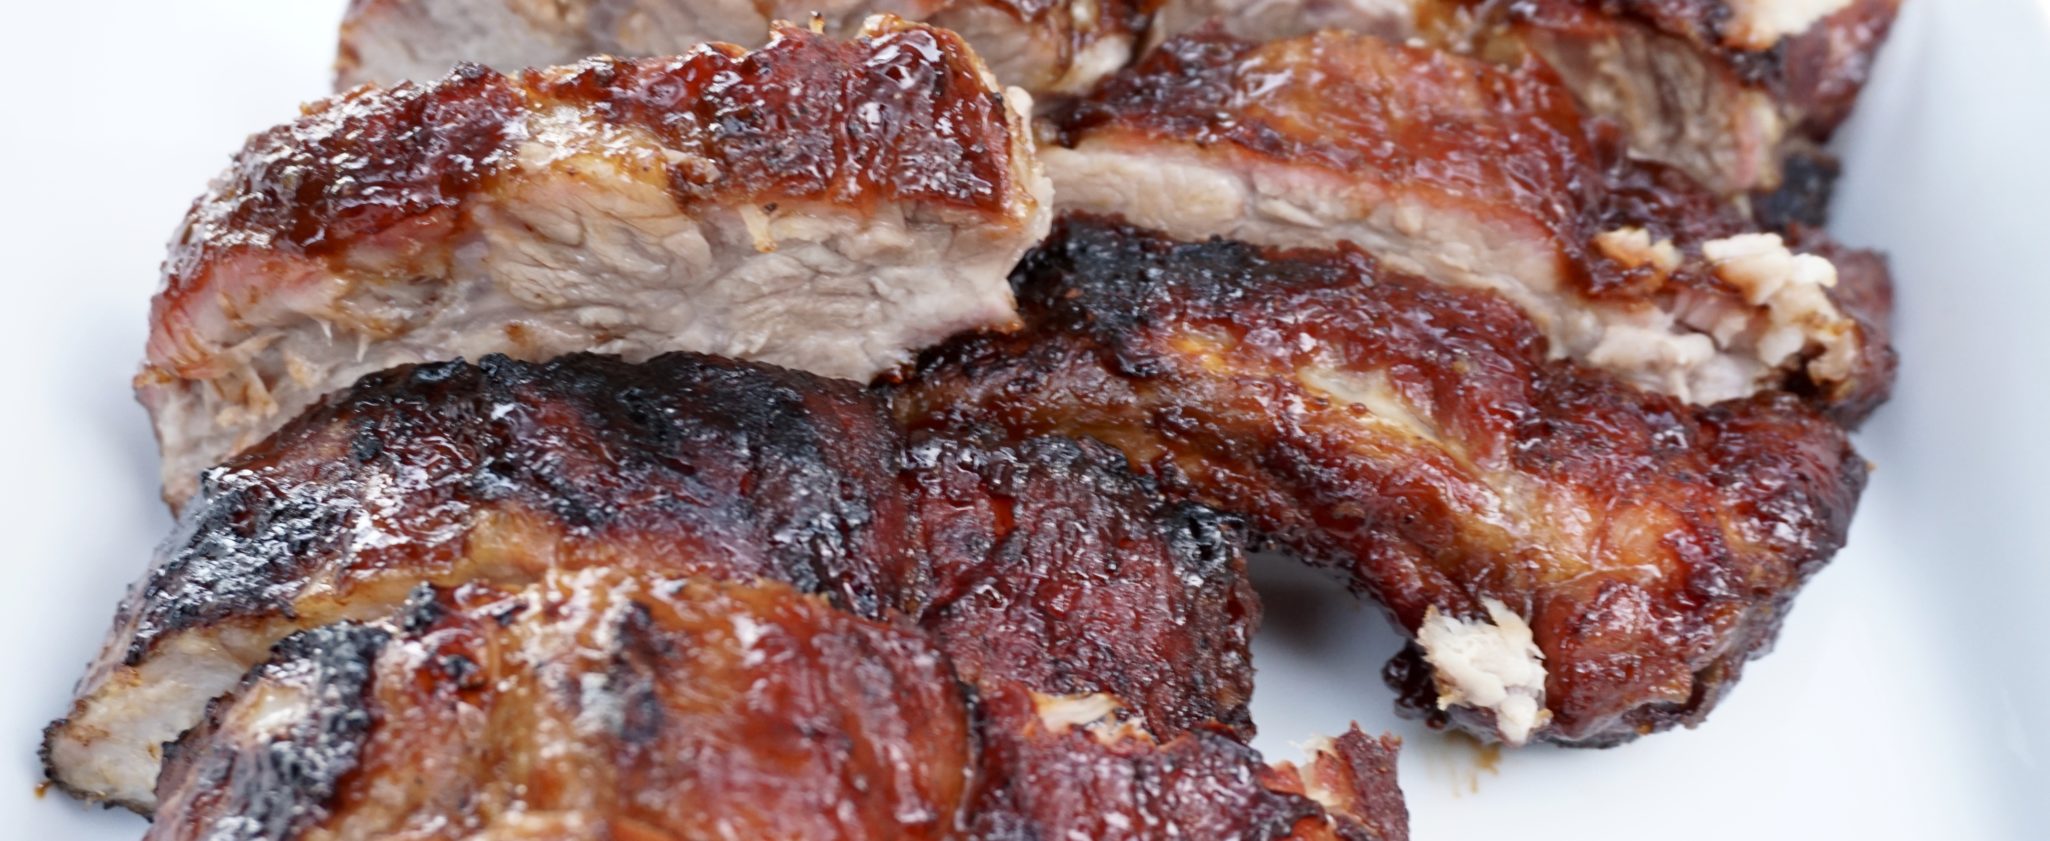
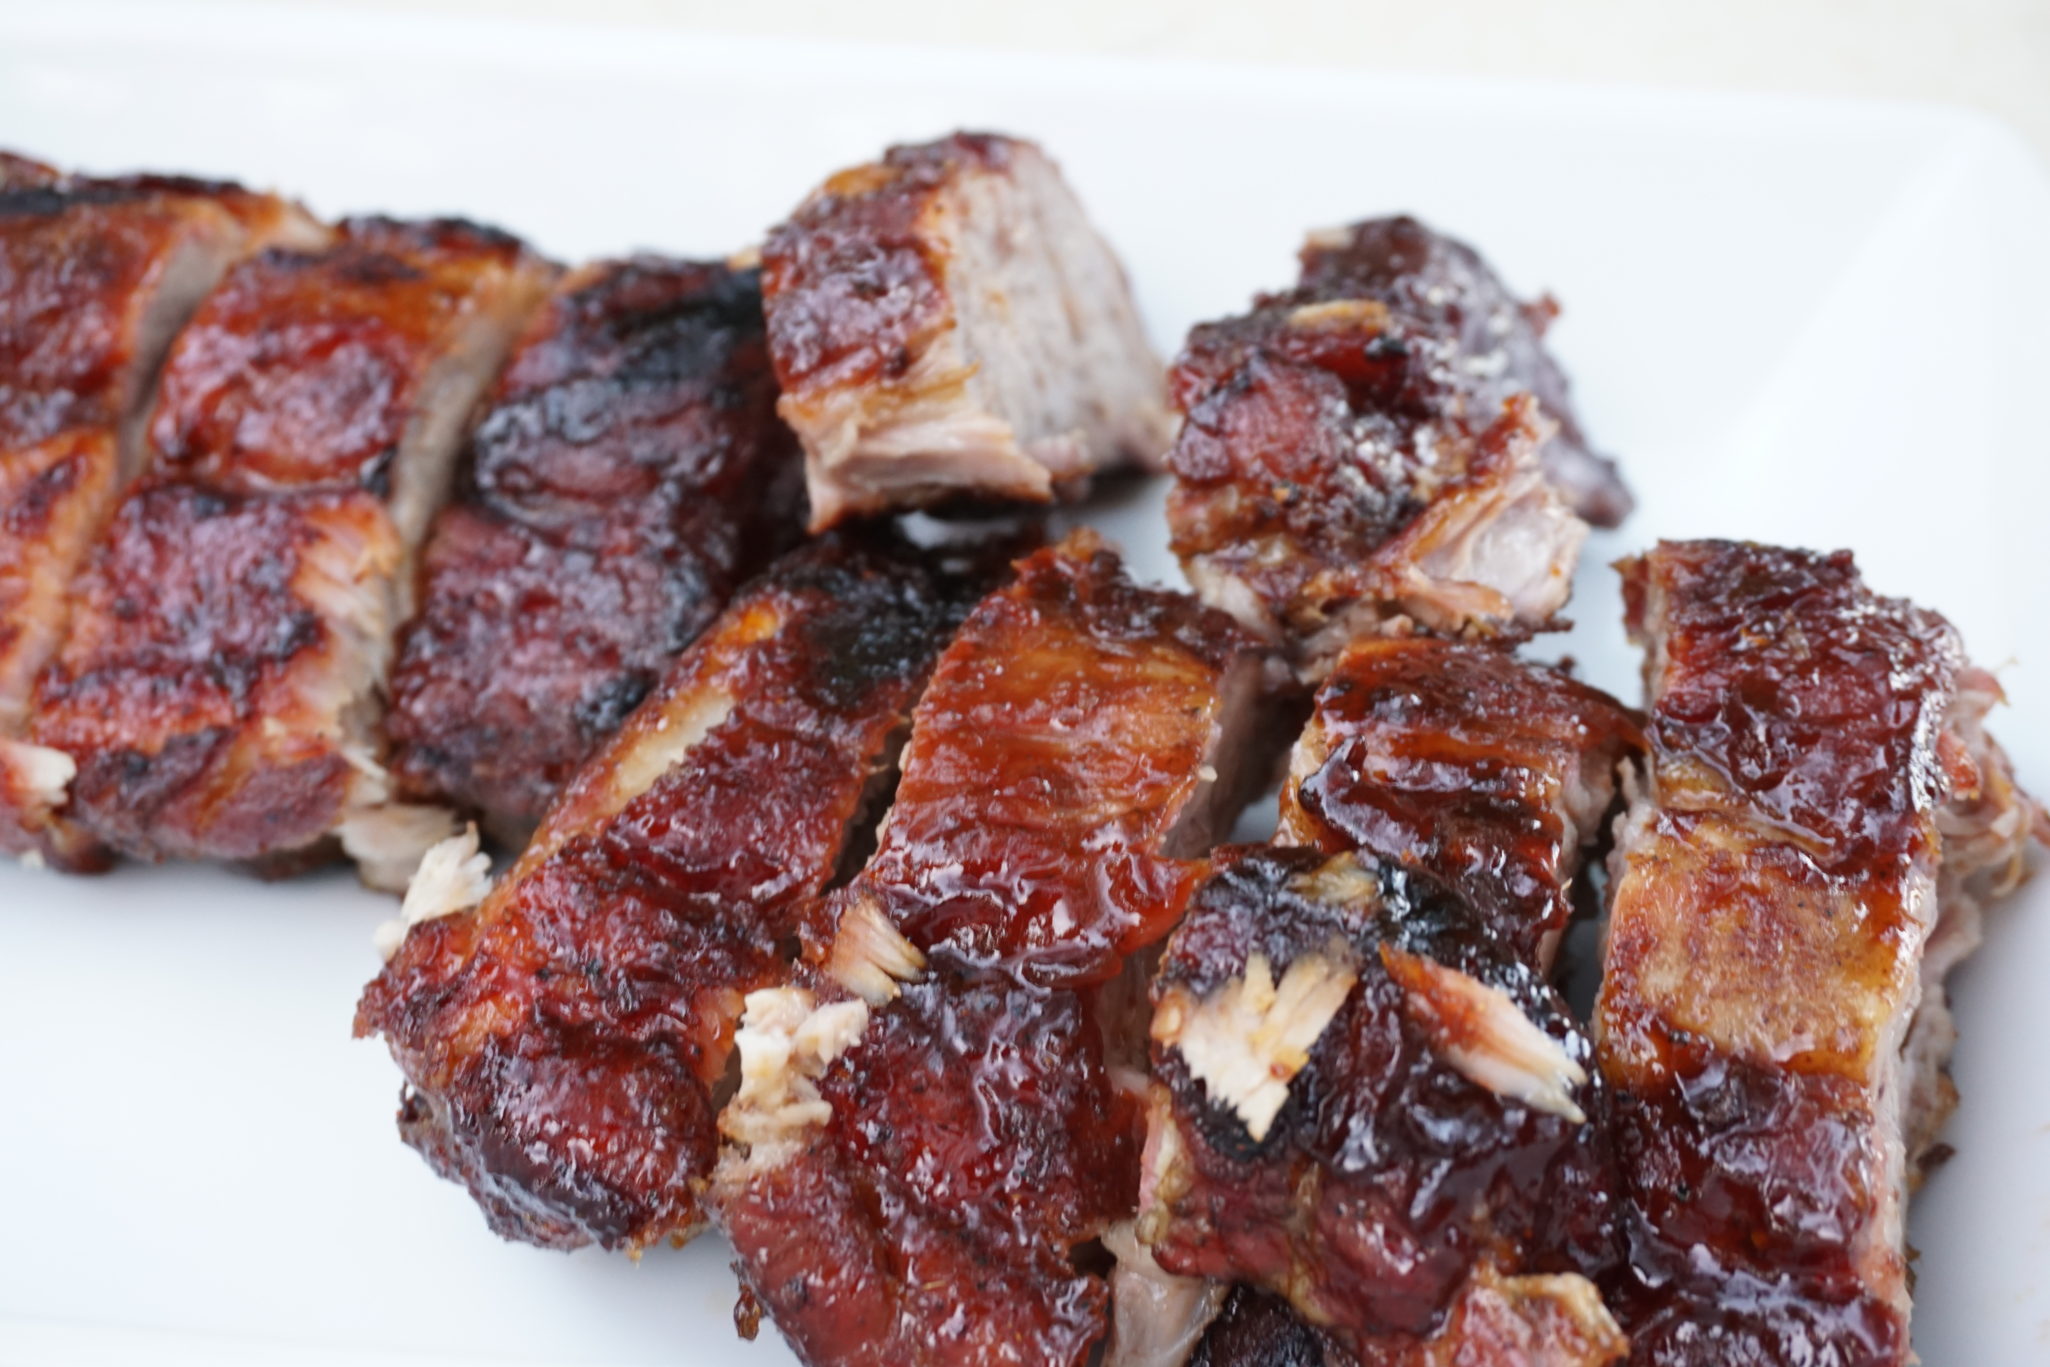
Miso Ribs above ready to eat – classic BBQ Ribs below still cooking on the grill. You be the judge.

So off we went to our friends Paul and Pam’s, ribs in hand.  After all we needed help eating 3 slabs of ribs.

In the end, in a diplomatic fashion, a tie was declared…both equally finger-licking delicious.

Wait, someone just got ribbed-off.

Miso Honey Ribs (Son of a Southern Chef)

Delicious ribs made in the oven!
Course bbq, dinner
Cuisine American, Asian-American
Keyword bbq ribs, Miso, oven-baked, pork ribs
Prep Time 15 minutes
Cook Time 1 hour 30 minutes

Ingredients

  • Miso Honey Ribs
  • 1 rack baby back ribs
  • Kosher salt and freshly ground black pepper

Marinade/Sauce

  • 2 tablespoons white miso paste
  • 2 cloves garlic grated
  • 2 teaspoons ginger grated
  • ½ cup honey mild
  • ¼ cup brown sugar golden or dark is fine
  • 1 tablespoon sesame oil
  • 2 teaspoons soy sauce
  • ½ tablespoon freshly squeezed lime juice

Garnish

  • sliced green onions
  • white sesame seeds, roasted

Instructions

  • 1. Preheat oven to 375ºF.
  • 2. Cut the ribs, dividing into two racks. Season ribs with salt and pepper on both sides. Transfer seasoned ribs to a tray lined with foil. Pour ½ cup of water into the tray and cover foil. Cook in the oven for 45 minutes to an hour.
  • 3. In a small bowl whisk together the miso, garlic, ginger, honey, brown sugar, sesame oil, soy sauce, and lime juice.
  • 4. Take ribs out of the oven and remove foil on the top. If there is a lot of liquid in the pan drain some off.
  • 5. Baste both sides of ribs with the glaze and cook for an additional 30 to 45 minutes, basting top of ribs every 10 to 15 minutes, until golden brown.
  • 5. Remove from oven, slice, and serve. Garnish with sliced green onions and toasted sesame seeds

Hi Mui.

Spicy Pulled Pork InstantPot, InstantGratification

Spicy Pulled Pork InstantPot, InstantGratification

I just received an InstantPot pressure cooker for my birthday!  This is right up my alley since I am a KITCHEN GADGET FREAK.  Not exaggerating, I love kitchen appliances.  I am the “what was I thinking, forehead slap” owner of donut hole pans, a strawberry corer, spiralizer, brownie squares pan, sous vide thingy, Ebelskiver pan, bread machine, the list goes on and on…

When I was a kid I went to Woolworth’s with my mom (yes baby boomers, Woolworth’s, remember?) in anticipation of a slice of their delicious gooey cheese pizza.  Instead, I found myself in front of a demonstration booth, entranced.  A voice boomed “it slices, it dices, it does it all. This is going to revolutionize cooking and help you escape from the kitchen” I watched as he deftly created mountains of julienned squash, chopped onions, sliced carrots, even waffle-cut potatoes. How I convinced my mom to buy this new fangled tool I will never know.  But we walked out of Woolworth’s, a slice of cheese pizza in one hand and a Slice-o-Matic with a bonus Chop-o-Matic in the other! These days if I go to the mall with my kids they know there will be the prerequisite stop at Sur La Table or Williams Sonoma to peruse because YOU CAN NEVER HAVE TOO MANY Kitchen tools.

The Pressures Off with an Instant Pot

The Instant Pot is the latest, hippest iteration of a pressure cooker. There are blogs, Facebook pages, and books devoted to the Instapot.  It is a slow cooker, saute pan, rice cooker, yogurt maker all in one.  For you tech geeks you can download the app and program it using your phone.  Crazy huh.

A few weeks ago NYT Cooking published Melissa Clark’s recipe for Pressure Cooker Spicy Pork Shoulder along with a video of her using the Instant Pot. It’s easy and delicious and best of all cuts cooking time by at least half.

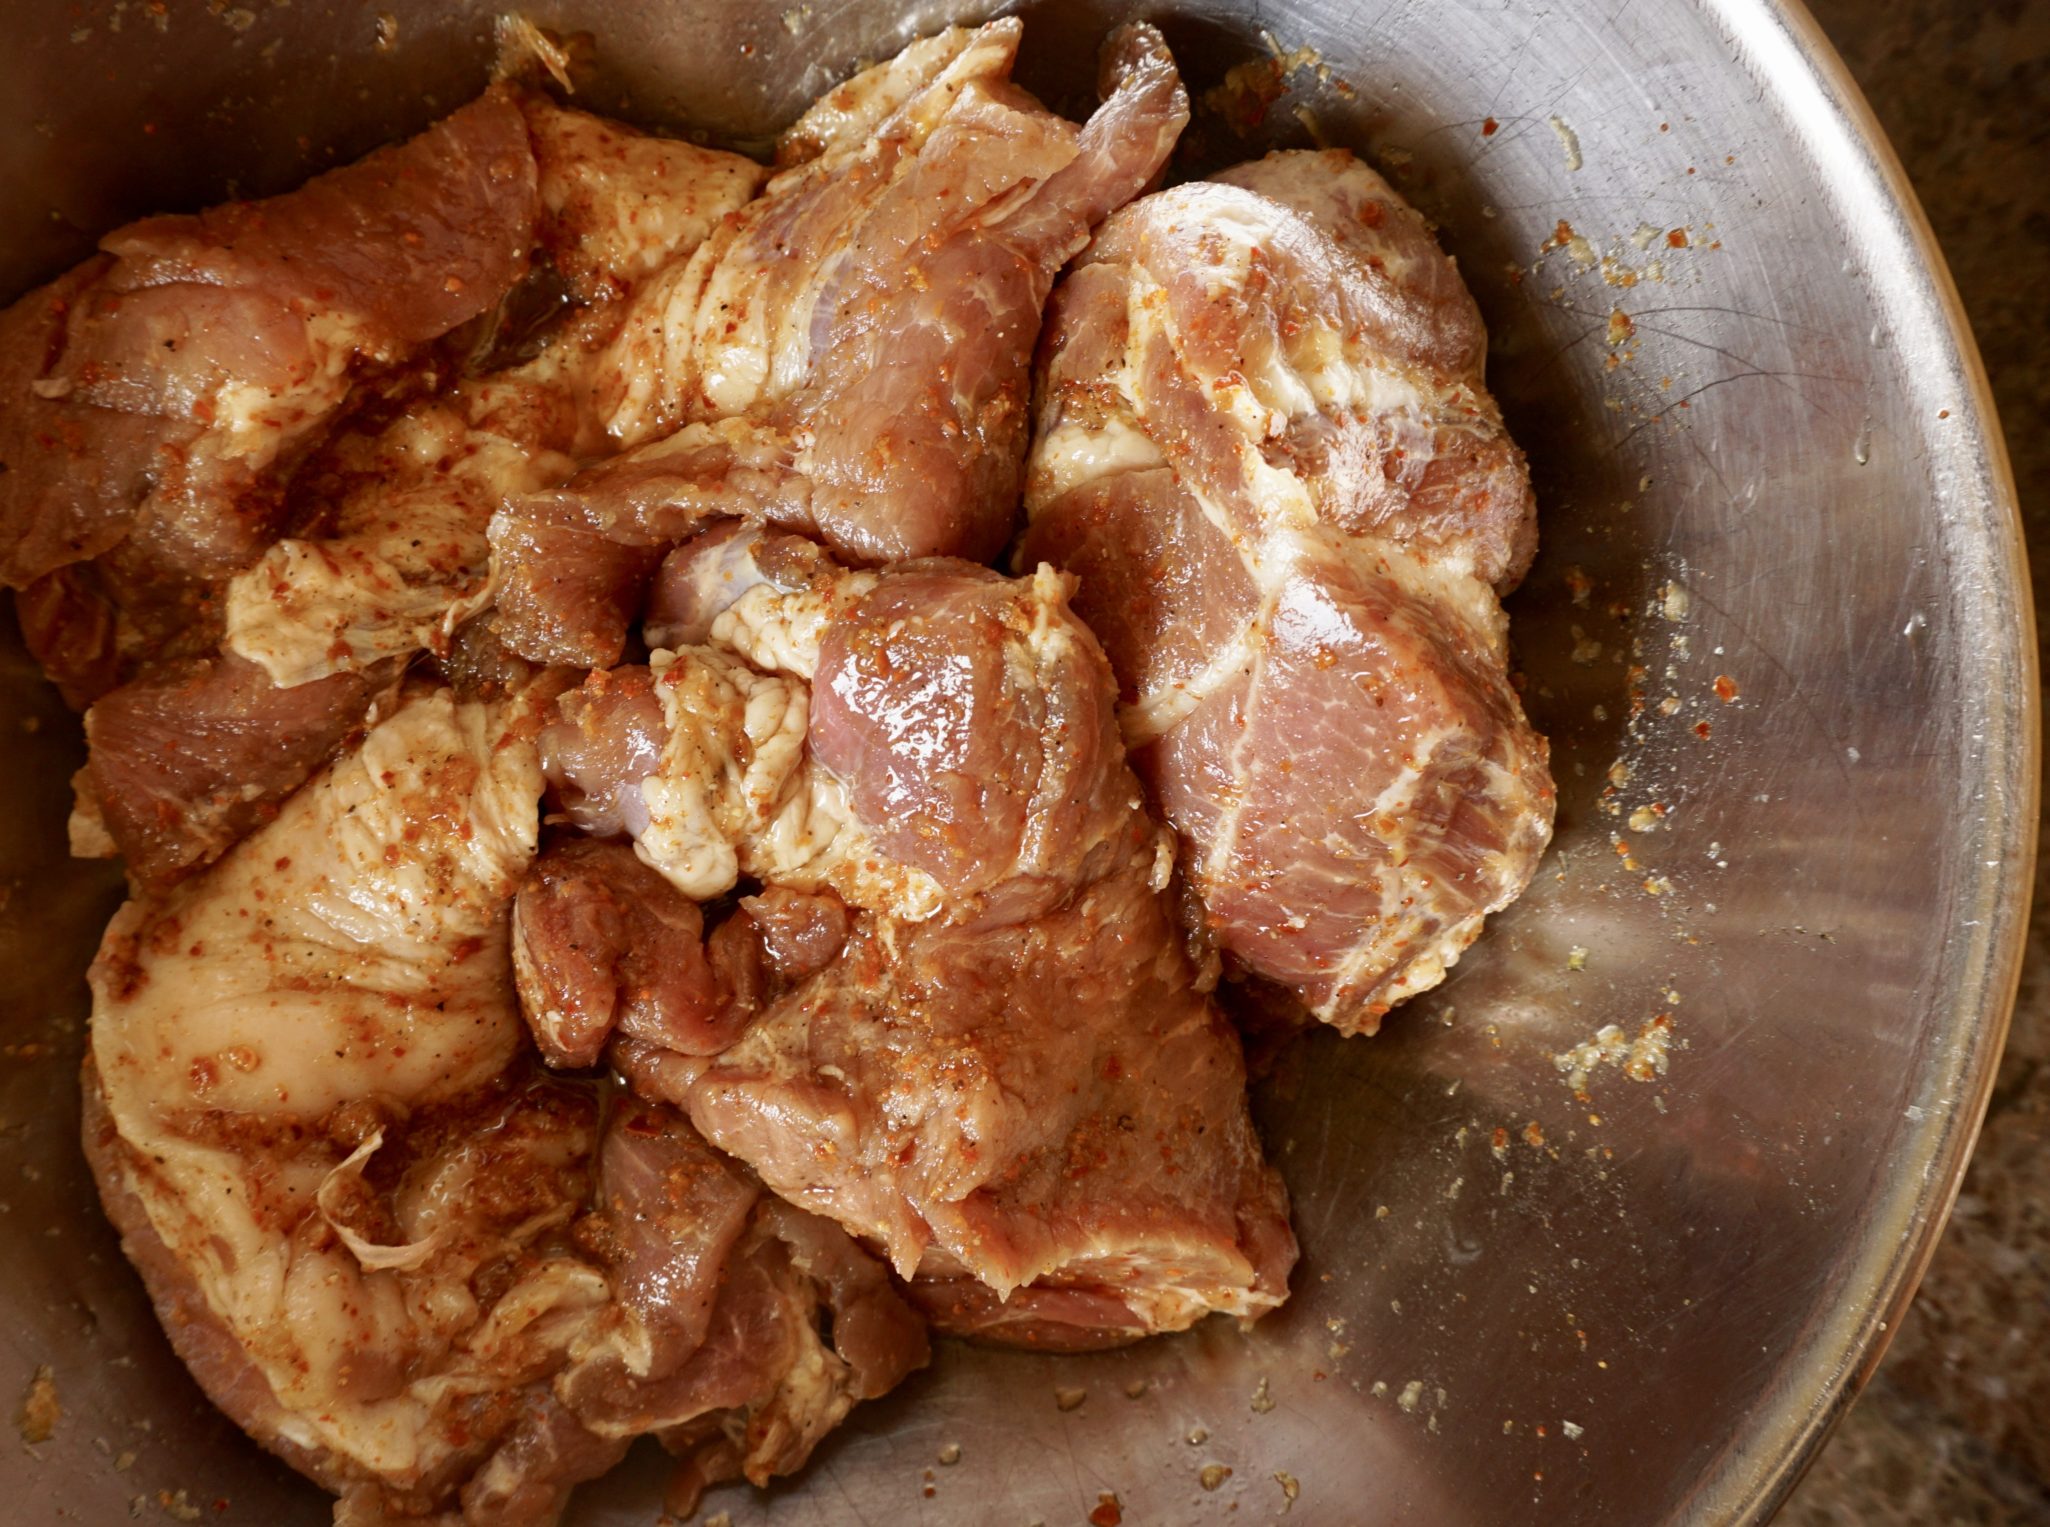
The overnight marinade adds to the bold flavor of the dish

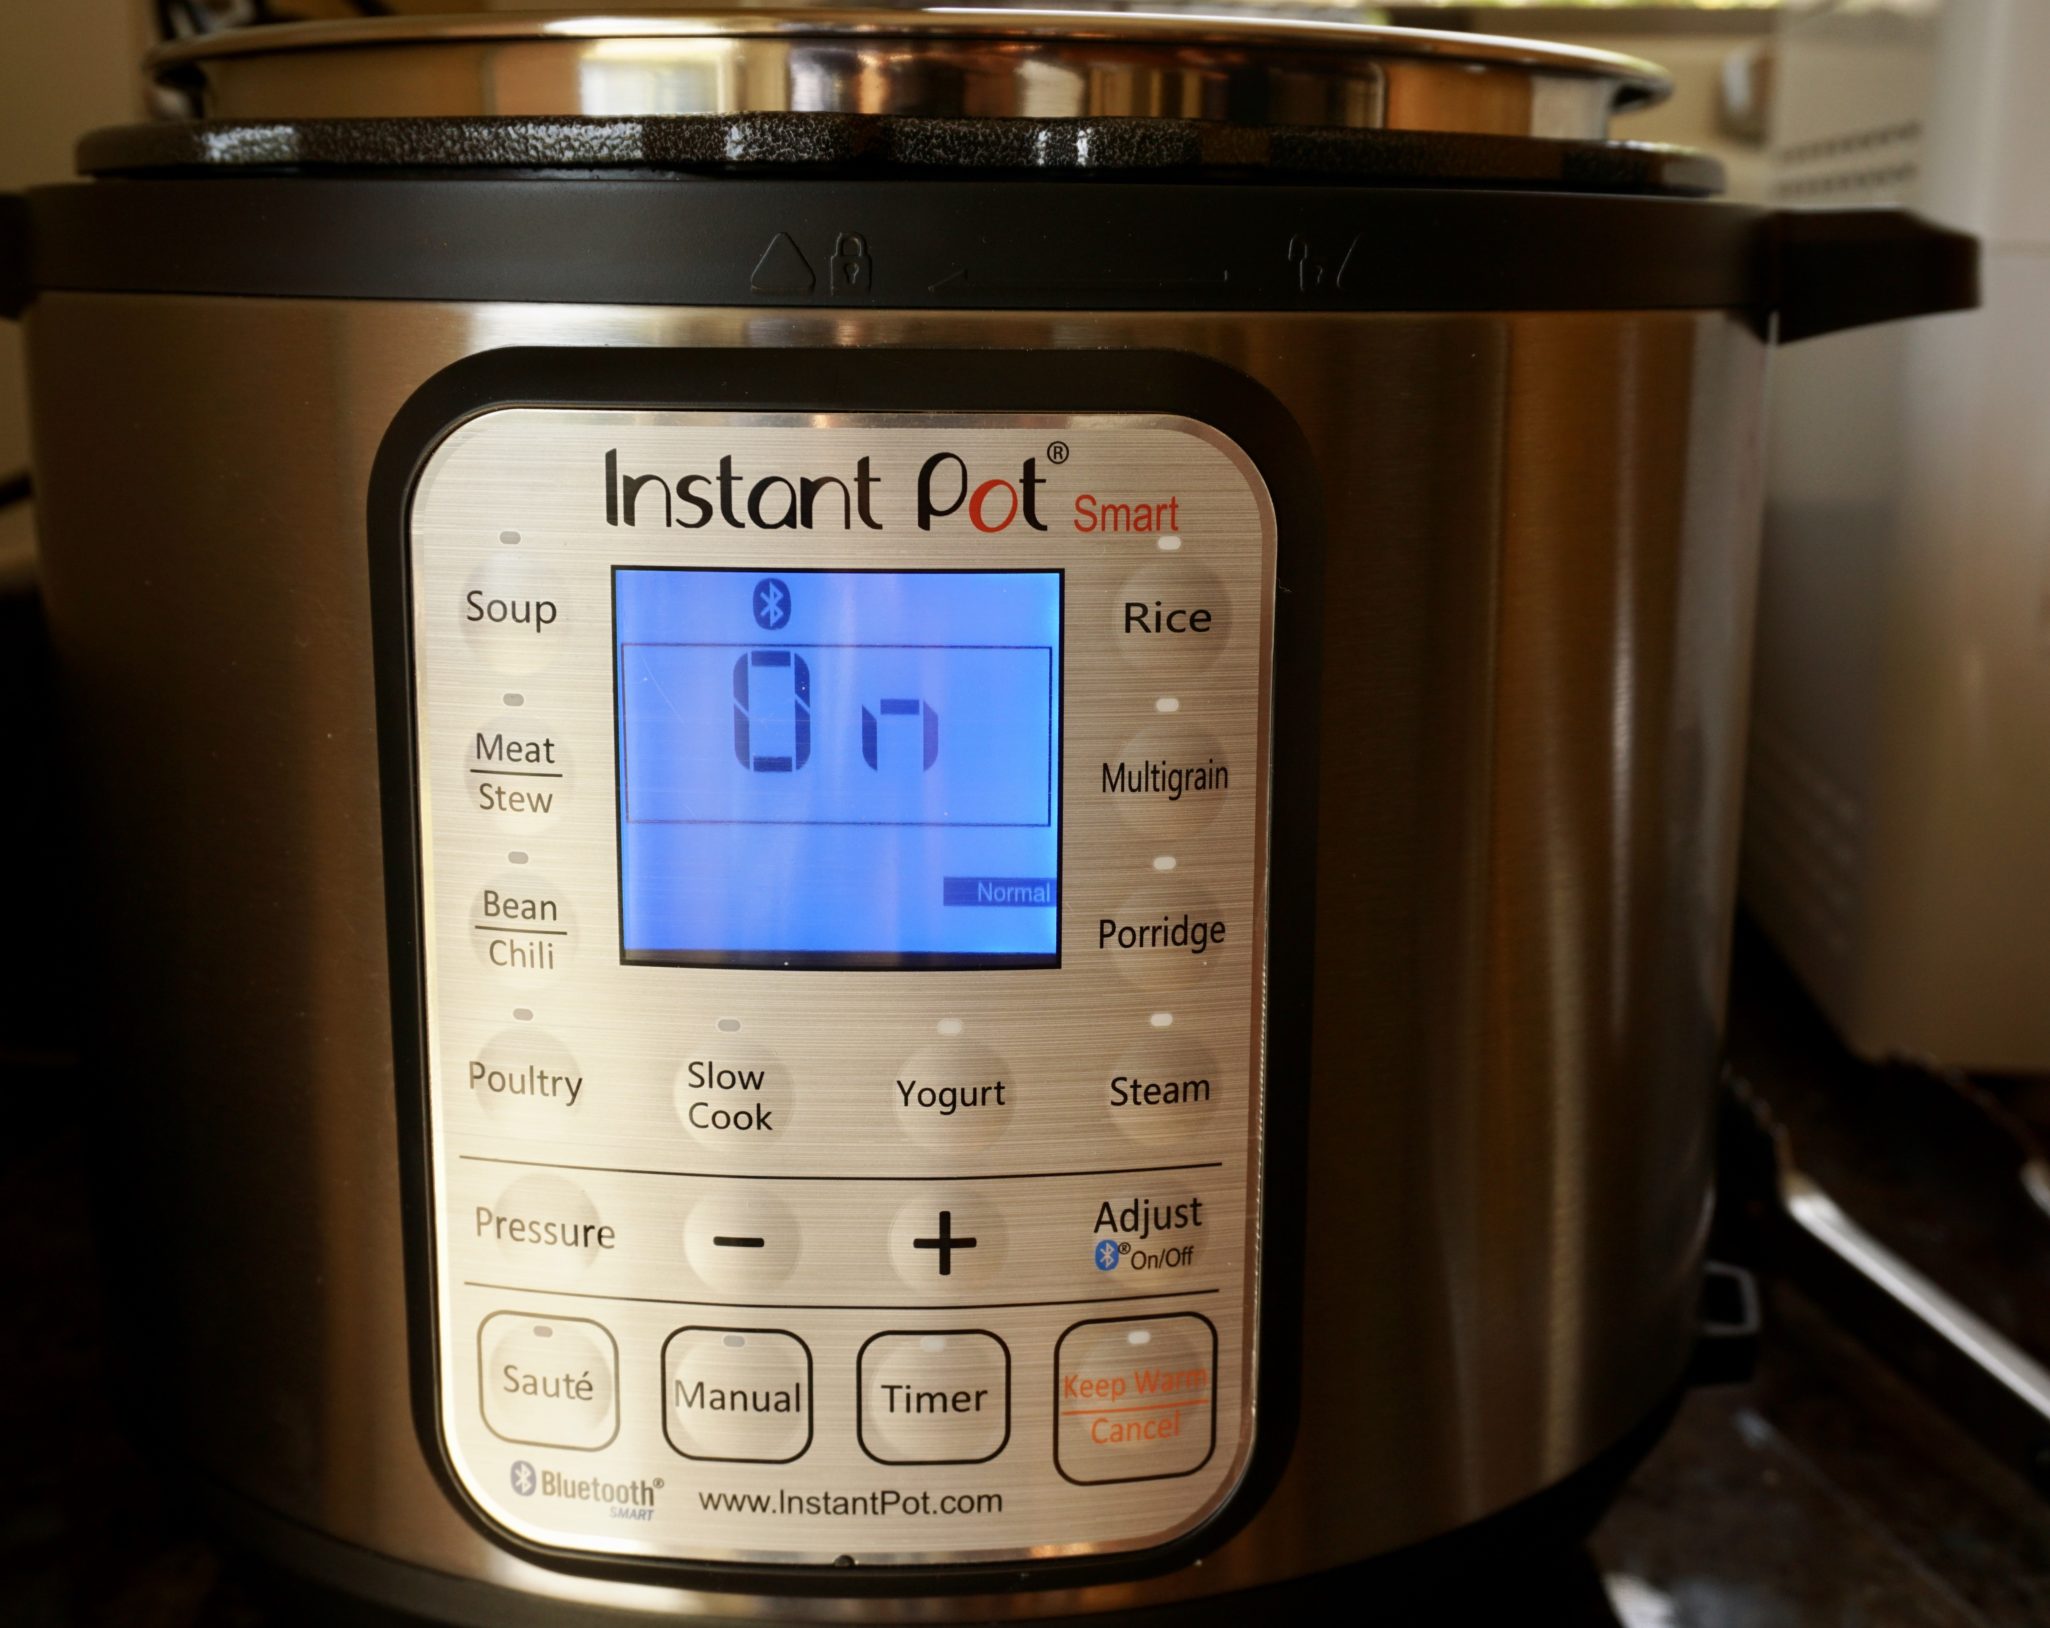
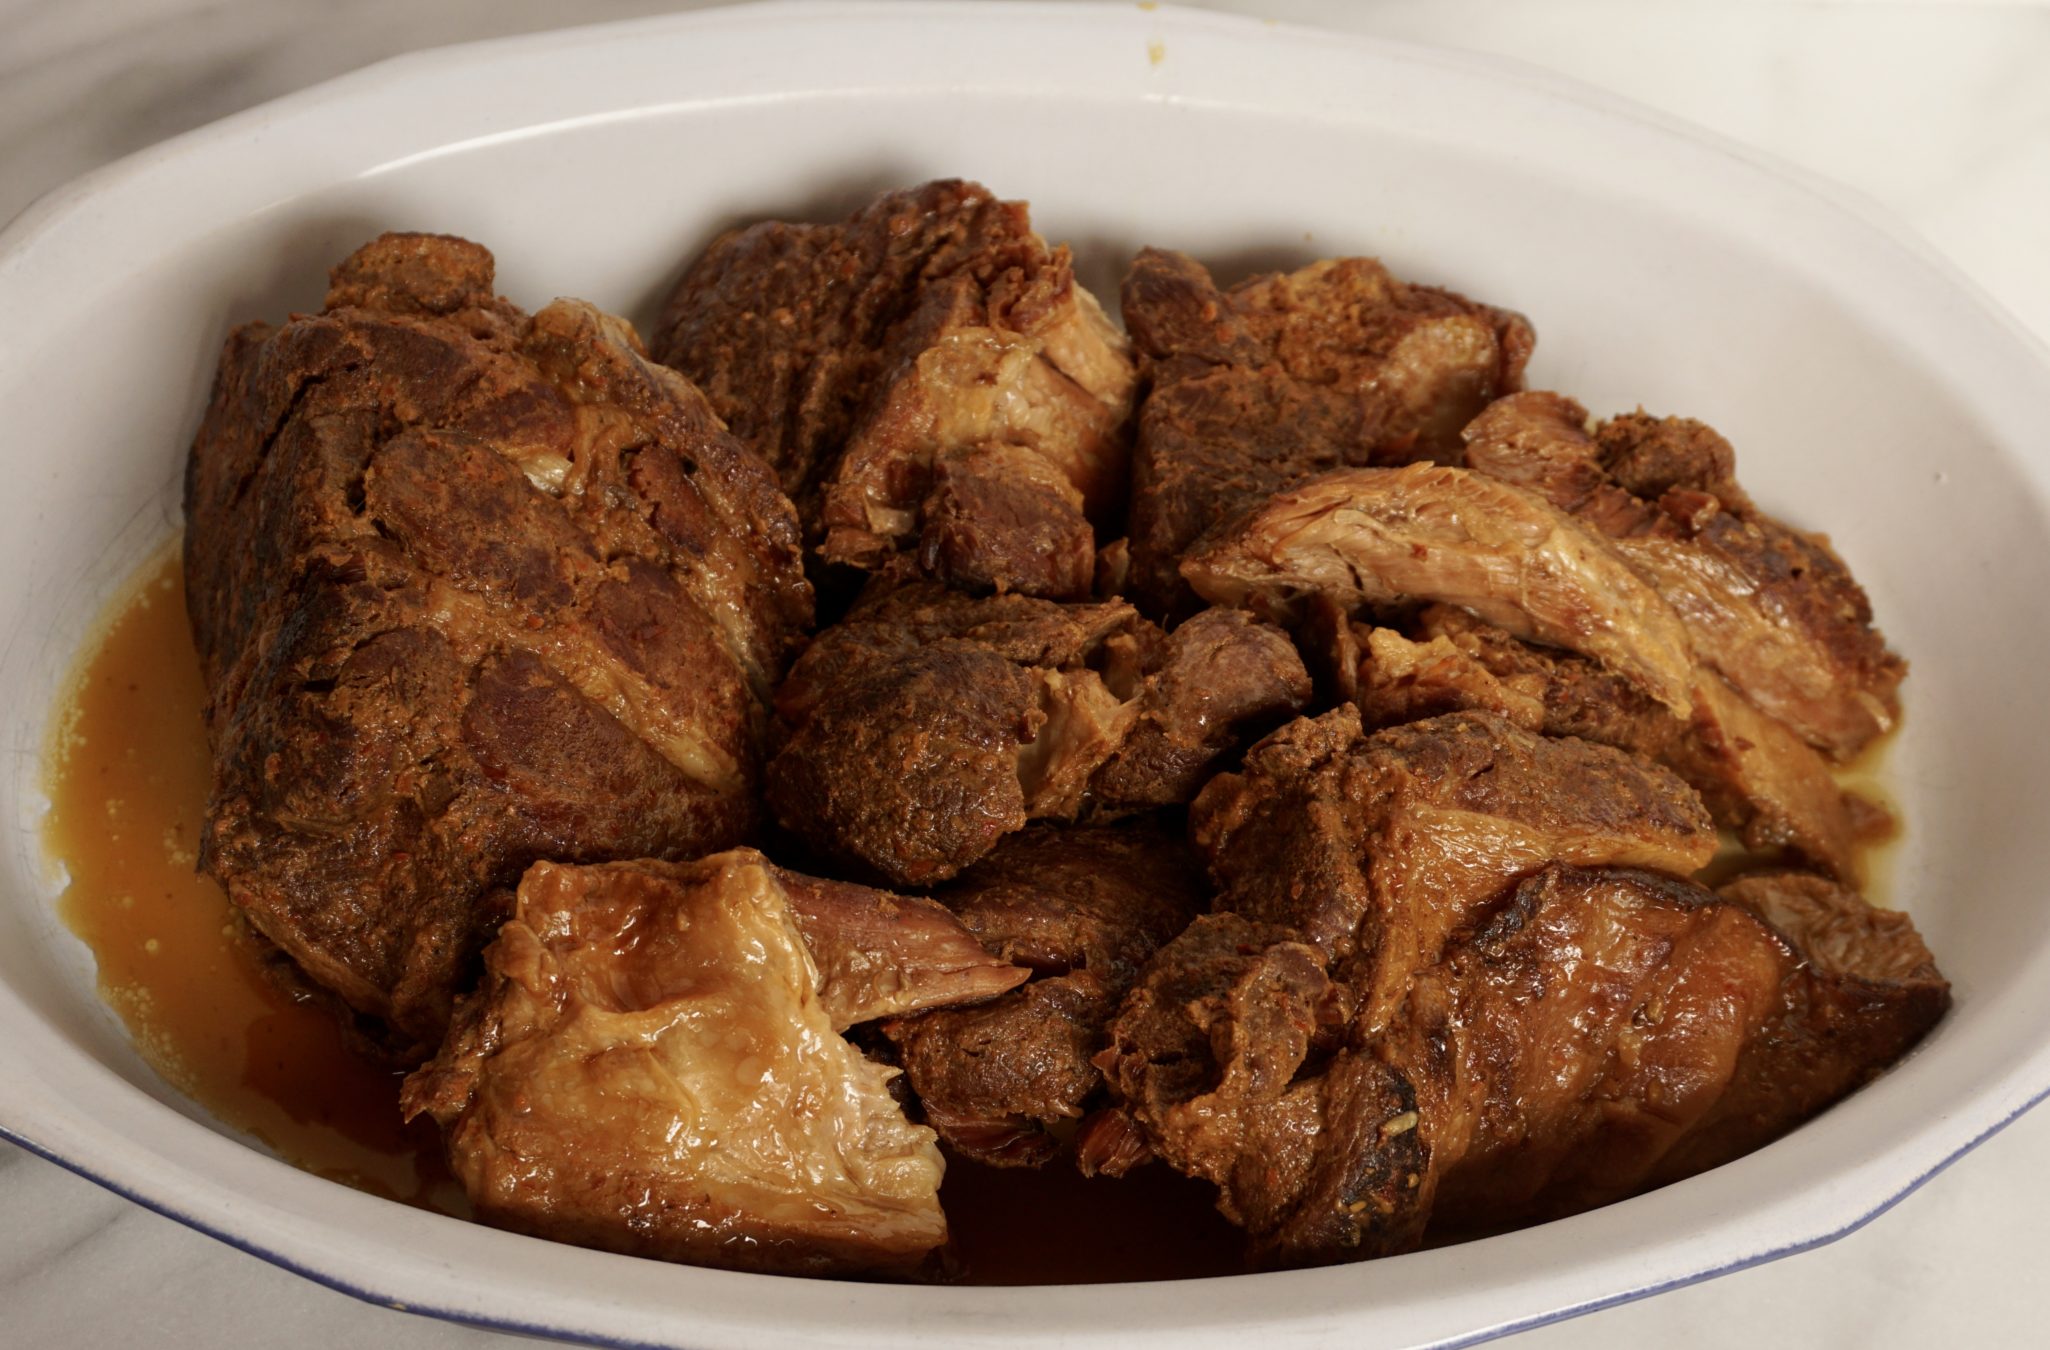
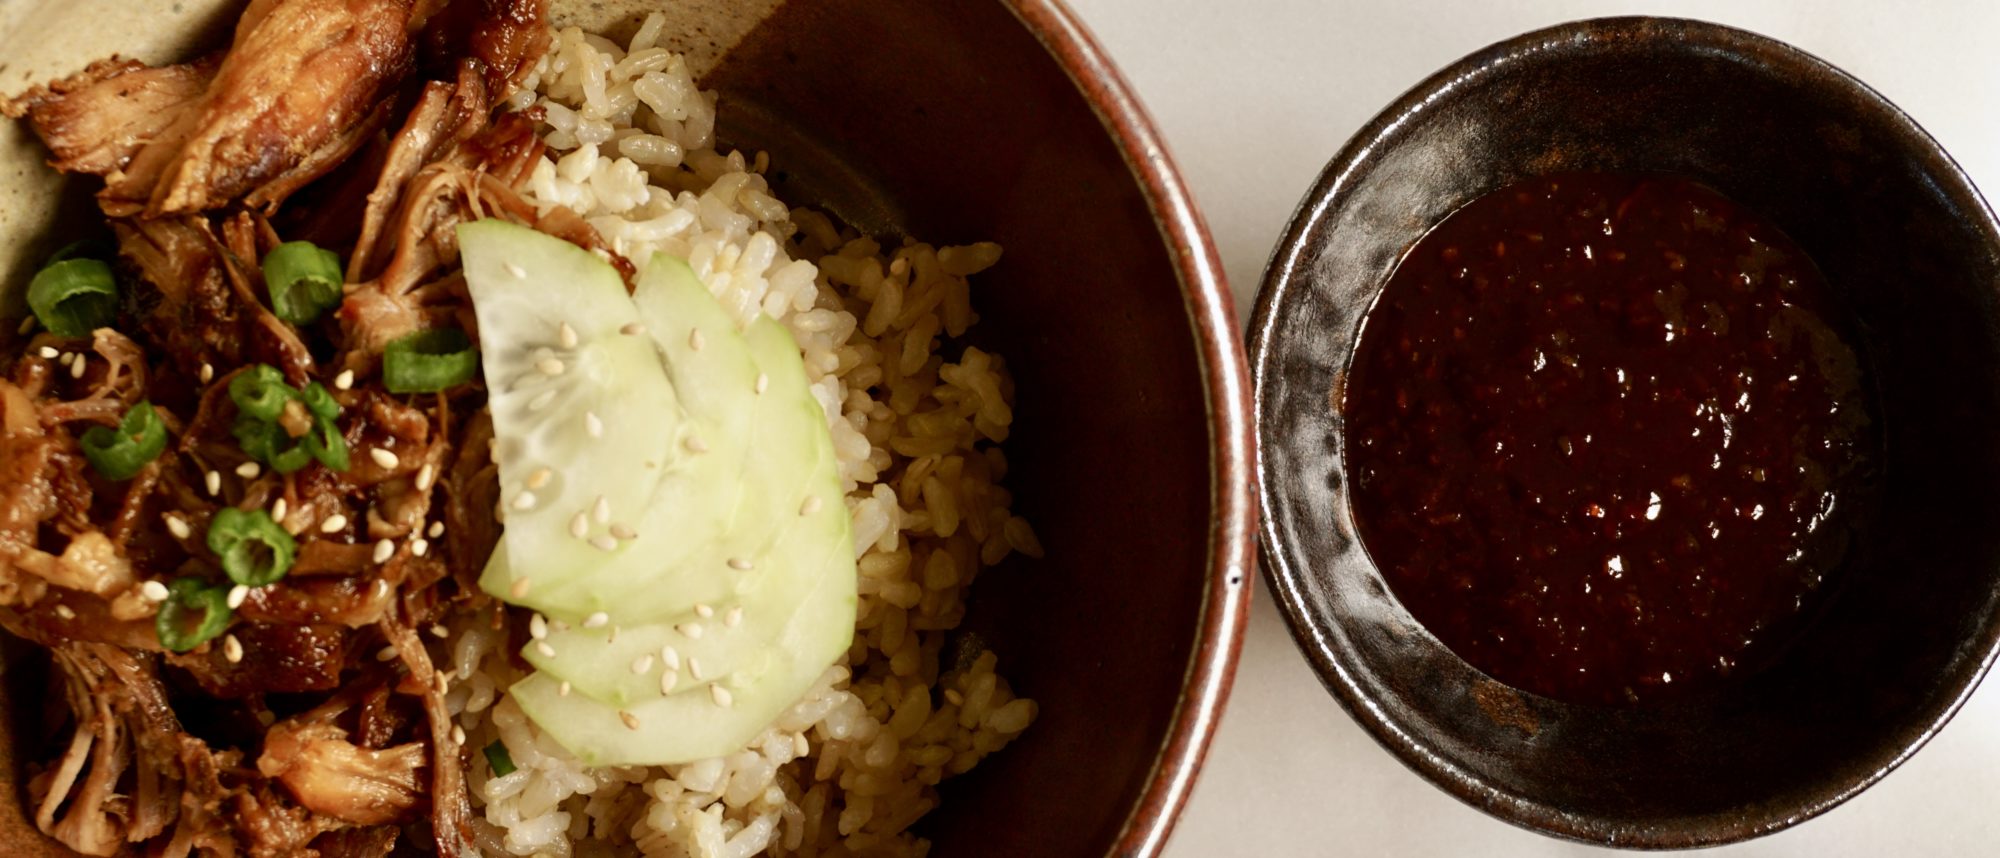
The liberal use of Korean chili flakes and Kochuchang, a sweet chili pepper paste in the sauce adds an Asian flair. If you are a pulled pork fan you will absolutely love this version. Marinade the pork in a mixture of chili flakes, honey, salt, and garlic overnight and then brown it the next day.  Then saute’ the pork in the Instapot (which surprisingly took less time than I imagined) until browned.  Add a bit of water, twist and clamp the lid shut, set the timer for 70 minutes, and chill out for a couple of minutes before making the sauce. Easy peasy.

Fusion BBQ Sauce

The sauce is made with chili paste, ketchup, garlic, fish sauce, honey, and ginger.  As delicious as this sauce is it packs a punch in heat and flavor.  A little goes a long way so add the sauce in small increments to taste.

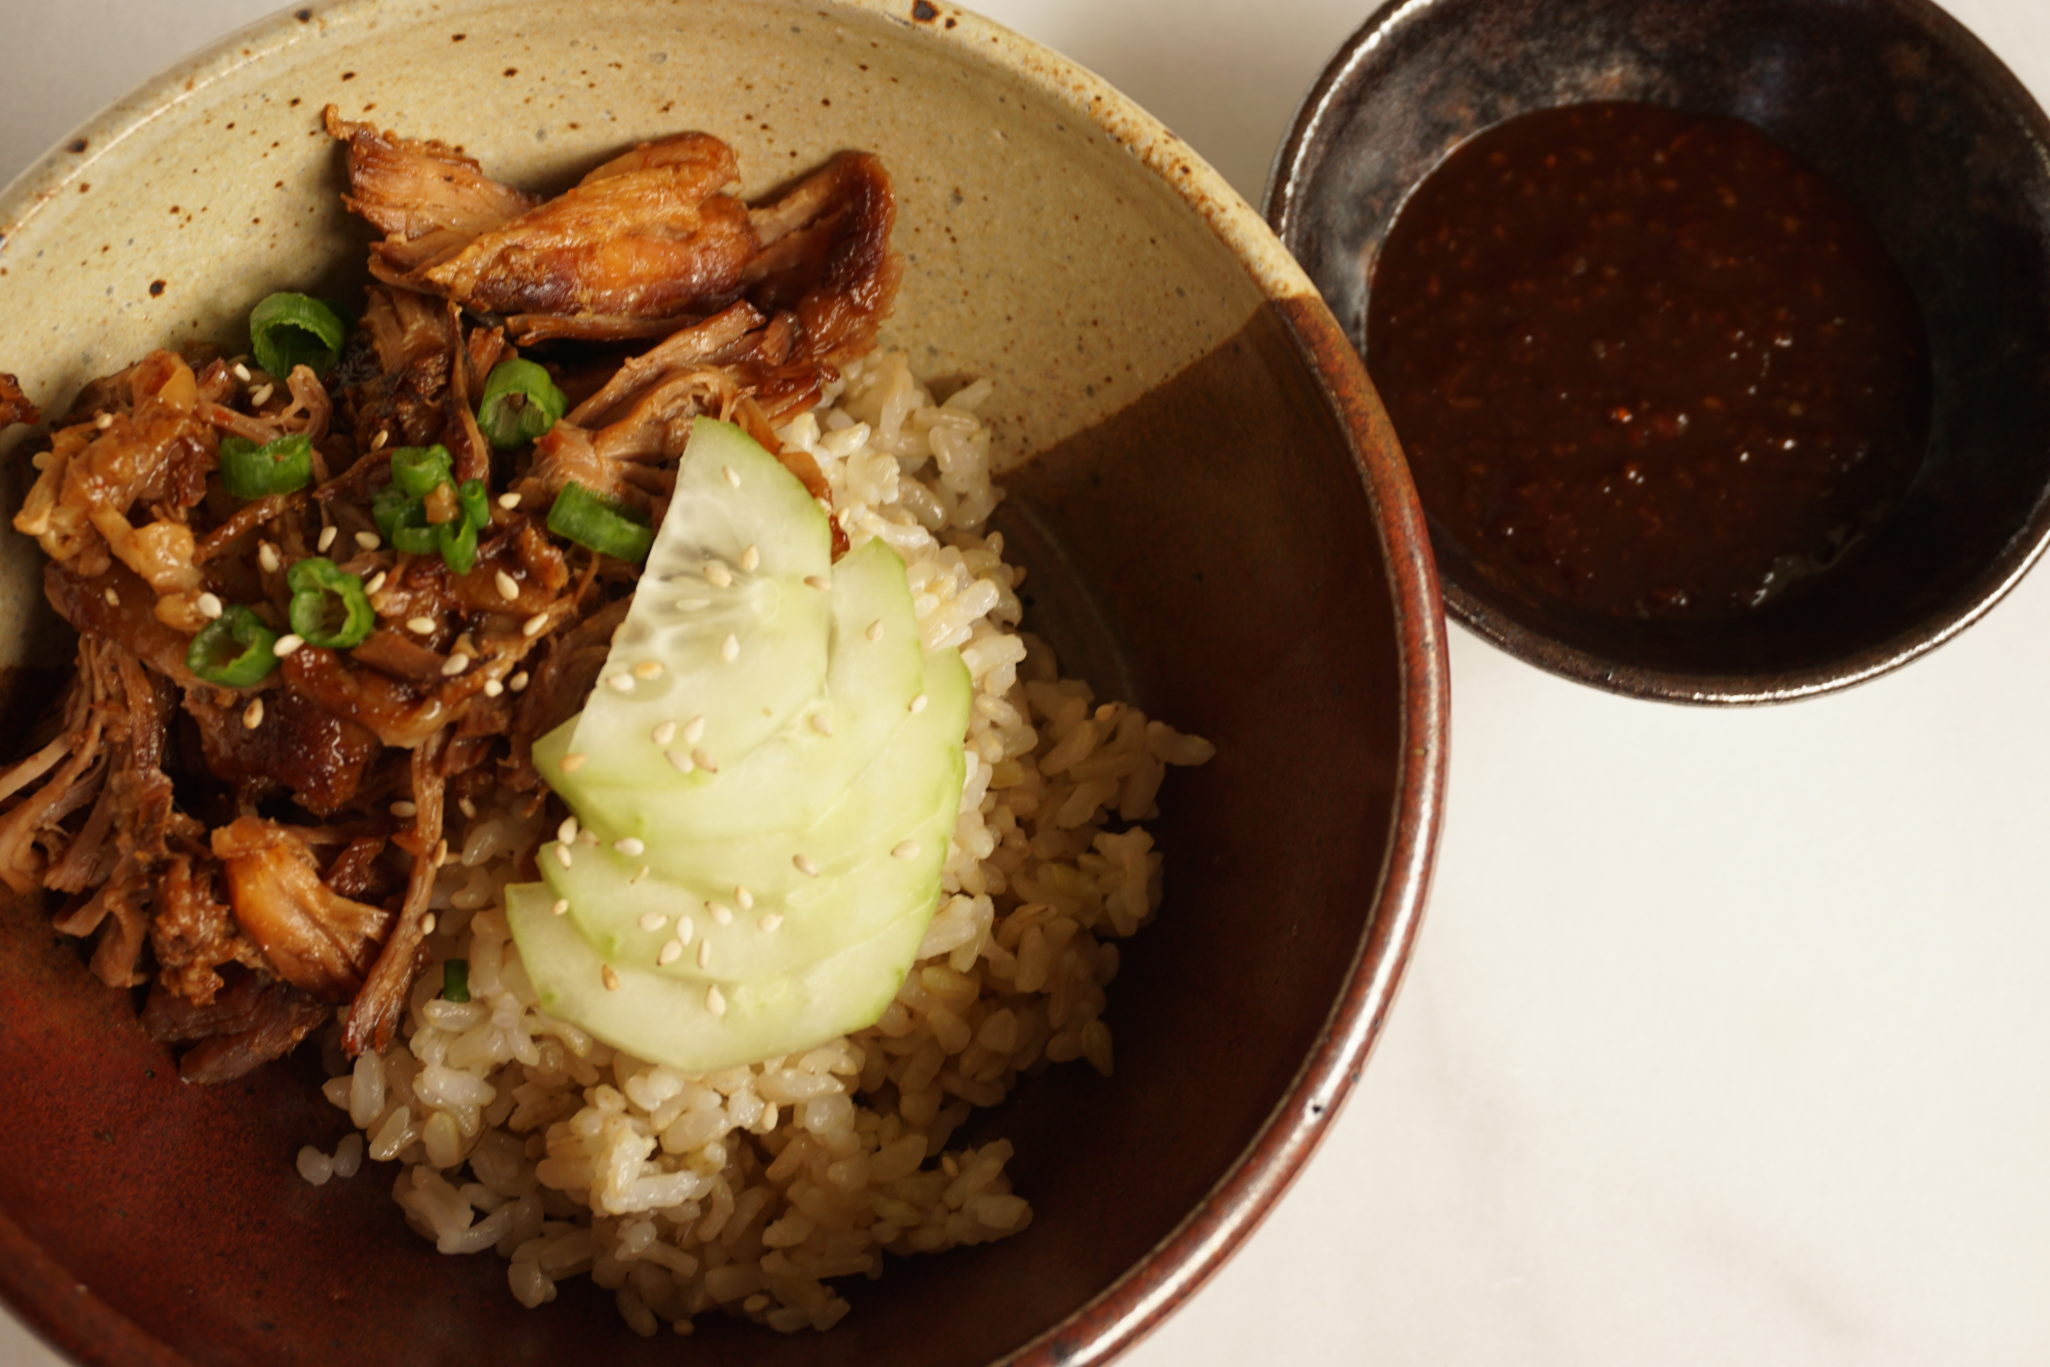
The first day we shredded the pork, mixed in bbq sauce and juice (from the Instant Pot), and broiled the pork to crisp the edges.  We served it on a bed of rice with sliced cucumbers and carrots, a Porki Bowl (get it?).

The quiet nods and hmms as we ate confirmed we had a winner.

This makes a more than generous amount of pulled pork.  Luckily the kids were home for spring break and made quick work of the pork.  Beyond our rice bowls, we had it with scrambled eggs for breakfast and in Hawaiian sweet rolls with a cabbage slaw for lunch.  So good! This is a definite keeper.

The maiden voyage of my Instant Pot was a resounding success.  Can’t wait for another opportunity to use it.

InstantPot Spicy Pork Shoulder from NYT

Spicy Pulled Pork made in an Instant Pot
Course Main Course
Cuisine American, Fusion
Keyword Instant Pot, NYTcooking, Spicy Pork Shoulder
Prep Time 20 minutes
Cook Time 2 hours

Ingredients

  • 5 garlic cloves grated on a Microplane or minced
  • 2 tablespoons brown sugar or honey
  • 1 tablespoon Korean chile flakes gochugaru or other chile flakes (Maras, Aleppo or crushed red pepper)
  • 1 tablespoon kosher salt more to taste
  • 1 teaspoon ground black pepper
  • 5 pounds boneless pork shoulder cut into two or three pieces

FOR THE SAUCE:

  • 1 tablespoon peanut oil
  • 4 garlic cloves grated on a Microplane
  • 2 tablespoons grated fresh ginger root
  • cup gochujang Korean chile paste or other chile paste or sauce such as Sriracha
  • ¼ cup soy sauce
  • 2 tablespoons ketchup
  • 2 tablespoons mirin
  • 2 tablespoons honey
  • 1 tablespoon rice wine vinegar
  • 1 teaspoon Asian fish sauce
  • 1 teaspoon sesame oil

FOR THE SESAME PICKLED CUCUMBERS:

  • 6 Persian cucumbers thinly sliced (or about 4 cups sliced cucumbers)
  • 1 ½ tablespoons rice vinegar
  • 2 teaspoons sesame oil
  • 2 teaspoons brown sugar
  • ½ teaspoon fine sea salt
  • ¼ cup thinly sliced red onion
  • 2 teaspoons sesame seeds

Instructions

  • To prepare pork, combine garlic, brown sugar, chile flakes, salt and pepper. Rub marinade all over pork. Cover and refrigerate for 1 hour to up to 24 hours.
  • Set electric pressure cooker to sauté (or use a large skillet). Add pork in batches and sear until browned all over, about 2 minutes per side. Add 3/4 cup water to pot (or to skillet to deglaze, then move to pot), cover, and set to cook for 90 minutes on high pressure. Make sure to scrape the bottom of the pot so it doesn't scorch or the pot will turn off.
  • While pork cooks, prepare sauce: In a small pot, warm peanut oil over medium heat. Add garlic and ginger, and sauté until fragrant, 1 to 2 minutes. Add remaining ingredients and bring to a simmer. Cook until thickened, 1 to 2 minutes. Set sauce aside. (It can be made up to 1 week ahead and stored in the refrigerator.)
  • Manually release steam. Let pork cool until you can handle it, then shred it into bite-size pieces. Pork can be made in advance.
  • While pork cools, strain liquid from bottom of pot. Pour off fat (or chill liquid, then scoop off solidified fat with a spoon). Reserve.

Cucmber Salad

  • Prepare cucumbers: In a small bowl, combine all ingredients except sesame seeds, and let sit, tossing one or twice, for at least 20 minutes. Stir in sesame seeds.
  • To serve, heat broiler. Toss pork with sauce and 1 to 2 tablespoons cooking liquid — just enough so pork is evenly coated but not wet or runny. Spread mixture on a rimmed baking sheet, and broil until crisp on top, 2 to 3 minutes a little char is fine. Think burnt ends or tips, those are yummy.
  • Make a porki bowl! Top steamed rice with generous portion of pork and cucumbers. . Or make sliders with an Asian slaw

Addendum:  St. Patrick’s Day, a week later was the perfect time to use the Instant Pot.  Literally threw corned beef, pickling spices, an onion, and some garlic in the pot.  An hour and a half later I had a platter of tender melt in your mouth corned beef with cabbage, potatoes and carrots (ok I slightly mis-timed the vegys so a bit on soft side) on the table.  It’s a good thing.