
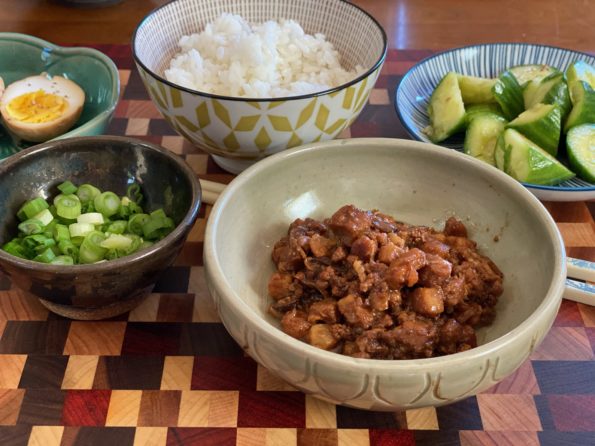
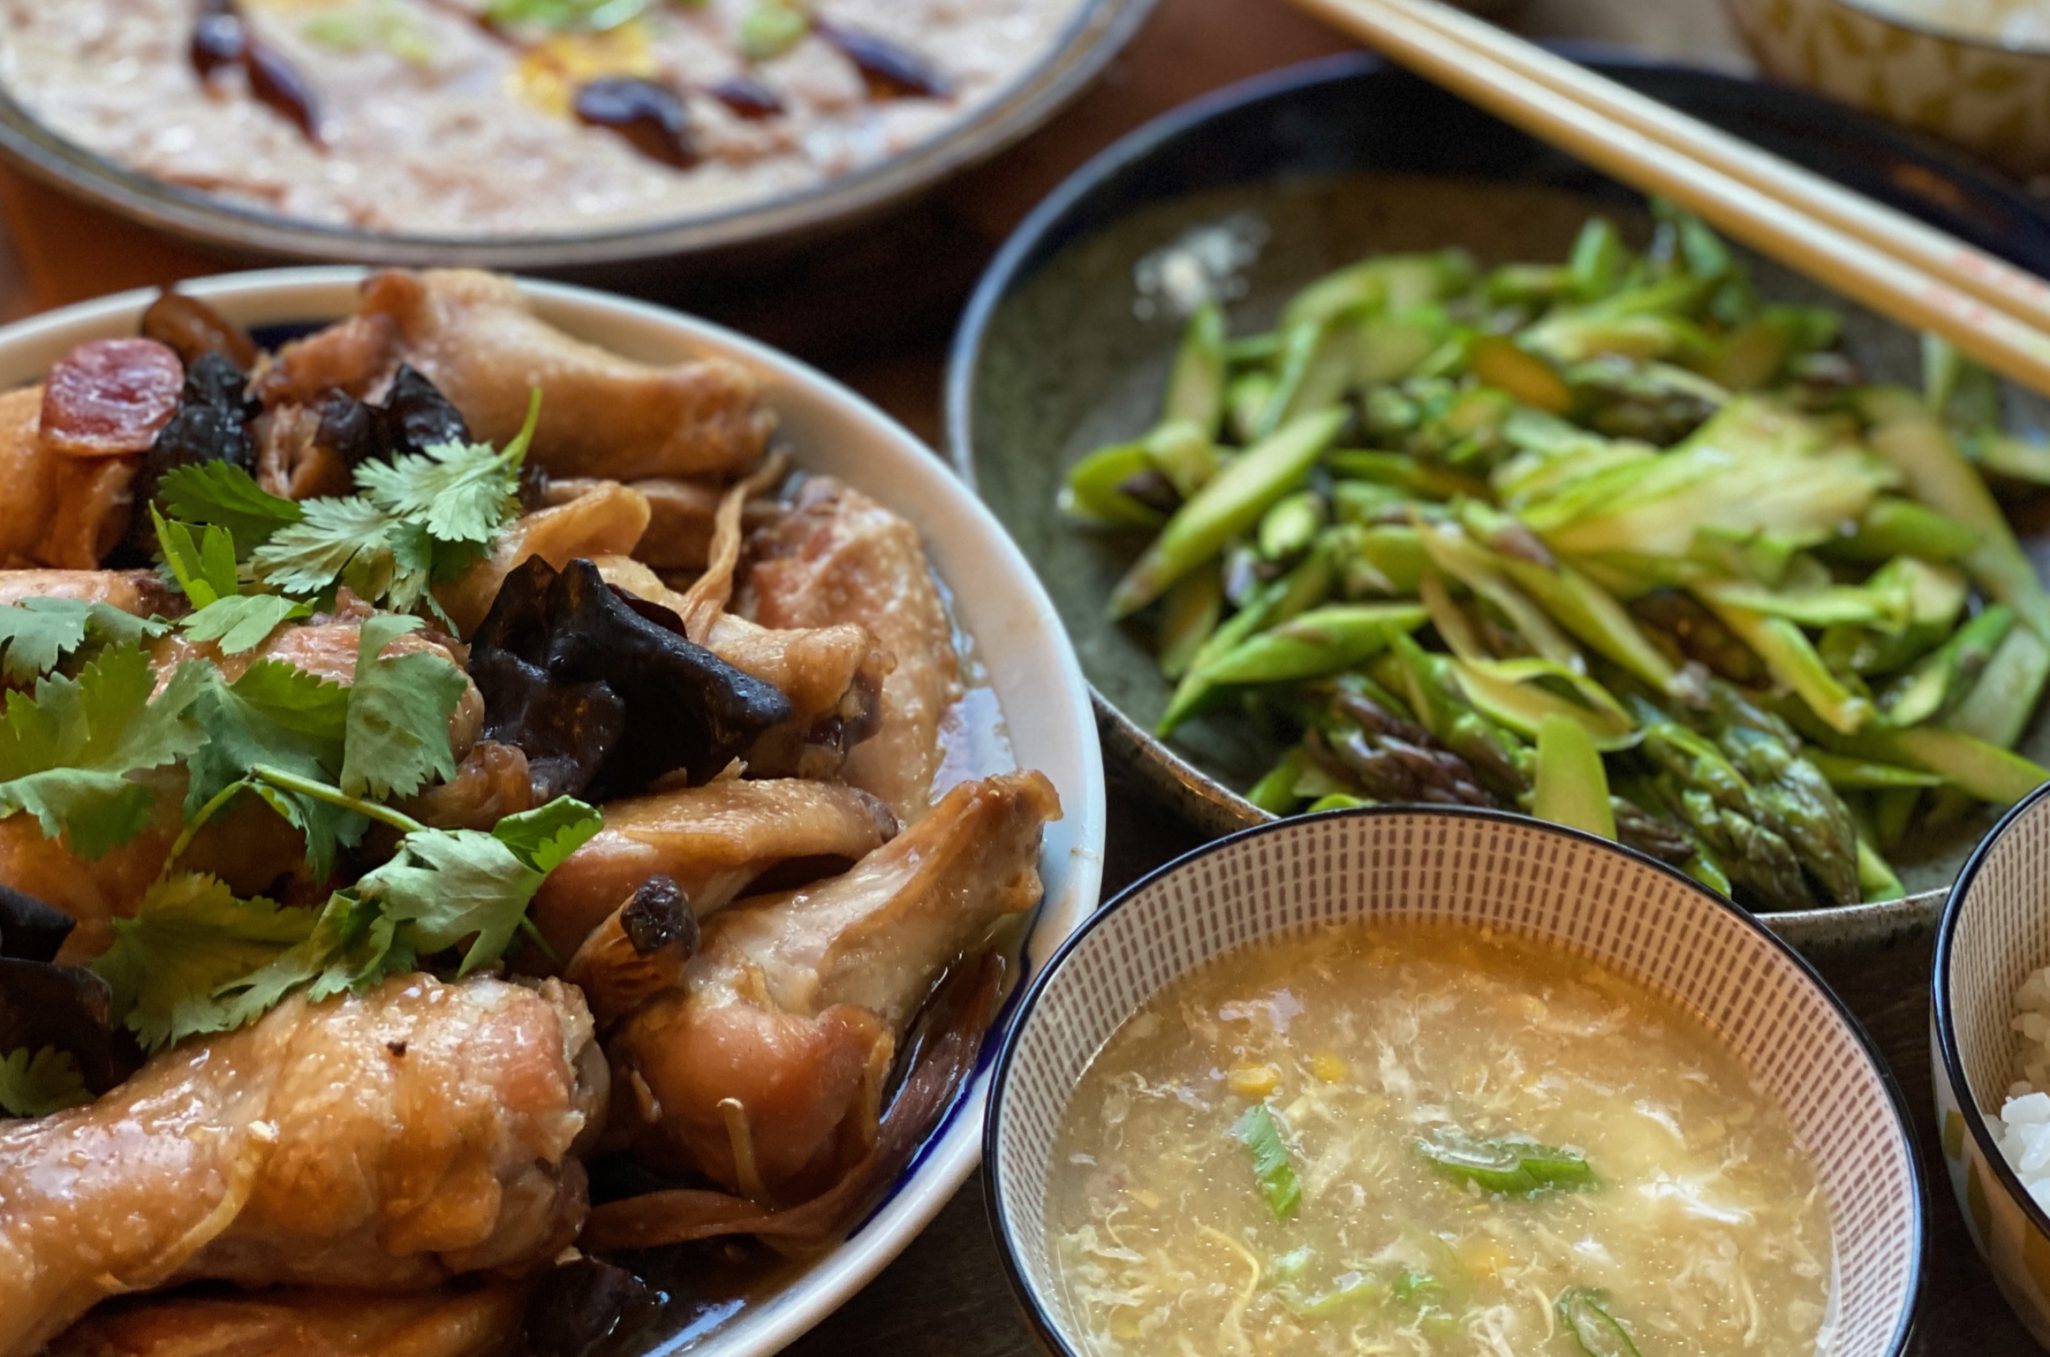
Continuing my virtual traveling by cooking, I’m imagining myself in Taipei right now. I have not been back to Taiwan in ages and yet I…
The one consolation to the pandemic for us (which goes to show just how fortunate and entitled we are), my kids came home at various…
This post has been sitting on the back burner for a while, the majority of the time because I kept tinkering with the recipe. The…
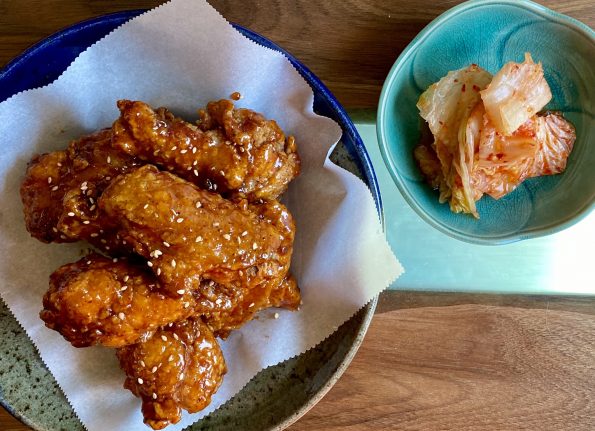
The Hubster is still on his quest for the perfect fried chicken. He is getting pretty darn close if you ask me. This time a…
Steamed Chicken with Chinese sausage, Delicious down home dish
Growing up in Chinatown I took for granted that everyone had access to fresh vegetables, fish, poultry and meat. If only I had an iPhone…
Need a dish to feed a big crowd? A dish that is easy to make and requires little attention? I have just the dish! Bo…

Greetings from rainy Quebec City! Hubby and I decided to take a quick trip to Montreal and Quebec City. Our last trip to the eastern…
I walked out this morning and for the first time, there was a slight chill in the air. Is Fall finally here? Hmmm. Let me…