

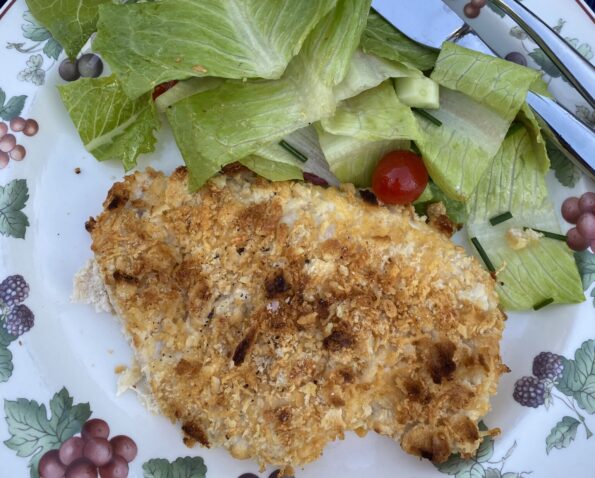
I couldn’t help but tweak Eric Kim’s Roasted Chicken with Fish-Sauce Butter title. I added Croutons to the title because… let’s be real, the croutons…

It’s raining once again in California. Which is the best excuse to stay home (in sweats), watch a lot of TV, bake, and cook? I…

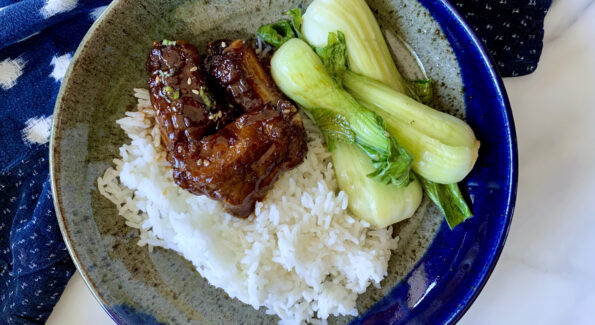
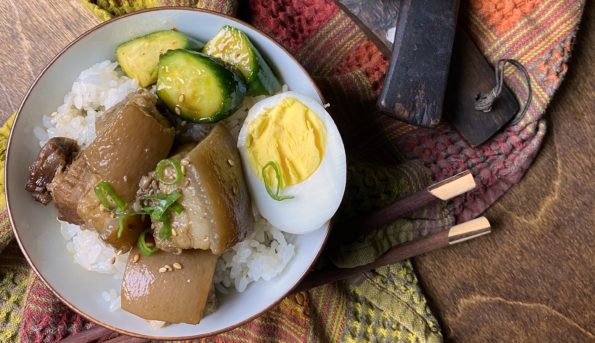
I’m sure I saw this on TikTok or an IG Reel. It looked so delicious I knew I was going to make it, if not…
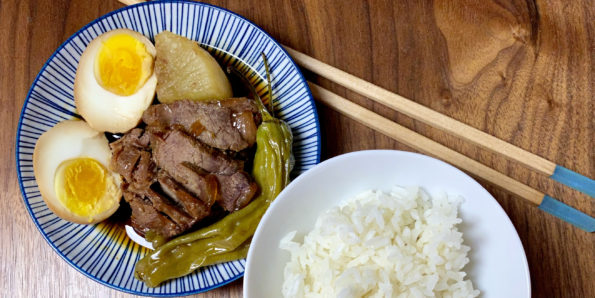
As I was driving home the other day I called the Hubster and asked “What’s for dinner?”. The retired guy replied, “I thought you were…
This past weekend the hubster went up to Tahoe to do maintenance on our cabin. So I was flying solo at home with Sammy our…
I have a total backlog of recipes I want to share with you and this one is top on the list. I have made this…
I came home from work the other day and ANNOYINGLY, with a couple of kids home and the hubster, no one had even thought about…

I appreciate our backyard now more than ever as it has served as an escape during the quarantine. While it’s not very big and there…
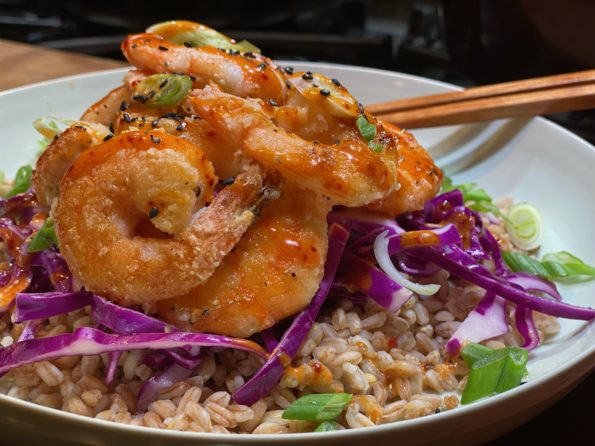
Bowl + Spoon = Soul Food My favorite equation, like Eat = MC(squared), which, in my book, stands for M-meat, C-Cooked & Crazy delish. After…