Category: Recipes

Recipes I’ve tried and sometimes modified that I think you should try!

It’s Raining, It’s Pouring the Instant Pot is Not Snoring, it’s Cooking Pot Roast

It’s Raining, It’s Pouring the Instant Pot is Not Snoring, it’s Cooking Pot Roast

It’s chilly, it’s raining, it’s just downright dreary.  How to combat this scenario?

Couch potato:  Snuggle on the couch and watch a movie or read a book. What, couch too far? Ok, stay in bed with a good book and a cup of tea.

Kitchen Diva: It’s the holidays, you’re supposed to be filling the house with the aroma of butter, cinnamon, sugar and all things delicious.  Let’s get ready to BBAAAKKKKEEEEE.

Outdoor Warrior:  Put on those stomping boots and raingear and hit those puddles!

Ok, I’m only feeling Option 1 or 2.

So, I decided on doing a combo, I spent the day baking cookies, cruising the internet and watching Netflix.  Right around 5pm my stomach grumbled and sent a signal to my brain “what’s for dinner?”

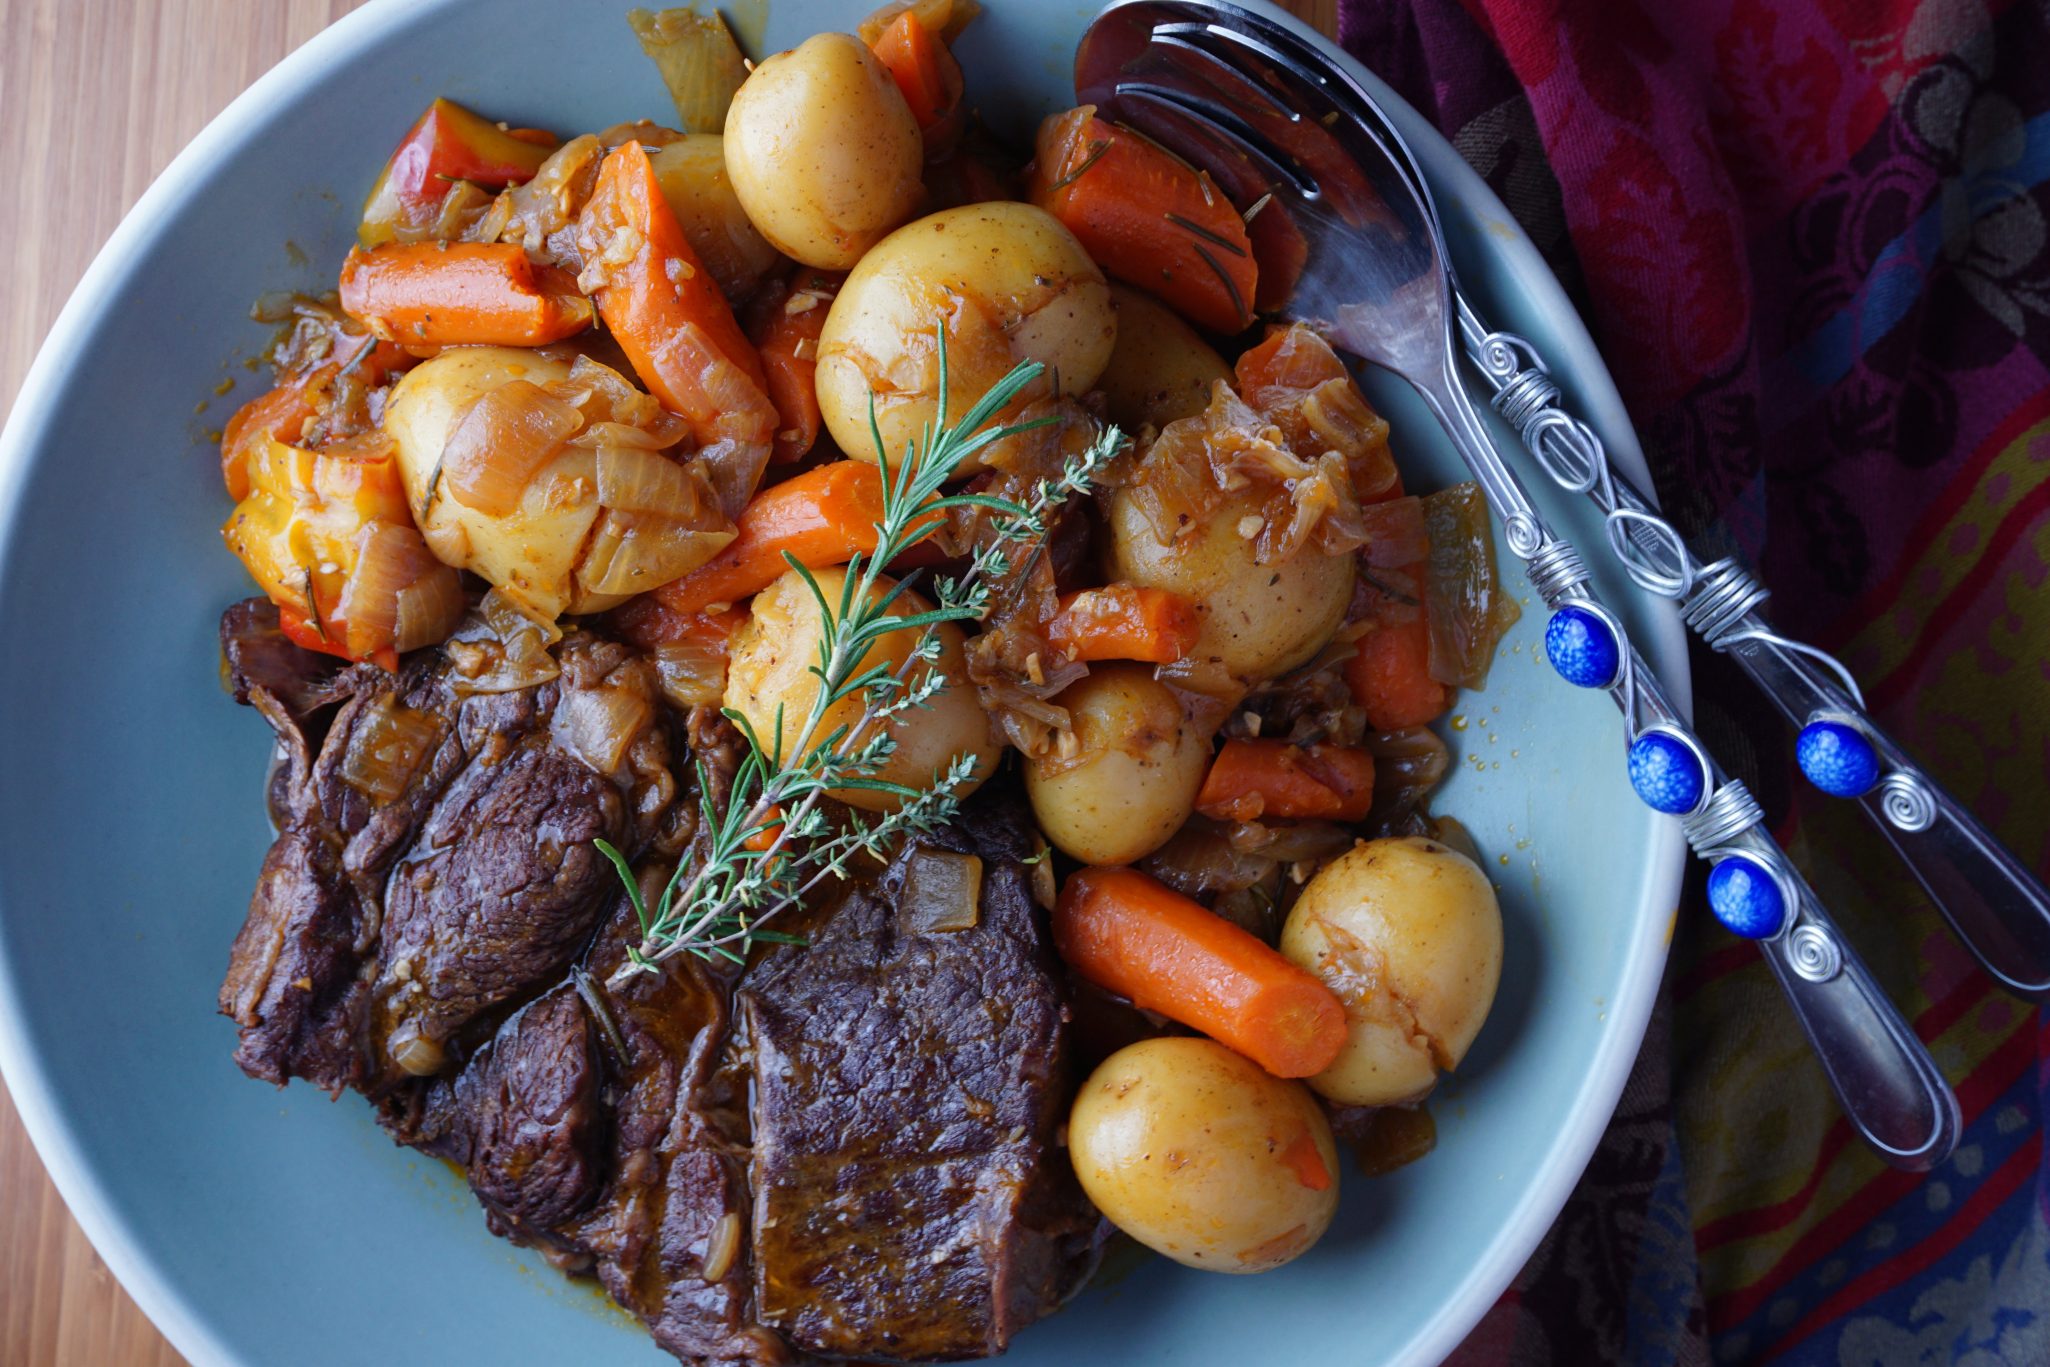
Here is the criteria for today’s dinner:  it should be easy to make, comforting and of course delicious. I pull out my Instant Pot, check off easy.  Take out the chuck roast I had bought the day before, check off comforting. Rummage through my crisper and pantry and pull out onions, carrots, potatoes, check off delicious.

Yep, pot roast on a rainy, dreary day…sounds like a plan, Stan. Sitting down at 6:30 to dinner.  Yahoo, thanks Instant Pot.

Instant Pot Pot Roast

What’s better than pot roast for dinner? Pot roast the next day!

Pot Roast a la Instant Pot

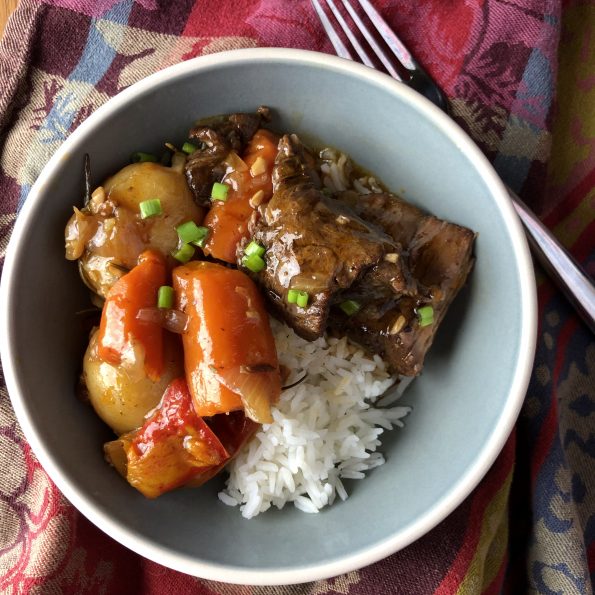
Decide at 5pm to have Pot Roast for dinner. I know, what am I thinking? Pull out the Instant Pot and damn, by 6:30 I'm sitting down to a delicious bowl of meltingly tender chunks of beef, carrots, and potatoes over steaming hot white rice.  Adapted from Damn Delicious.
Course Main Course
Cuisine American
Prep Time 10 minutes
Cook Time 1 hour
Total Time 1 hour 10 minutes
Servings 4 people

Ingredients

  • 1 3-pound chuck roast
  • Kosher salt and freshly ground black pepper to taste
  • 1 1/2 tablespoons canola oil
  • 1 yellow onion chopped
  • 3 cloves garlic minced
  • 2 tablespoons tomato paste
  • 1/4 cup dry red wine
  • 3 cups beef stock
  • 2 teaspoons Worcestershire sauce
  • 4 sprigs fresh thyme
  • 1 sprig fresh rosemary
  • 2 bay leaves
  • 1 1/2 pounds baby red potatoes
  • 4 large carrots cut diagonally into 2-inch pieces
  • 1/2 pound fresh assorted mushrooms sliced, optional
  • 2 1/2 tablespoons cornstarch
  • 1-2 tablespoons soy sauce or fish sauce optional kicks up the flavor, check for saltiness before adding

Instructions

  • Set a 6-qt Instant Pot® to the high saute setting.
  • Season beef with 1 1/2 teaspoons salt and 1 teaspoon black pepper. Heat oil; add beef and cook until evenly browned, about 2-3 minutes per side; set aside.
  • Add onion, and cook, stirring frequently, until translucent, about 2-3 minutes. Stir in garlic and tomato paste until fragrant, about 1 minute.
  • Stir in red wine, scraping any browned bits from the bottom of the pot.
  • Stir in beef stock, Worcestershire, thyme, rosemary, bay leaves, potatoes, carrots and mushrooms. Top with beef. Select manual setting; adjust pressure to high, and set time for 60 minutes. When finished cooking, quick-release pressure according to manufacturer’s directions.
  • Remove beef, potatoes and carrots from the Instant Pot®; shred beef, using two forks.
  • In a small bowl, whisk together cornstarch and 1/4 cup cold water; set aside.
  • Select high sauté setting. Bring to a boil; stir in cornstarch mixture and cook, stirring frequently, until slightly thickened, about 2-3 minutes. If the mixture is too thick, add more beef stock as needed until desired consistency is reached.  If using mushrooms, sauce may be a bit thin, reduce before adding cornstarch slurry.
  • Serve beef, potatoes and carrots with juices immediately accompanied by rice or buttered noodles or a nice crusty bread to sop up the sauce.


Strawberry Vanilla Shortbread Day 4 Holiday Cookies

Strawberry Vanilla Shortbread Day 4 Holiday Cookies

Day 4 of the 12 Days of Cookies is a keeper.

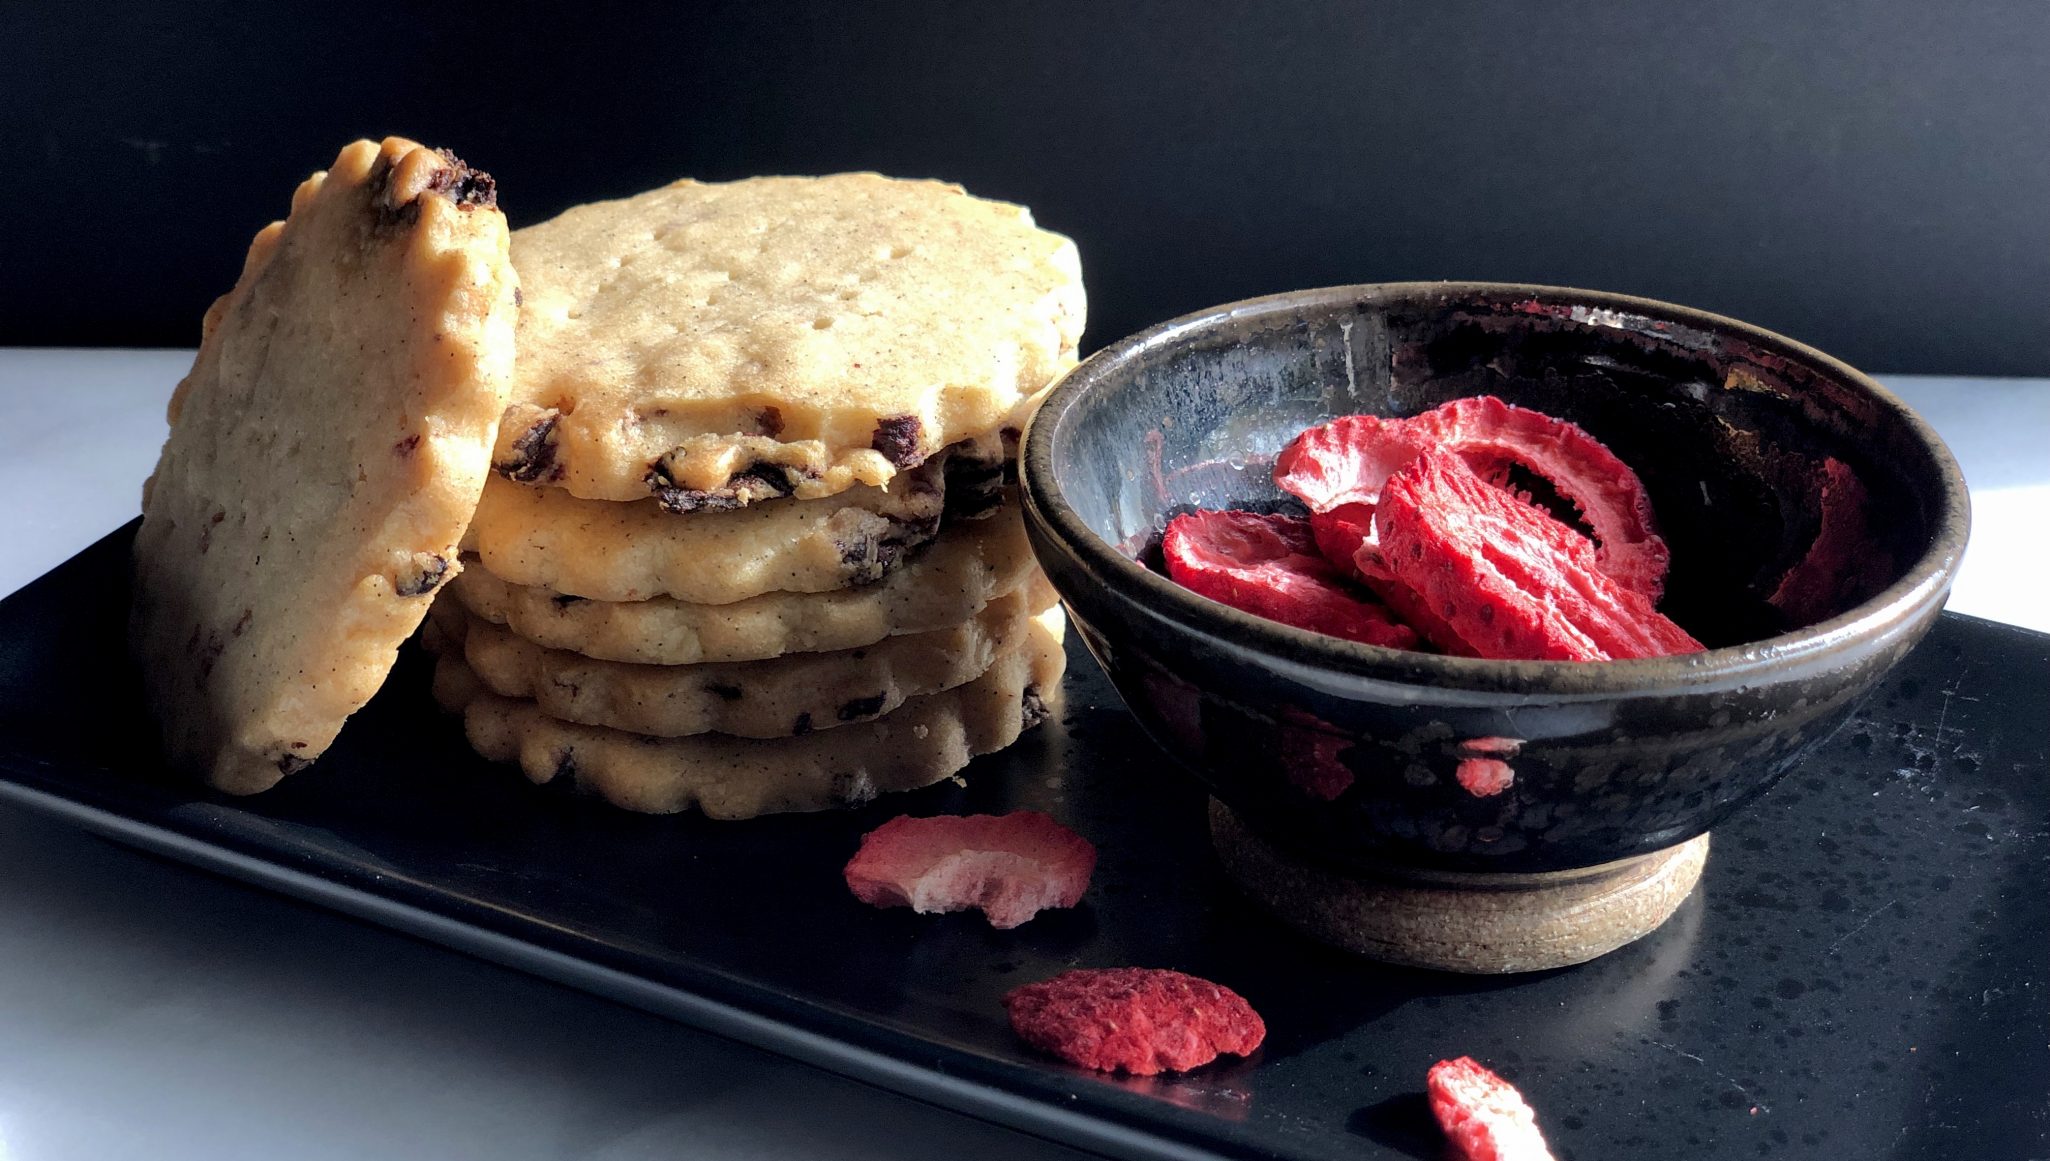
I LOVE shortbread, it is hands down my all-time favorite cookie.  During the holidays I usually bake a batch of classic Scottish ShortbreadThis year, I am adding Strawberry Vanilla Shortbread Cookies from Use Real Butter to the rotation. Sweet strawberries and a hefty dose of vanilla add a one-two punch to a buttery, tender cookie. I made a batch and the fam scarfed them down in no time flat.

I almost didn’t try this recipe. The first part of Jen’s post is a how-to on drying strawberries.  It’s winter, where am I going to find fresh sweet strawberries to dry?  Not happening in my house, even if it’s the height of strawberry season, I’m way too lazy.  Luckily, at the very end of the instructions, she adds “If this is too much of a pain…you can always grab a bag of freeze-dried strawberries at Trader Joe’s.  Bingo, I am all over that idea.

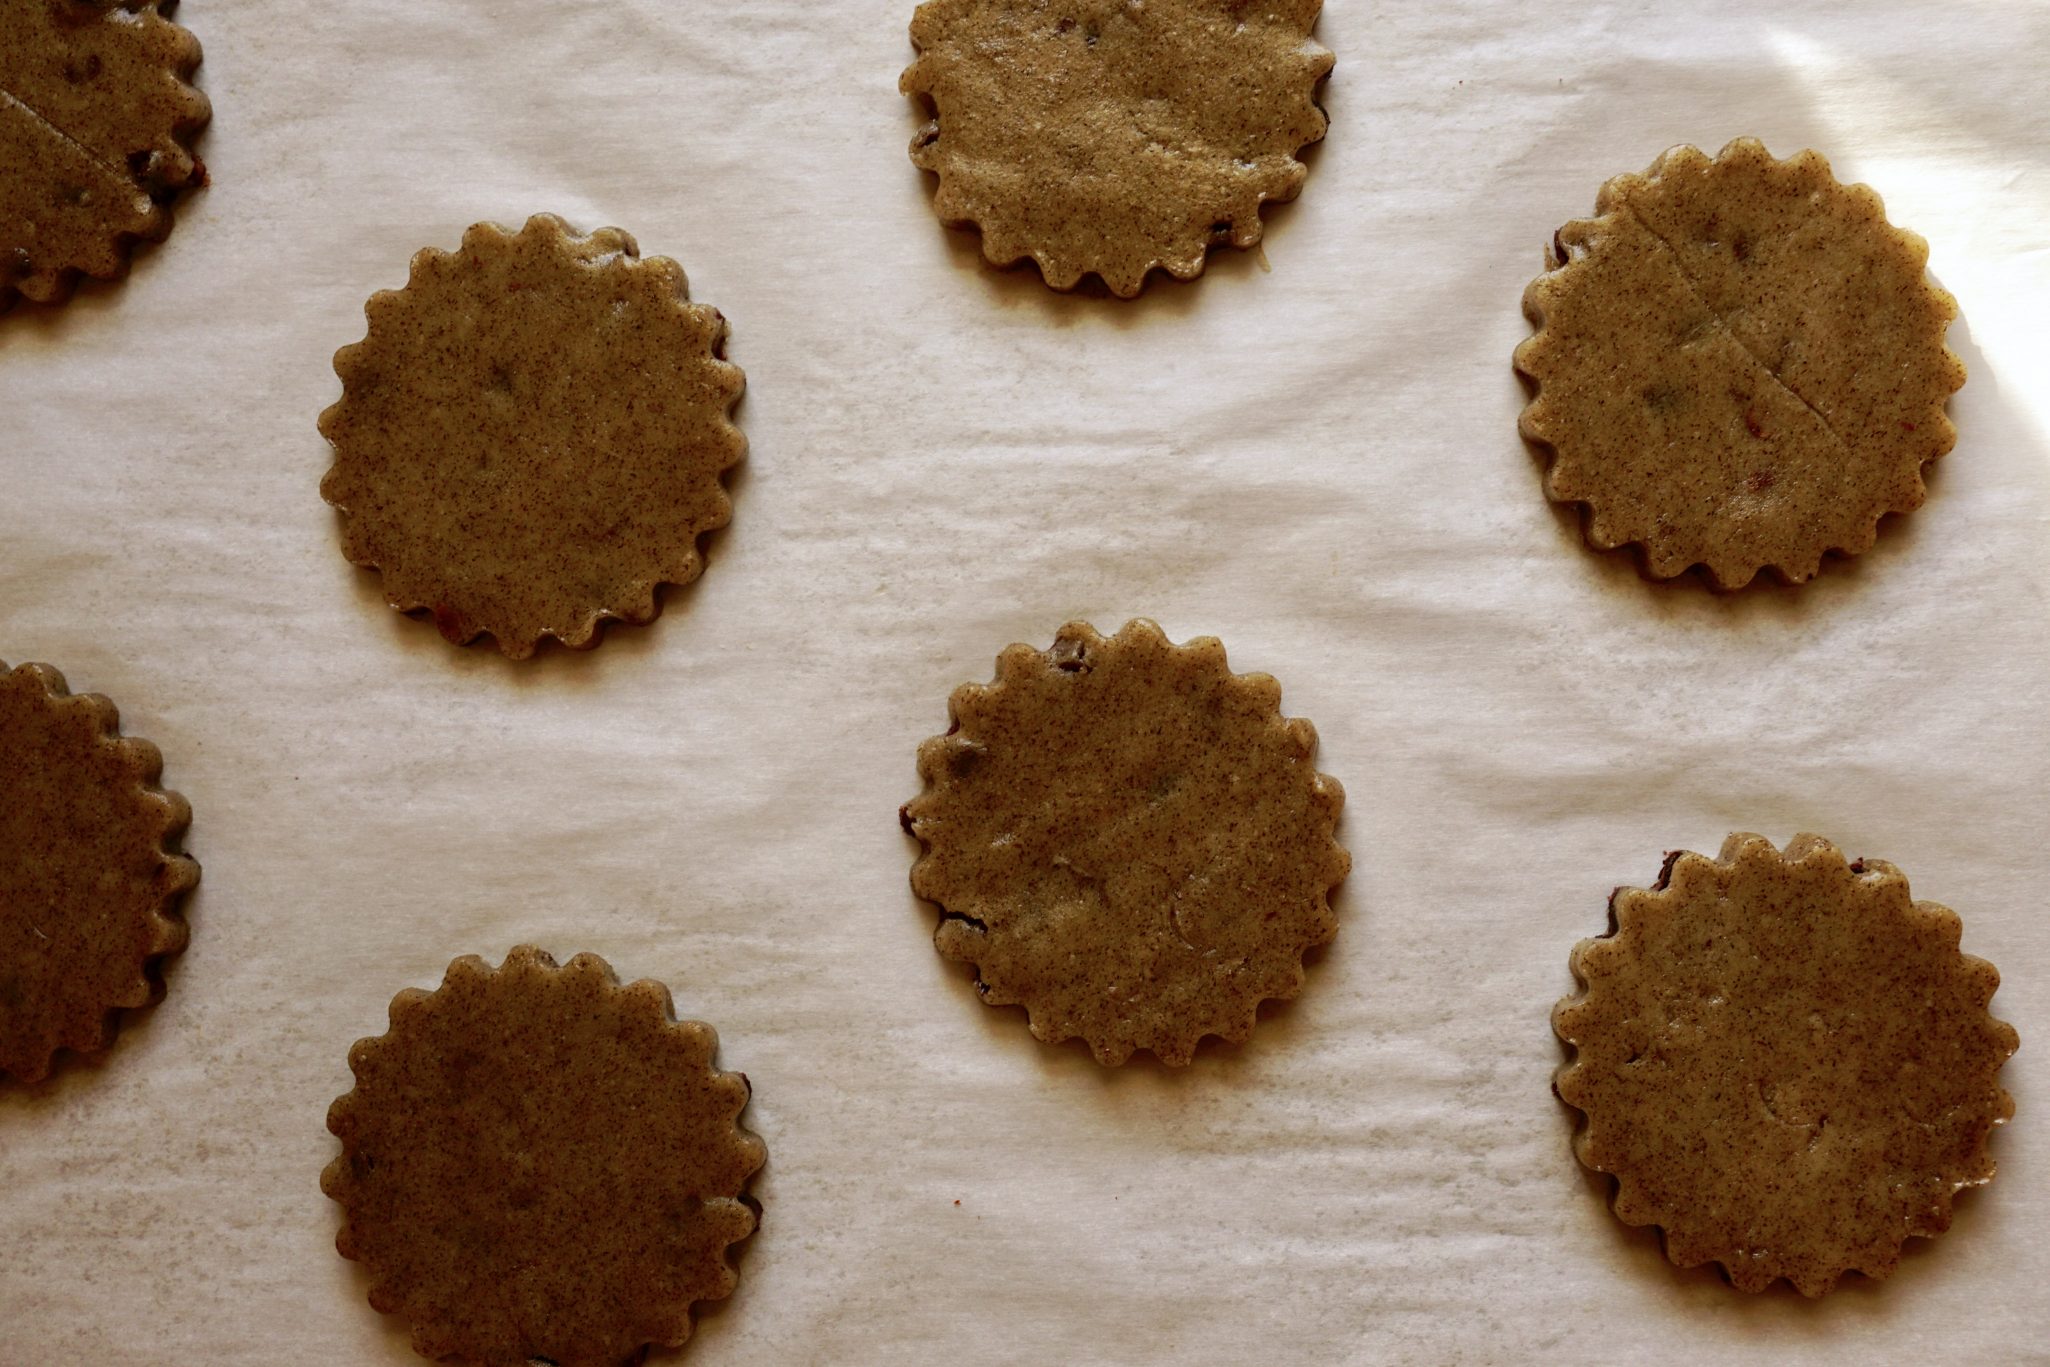
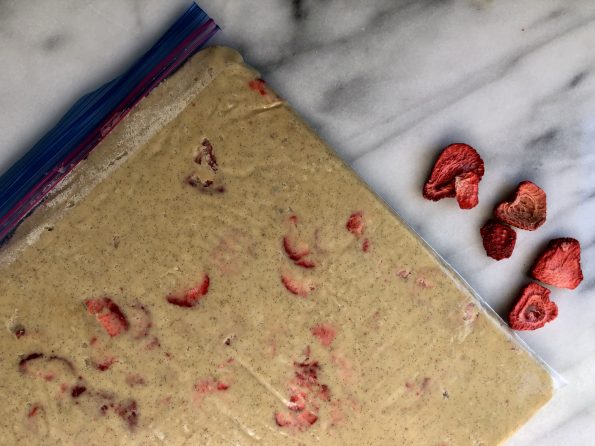
I should have cut the strawberry pieces smaller for better distribution.  I used vanilla paste in place of the pods and part of the extract.  Once the dough is made, place it in a gallon-sized Ziploc bag and roll the dough flat using the Ziploc border to create a square.  You can also shape the dough into a log for slice and bake cookies.

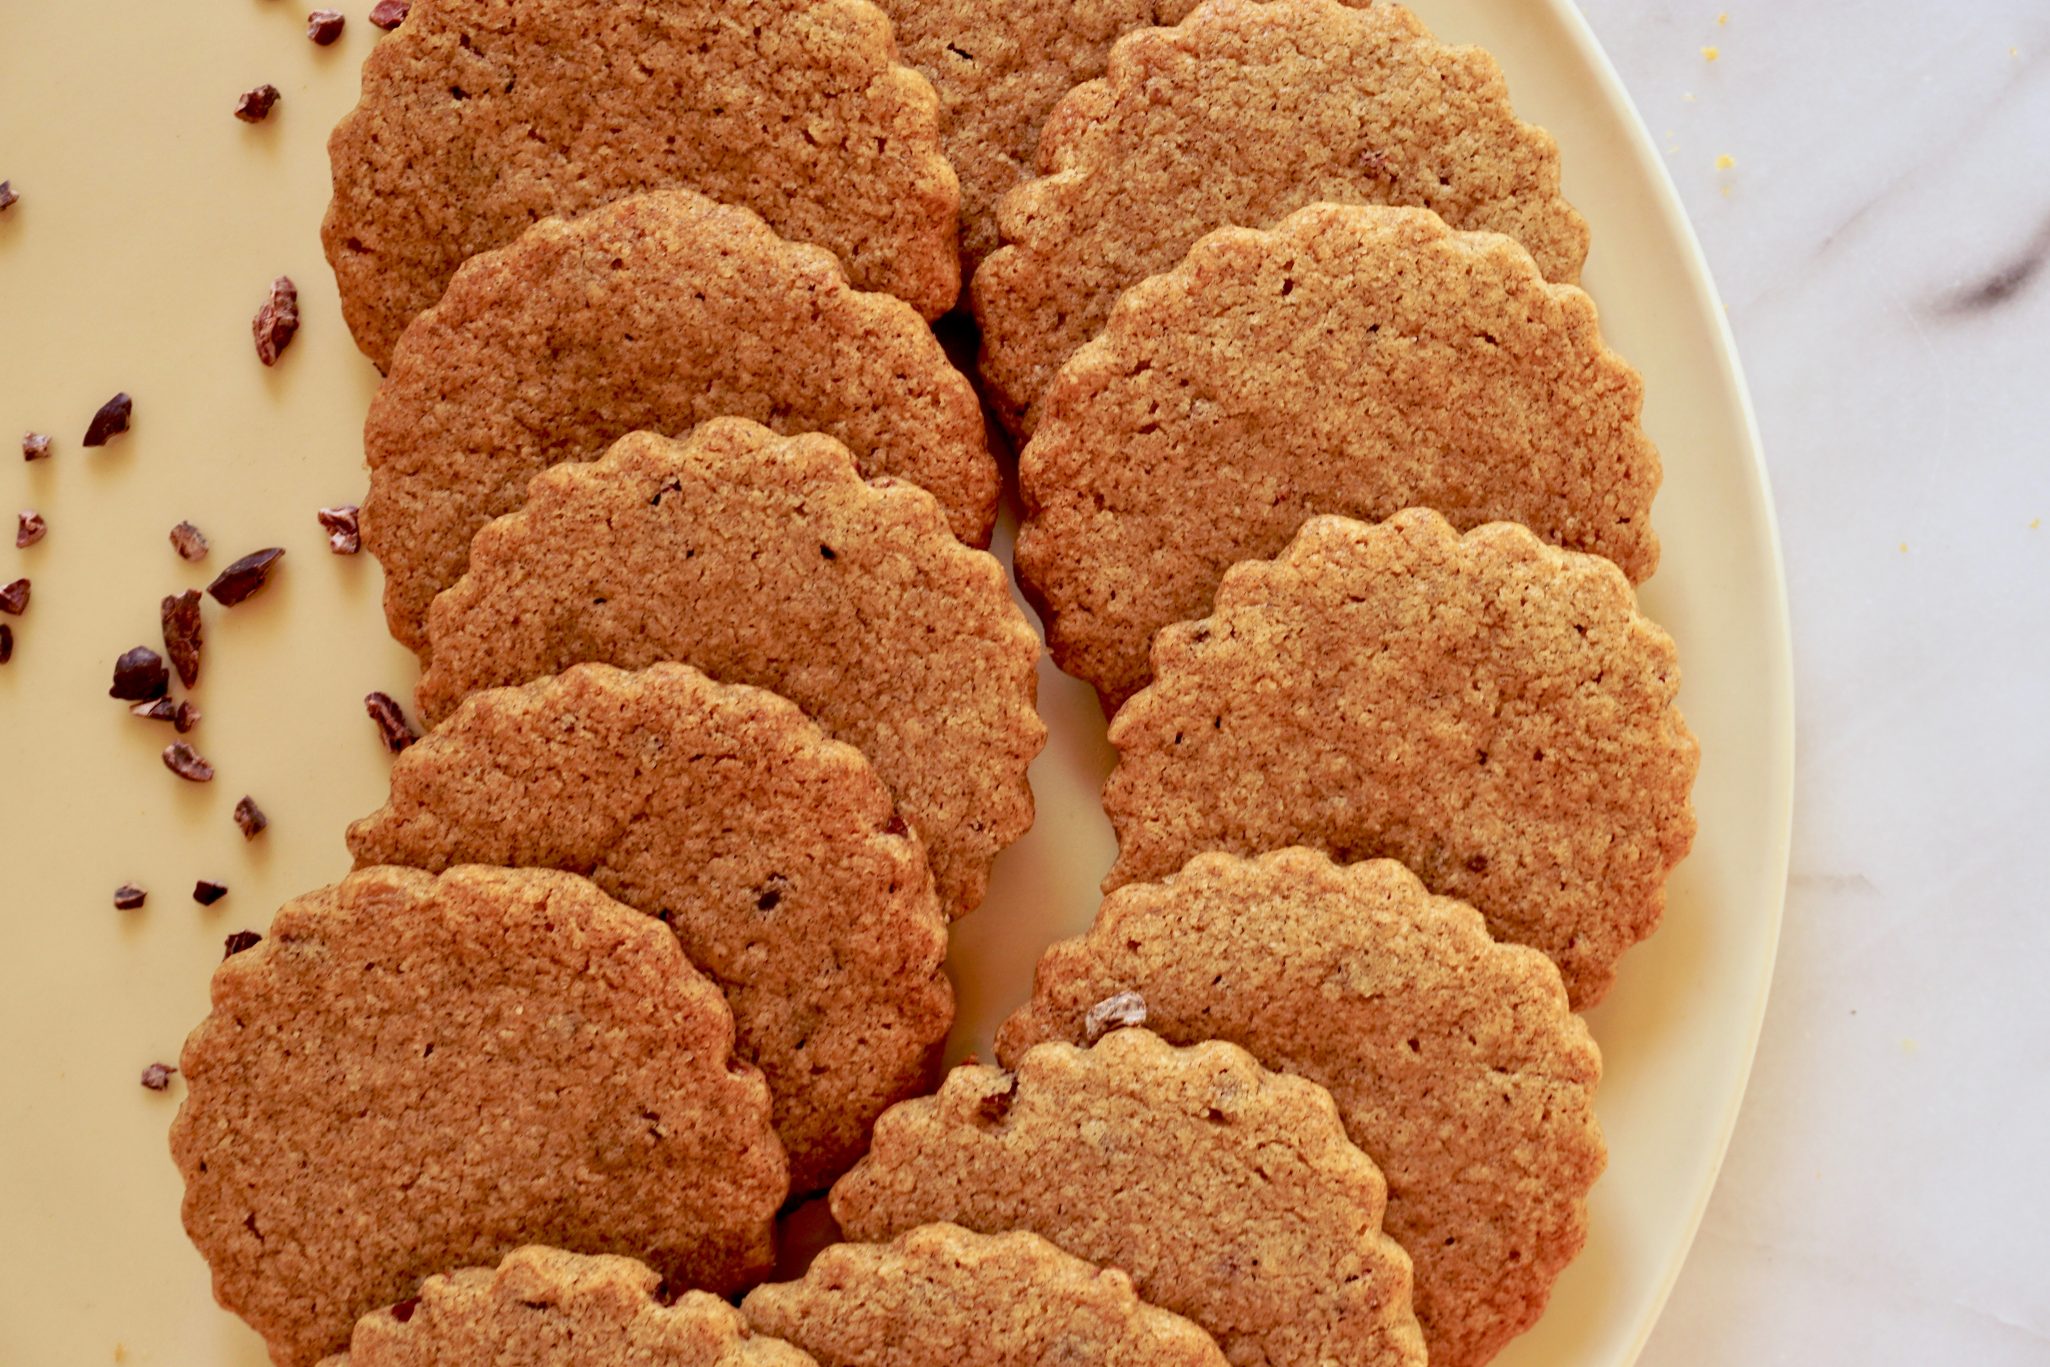
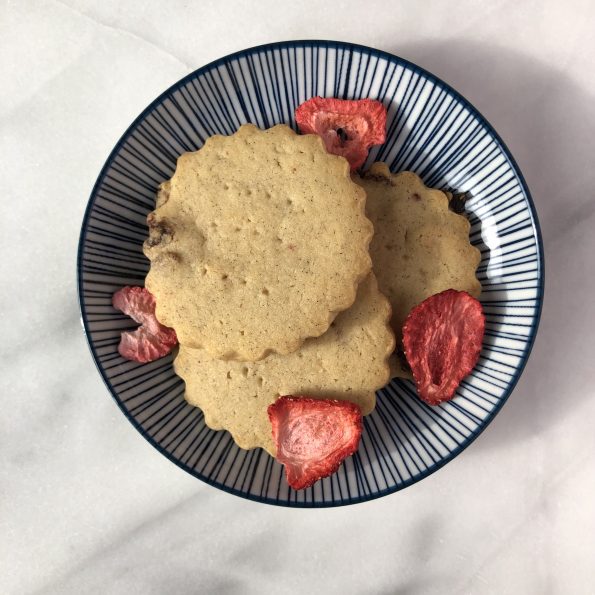
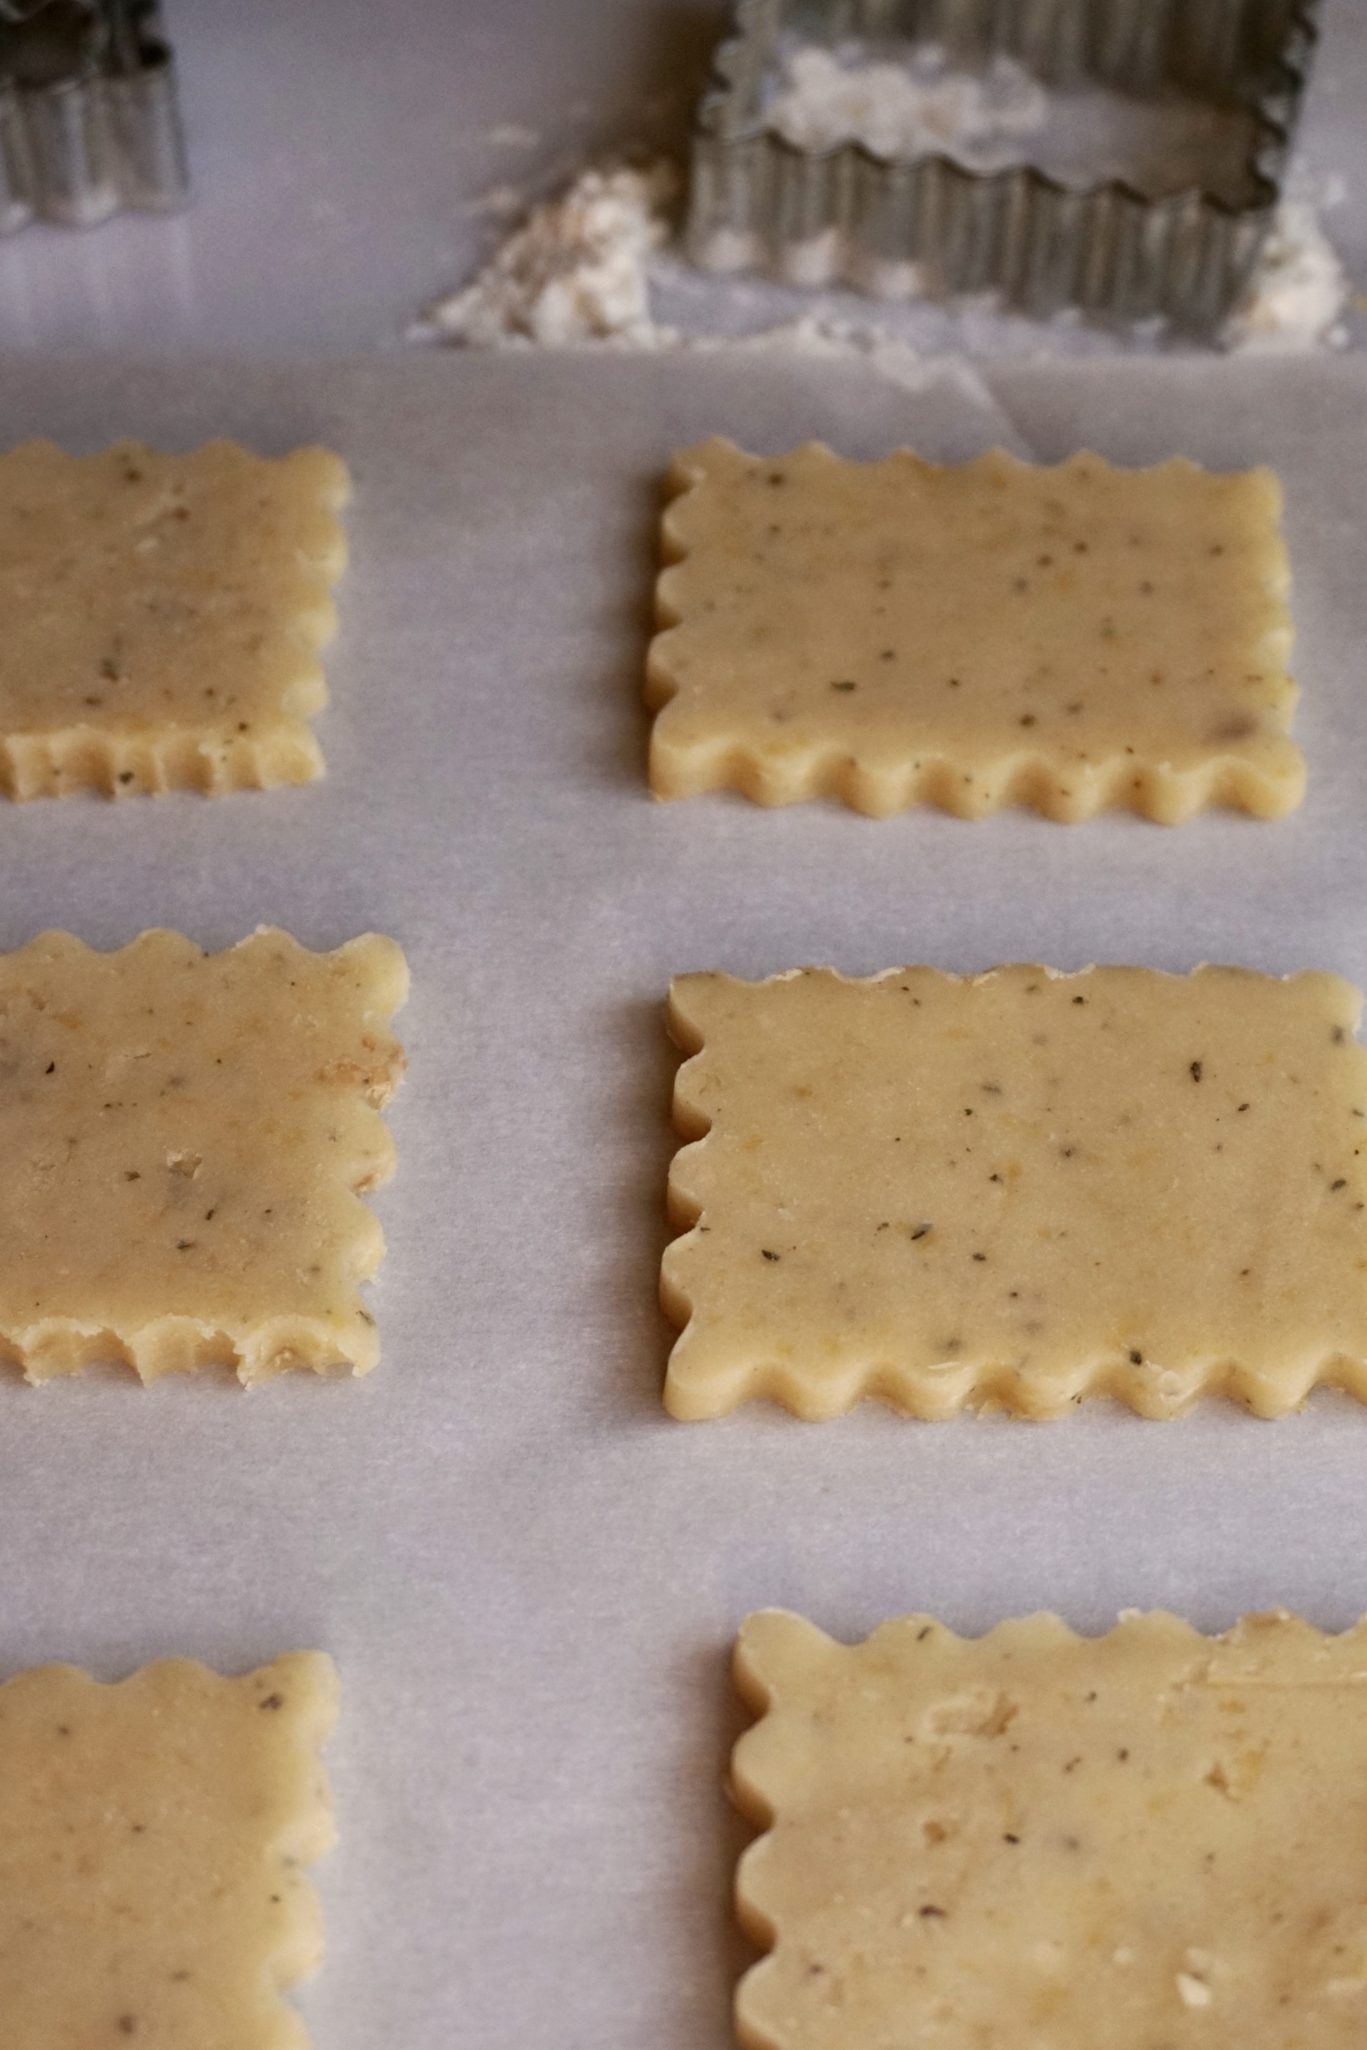
I used a fluted cookie cutter, chilled the dough to help keep its shape.  It was a little tough cutting through the bits of strawberries but still doable.

This is an absolutely delicious cookie.  If you like buttery, sweet-tart strawberry, and vanilla, bake this cookie.

Strawberry Vanilla Shortbread Cookies

Ingredients

  • 8 oz. unsalted butter room temperature
  • 1 cup 3.5 oz. or 100g powdered sugar
  • 2 vanilla beans split and seeds scraped
  • 1 tbsp vanilla extract 2 tbsp of vanilla paste can be subbed for the pods and reduce extract to 1/2 tbsp
  • 1 tbsp Grand Marnier or orange liqueur
  • 2 cups 9 oz. or 260g all-purpose flour
  • 1/4 tsp sea salt
  • 1 cup 4 oz. or 115g chopped dried strawberries (recipe below) or 1 cup freeze-dried strawberries

Instructions

  • Beat the butter with a paddle attachment until smooth.
  • Add the powdered sugar to butter and beat on medium speed until blended.
  • Add the vanilla bean seeds (use the pods for something else) or vanilla paste, vanilla extract, and Grand Marnier to the butter mixture and beat until incorporated.
  • Mix the flour and salt into the butter mixture until the flour is absorbed and no dry flour remains.
  • Stir the chopped strawberries into the dough. Scrape the dough into a gallon-size ziploc bag and roll flat with a rolling pin until the dough fills the bag in an even layer.
  • Seal the bag and refrigerate for at least an hour.
  • Preheat oven to 325°F and line your baking sheet(s) with parchment paper. When the dough is chilled, peel off the plastic and slice the dough into desired shapes or use a cookie cutter (circles show the least deformation) and re-roll scraps to use again.
  • Arrange your raw cookies 1.5 inches from each other on the baking sheet and dock them (prick them) with a fork three times across each cookie.
  • Bake 16-20 minutes (18 minutes worked well for me) until the bottoms are golden. Remove from oven and let cool on a cooling rack.

Notes

Makes about 36 2-inch round cookies or 42 1.5-inch square cookies.


Instant Pot White Chicken Chili? Yes We CAN!

Instant Pot White Chicken Chili? Yes We CAN!

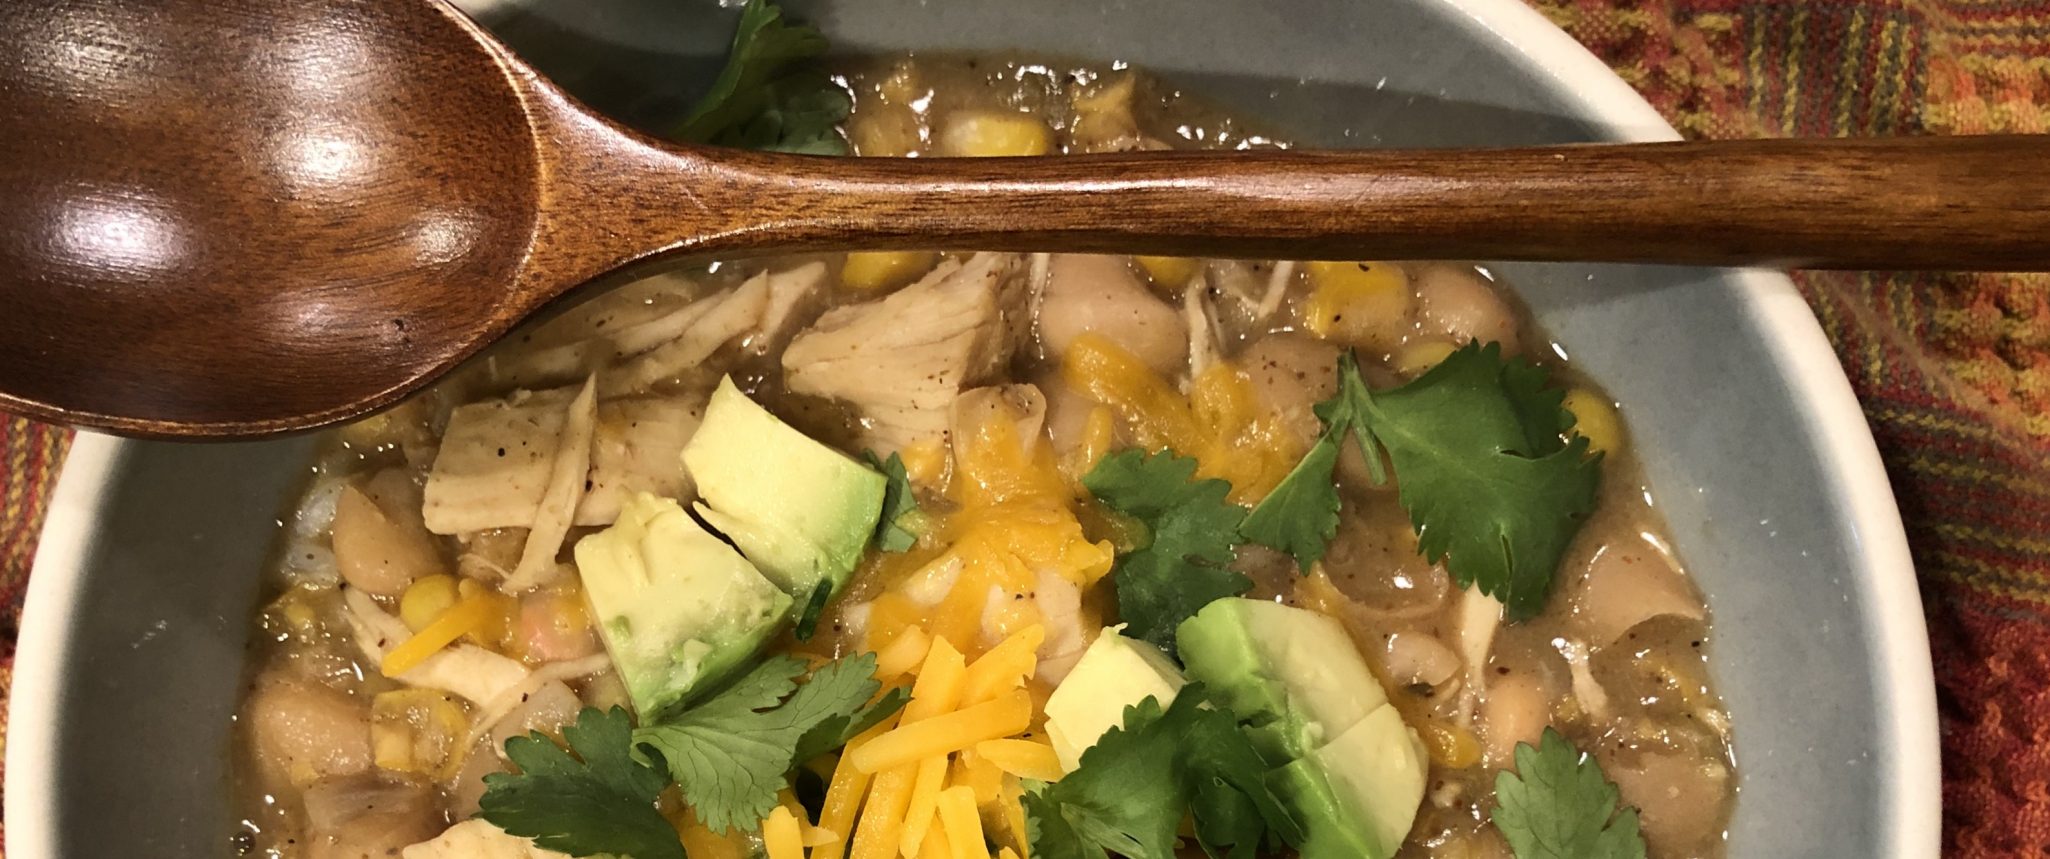
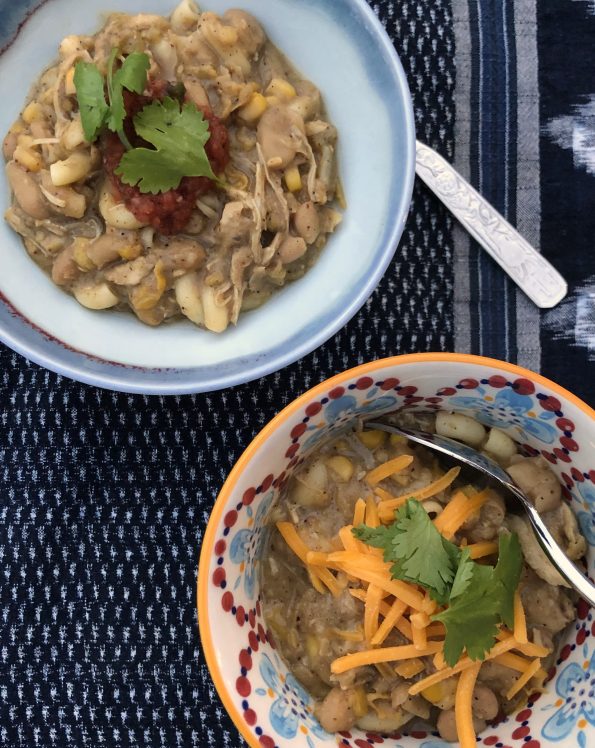
Ramping up for the holidays?  Here is a recipe that is easy, delicious and thanks to your handy dandy Instant Pot, ready in minutes.  You will need, first and foremost, a can opener.  Yep, a can opener, indispensable. You’ll also need, chicken, white beans (can), chicken stock or broth (can), roasted peppers (can), corn (yes, a can) and spices. Everything except the chicken, you’ll need a can opener.  Stupid easy.

I couldn’t let sleeping dogs lie, the original recipe from the blog Eat.Drink.Love. calls for onion powder and garlic powder.  I decided to use chopped onions and garlic cloves instead.  It adds a couple of minutes, but I like the texture and flavor of the onions and garlic.  Feel free to stick with the original if you like.

This really is quick and easy, perfect for a busy weekday night.  Ready in minutes, good the next day, and very kid friendly.

The recipe calls for chicken breast, you can use thighs instead if you prefer dark meat.  Any white bean will work, Kidney, Great Northern, Navy or Cannellini.  The recipe calls for a can of corn, which I misread and thought it was a can of creamed corn. I went with it and I actually liked it.  It adds a bit of sweetness and creaminess to the chili.  Consider decreasing the broth if you use creamed corn.  I also added a finely diced jalapeño pepper to give the chili an extra kick.  If the sauce seems a bit thin at the end, remove chicken and continue to cook sauce on saute’ function to reduce to desired thickness then add the shredded chicken back to the pot.

Between you and me, I love eating chili over macaroni or rice.   From Epicurious, favorite ways to eat chili.

INSTANT POT WHITE CHICKEN CHILI

Course Main Course
Cuisine American
Keyword White Chicken Chili
Prep Time 15 minutes
Cook Time 20 minutes
Total Time 35 minutes
Servings 4

Ingredients

  • 1 1/2 pounds boneless skinless chicken breasts halved lengthwise
  • 2 15-ounce cans white navy beans rinsed and drained
  • 1 15-ounce canned corn, drained or 1 15 ounce canned creamed corn + 1 cup frozen corn
  • 1 4-ounce can roasted diced green chiles
  • 2 cups low sodium chicken broth 1-1/2 cups if using creamed corn
  • 3 teaspoons ground cumin
  • 2 teaspoons chili powder
  • 1/2 teaspoon garlic powder*
  • 1/2 teaspoon onion powder*
  • 1 teaspoon kosher salt

*Substitute 1 chopped yellow onion and 4 cloves of garlic finely chopped

  • 1 jalapeno pepper seeded and veined, finely diced (optional)

Toppings

  • shredded cheddar or jack cheese
  • diced avocado
  • sour cream
  • cilantro or sliced green onions

Instructions

  • *If using onions and garlic, on saute', add 1 tablespoon oil to Instant Pot. Add onions and garlic and saute' until soft. Proceed with recipe, omit garlic powder and onion powder
  • Place the chicken into the pressure cooker.
  • Pour in the beans, corn, chiles, and the broth. Then stir in the seasonings*
  • Cover with the lid and set valve to sealing position.
  • Cook on poultry setting for 15 minutes followed by a quick pressure release.
  • Shred the chicken with a fork and serve with desired toppings.
  • Can add additional seasonings if desired.
  • Garnish with toppings, serve immediately

Shortbread with Grapefruit & Thyme Day 3 Holiday Cookies

Shortbread with Grapefruit & Thyme Day 3 Holiday Cookies

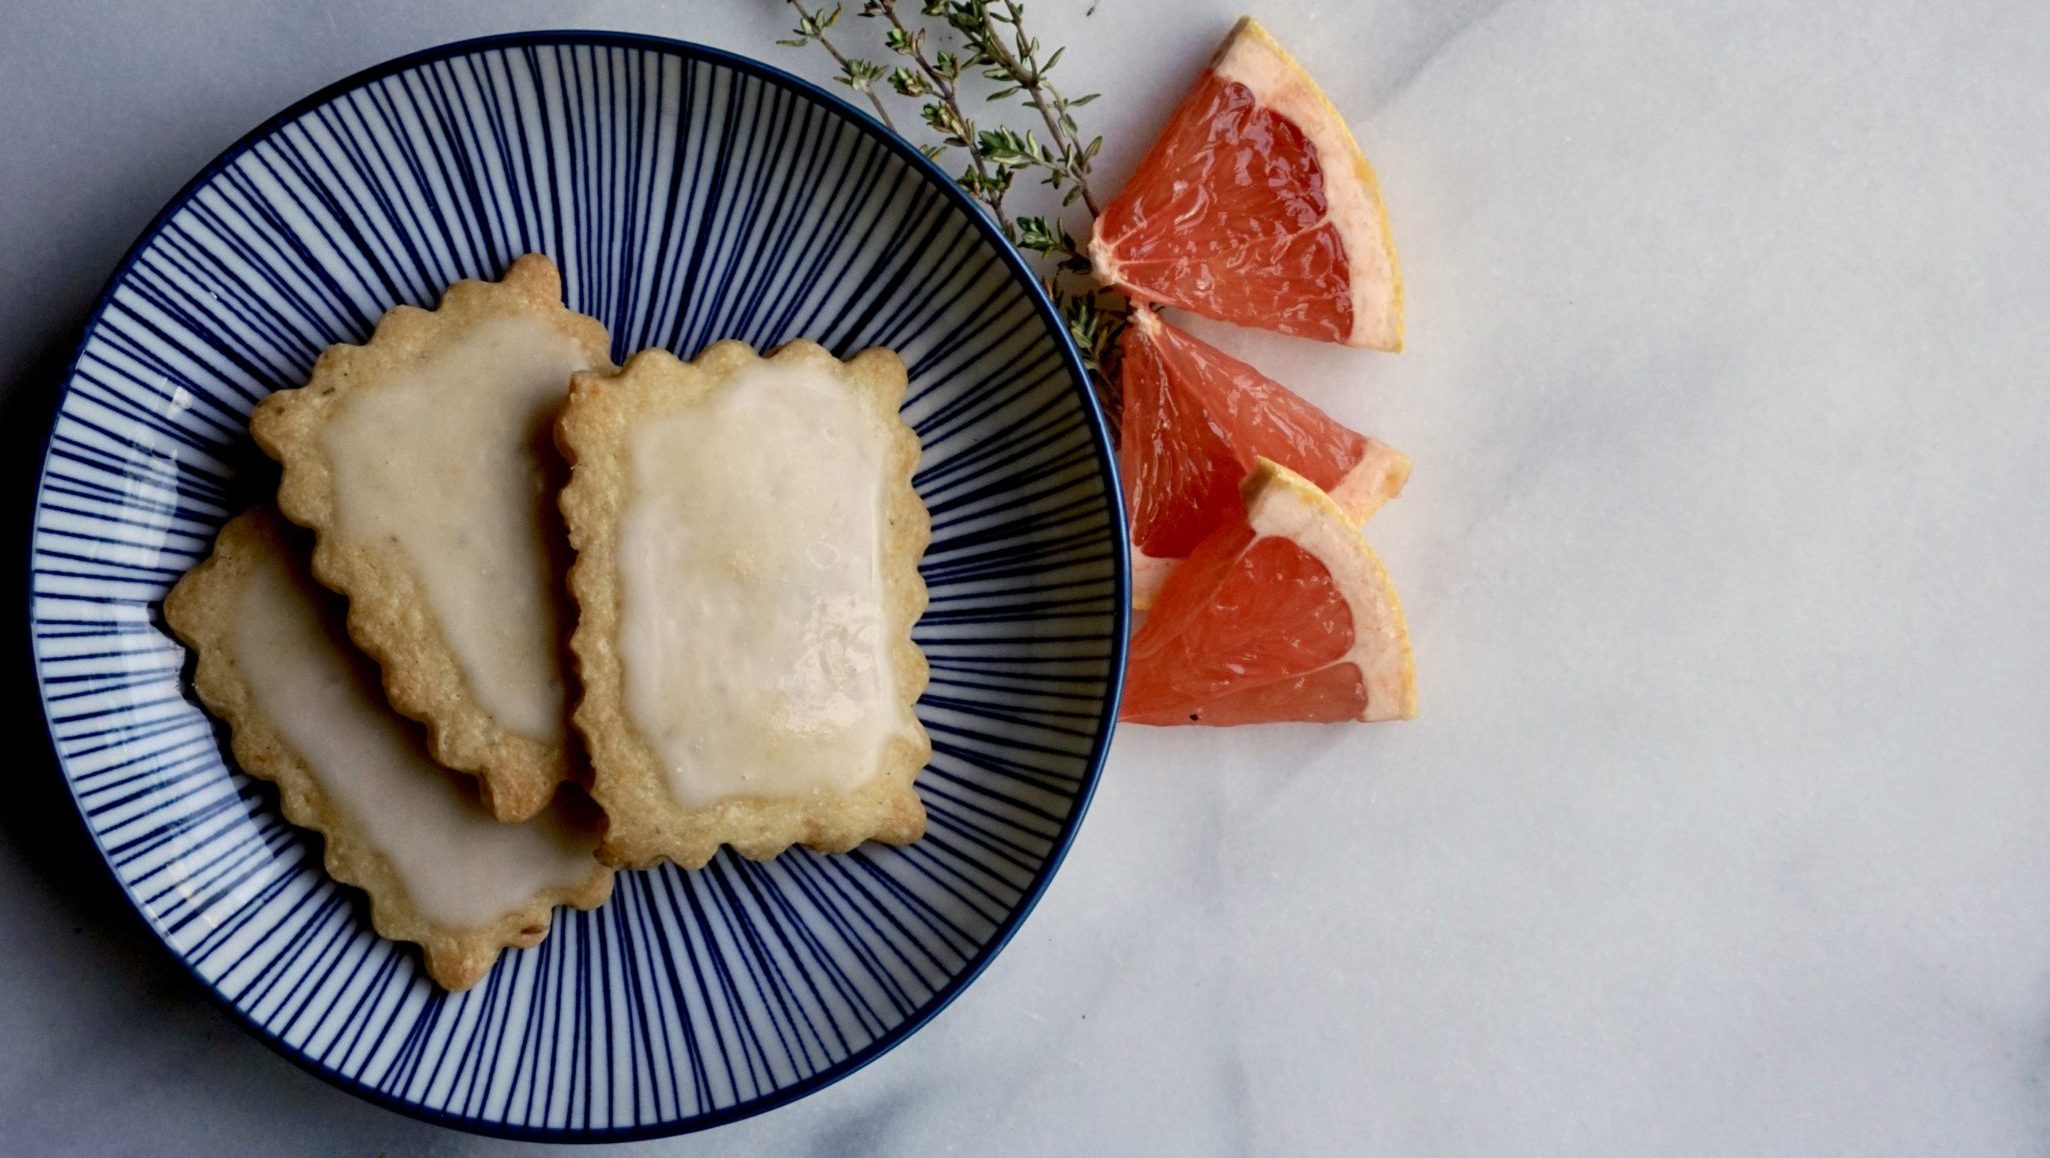
Day 3 and once again I reached into the 2018 vault.  I went straight to a shortbread riff I posted in March, Grapefruit Thyme Shortbread.  I love these cookies.  The recipe is from my classmate, JJ, also known as KidDoc JJ.  She has a wonderful site, KIDDOCJJ that has delicious recipes, healthy living tips (she is a pediatrician turned chef), guest celebrity interviews, and cooking classes for those who live in LA, and so much more.  I want to be JJ when I grow up!

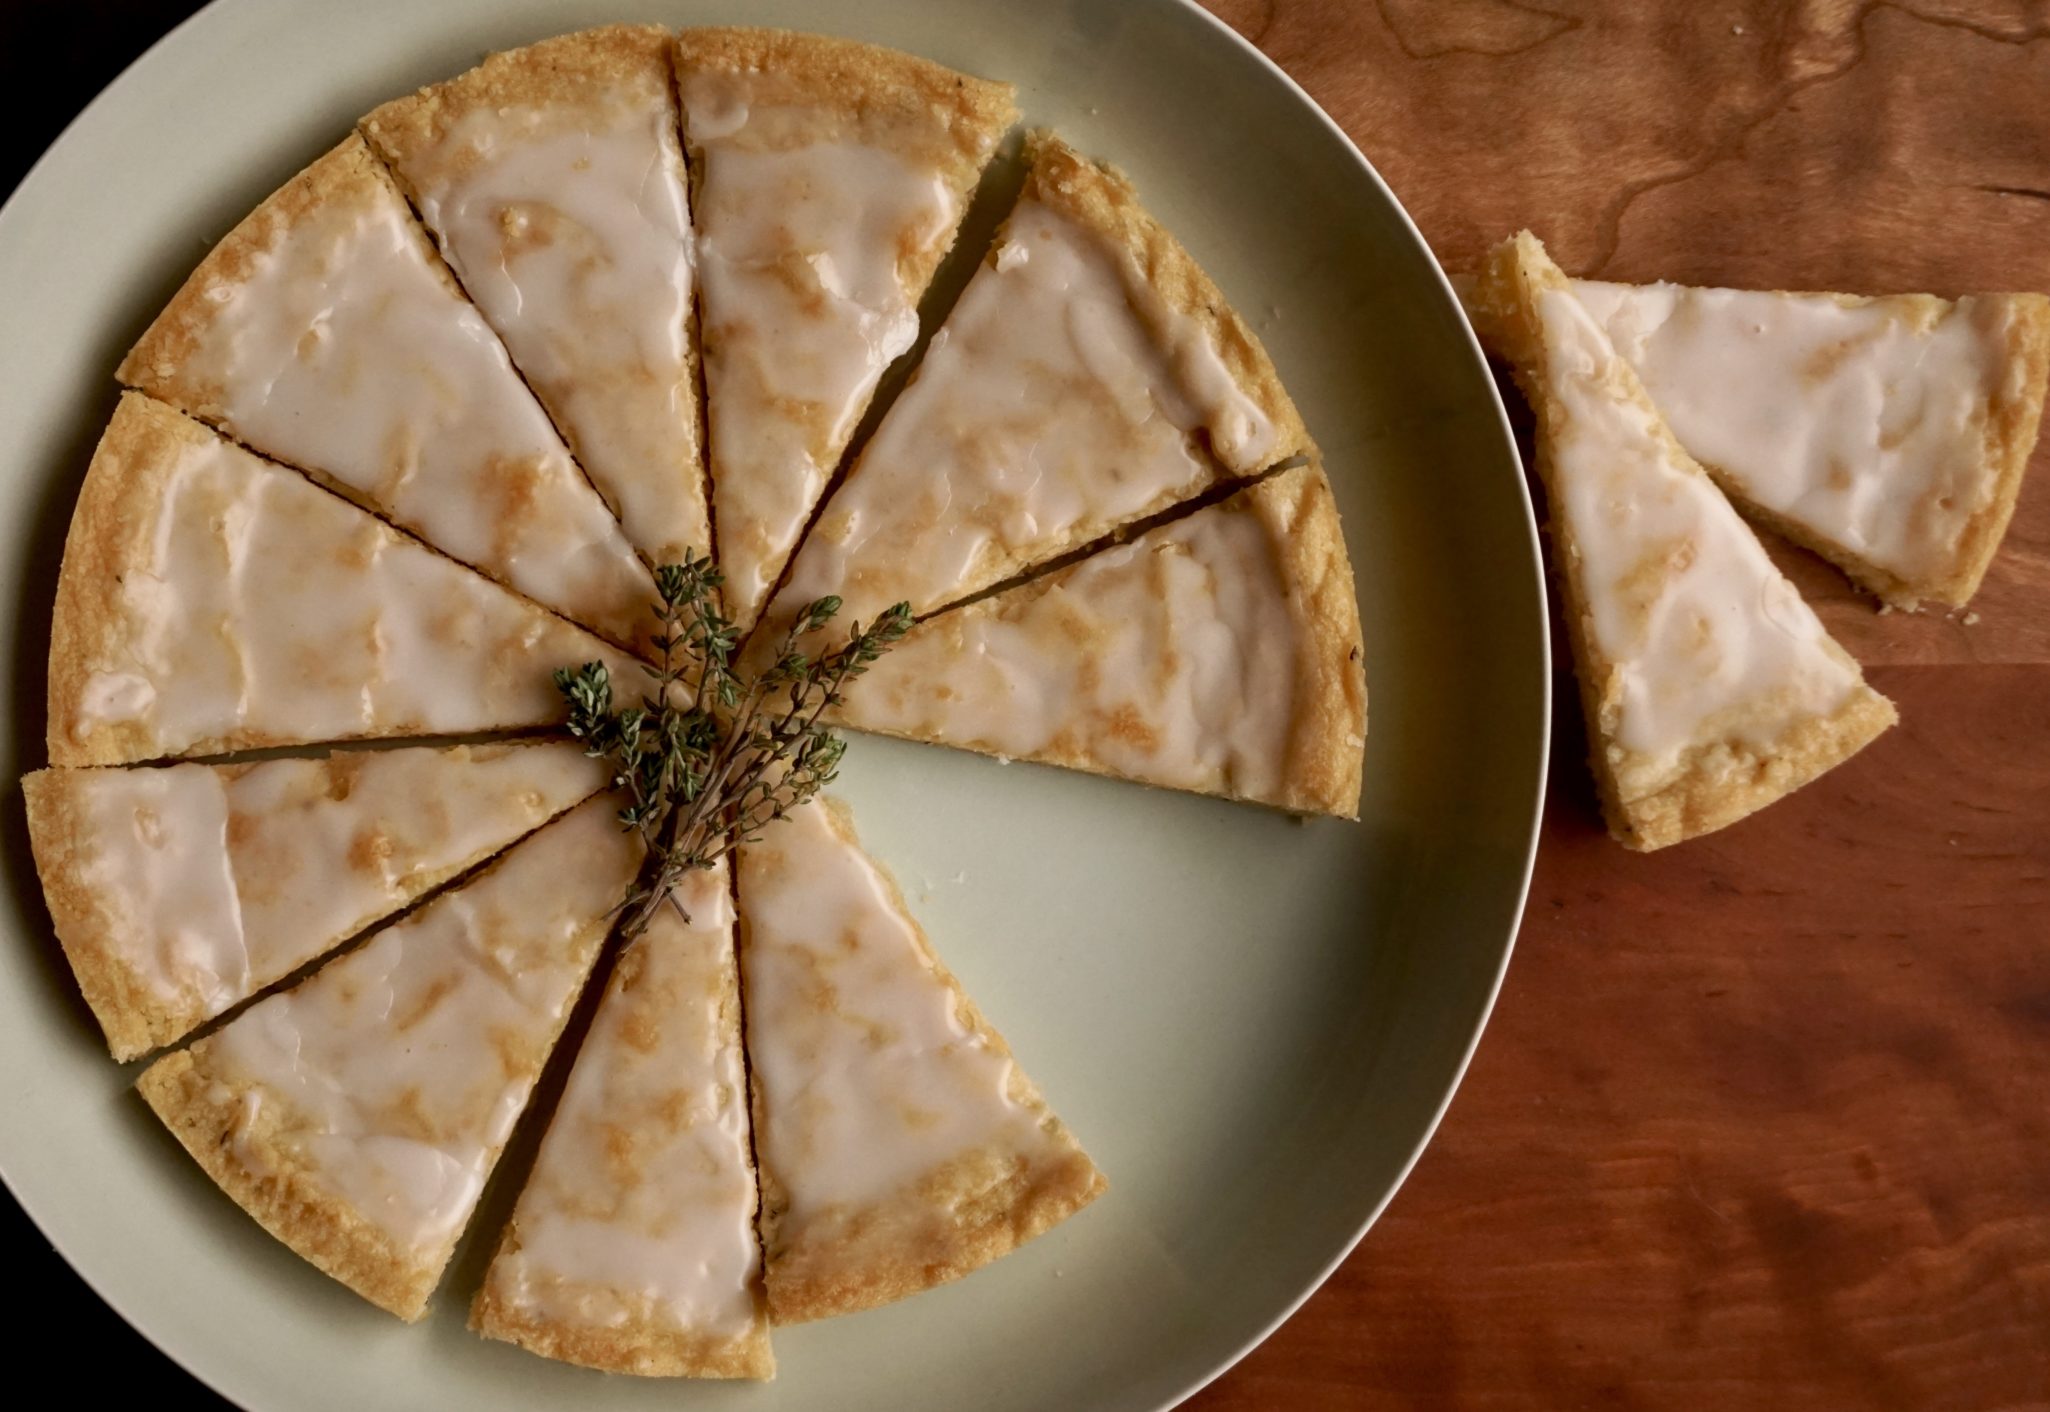
This is a lovely cookie, flavored with grapefruit zest and fresh thyme, and finished with icing made with grapefruit juice.  So GOOD-tart, sweet, herby, buttery… I am in shortbread heaven just thinking about them.  After she posted this yummy cookie recipe, I baked a batch, went bonkers over them, and then baked a second batch. The first time I made cut-out cookies. The second time I shaped the dough into a round (like traditional shortbread), baked it in a pie pan and cut it into wedges. Both ways were equally delicious.  Add this recipe to your holiday baking list.  Go jot it down, bookmark it, or print out the recipe right now…I’ll wait, they’re that yummy.

Merry Baking!

Grapefruit Thyme Shortbread

A thymely twist on shortbread with the addition of grapefruit
Course cookies
Cuisine American
Keyword grapefruit thyme shortbread
Prep Time 1 hour 20 minutes
Cook Time 15 minutes

Ingredients

  • - 1 stick unsalted butter softened
  • - 2 TB finely grated grapefruit zest save the fruit juice
  • - 1 tsp vanilla extract
  • - 1/2 tsp finely chopped fresh thyme
  • - 1/2 cup powdered sugar
  • - 1 cup all purpose flour
  • - 1/2 tsp kosher salt

Instructions

  • 1. Preheat your oven to 350 degrees.
  • 2. Into the bowl of a food processor, stand mixer, or if you're in for a little workout, a regular bowl, place the butter, vanilla, salt, grapefruit zest and chopped thyme.
  • 3. Add the powdered sugar and pulse (if using a processor), or beat on medium with a paddle (if using a stand mixer), or mix with a wooden spoon until mixture is smooth.
  • 4. Add the all purpose flour and mix just until flour is incorporated.
  • Your mixture should look - a little on the dry side, but well blended together.
  • 5. Butter a springform pan or pie tin.
  • 6. Using an offset spatula, spread the dough evenly in the pan.
  • 7. Prick the surface of the dough with a fork. This is called "docking."
  • 8. Refrigerate for an hour (or put it in the freezer for 30 minutes).
  • 9. While your dough is getting cold, squeeze out about 2 TB of grapefruit juice into a bowl. Add 3/4-1 cup of powdered sugar and a pinch of salt. Whisk until smooth. 10. Once the dough is cold, put in the oven for 15-18 minutes until the edges are golden and the center is firm.
  • 10. Once the dough is cold, put in the oven for 15-18 minutes until the edges are golden and the center is firm.
  • 11. Remove the collar from the pan. Immediately cut the shortbread into 8 or 16 wedges.
  • 12. Transfer wedges to a cooling rack set over a plate.
  • 13. Drizzle the glaze evenly over the shortbread, and gently spread to the edges with an offset spatula. Once cool you can serve it!

Notes

See post for making cutout cookies instead of wedges.
Day 2 Holiday: I Heart Bravetart Honey Roasted Peanut Butter Cookie

Day 2 Holiday: I Heart Bravetart Honey Roasted Peanut Butter Cookie

Dratz! I missed National Cookie Day yesterday!  I spent my time not baking cookies, but going thru my posts to find which cookie post was the most popular one on 3Jamigos.  I am so going to have to figure out how to use Google analytics efficiently.  So after a time consuming search of all my posts, I found the cookie post with the most hits.

So without further adieu because I really do need to start baking-
drum roll please, I present…

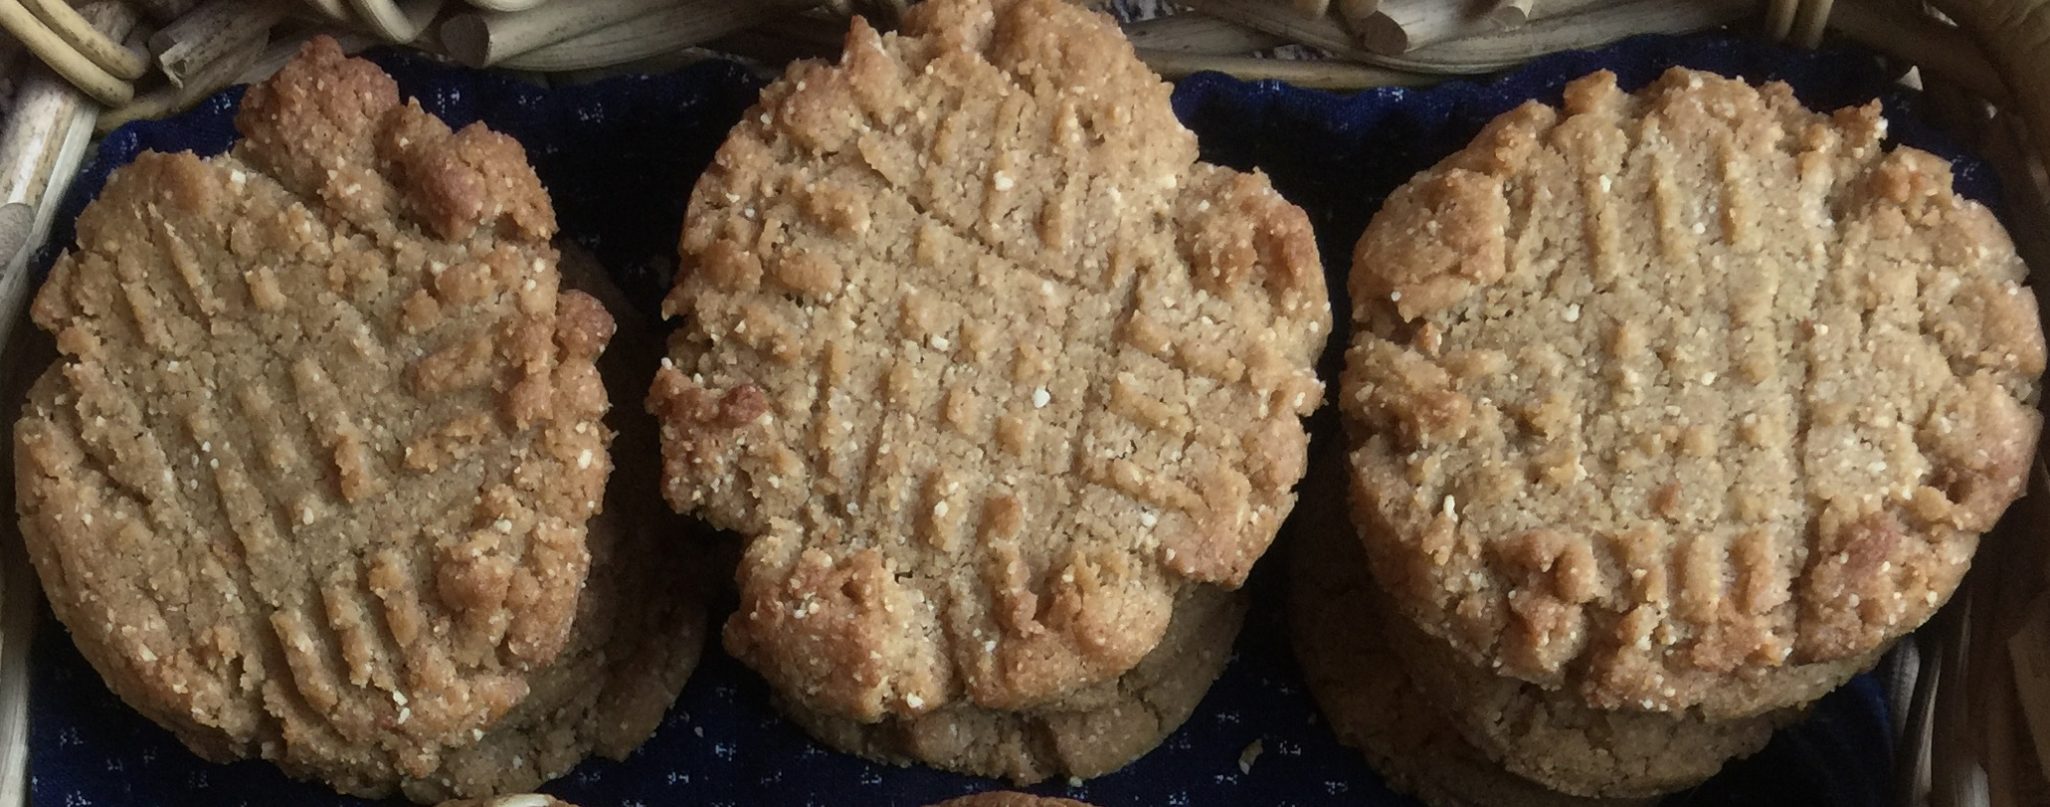
Honey Roasted Peanut Butter Cookies! 

It wasn’t even close.

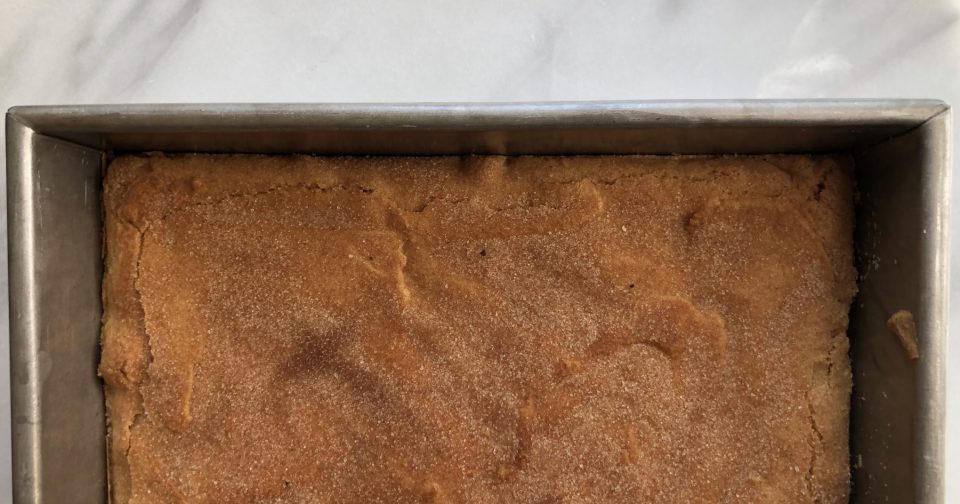
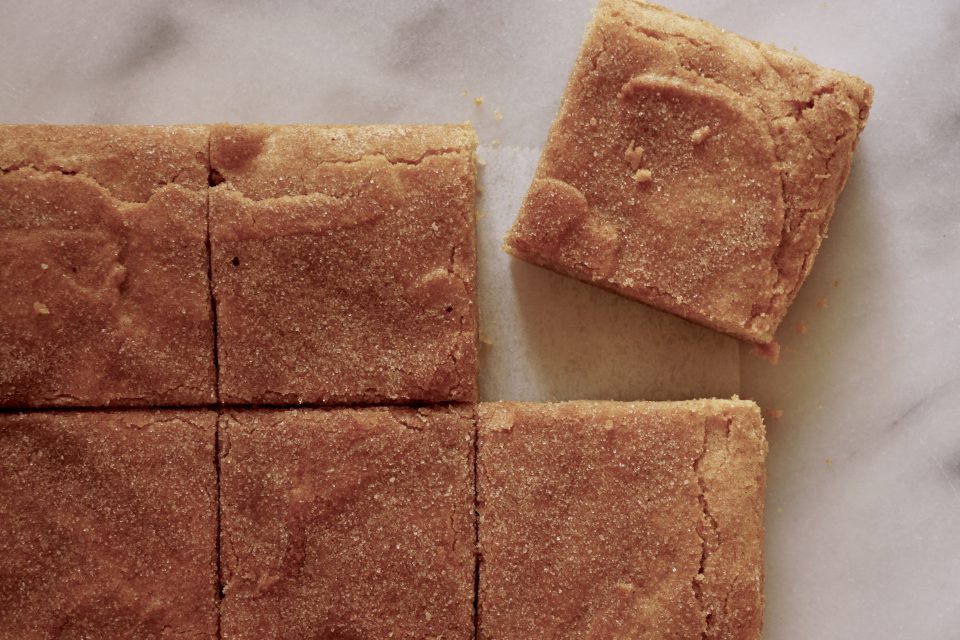
The recipe is from the book Bravetart by Stella Parks (Serious Eats).  An absolutely wonderful book that pays homage to classic American desserts. Stella manages to reinvent and update many iconic desserts while staying true to the essence of the original treat.  This is her take on the classic peanut butter cookie, it is delicious.  The book is chock full of fun stuff-the history behind the recipes and fun facts like the Girl Scouts, leveraging National Cookie Day, outsourced their “casual bake sale” into a legitimate vehicle for world domination”…gosh I love that description.  Oh and Ah-mazing recipes too.

Of course, I made the trek up to the City when Stella and Irving Lin were at Omnivore Books.  Both were engaging, friendly and more than happy to recount their funny baking stories and pearls of wisdom to all of us.

Me and Stellio down by the bookstore!

For Day 2 of the 12 Days of Cookies, I give you the most popular cookie post on 3Jamigos. Here is the original post, which contains tips for making them, Honey Roasted Peanut Butter Cookie from Bravetart.

Enjoy!

Print
2 from 1 vote

Honey Roasted Peanut Butter Cookies from BraveTart

Stella Park's Honey Roasted Peanut Butter Cookies, just make them, you'll thank me
Course cookies, Dessert
Cuisine American
Keyword Honey Roasted Peanut Butter Cookies, stella parks
Prep Time 20 minutes
Cook Time 16 minutes

Ingredients

Dry Stuff (Flour Mixture)

  • 1 cup AP flour 4.5 ounces USE Gold Medal flour
  • 1-1/4 cups honey roasted peanuts 6 ounces

Next Step: Butters + Leavening Agents

  • 1-1/4 cups creamy peanut butter 10 ounces
  • 1 stick unsalted butter 4 ounces,soft rt cool (65 degrees use an instant thermometer)
  • 1.5 cups granulated sugar 10 ounces
  • 3/4 tsp kosher salt or half that amount if using regular table salt
  • 3/4 tsp baking soda
  • 1/2 tsp baking powder

Wet Stuff

  • 2 tsp vanilla extract
  • 1 large egg straight from fridge, well beaten
  • 3 Tbsp milk 1.5 ounces

Instructions

  • Adjust oven rack to middle position. Preheat oven to 350 degrees
  • Sift flour into bowl of a food processor (scoop and sweep method if not using a scale)
  • Add peanuts and pulse until fine (approximately 1 minute) almost like flour
  • Combine peanut butter, butter, sugar, salt, baking soda, baking powder and vanilla* in bowl of a stand mixer fitted with paddle attachment. I'm lazy, I add the vanilla to the milk and add it later.
  • Mix on low speed to moisten then increase to medium and beat until soft and light ab out 3 minutes
  • With mixer running add the egg in 2 additions, mixing untile ach is incorporated
  • Reduce speed to low and add peanut flour, followed by milk, mixing to form a very soft dough
  • Divide into 34-2 T (1.125 ounce) portions
  • Arrange on parchment lined baking sheet, 2 inches apart
  • Bake until the edges are firm and just beginning to brown but cookies are still puffy and steamy in the middle about 16 minutes
  • Cool on baking sheet until cookie is set about 10 minutes
  • Store in airtight container for up to 1 week at room temperature.
Nut-in but the Best (Candied Cocktail Nuts)

Nut-in but the Best (Candied Cocktail Nuts)

This would not be the first post I have written on nuts.  I’m nutty bout’ nuts.  What shrimp was to Bubba in Forrest Gump is what nuts are to me.  Roast them, toast them, caramelize them, boil em’-put em’ in salads, cookies, cakes, granola, gosh, just about anything.

There are “nibble nuts” (that sounds weird), which I love, found at bars, ballgames, and cocktail parties.  Every Christmas I look forward to my cousin Bonnie’s jar of addictively delicious Candied Spiced Pecans.  Another one of my favorites is Union Square Cafe Bar Nuts, a wonderful combination of spices and rosemary.  Nibble Nuts make great gifts.  I will package them in cellophane bags tied with a cute little ribbon or fill canning jars and slap a festive tag on, perfect. Nothing like a gift of nuts to say I’m nuts about you, lol.

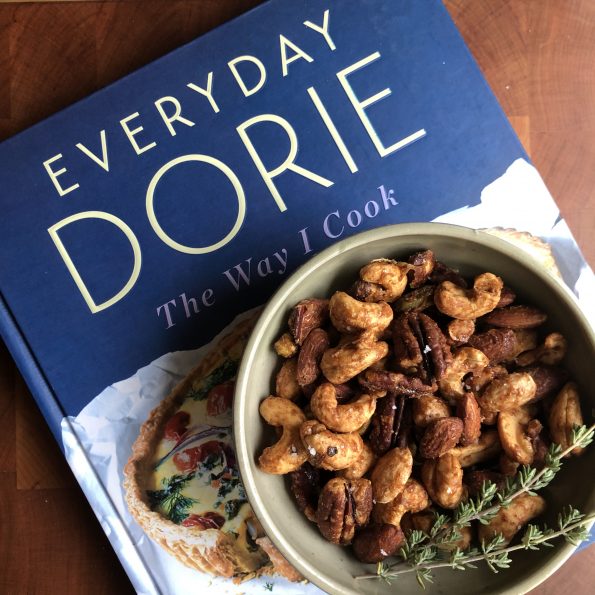
Right after the midterm election, I went up to The City for another cookbook signing. Once again, Dorie Greenspan was going to be at Omnivore Books, this time talking about her latest book, Everyday with Dorie (in the 3jamigos shop). Did I mention she is one of my favorites? The last time I saw her was right after the 2016 elections (if there was ever a time I needed a distraction-oy), she was making the rounds for her Cookie book. Her cookbooks are reliable, accessible, and written in an easy, warm style.

So, of course, I hopped in my car, drove up to the City with Sammy in tow, and patiently waited for her to show up.  I was early, which if you know me, you are slapping your forehead right now in disbelief.  Hey, it was Dorie, what can I say?

Dorie’s husband Micheal was there and I love talking to him as much as Dorie.  We talked about their son “The kid” and his beautiful, fairytale wedding in Paris this past year.  I mean, when Pierre Herme creates your wedding cake, it’s going to be epic (link to wedding cake on Instagram).  Must be nice, sigh.

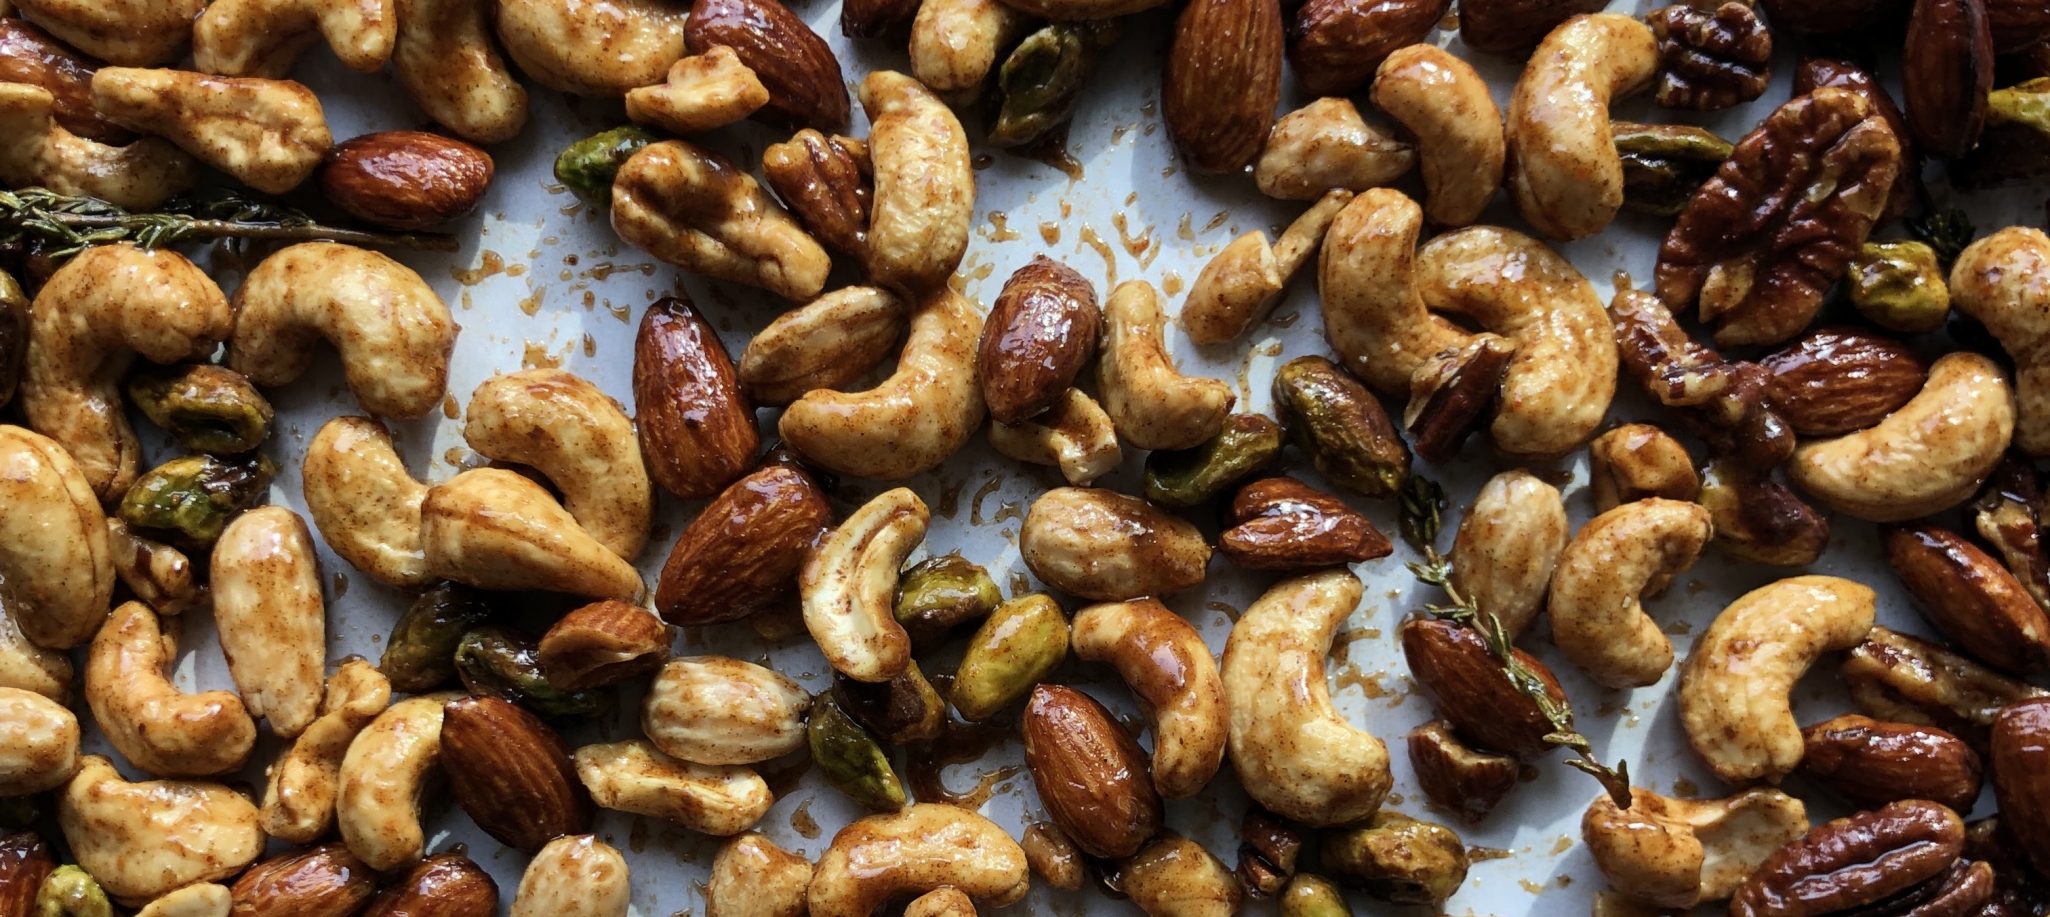
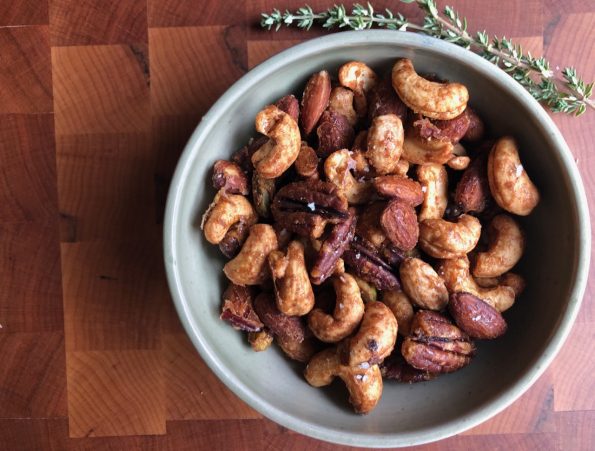
Ah, but I digress, I flipped through Dorie’s new book, which includes a smattering of everything, not just desserts.  “Stuff” she likes to make and eat, and whaddya know, in the very first section, there is a recipe for Candied Cocktail Nuts.  A girl can never have too many recipes for nuts.  Nope, never, and this one looked super-user friendly.

The recipe starts with 1/2 pound of mixed whole nuts, I doubled it right off the bat.  President Obama has the willpower to eat only 7 almonds a day?  That’s fake news, come on.  I buy unsalted roasted nuts at Costco.  It’s a good deal and perfect for this and the Spiced Nut recipe.

Her original recipe calls for thyme, but I could easily see using rosemary or another herb.  Next time I might add a bit of smoked paprika. Yums.

So keep Dorie’s Candied Cocktail Nuts in mind for those stocking stuffers, hostess gifts, or when you are sitting at your desk or kitchen counter working, these nuts are the perfect companion.

Everyday with Dorie

Candied Cocktail Nuts

I call them nibble nuts, perfect with drinks, cheese boards...just about with anything.
Course Appetizer
Cuisine American
Keyword Cocktail Nuts
Prep Time 10 minutes
Cook Time 3 minutes
Baking Time 15 minutes
Total Time 13 minutes
Servings 4 servings

Ingredients

  • 1/2 pound Mixed Nuts-pecans, cashews, almonds 1.5 cups approximately, unsalted
  • 2-3 sprigs fresh thyme or rosemary
  • 1 tablespoon unsalted butter
  • 1 tablespoon maple syrup
  • 1 teaspoon brown sugar
  • 1 teaspoon fleur de sel or sub 1/2 teaspoon fine sea salt
  • 3/4 teaspoon cinnamon
  • 1/2 teaspoon cayenne

Instructions

  • Adapted from Everyday with Dorie
  • Place rack in the middle of the oven and preheat to 350 degrees.
  • Spread nuts on a sheet lined with parchment or a silicone mat.  Scatter thyme over nuts and roast for 5 minutes.
  • While nuts are roasting, place remaining ingredients in a medium saucepan and cook over medium heat stirring, until butter has melted and the mixture is smooth.  
  • Add warm nuts to pan and continue to cook and stir for 2-3 minutes until well coated by the sauce.
  • Return nuts to baking pan, making sure to spread the nuts out. No clumps, please.
  • Bake for 10 minutes, stirring the nuts midway through. If they seem a little too light, continue to bake for another couple of minutes.
  • Take pan out and let the nuts cool completely. Sprinkle with additional Fleur de Sel.

Notes

Nuts will keep about a week in an airtight container.  If they seem a little sticky, pop them back in a 350-degree oven for a couple of minutes.


Mint to be-Frango Brownies

Mint to be-Frango Brownies

The other morning I met a friend I hadn’t seen in a while for coffee. Thanksgiving had us talking about the holidays.  We caught up on the kids’ comings and goings, where everyone was spending the holidays, and which kids would be home.

Of course, the conversation ultimately drifted to food. She mentioned ordering boxes of Frango Mints from Macy’s. FRANGO MINTS?! My eyes automatically glazed over.  Frango Mints, ooohhhh, love Frango Mints.  Back in the day whenever I was in Chicago, my to-do list included a stop at Marshall Field’s explicitly to buy Frango Chocolates.  Delightful bites of satiny smooth chocolate flavored with mint, raspberry, or caramel.

Much to the chagrin of Chicagoans, Marshall Field’s was sold to The Federated Group, but for the rest of us, it meant those luscious chocolate morsels can now be found at Macy’s everywhere.  I know, it is not the same as Marshall Field’s on State Street, sigh.  But time marches on.

Doing the Frango Tango

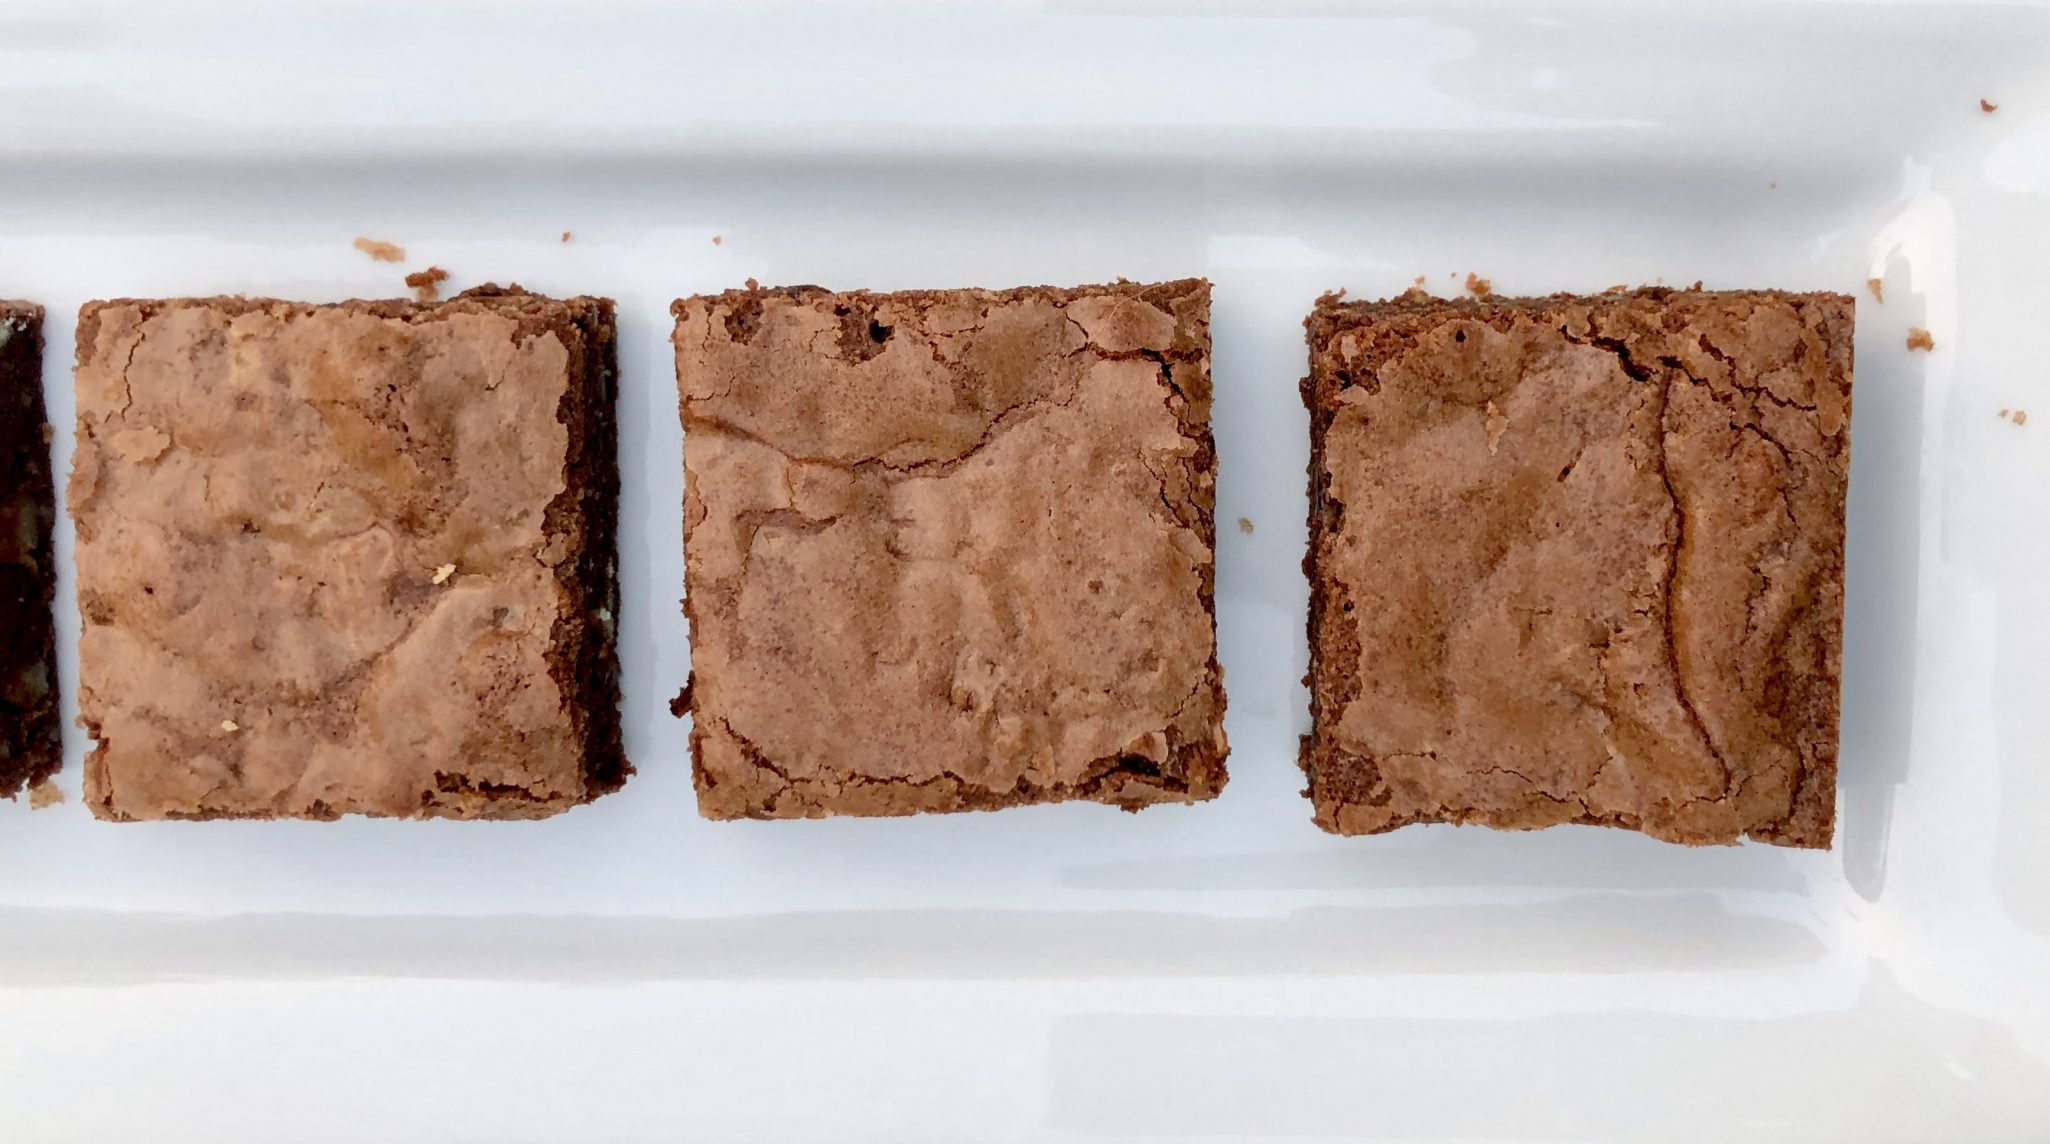
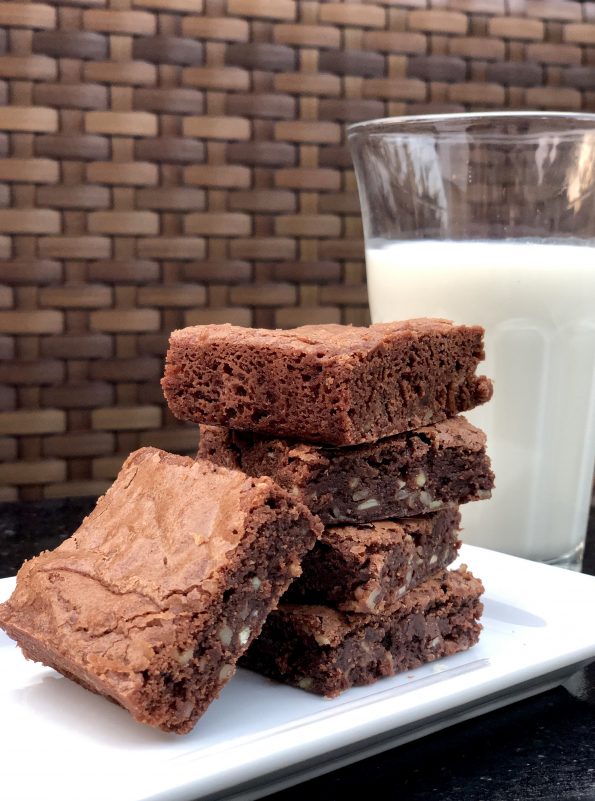
Frango Mints straight out of the box are delectable, but those little bad boys elevate your standard brownie to a new level. Years ago, the Chicago Tribune printed a recipe for a Frango Mint Brownie. They are easy to make, and delicious with that minty twist that sets them apart.  It does help to have a mixer since the recipe calls for whipping the eggs to a nice thick, foamy batter.  There are no leaveners, so the egg mixture accounts for any lift in the batter.  Add the melted chocolate, and fold in the flour, nuts, and chopped Frango mints. Bake. The brownies are ready when a toothpick stuck halfway between the edge and the center comes out fairly clean or just a few crumbs.  Somewhere between fudgy and cakey, these brownies are just right.

With a promise to send my friend the recipe, I hustled home to make a batch of these long-forgotten gems.  Well, I did have to make a stop before heading home. Lucky for me Macy’s is just a few minutes away. Had to get my signature green box of Frango Mints. (Yikes-Cyber Monday deal 9.99/box!)

Shhhh…I shouldn’t be writing this, but in a pinch, if you don’t have Frango Mints, you could use Andes Mints.

Frango Mint Brownies

Frango Mints + Brownies + Cold Glass of Milk = Perfect Treat

You’re welcome.

FRANGO MINT BROWNIES

Course Dessert
Cuisine American
Prep Time 10 minutes
Cook Time 30 minutes
Total Time 40 minutes
Servings 16 servings

Ingredients

  • 2 ounces baking chocolate chopped
  • 1/2 cup (1 cube of butter) cut into pieces
  • 2 large eggs
  • 1 cup sugar
  • 1 teaspoon vanilla
  • 1/2 cup flour
  • 1/8 teaspoon salt
  • 1/2 cup pecans chopped
  • 1/2 cup Field`s Frango Mints chopped

Instructions

  • Heat oven to 350 degrees. Butter an 8 inch square baking pan.
  • Melt butter in medium saucepan or in microwave. Add chocolate and stir to melt until chocolate is completely melted.
  • Beat eggs with an electric mixer until thick and lemon colored (~2 min)
  • Gradually add the sugar to the eggs, beating thoroughly (additional 1 min) until the batter is smooth and light.
  • Stir in the chocolate mixture and vanilla.
  • Fold in flour and salt into the batter with rubber spatula.
  • Fold in the pecans and chopped Frangos.
  • Pour brownie mixture into a well-greased, 8-inch-square pan.
  • Bake until the top is shiny and a crust has formed, 20 to 25 minutes. Avoid overbaking.
  • Bake until wooden toothpick inserted halfway between edge and center comes out with on a moist crumb.
  • Cool on wire rack. Cut into 16 2x2 pieces.
  • Store in an airtight container.
  • Allow to cool completely, then cut into 2-inch squares.
Seoul Satisfying: Bulgogi-Korean Grilled Beef

Seoul Satisfying: Bulgogi-Korean Grilled Beef

Maybe it’s a way to stay connected to my kid who is living in South Korea and teaching English.  My current obsessions are K-Dramas and Korean food.  I absolutely adore both.  My gateway to K-dramas was Amazon (damn you-Jeff Bezos, just kidding).  Suffice to say the rom-com genre is alive and well in South Korea. My favorite show is about an immortal who has been searching for his “bride”, the only person who can actually put him out of misery-I know, ironic. It’s called Goblin or Guardian.

My other obsession is Korean food.  Korean cuisine is right up my alley-spicy, flavorful tofu soups, pickled vegetables-Kimchi, Korean barbecue, noodles (Japchae), dumplings (mandu), and bap (rice), the cornerstone.  When I was a kid I would always unceremoniously dump my bowl of rice into my soup.  I’d swish the rice around to let it absorb the flavors of the soup before eating.  Now I find myself enjoying Korean Tofu Soups in the same fashion.

Then there is Korean barbecue. Beef, pork, chicken marinated in soy sauce, garlic, sesame, and onions-grilled over charcoal giving the meat that lovely smokiness, so good.

Like Chinese meals, Korean meals are very communal. Dishes are placed in the center of the table to be shared by all. Parents select choice tidbits to place in each child’s bowl.  Teens serve their grandparents.  Everyone feeds the babies. Chopsticks constantly moving food from plates and bowls and finally to mouths.  Eating is such a connection.  For Koreans and Chinese we often greet family and friends not with hello but with “have you eaten yet?”.

Bulgogi is thin strips of beef, marinaded, grilled quickly and wrapped in a lettuce leaf. Nestled in the lettuce along with the beef, is a bite of rice, kimchi, and a dab of ssamjang (bean-chili sauce).  Think tacos.  So delicious.  I adapted a recipe for bulgogi I found in Seoul Food Korean Cookbook (Kindle version for 4.99 right now) by Naomi Imatome-Yun.

The marinade starts with the trifecta of Korean seasonings, soy sauce, garlic, and sesame and builds on this with honey, Asian pear and scallions. So much flavor. Most Asian markets generally have pre-cut thin slices of short rib, pork, or chicken, which makes life easy. If you start with a whole piece of meat, toss it in the freezer for a couple of minutes.  Makes cutting thin slices a walk in the park.

It’s not always easy to find Asian pears.  Use a combination of finely grated apple (Fuji or Honeycrisp are nice) and pineapple juice in place of the Asian pear.  Don’t let it marinate in pineapple juice too long as it will break down the meat.  Add pineapple juice no more than a couple of hours before cooking.

Red leaf, Boston, or Gem lettuce, are the perfect shape, size, and texture for a bulgogi wrap.  Winner winner, bulgogi dinner-sweet, salty, garlicky, and smokey wraps and you can use your hands, just like tacos!  Broke da mouth good.

Don’t forget the kimchi!

Bulgogi

Bulgogi, beef thinly and marinated in soy, garlic, and onions. Served with rice and saamjang, wrapped in lettuce. This classic Korean dish is a sure fire hit with its bold flavors.
Course Main Course, Meat
Cuisine Asian, Korean
Keyword beef, Bulgogi, Grilled
Prep Time 15 minutes
Cook Time 5 minutes
Marinade time 3 hours
Total Time 20 minutes
Servings 4

Ingredients

  • 3 tablespoons chopped garlic CHOPPED, not minced, which would be too much
  • 3 tablespoons soy sauce
  • 2 tablespoons sugar
  • 1 tablespoon honey
  • 3 tablespoons grated Asian pear include juice substitute any apple, fuji or honerycrisp, grated 1/2 and 1/2 pineapple juice
  • 1 tablespoon mirin substitute sake which is not sweet
  • 1 tablespoon toasted sesame oil
  • 3 scallions finely chopped
  • 1 teaspoon freshly ground black pepper
  • 1 pound sirloin steak ribeye or short rib, thinly sliced

Instructions

  • In a large bowl, mix together the garlic, soy sauce, sugar, honey, pear juice, mirin, sesame oil, scallions, and pepper and stir until the sugar and honey are dissolved.
  • Add the meat and toss to coat thoroughly with the sauce. Cover and refrigerate for at least 3 hours or overnight. For tougher cuts of meat, marinate the meat longer.
  • Grill the beef until well done and caramelized on the outside, about 3 minutes per side. You can also fry the beef in a cast iron pan.
  • Serve with rice, ssamjang and lettuce leaf. Garnish with sliced green onions and toasted sesame seeds. Serve hot

Notes

TIP: Top sirloin or tenderloin work best, but almost any steak cut will do. The best quality meat will be more tender and will taste the best. Trader Joe's has thinly sliced ribeye that works well.
Adapted from Imatome-Yun, Naomi. Seoul Food Korean Cookbook: Korean Cooking from Kimchi and Bibimbap to Fried Chicken and Bingsoo
Double Chipping (Butterscotch Potato Chip Balls)

Double Chipping (Butterscotch Potato Chip Balls)

The classic potato chip cookie, updated in The Vintage Baker by Jessie Sheehan.  Add butterscotch chips and triple the amount of potato chips, for the new and improved, Version 2.0 of Potato Chip Cookie.  I found these cookies by way of Ipso Fatto a favorite blog I follow.  How could I pass up a cookie described as chewy, crunchy, buttery, rolled in Kettle potato chips and studded with butterscotch chips?  I couldn’t and I didn’t.

These are a snap to put together.  You start with melted butter, no waiting for butter to soften and you can bake off a batch without chilling the dough.  That’s almost like instant cookies in my book.

Chips Matter

For my first batch, I purchased the only Kettle chips I could find at Whole Foods, their house brand,  I like Whole Foods, and shop there often, do not buy their Kettle Chips…bleah, flat and tasteless.  For my second batch, I used Cape Cod’s Kettle Chips.  Did it make a difference in the cookies?  I think so. Saltier and crunchier.  It made a difference with the extra chips left in each bag.  Much to my chagrin, I polished off the rest of the Cape Cod Chips in a New York minute.  The moral of the story is to use your favorite Kettle chips.

Butterscotch chips are not commonplace in my kitchen.  The few times I used them, I wasn’t thrilled with the texture or taste, they always seemed a bit artificial.  After an exhaustive search (King Arthur Flour website), I got Guittard’s Butterscotch chips.  They are surprisingly flavorful.  It would have been nice if they were “meltier” like chocolate chips.  Ipso Fatto used caramelized white chocolate or “blond chocolate” for the butterscotch but it is both hard to find and pretty pricey.  By all means, use the chips you like the most, that’s what counts. This recipe doesn’t use the entire bag of butterscotch chips, lucky for you I have another tasty cookie recipe that calls for melted butterscotch chips-Butterscotch Cookies, from The Perfect Cookie.

The recipe calls for putting the potato chips into the dough and crushing them as you mix the dough.  That leaves some big chips in the dough.  rushed the chips before adding them to the batter.

Chill the dough for a bit so the cookies don’t spread a lot.  Use a 1.5 tablespoon scoop which makes a 2-1/2 inch diameter cookie.  As soon as they come out of the oven flatten them with a spatula and push in the sides to make them round (optional).  Y’all probably know this but ice cream/cookie scoops are PERFECT for making uniform cookies.  I have had mine for ages (made in Italy, not China-that’s how old they are).  If you have a baker in your family, scoops would make great stocking stuffers.

Chip Off the Old Cookie

These cookies are delicious.  I took a batch to my professional testers (my co-workers), and they gobbled them up.  The potato chips add a nice crunch and saltiness, the butterscotch chips add sweetness, the touch of flaked salt at the end accentuates the sweet-salty “thang” and butter is butter, say no more.  The over-the-top factor-potato chips mixed in the dough and the dough then rolled in more chips, that’s what I call the “double-chip hit”.   Run, don’t walk to your kitchen, and make a batch now.

Butterscotch–Potato Chip Balls Potato Chip Balls

Course cookies
Cuisine American
Keyword Butterscotch Potato Chip Balls
Prep Time 20 minutes
Cook Time 10 minutes
Total Time 30 minutes
Servings 36 cookies

Ingredients

  • 2 1/3 cups [325 g] all-purpose flour 1 tsp baking soda
  • 1 tsp table salt
  • 1 cup [180 g] butterscotch chips
  • 1 cup [220 g] unsalted butter melted
  • 1 cup [200 g] packed light brown sugar 1/2 cup [100 g] granulated sugar
  • 1 egg
  • 1 egg yolk
  • 2 tsp pure vanilla extract
  • 5 cups [175 g] kettle-style potato chips Flaky sea salt for sprinkling

Instructions

  • Preheat the oven to 350°F [180°C]. Line a rimmed baking sheet with parchment paper.
  • In a medium bowl, combine the flour, baking soda, and salt and whisk together. Add the butterscotch chips and set aside. In the bowl of a stand mixer fitted with the paddle attachment, cream the melted butter and sugars on medium-high speed until thick, light, and glossy, 3 to 5 minutes, scraping the bowl with a rubber spatula as needed.
  • Decrease the mixer speed to medium-low and add the egg and yolk, one at a time, beating well and scraping the bowl aer each addition with a rubber spatula. Add the vanilla and mix to combine. Add the dry ingredients all at once, mixing just to combine. Remove the bowl from the stand mixer and add 3 cups [105 g] of the potato chips to the dough, combining and crushing the chips with a rubber spatula.
  • In a small bowl, crush the remaining 2 cups [70 g] potato chips. Scoop the dough into 1 1/2-tablespoon balls with a cookie scoop or measuring spoon, rolling each ball in the leover crushed chips, and evenly place 12 on the prepared baking sheet.
  • Sprinkle each cookie with flaky sea salt, and bake for 8 to 10 minutes, rotating at the halfway point, until lightly browned. Remove from the oven and press down on each cookie with a spatula to slightly flatten.
  • Repeat with the remaining cookie dough.
  • Let cool briefly and serve warm, because who doesn't love a cookie warm from the oven? The cookies will keep in an airtight container on the counter for up to 3 days.

The recipe can be found on Epicurious.com