
The hubster and I spent the last month or so in New York City. We have spent quite a bit of time there over the…
After I have recovered from Thanksgiving turkey-stuffing, sweet potato casserole, and pumpkin pie extravaganza, I crank up the Christmas music, which I play until New…
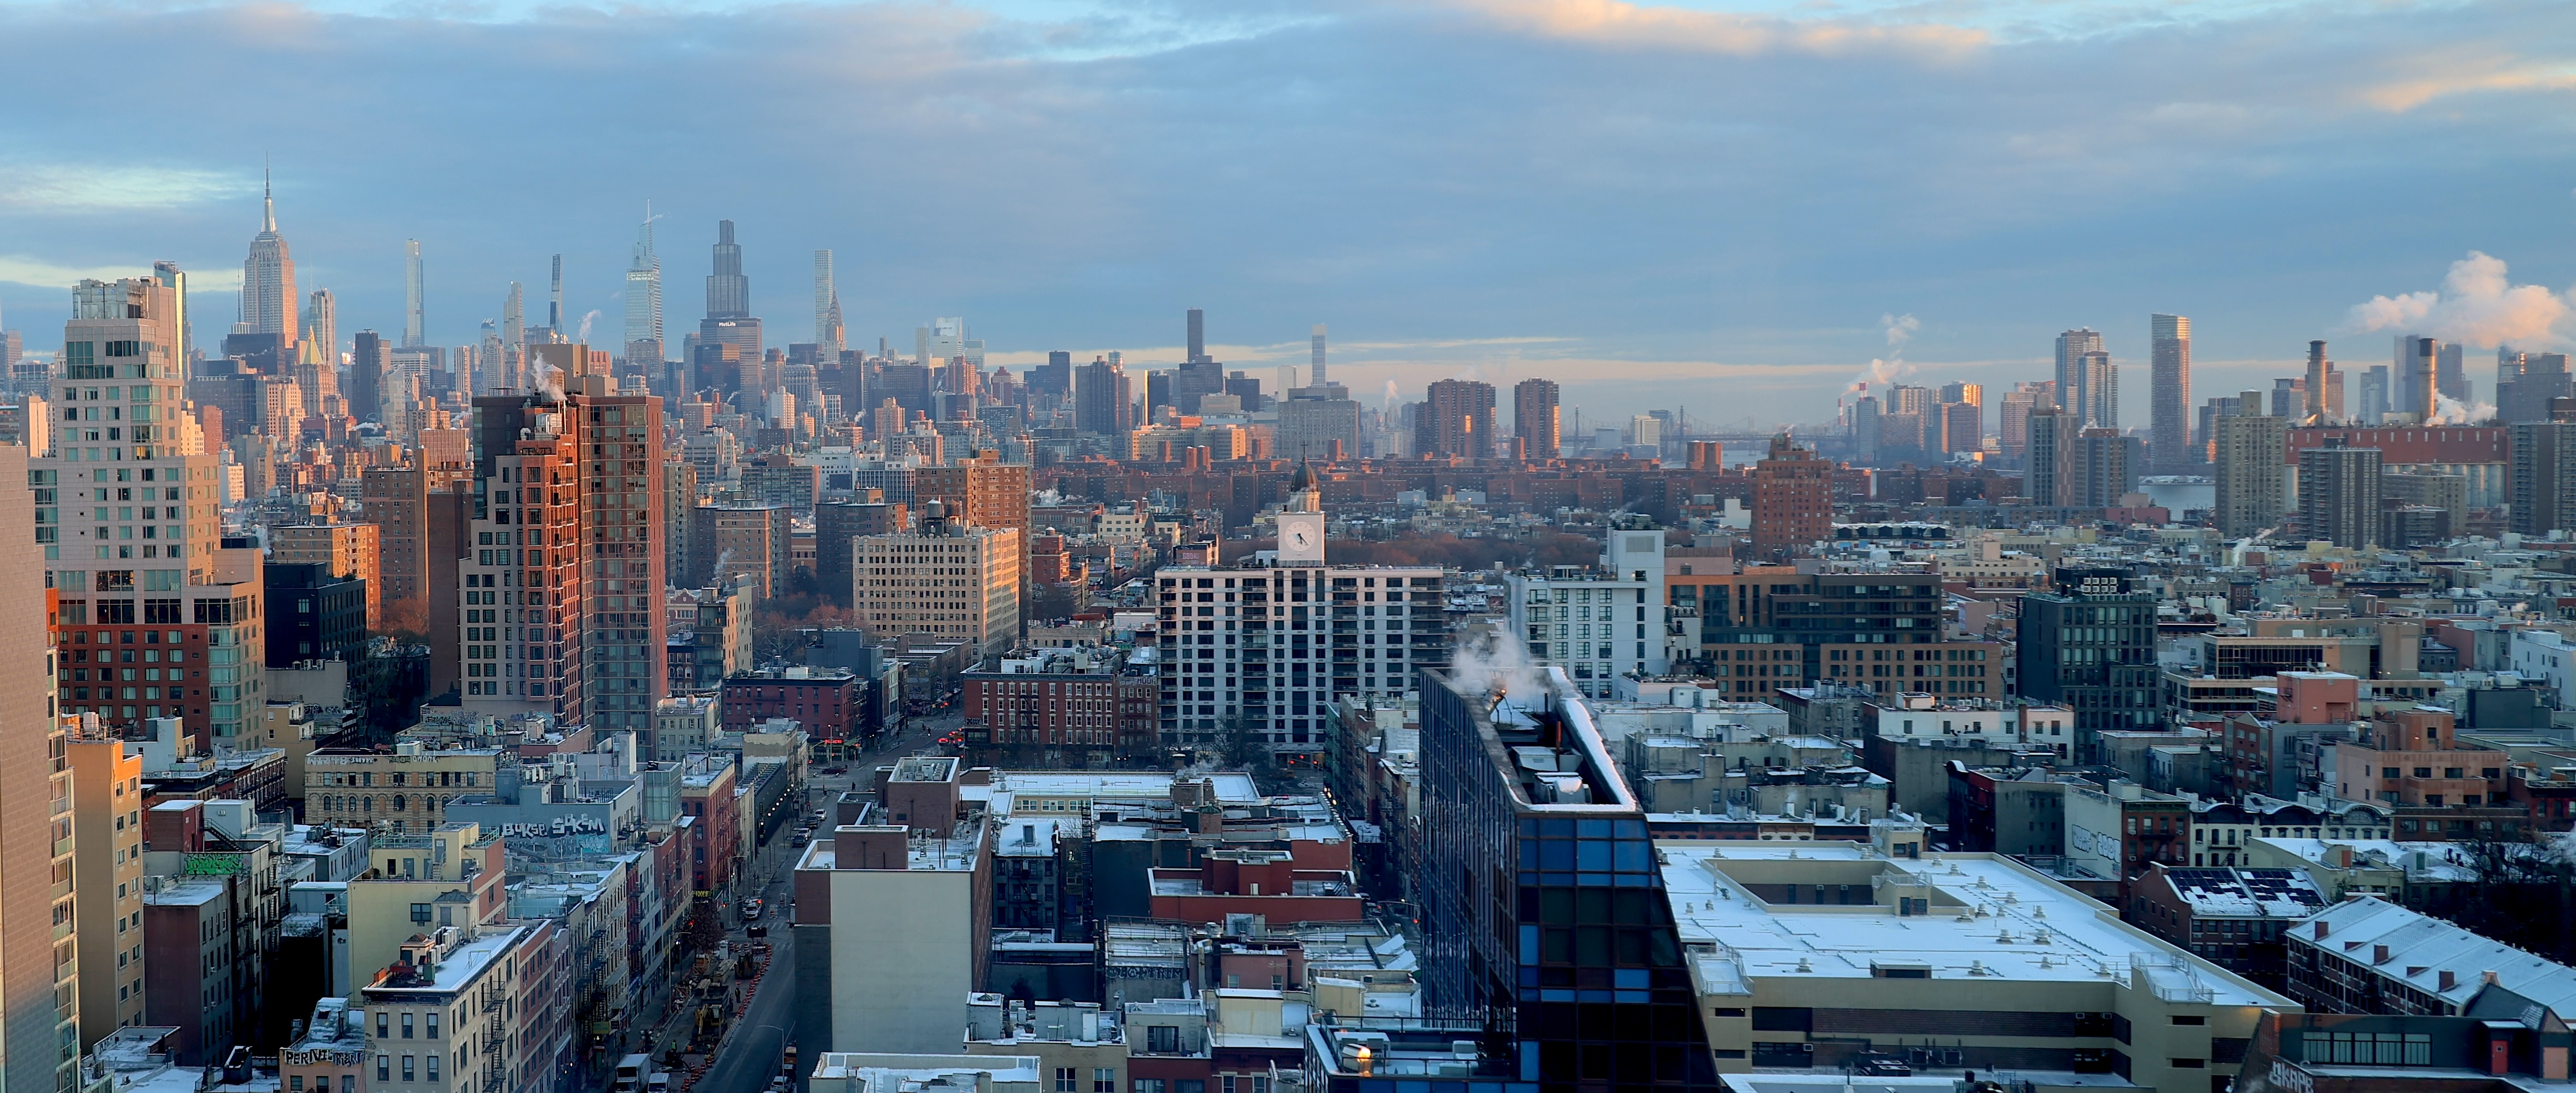
I know you all know I am a city girl at heart. Give me skyscrapers, bridges, cars, museums, and bright lights any day. Not that…
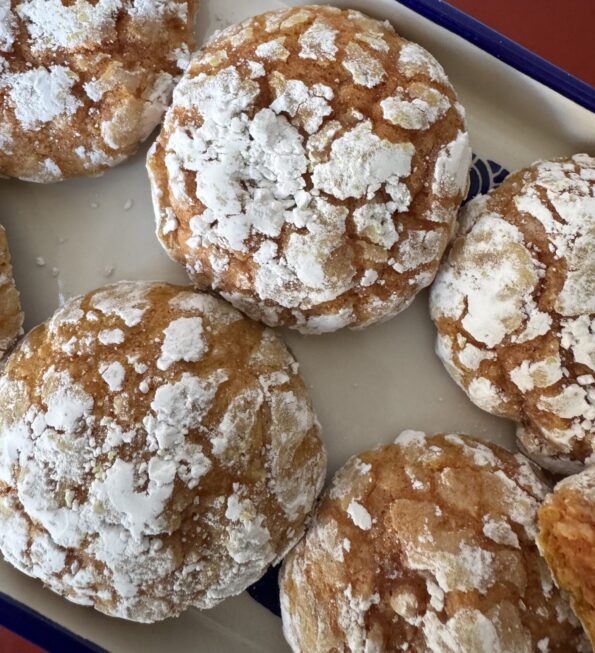
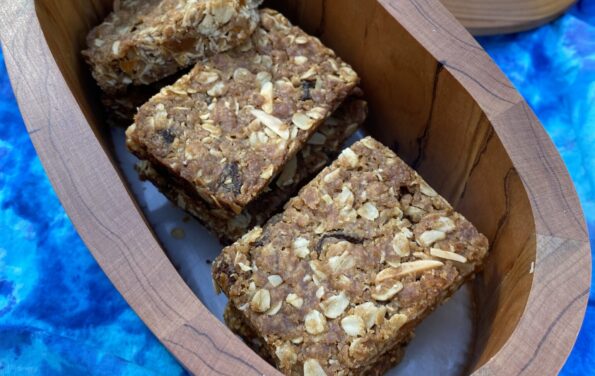
The weather has taken a definite turn so I am pivoting from stress cooking to cookie baking. It’s windy, cold, and wet, it’s time to…
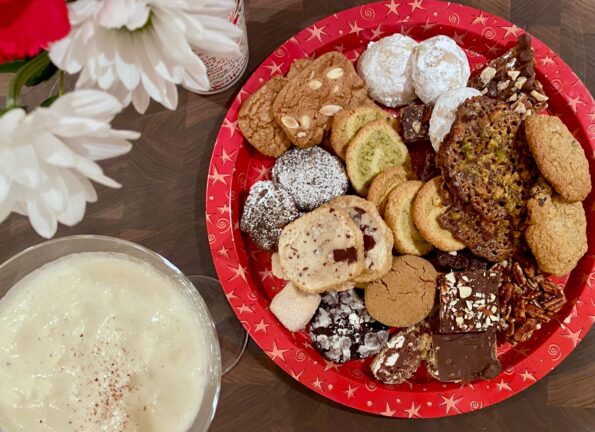
How many of you have had REAL eggnog? Not the ultra-pasteurized, homogenized version of eggnog found in every supermarket during the holidays. Who drinks that…
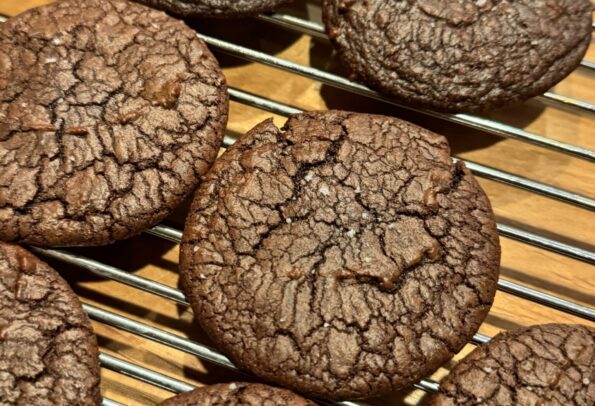
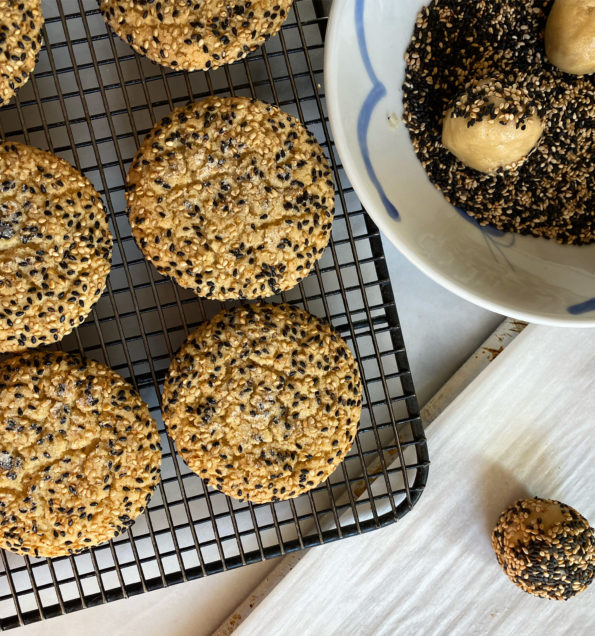
My favorite cookie this past holiday season was Eric Kim’s Gochujang Caramel Cookie. I worked my way to writing about it by posting my two…

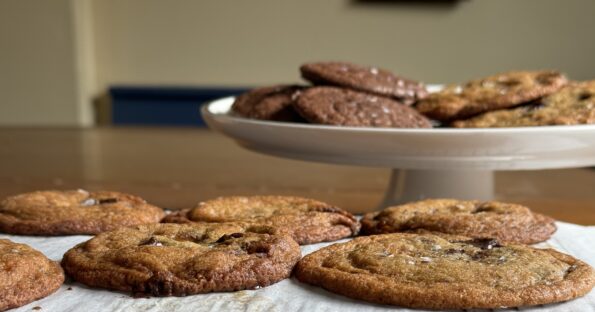
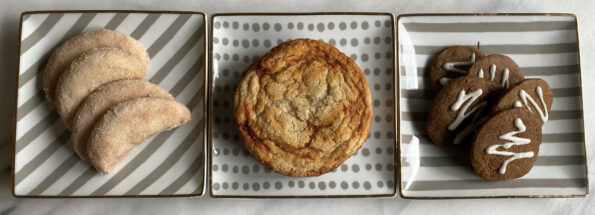
Yay, the Twelve Seven Eight Days of Christmas Cookies! The best-laid plans of mice and me…sometimes need a tweak. Actually, not to pat myself on…
Finally, after months of being a COVID couch potato, I got off my duff and headed up to the reservoir to row again. I had…
How’s the New Year’s Resolution thing going? I’ve gotten strategic, I only make new year’s resolutions that are fun. That way I stand a chance…