
Our Thanksgiving dinner was a little family affair as I suspect most people’s celebrations were. We modified our dinner, kept it small, moved it earlier…
I was turkey-ed out. We hit the farmer’s market in town and came away with some cute Delicata and Butternut Squash, onions, fresh spinach, and…
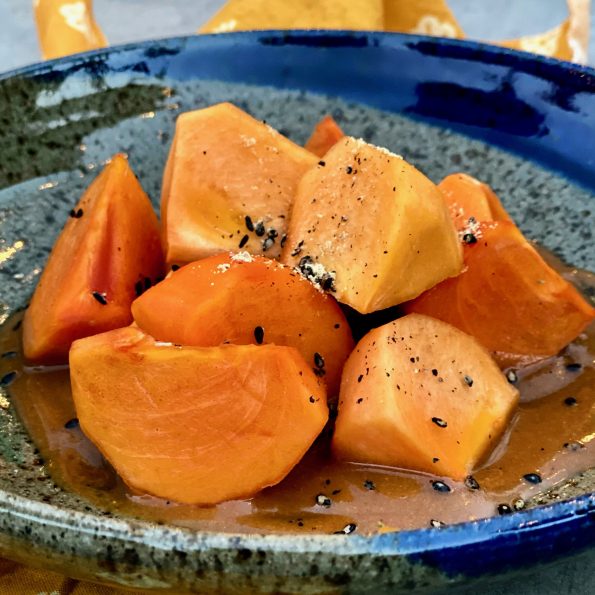
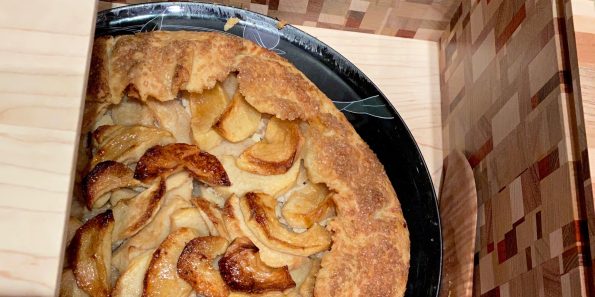
It’s persimmon season! About this time every year, my friend & co-worker, Trang, comes to work with bags of homegrown persimmons. I am not ashamed…
Life is on hold as we await the results of the 2020 presidential election. I swore I wasn’t going to agonize over the process leading…
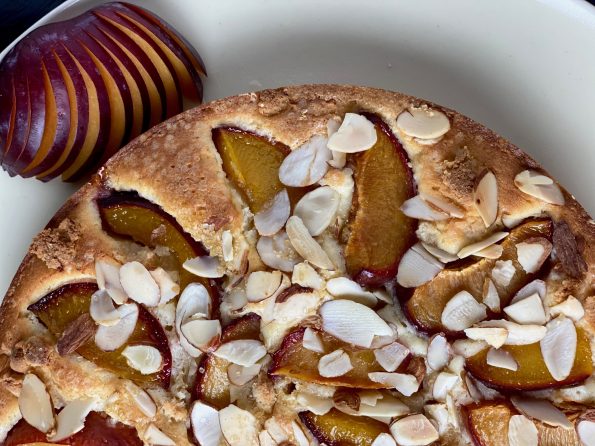
Our weekly foray to the Farmer’s Market had me restocking my week’s worth of fruits and veggies。 I was looking for inspiration for a showstopper…
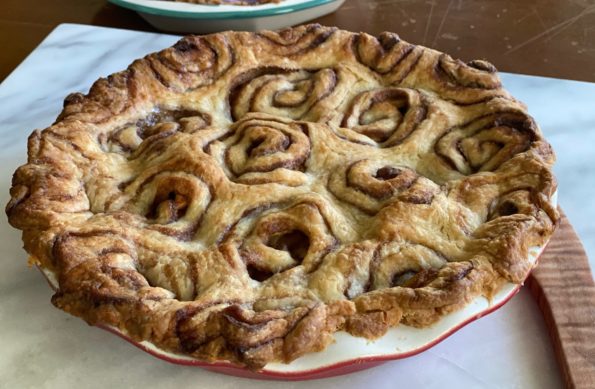
The Bake Sale Returns to Its Political Roots from Food & Wine magazine and a YouTube video of Paul Rudd “Ant Man” handing out cookies…
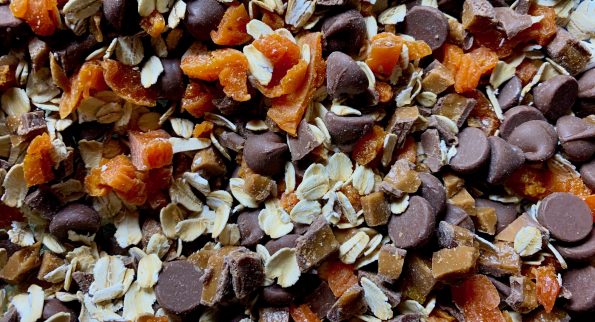
Posted on one of my favorite blogs, Ipso Fatto, are a couple of sweets she tried from Food & Wine’s article, The Bake Sale Returns…
Jamie is in Minneapolis right now, she sent a quick pic of herself bundled up in her down jacket, gloves, wooly hat with a single…
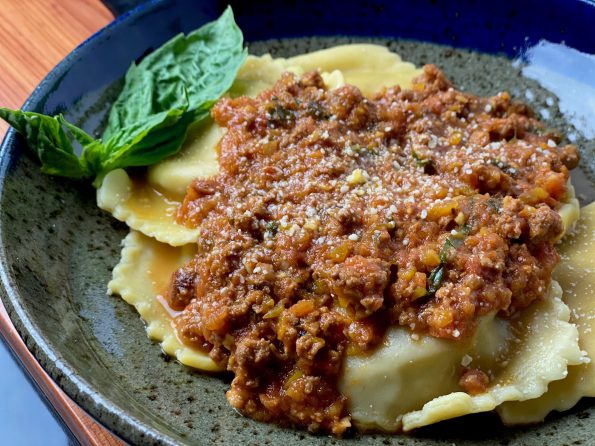
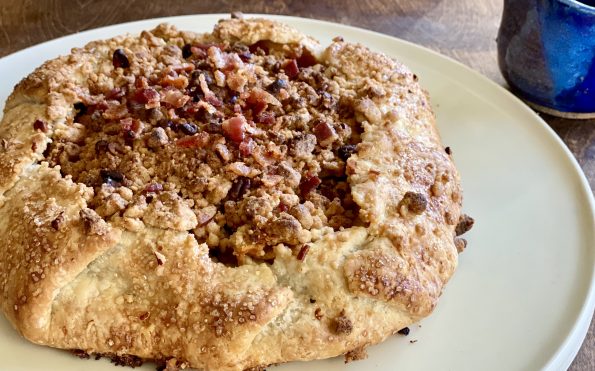
In these tenuous times, I find myself making comfort food-homey dishes that surround your soul like a warm blanket. One of my family’s all-time favorites…