
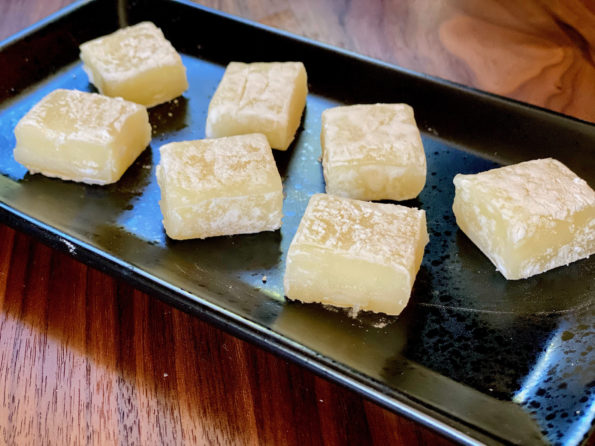
Yes, on the Mochi treat trail once again. Aside from being delicious, Mochi is pretty darn easy to make thanks to Mochiko Sweet Rice Flour. …
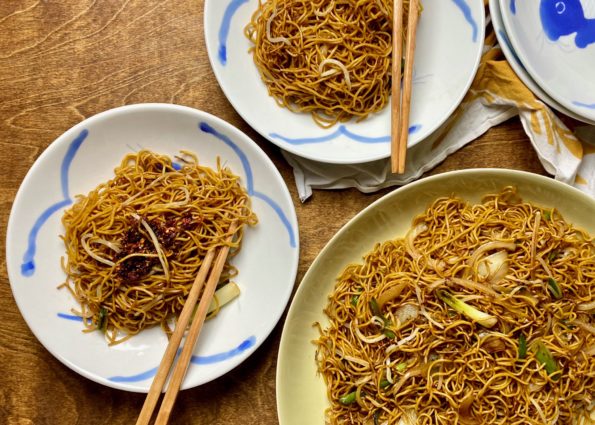
One of my favorite dishes, when we are out for dim sum, is Hong Kong Style Chow Mein or Soy Sauce Fried Noodles (豉油王炒麵). This…
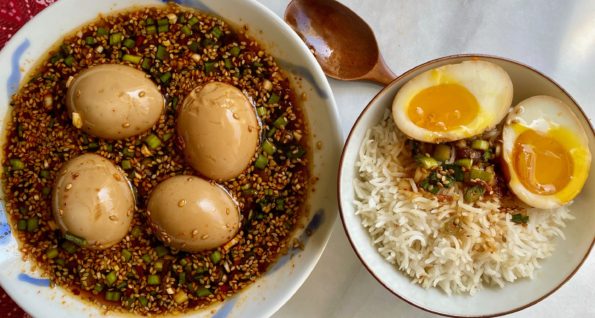
Originally, this post was going to just be about the latest Korean craze, Mayak Eggs (마약계란). TikToks, Reels, IG Stories, folks “egging” everyone on to…
Skipping across my feed lately have been a series of articles on chefs adapting to life during the pandemic. As we know, the food industry…
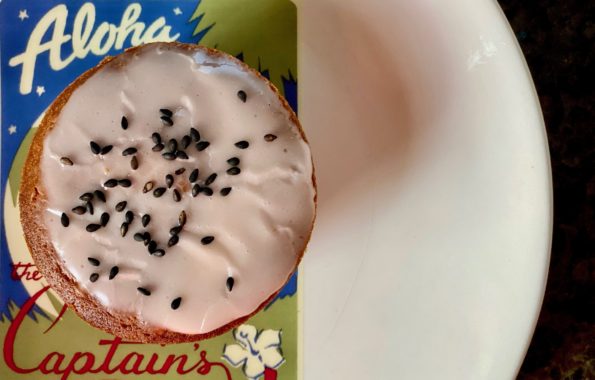
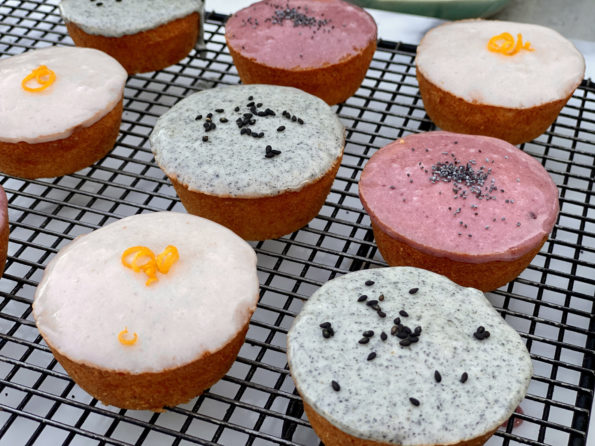
Yes, my romance with mochi muffins continues. Right next door to Shuei-Do, my favorite manju shop in Japantown, San Jose, is a Poke Shop, Aloha…
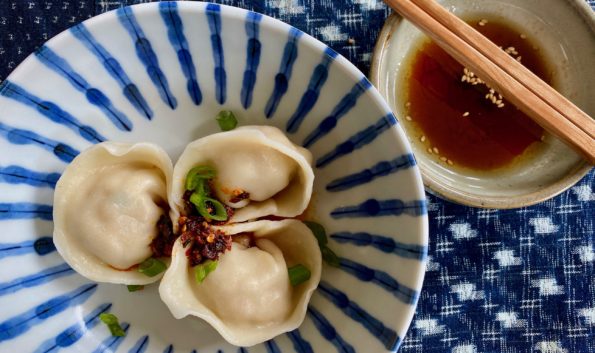
I cannot tell a lie. Most of the time, (we are talking 99.99 percent of the time) we use commercially available wrappers when making dumplings.…
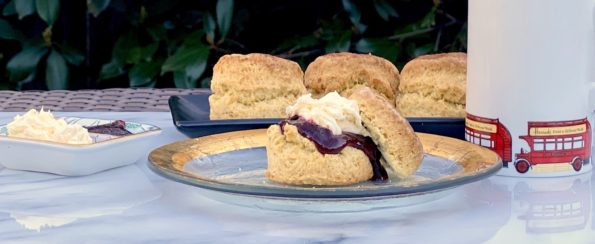
My go-to scone recipe is an adaptation of Dorie Greenspan’s Cream Scone. I love these and have made countless of variations using dried fruit, fresh…

I love dumplings, right up there with bowl food, soul food. In my world, Jeopardy has a couple of categories including “Things You Eat with…
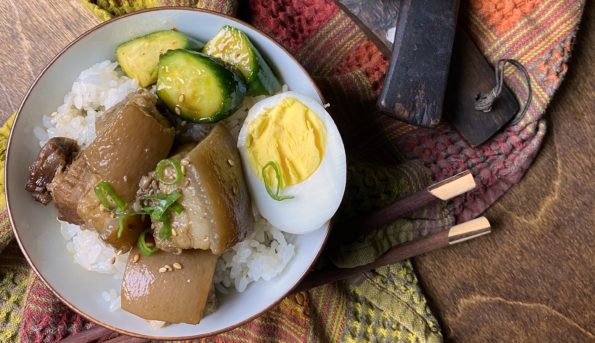
Bowl + Spoon = Soul Food My favorite equation, like Eat = MC(squared), which, in my book, stands for M-meat, C-Cooked & Crazy delish. After…