
Day 2 of Shelter in Place. I receive a text from a friend that the supermarkets are a little calmer than yesterday. That’s my cue…
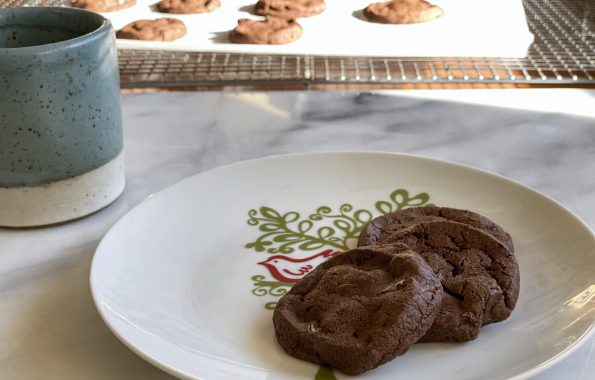
A chocolate cookie from Dorie Greenspan that is so good it has been renamed World Peace Cookies
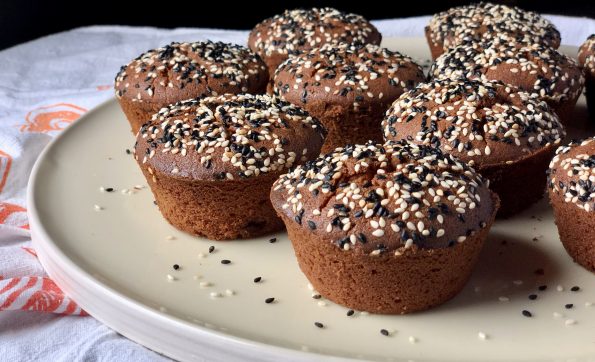
Always searching for new and different treats, I came across an article that spotlighted Third Culture Bakery in Berkeley. The baker is an alum of…

Dratz! I missed National Cookie Day yesterday! I spent my time not baking cookies, but going thru my posts to find which cookie post was…
Oh Snap It’s the last day of January and in order to avoid total embarrassment… here is the last cookie to complete my 12 Days…
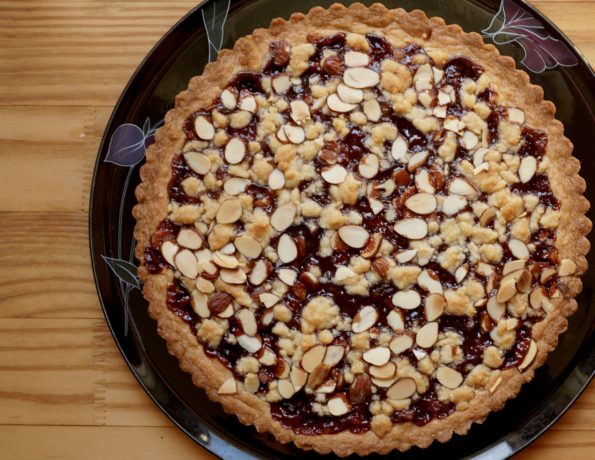
I almost skipped this recipe but I’m glad I didn’t. The fancy name, Italian Jam Crostata, and its veil of preserves and almonds threw me…
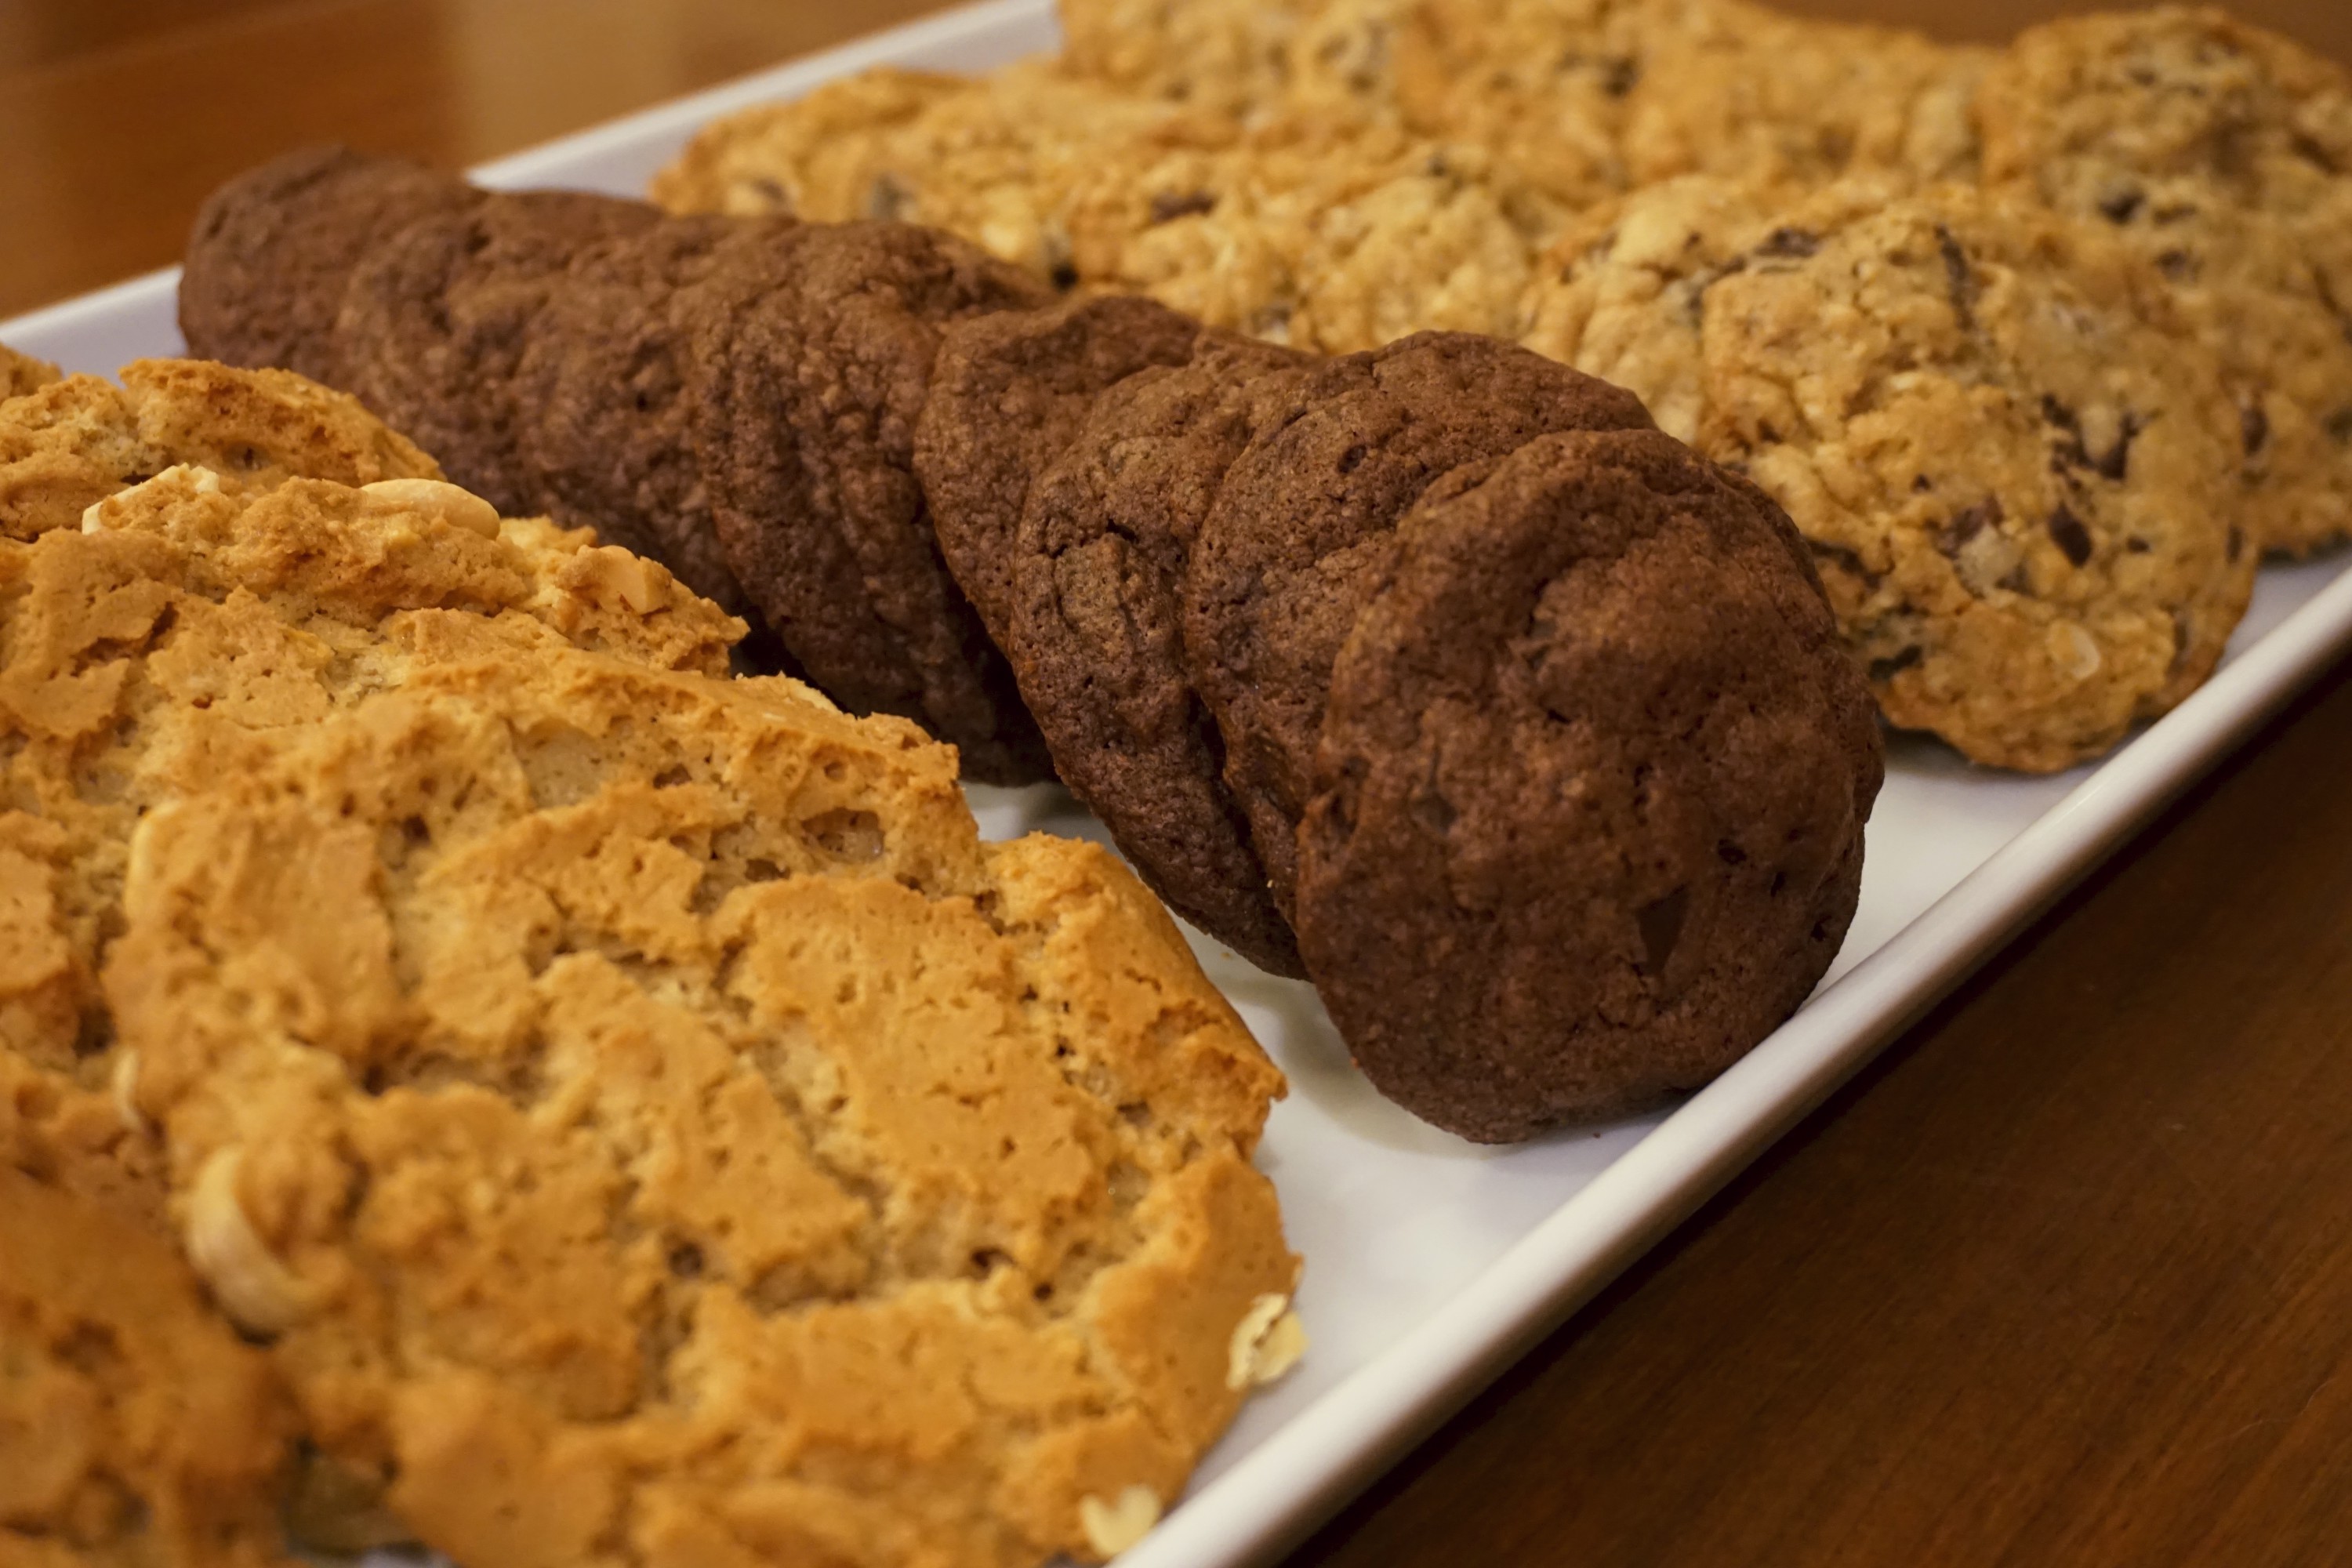
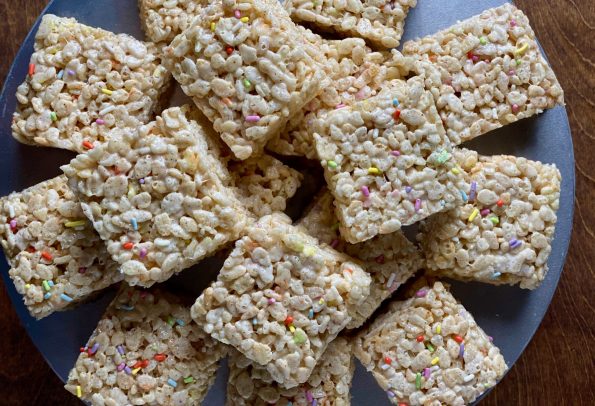
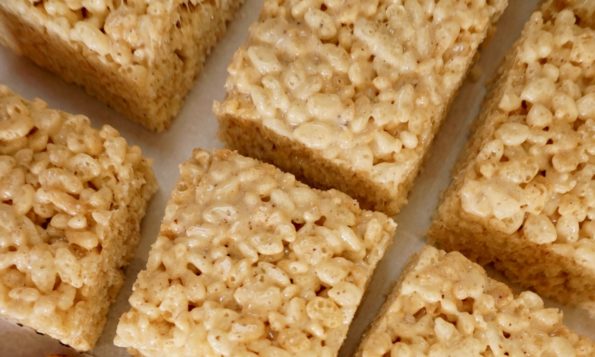
There are two types of cookies in this world, kid cookies and adult cookies, and lately, I’ve been baking lots of kid cookies like chocolate…