Category: 12 Days of Cookies

My annual 12 days of Cookies for the Holidays!

M&M Cookies For the Kid In You (Day 2)

M&M Cookies For the Kid In You (Day 2)

Cookie Number Two-Twelve Days of Cookies

Last year my absolute favorite cookie was Eric Kim’s Grocery Store Cookie.  I called it my Marie Kondo cookie, it brought me JOY.  The original Lofthouse cookies, a cakey blob, packed in plastic trays covered with copious amounts of fake frosting and sprinkles…elevated to a wondrously delicious cakelike, buttery, tender cookie topped with raspberry buttercream frosting.  The only thing the two cookies had in common was the SPRINKLES.
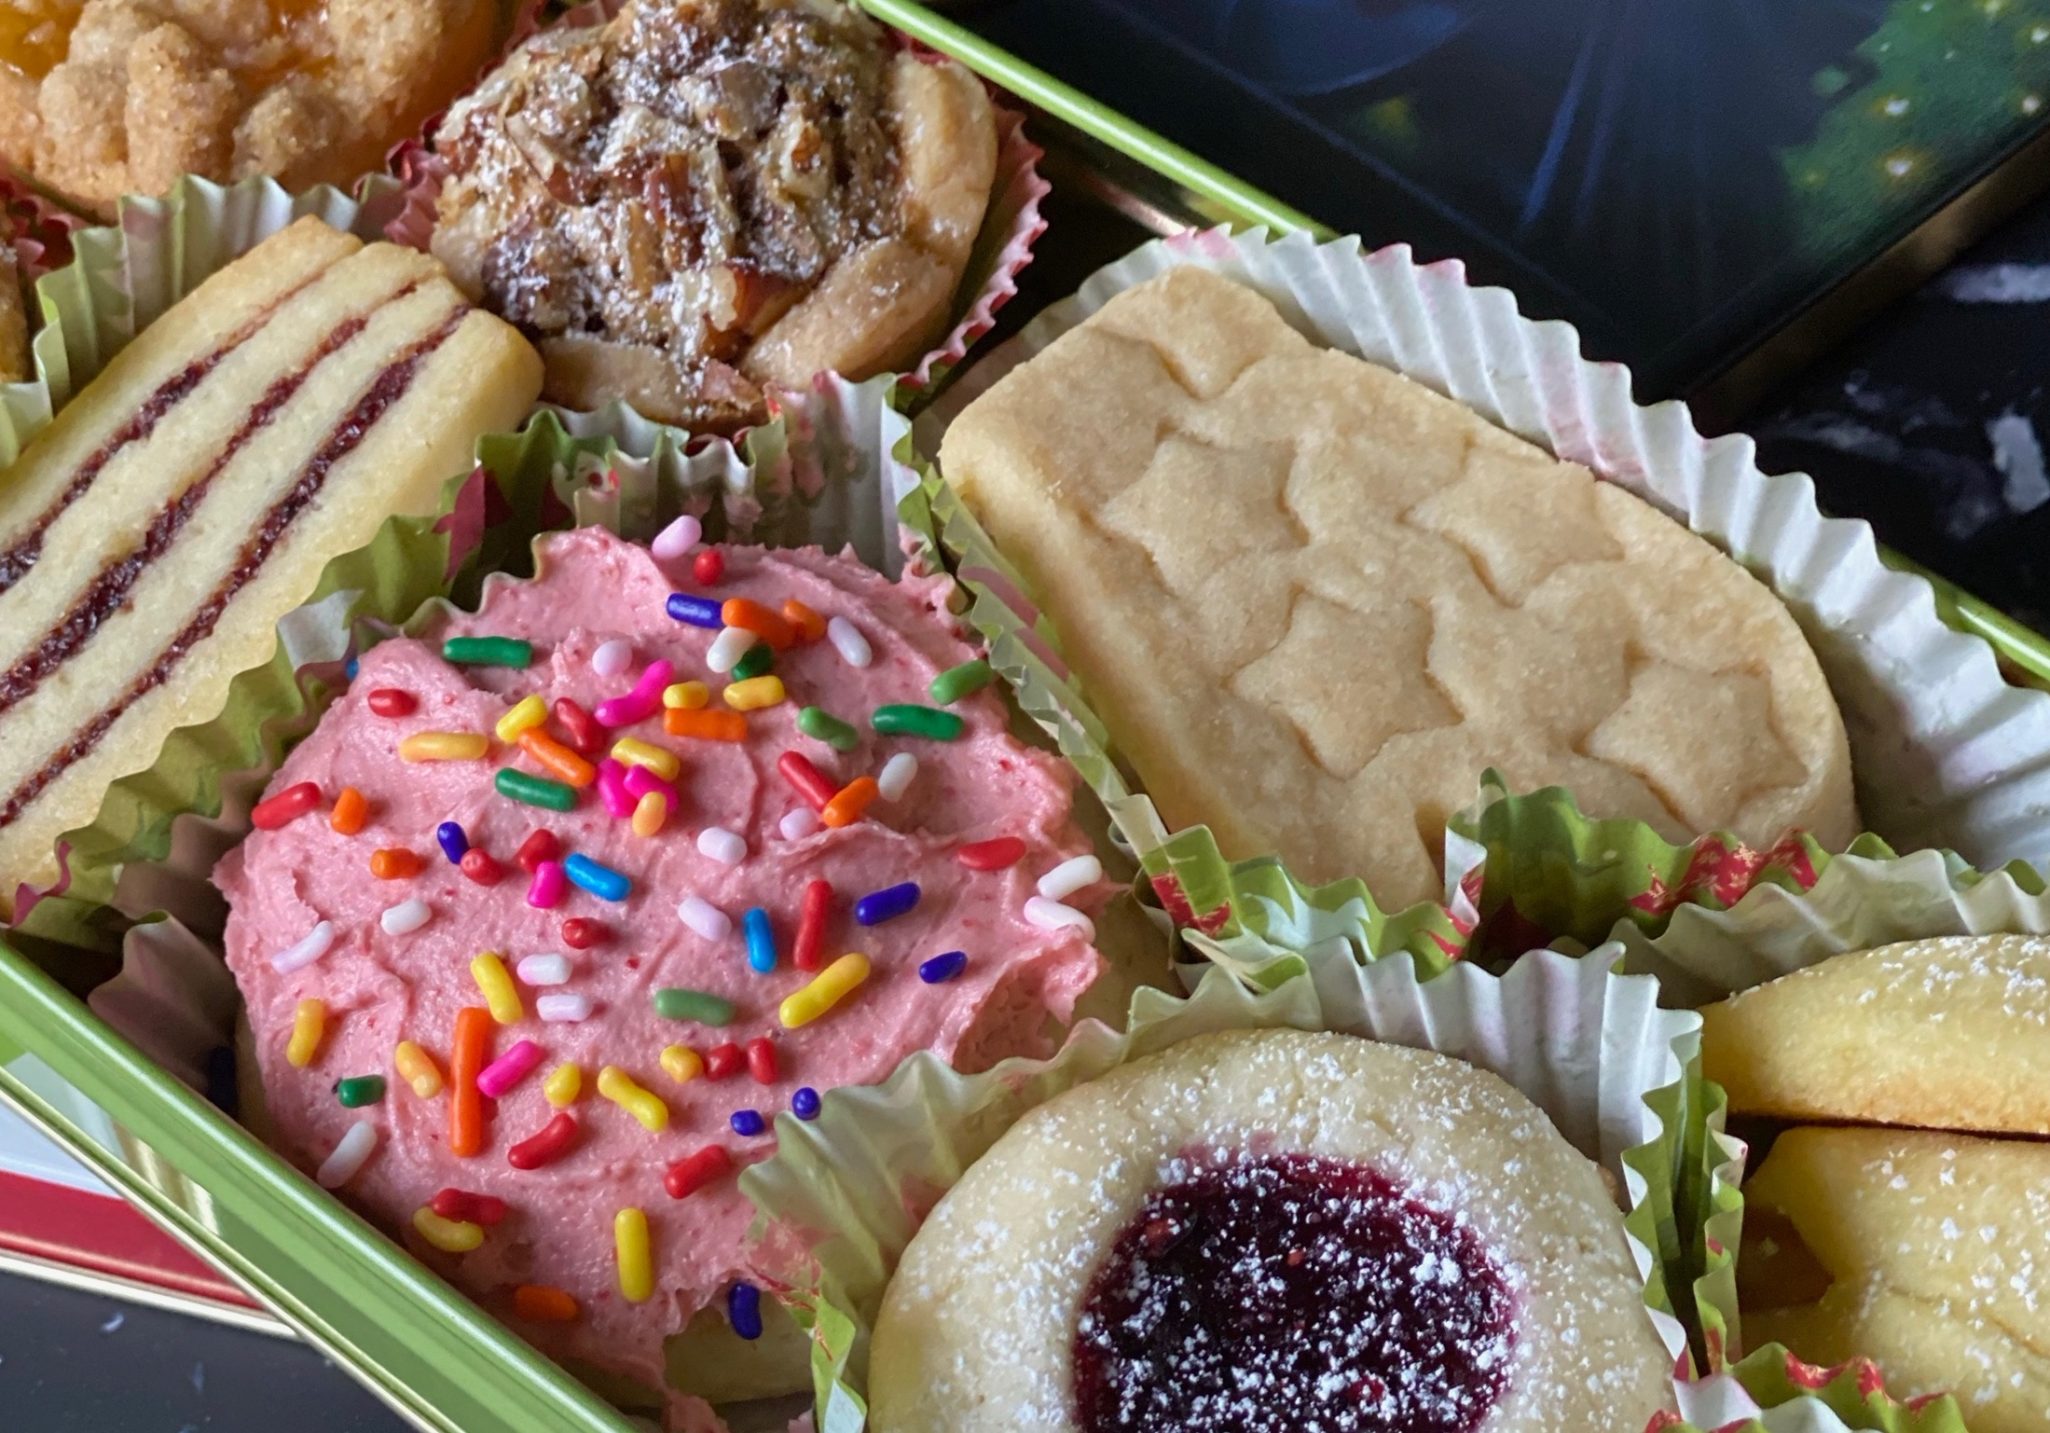
Guess which one is the Grocery Store Cookie?

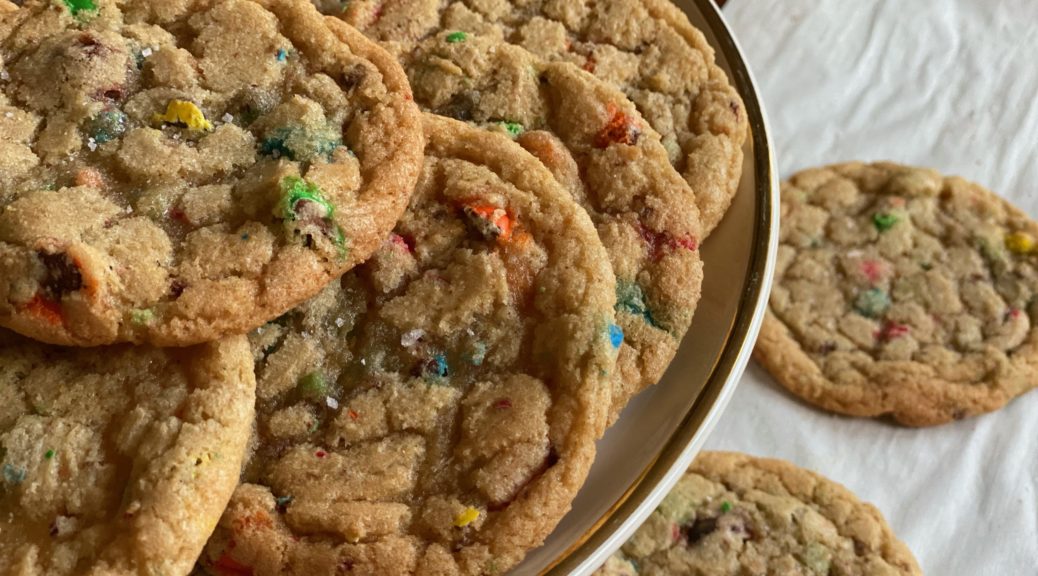
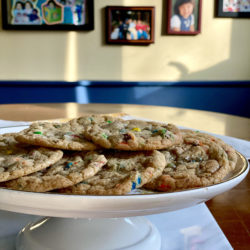
As soon as NYTcooking posted this year’s Holiday Cookies, I looked for Eric’s cookie.  It wasn’t hard to find, his was first on the list.  For the kid in all of us, Eric developed a recipe for festive M&M Cookies. (Bonus: Video of Eric making these!)  Simple, nostalgic and YUMMY.  A hint of crispiness on the edge, surrounding a chewy cookie dotted with M&Ms.  The M&M’s are cut into pieces so you get this really nice distribution of the candy coating and chocolate center.  With the first bite, I was transported back to my 9-year-old self.
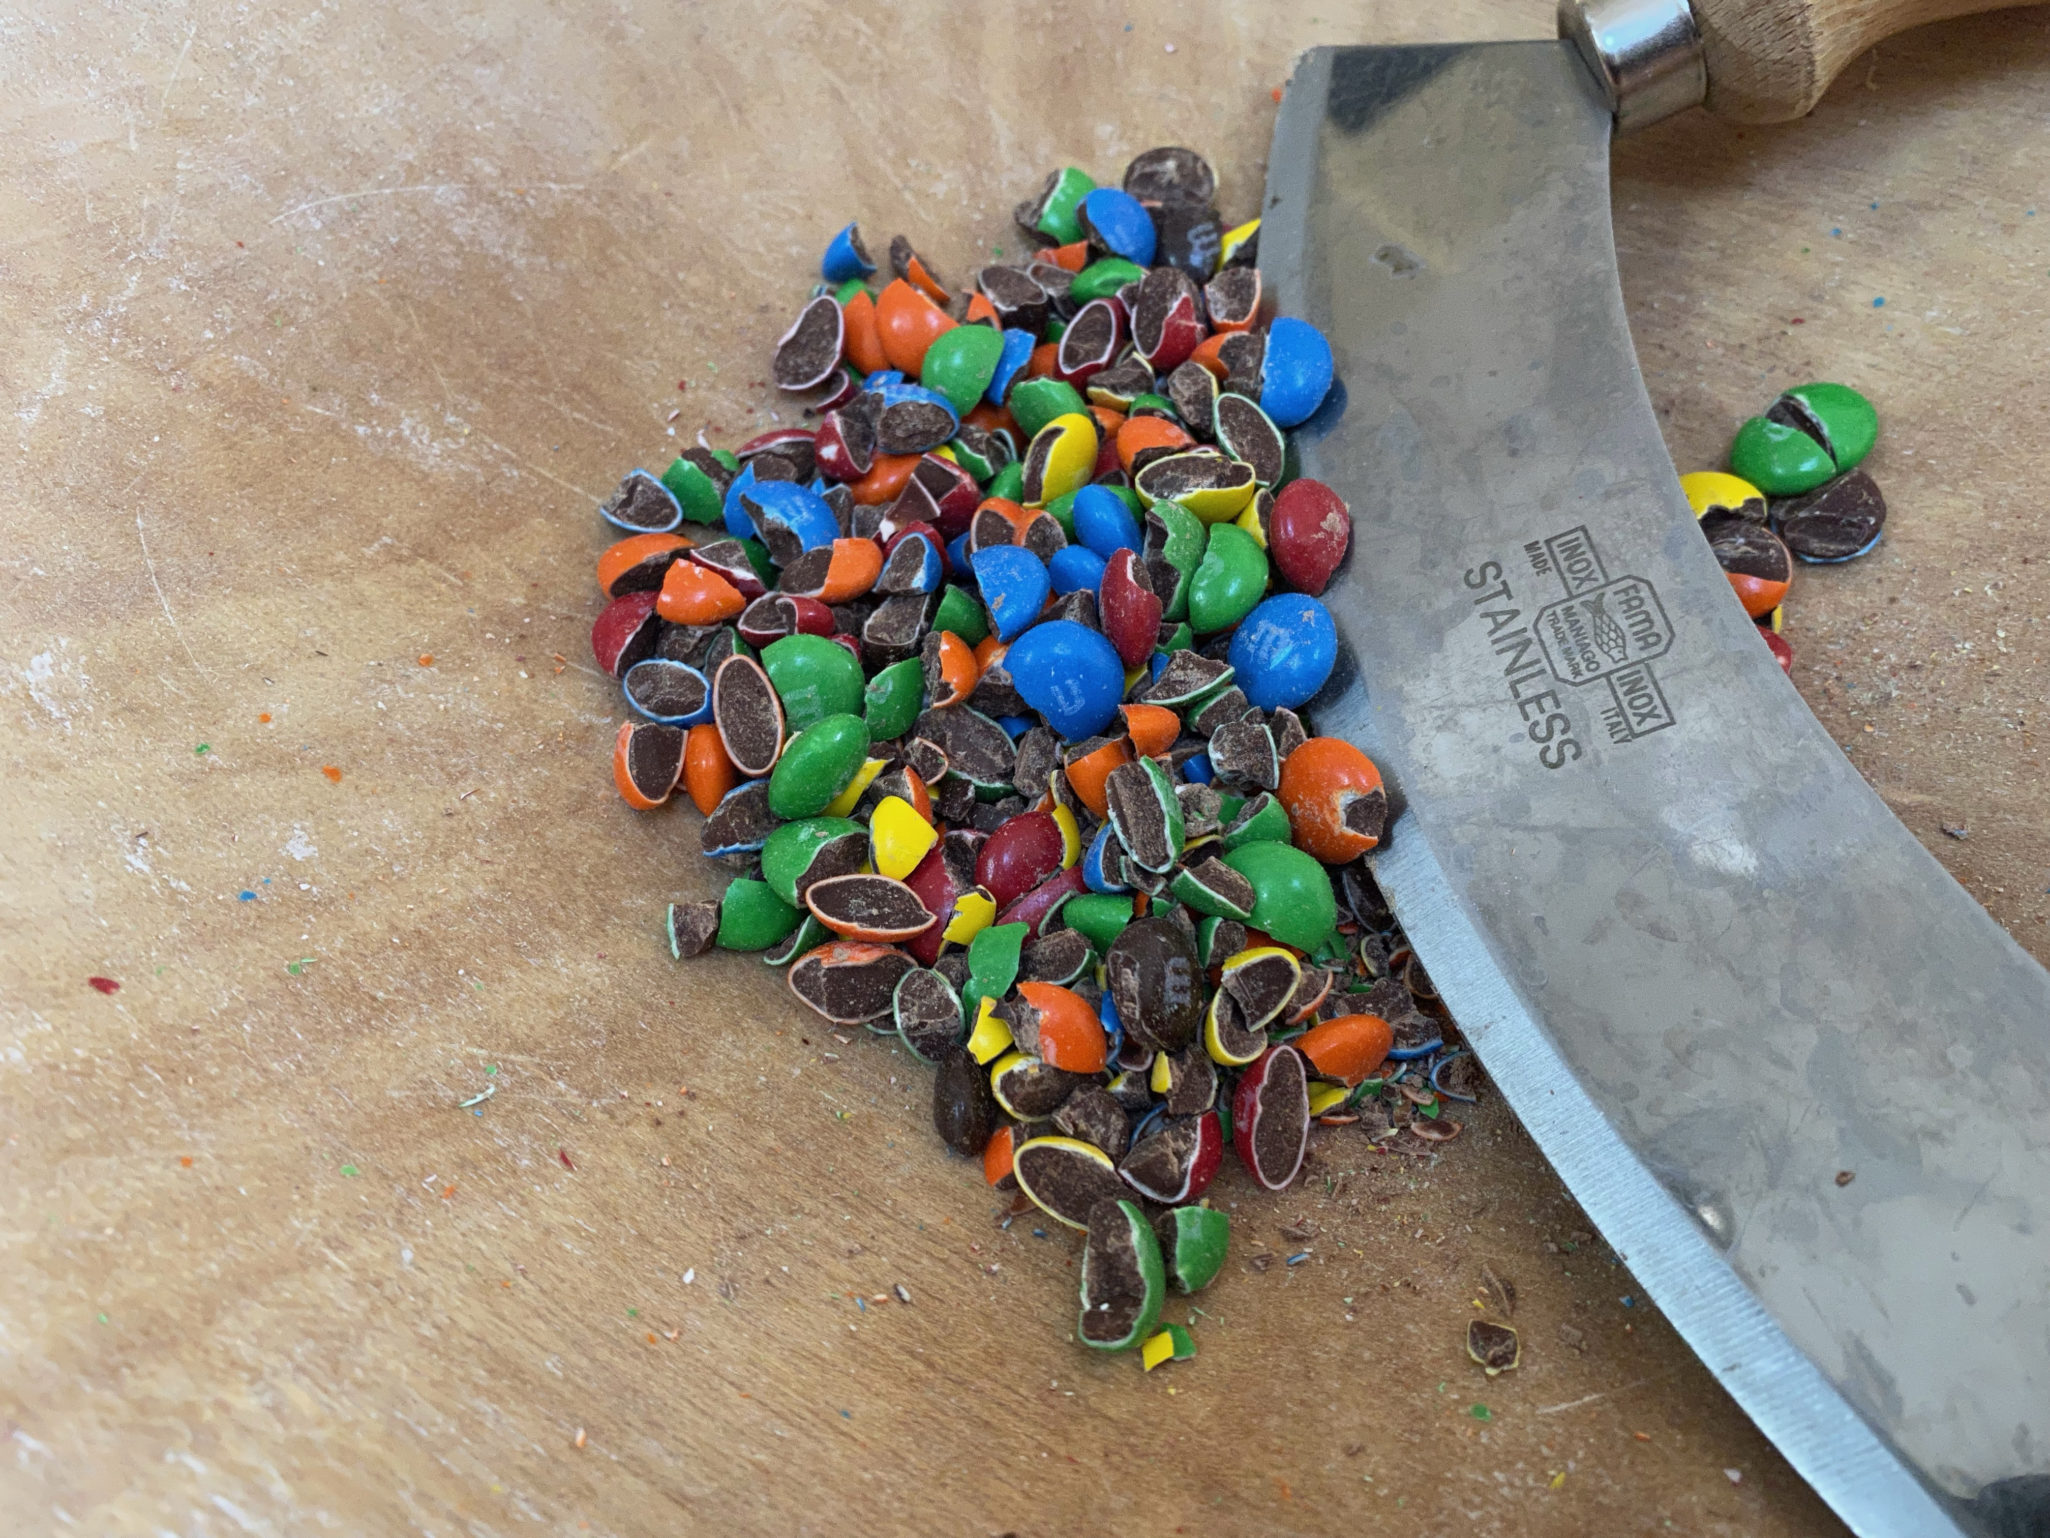
M&Ms aren’t easy to cut and not bounce around! My dough bowl and mezzaluna came in handy!

Cookie Workout

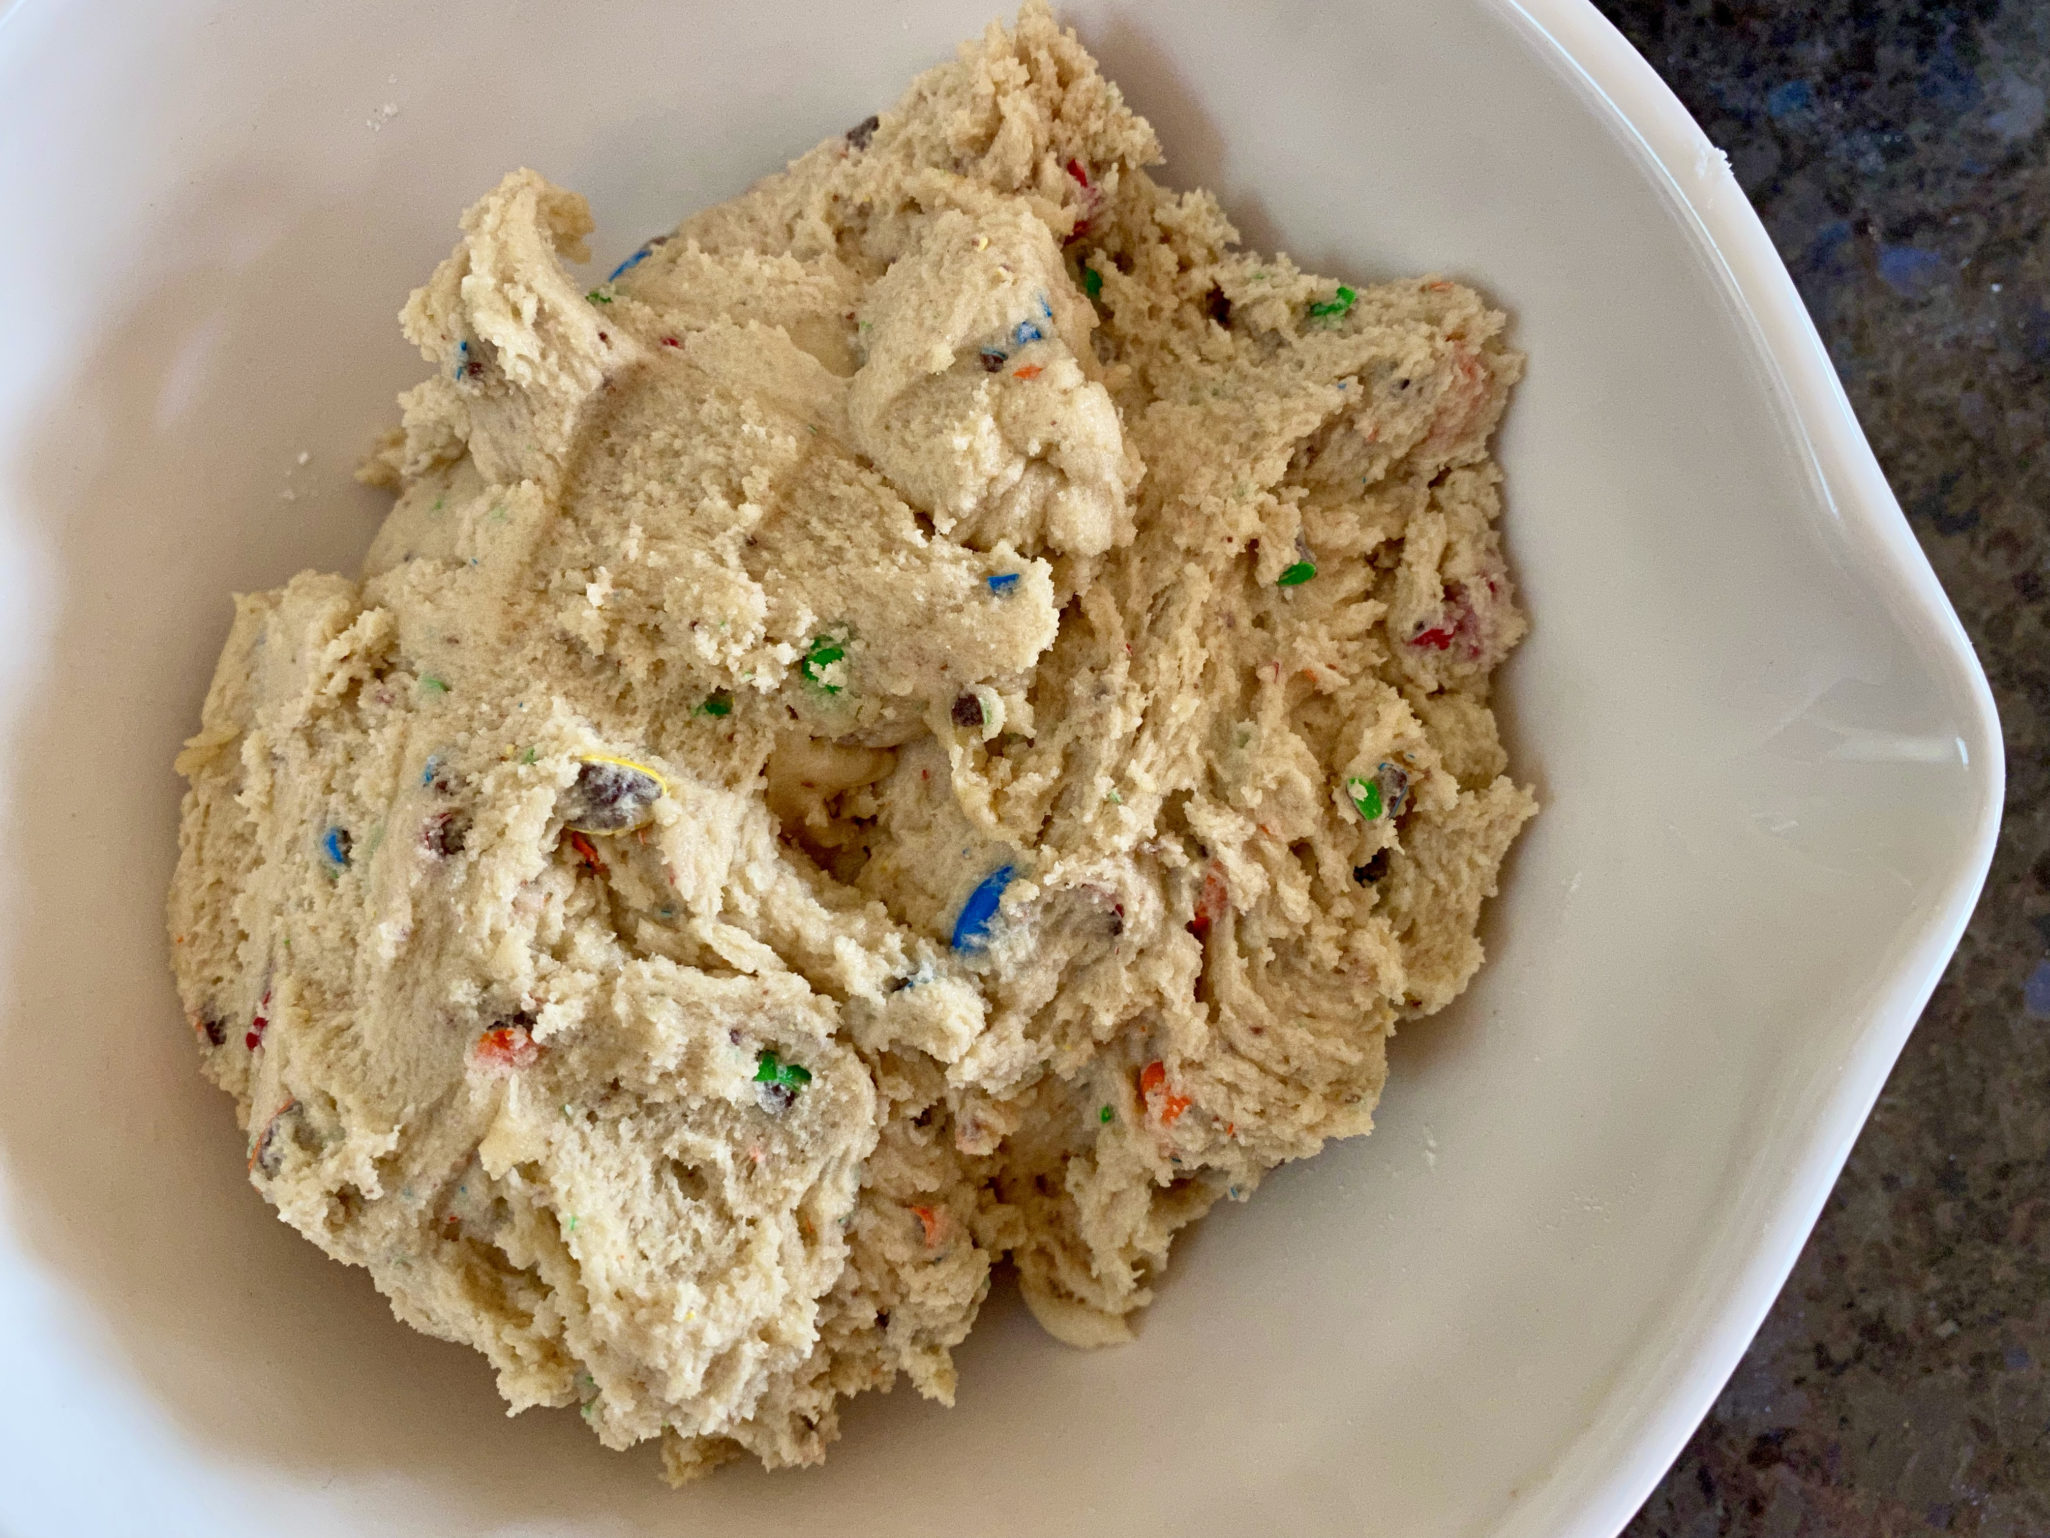
The cookies can be made with one bowl, whisk, and spatula (or wooden spoon) with the caveat that you start with soft butter (not melted) butter.  If you have a thermometer, it’s around 65-68 degrees.  You will also need some arm power as the recipe calls for beating the mixture for one minute to smooth and fluffy.  One minute, whisking a dough by hand is pretty long. Opt for your mixer unless you haven’t done your workout for the day.
Geeking Out

The baked cookies ended up with crevices that weren’t apparent in Eric’s batch.  I have a theory, I chilled my dough overnight which meant the dough was pretty cold, the butter had solidified and the dough had additional time to hydrate.  The chilled dough is a tad more resistant to spreading and collapsing thus creating fissures.  Here’s a great geek article on chilling your dough from Buzz Feed.  Next time I’ll bake them off with just a short chilling time to see if they don’t develop cracks.  I don’t think it impacted the flavor or texture too much.  If you try different M&Ms please leave a comment! I think it would be amazing with peanut M&Ms or almond M&Ms.

I like these, I LOVE the Grocery Store Cookie. I’ll be making both for the holidays.
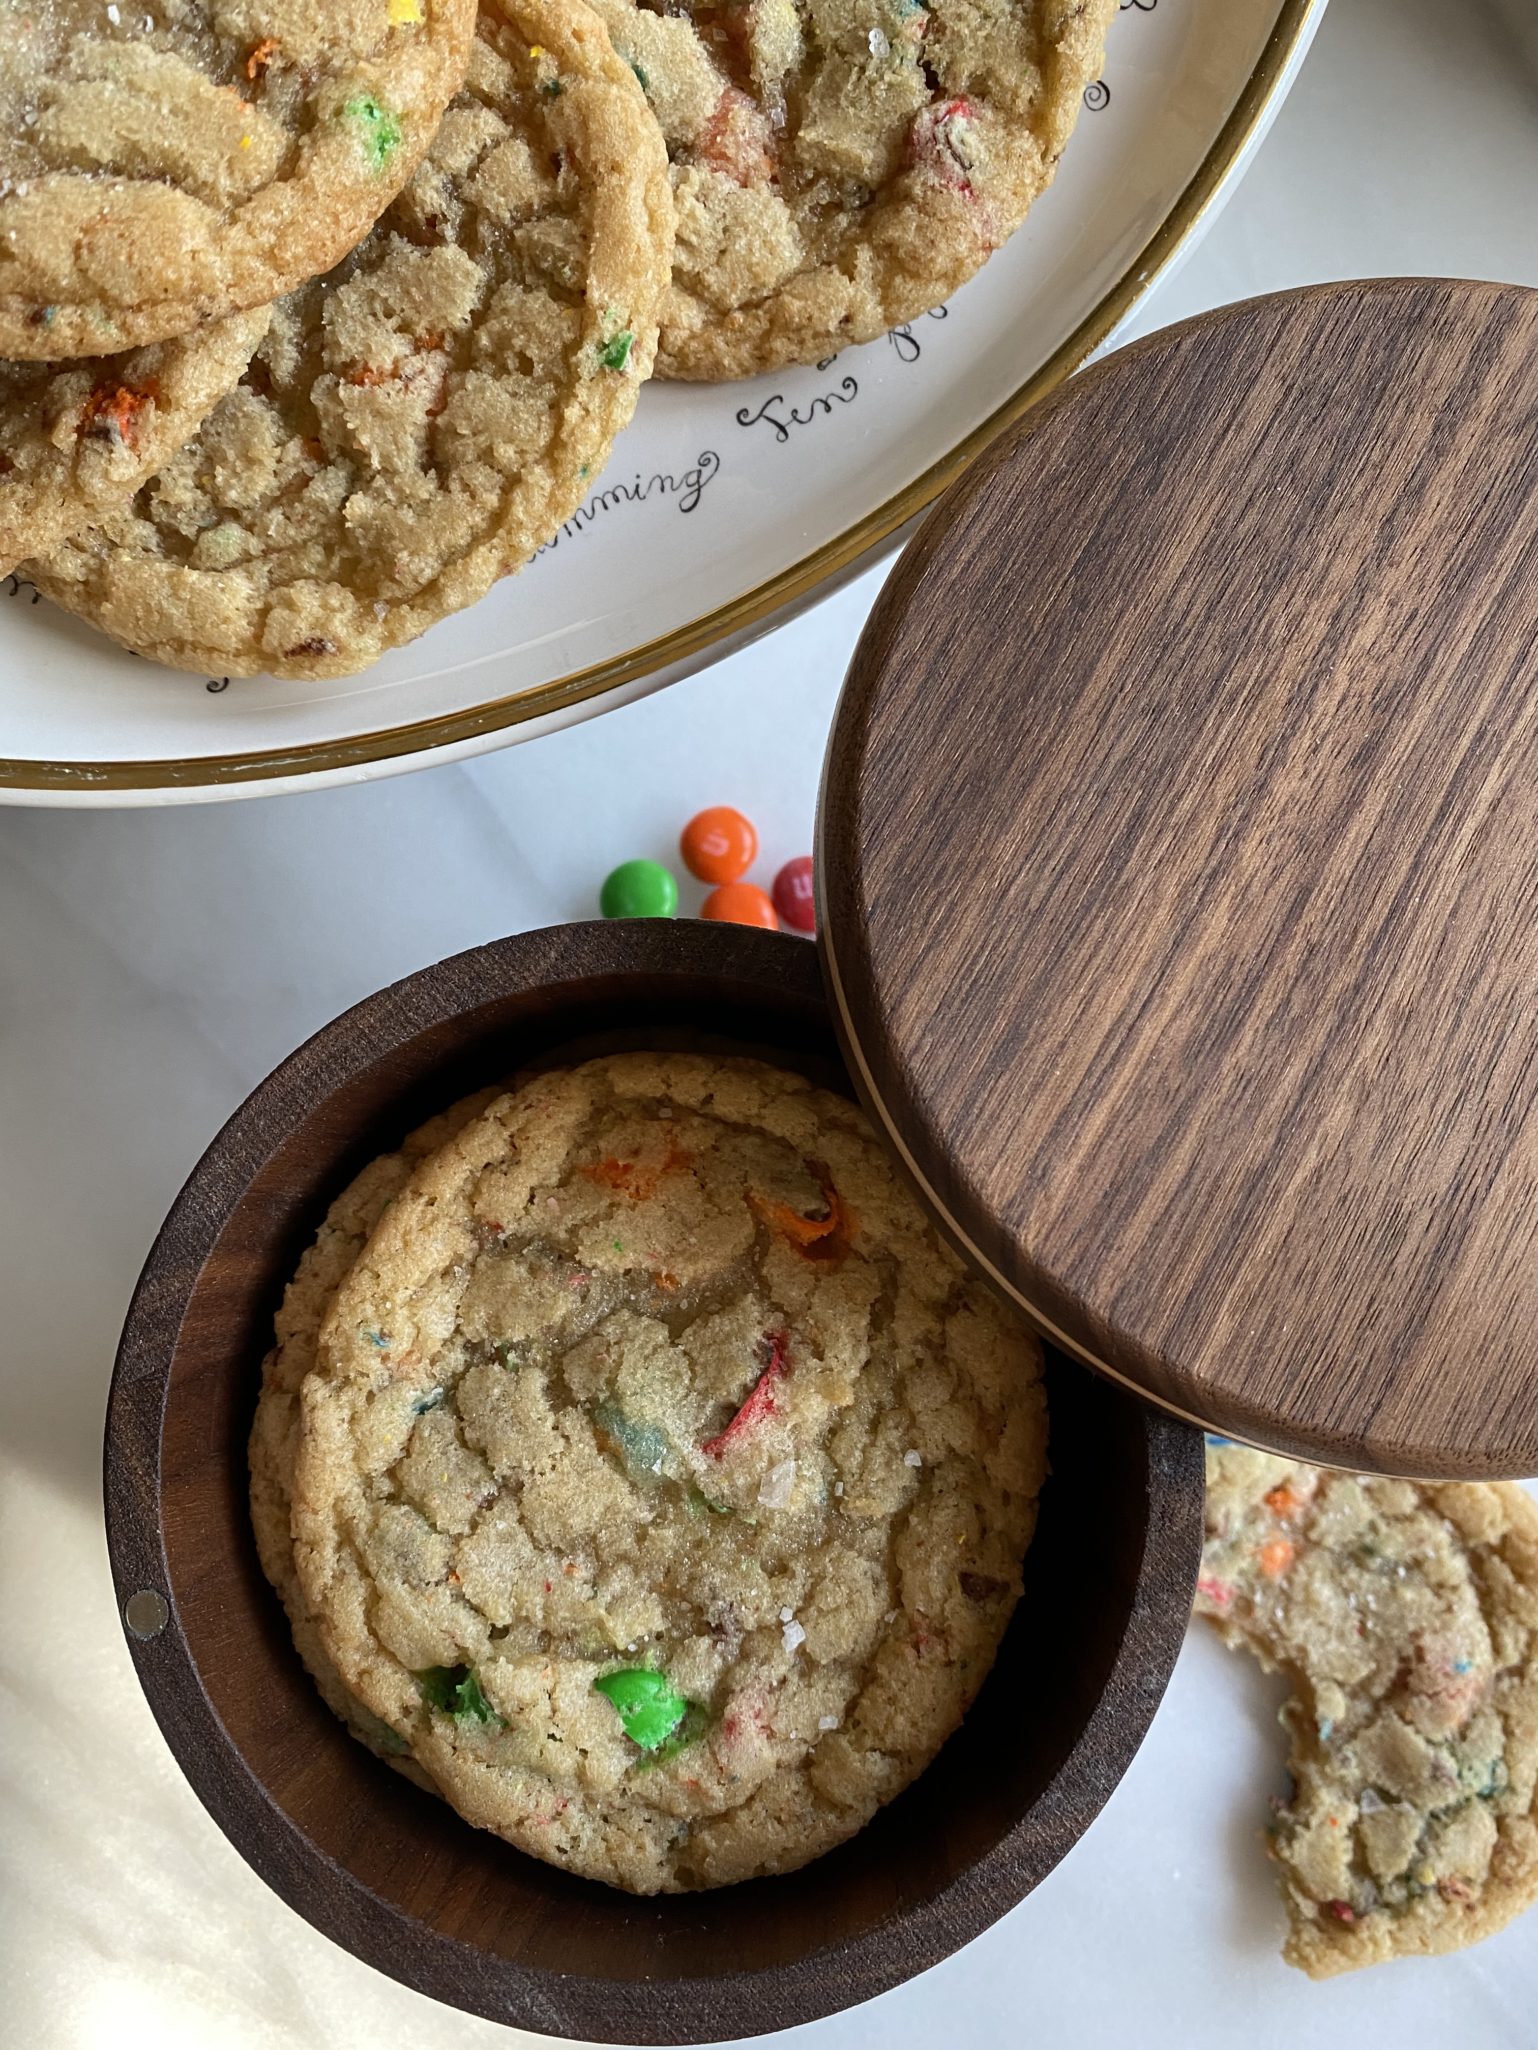
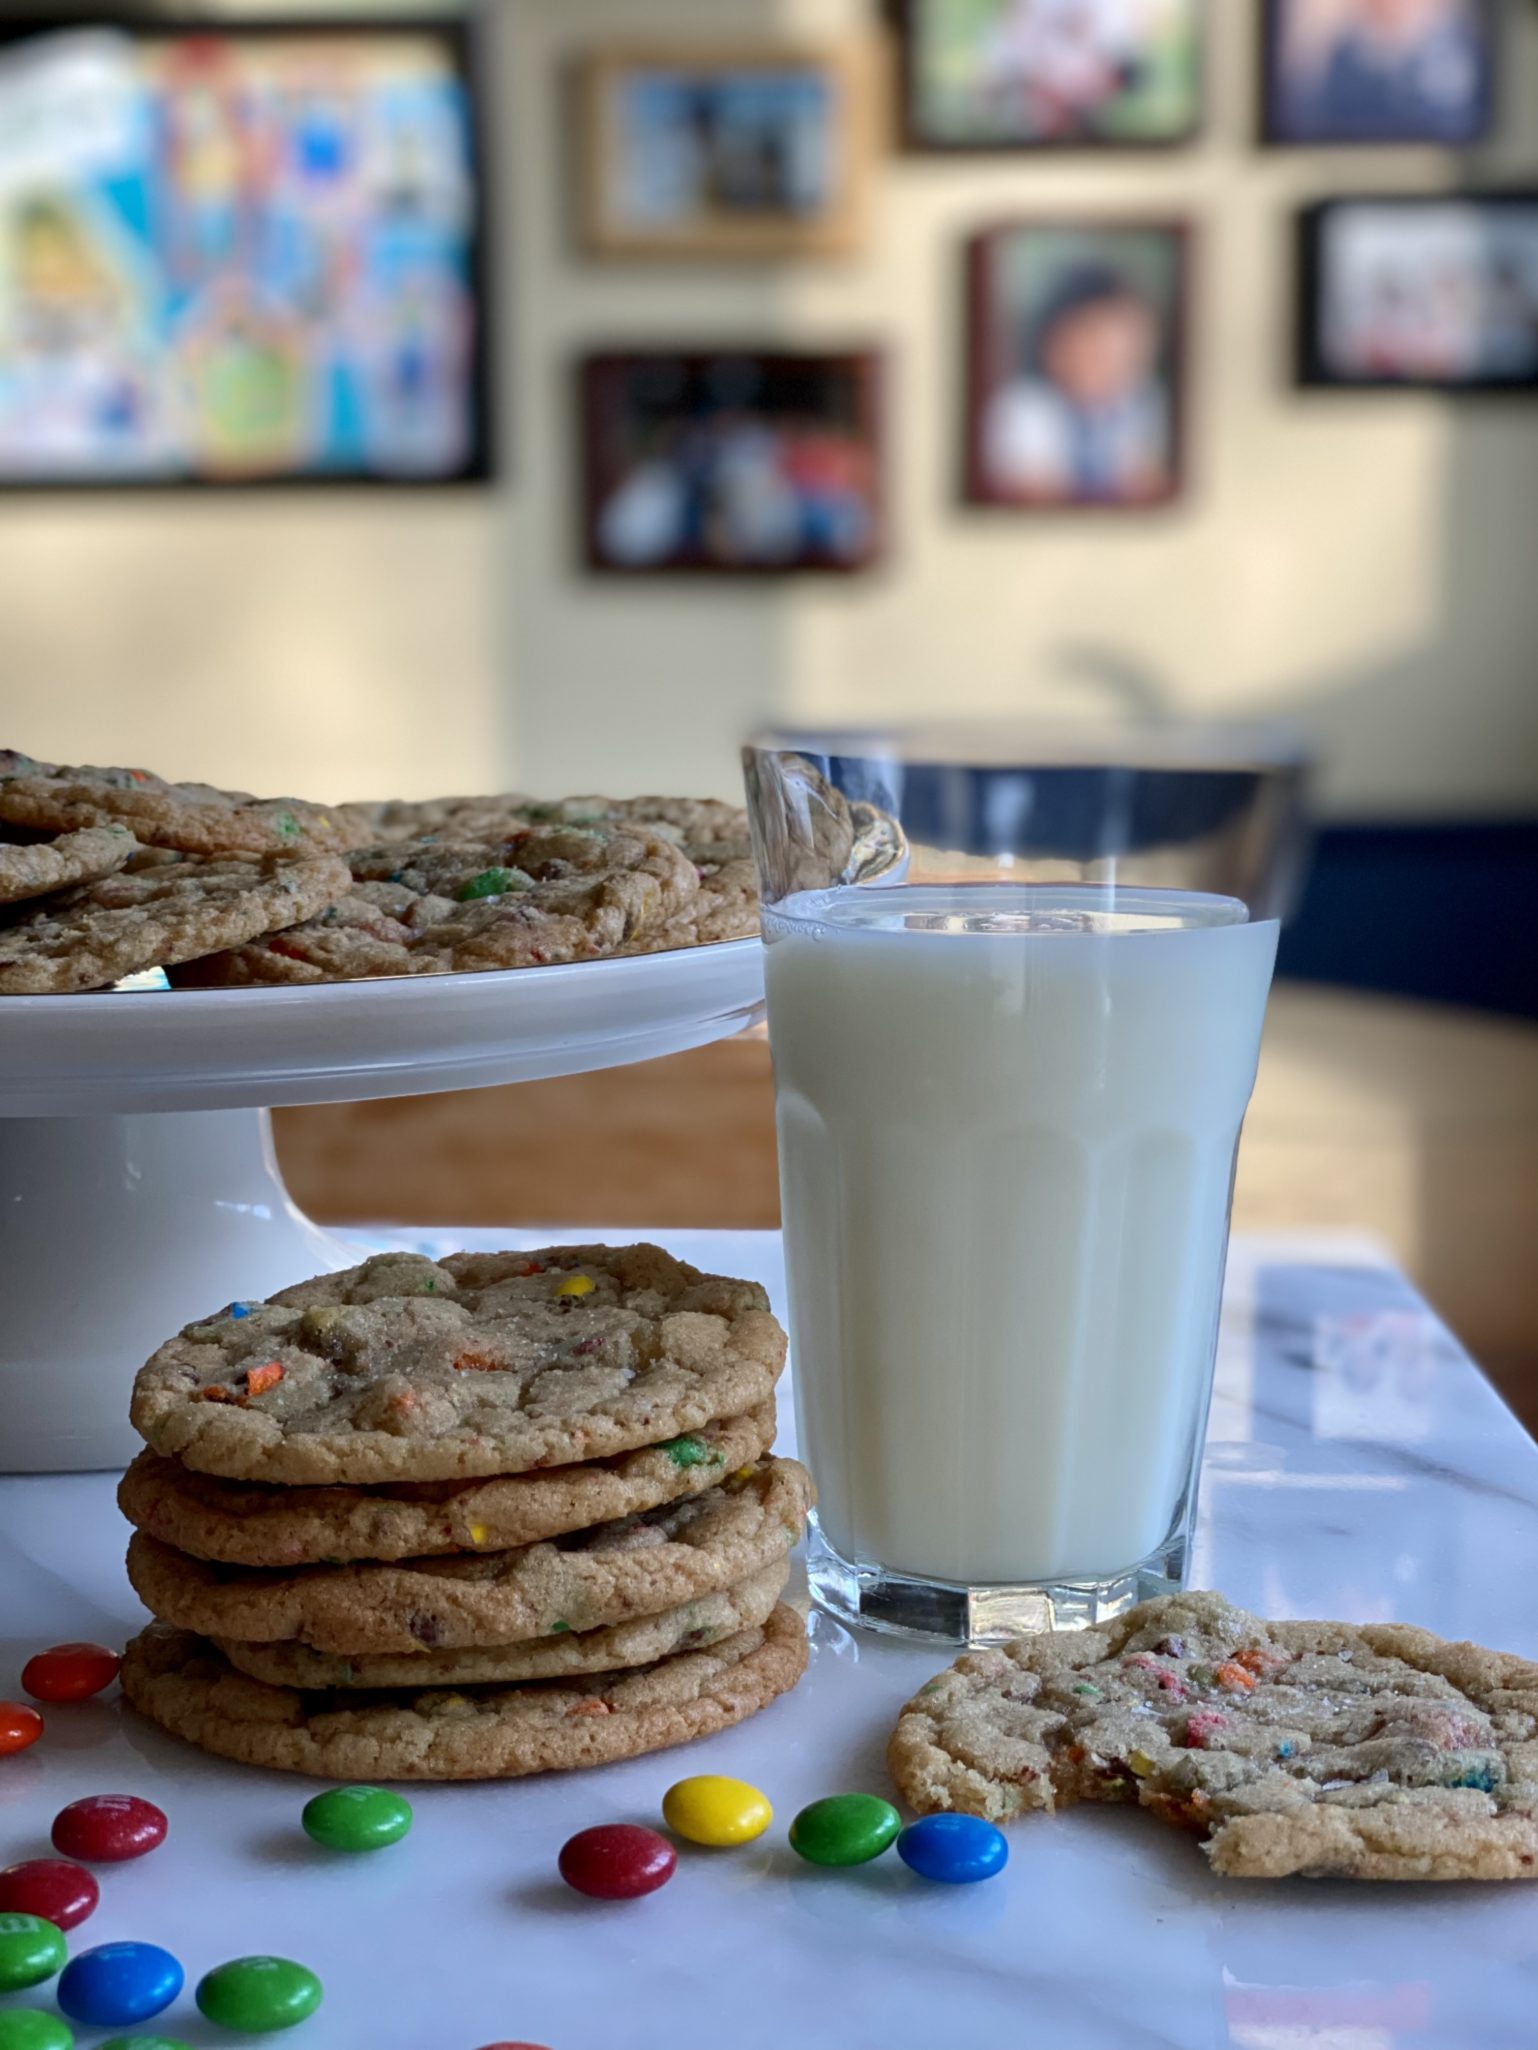
So, make these cookies, pour yourself an ice-cold glass of milk, grab a cookie and enjoy the holidays.  I’m going to watch BIG, the perfect movie to go with these cookies!
M&M Cookies by Eric Kim

Straight back to childhood, M7M Cookies, are chewy and a delight to eat.
Course cookies
Cuisine American
Keyword Almond Cookies, ERic KIm, M&M Cookies, NYTcooking
Prep Time 20 minutes
Cook Time 15 minutes

Ingredients

  • ½ cup (115 grams) unsalted butter very soft
  • 1 cup (200 grams) granulated sugar
  • ¼ packed cup (57 grams )dark brown sugar
  • 1 large egg at room temperature
  • 1 tablespoon vanilla extract
  • 1 teaspoon kosher salt Diamond Crystal or ¾ teaspoon coarse kosher salt
  • ¼ teaspoon baking soda
  • 1 ½ cups (185 grams) all-purpose flour
  • ½ cup (96 grams) M&M’s

Instructions

  • Heat the oven to 350 degrees and line 2 large sheet pans with parchment.
  • In a large bowl, whisk together the butter, sugars, egg, vanilla and salt by hand until smooth and fluffy, at least 1 minute.
    Whisk in the baking soda, then switch to a rubber spatula or wooden spoon. Add the flour, then carefully and coarsely chop the M&M's, and add them, too. Gently stir to combine. Place the bowl in the refrigerator while you wait for the oven to finish heating.
  • Using two spoons or a cookie scoop, plop out 2-tablespoon/50-gram rounds spaced a couple of inches apart on the sheet pans. (You should get about 8 cookies per pan.) Bake until lightly golden at the edges, 10 to 12 minutes. Let cool completely on the sheet pan; they will continue to cook as they sit.
Notes

If you really want to use your ixer.  The key is not to overmix.  On a Kitchen-aid when making cookies I rarely go above setting 4 (medium) when mixing cookie dough.  YOu don't need turbo which would increase the chance of overbeating.
YOu might want to fold in the flour and M&Ms to avoid overmixing.  If not, set mixer to stir and mix until you don't see any flour and stop.  Finish it off with a spatula.
Almond Cookies-TOC (Tournament of Cookies) Day 1

Almond Cookies-TOC (Tournament of Cookies) Day 1

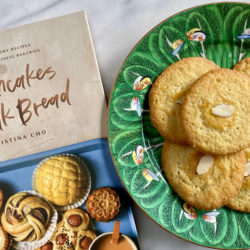
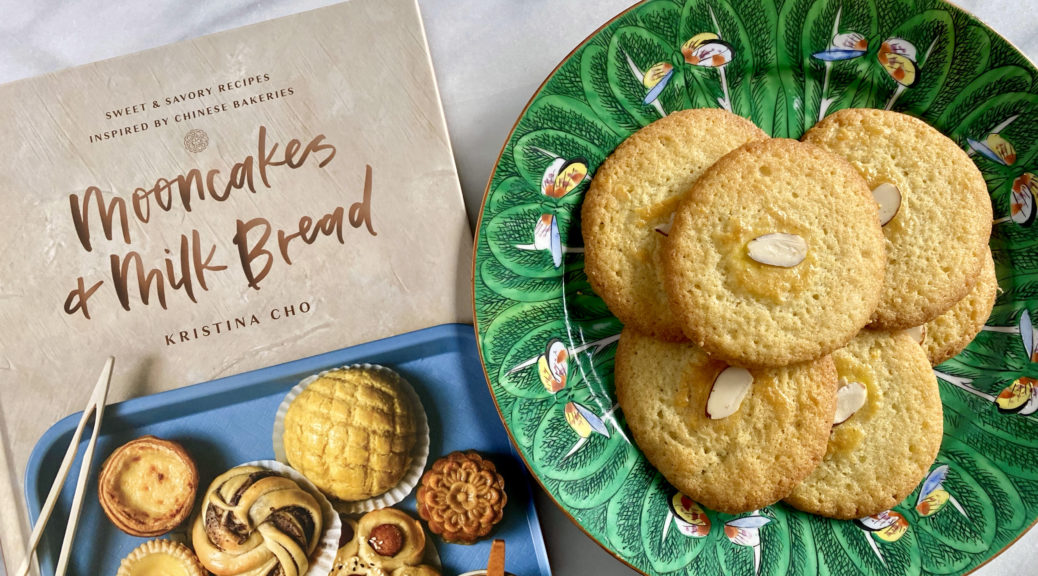
Here we go, Twelve Days of Cookies to kick off the holiday season!.  From one of my favorite cookbooks this year, Kristina Cho’s Mooncakes and Milk Bread, her Grandfather’s Almond Cookies.  If you are looking for a great holiday gift, her book is amazing.  Literally, recipes of your favorite Chinese Bakery goods, Pineapple Buns, Cocktail Buns, Cha Siu Baos, Egg Tarts.  I was over the “moon” when her book came out.

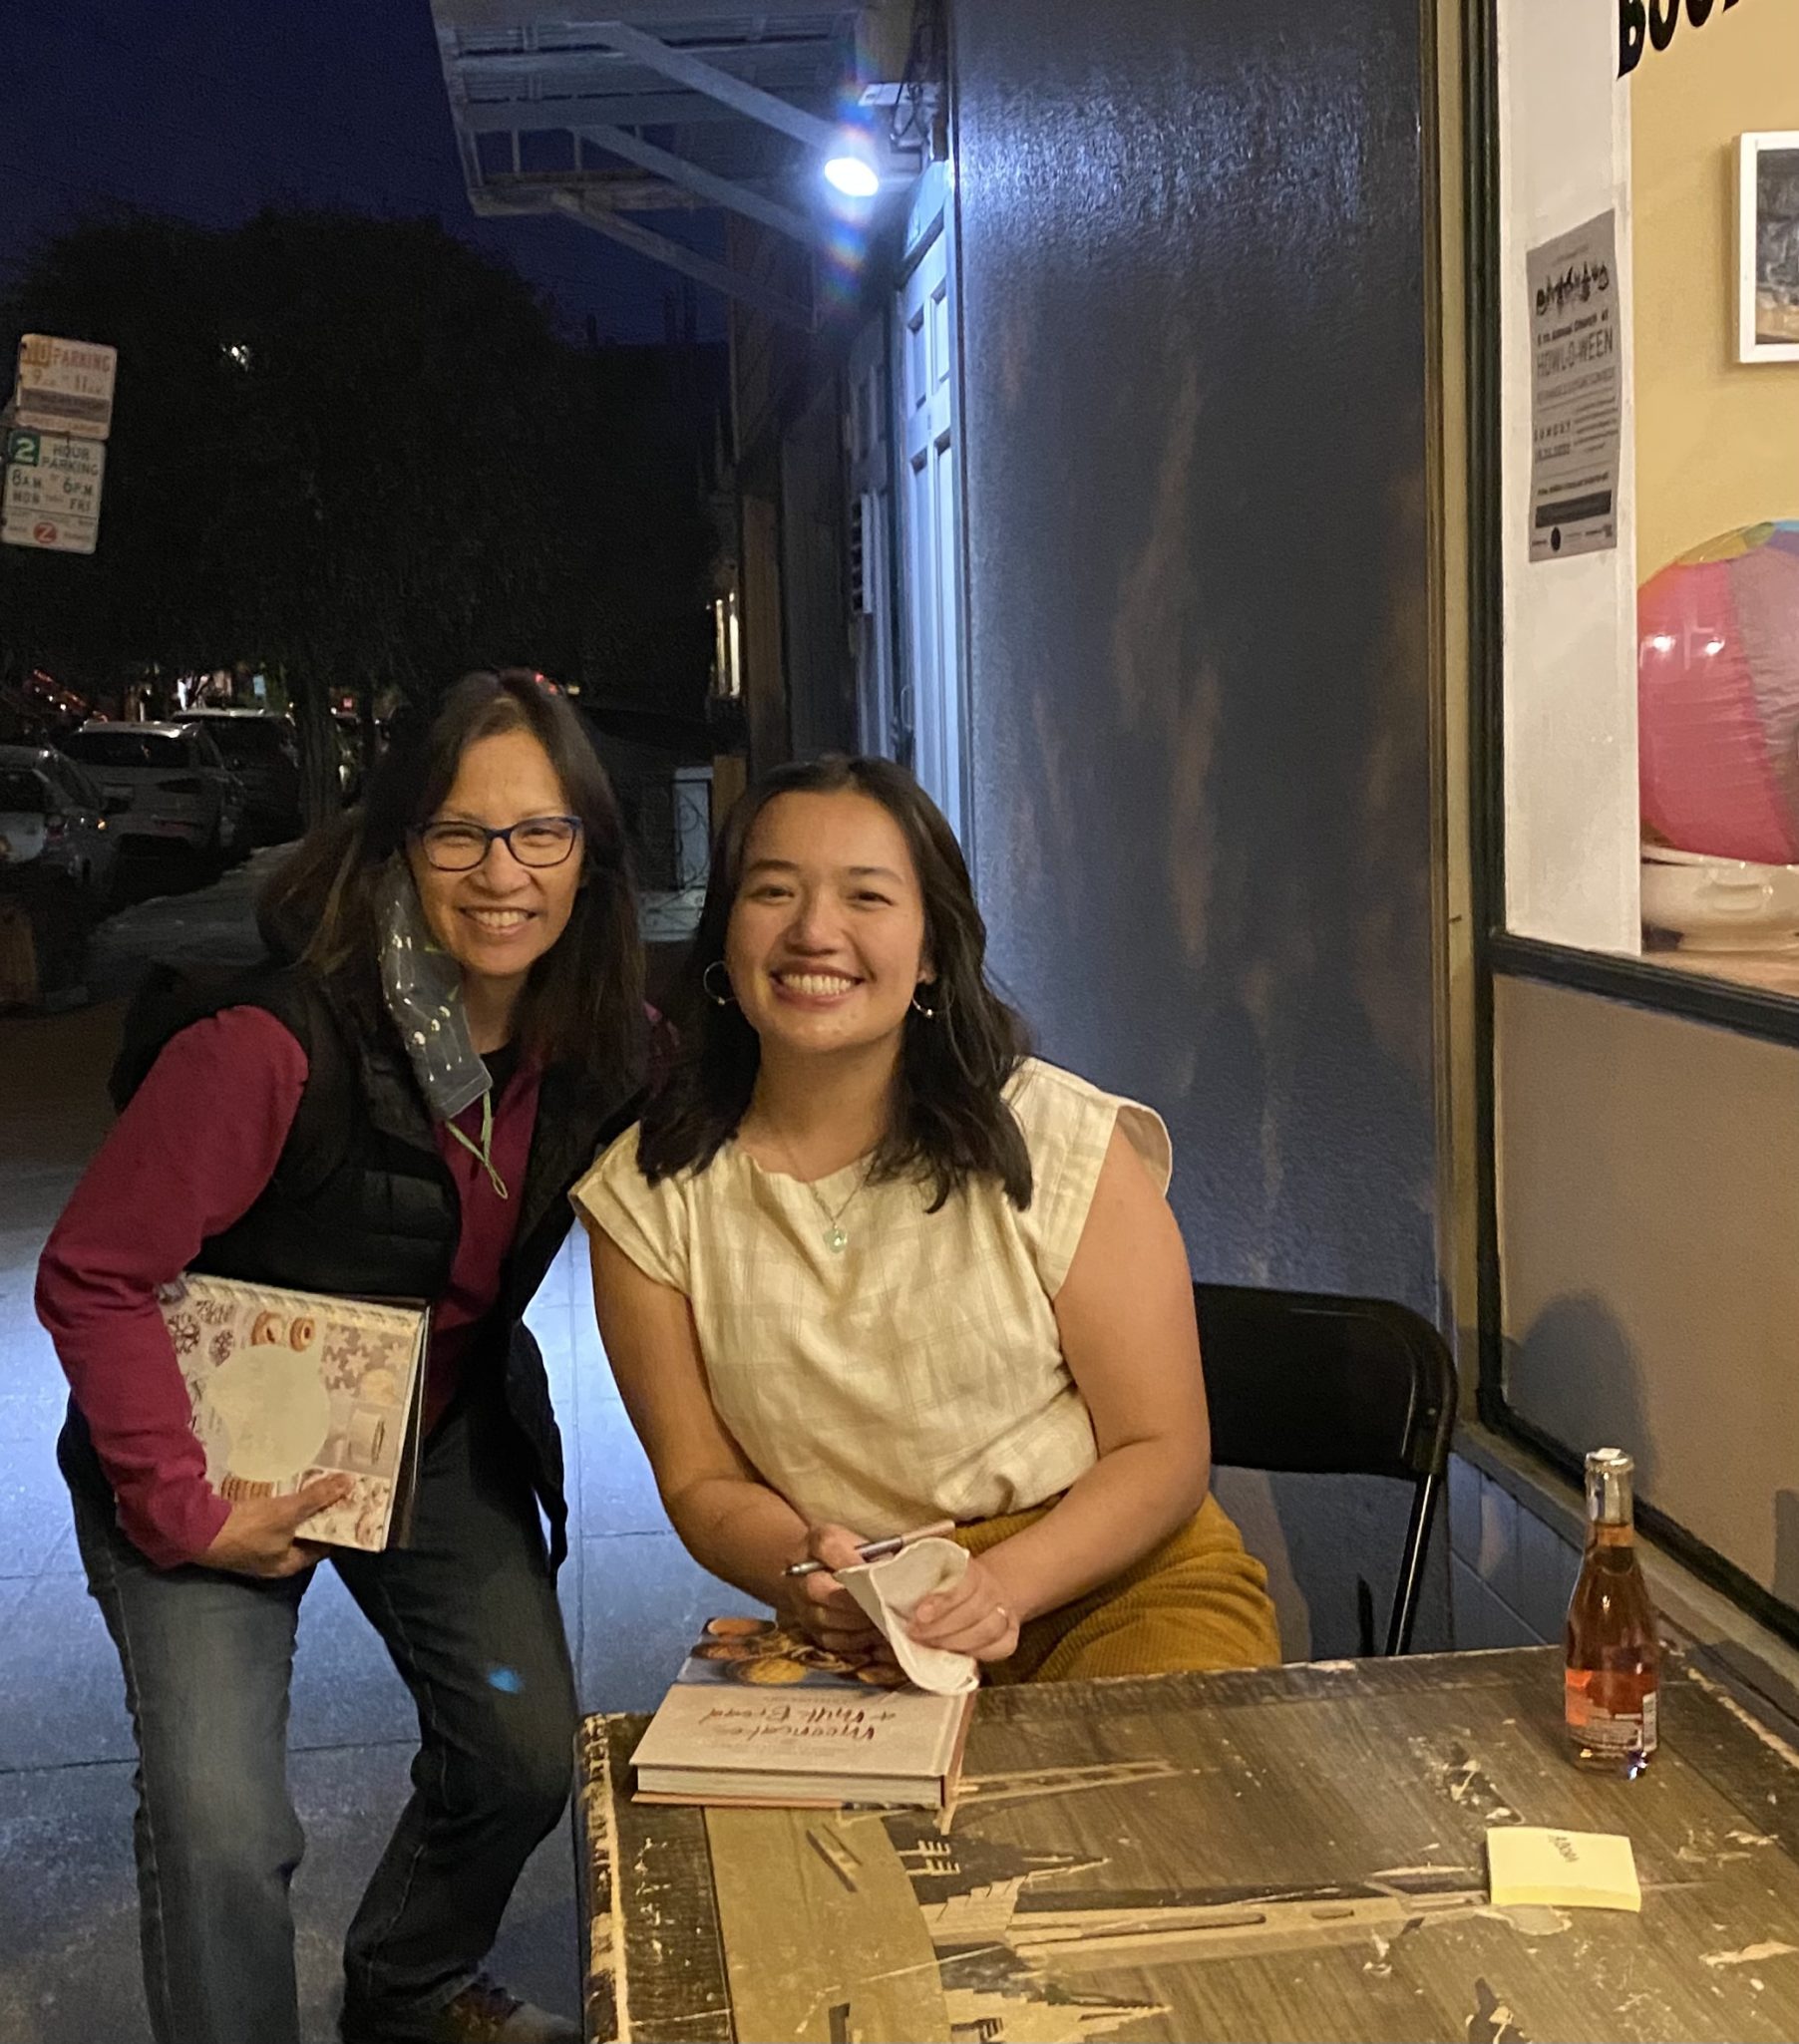
Hoping for a return to a bit of normalcy (thankful for vaccines), I headed to my favorite bookstore, Omnivore Books in the City, for an in-person meet and greet with Kristina. She came with a batch of Almond Cookies to share.  My first bite, buttery, crispy edges, almond-ny, absolutely delicious, I made a mental note to put this cookie on my bucket list.

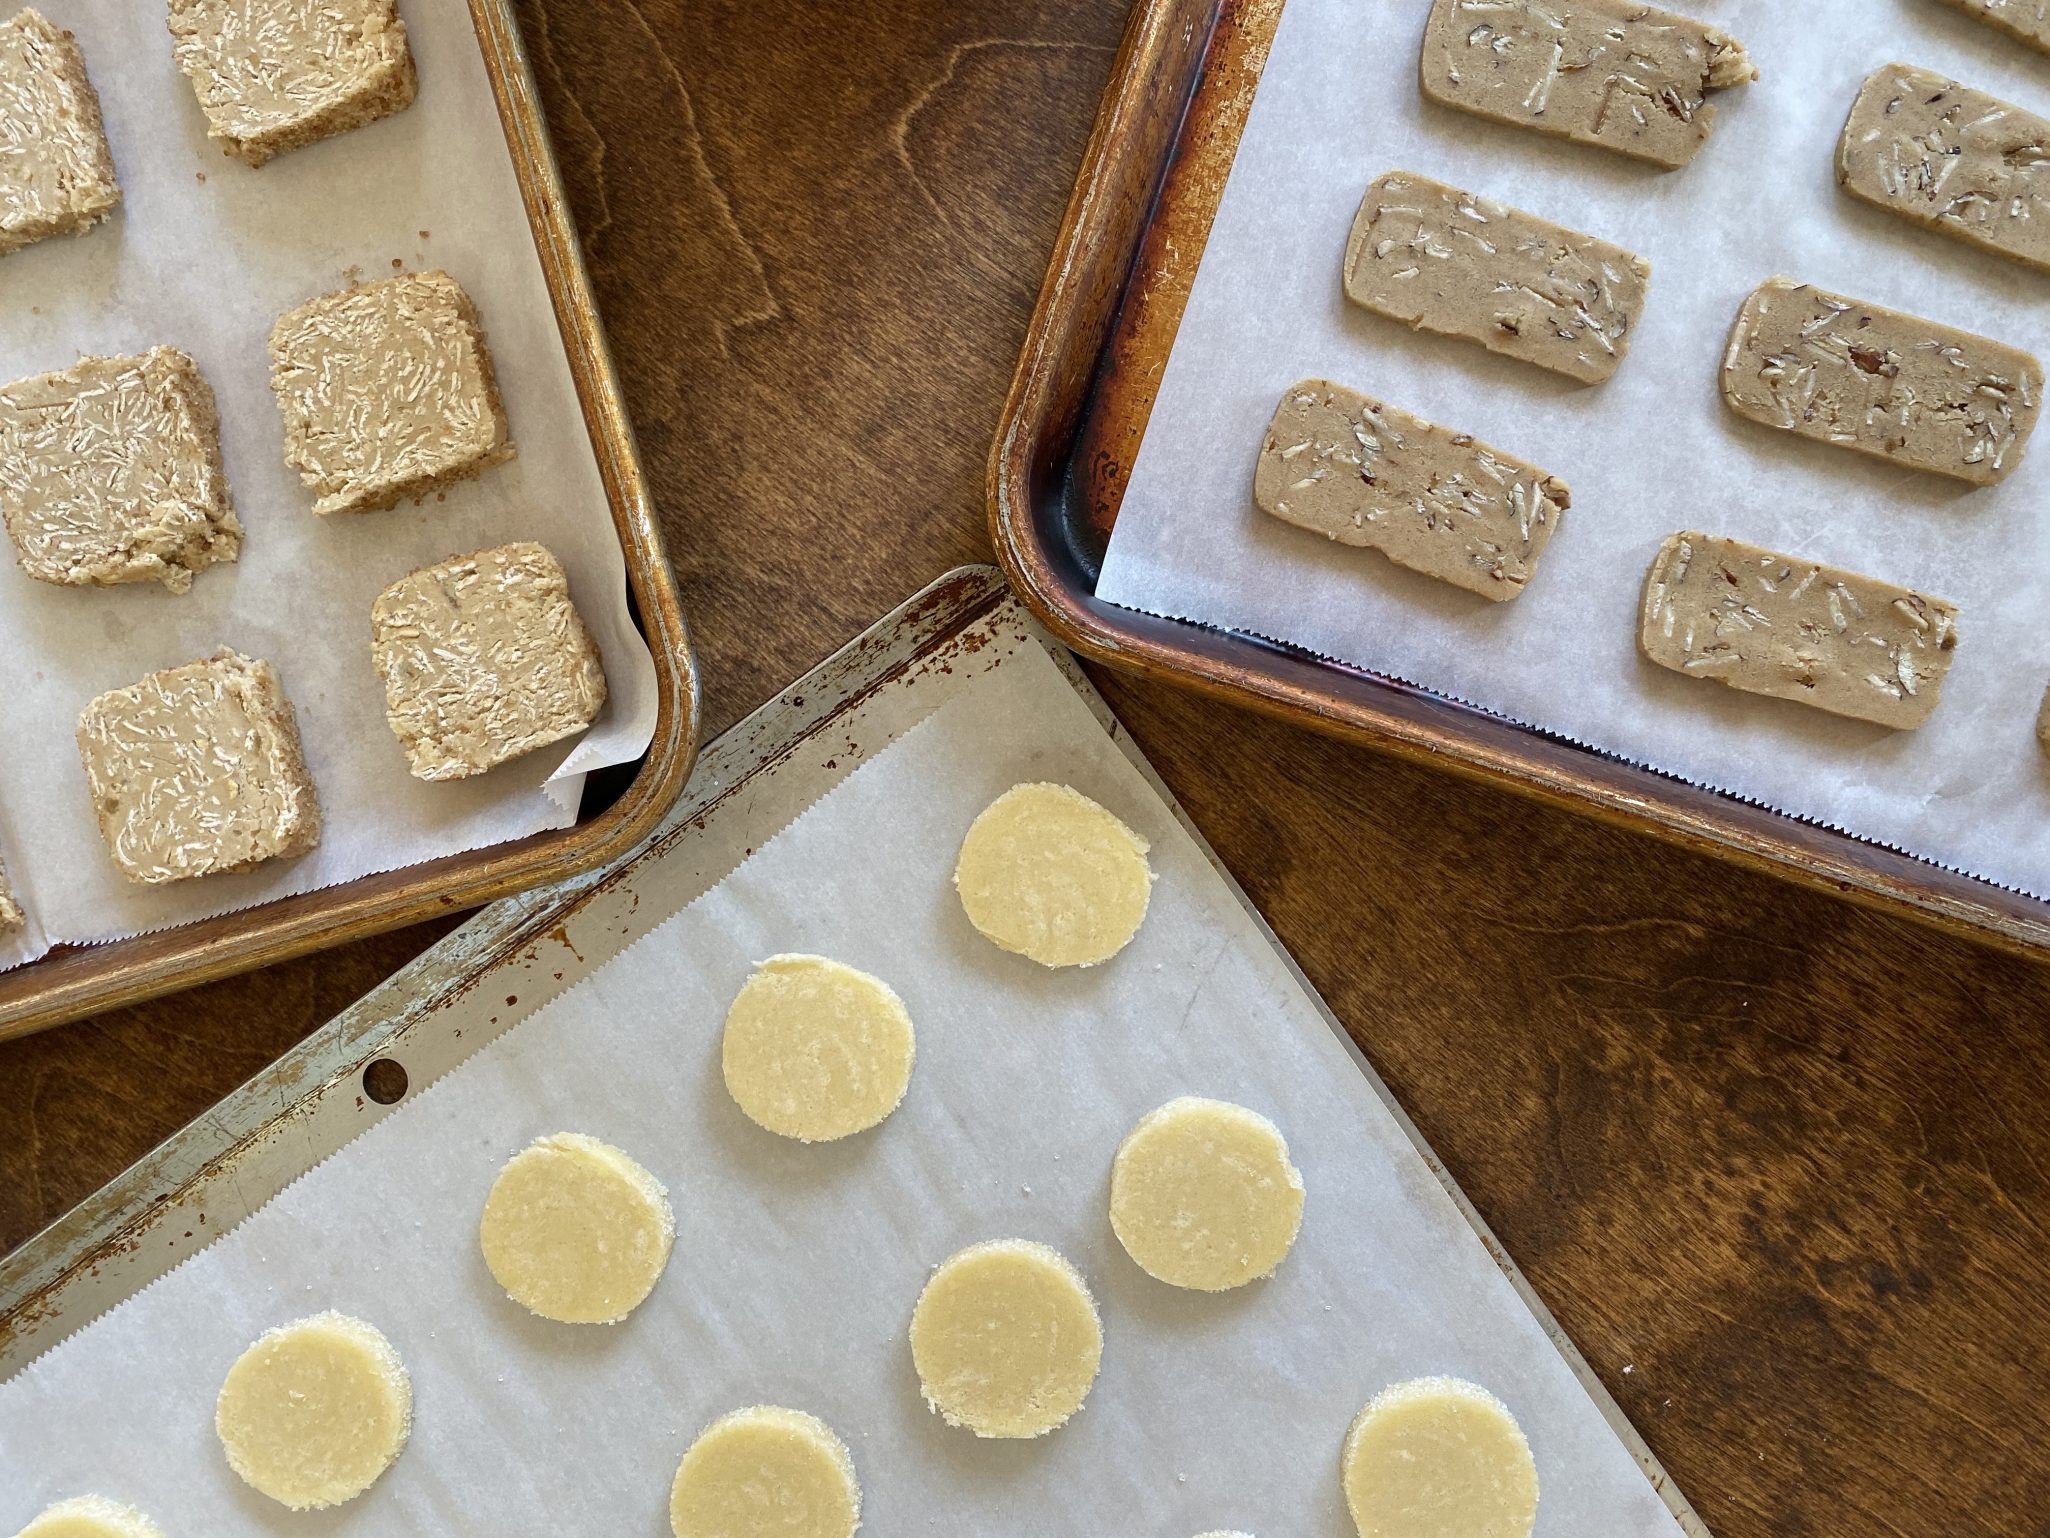
These cookies can be made entirely by hand.  Classic cream butter and sugar until smooth.  Don’t overmix.  Add egg and almond extract and then dry ingredients. Chill the dough as these cookies tend to really spread.  Paint them liberally with the egg wash.   I bake them on parchment.

Gung Gung’s Almond Cookies

From Kristina Cho’s Mooncakes and MIlk Bread, delightful, crisp, buttery almond cookies.
Course cookies
Cuisine Asian-American
Keyword Almond Cookies, Kristina Cho
Prep Time 20 minutes
Cook Time 15 minutes

Ingredients

  • 125 g 1 cup all purpose flour
  • 1/4 teaspoon baking soda
  • 1/2 teaspoon coarse salt
  • 113 g 1/2 cup; 1 stick unsalted butter, softened
  • 130 g 2/3 cup sugar
  • 1 large egg
  • 3/4 teaspoon pure almond extract
  • 1 large egg yolk
  • 15 sliced almonds
  • Flaky salt for topping

Instructions

  • In a medium bowl, whisk to combine the flour, baking soda, and salt. Set aside.
  • In another bowl, combine the butter and sugar with a spatula or wooden spoon until smooth. Add the egg and almond extract and continue to mix until fully incorporated. Add the dry ingredients and mix until a thick dough is formed (it will be sticky). Cover the bowl with plastic wrap and chill until slightly firm but scoopable, about 1 hour.
  • Preheat the oven to 350°F and line two large rimmed baking sheets with parchment paper.
  • Using a 1 1/2-tablespoon cookie scoop, measure out 1 1/2 tablespoons of dough and place on the prepared sheet. (Or use a spoon to
  • scoop and roll the dough into a smooth ball, wetting your hands if the dough is still sticky.)
  • Repeat with remaining dough, spacing them 3 inches apart. Wet your fingers with water to prevent dough from sticking and gently press down on the dough balls with your fingers until they are 1/2 inch thick.
  • In a small bowl, whisk the egg yolk and use to lightly brush the tops of the cookies. Place an almond slice on each cookie.
  • Bake until cookies are golden brown and crisp around the edges, 16 to 18 minutes. Transfer the sheets to a wire rack, sprinkle with flaky salt, and allow cookies to cool on the sheets for 5 minutes. Transfer cookies to the rack to cool. Serve warm or at room temperature.

Notes

Directions to make cookies with a mixer.  The key is to not overbeat!  
As easy as these are to make by hand, some of us just love our mixers.  Combine butter and sugar in mixer bowl.  On medium speed, beat mixture until smooth and creamy.  It should not reach the light and fluffy stage! Add egg and almond extract and beat on medium until combined.  Add dry ingredients, combine on stir or lowest speed until the flour mixture is incorporated and you don’t see any dry spots.  You can always stir in the flour by hand.  
The cookies spread quite a bit so don’t crowd them on a baking sheet.  Use an ice cream scoope to portion out your dough.


So, let the TOC begin!

Pao de Queijo (Jeremy’s Cheese Bread-Food from the Heart)

Pao de Queijo (Jeremy’s Cheese Bread-Food from the Heart)

Earlier in the year as I was clicking through my Instagram, perusing what my favorite bloggers and IGers were up to, I landed on Two Red Bowls.  A black and white photo of a young man hugging Luke, her son, and Luke gazing up at him. It was and is a beautiful photo. As I read her post, my chest tightened and my heart sank, the young man was her brother, Luke’s uncle, who had just passed away from colon cancer, far too young. It was so sad and so brave of her to share this with us, strangers, who feel a connection to her through her beautiful writing and wonderful recipes.

A few months later she posted a recipe for Pao de queijo, a Brazilian cheese bread. This was her brother’s contribution to holiday feasts.  She described how he made these savory bites in the afternoon for everyone to enjoy while prepping for the evening feast.

I made a mental note to make his Pao de queijo for Thanksgiving. I did, and as I watched my family gobble them up, I hoped her family was also together for Thanksgiving and finding comfort in the shared memories of her brother.

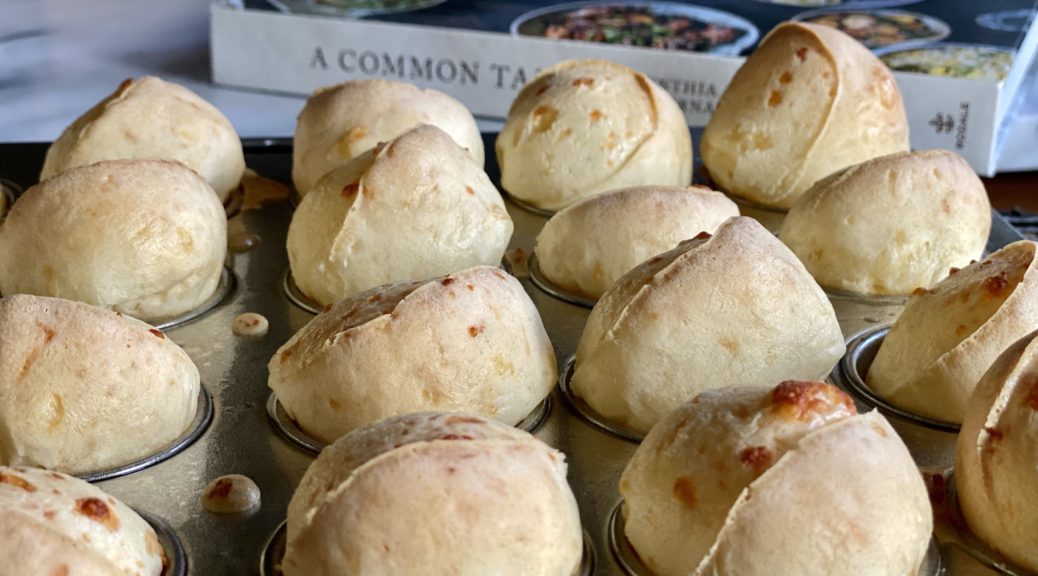
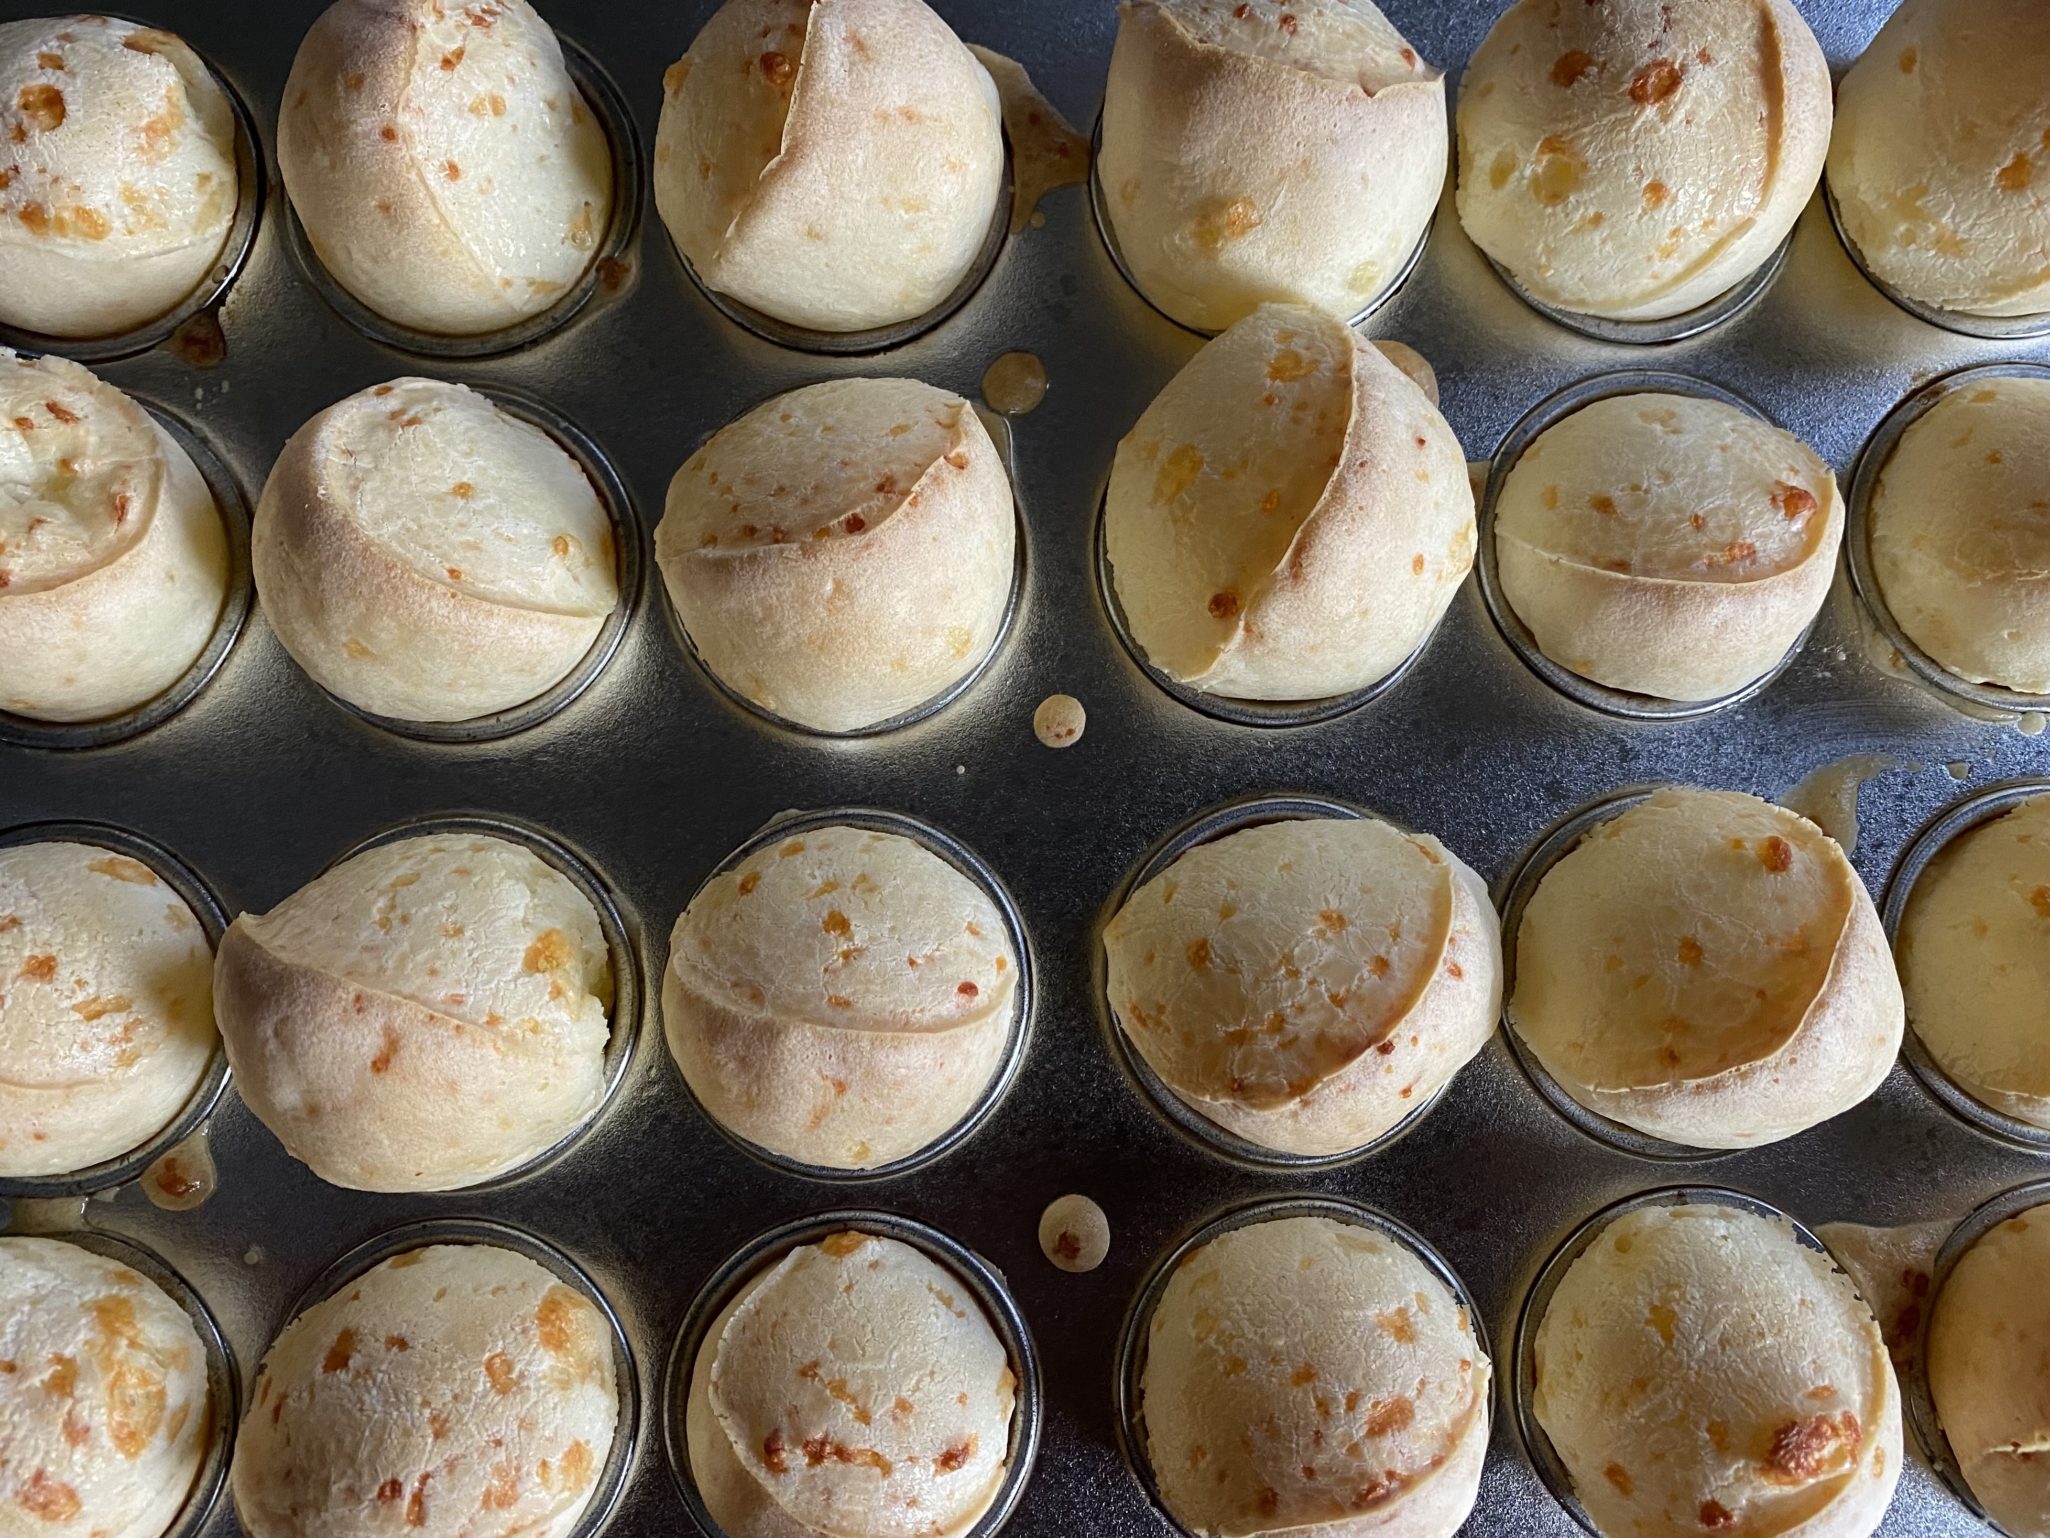
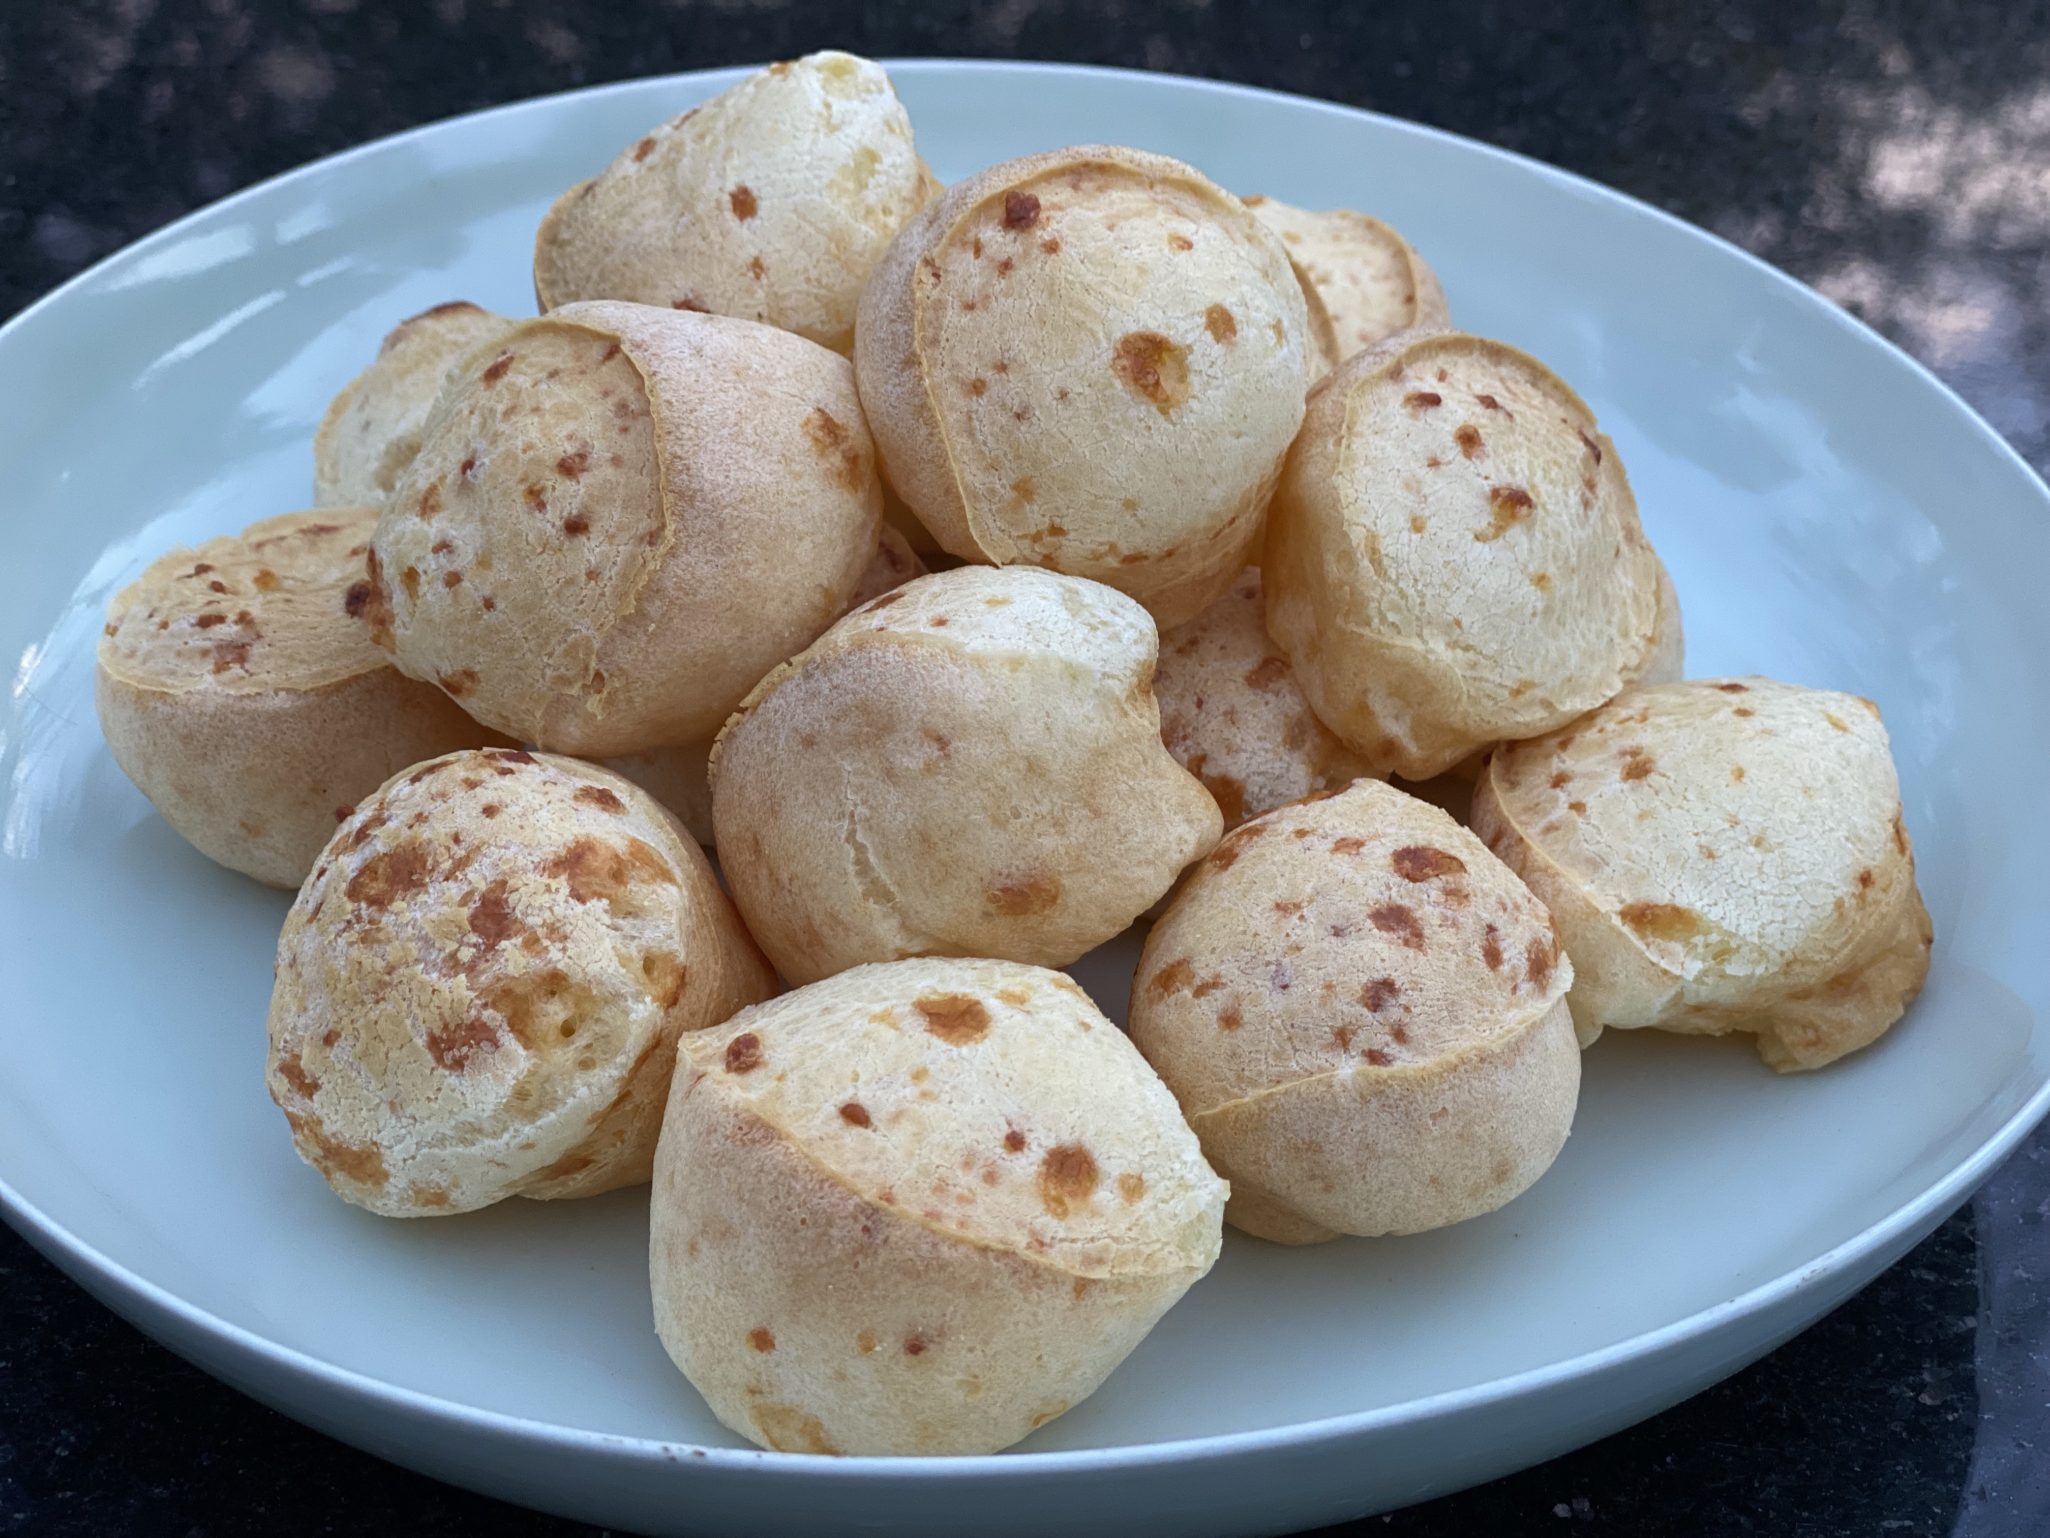
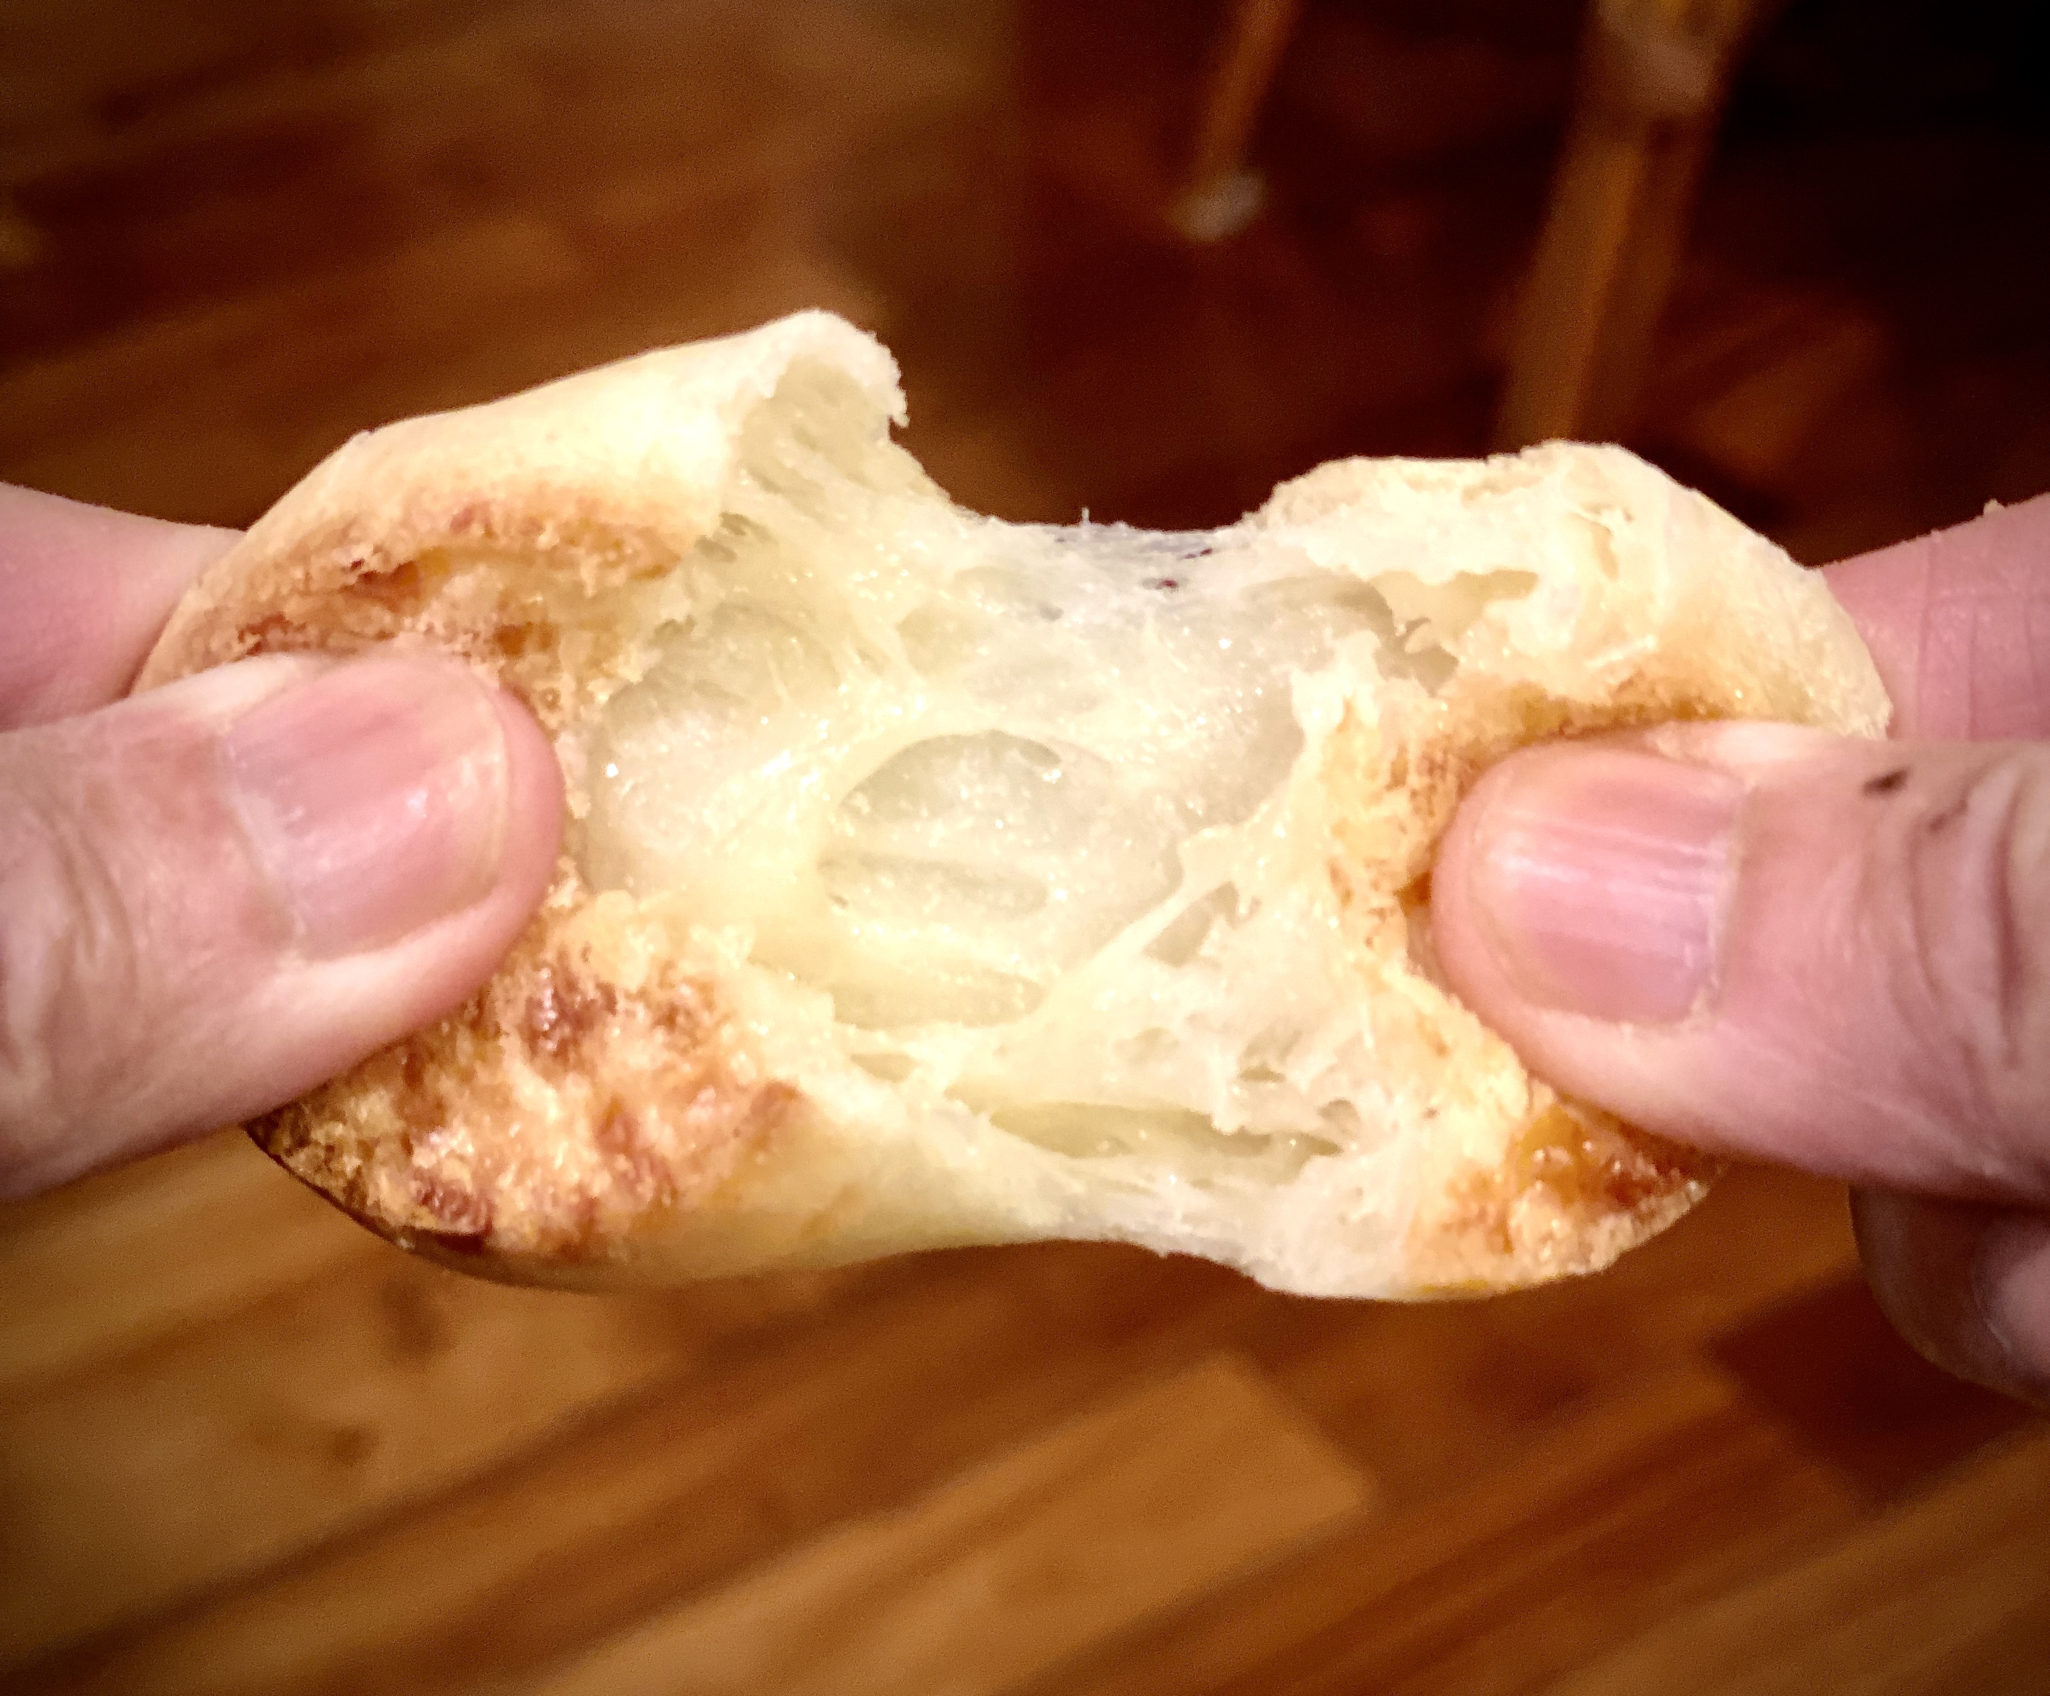
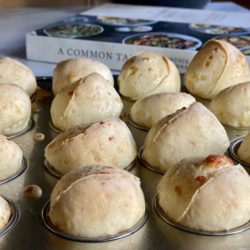
How to describe Pao de queijo?  They look like Gougeres, those airy, light, cheesy, French puffs. The KEY difference is these puffs are made with tapioca flour which gives them an elastic, stretchy quality, kind of like mochi.

Let’s Starch Here

These puffs are incredibly easy and quick to make. I did a little sleuthing for background on these savory Brazilian morsels. Recipes called for Tapioca Starch or Cassava Flour.  Both forms come from the cassava plant, cassava flour uses the entire root while tapioca is only the pulp and therefore contains very little protein or fiber. This recipe calls for tapioca starch or flour (same thing) not cassava flour.  Bob’s Red Mill offers a Tapioca Flour and most Asian markets carry multiple brands of Tapioca Starch/Flour. Bonus, it is gluten-free!

Traditional recipes for Pao de queijo call for heating up the liquids and then adding the starch which becomes a dough that is kneaded and formed into balls before baking.  This recipe is an easy but no less delicious version.

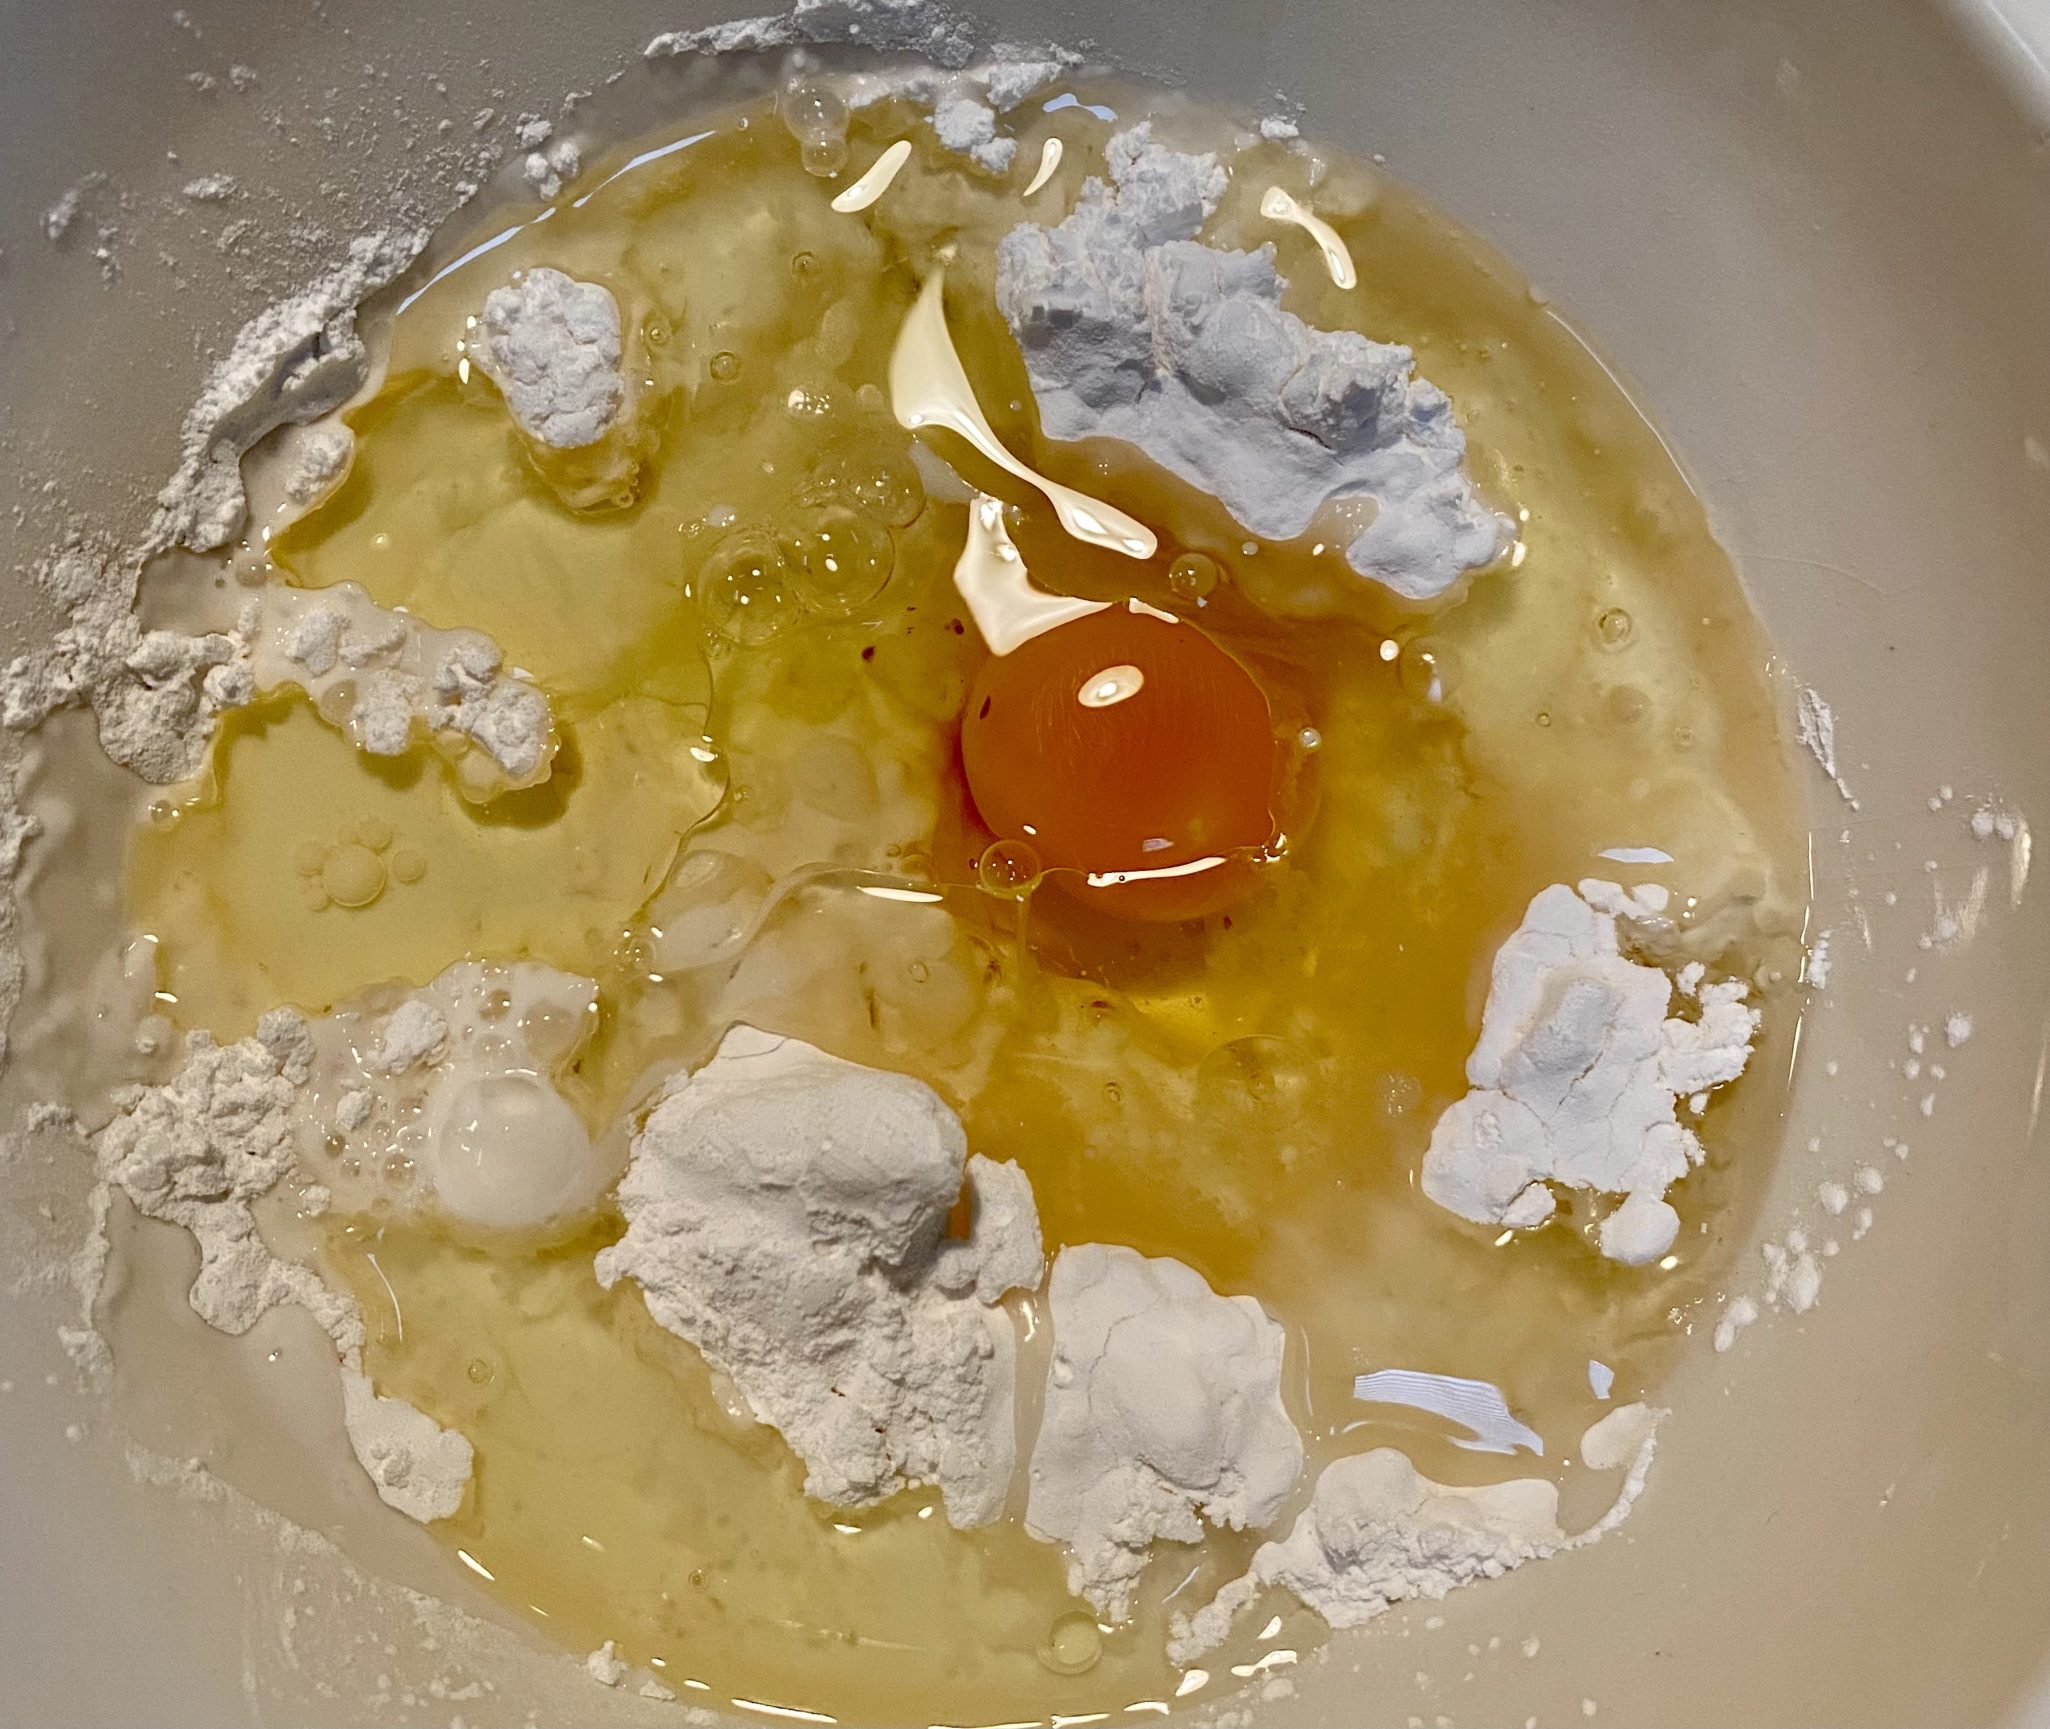
Throw all the ingredients, sans cheese, in a blender and pulse to combine.  The tricky part is the tapioca flour which gets gooey really fast.  Add your tapioca flour after putting at least some of the liquids in the blender.  Blend well.

Say Cheese

Add the shredded cheese last.  Pulse the blender a couple of times and you are done.  Don’t pulverize the cheese.  I like the combination of Parmesan and Mozzarella, it provides a nice balance of flavor and texture.  Use any cheese you like, cheddar, pepper jack, Farmer Cheese.  Adjust for the saltiness of your cheese.

Pour the batter into mini-muffin tins, it reminds me of making popovers.  It should be just the right amount of batter to fill the 24 cups equally.  Watch them rise as they bake.  Serve immediately.  I plan to make a batch for Christmas too.

I made a batch with butter just to satisfy my “butter is better” mantra.  Straight substitution, 1/4 cup melted butter for 1/4 cup oil. I added 1 tsp of oil (very arbitrary) since butter is 80/20 fat to water.  I warmed the milk a little (not hot) to keep the butter from solidifying.   The puffs turned out fine, they seemed a little heavier than the all-oil batch.  The butter did give the puffs a fuller flavor (built-in butter bias perhaps). Your choice. Whatever you do, make them, they’re lovely.

JEREMY’S CHEESE BREAD (PAO DE QUEIJO) Two Red Bowls

Brazilian cheese bread made with tapioca flour. Stretchy and cheesy, the perfect munchie.
Course Breads
Cuisine Latin America
Keyword Brazillian, cheese bread, Pao de Queijo
Prep Time 15 minutes
Cook Time 20 minutes

Equipment

  • mini-muffin tin

Ingredients

  • 1 cup (125 gram) tapioca flour or tapioca starch
  • ½ cup whole milk or milk of your choice
  • ¼ cup vegetable oil or unsalted butter plus more for greasing the pan
  • 1 large egg
  • ½ teaspoon salt
  • ½ cup about 2 ounce shredded cheese of your choice (Parmesan and mozzarella or Farmer's Cheese or blend of cheeses)

Instructions

  • Preheat oven to 400 degrees. Lightly grease a 24-well mini-muffin pan with cooking spray or oil.
  • In a blender, combine the flour, milk, vegetable oil, egg, and salt. Process until smooth, scraping down the sides as needed, about a minute or so. Add the cheese and pulse once or twice more, until just combined.
  • Divide the batter evenly into the greased mini-muffin pan. Bake for 15-20 minutes, or until puffed and golden. Baking for less time will give stretchier, chewier rolls, and more will give a crispier exterior. Serve warm. Leftovers can be frozen and reheated at 400 for 5 minutes.

Notes

Using a blender helps fully emulsify and aerate the batter, especially as the tapioca flour has a cornstarch-y consistency that can be difficult to mix by hand. YOu could probably use a handheld blender or food processor.
Try different cheeses, cheddar, or Monterey Jack, Farmer's Cheese.
Replace a few tablespoons of the milk with sweetened condensed milk which nicely complements the tapioca flour’s natural sweetness. But keep the amount of egg and oil the same, as that can affect how well the puffs rise and hold their shape.

May your holidays be filled with love and laughter shared with family and friends.

Grocery Store Cookies! Sprinkle a Little Holiday Cheer

Grocery Store Cookies! Sprinkle a Little Holiday Cheer

My favorite holiday cookie of the season is Eric Kim’s  (check out his site, wonderful essays,  beautiful writing) Lofthouse Style Grocery Store Cookie.  It’s surprising since I am not a fan of those ubiquitous cookies with the toothachingly sweet, artificial tasting frosting and eye-popping sprinkles.  But his homemade rendition looked so appealing, I had to try them.

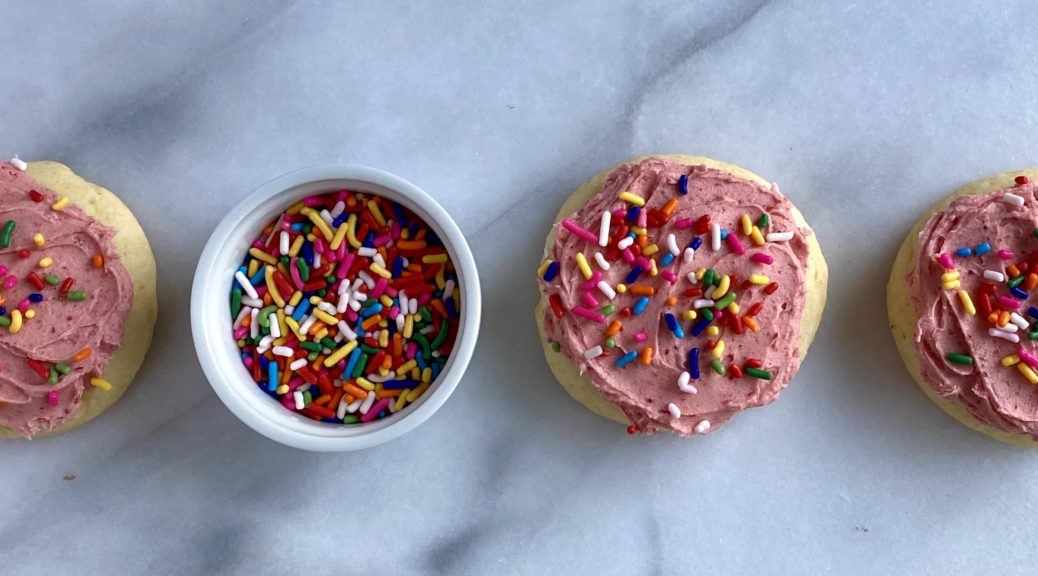
Eric’s homage to the grocery store cookies is part of NYTcooking’s week-long video series on Holiday Cookies.  He takes the concept of the grocery store cookie and creates a small-batch, no preservatives, all-butter, cream cheese, tender cakey-cookie topped with a sweet, slightly tart raspberry buttercream.  The only resemblance to the supermarket cookie is the sprinkles on top!

These cookies are simply DIVINE

The directions are straight forward and if your ingredients are at room temperature, a bowl and a wooden spoon are all you need to make these cookies. How easy is that?  But you can be lazy like me and use your stand mixer, especially for the frosting.

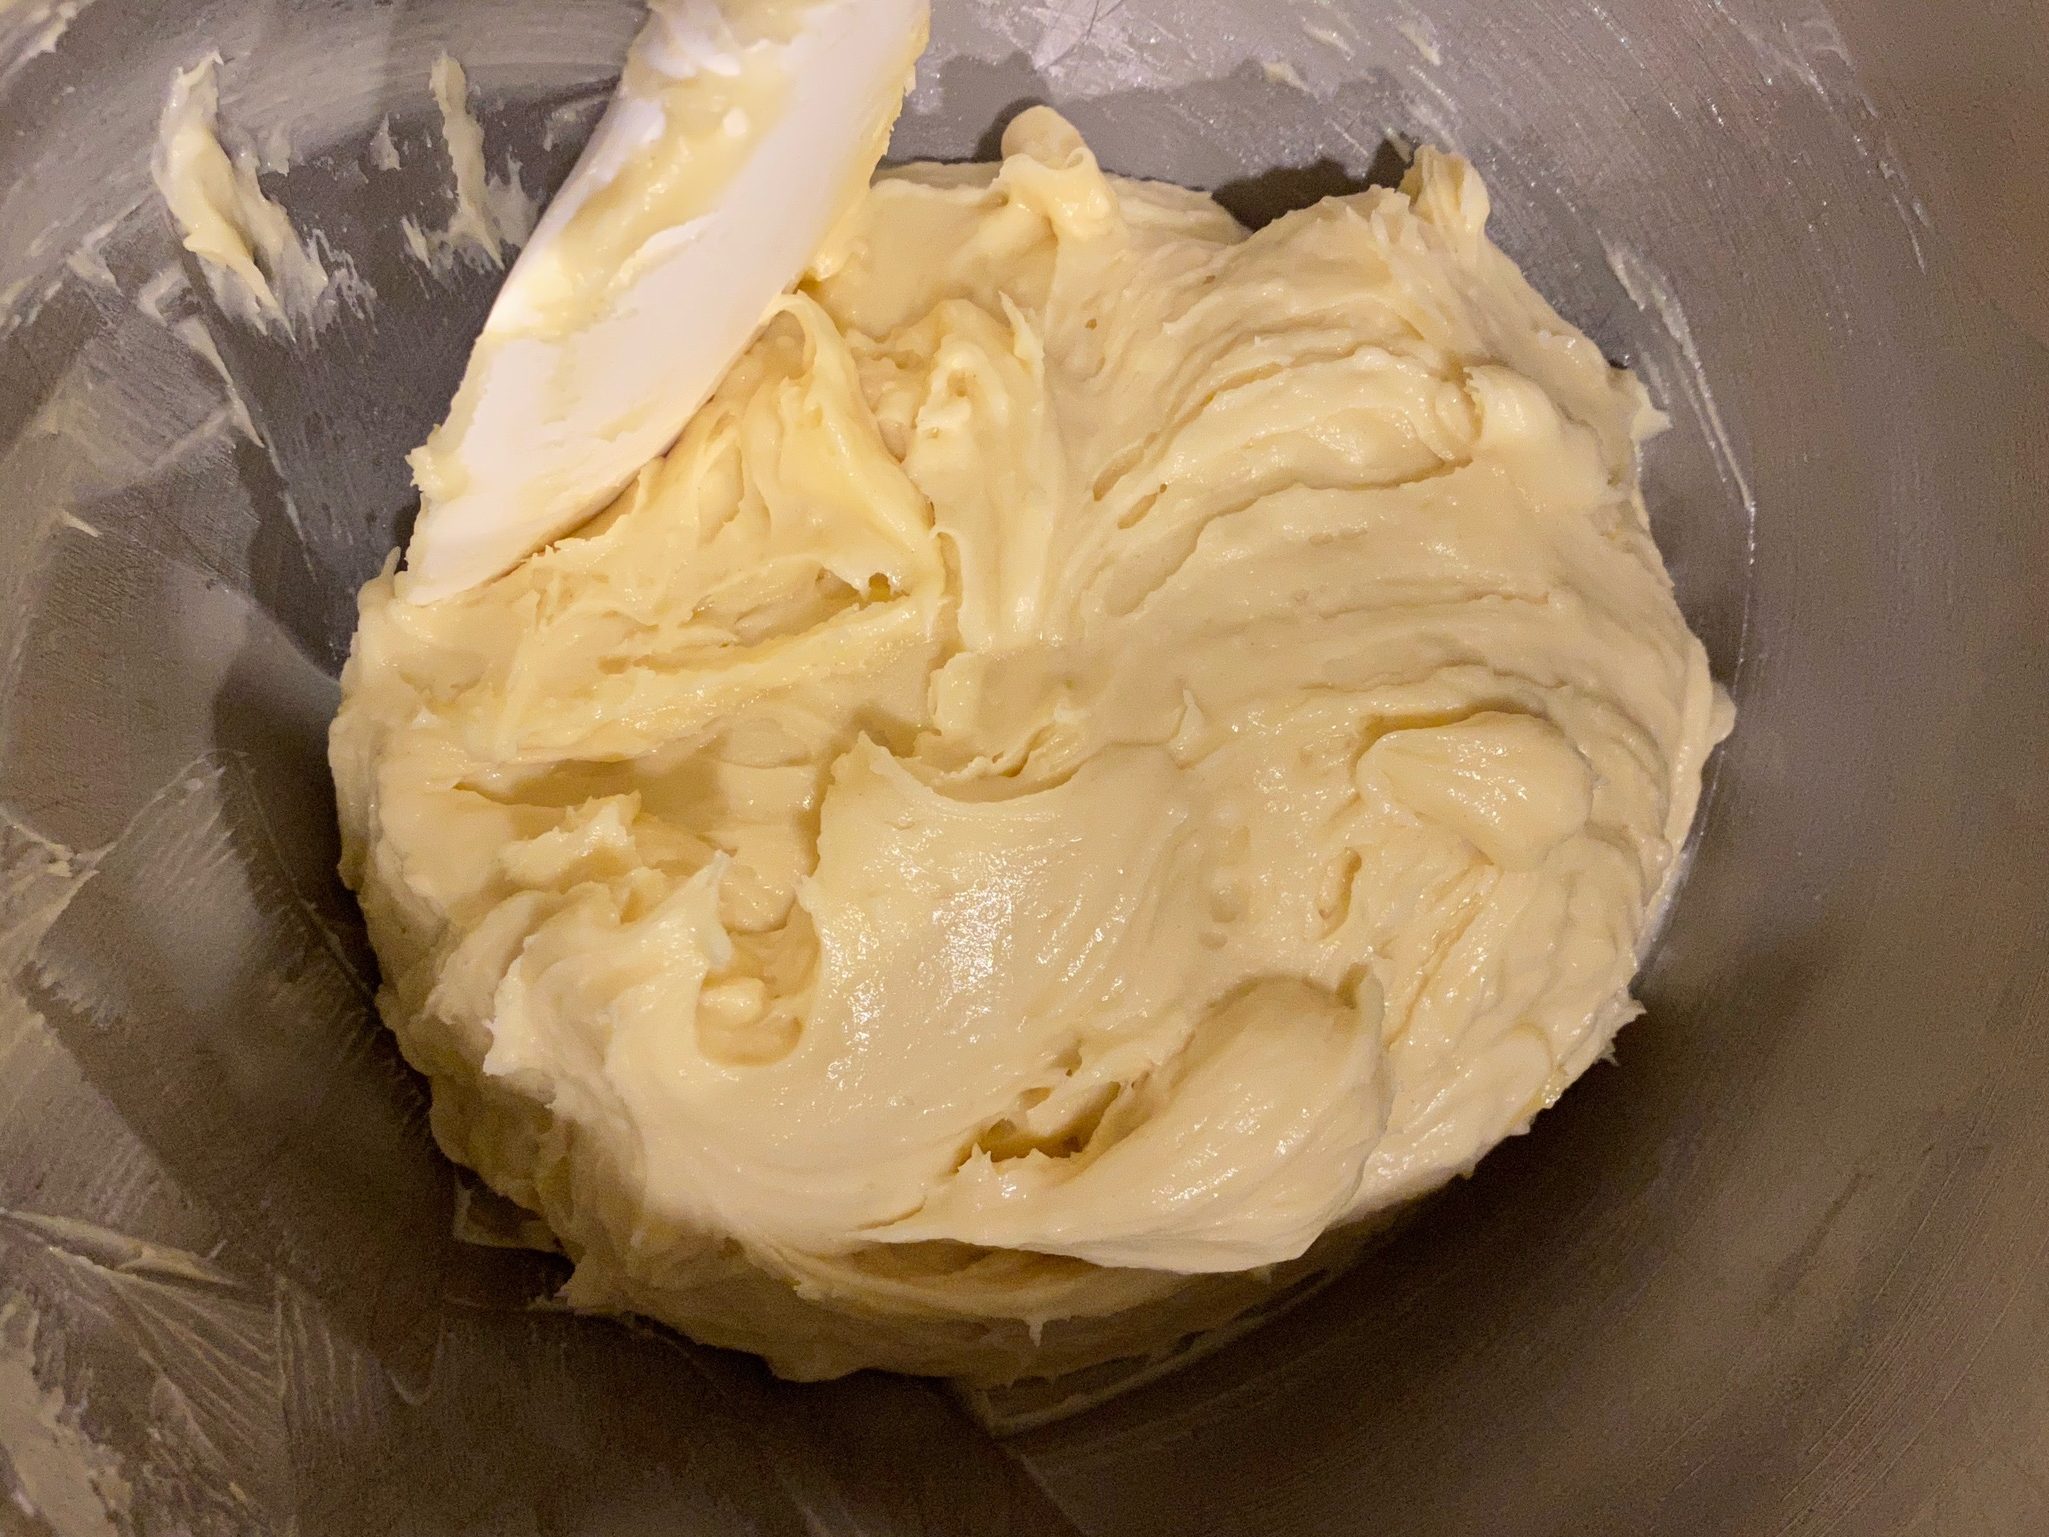
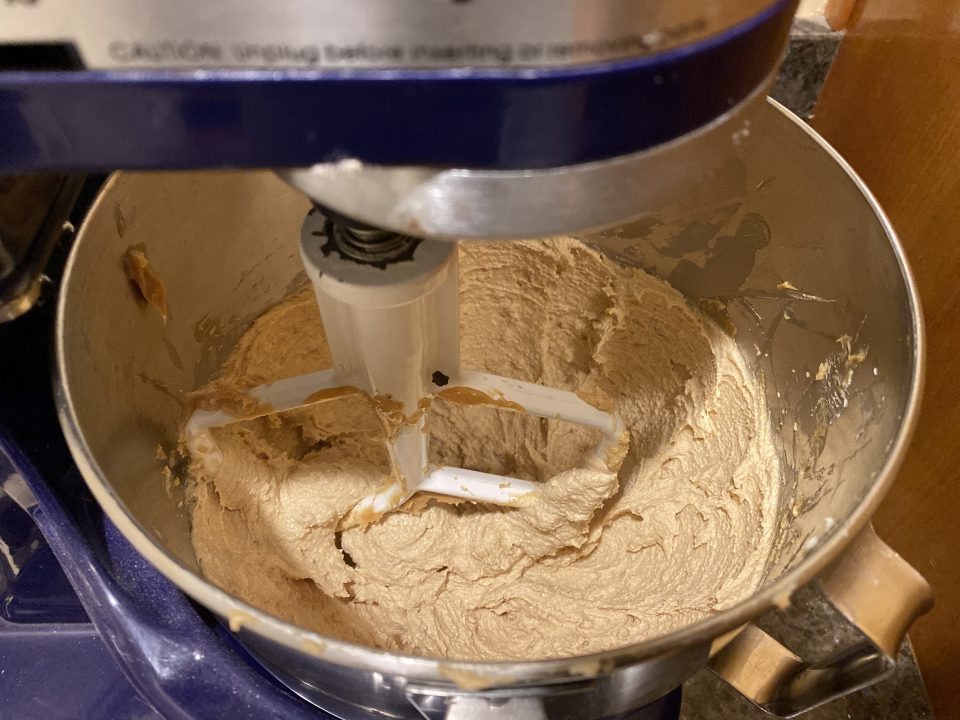
Though hand mixing the dough is very doable, if time is short, go ahead and bust out your Kitchen Aid mixer.  Combine cake flour and baking powder in a small bowl and set aside.  Cream butter, cream cheese, salt, and sugar at medium speed until fluffy.  Add the eggs and vanilla extract (yes, 1 tablespoon) and beat mixture on medium for approximately 1 minute to aerate and incorporate sugar.  Reduce mixer speed to stir or low setting and add flour mixture.  Mix just until flour is incorporated.  The dough will be very very soft. Toss the bowl into the fridge for 15 minutes to chill the dough so it is easier to scoop.

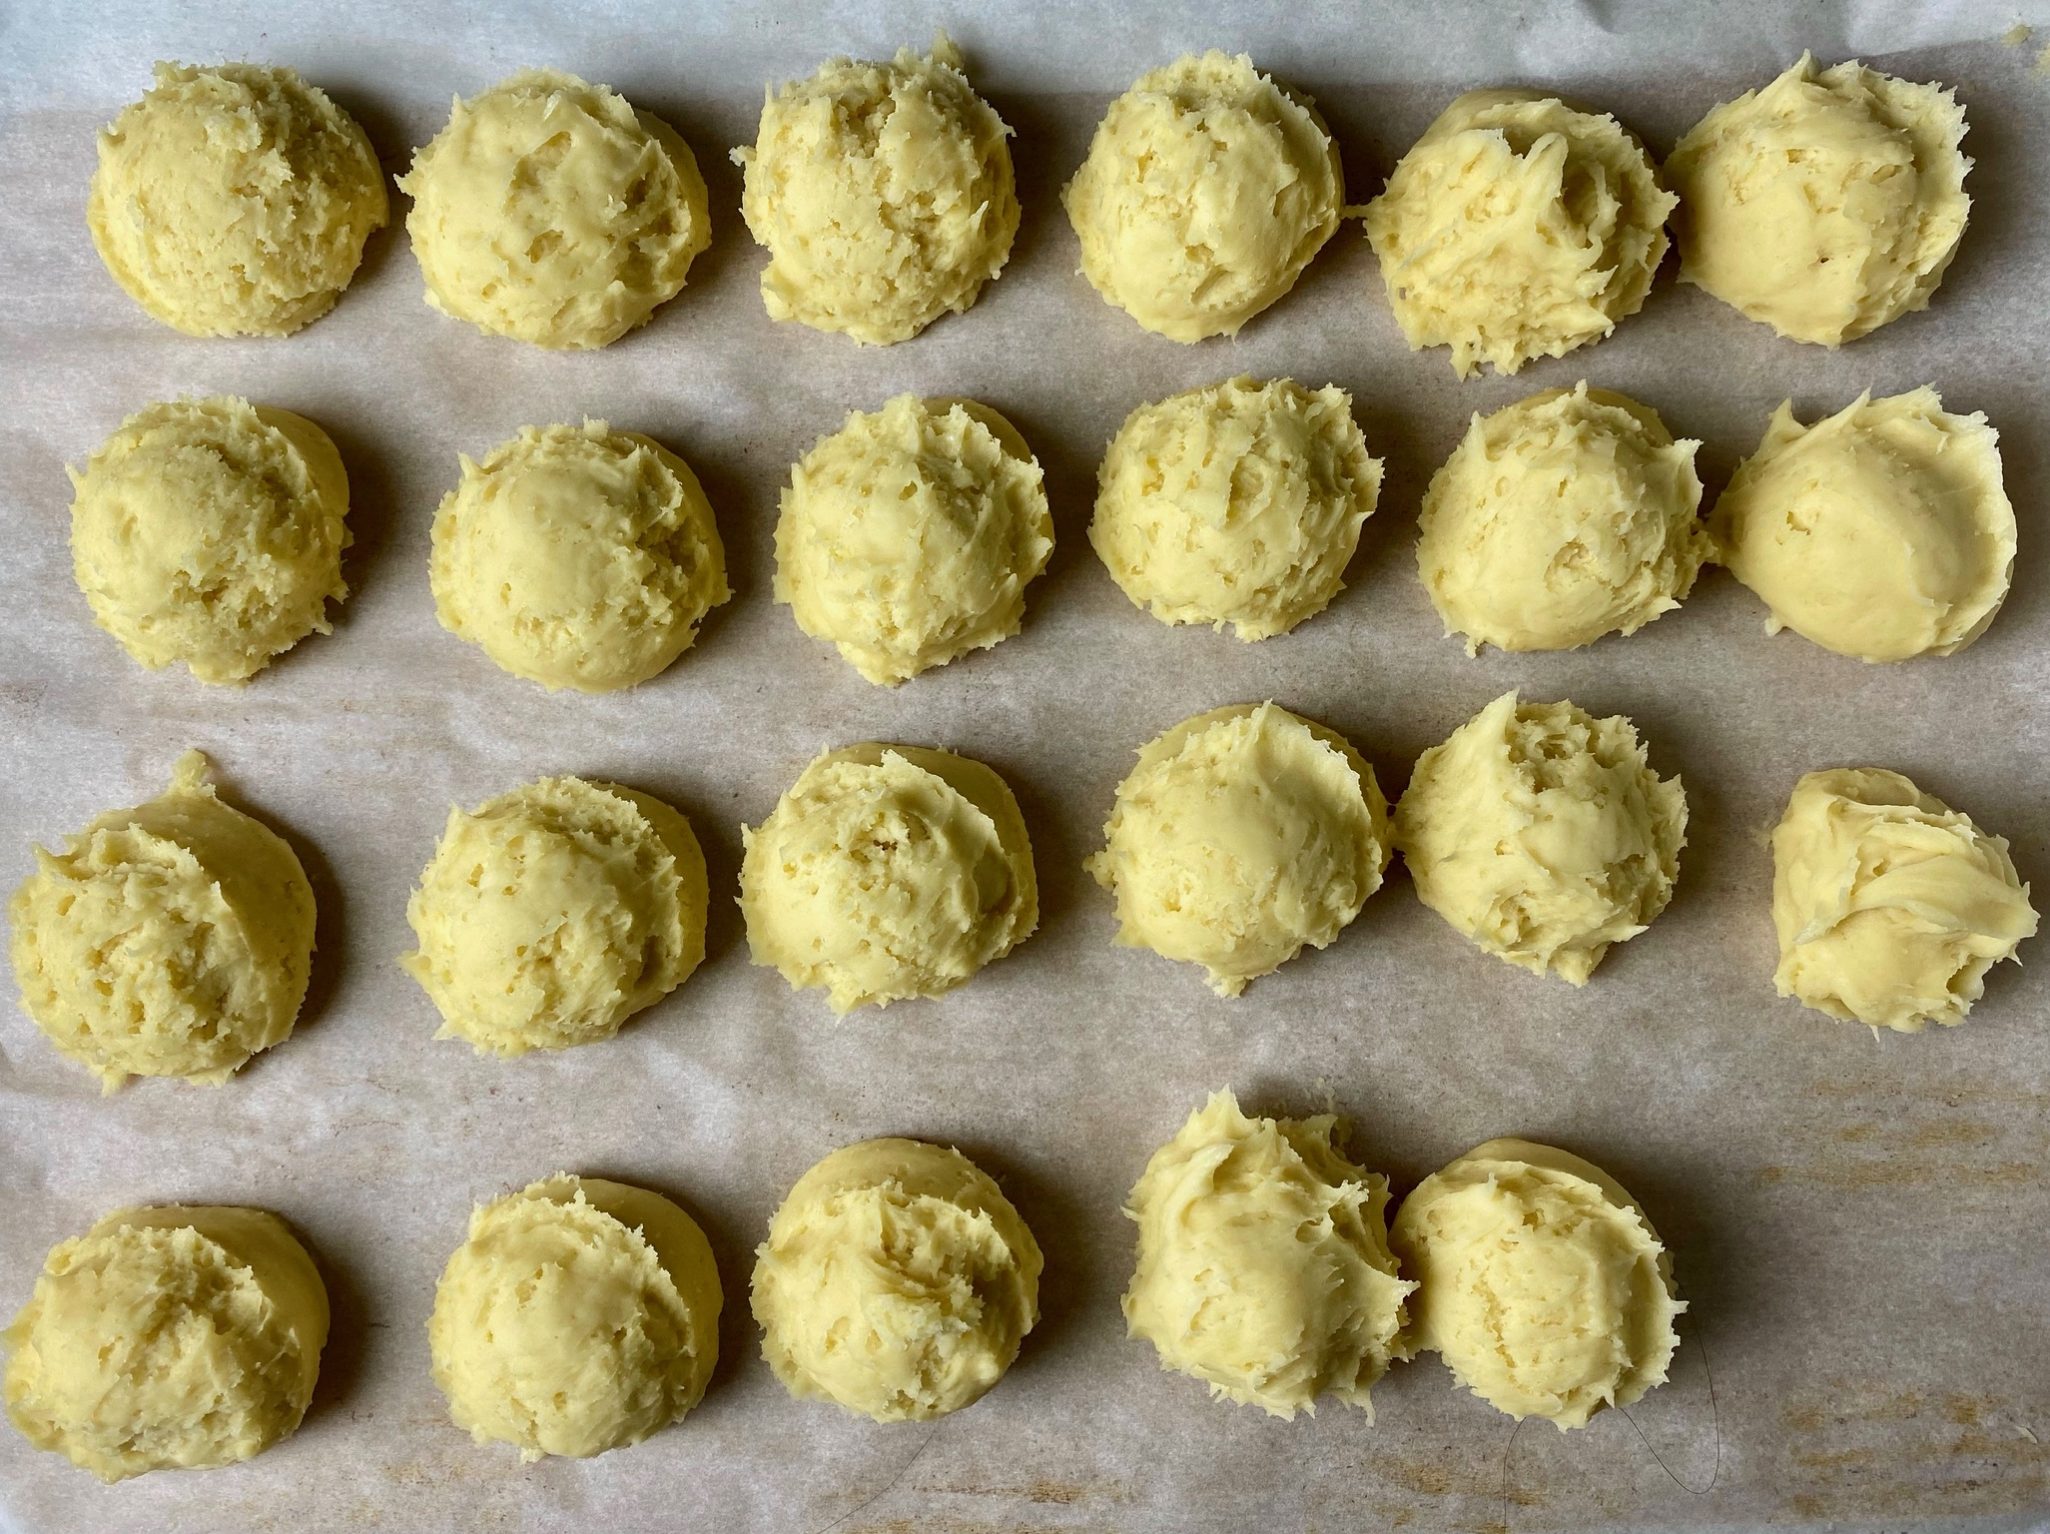
Use a two-tablespoon ice cream scoop to measure out the dough.  Scoop all of the dough and place it on a pan that will fit in your freezer.  Place the pan in the freezer to chill the dough (min 10-15 minutes).  Do not skip this step, makes the dough much easier to work with, keeps it from spreading, and gives the flavors time to meld.

Frosting Goodness

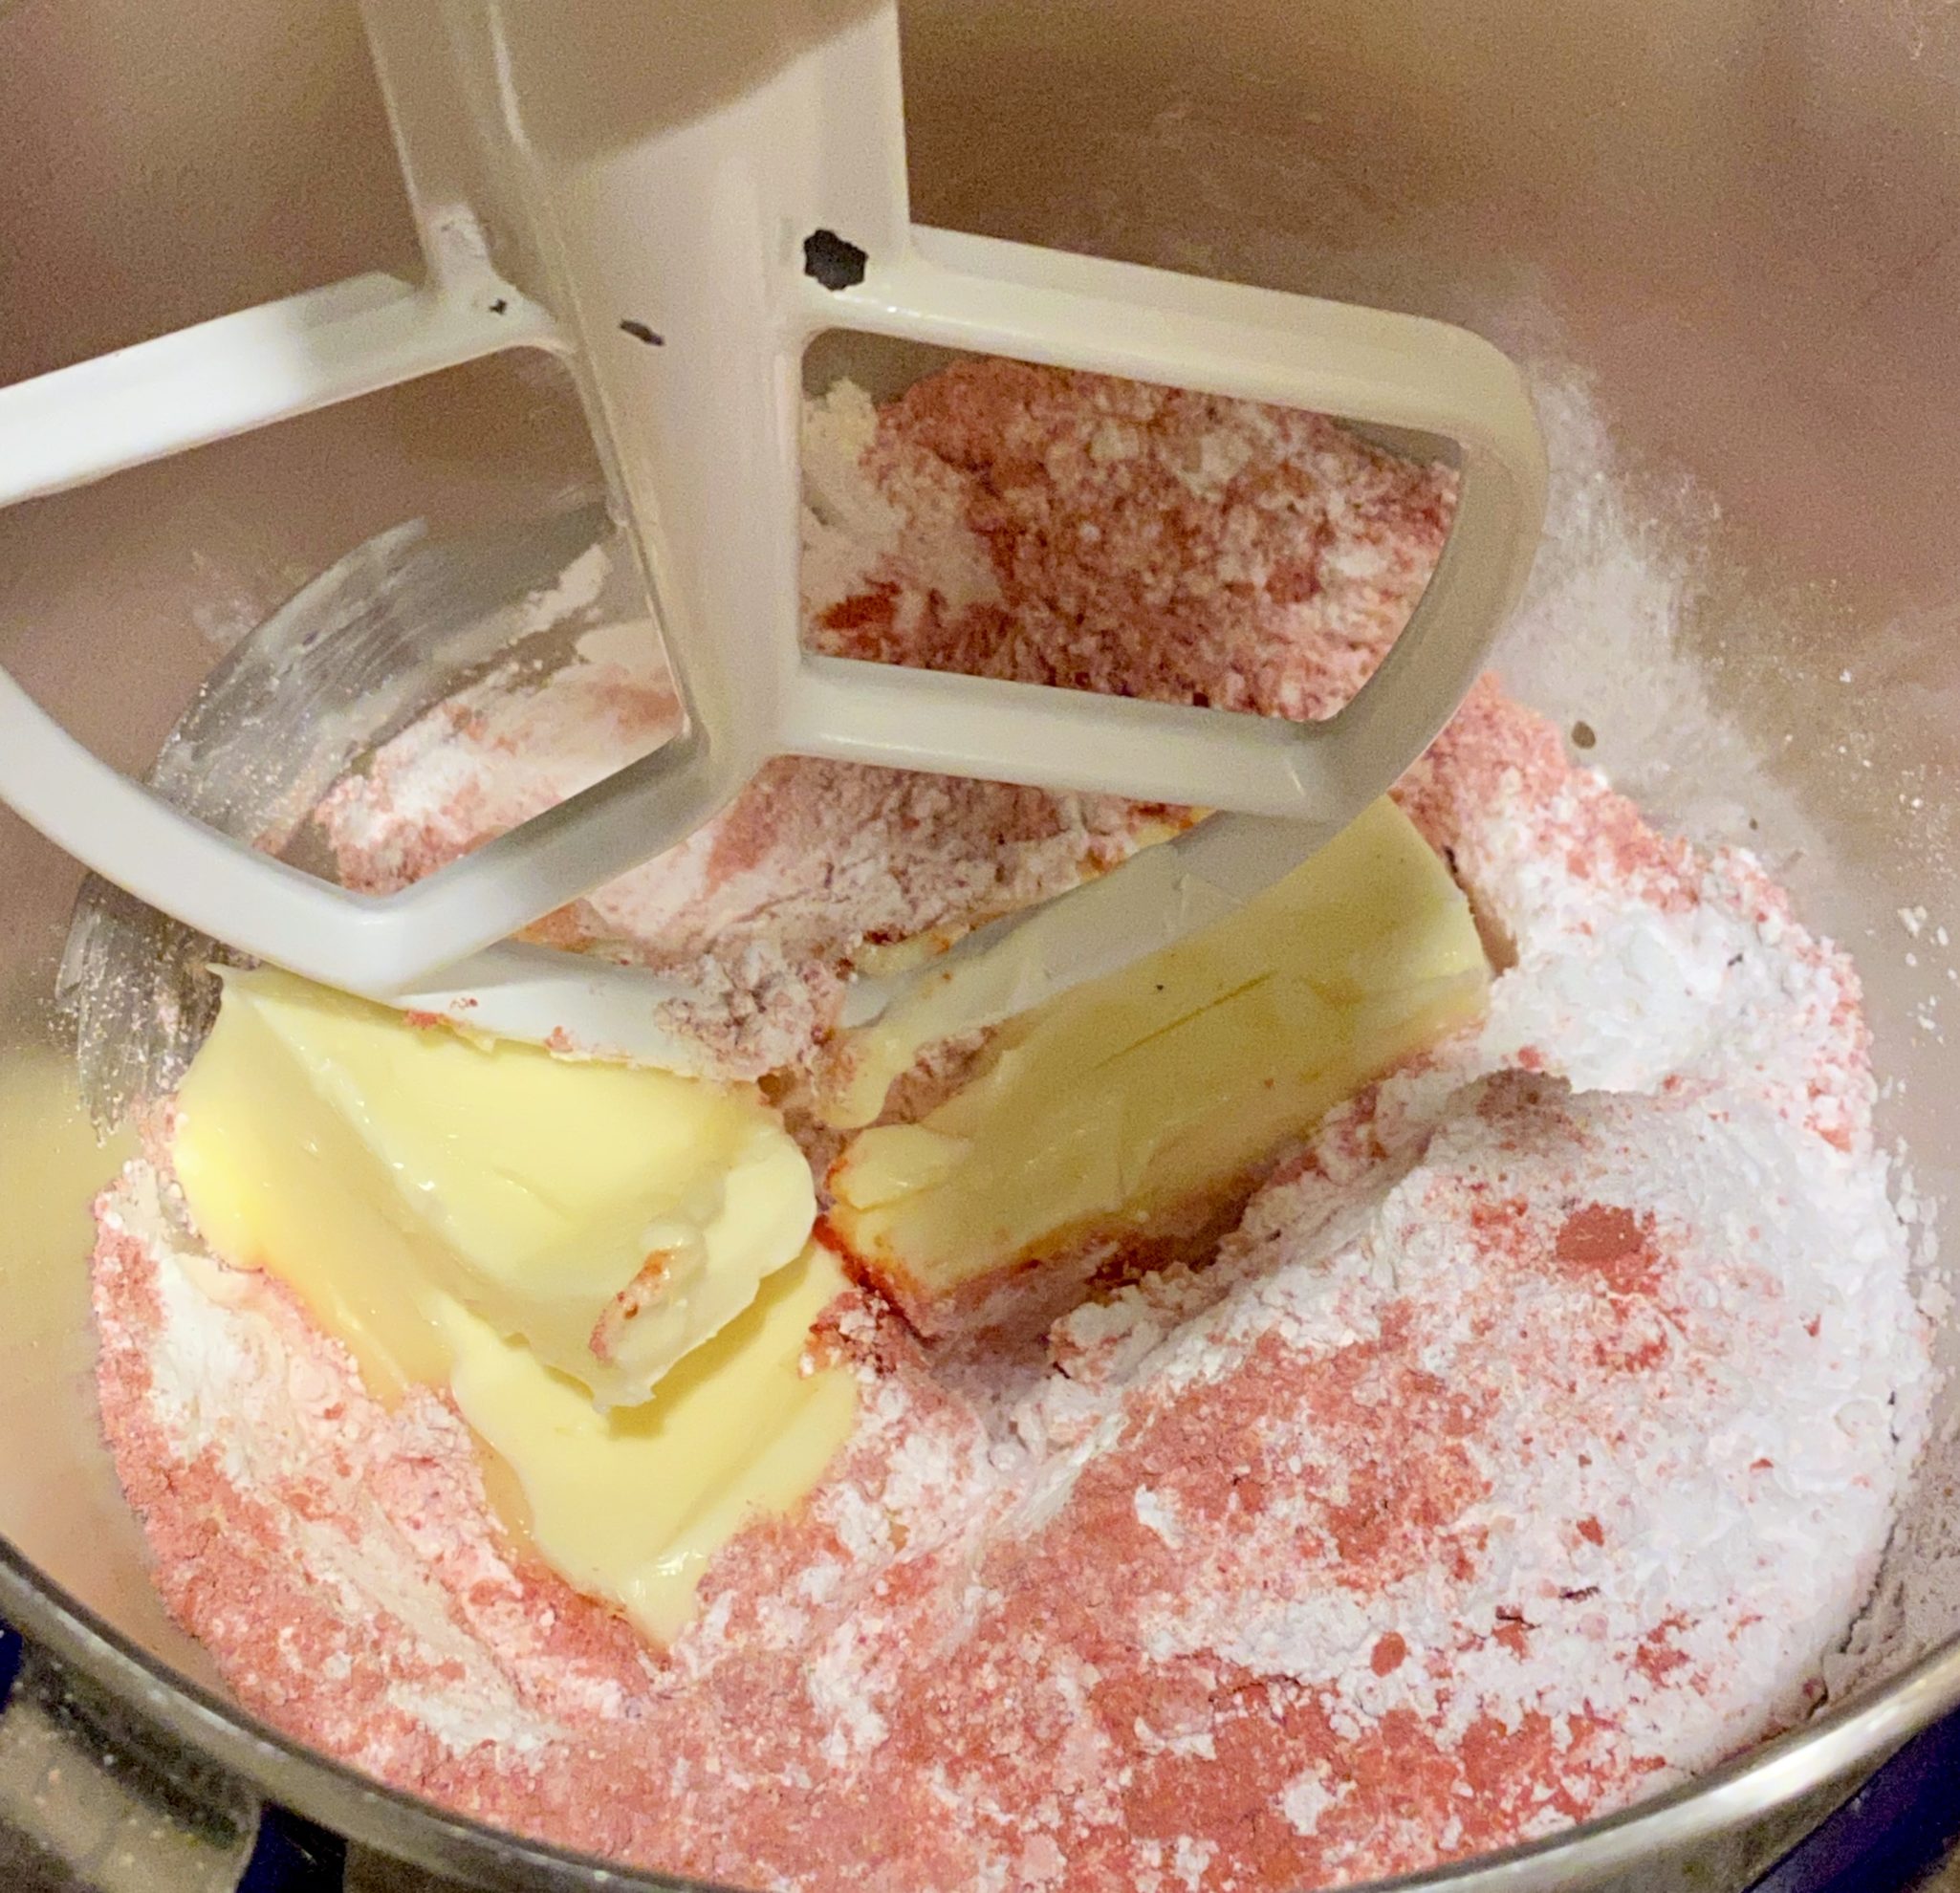
While the dough is in the freezer, make the frosting.  Freeze-dried fruit is the magic that provides both color and flavor to the frosting- it is this tweak that provides the spark in this cookie.  The recipe calls for raspberry but strawberry, blueberry or mango freeze-dried fruit would work. I like raspberry not just for flavor but for color, it gives the frosting a hot pink happy glow.  Freeze-dried fruit can be found at Trader Joe’s, Whole Foods, and Target.  Grind the fruit into a powder in a mini food processor or place in a Ziploc bag and use a rolling pin to pulverize it.  Sift to strain the seeds out of powder.  The frosting is sweet, tart, and fruity, just delightful.
Combine the softened butter, fruit, vanilla, salt, and sugar in a mixing bowl.  Blend on low speed until the ingredients are mixed together then increase the speed to high and beat until light and fluffy, a couple of minutes, and about double in volume.  Set aside.

Take the cookies out of the freezer and roll them into balls (eminently doable thanks to freezing). Place each ball on a parchment-lined cookie sheet 2-3 inches apart.  If the dough gets too soft or sticky to work with,  return it to the freezer.  Flatten each to approximately two inches in diameter and one-inch thickness.  Bake 13 to 15 minutes or just until the edge starts to color, don’t over bake.  You will be rewarded with a tender, buttery, light cakey-cookie with a wonderful vanilla punch.
The Finale:  Cookie + Hot Pink Frosting x Sprinkles = Happy

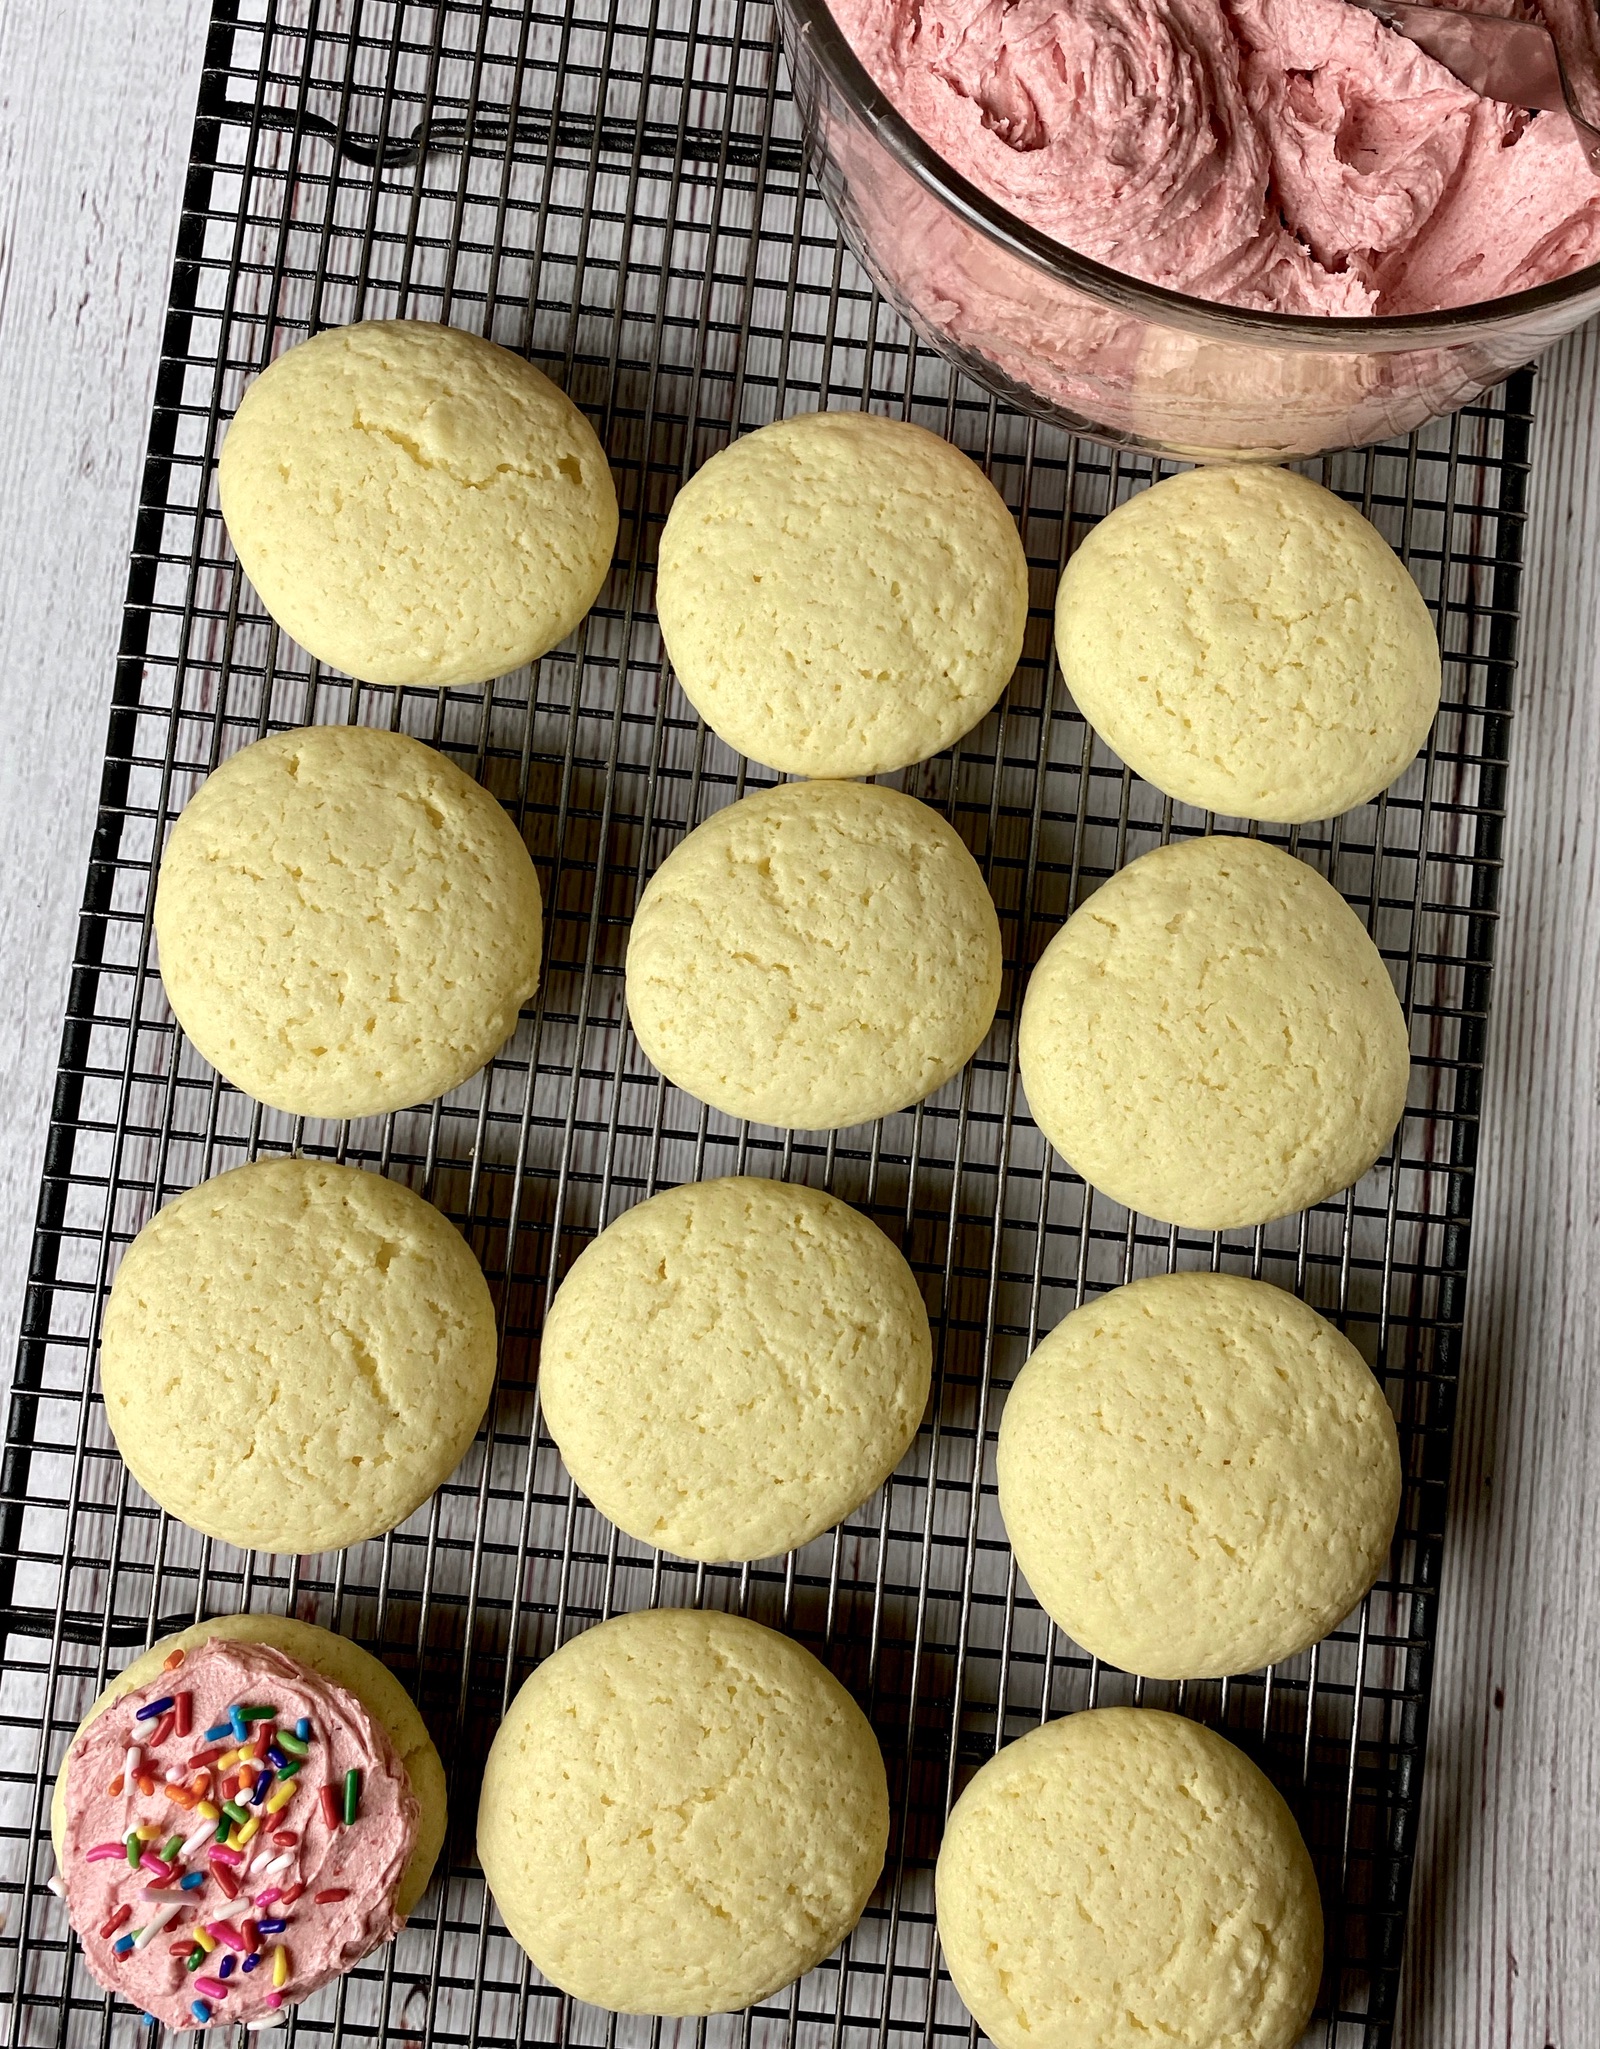
Swirl a generous amount of the frosting on each cookie and then SPRINKLE-FY each one.  These cookies are so indescribably good, put them on your BAKE THESE COOKIES list now. 

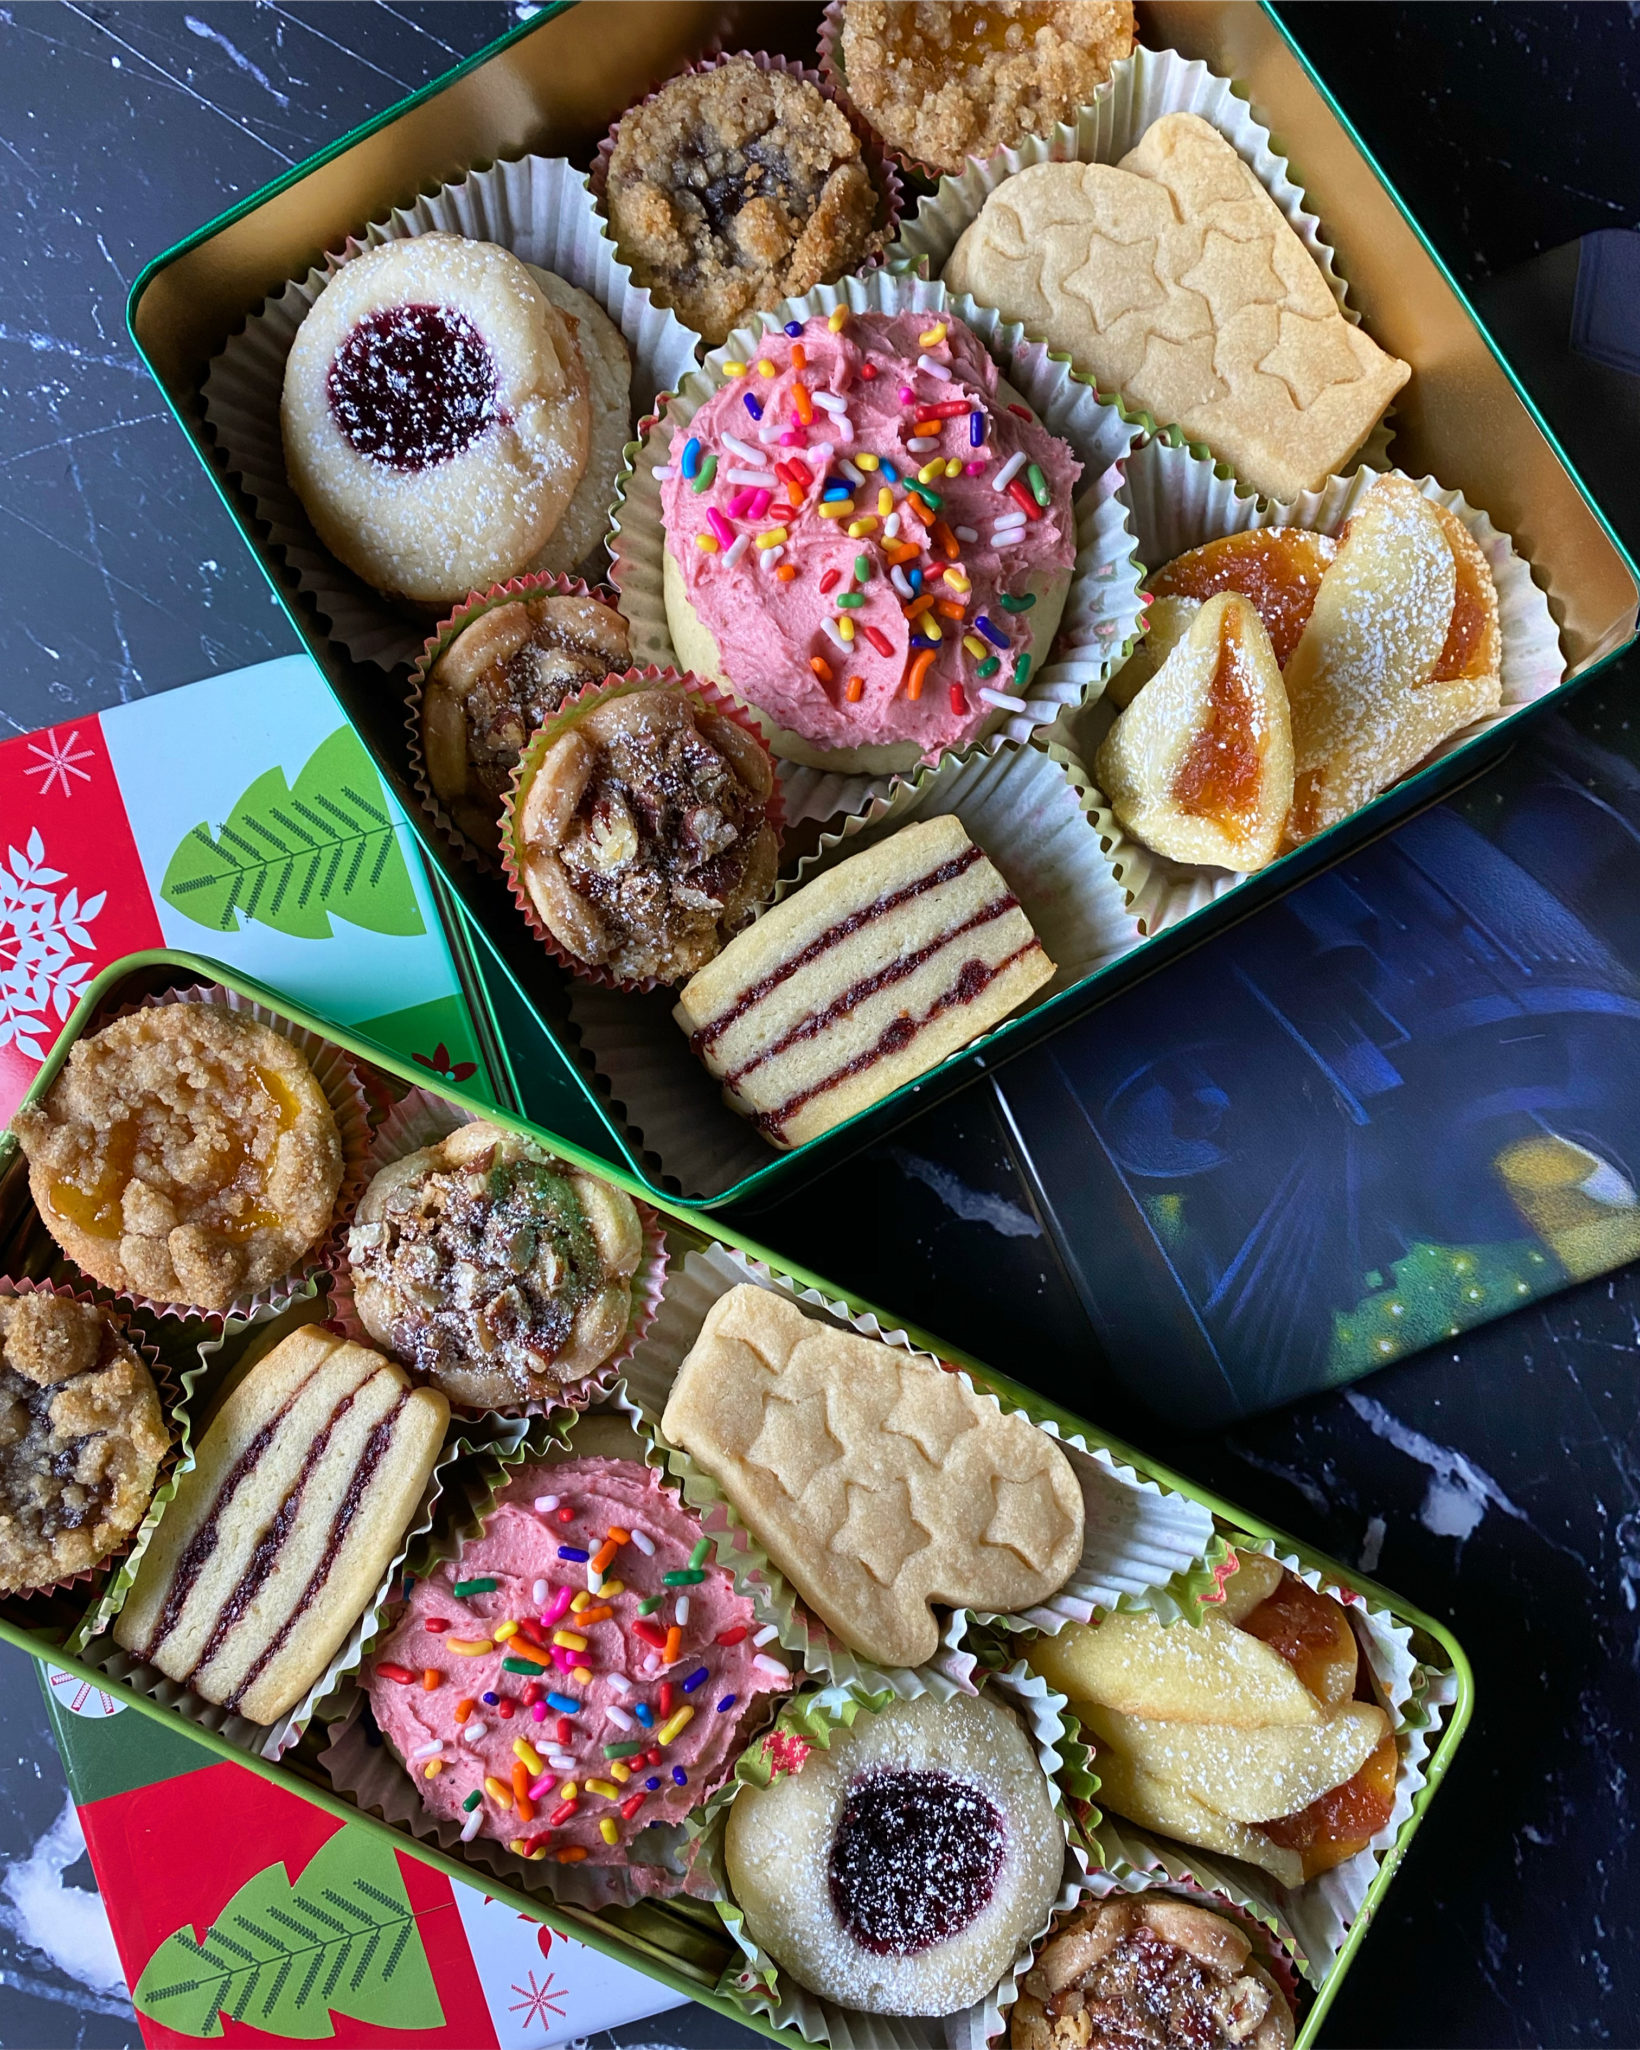
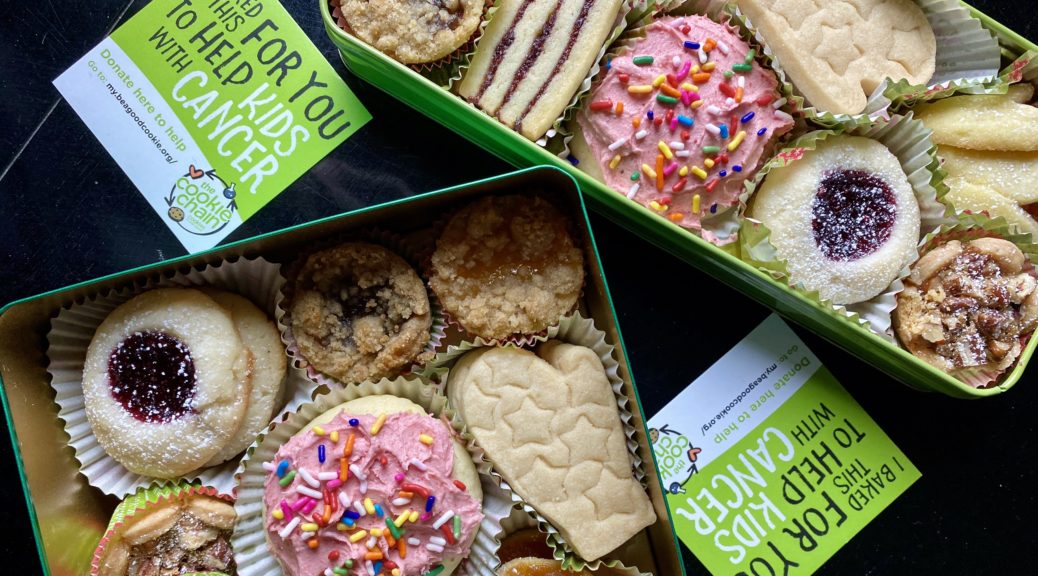
Ladies and Gentlemen, I give you the 2020 Holiday Cookie Box!

Eric Kim's Grocery Store Cookie

Remember Lofthouse Cookies from the Supermarkets? Every little league game, school bake sale featured those sprinkle adorned, frosting laden, cakey cookies in the plastic trays. Imagine a homemade, luscious, delicious, version.
Course cookies
Cuisine American
Keyword Grocery Store Cookie, Lofthouse Cookie, sprinkles, Supermarket
Prep Time 30 minutes
Cook Time 15 minutes

Equipment

  • Small sheet pan that will fit in your freezer I have a side by side so sadly a regular-sized cookie sheet will not fit
  • Cookie sheets
  • 2 Tablespoon Ice cream scoop #40 the size of the scoop will be on it somewhere! Sometimes on the handle or the rim of the scoop, even on the little thing-a-ma-jigger that pushes the dough out of the scoop

Ingredients

Cookie

Da Dry Stuff- Combine in small bowl and set aside

  • 2 ¼ cups cake flour (285 grams)
  • 2 teaspoons baking powder

Da Wet Stuff

  • ½ cup unsalted butter (115 grams) 1 stick, at room temperature
  • 3 ounces cream cheese (85 grams) at room temperature
  • 1 cup granulated sugar (200 grams)
  • ½ teaspoon kosher salt
  • 2 large eggs at room temperature
  • 1 tablespoon vanilla extract

Frosting

  • 1 cup freeze-dried raspberries (30 grams) finely ground in a food processor or spice grinder
  • 1 cup unsalted butter (225 grams) 2 sticks, at room temperature
  • 2 cups confectioners’ sugar (245 grams)
  • 1 teaspoon vanilla extract
  • Pinch of kosher salt

Da Bling

  • Multi-colored Sprinkles Happy dust!

Instructions

  • Make the cookies: In a large bowl, using a spoon, cream the butter, cream cheese, sugar and salt until smooth and fluffy. Add the eggs and vanilla extract, and whisk to incorporate some air and to dissolve the sugar crystals, about 1 minute. Stir in the flour and baking powder until just incorporated.
  • Heat oven to 350 degrees and line two rimmed sheet pans with parchment paper. Using two spoons or a cookie scooper, plop out 2-tablespoon/50-gram rounds spaced a couple of inches apart. (You should get about 7 to 8 cookies per sheet pan.) Place the sheet pans in the freezer for 15 to 20 minutes until the dough is no longer sticky and easier to handle.
  • While the dough chills, make the frosting: In a fine-mesh sieve set over a medium bowl, sift the ground raspberries, using a spoon to help pass them through, until most of the ruby-red powder is in the bowl and most of the seeds are left behind in the sieve. (Discard the seeds.)
  • To the bowl, add the 1 cup butter, confectioners’ sugar, vanilla extract and salt and, with an electric hand mixer, mix on low speed until the butter absorbs the sugar. Then, turn the speed up to high and beat until the frosting doubles in size, about 2 minutes, scraping down the sides of the bowl with a rubber spatula to ensure all the ingredients are incorporated. Transfer the frosting to a small container, cover tightly, and set aside. (You should have about 2 cups of frosting.)
  • Remove the sheet pans from the freezer. Roll the chilled dough into even balls and flatten them slightly with your fingers so they’re about 2 inches wide and 1 inch high. Bake the cookies for 13 to 15 minutes, rotating the pans and switching racks halfway through, or until they no longer look wet on top, are still light in color and spring back to the touch. They will puff up and crack slightly. Let cool completely on the sheet pan. (They will continue to cook as they sit.)
  • Using a butter knife or offset spatula, frost each cooled cookie with the raspberry frosting and adorn with the sprinkles.
Pineapple Pockets to the Rescue-Pining for a Cookie

Pineapple Pockets to the Rescue-Pining for a Cookie

There are a couple of baking books that are my go-tos for cookies, especially during the holidays, like Rose Levy Berenbaum’s Christmas Cookies, Alice Medrich’s Cookies and Brownies and Flo Bracker’s Sweet Miniatures.  I find myself reaching for Sweet Miniatures when I want an elegant, fancy cookie. Yes it will probably require a bit more effort than drop cookies, but it’s Christmas, when else are you going to pull out all the stops?

Pineapple Cakes from Taiwan inspired me to make the Pineapple Pockets from Sweet Miniatures.  Taiwanese Pineapple Cakes are little bite-sized squares of pineapple jam cloaked in a sweet, buttery pastry crust.  I’m obsessed with these little cake-like cookies.  My introduction to these treats came years ago when a friend returning from a trip to Taipei brought back Te Chia Pineapple Cakes. It was love at first bite.  The sweetness from the pineapple offset by the buttery shortbread crust…needless to say, I was smitten.  I casually mention pineapple cakes to every friend that goes back to Taiwan while giving them my best wistful look.

While these Pineapple Pockets are more complicated than your average drop cookie, the resemblance to Taiwanese Pineapple Cakes put these on my must-bake holiday cookie list. The process begins with  making a caramelized pineapple jam then a pastry dough. The dough is rolled and cut into circles, dotted with the jam, and then shaped into cones.  Labor-intensive, but in the end, you are rewarded with a meltingly tender cookie highlighted by the dollop of golden, caramelized pineapple preserves. They are absolutely delicious and well worth the effort.  But most importantly, they are delicious enough to satisfy my Pineapple Cake craving. Now I don’t have to wait for friends to take pity on me and bring them back from Taiwan!

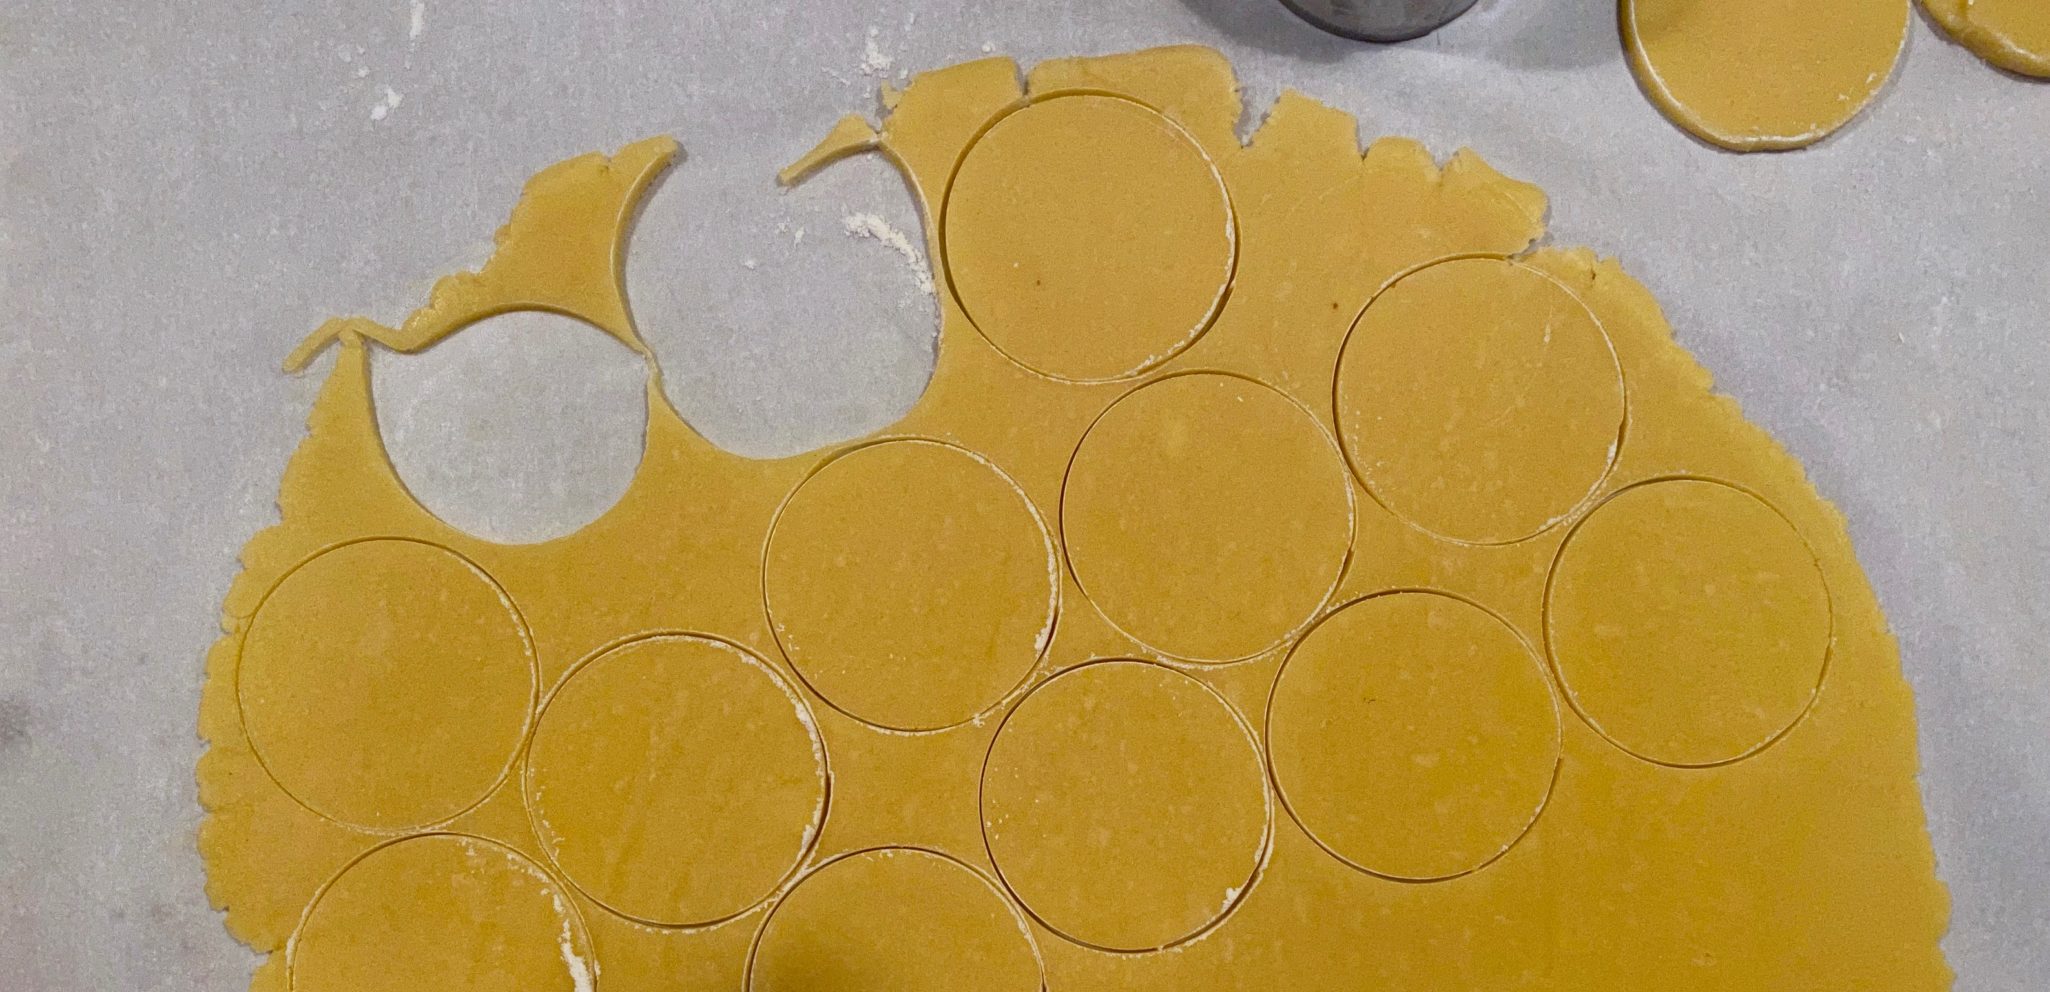
The jam is made first and set aside to cool. I added 1/2 tsp of vanilla to the jam and a pinch of salt to enhance the flavor.   Make the dough, chill it, then roll it into a circle. The dough should be about 1/8-3/16 inch thickness. Use a 2 inch round cutter for the circles.  Your best friend is your refrigerator.  If the dough gets soft or sticky during the process, put it back in the fridge to chill. This will make it easier to handle.

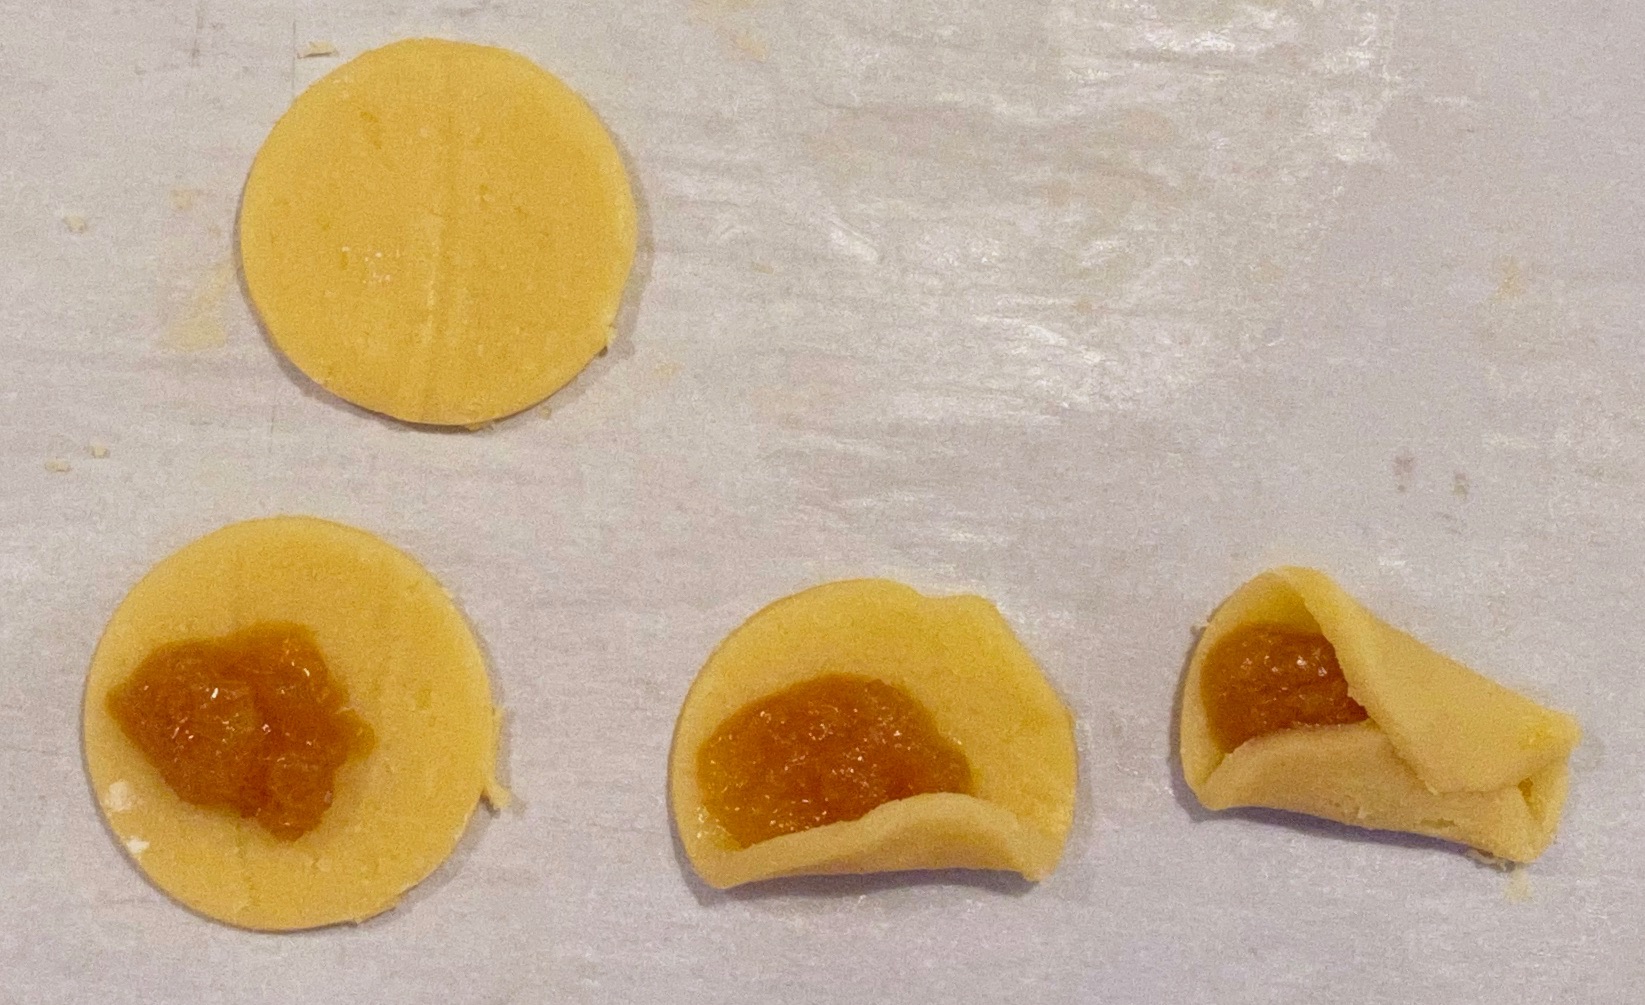
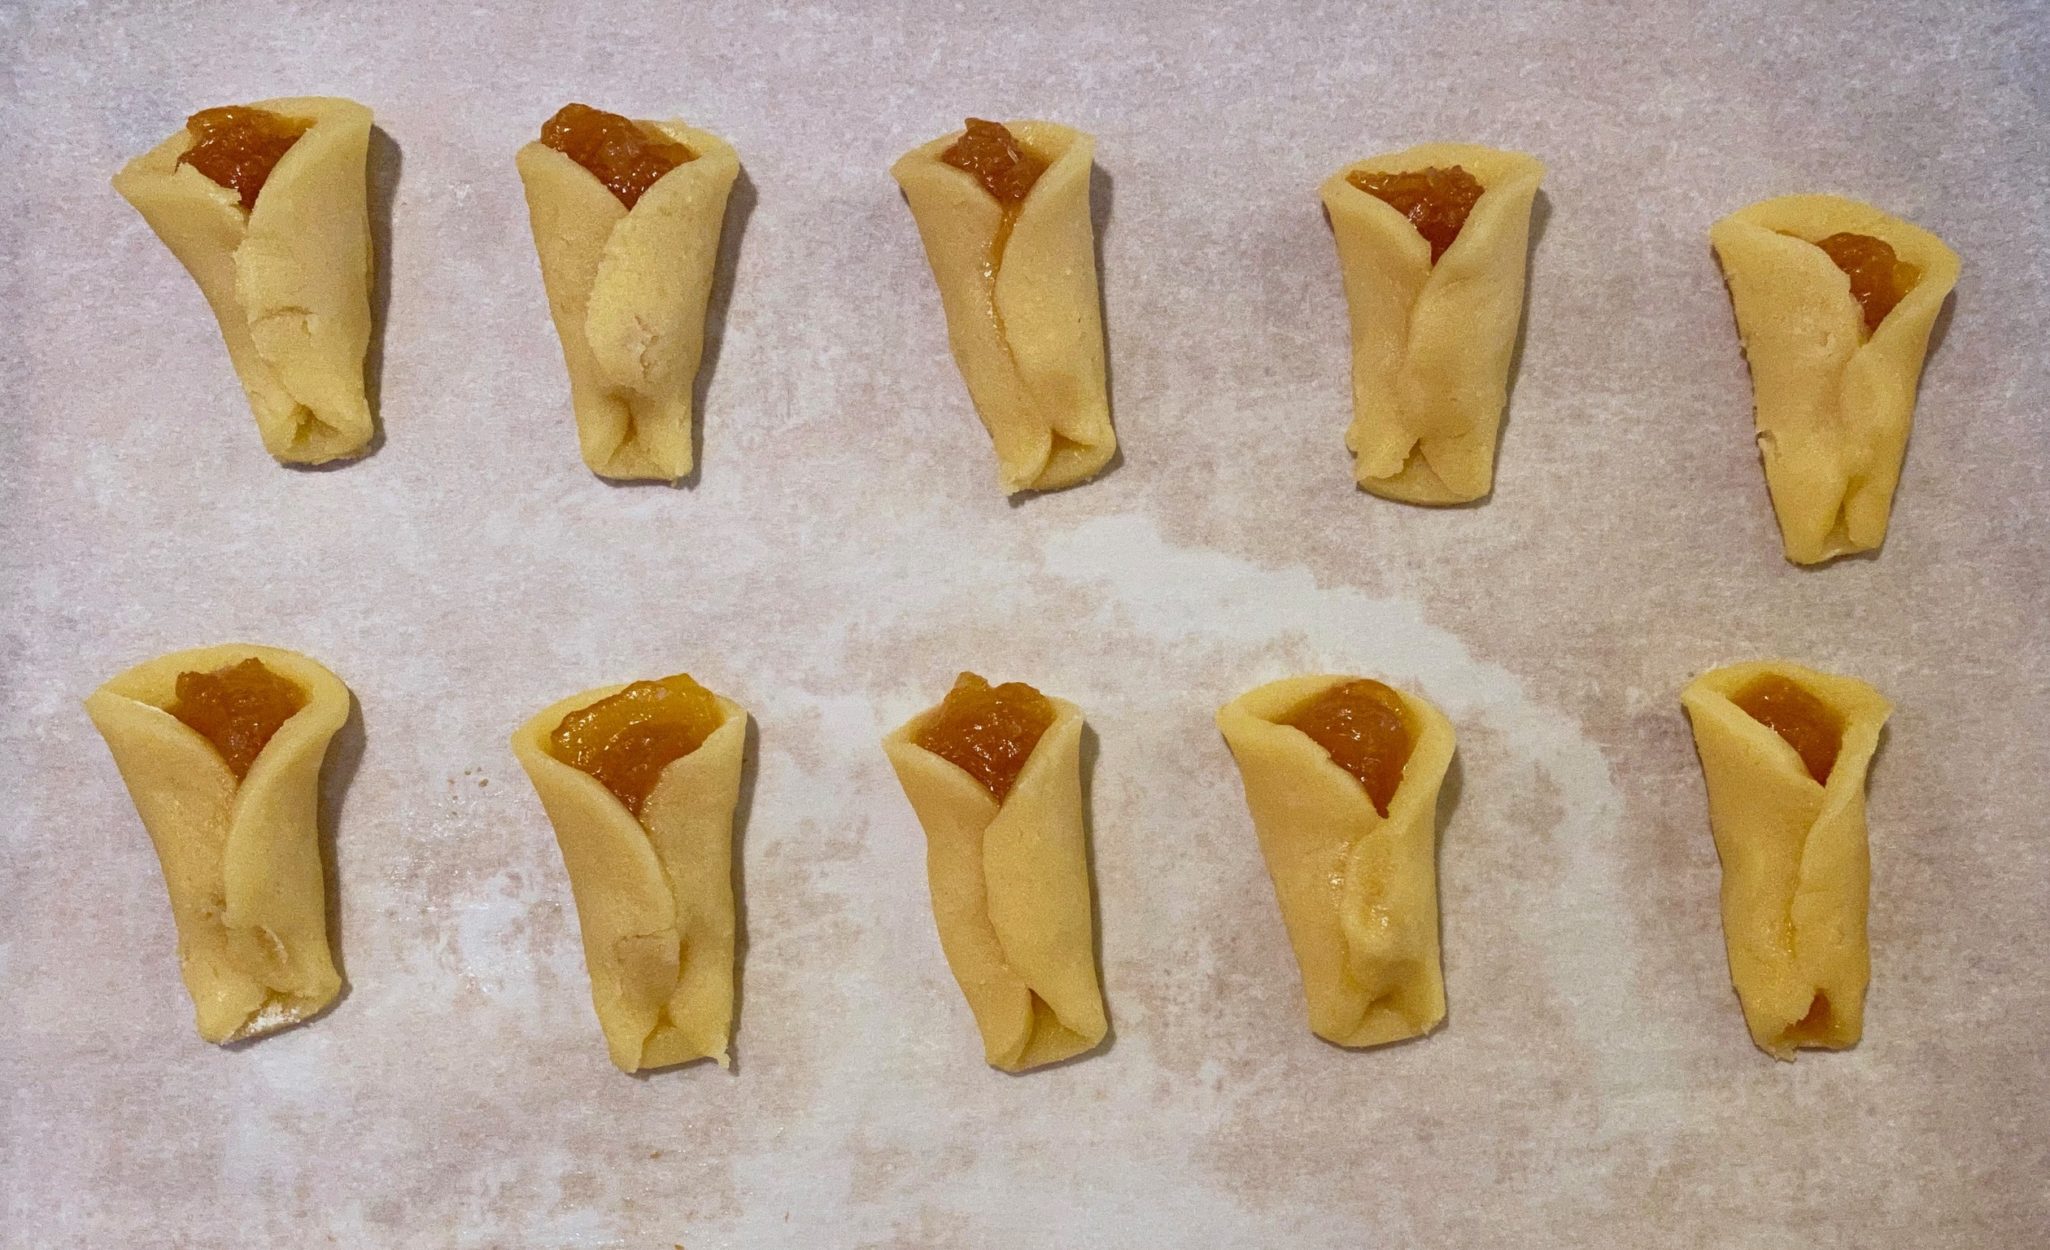
Position the jam off-center.  Using a butter knife or thin blade spatula, flip the edge closest to you over the jam.  Angle your spatula on the opposite side and flip towards you, overlapping with the first.

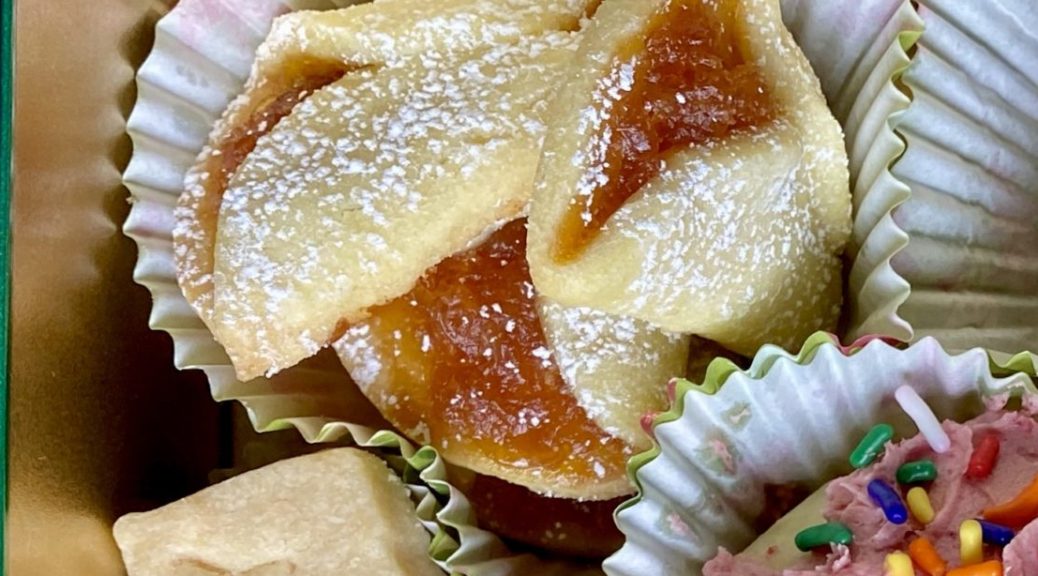
Ta-da, ready to bake!  Sprinkle powdered sugar on the finished cookies for a festive look.  In a pinch, you could use jarred preserves, make sure whatever you use is not too runny or thin.

Pineapple Pockets

Flo Bracker's delicious Pineapple Pockets. Caramelized Pineapple Jam encased in a buttery, tender pastry and shaped into a cone.
Course cookies
Cuisine American
Keyword cookies, flo bracker, holiday cookies, Pineapple cakes, Pineapple Pockets
Prep Time 1 hour
Cook Time 14 minutes

Ingredients

Dough

  • 6 ounces unsalted butter, room temp 1-1/2 sticks
  • 1/4 cup granulated sugar 50gms
  • 1/2 cup unsifted powdered sugar 50gms
  • 2 egg yolks
  • 1 tsp vanilla
  • 1-2/3 cup unsifted all-purpose flour 235gms

Pineapple Filling

  • 2 tbsp water
  • 1/3 cup granulated sugar 65gms
  • 8-ounce can crushed pineapple in natural juice
  • 1/2 tbsp unsalted butter

Instructions

  • In bowl of mixer, cream butter at medium low speed until smooth, about 1 minute. Beat in sugars at medium speed until creamy. Add egg yolks, one at a time, then vanilla, beating until well combined and slightly fluffy. Scrape down the sides of bowl. Lower mixer speed, and gradually add flour and mix just until it is combined.
  • Gather dough into a disc and chill 15-30 minutes. Divide dough in half and on parchment or wax paper, roll each piece into a circle. approximately 11 inches in diameter and 1/8 inch thick. Transfer to a baking sheet, cover top with parchment and refrigerate until firm about 2 hours.

Pineapple filling

  • In a medium saucepan, combine water and sugar over low heat. Swirl occasionally and wash down any sugar crystals that form on the side with a brush dipped in cold water to dissolve them. Increase heat to medium-high and cook without stirring until sugar thickens and turns amber in color about 8 minutes. Take it off the heat and add crushed pineapple and juice all at once. Careful as mixture will bubble up. Stir to combine and return the pan to stove and cook over med-high heat until mixture is golden and syrupy. Remove from stove and stir in butter. Place in bowl and set it aside to cool.

Putting It All Together

  • Preheat oven to 325
  • Remove one piece of dough, peel off parchment. Put parchment back on dough and flip dough over and peel off bottom parchment.
  • Use a 2 inch round cookie cutter cut out circles and place on lined baking sheets. Place 1/2 teaspoon of cooled jam off-centered on circle. Fold over one edge of dough over jam, then overlap the opposite edge at an angle to form a cone. See pics.
  • Bake one sheet at a time, for 12-14 minutes until edges ar light golden.
  • Remove from oven and place on wire rack to cool for 5 minutes. Lift cookies off and place directly on cooling rack.
  • Sprinkle with powdered sugar. optional)
  • Store at room temp for up to 10 days.

The 2020 Holiday Cookie Tin

Jest Jammin’ (Christmas Cookies)

Jest Jammin’ (Christmas Cookies)

I remarked to hubby the other day, “I ‘ve been pretty bad about baking holiday treats the last few years, huh”.  It was a rhetorical question as I pulled out more than a few jars of expired jams.  I love filled cookies-Thumbprints, Linzer bars, Raspberry Oaties so I have a penchant for stocking up on “stuff” like preserves, sprinkles, holiday cupcake liners…in preparation for the holiday season.

Somehow I curtailed my cookie baking tradition a “few” years ago.  Homemade granola and Candied Spiced Pecans were so much easier.  I finally resurrected the cookie baking last year.  I eased my way back with an assortment of slice and bake cookies (check out my index for slice and bakes!) but this year, as I guiltily tossed several jars of raspberry preserves, I exclaimed…

JAM IT, I’m baking filled cookies this year!

So without further ado, here is the line-up for this year’s holiday cookie jam-stravaganza.

Cranberry Cherry Ribbon Cookies– Sweet-tart cranberry cherry jam sandwiched between buttery shortbread.  I hope Nancy Baggett doesn’t mind, I construct these cookies differently than in her All American Cookie Book- this one is for you, Joe B. (Recipe link soon!)

Raspberry Cheesecake Thumbprints– Good, but I’d make my Thumbprints instead if you like walnuts, or Emeril’s Thumbprints that have a hint of citrus. Yummers.

Dorie’s Jammers filled with recently bought jams (strawberry, peach and cherry) from Sunblest Orchards. Dorie, my baking hero.

Pineapple Pockets – Flo Bracker’s Sweet Miniatures.  Buttery, melt-in-your-mouth cookie with a little scoop of caramelized pineapple jam.  Mele Kalikimaka!

Not jam-filled but a holiday imperative I make these

Eric Kim’s Grocery Store CookieThese cookies make me happy!  I don’t even like the supermarket ones, but these?  Make them now, you’ll thank me.   A soft, tender cake-like vanilla cookie with hot pink raspberry frosting-SO DELICIOUS. Here is his video on making these little smiles. Recipe with my notes posted thru link.  Shhh, don’t tell NYT cooking.  I subscribe-it’s all good.

Traditional Scottish Shortbread-because it’s my favorite and if I’m making cookies, I’m making these.  Looks are deceiving, they are scrumptious.

Pecan Tartlets-not a jam but it is a filled cookie and oh so good. Hubby would disavow me if I didn’t make them.

Yes, this is my holiday cookie run-down.  Any of these would make an awesome sweet treat to ring in the New Year, kick 2020 to the curb and usher in 2021.  But don’t just bake them during the holidays, make them for Ground Hog Day, Valentine’s Day, MY birthday, YOUR birthday, because it’s Tuesday. Anytime you want to make someone smile.  Jamie made Sally’s Baking Addiction Best Sugar Cookies for the delicious beauties below!

Or For A Great Cause!

Happy Holidays

In a Peanut Pickle with these Cookies (Peanut and Bittersweet Chocolate Cookies)

In a Peanut Pickle with these Cookies (Peanut and Bittersweet Chocolate Cookies)

I have mentioned this before, when it comes to cookies we are a divided family.  Shortbread cookies are my favorite, crumbly, buttery, crisp, not too sweet, perfect with tea or coffee.

My family disagrees.  Hubs and kids prefer chewy cookies.  While Hubs favors oatmeal cookies (like his Good Cookies), Jorge, freshly back from a year in Korea, will remind me (almost daily) that I have yet to make his favorite chocolate sprinkle cookies or even CCC.  All classic kid cookies-chewy, sweet and deliciously dunkable in an ice-cold glass of milk.

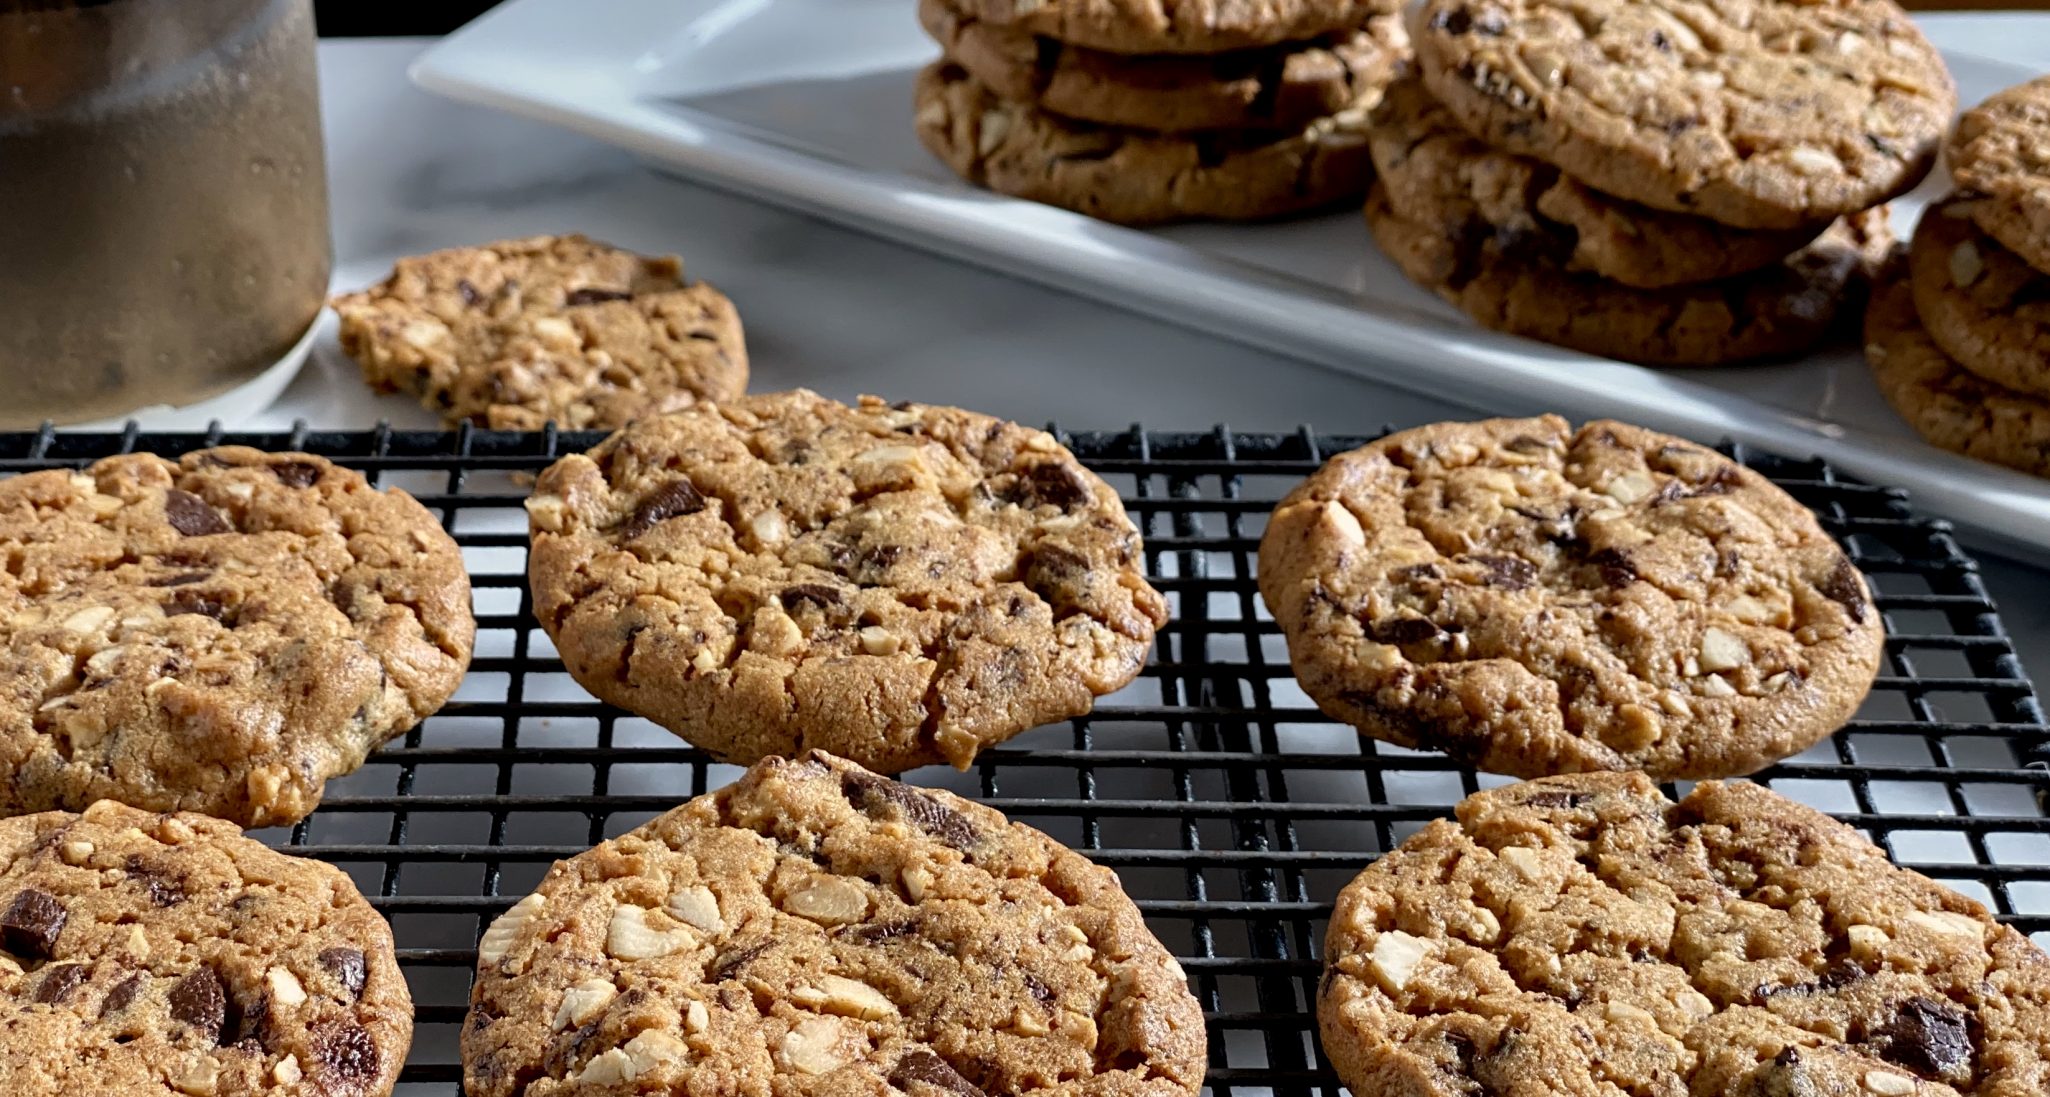
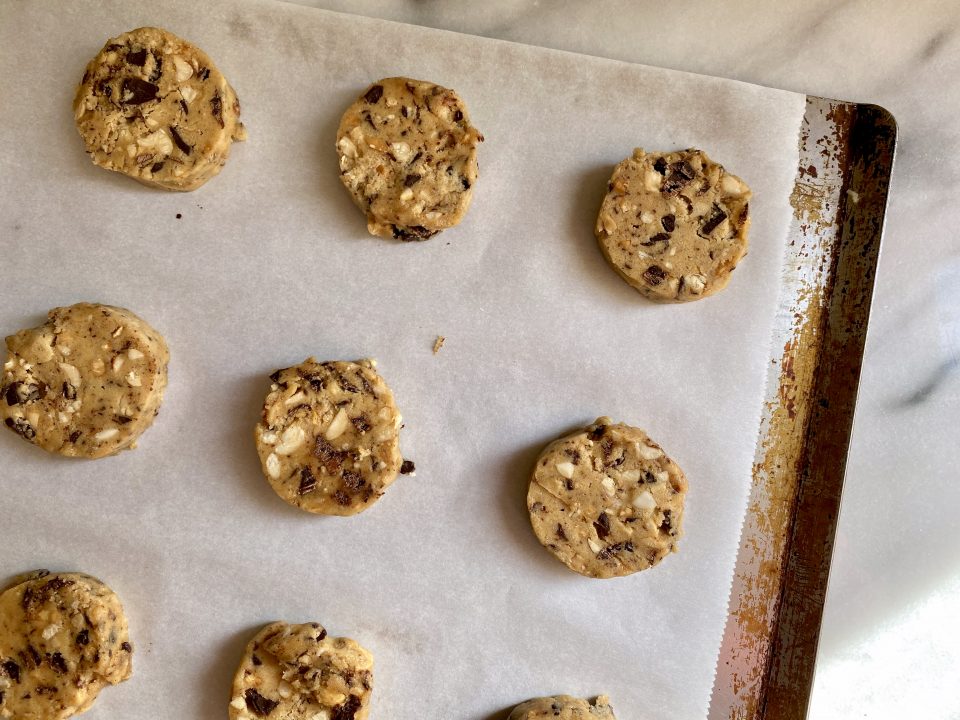
So, much to Jordan’s chagrin, the cookies that came out of the oven the other day were the Peanut and Bittersweet Chocolate Cookies, a slice and bake that is much more similar to shortbread.  I found the recipe in the LA Times (a boss cooking section, the reason I maintain a subscription) a few years ago.  The winner of their holiday cookie contest, it immediately went on my gotta make Cookie Bucket List.  It is delicious, buttery, crisp, not quite as dense as shortbread, and filled with peanut umami.  The cookies contain both peanut butter and finely chopped peanuts, a double nut hit.  Mr. Planter would be proud.  The bittersweet chocolate gives it an adult twist, a not too sweet hit of chocolate, yum.

I knew it was a winner when Jorge unconsciously kept eating the cookies all the while complaining about not liking peanut butter or crisp, short cookies and still asking “When are you going to make Sprinkle Cookies?” as he polished off the last one.

Necessity is the mother of invention and quite often, a good thing.  Stashed in the pantry, a jar of honey roasted peanuts that subbed for the salted peanuts I did not have.  To offset the sweetness from the honey, I sprinkled the cookies with Fleur de Sel before popping them in the oven.

The peanut butter, sugar, and butter are beaten until light and fluffy. Add the dry ingredients and combine, don’t overbeat.  Fold in the nuts and chopped chocolate.  The dough is very soft, transfer the dough to wax paper or parchment and shape into a log.  Place in the fridge and chill thoroughly.  Use a sharp knife or a serrated knife to cut the dough into 1/4 inch slices.  I rotated the dough while slicing to keep the cookies round.  If the dough crumbles, just smoosh it back together. Sprinkle the slices with Fleur de Sel and sanding sugar.

If you wanted to make a kid friendlier cookie, you can use semi-sweet or even milk chocolate for the bittersweet chocolate.  If you like peanuts, you are going to love these cookies.

Peanut and Bittersweet Chocolate Cookies

Course cookies
Cuisine American
Keyword Peanut and Bittersweet Chocolate Cookie
Prep Time 15 minutes
Cook Time 15 minutes

Ingredients

  • 1 1/4 cups flour
  • 1/2 teaspoon baking powder
  • 3/4 teaspoon baking soda
  • 1/4 teaspoon salt
  • 1/2 cup 1 stick cold butter
  • 1/2 cup chunky peanut butter
  • 1/2 cup sugar
  • 1/2 cup brown sugar
  • 1 egg
  • 1/2 teaspoon vanilla
  • 1 cup finely chopped roasted peanuts or honey roasted peanuts
  • 1 cup finely chopped bittersweet chocolate
  • Fleur de Sel for sprinkling
  • Sanding Sugar for sprinkling

Instructions

  • In a medium bowl, stir together the flour, baking powder, baking soda and salt in a medium bowl and set aside.
  • Beat the butter until creamy in a stand mixer. Beat in the peanut butter until blended. Beat in the sugar and brown sugar until light and fluffy.
  • Beat the egg and vanilla into the sugar mixture until combined. Add flour mixture and beat until thoroughly mixed. Stir in chopped peanuts and chocolate until evenly incorporated.
  • Divide the dough in half. Shape it into two logs about 9 inches long and wrap each log in plastic wrap, waxed paper. Twist ends to seal. Chill in the refrigerator overnight.
  • Heat the oven to 350 degrees. Unwrap the logs and cut into one-fourth-inch-thick slices. The dough is soft so rotate while slicing. If dough crumbles due to peanuts or chocolate just press it together to reshape.
  • Place the slices on parchment-lined baking sheets, and bake 10 to 13 minutes until lightly browned around the edges.
  • Remove the cookies to a wire rack to cool. Store the cookies in an airtight container.

Notes

Each cookie: 66 calories; 1 gram protein; 7 grams carbohydrates; 1 gram fiber; 5 grams fat; 2 grams saturated fat; 7 mg. cholesterol; 38 mg. sodium.
World Peace Cookies-Let’s Do the Cookie Wrap Now

World Peace Cookies-Let’s Do the Cookie Wrap Now

Christmas is over, but that doesn’t mean the cookie baking has stopped.

After all, we still need to ring in the new year and what better way than with delicious sweet or salty nibbles? Need a savory bite to go with cocktails, try Parmesan Shortbread or Bouchon’s Gourgeres.  Didn’t finish that bottle of bubbly Rose’, the perfect answer, Christina Tosi’s Champagne Shortbread.

To usher in 2020, I looked for the perfect bite-sized treat when you have a cocktail or a glass of the bubbly in your grasp.  I kept in mind my slice and bake theme and decided the perfect cookie to have for New Year’s Eve or Day, DRUM ROLL PLEASE…

Dorie Greenspan’s World Peace Cookies

A fitting cookie to celebrate the end of a decade and bring in a new one.

This cookie, a Pierre Herme creation,  was originally called the Korova cookie and was published in Dorie’s Paris Sweets. It was the first book of Dorie’s I purchased. This cookie “made me buy it”.  My reaction the first time I popped one in my mouth was, “WOW, this is REALLY, I mean REALLY, GOOD.”

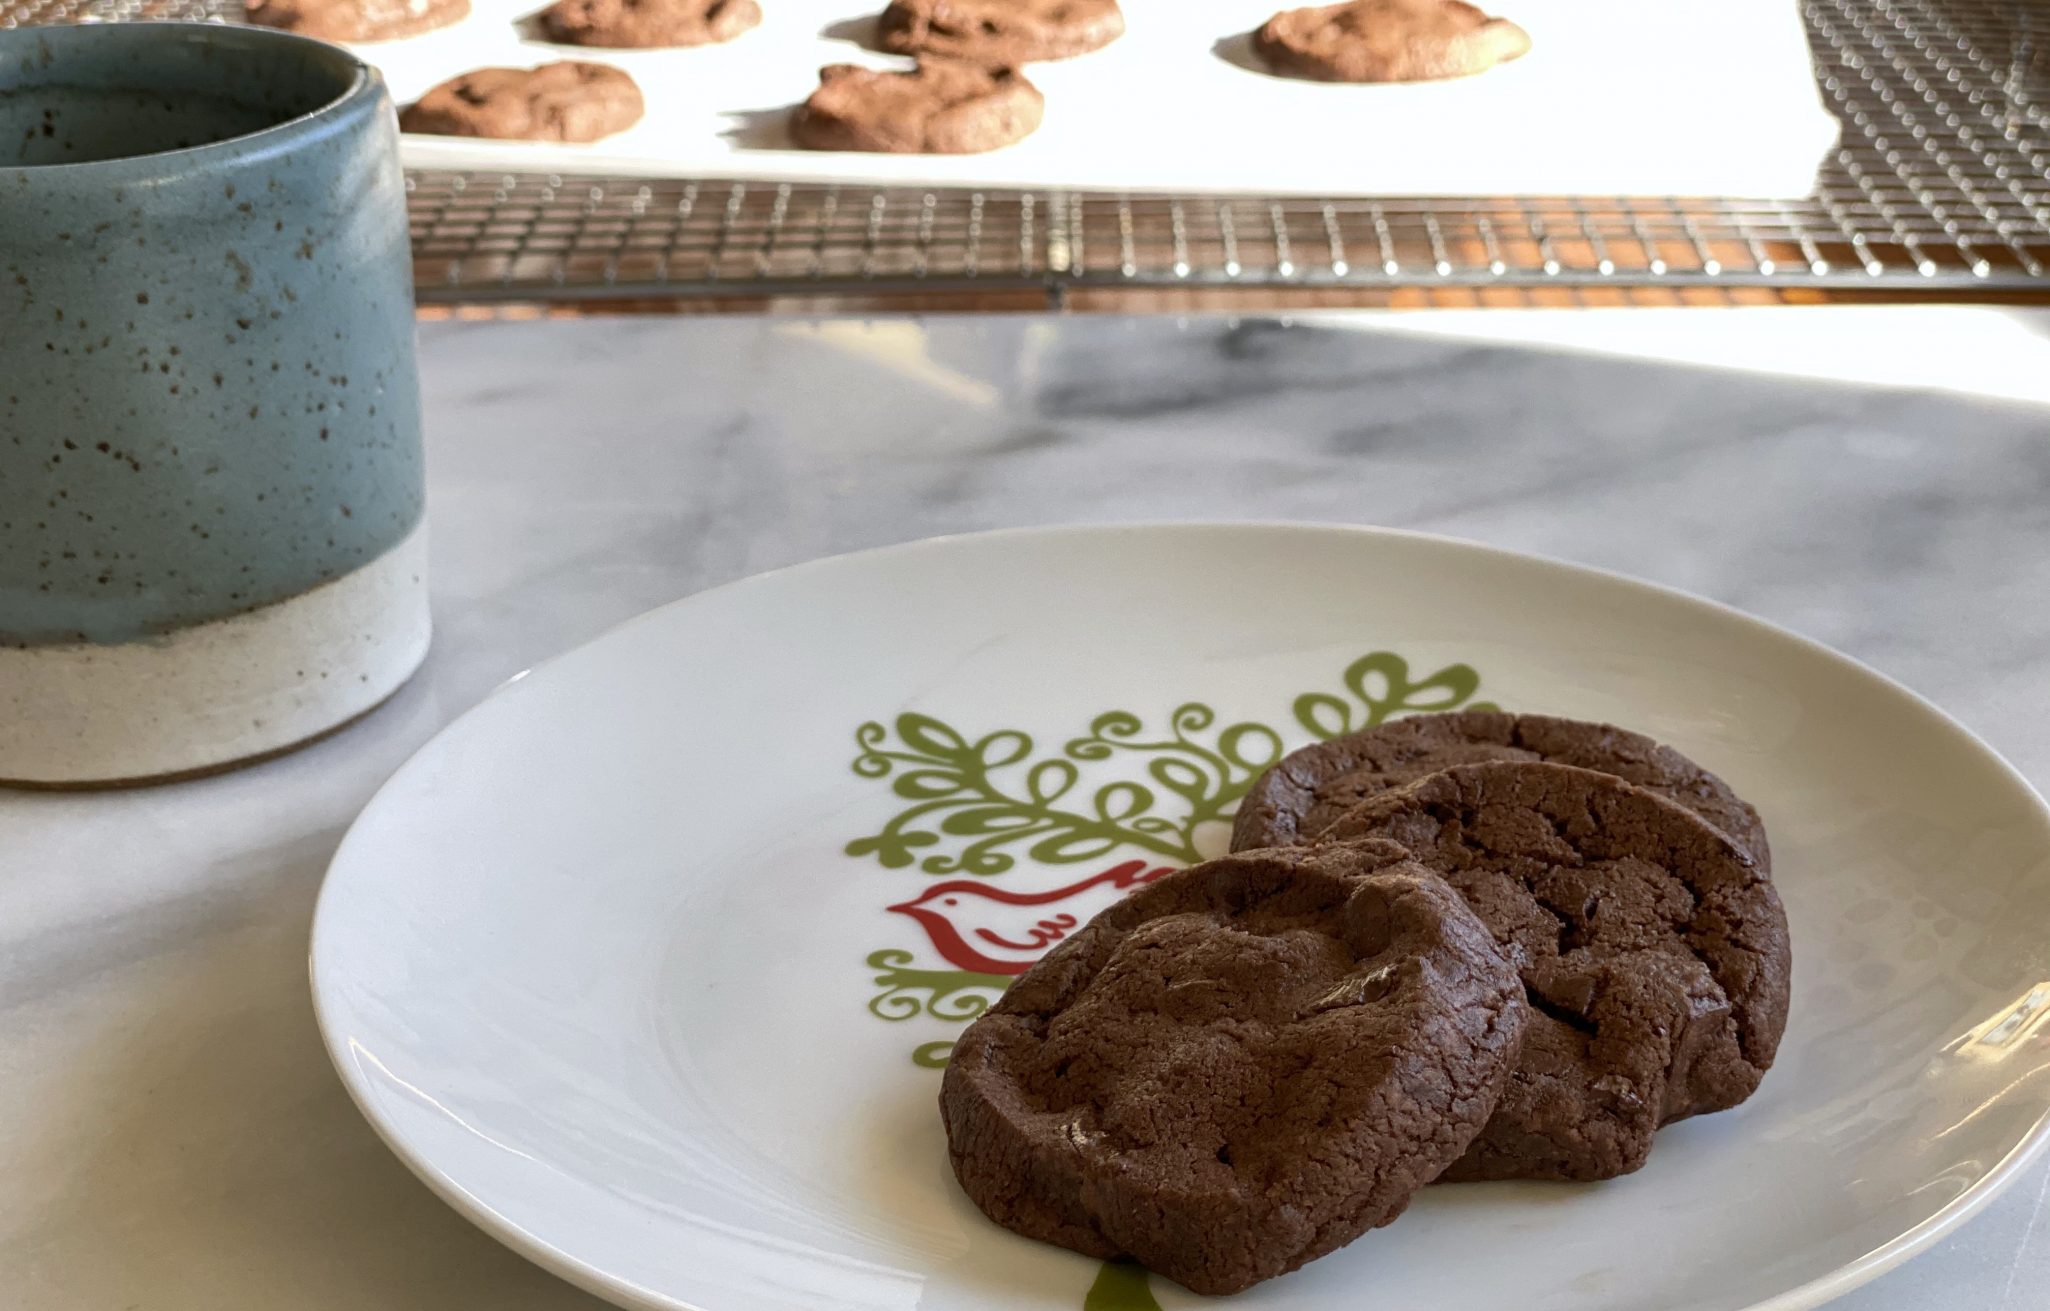
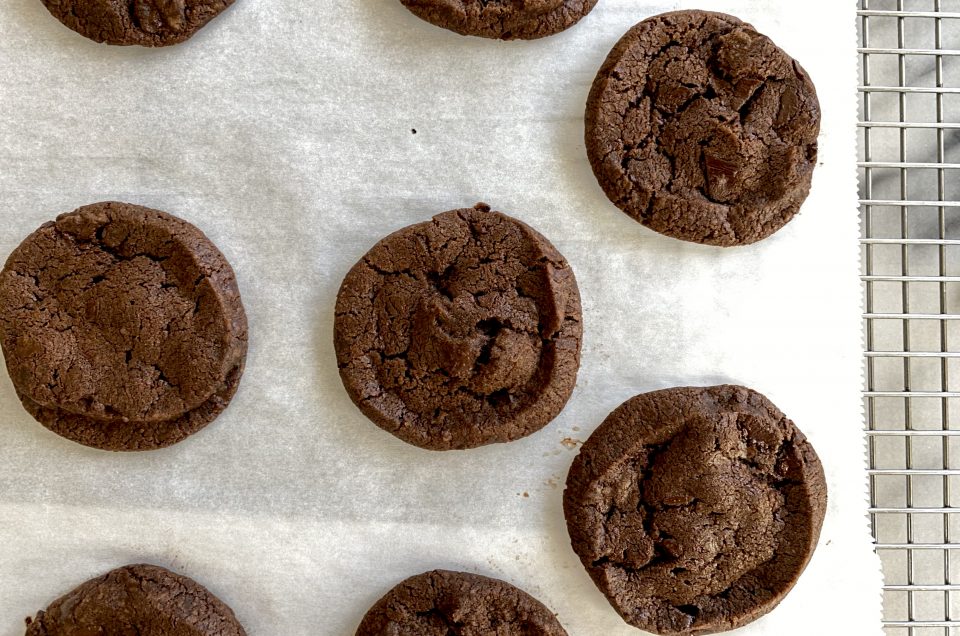
I’m not a big fan of chocolate cookies so it took me by surprise.  So delicious, Dorie’s friend renamed this chocolate wonder, World Peace Cookie.  If everyone shared these we could achieve global peace.  The cookies are chocolatey and sweet with bits of Fleur de Sel providing a surprising hit of saltiness.   The chunks of bittersweet chocolate temper the sweetness and give the cookies a 1-2 chocolate punch. Yep, like a champ.

Ok.  This cookie does pop up on a zillion feeds.  So why am I re-posting?  Well, you can never post the perfect chocolate cookie too many times and more importantly, on the off chance YOU haven’t made these, how could I not?  I would be remiss if I didn’t, a dereliction of blogger duty.

There is another reason. I came across Dorie’s updated version of the World Peace Cookie in her book,  Dorie’s Cookies (of course I own a copy, silly).  Bakers often commented on the original recipe about the crumbly dough and how difficult it was to form a log.  Her updated version has a little more butter, a little more sugar, and a smidge less flour.  I noticed the updated dough was softer than the original recipe and came together easily.  Perhaps her changes came about from baking them in ring molds for their cookie pop-up or maybe to address the crumble rumble.

I think the original recipe is much more like a sable’, a little drier and shortbread-like while the updated version is softer and a tad moister (wow, this was an auto-correct).  I fully intend to bake the original soon for comparison.  The bottom line is both versions are DELICIOUS.

The dough comes together in a snap.  Butter is beaten with sugar, flour, cocoa powder, salt, and baking soda.  Then chopped dark chocolate is folded into the dough.  Natural or Dutch-process cocoa can be used.  I used King Arthur’s Triple Cocoa Blend (all-purpose cocoa) but use your favorite.  For the chocolate, I like Trader Joe’s Pound Plus Dark Chocolate that comes in a big honking bar. You can use fancy designer chocolate to up the wow factor or you can use chips when you are in a hurry.  I like the jagged, rough pieces you get chopping the chocolate.  Use bittersweet chocolate, especially with the updated version which is a little sweeter than the original.

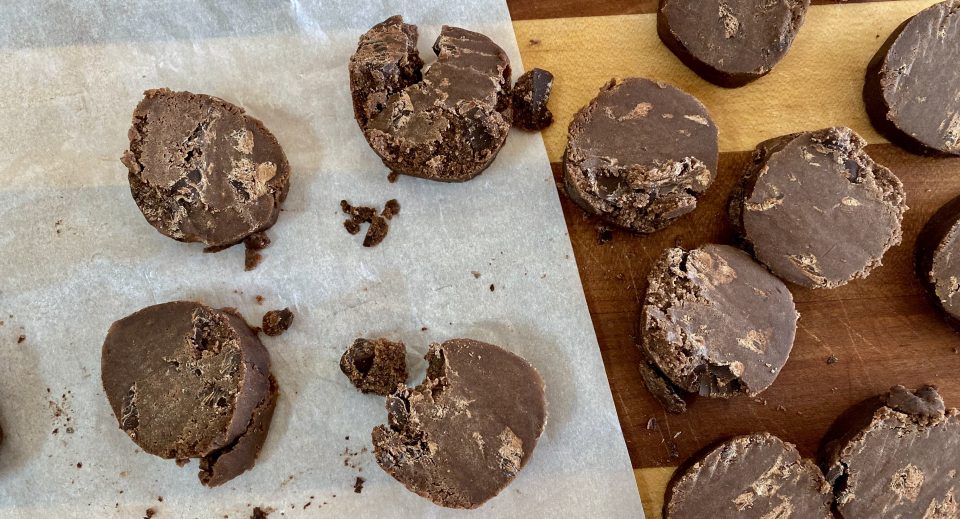
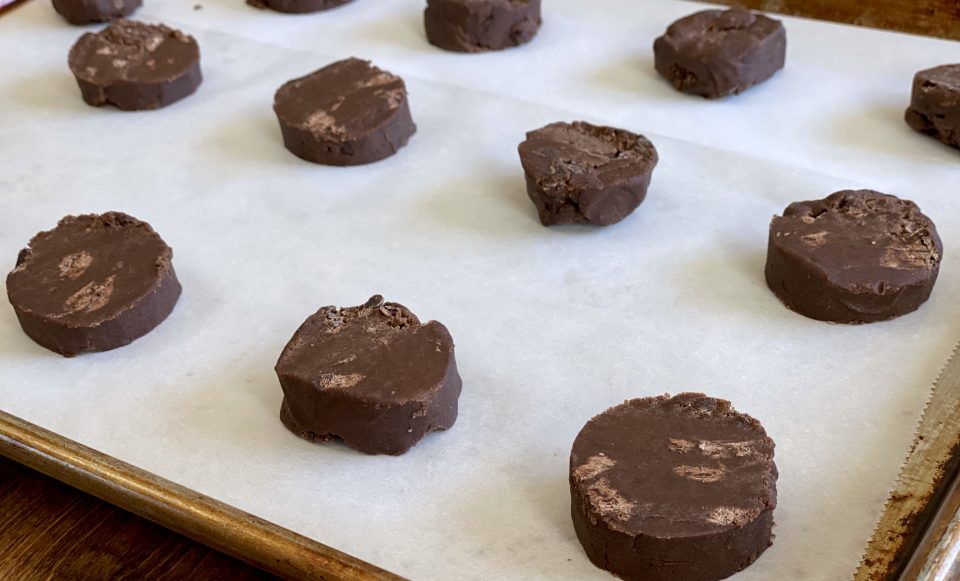
Roll the dough into logs, wrap in parchment or wax paper and chill.  Use a serrated or sharp knife to cut 1/2 inch pieces.  The dough will crumble but it is an easy fix, just smoosh it back together.  No sweat.  See?

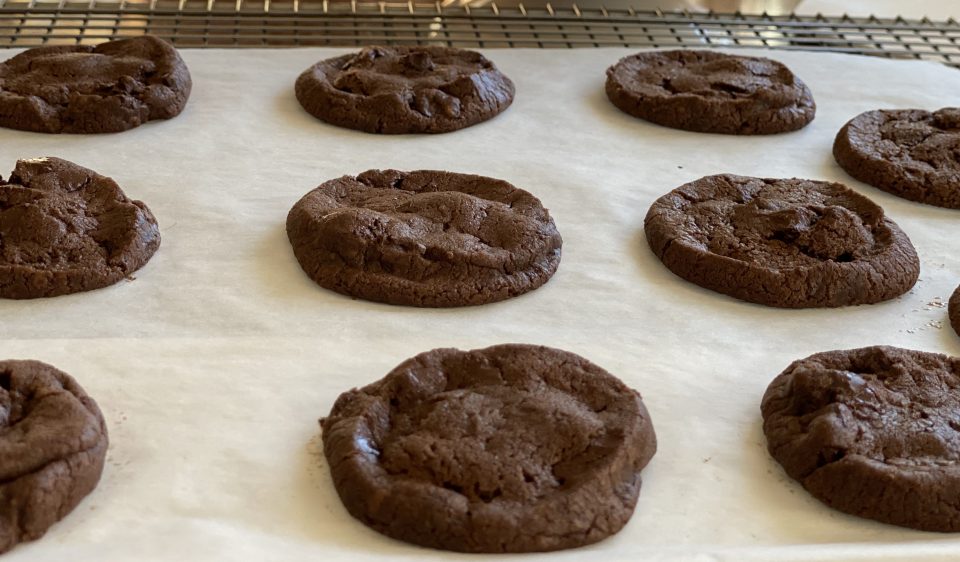
Bake the cookies for twelve minutes.  Don’t check them and don’t open the oven door.  Just relax until the buzzer goes off.  “Bake and take” them out-Dorie’s rules.  Let them cool to set. They’re delicious slightly warm or at room temperature.  Get out the milk or get out the bubbly and ENJOY.

Happy New Year!  Wishing for World Peace in 2020!

Dorie Greenspan's World Peace Cookies

These chocolate cookies will satisfy any chocoholic. Similar to a sable' these cookies are from Dorie Greenspan's Cookie book and are absolutely addicting.
Course cookies
Cuisine American, French
Keyword chocolate cookies, Dorie Greenspan, korova cookies, world peace cookies
Prep Time 15 minutes
Cook Time 20 minutes

Ingredients

  • 1 1/4 cups all-purpose flour 170gm
  • 1/3 cup cocoa powder Dutch-processed or natural 30gm
  • 1/2 teaspoon baking soda
  • 8 tablespoons plus 3 tablespoons unsalted butter, (1 stick + 3 T) at room temperature
  • 2/3 cup packed light brown sugar 134gm
  • 1/4 cup granulated sugar 50gm
  • 1/2 teaspoon fleur de sel or 1/4 teaspoon fine sea salt
  • 1 teaspoon pure vanilla extract
  • 5 ounces bittersweet chocolate, chopped into small bits 142gm or 5 ounces
  • Fleur de Sel optional, to sprinkle on cookies before baking

Instructions

  • Sift the flour, cocoa, and baking soda together and keep the bowl close. Put the butter in the bowl of a mixer fitted with the paddle attachment and beat on medium speed until the butter is soft and creamy. Add both sugars, the salt, and vanilla extract and beat for another minute or two. Reduce the mixer speed to low and add the sifted dry ingredients. Mix only until the dry ingredients are incorporated — the dough will look crumbly, and that’s just right. For the best texture, work the dough as little as possible once the flour is added. Toss in the chocolate pieces and mix only to incorporate.
  • Turn the dough out onto a smooth work surface and squeeze it so that it sticks together in large clumps, don't be afraid to smoosh it together. Gather the dough into a ball, divide it in half, and working with one half at a time, shape the dough into logs that are 1 1/2 inches (4 cm) in diameter. (Cookie-dough logs can end up with hollow centers, so as you’re shaping each log, flatten it once or twice and roll it up from one long side to the other to get the air out)
  • Wrap the logs in plastic wrap and chill them for at least 1 hour. (Wrapped airtight, the logs can be refrigerated for up to 3 days or frozen for 1 month.)
  • Center a rack in the oven and preheat the oven to 325°F (165°C). Line two baking sheets with parchment paper.
  • Working with a sharp thin-bladed knife, slice the logs into rounds that are 1/2 inch (1.5 cm) thick. (Don’t worry if the rounds break; just squeeze the broken-off bit back onto the cookie.) Place the cookies on the parchment-lined sheets, leaving about 1 inch (2.5 cm) spread space between them.
  • If you want to up your salt game, sprinkle a tiny bit of Fleur de Sel on each cookie before baking. It adds a tiny wow factor to the look of the cookie too.
  • Bake one sheet of cookies at a time, and bake each sheet for 12 minutes. The cookies will not look done, nor will they be firm, but that’s just the way they should be. Transfer the baking sheet to a cooling rack and let the cookies stand until they are only just warm or until they reach room temperature.
Cultured Club with Girl Deb (Cultured Butter Cookies)

Cultured Club with Girl Deb (Cultured Butter Cookies)

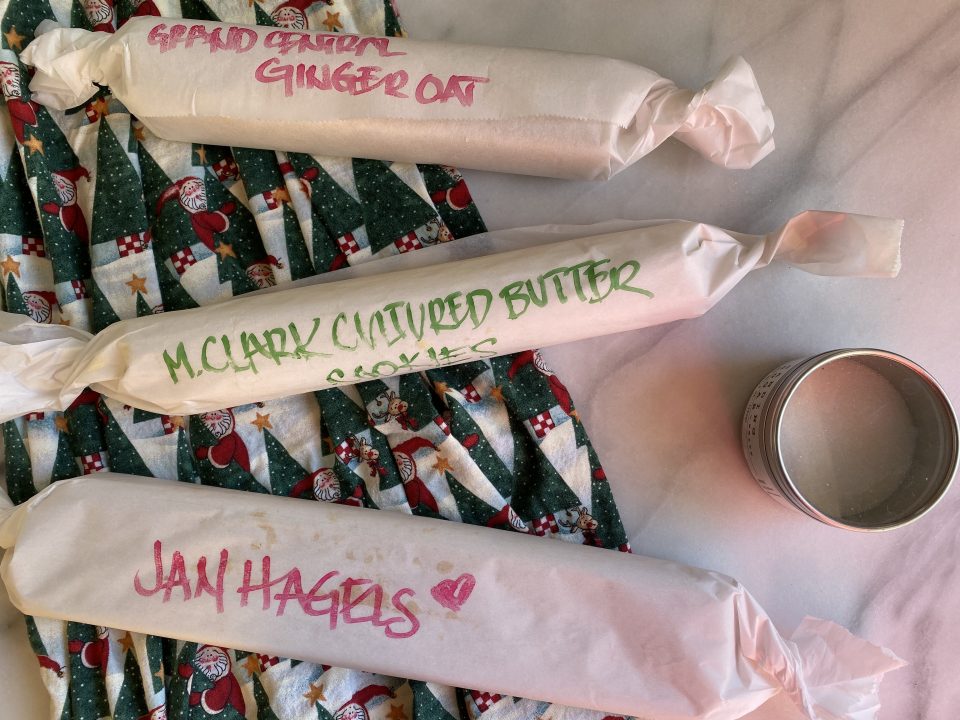
Last but not least of the trio of slice and bake cookies, Cultured Butter Cookies from Melissa Clark via The New York Times.  On a trip to my neighborhood Trader Joes, I came across Cultured Butter.  What? “cultured butter”, my curiosity was peaked.   As if the planets had just aligned, what should pop up on my feed? An article by Melissa Clark in the NYT on the virtues of cultured butter.   A recipe for Cultured Butter Cookies was included.  Butter Cookies?  A cousin to my favorite cookie, Shortbread?  I’m on it.

Cultured butter is slightly tangy and salty.  Throw out the notion that you should only use unsalted butter to cook and bake.  Cultured butter, from Brittany, wears salt like a badge of honor.  The process of pasteurization kills the live cultures in the milk. Adding back a bacteria culture to the milk gives the butter a nice tang.  So, a live culture, salt, and higher butterfat content, what do you get? Butter on “roids”.

Trader Joe’s carries a very good Cultured Butter (according to Bon Apetit’).  Imported from Brittany, its a bargain.  Not just perfect for Melissa’s cookies, but delicious on toast, spread on a baguette or drizzled on vegetables.

The remaining logs of dough of my trio of slice and bakes are chilling in the fridge.  All I have to do is slice, bake, and arrange them on a festive plate, and I’m good to go…to any holiday party, even yours (hint, hint).

Bout’ the cookies

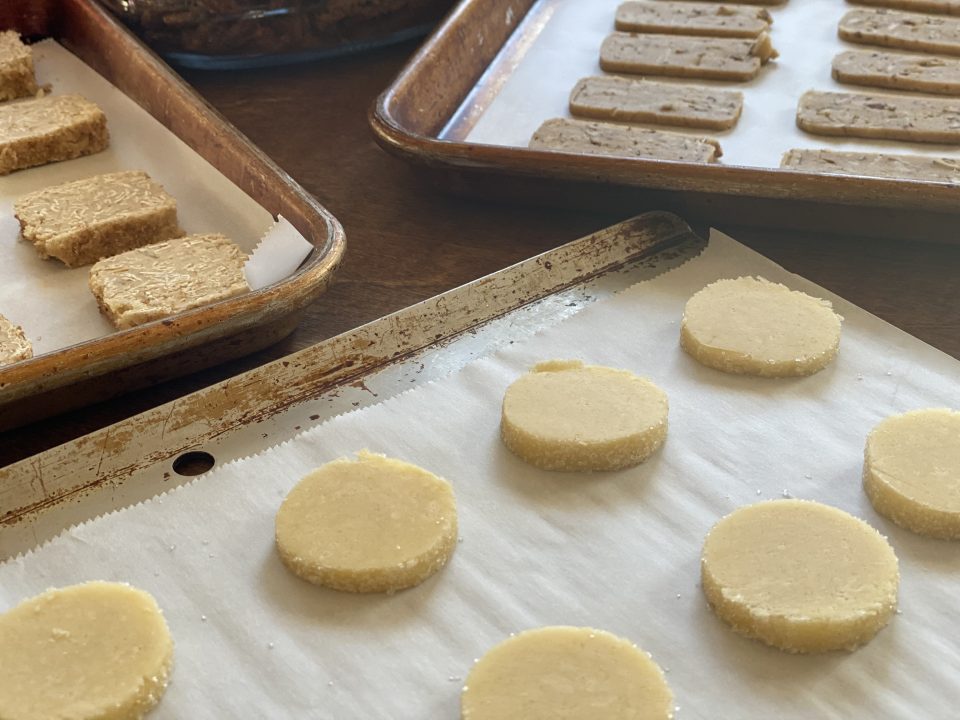
Beat softened butter with sugar until light and fluffy.  Add egg yolk and combine.  This results in a lighter, crisper cookie.  Blend in the dry ingredients, do not overbeat.  The dough is then molded into a log (helpful hints for creating logs) and chilled.  Roll the logs in sugar, I like white sanding or sparkling sugar which gives the cookies a festive look and provides a bit of crunch.

Slice at least 1/4 inch thick, no less for a nice edge and then bake on parchment-lined sheet until the edges turn a nice deep golden brown.  The cookies taste even better on the second day as the flavors have a chance to develop.

These cookies are lovely.  Light, crisp, buttery perfect with tea, champagne, just about anything.  I’ll be baking a batch for New Year’s Eve too.

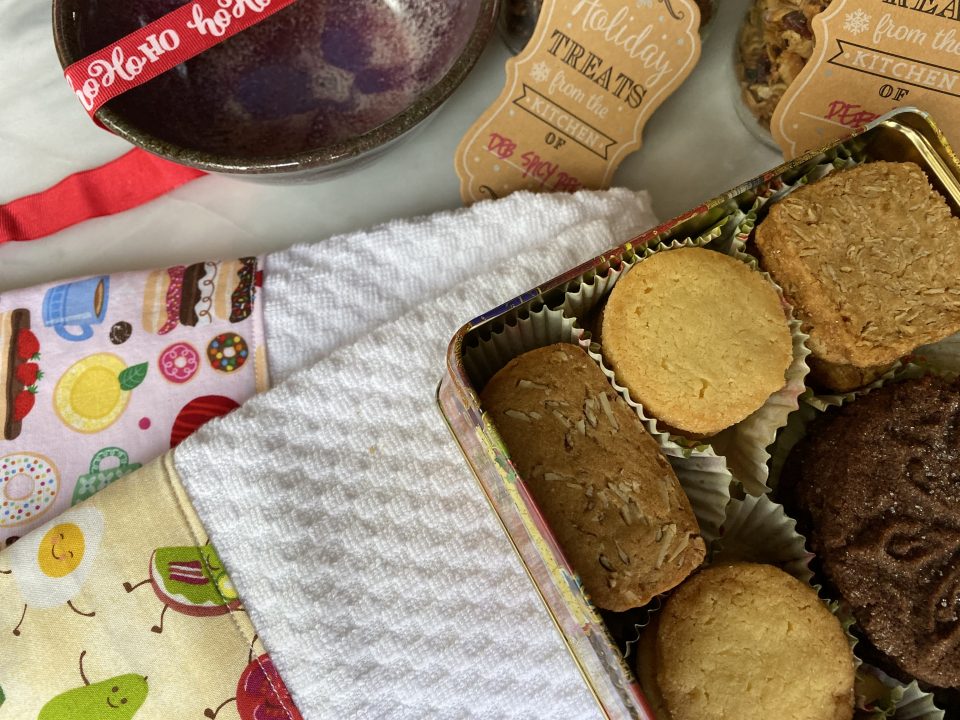
The trio of slice and bakes and the stamped Mexican Hot Chocolate Shortbread were the cornerstone of my #f52HolidaySwap box this year.  What’s that you say? Think…

Secret Santa  

Hosted by Food52, this is a wonderful, fun way to share the holiday spirit of giving with a stranger and donate to a worthwhile cause.  For a small donation (this year’s recipient was No Kid Hungry) you are sent a name and address of someone in the world (yep, you read that right-world, although most likely stateside) to send a package of goodies.  My holiday box went to Kim in Ohio, filled with not only cookies but spiced pecans, homemade granola, kitchen towels I trimmed myself (so easy) and a beautiful bowl made by my friend, Snook.  In turn, I received a box from Massachusetts, with cute flour sack towels, homemade cookies, and a festive spatula. 

I am already thinking about next year’s box! 

Cultured Butter Cookies

Course cookies
Cuisine American
Keyword Cultured Butter Cookies
Prep Time 15 minutes
Cook Time 18 minutes

Ingredients

  • 2 cups 250 grams all-purpose flour
  • ½ teaspoon 3 grams baking powder
  • ¼ teaspoon fine sea salt
  • 1 cup 2 sticks salted, cultured butter, at room temperature
  • cup 130 grams granulated sugar
  • 1 large egg yolk
  • ¼ cup coarse sanding sugar for rolling

Instructions

  • In a large bowl, sift together flour, baking powder and salt.
  • In an electric mixer fitted with the paddle attachment, beat together butter and granulated sugar until lightened in color and fluffy, about 3-4 minutes. Beat in egg yolk until combined. With mixer running on low, add flour mixture until incorporated.
  • Divide dough half. On a clean surface, roll each halfinto a 1 ½ inch log.
  • Sprinkle the coarse sanding sugar over a sheet of parchment. Roll each log in the sugar until the outside of the dough is thoroughly covered.
  • Cover logs tightly with plastic wrap and refrigerate at least one hour, or overnight.
  • When you are ready to bake the cookies, heat oven to 325°F. Line two baking sheets with parchment. Use large, sharp knife to cut each log into ¼ inch-thick rounds. Place cookies 1 inch apart on prepared baking sheets. Bake until cookie edges and bottoms are deep golden brown, about 15 minutes. Cool 5 minutes on baking sheets, then transfer to a wire rack to cool completely. Store in a tightly covered container at room temperature.

Notes

Trader Joe's has Cultured Butter!