
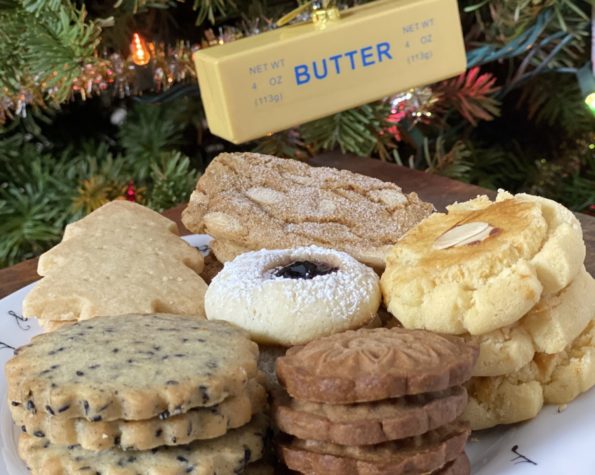
Growing up in Chinatown, the standard plate of cookies found on our table was not Chocolate Chip Cookies, but Almond Cookies. Every Chinese Bakery proudly…
I am the happy owner of Anyday Cookware, a set of bowls designed for the microwave. A podcast junkie, I am hooked on “All Things…
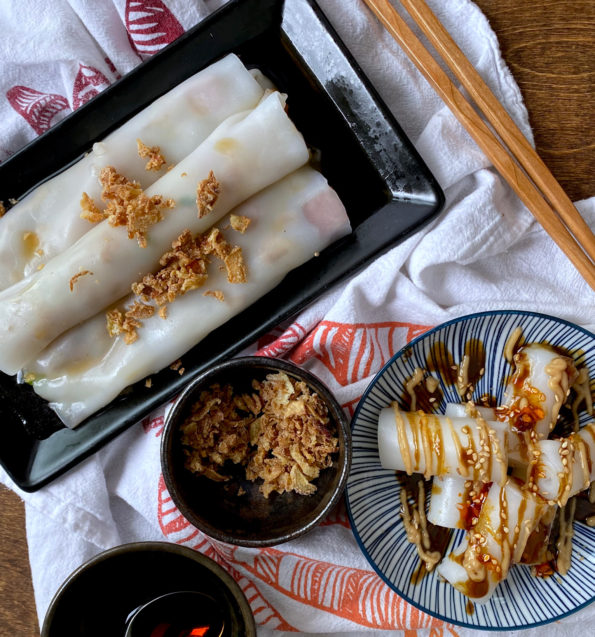
One of our favorite lunch outings is going for Dim Sum or Yum Cha. Dim Sum refers to the dazzling array of bite-size dumplings and…
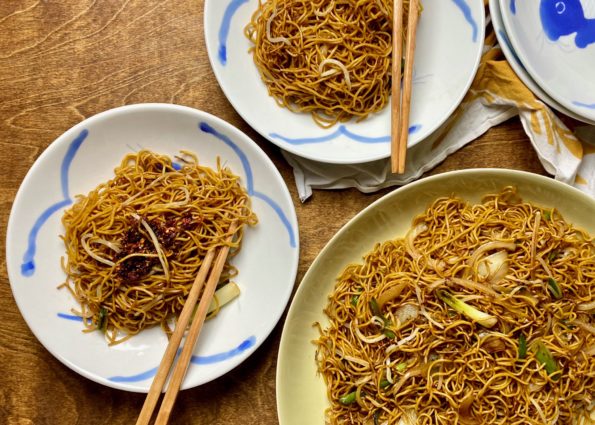
One of my favorite dishes, when we are out for dim sum, is Hong Kong Style Chow Mein or Soy Sauce Fried Noodles (豉油王炒麵). This…
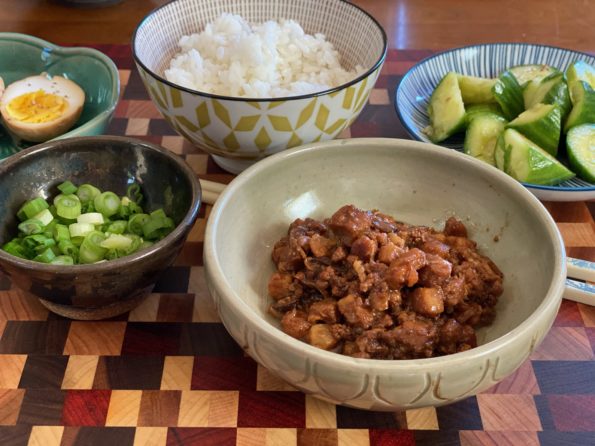
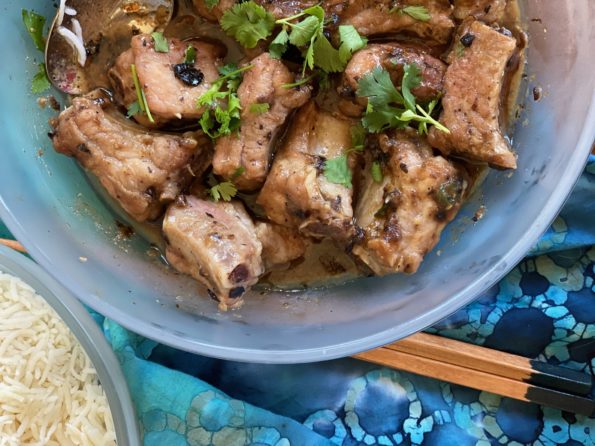
Continuing my virtual traveling by cooking, I’m imagining myself in Taipei right now. I have not been back to Taiwan in ages and yet I…
Only a couple of weeks have gone by since Thanksgiving and I have turkey on the brain, again! Not that I didn’t get my fill…
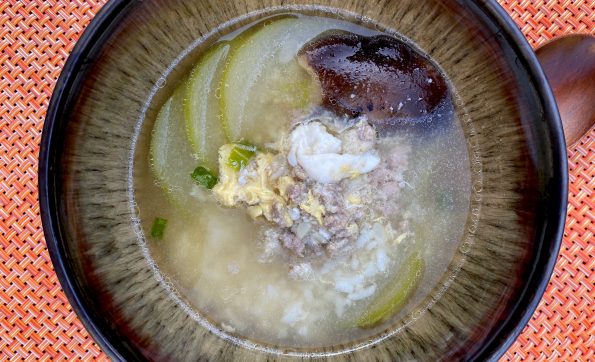
Now don’t freak over the term Fuzzy Squash or Melon. This squash does have a fuzzy exterior but it is scraped off before cooking. You…

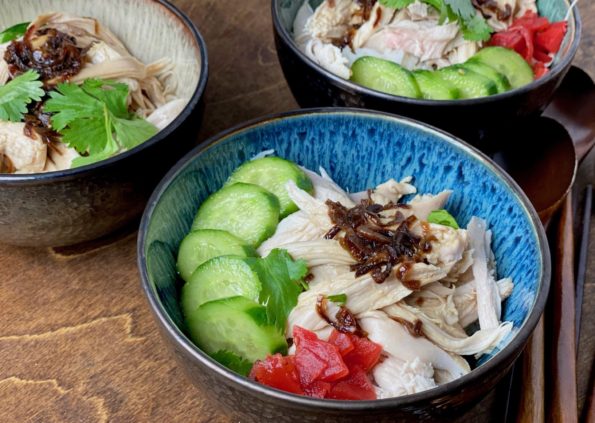
My favorite category for foods is not dessert. Nope, its soup. I LOVE soup. To the age-old question if you were stranded on a desert…
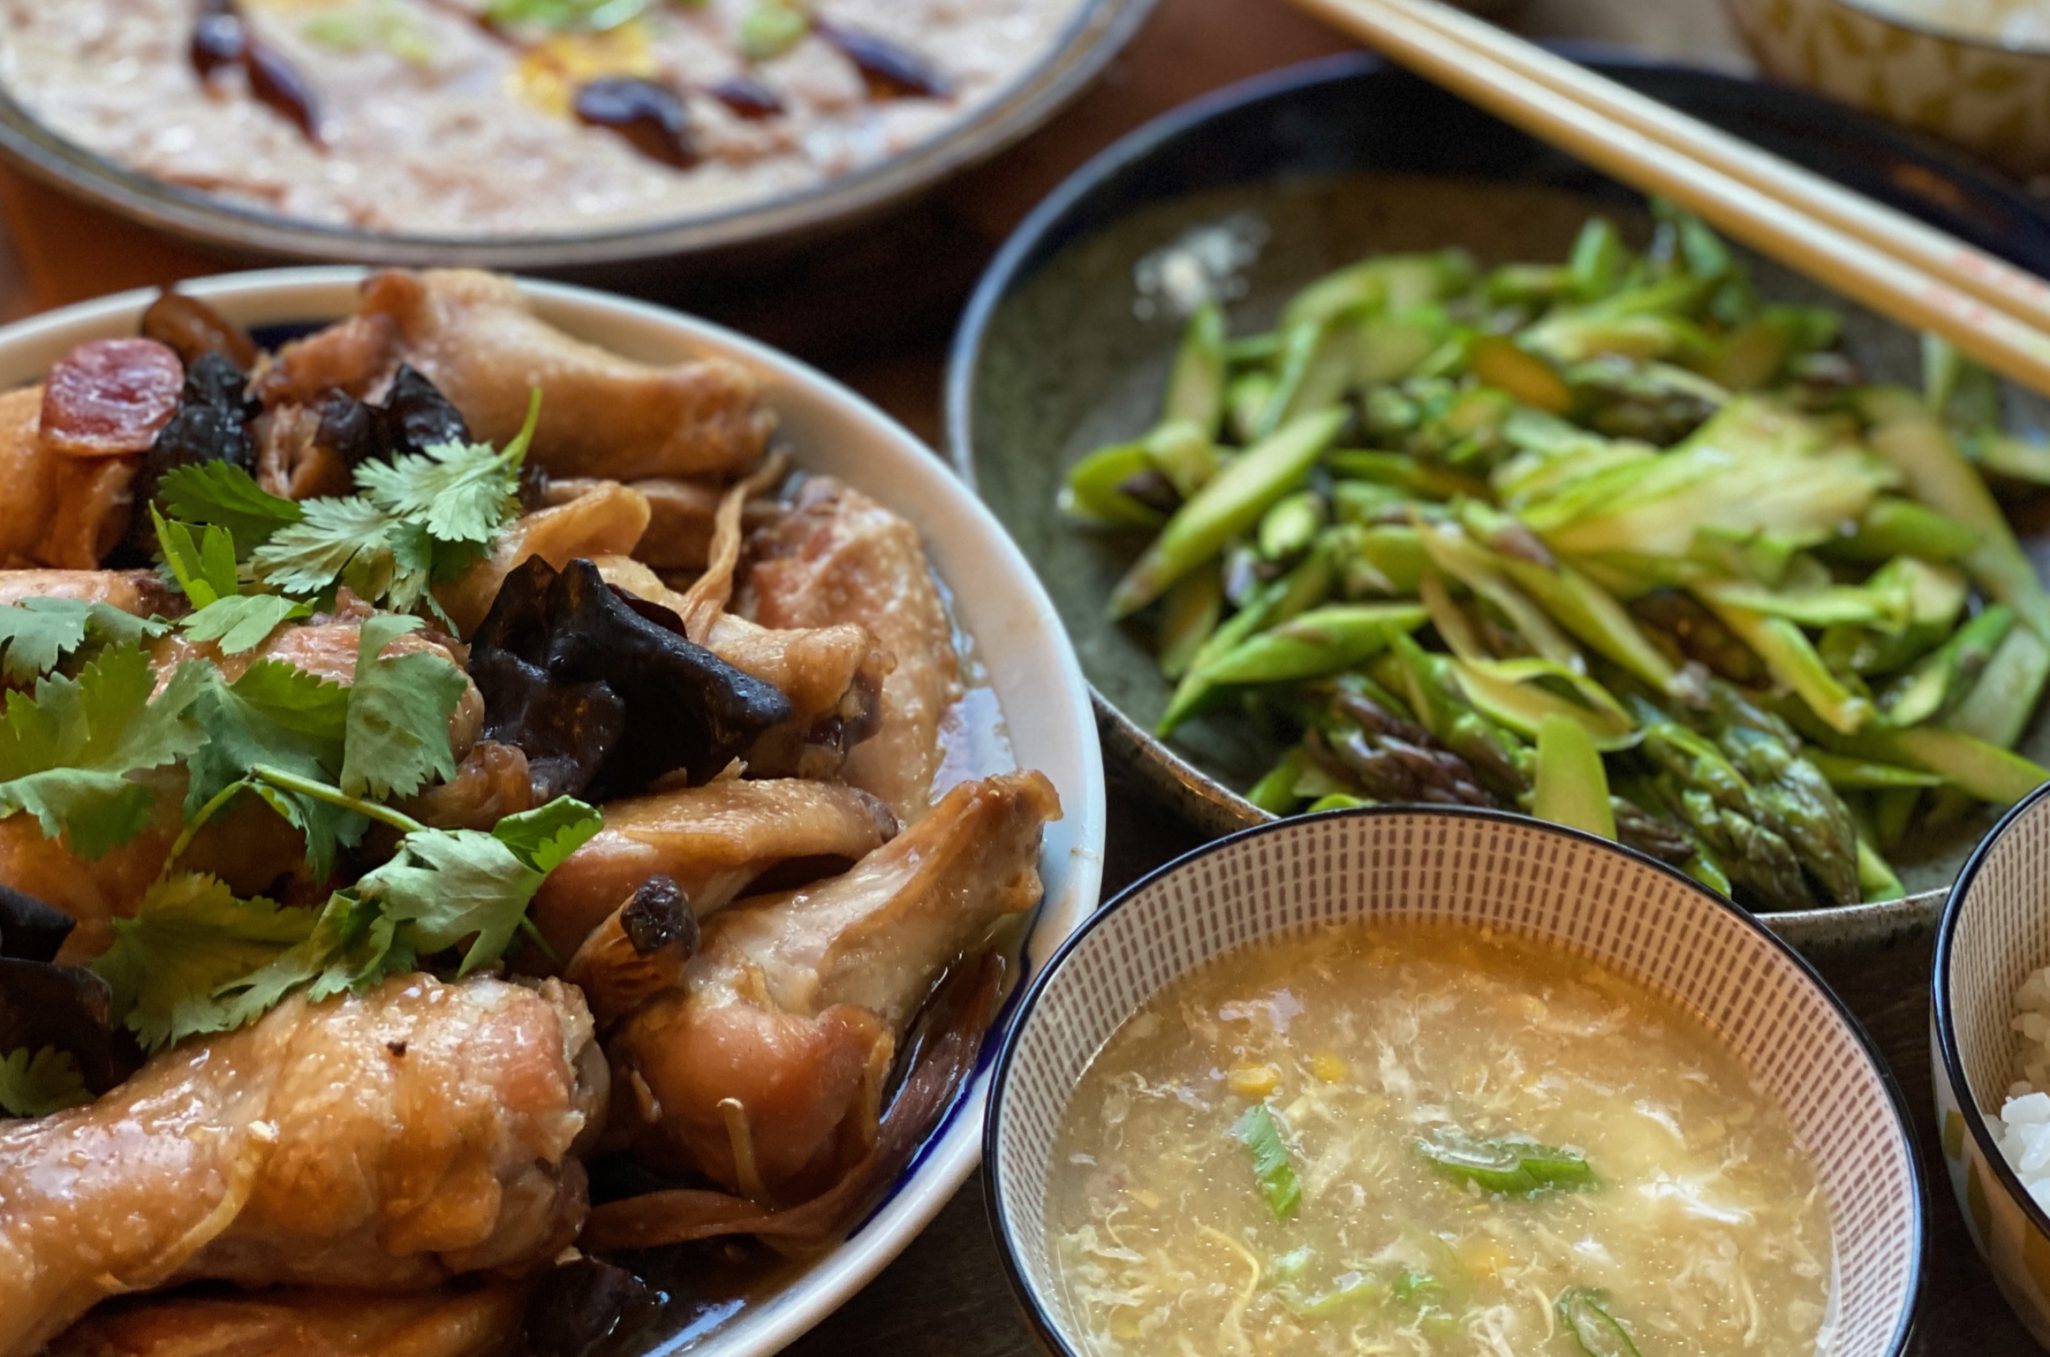
Steamed Chicken with Chinese sausage, Delicious down home dish