
Since returning from New York, we have made a concerted effort to eat at home. Tired of eating out (I’m shocked, I LOVE eating out),…
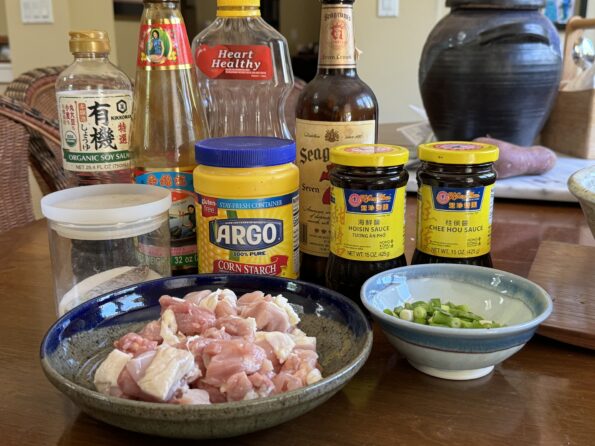
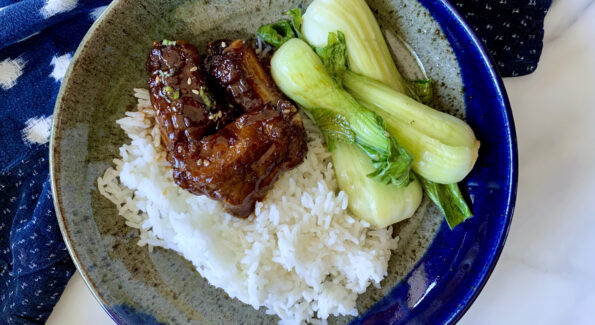
This is another dish from the hubster that lands on the favorite list for all three kids and me, Paper-wrapped chicken (纸包鸡) aka Foil-wrapped chicken.…
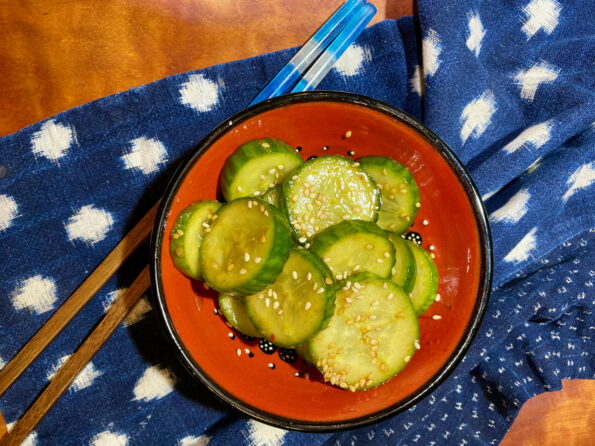
Yep, another cucumber salad recipe on 3Jamigos. I recently came across a copycat of Din Tai Fung’s cucumber appetizer, and of course, had to try…
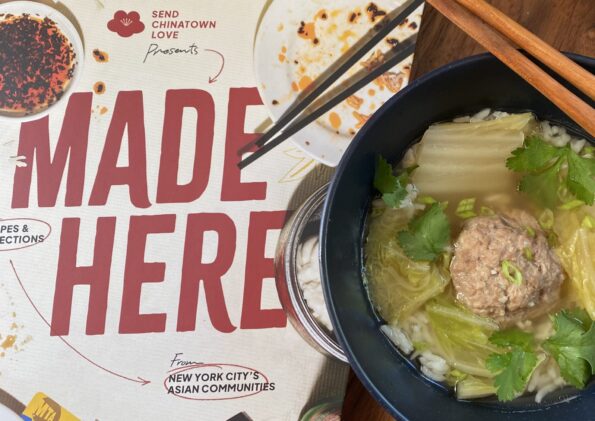
A slew of small mom-and-pop stores and restaurants in NYC Chinatown were hit especially hard during the pandemic. In response, Send Chinatown Love, a volunteer…
A couple of weeks ago I was reading a post from the Woks of Life, a lovely blog on Asian cooking. Their post was on…
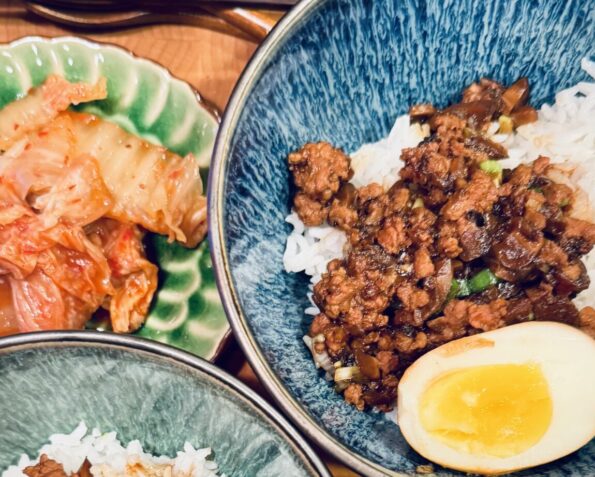
As I was driving home the other day I called the Hubster and asked “What’s for dinner?”. The retired guy replied, “I thought you were…
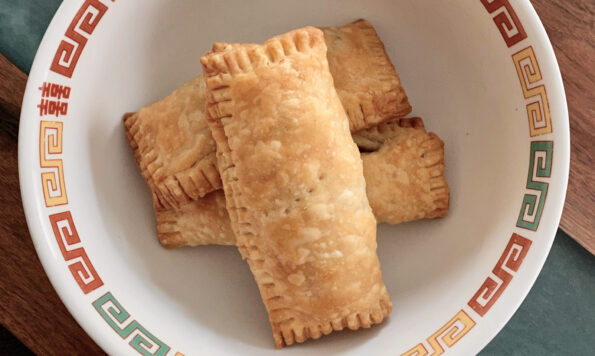
My best description/translation of a favorite Chinese pastry, 叉燒酥 (Char Siu Sou) is Chinese bbq pork hand pie. Flaky, tender pastry surrounding a sweet-salty filling…
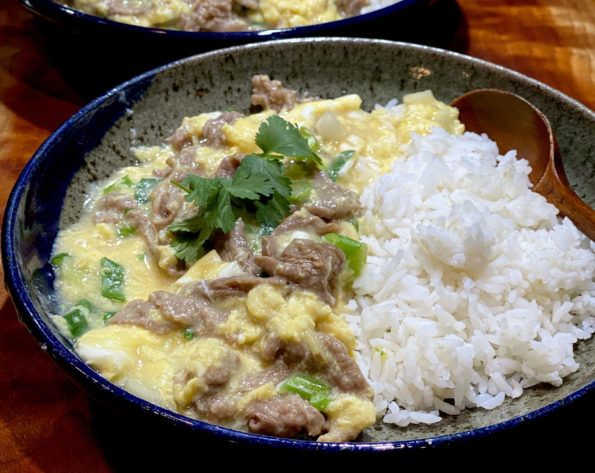
Waat Dan Fan (滑蛋飯) is one of my absolute all-time favorite down-home Cantonese dishes. The literal translation is Slippery Egg Rice. This version includes beef…
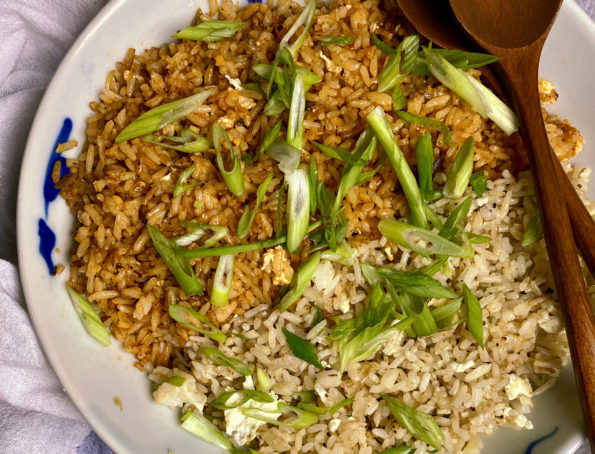
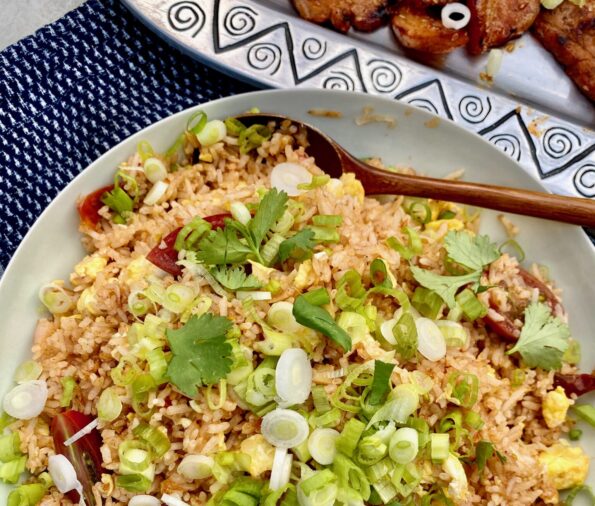
I LOVE fried rice. Posted on 3Jamigos are my favorites, my Dad’s Fried Rice and Kimchi Fried Rice. Until now, I was very content with…