
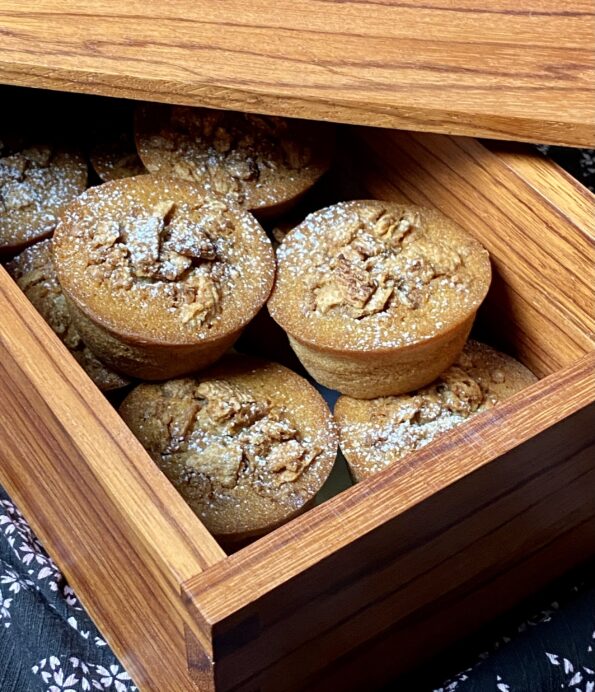
I am always on the lookout for mochi recipes. Aside from being downright delicious, it is nice to have gluten-free options in your arsenal. The…
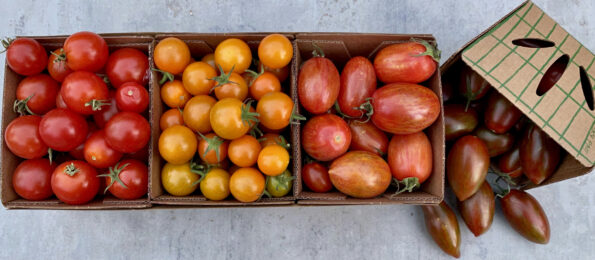
I have taken over tomato duties from the hubby who has given up on becoming an urban farmer. We just haven’t had any luck with…
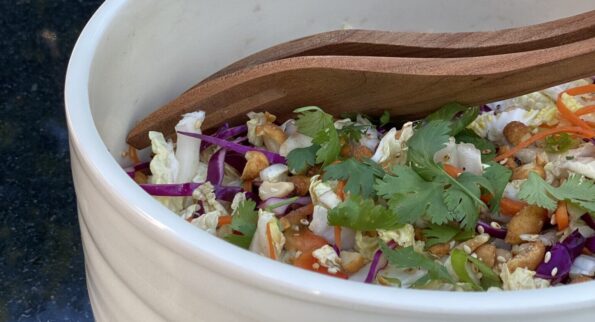
The dog days of summer are here, the perfect time for salads to be the star of any meal. Ok, maybe not breakfast, but any…
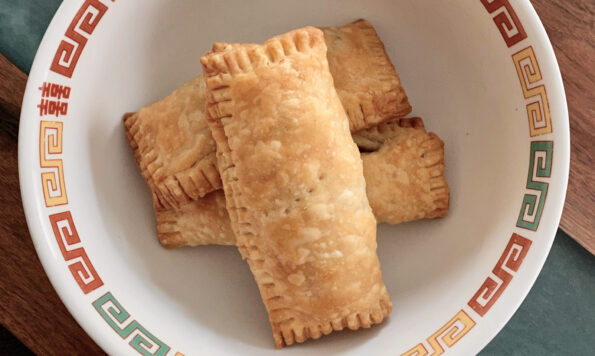
My best description/translation of a favorite Chinese pastry, 叉燒酥 (Char Siu Sou) is Chinese bbq pork hand pie. Flaky, tender pastry surrounding a sweet-salty filling…
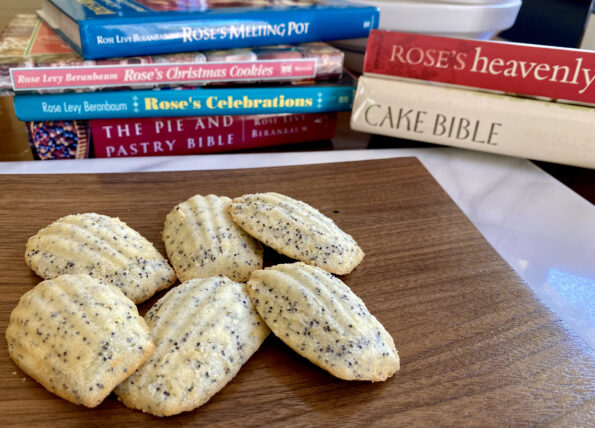
I have been a big fan of Rose Levy Beranbaum’s books for a very long time. I went to my bookshelf to see just how…
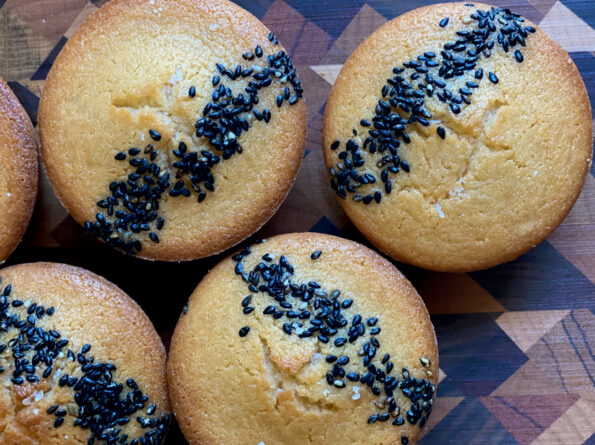
You might be wondering why this post is named Muffins de Mochi con Misugaru. WELL, let me tell you why… Apparently, I’m not supposed to…
I have a total backlog of recipes I want to share with you and this one is top on the list. I have made this…

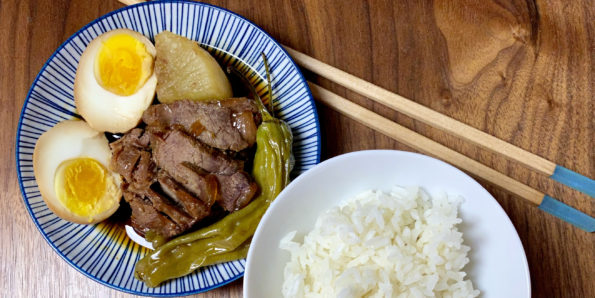
From one of my favorite sites, Two Plaid Aprons, a vegetarian version of Unagi Don! Eel grilled with a sweet and savory sauce or “tare”…
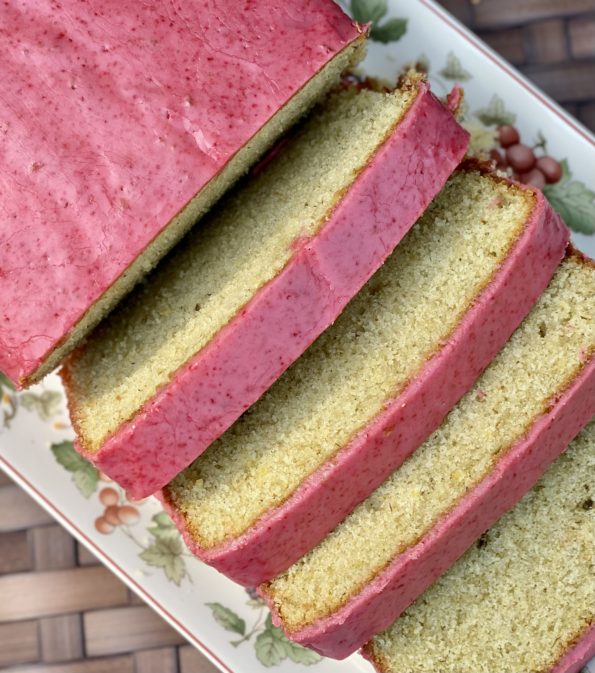
He needs to stop. I would like to dive into Eric Kim’s cookbook, Korean-American but have not been able to and it is all his…