
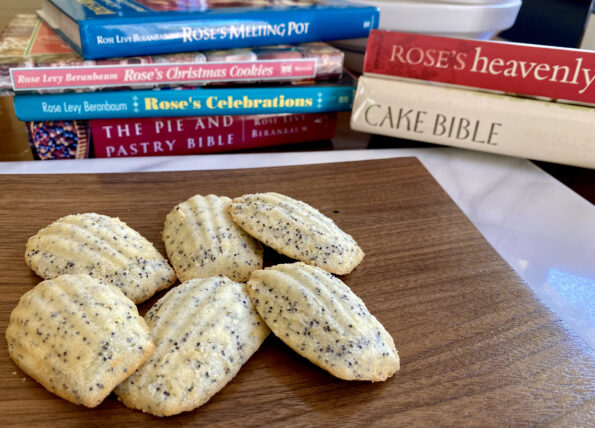
I have been a big fan of Rose Levy Beranbaum’s books for a very long time. I went to my bookshelf to see just how…
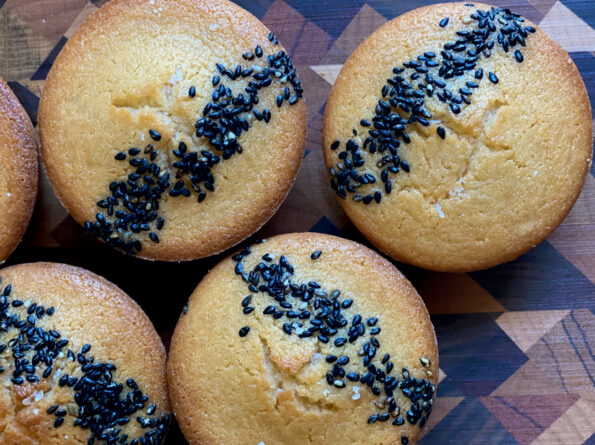
You might be wondering why this post is named Muffins de Mochi con Misugaru. WELL, let me tell you why… Apparently, I’m not supposed to…
I have a total backlog of recipes I want to share with you and this one is top on the list. I have made this…

From one of my favorite sites, Two Plaid Aprons, a vegetarian version of Unagi Don! Eel grilled with a sweet and savory sauce or “tare”…

He needs to stop. I would like to dive into Eric Kim’s cookbook, Korean-American but have not been able to and it is all his…

My weekly trip to the farmer’s market starts with lining up at the P&K Strawberry stand 30 minutes before the market even opens. Yep, the…

As a kid, I spent a lot of time running the streets of Chinatown in San Francisco. After school, I headed to Chinatown to attend…

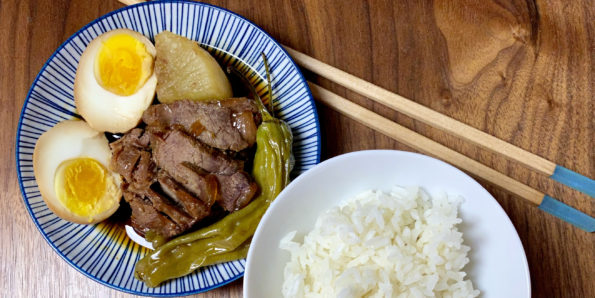
Waat Dan Fan (滑蛋飯) is one of my absolute all-time favorite down-home Cantonese dishes. The literal translation is Slippery Egg Rice. This version includes beef…

The flavor of the day is toasted black sesame seeds. They’re delicious-earthy, nutty, and bolder than white sesame seeds. They add texture, color, and zing…