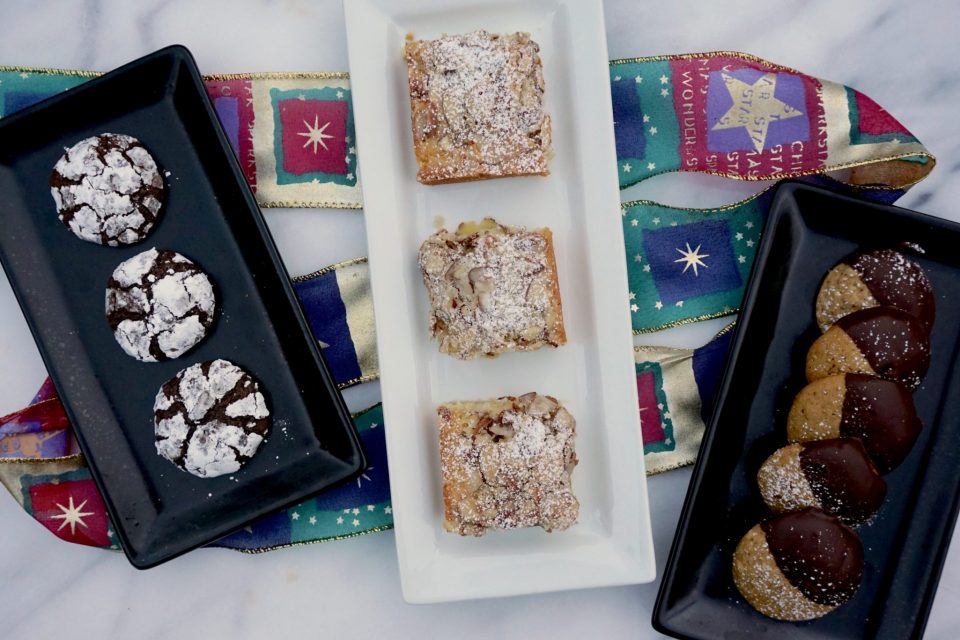
Category: Twelve Days of Cookies

Holiday cookie recipes

Mint to be-Frango Brownies

Mint to be-Frango Brownies

The other morning I met a friend I hadn’t seen in a while for coffee. Thanksgiving had us talking about the holidays.  We caught up on the kids’ comings and goings, where everyone was spending the holidays, and which kids would be home.

Of course, the conversation ultimately drifted to food. She mentioned ordering boxes of Frango Mints from Macy’s. FRANGO MINTS?! My eyes automatically glazed over.  Frango Mints, ooohhhh, love Frango Mints.  Back in the day whenever I was in Chicago, my to-do list included a stop at Marshall Field’s explicitly to buy Frango Chocolates.  Delightful bites of satiny smooth chocolate flavored with mint, raspberry, or caramel.

Much to the chagrin of Chicagoans, Marshall Field’s was sold to The Federated Group, but for the rest of us, it meant those luscious chocolate morsels can now be found at Macy’s everywhere.  I know, it is not the same as Marshall Field’s on State Street, sigh.  But time marches on.

Doing the Frango Tango

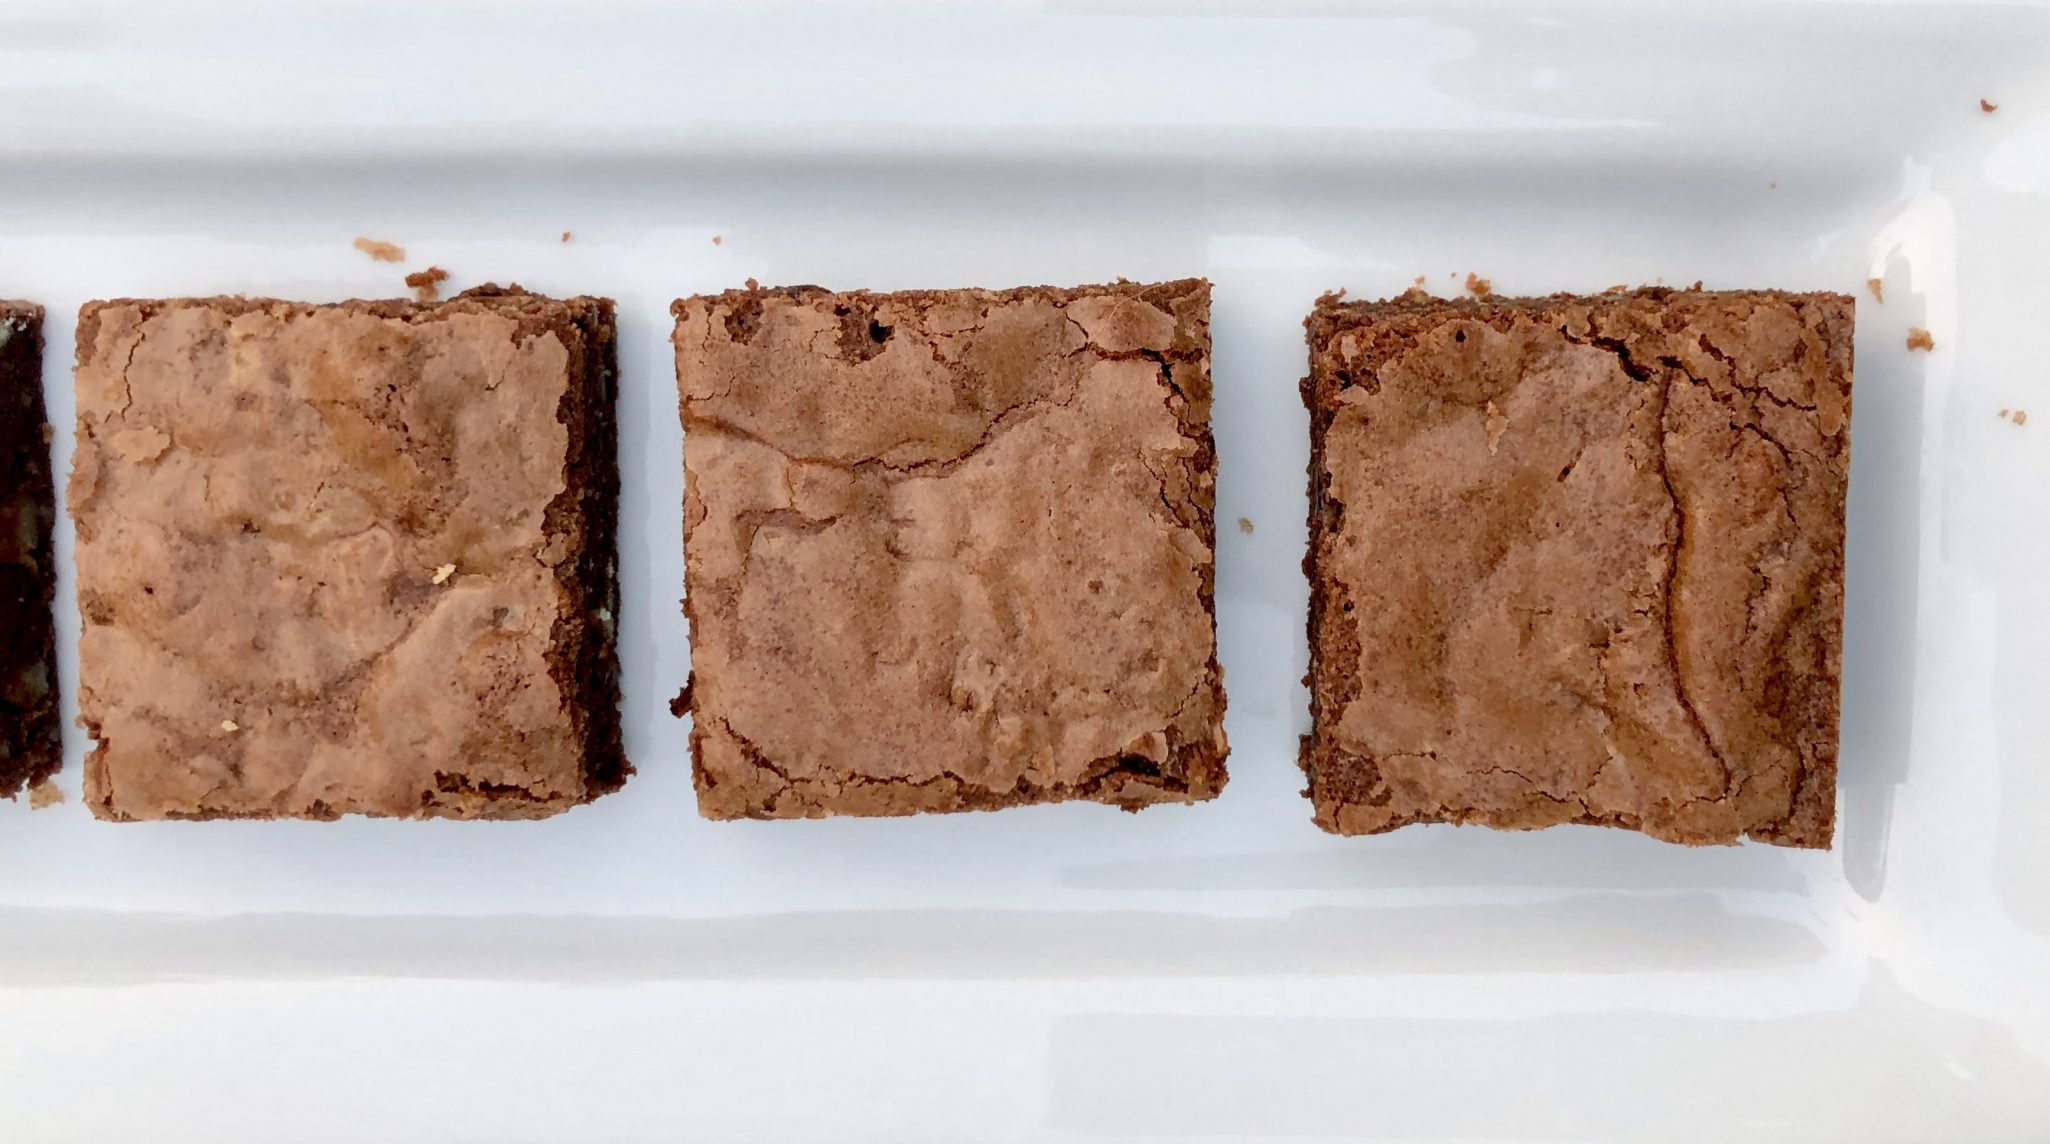
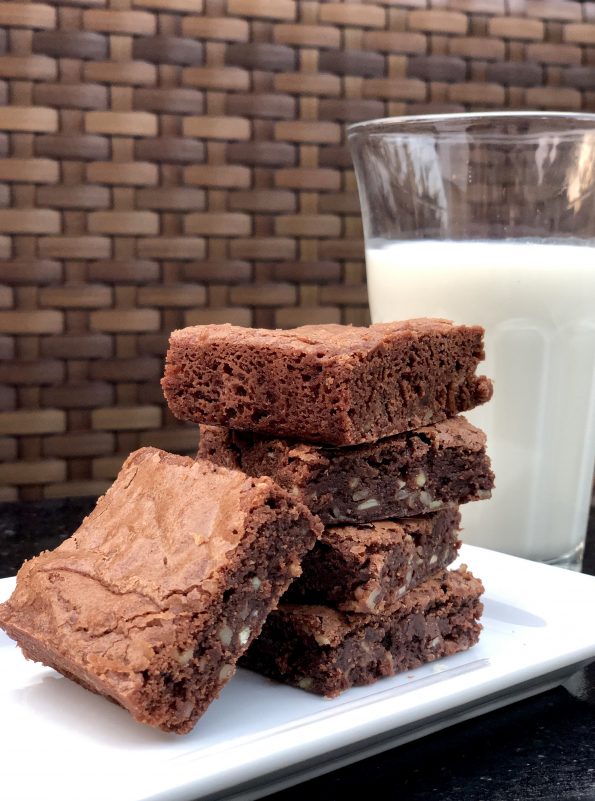
Frango Mints straight out of the box are delectable, but those little bad boys elevate your standard brownie to a new level. Years ago, the Chicago Tribune printed a recipe for a Frango Mint Brownie. They are easy to make, and delicious with that minty twist that sets them apart.  It does help to have a mixer since the recipe calls for whipping the eggs to a nice thick, foamy batter.  There are no leaveners, so the egg mixture accounts for any lift in the batter.  Add the melted chocolate, and fold in the flour, nuts, and chopped Frango mints. Bake. The brownies are ready when a toothpick stuck halfway between the edge and the center comes out fairly clean or just a few crumbs.  Somewhere between fudgy and cakey, these brownies are just right.

With a promise to send my friend the recipe, I hustled home to make a batch of these long-forgotten gems.  Well, I did have to make a stop before heading home. Lucky for me Macy’s is just a few minutes away. Had to get my signature green box of Frango Mints. (Yikes-Cyber Monday deal 9.99/box!)

Shhhh…I shouldn’t be writing this, but in a pinch, if you don’t have Frango Mints, you could use Andes Mints.
Frango Mint Brownies

Frango Mints + Brownies + Cold Glass of Milk = Perfect Treat

You’re welcome.

FRANGO MINT BROWNIES

Course Dessert
Cuisine American
Prep Time 10 minutes
Cook Time 30 minutes
Total Time 40 minutes
Servings 16 servings

Ingredients

  • 2 ounces baking chocolate chopped
  • 1/2 cup (1 cube of butter) cut into pieces
  • 2 large eggs
  • 1 cup sugar
  • 1 teaspoon vanilla
  • 1/2 cup flour
  • 1/8 teaspoon salt
  • 1/2 cup pecans chopped
  • 1/2 cup Field`s Frango Mints chopped

Instructions

  • Heat oven to 350 degrees. Butter an 8 inch square baking pan.
  • Melt butter in medium saucepan or in microwave. Add chocolate and stir to melt until chocolate is completely melted.
  • Beat eggs with an electric mixer until thick and lemon colored (~2 min)
  • Gradually add the sugar to the eggs, beating thoroughly (additional 1 min) until the batter is smooth and light.
  • Stir in the chocolate mixture and vanilla.
  • Fold in flour and salt into the batter with rubber spatula.
  • Fold in the pecans and chopped Frangos.
  • Pour brownie mixture into a well-greased, 8-inch-square pan.
  • Bake until the top is shiny and a crust has formed, 20 to 25 minutes. Avoid overbaking.
  • Bake until wooden toothpick inserted halfway between edge and center comes out with on a moist crumb.
  • Cool on wire rack. Cut into 16 2x2 pieces.
  • Store in an airtight container.
  • Allow to cool completely, then cut into 2-inch squares.
Double Chipping (Butterscotch Potato Chip Balls)

Double Chipping (Butterscotch Potato Chip Balls)

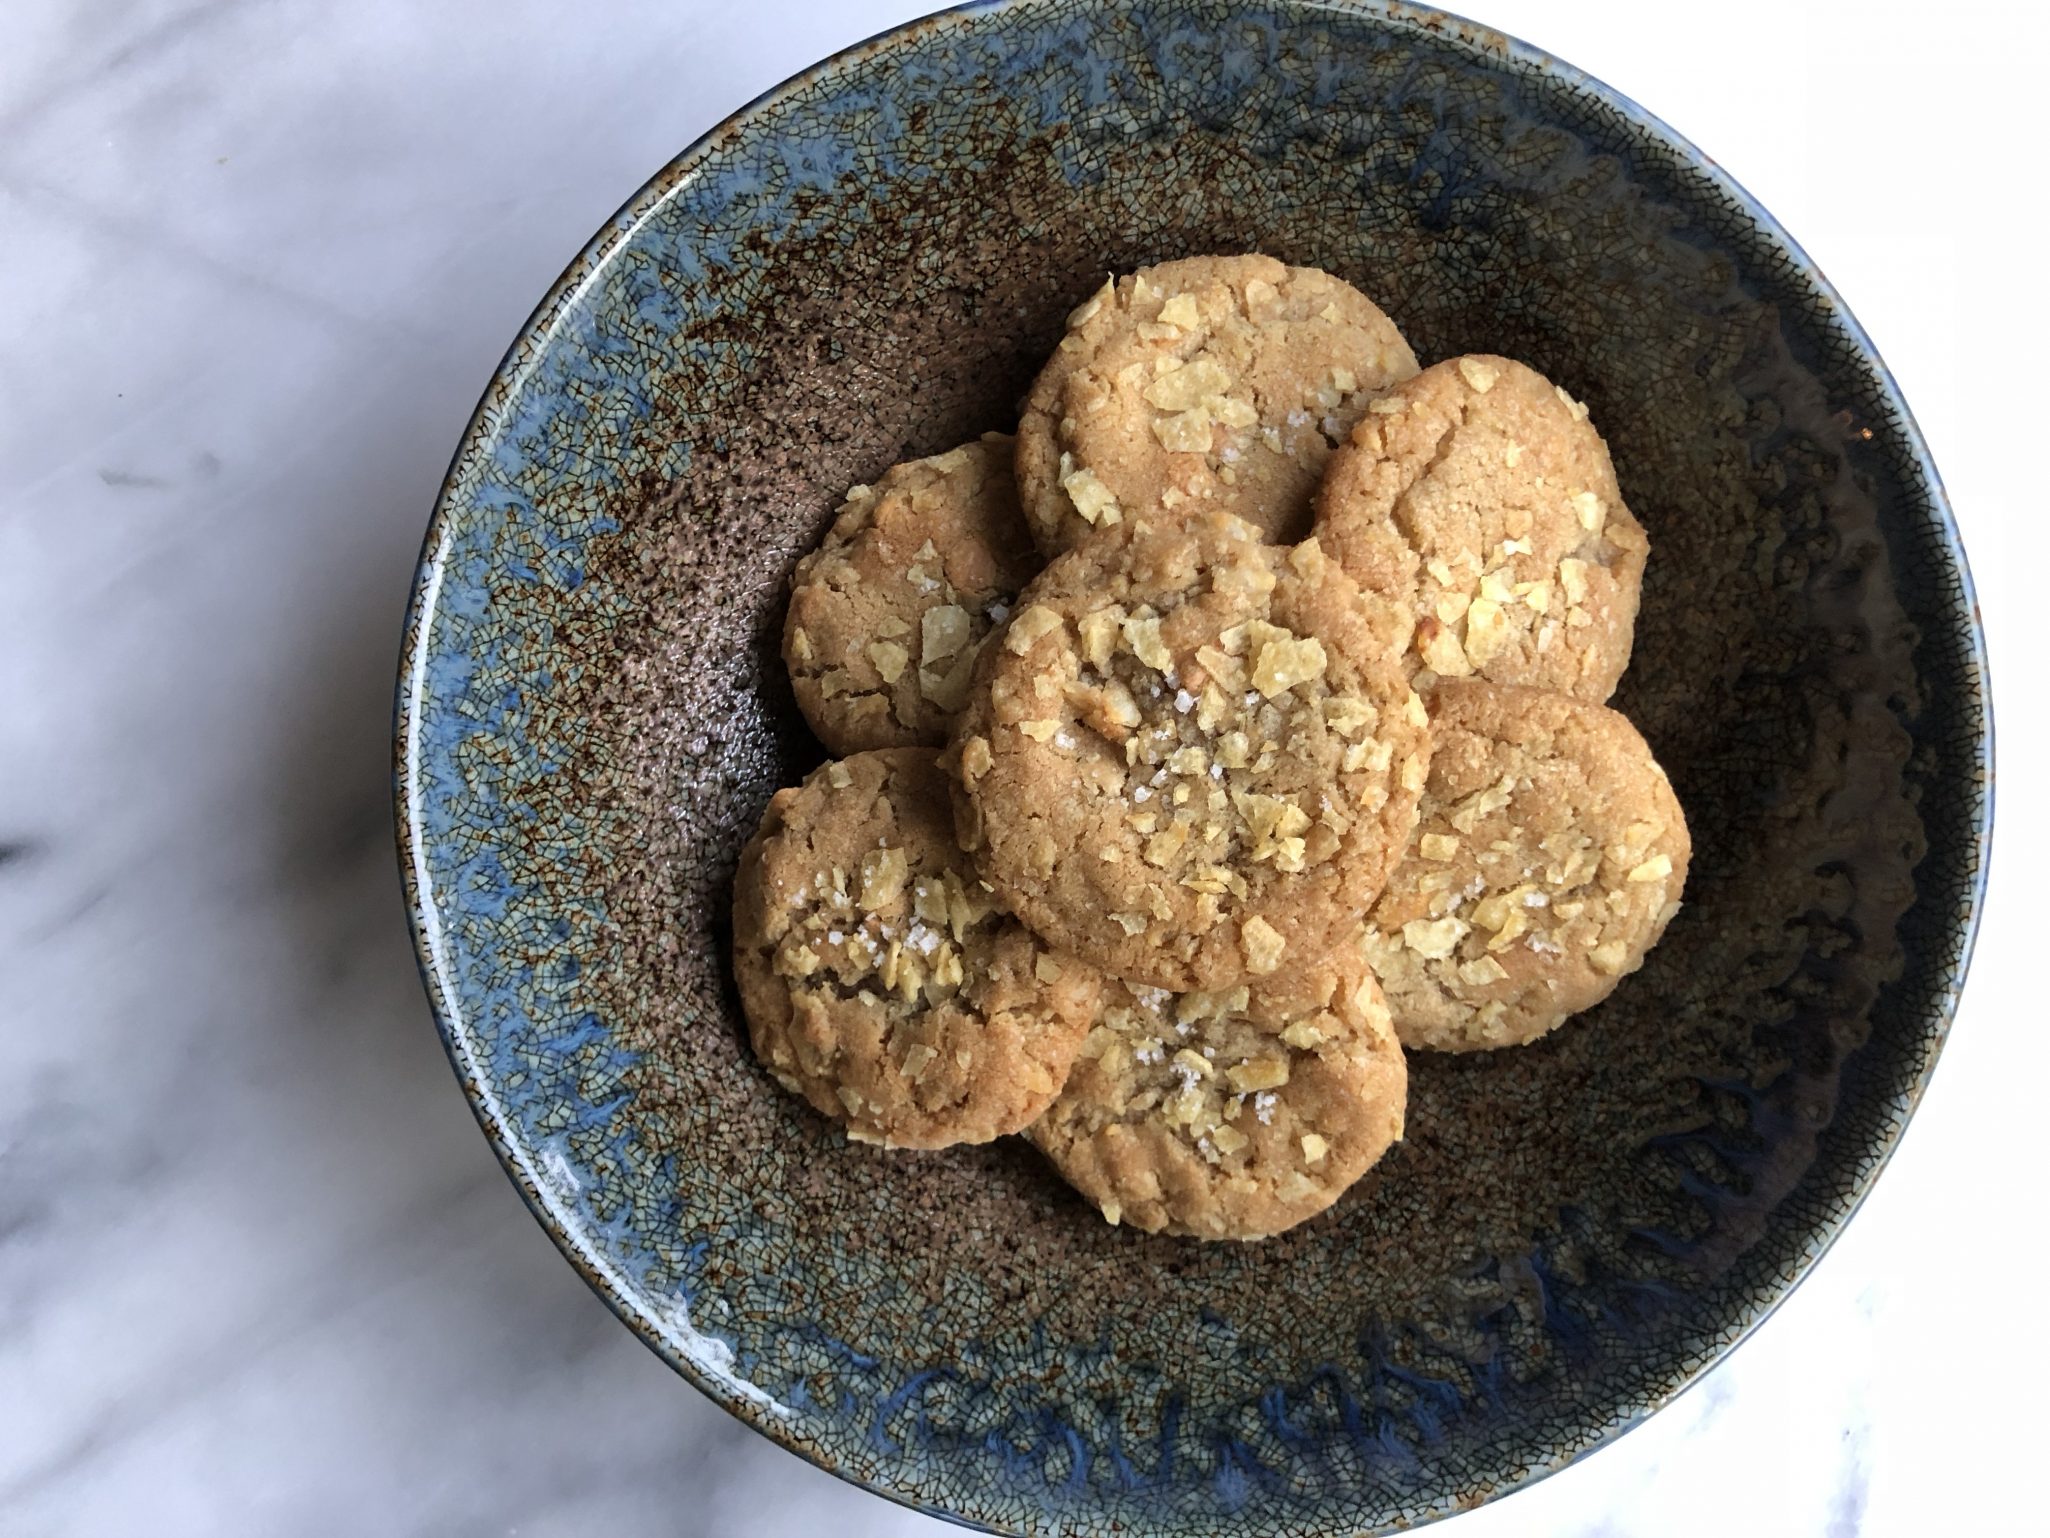
The classic potato chip cookie, updated in The Vintage Baker by Jessie Sheehan.  Add butterscotch chips and triple the amount of potato chips, for the new and improved, Version 2.0 of Potato Chip Cookie.  I found these cookies by way of Ipso Fatto a favorite blog I follow.  How could I pass up a cookie described as chewy, crunchy, buttery, rolled in Kettle potato chips and studded with butterscotch chips?  I couldn’t and I didn’t.

These are a snap to put together.  You start with melted butter, no waiting for butter to soften and you can bake off a batch without chilling the dough.  That’s almost like instant cookies in my book.

Chips Matter

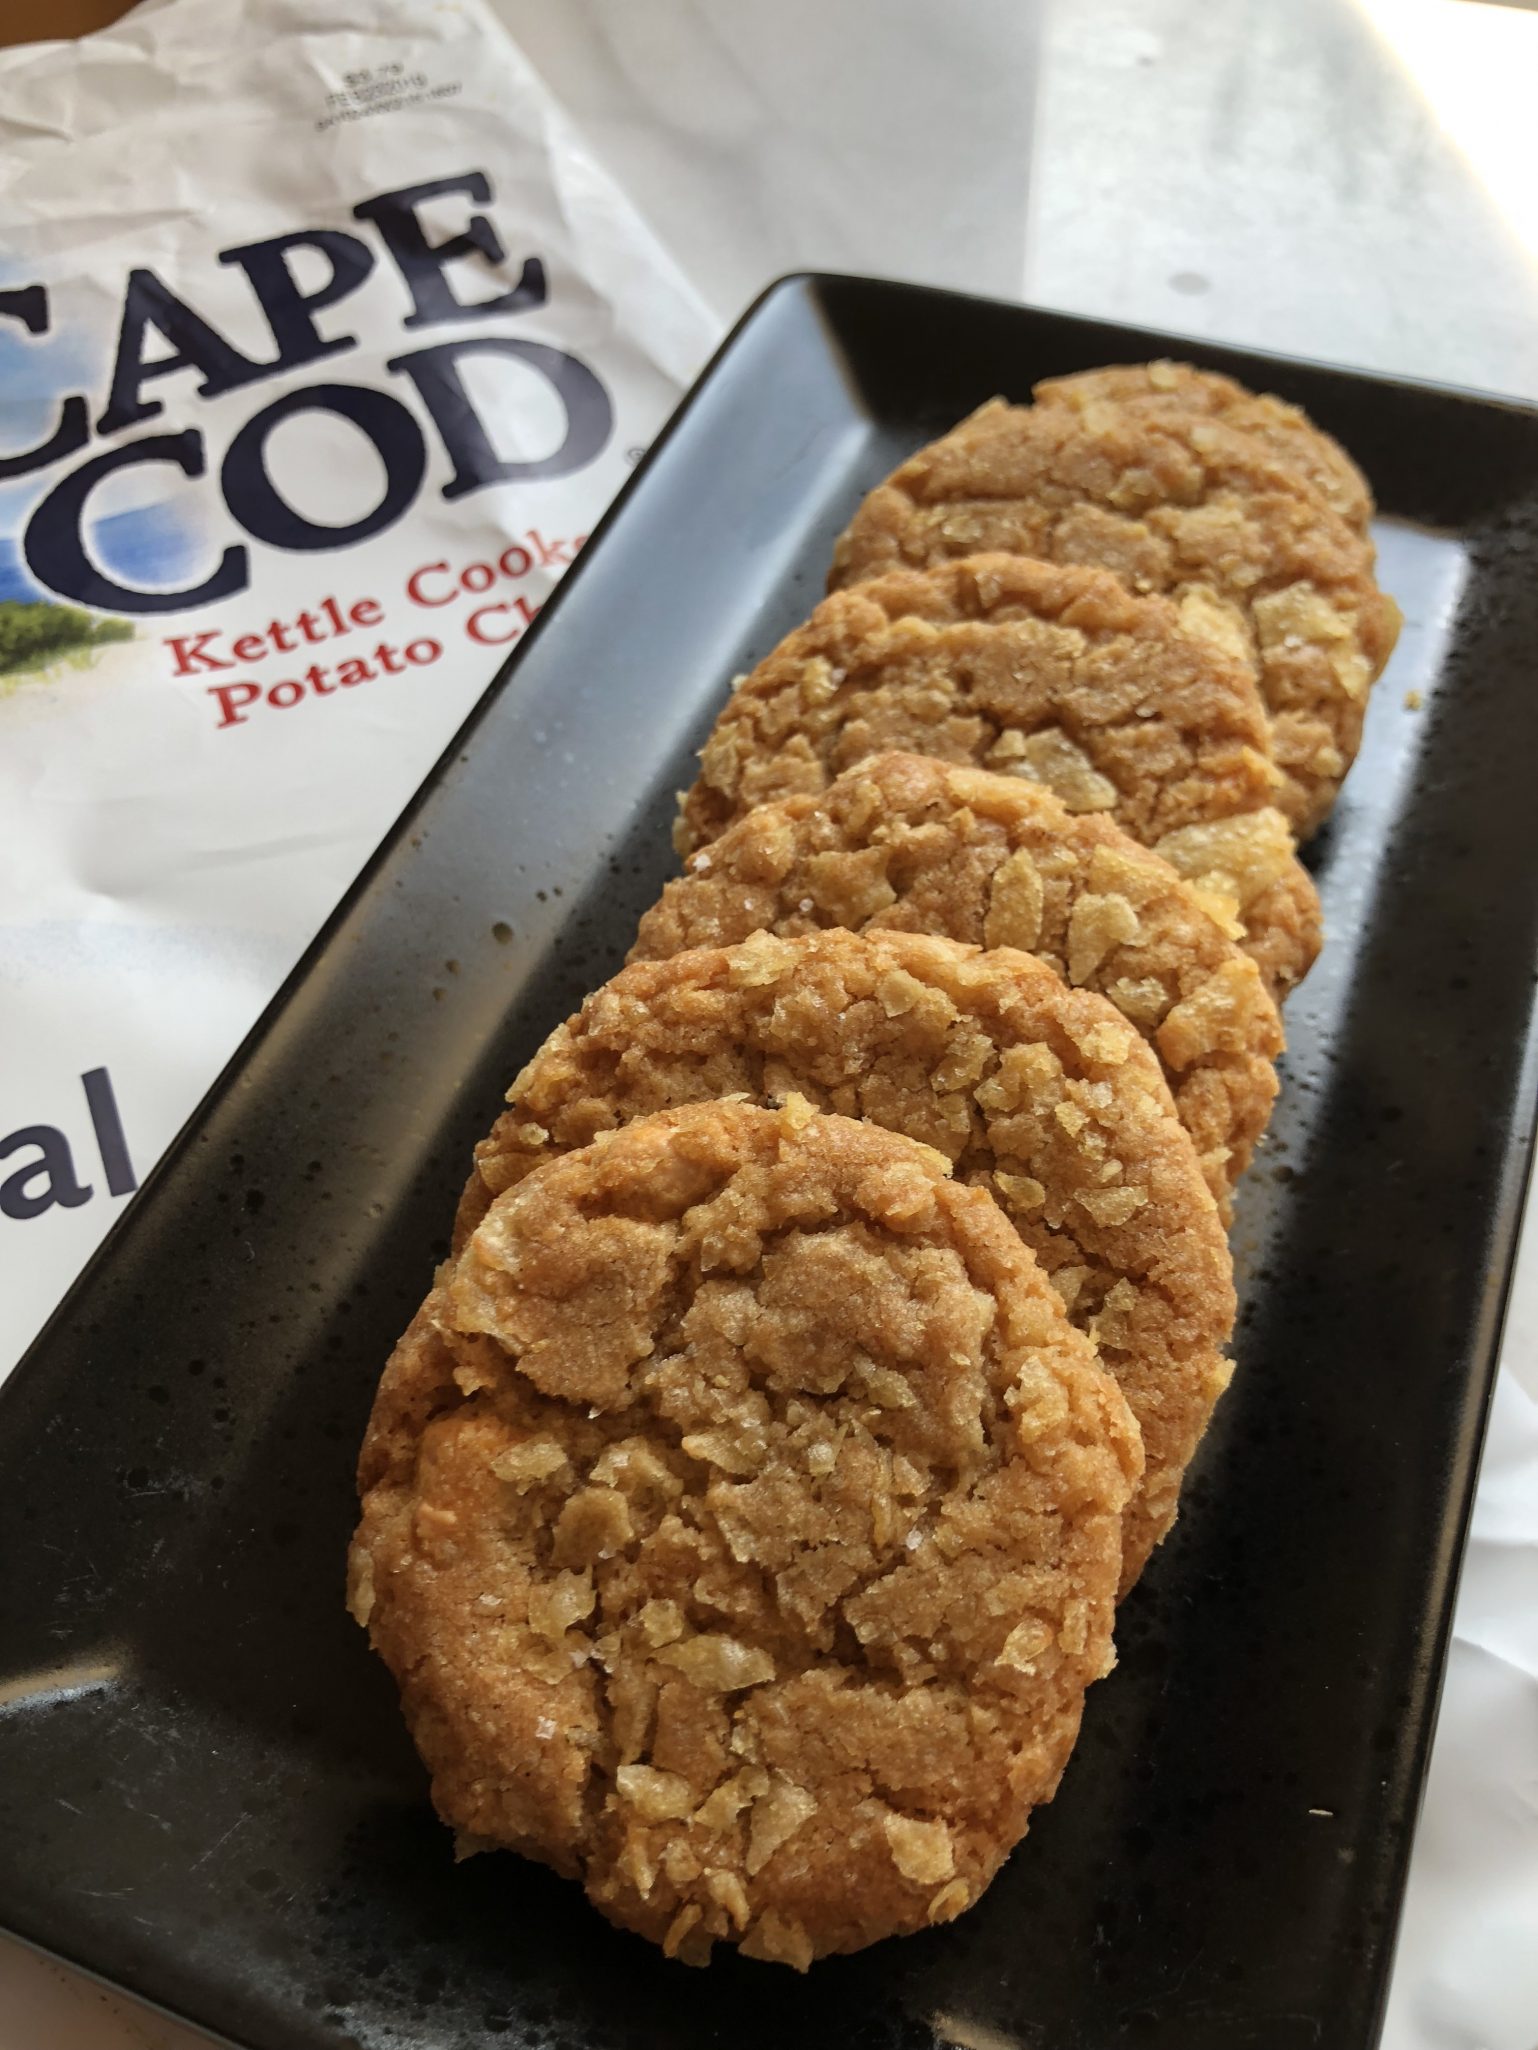
For my first batch, I purchased the only Kettle chips I could find at Whole Foods, their house brand,  I like Whole Foods, and shop there often, do not buy their Kettle Chips…bleah, flat and tasteless.  For my second batch, I used Cape Cod’s Kettle Chips.  Did it make a difference in the cookies?  I think so. Saltier and crunchier.  It made a difference with the extra chips left in each bag.  Much to my chagrin, I polished off the rest of the Cape Cod Chips in a New York minute.  The moral of the story is to use your favorite Kettle chips.

Butterscotch chips are not commonplace in my kitchen.  The few times I used them, I wasn’t thrilled with the texture or taste, they always seemed a bit artificial.  After an exhaustive search (King Arthur Flour website), I got Guittard’s Butterscotch chips.  They are surprisingly flavorful.  It would have been nice if they were “meltier” like chocolate chips.  Ipso Fatto used caramelized white chocolate or “blond chocolate” for the butterscotch but it is both hard to find and pretty pricey.  By all means, use the chips you like the most, that’s what counts. This recipe doesn’t use the entire bag of butterscotch chips, lucky for you I have another tasty cookie recipe that calls for melted butterscotch chips-Butterscotch Cookies, from The Perfect Cookie.

The recipe calls for putting the potato chips into the dough and crushing them as you mix the dough.  That leaves some big chips in the dough.  rushed the chips before adding them to the batter.

Chill the dough for a bit so the cookies don’t spread a lot.  Use a 1.5 tablespoon scoop which makes a 2-1/2 inch diameter cookie.  As soon as they come out of the oven flatten them with a spatula and push in the sides to make them round (optional).  Y’all probably know this but ice cream/cookie scoops are PERFECT for making uniform cookies.  I have had mine for ages (made in Italy, not China-that’s how old they are).  If you have a baker in your family, scoops would make great stocking stuffers.

Chip Off the Old Cookie

These cookies are delicious.  I took a batch to my professional testers (my co-workers), and they gobbled them up.  The potato chips add a nice crunch and saltiness, the butterscotch chips add sweetness, the touch of flaked salt at the end accentuates the sweet-salty “thang” and butter is butter, say no more.  The over-the-top factor-potato chips mixed in the dough and the dough then rolled in more chips, that’s what I call the “double-chip hit”.   Run, don’t walk to your kitchen, and make a batch now.

Butterscotch–Potato Chip Balls Potato Chip Balls

Course cookies
Cuisine American
Keyword Butterscotch Potato Chip Balls
Prep Time 20 minutes
Cook Time 10 minutes
Total Time 30 minutes
Servings 36 cookies

Ingredients

  • 2 1/3 cups [325 g] all-purpose flour 1 tsp baking soda
  • 1 tsp table salt
  • 1 cup [180 g] butterscotch chips
  • 1 cup [220 g] unsalted butter melted
  • 1 cup [200 g] packed light brown sugar 1/2 cup [100 g] granulated sugar
  • 1 egg
  • 1 egg yolk
  • 2 tsp pure vanilla extract
  • 5 cups [175 g] kettle-style potato chips Flaky sea salt for sprinkling

Instructions

  • Preheat the oven to 350°F [180°C]. Line a rimmed baking sheet with parchment paper.
  • In a medium bowl, combine the flour, baking soda, and salt and whisk together. Add the butterscotch chips and set aside. In the bowl of a stand mixer fitted with the paddle attachment, cream the melted butter and sugars on medium-high speed until thick, light, and glossy, 3 to 5 minutes, scraping the bowl with a rubber spatula as needed.
  • Decrease the mixer speed to medium-low and add the egg and yolk, one at a time, beating well and scraping the bowl aer each addition with a rubber spatula. Add the vanilla and mix to combine. Add the dry ingredients all at once, mixing just to combine. Remove the bowl from the stand mixer and add 3 cups [105 g] of the potato chips to the dough, combining and crushing the chips with a rubber spatula.
  • In a small bowl, crush the remaining 2 cups [70 g] potato chips. Scoop the dough into 1 1/2-tablespoon balls with a cookie scoop or measuring spoon, rolling each ball in the leover crushed chips, and evenly place 12 on the prepared baking sheet.
  • Sprinkle each cookie with flaky sea salt, and bake for 8 to 10 minutes, rotating at the halfway point, until lightly browned. Remove from the oven and press down on each cookie with a spatula to slightly flatten.
  • Repeat with the remaining cookie dough.
  • Let cool briefly and serve warm, because who doesn't love a cookie warm from the oven? The cookies will keep in an airtight container on the counter for up to 3 days.

The recipe can be found on Epicurious.com

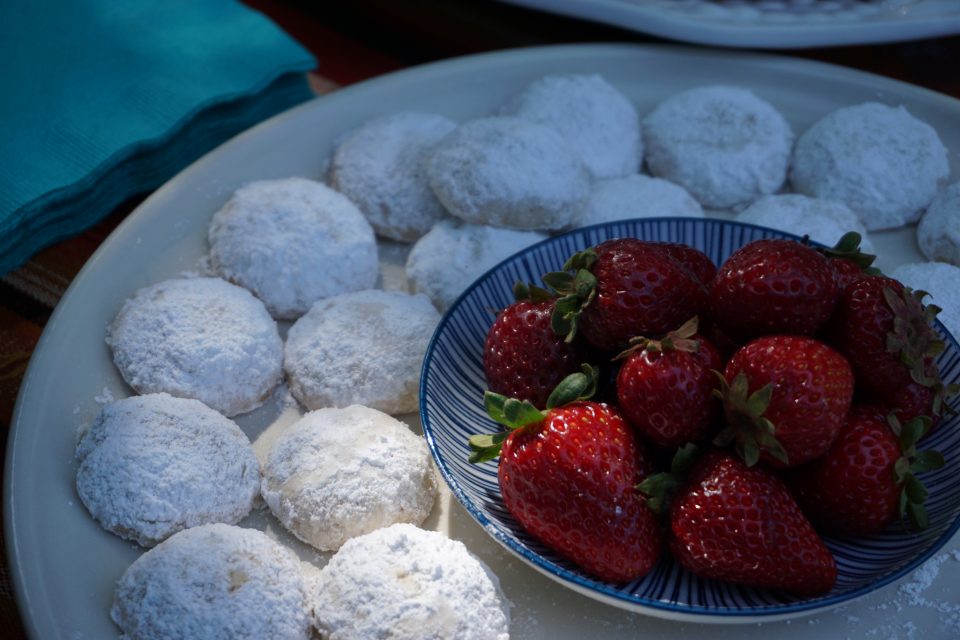
Tropical Flair to Mexican Wedding Cookies when Married with Lime and Coconut

Tropical Flair to Mexican Wedding Cookies when Married with Lime and Coconut

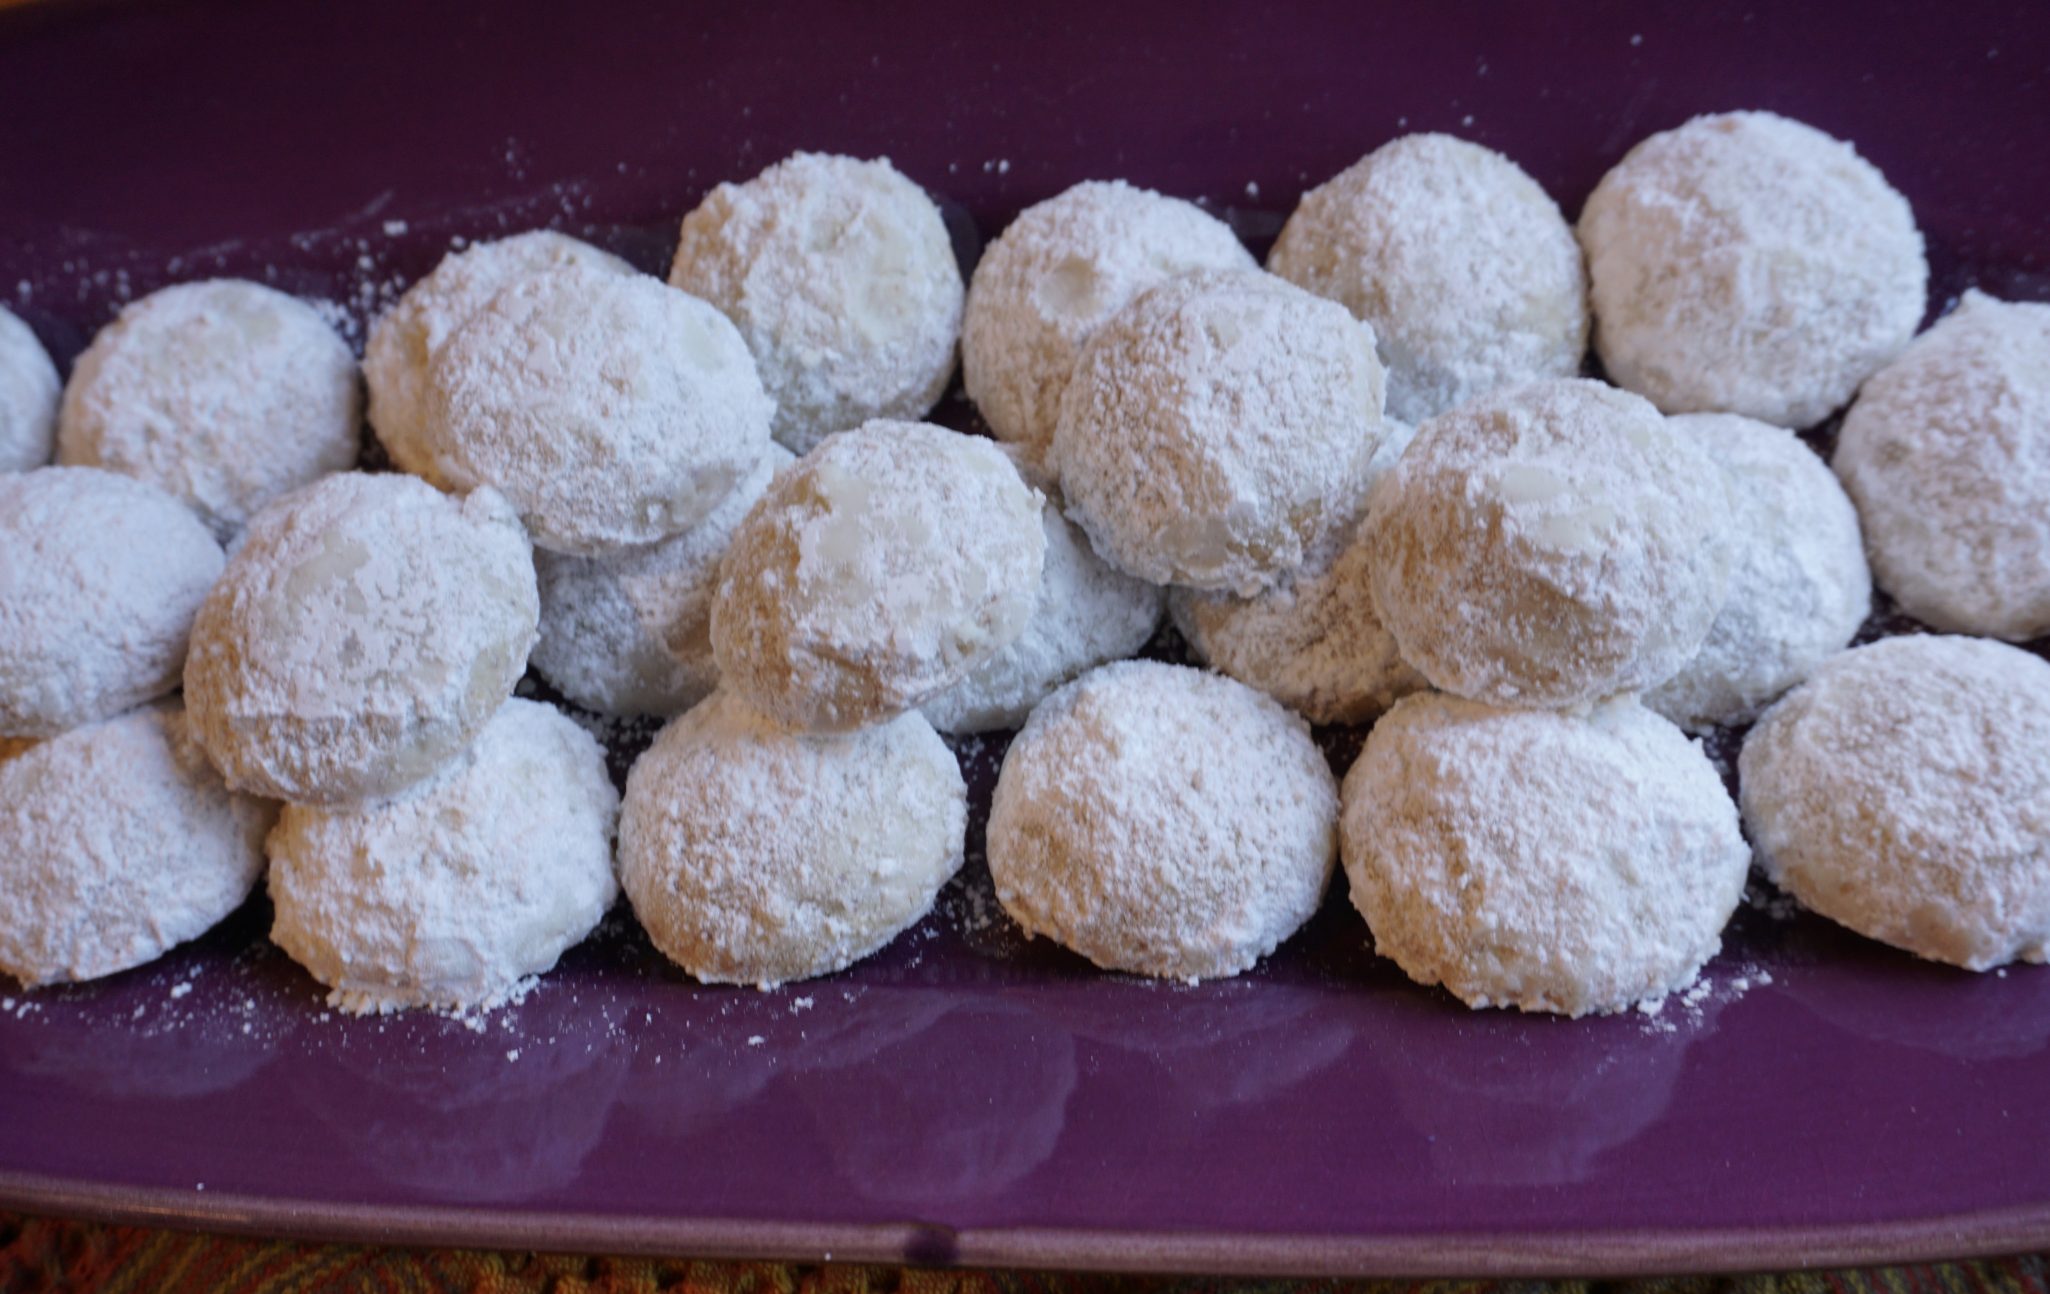
The political action group I belong to (please continue to read, that is as political as this post is going to get) hosted a fundraiser this past weekend.  A garden party with a Mexican theme. Of course, I volunteered to make something sweet.  Cookies, specifically, Mexican Wedding Cookies, instantly popped into my head.  Usually, I bake a batch of these nutty, buttery, nuggets during the holidays but it is the middle of summer so I wanted to change it up just a bit.  I found the perfect riff on the classic wedding cookie, a coconut lime version, on the blog Once Upon A Chef by Jenn Segal.  Garden Party, Fiesta theme, coconut, lime-yep, spot on.

Delicious AND easy to make.  The dough is made in a food processor which makes these cookies STUPID easy.  You throw the dry ingredients into your food processor bowl, give it a couple of whirls, add the butter, vanilla and lime zest, pulse to it comes together and boom, you are done.  Wrap the dough in plastic wrap, and forget about it in the fridge for about an hour.  Use a teaspoon ice cream scoop to make balls of dough, bake, and roll in a ton of powdered sugar.  HOW EASY IS THAT? Ipso Facto Dunzo.

Coconut-Lime Mexican Wedding Cookies

Course cookies, Dessert
Cuisine American
Keyword Mexican Wedding Cookies
Prep Time 10 minutes
Cook Time 12 minutes
Total Time 22 minutes

Ingredients

  • 1 cup all-purpose flour spooned into measuring cup and leveled-off
  • 1/4 teaspoon salt
  • 1/2 cup confectioners' sugar plus about 3/4 cup more for coating
  • 1/3 cup pecans
  • 1/4 cup sweetened flaked coconut
  • 1 stick 1/2 cup unsalted butter, softened
  • 1 packed teaspoon lime zest from 1 lime
  • 1 teaspoon vanilla extract

Instructions

  • In the bowl of a food processor fitted with the steel blade, combine the flour, salt, confectioners' sugar, pecans and coconut. Process until the pecans and coconut are finely ground, and the mixture looks like sand. Add the butter, lime zest, and vanilla extract; process until the mixture comes together into a cohesive dough. Remove the dough from the bowl and wrap in plastic. Chill until firm enough to roll, 45 minutes to 1 hour.
  • Meanwhile, preheat the oven to 350°F. Line two baking sheets with parchment paper.
  • Measure the dough into heaping teaspoon-size pieces and roll each piece into a ball. Place the balls about 1-1/2 inches apart on the prepared baking sheets. Bake until the edges of the cookies barely begin to brown, 12 to 14 minutes. Let cool on the baking sheets, then roll in the confectioners' sugar while still warm. Let the cookies cool on a rack, then roll again in confectioners' sugar once they are cool. Store in an airtight container at room temperature.

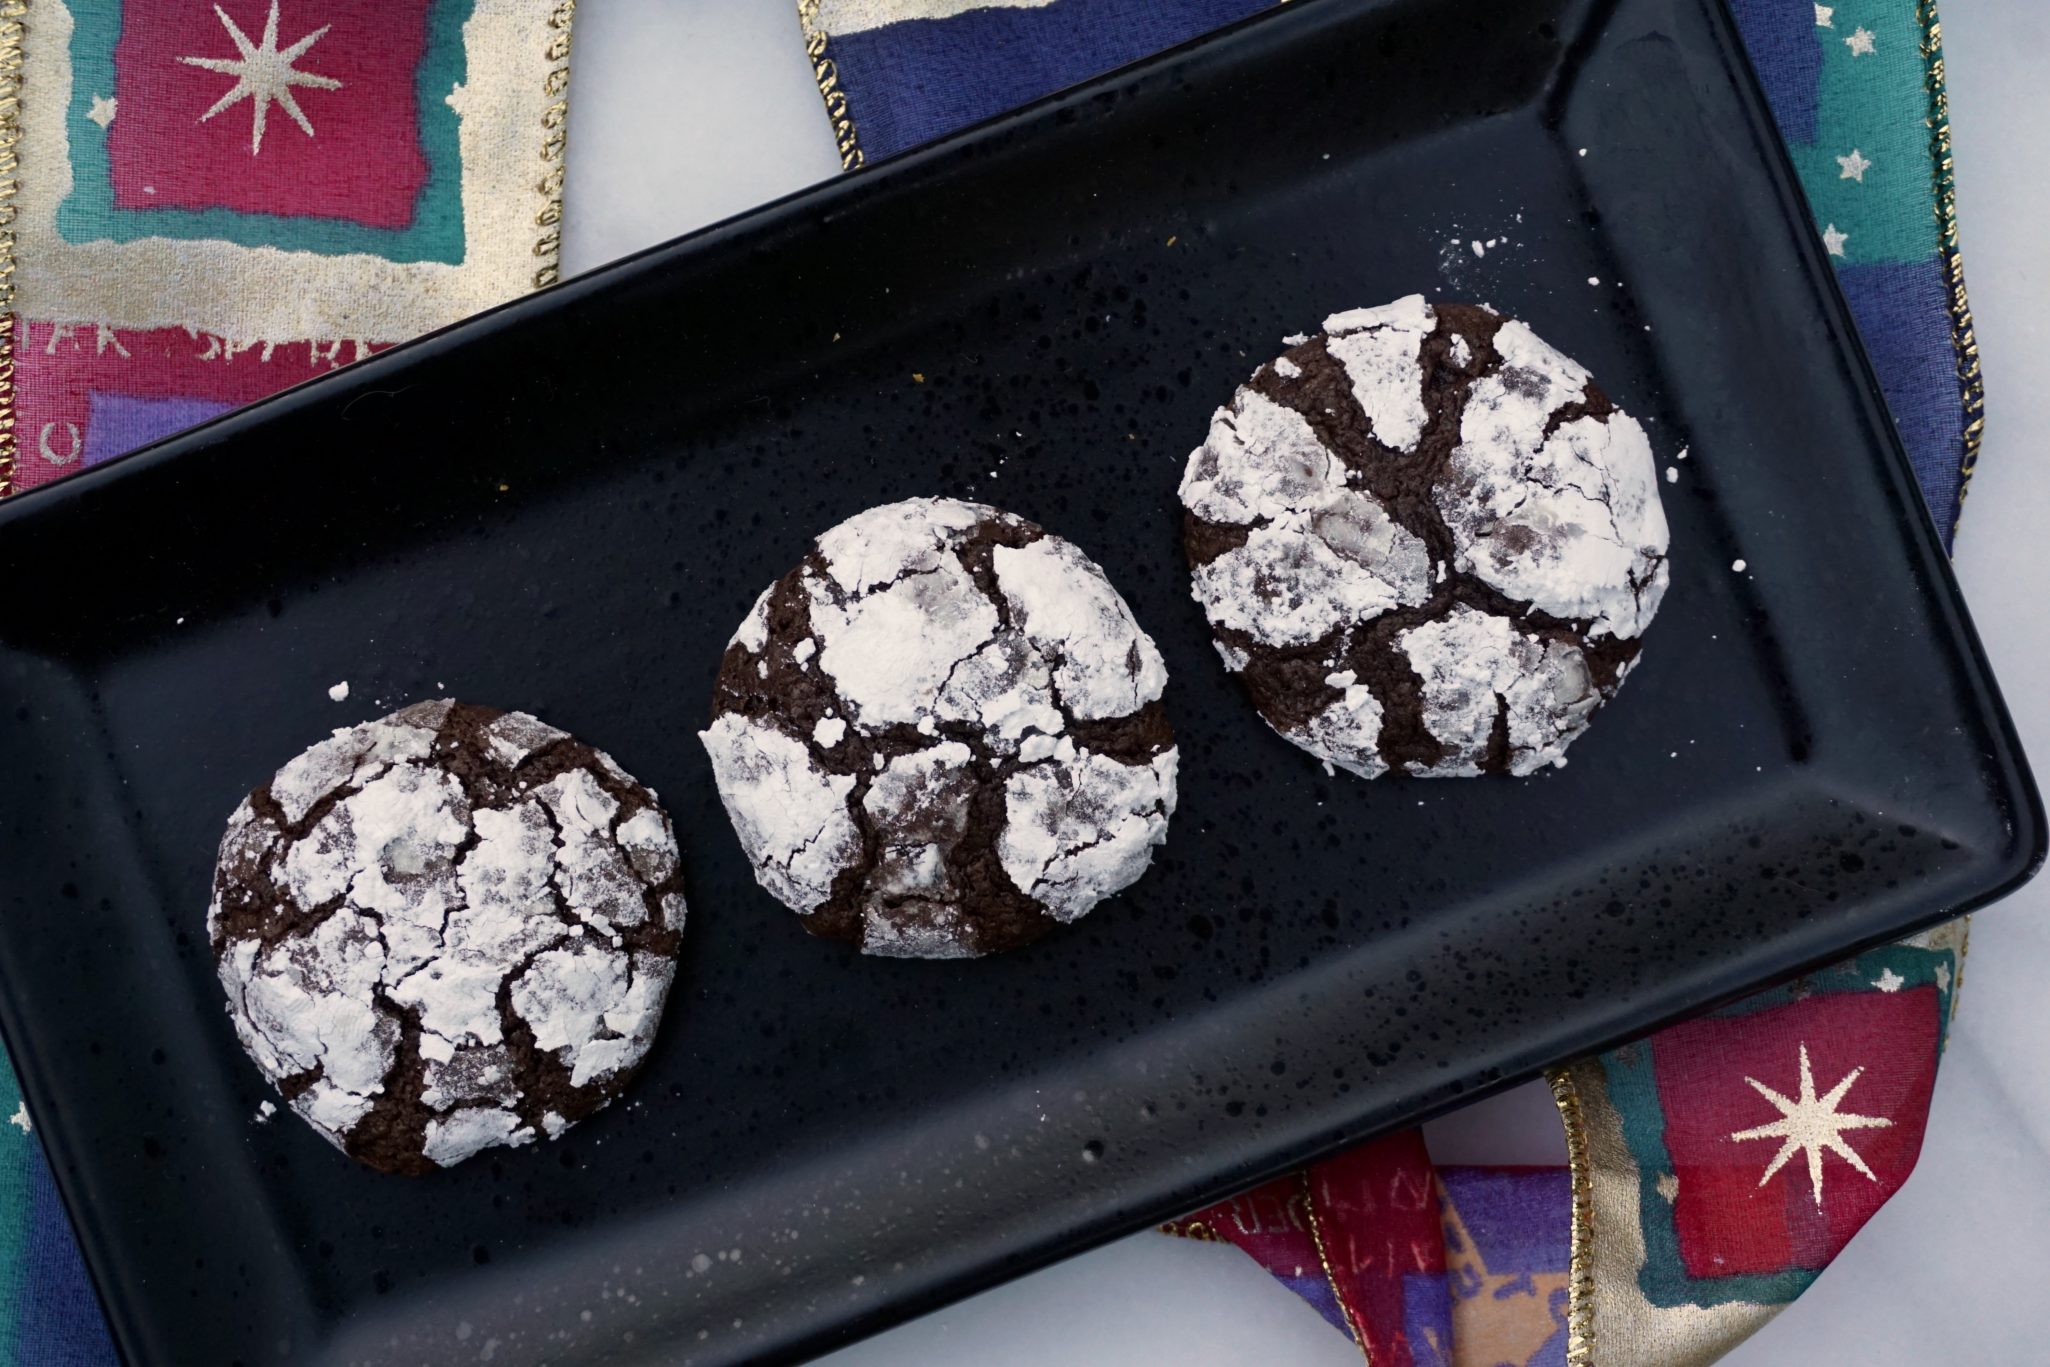
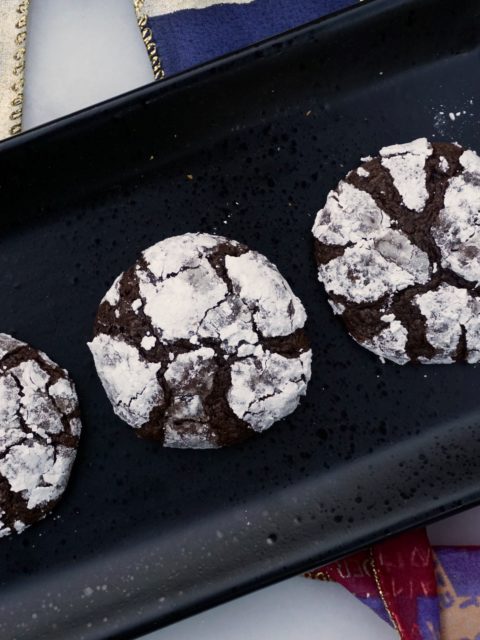
Snowy Topped Brownie Drops, Cookie Number 4

Snowy Topped Brownie Drops, Cookie Number 4

Another winner from Dorie!

Though a tough call, the favorite out of this holiday trio was the Snowy Topped Brownie Drops.  A decadent, chocolatey, cookie finished with generous dusting of powdered sugar.  Have an office party coming up?  This is the cookie to make to guarantee an invitation to all of the holiday parties of the season!  But don’t reserve these just for the holidays, they are too good not to bake any time of the year!

Snowy-topped Brownie Drops

Ingredients

  • 5 tablespoons 71 grams unsalted butter cut into small pieces
  • 8 ounces 226 grams bittersweet chocolate*
  • 3/4 cup 150 grams granulated sugar
  • 2 large eggs cold
  • 1 teaspoon pure vanilla extract
  • 1/2 teaspoon sea salt
  • 3/4 cup 102 grams all-purpose flour
  • Confectioners’ sugar for rolling

Instructions

  • Coarsely chop the chocolate. Place 6 ounces of the chocolate together with the butter pieces in a heatproof, microwave safe bowl or the top of a double boiler. If using a microwave, microwave for 3-5 segments of 30 seconds on high, stirring in between to help melt. If using a double boiler, place the double boiler (or any heatproof bowl) over gently simmering water, taking care that the water doesn't touch the bottom of the pan. Stirring until the chocolate and butter are just melted, then remove the bowl from the heat.
  • Immediately whisk in the granulated sugar into the melted chocolate. The mixture will turn grainy.
  • One at a time, add in the eggs, whisking for one minute after each addition. The batter should become quite smooth, shiny, and noticeably thicker. Whisk in the vanilla and salt.
  • Using a silicone spatula, fold in the flour until it just disappears. Fold in the reserved 2 ounces of chopped chocolate. The dough will be very sticky.
  • Cover the batter with plastic wrap or in an airtight container and refrigerate for at least 3 hours.
  • Preheat the oven to 350 F. Line a baking sheet with parchment paper or a silicone liner. Place about 1/3-1/2 cup of confectioner's sugar in a small bowl. Using a small cookie scoop, scoop out round portions of the dough, and roll each ball in the confectioner's sugar to create the snowy top. Once the ball is generously coated in confectioner's sugar, place it on the baking sheet. Repeat for the remaining dough, spacing cookie balls 2 inches apart.
  • Bake only one baking sheet of these cookies at a time, for a total of 12 minutes, rotating after 6 minutes. The cookies should spread and crack, with set sides, but will still appear fairly underbaked in the middle. This is how they should look.
  • Set the cookies on a metal cooling rack to cool at least 2-5 minutes, then serve warm or at room temperature.
  • Unbaked dough can be stored in the refrigerator for up to 4 days and in the freezer for 1-2 months. Once baked, these cookies will keep 3-4 days but will gradually lose their softness.

Notes

You could use semi-sweet or a high percentage dark chocolate here instead, but the cookies will be a bit sweeter.
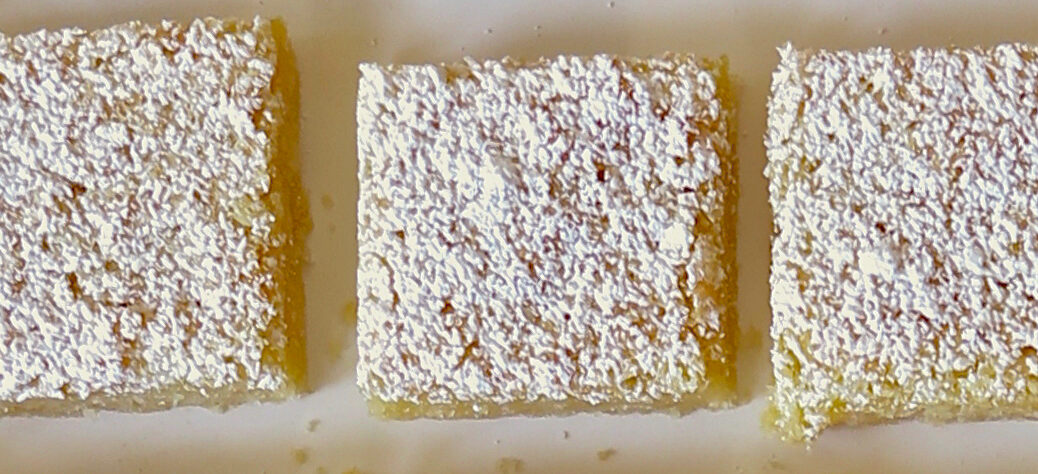
Classic Lemon Bars

Classic Lemon Bars

This is the lemon bar of your childhood..tender, buttery, melt in your mouth crust, lemony bur sweet filling, and topped with a snowfall of powdered sugar.  I love them and if I were being nostalgic or feeding a room full of kids, this is the bar ncookie I would make.  But we all grow up, our taste change, we get a little bolder and crave a twist to childhood favorites.  Luckily I found a “grown-up” version, Alice Medrich’s Lemon Bars to bake.  A crisp, buttery crust and filling with enough lemon to make your tastebuds pucker up, so good.

There is absolutely no reason you can’t have both! If you’re feeling like a kid bake this version, if you’re feeling hipster-ish and sassy, bake Alice’s version, Lemon Bars with attitude.

When I am in a hurry I will make the crust for these bars in my food processor.  Put flour and powdered sugar in FP bowl.  Pulse to combine.  Add butter (if you use unsalted butter add a pinch of salt) and pulse until it looks like powdery, loose crumbs. It should not come together.  Pour the mixture into an 8×8 pan and press evenly.  Don’t worry, it won’t look like dough, but will bake into a tender lovely crust.

While the crust is baking, prepare the filling. I have used just lemons, a combination of lemons and limes (2/3:1/3), Meyer lemons and oranges. Experiment!

Imperative to pour the filling on a hot crust which helps set the filling.  The filling will keep baking after it comes out so a slight center jiggle is ok when you take it out of the oven.

Classic Lemon Bars

Kid tested-Kid approved version of Lemon Bars. Tender, buttery crust with a sweet, citrusy lemon curd topping. A classic from the SF Chronicle Food section.
Course bar cookies
Cuisine American
Keyword bar cookies, Dessert, lemon, Lemon Bars
Prep Time 20 minutes
Cook Time 25 minutes
Servings 16 squares

Ingredients

Shortbread crust

1 cup flour

1/4 cup powdered sugar

1/2 cup butter (1 stick)

Filling:

1 cup sugar

2 T flour

1/2 teaspoon baking powder

2 T lemon juice

2 teaspoon lemon zest, finely grated

2 large eggs

Instructions

Adjust the rack in the lower third of oven. Preheat oven to 350 degrees. Grease an 8 or 9 inch square pan.

    To make crust: Briefly blend the flour and sugar in a medium bowl to combine. Cut in butter until the mixture resembles oatmeal. Using your fingertips, press the mixture into the bottom of the pan. Bake for 15 minutes or until pale golden.

      To make filling: Whisk flour, sugar and baking powder together. Blend eggs, lemon juice, and lemon zest in a medium bowl. Add the dry ingredients and blend until thoroughly combined. Pour filling over partially baked crust and bake 25 minutes. Cool, sprinkle powdered sugar over top and cut into bars.

        Options: Can add additional 1/2 T lemon juice or substitute 1/3 of juice with orange or lime juice and zest. Cut down on baking time ( 25 minutes to 15-20 minutes depending on pan size.)

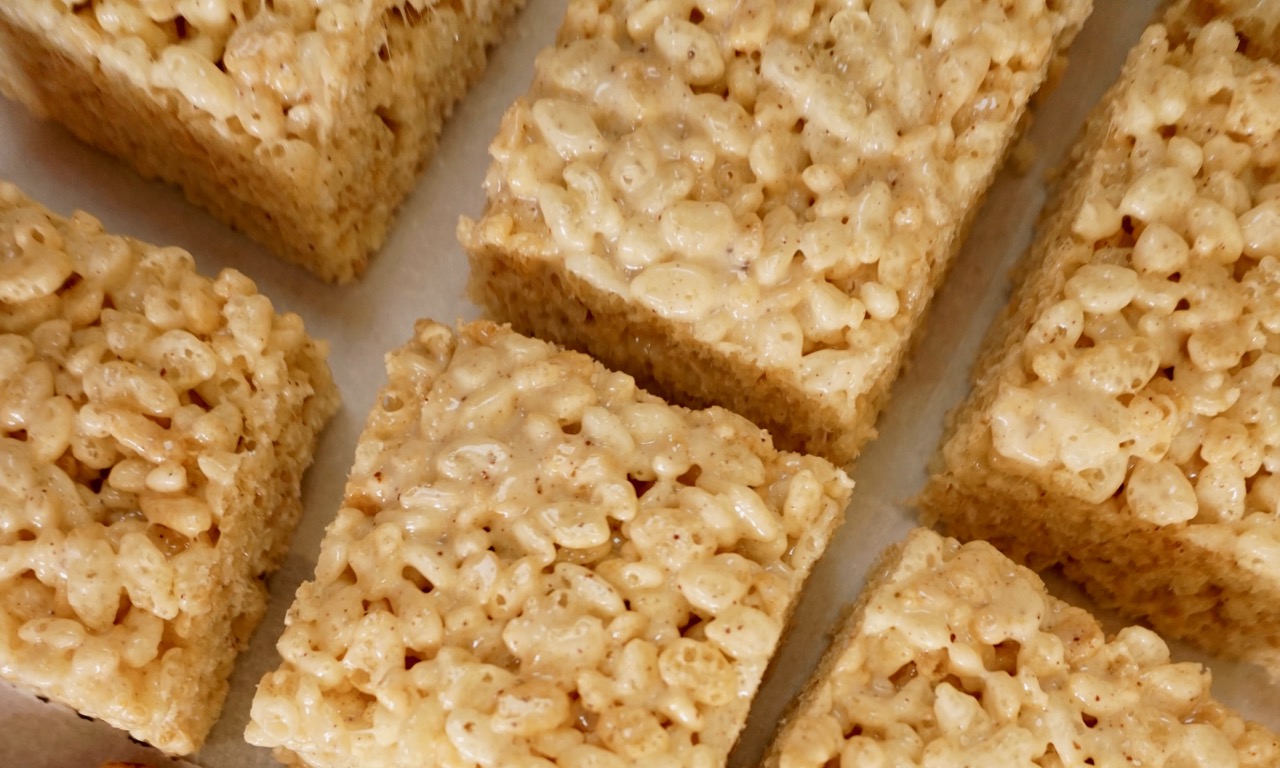
          Rice Krispy Treats (Double Your Pleasure, Double Your Fun)

          Rice Krispy Treats (Double Your Pleasure, Double Your Fun)

          Oh Snap

          It’s the last day of January and in order to avoid total embarrassment… here is the last cookie to complete my 12 Days of Cookies list. I give you the stupid easy, childhood favorite- Rice Krispy Treats!  Wait, do not roll your eyes and think “lame”. This is not your mama’s, on the side of the Snap, Crackle and Pop box, recipe. This is Rice Krispy Treats with a twist that is not for the faint of heart.

          Little Crackle

          No, there isn’t booze in these treats.  The recipe comes by way of Smitten Kitchen (love that site).  I had been looking for a way to jazz up this childhood favorite (not just add multi-colored sprinkles) and bring a bit of pizazz to them.  I found a couple of recipes that were just crazy, too much stuff, too complicated, just yuk. At the end of the day, a riff on Rice Krispy Treats should still transport you back to the ones you ate as a kid but at the same time your brain should be going “holy cow-what did she do to these!”

          The Pop

          Ladies and Gentlemen, I give you…

          SALTED BROWN BUTTER RICE KRISPY TREATS

          Yep, the exact same ingredients as the original recipe plus a sprinkle of flaked salt and well, DOUBLE the amount of butter. Yep, mo’ buttah, mo’ betta.

          And if that wasn’t enough, you kick it up another notch by browning the butter!  Great balls of butter!  You end up with a Rice Krispy treat that is gooey, sweet and salty, nutty and buttery.  YES, scream it from the rooftops, DOUBLE BUTTER!

          Up your Krispy Game, reserve half the salt to sprinkle on the treats at the end.  Use Fleur de Sel or grey salt, your hipster friends will ooh and aah.  Oh, snap.

          That’s it folks, cookie number 12. Drop the mic, done.

          Brown Butter Rice Krispy Treats
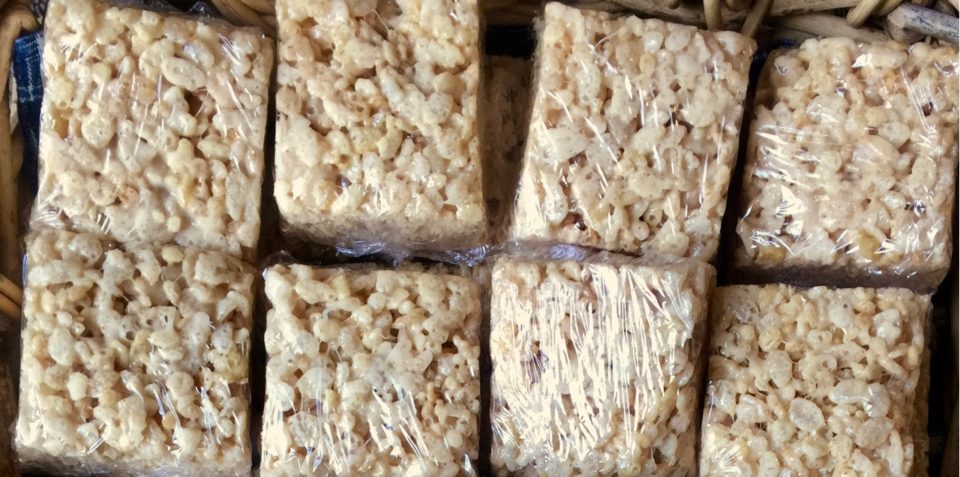
          These went to a Bake Sale for a Bird Sanctuary that would be obliterated by Trump’s stupid wall. Jason renamed them Double Buttah “R-aah-ce”  (he’s from Tennessee!) Krispy Treats.

          Salted Brown Butter Rice Krispy Treats (Smitten Kitchen)

          Not your mama's Rice krispy treats! Brown butter and more marshmallows madke these devilisly delicious
          Course bar cookies, cookies
          Cuisine American
          Keyword rice krispies
          Prep Time 15 minutes
          Cook Time 5 minutes

          Ingredients

          • 1 stick unsalted butter 4 ounces
          • 1/4 -1/2 teaspoon flake salt such as Fleur de Sel or Grey Salt or coarse kosher salt
          • 1 10 ounce bag of miniature marshmallows DO NOT BY FANCYSCHMANCY ONES, they don't work
          • 6 cups Rice Krispy cereal

          Instructions

          • Butter a 9x9 inch square pan, set aside.
          • In a large saucepan or pot, melt butter over medium heat, The butter will begin to foam and the milk solids will start to brown. Watch it like a hawk, you don't want it to burn. It will smell nutty and toasty. Serious Eats has a great tutorial on brown butter
          • Remove pan from heat, add marshmallows and salt. Stir continuously until the marshmallows melt and blend with the butter into a homogenous mixture.
          • Add Rice Krispies and stir until well coated.
          • Pour into 9x9 inch prepared pan and press firmly to compress. If you want, decorate with Sprinkles on top.
          • Cool, run a knife around the perimeter of the rice krispies, invert pan and tap the bottom. The rice krispies should release fairly easily from the pan. Cut into approximately 2 inch squares.
          • Enjoy!
          Want A Bakehouse Pecan BLONDIE – CALL ME

          Want A Bakehouse Pecan BLONDIE – CALL ME

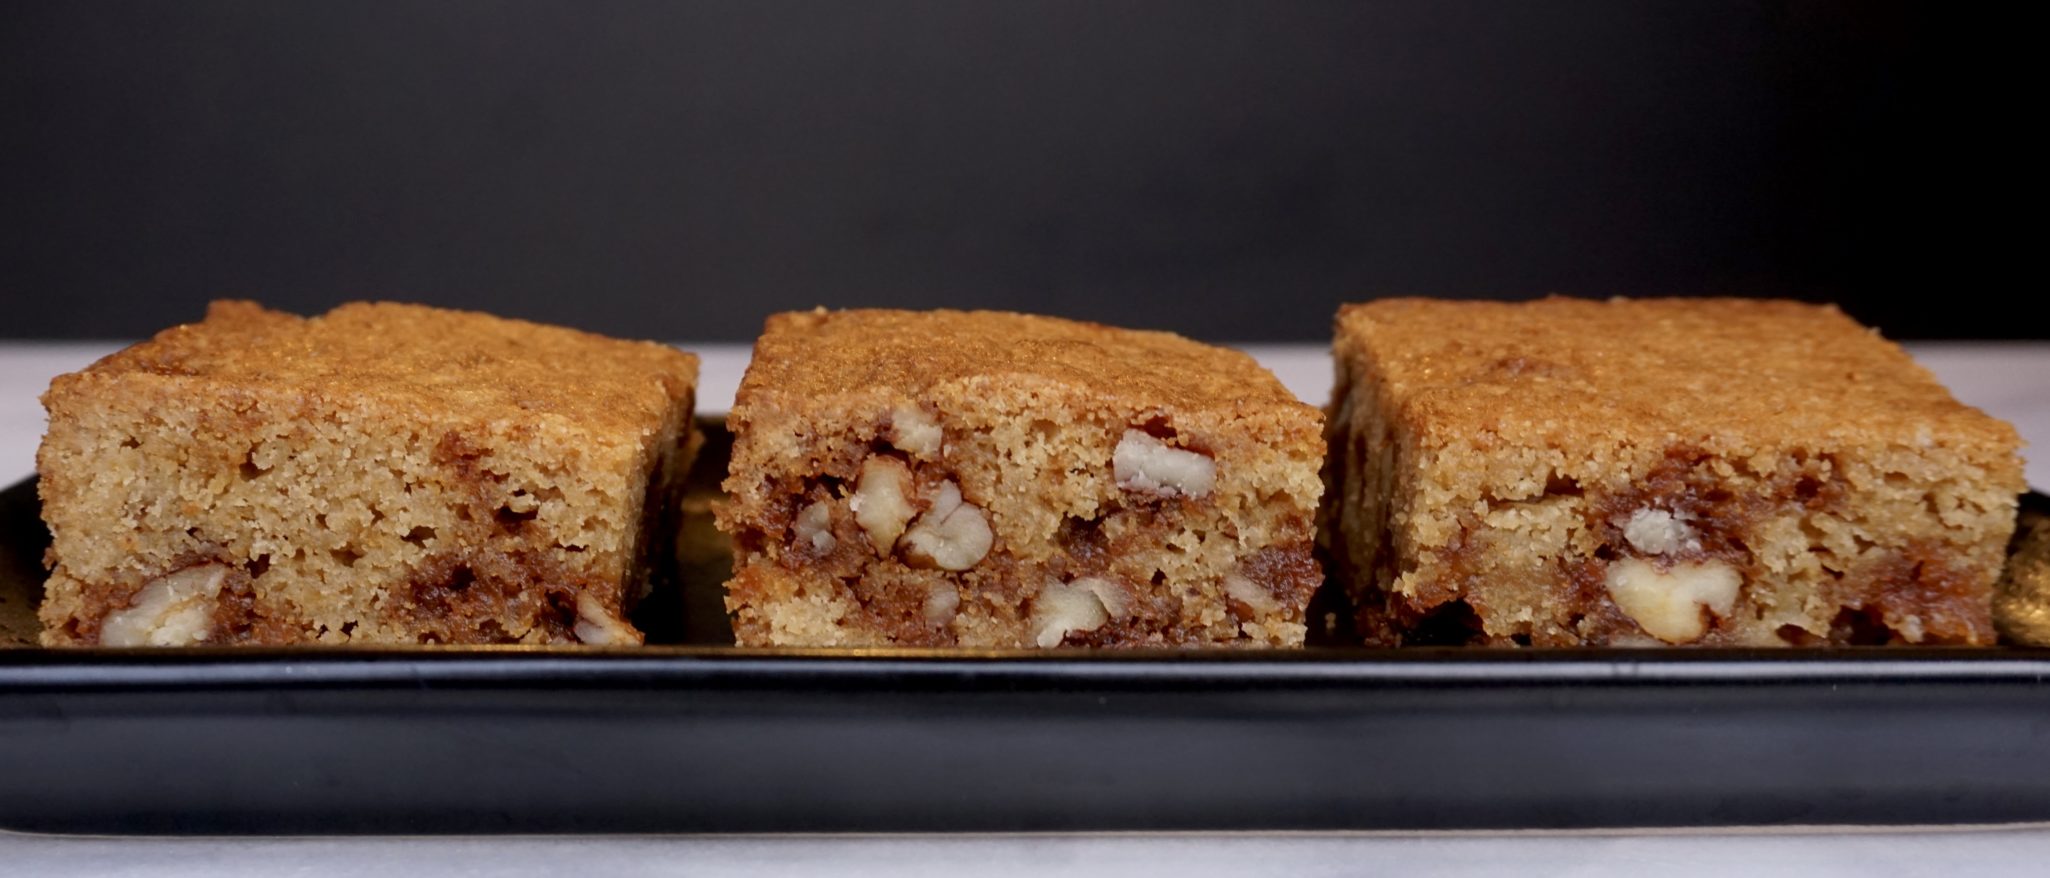
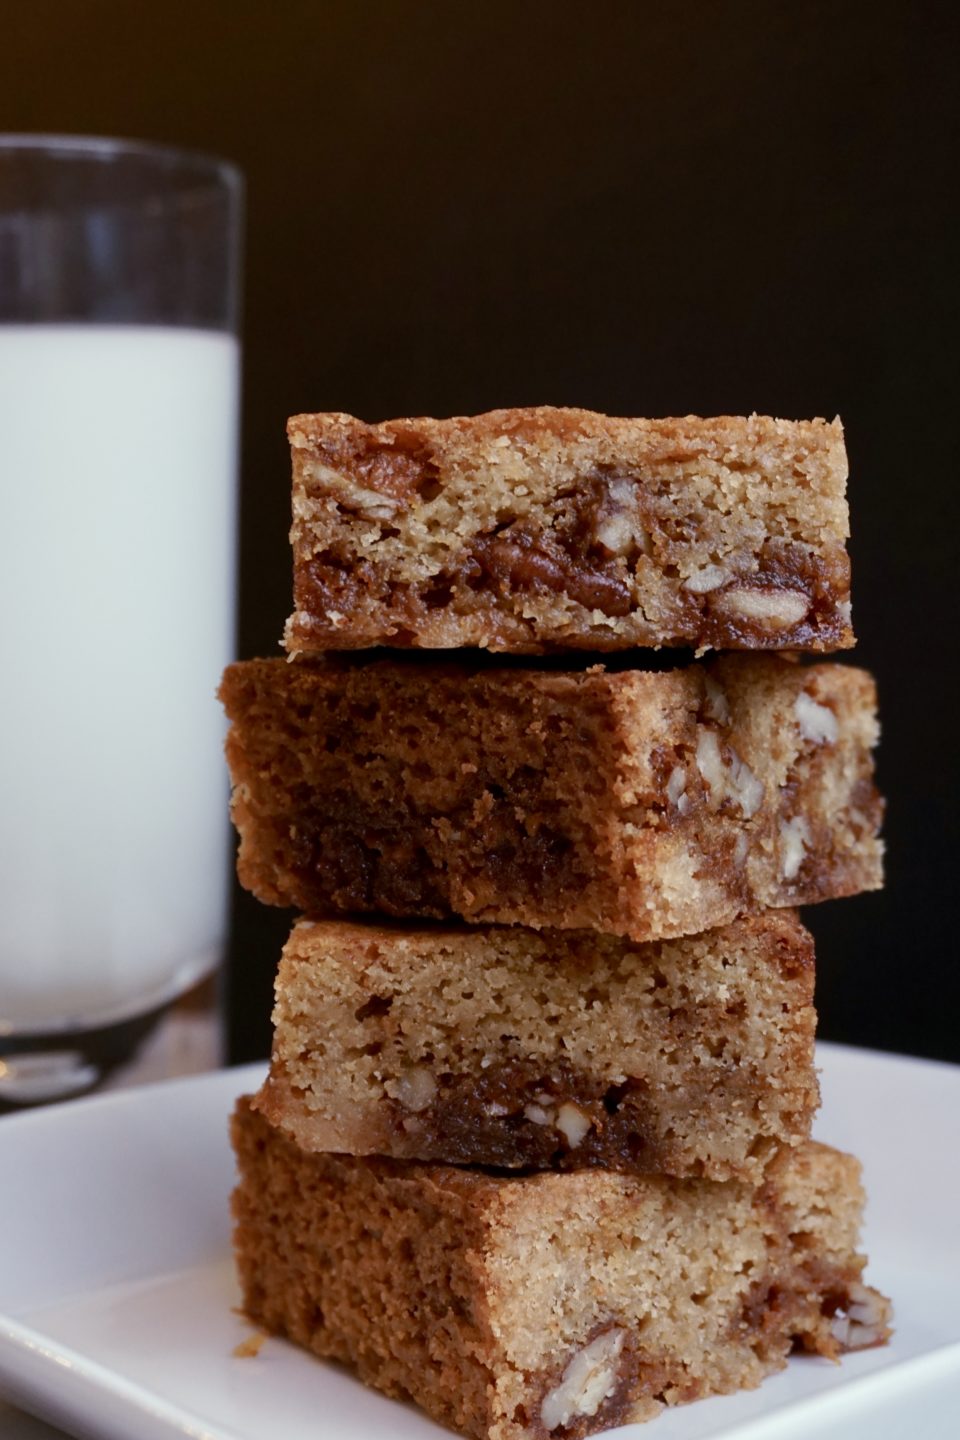
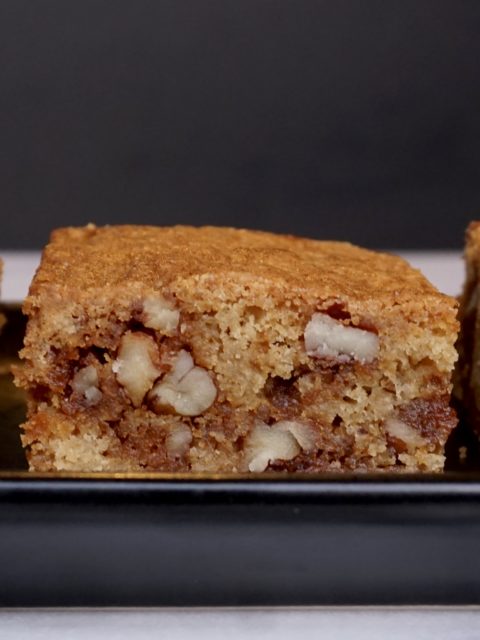
          I can see the light at the end of the tunnel…Cookie #11 and it’s a good one. Bakehouse Pecan Blondies from Zingerman’s Bakehouse Cookbook.

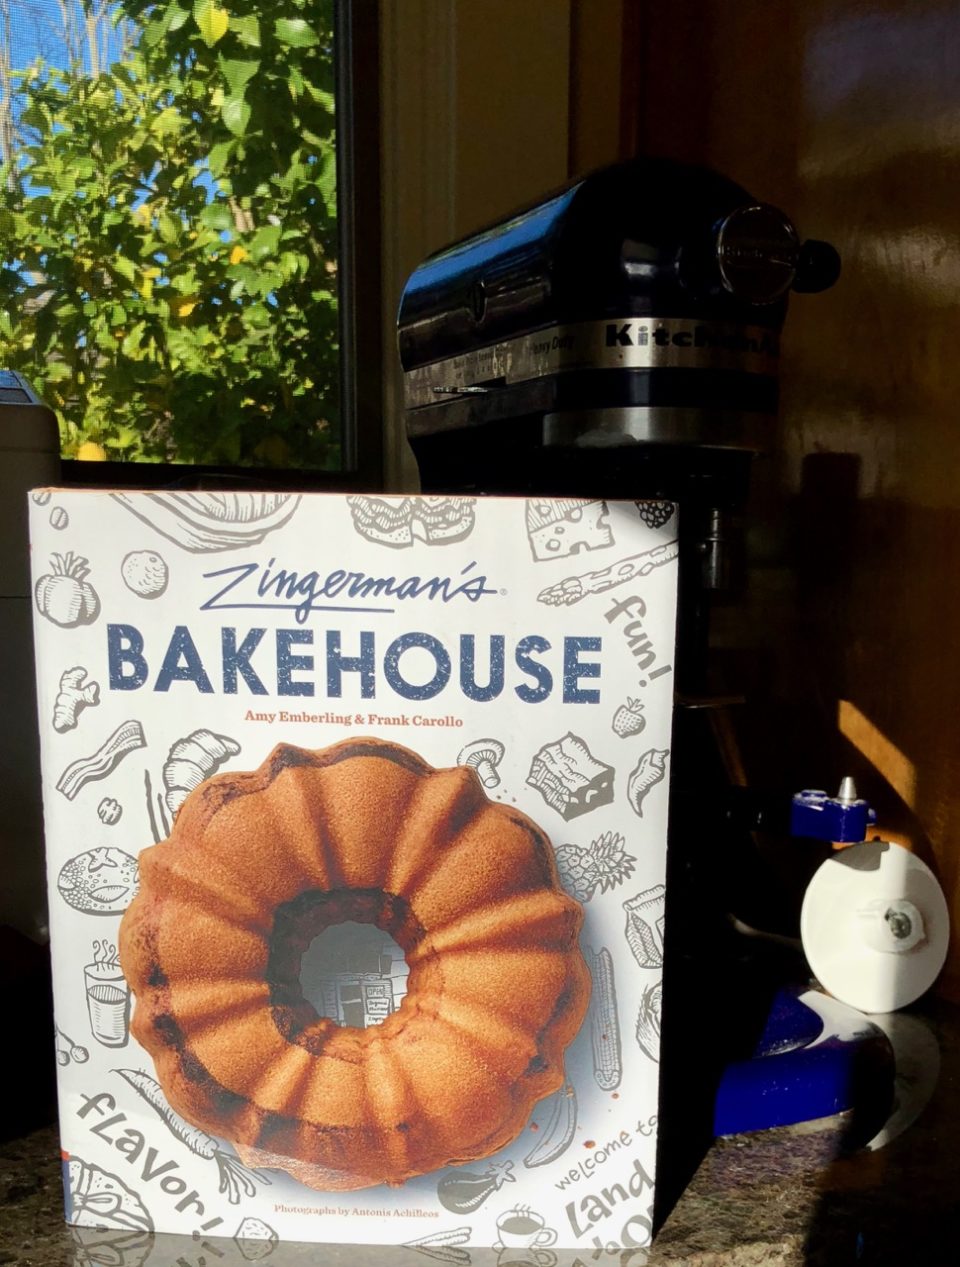
          Ipso Fatto posted her review of these delicious Pecan Blondies which then began the usual dance in my head I like to call the Cookbook Tango.  Like mental Pong, do I or don’t I, should I or shouldn’t I?  Really, I don’t need another cookbook… but it looks so good. Well, I could “kick the tires” so to speak beforehand, try some of the recipes, see if I like it.  Okay, I’m gonna be tough and really scrutinize the book before getting it. Yes. Yes. Yes.

          Who am I kidding, it took one recipe and I caved.

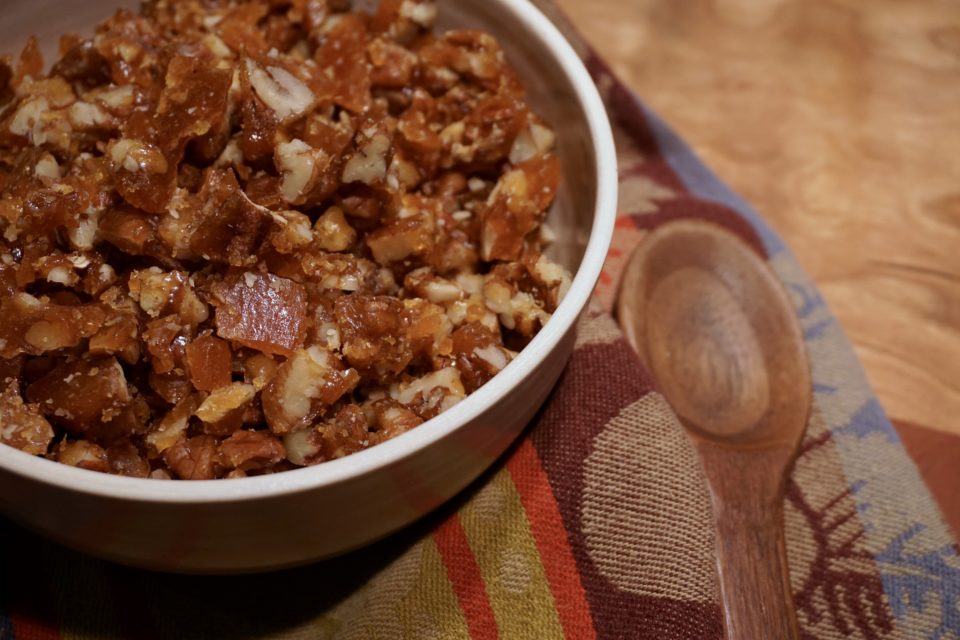
          In my defense, Bakehouse Pecan Blondies are absolutely fabulous and justifies my quick surrender.  Why?  You take pecans, toast them in butter and salt, then toss them in a simple sugar-water caramel.  Once the pecan-sugar mixture cools and hardens it literally turns into pecan crack. Chop it up and fold the pieces into the blondie batter and shazam, deliciousness is born!  Pecan praline the zinger in Zingerman’s blondies.

          Zingerman's Pecan Blondies

          The batter is simple and comes together quickly-melted butter, eggs, brown sugar (you can use dark brown sugar for the Muscovado brown sugar) and flour.  Fold the pecans in, bake, dunzo.  It’s not as dense as a brownie and not as airy as a cake.  It’s just right.

          Let’s get busy baking!

          This is a beautiful book, filled with great stories about the bakery and the folks that are or have been a part of Zingerman’s tradition.  This is not cutting edge, new wave fou-fou food, more like all-American homey food, desserts and artisanal bread done really well and with love. Photos for most recipes are included and informative crib notes on the side.  The recipes are organized well and include both volume and metric weight measurements (yay!). Definitely making more treats out of this book soon!


          Want A Bakehouse Pecan BLONDIE – CALL ME

          Ingredients

          Praline

          • 2 Tbs 57gm unsalted butter
          • 1 cup 115gm pecan pieces
          • 1/2 tsp sea salt
          • 1/2 tsp vanilla
          • 2 Tbs 27gm water
          • 1/2 cup 115gm granulated sugar

          Blondies

          • 1 cup + 3 Tbs 230gm packed Muscovado brown sugar
          • 1 cup 230gm unsalted butter, melted
          • 2 large eggs
          • 1 tsp vanilla
          • 1-1/2 cups 200gm all-purpose flour
          • 1/2 tsp sea salt
          • 1 tsp baking powder

          Instructions

          For the praline

          • Preheat oven to 325 degrees, spray a 9x9 square baking pan with non-stick cooking spray
          • Brown the butter: Haven't done that? Serious Eats step by step is really good
          • When butter is browned, remove from heat and add pecan pieces, salt and vanilla and toss to coat nuts.
          • Toast the pecan mixture on a sheet pan at 325 degrees for approximately 12 minutes until they are toasty brown. Start checking at 8 minutes. Set aside.

          Caramelize the sugar: Stir together sugar and water in a small saucepan. Cook over medium-high heat without stirring until it is caramelized to a rich reddish-brown. Careful not to burn or go to dark, it will take on a bitter taste. Immediately add the pecans and stir to combine and then spread pecans evenly in the prepared 9x9 pan. The praline will start to harden so work quickly and spread as thin as you can. Set aside to cool. Once cooled, remove pecans from pan and chop into small irregular pieces, 1/4-1/2 inch size. The praline can be made ahead and stored in a cool, dry spot.

            Blondies!

            • The easy part of this recipe
            • In a small bowl, combine the flour, salt and baking powder. Stir to combine and set aside.
            • In a large bowl, whisk the brown sugar, melted butter, eggs and vanilla. Whisk until mixture is homogenous and thick.
            • Add dry ingredients to butter-sugar mixture and stir to until it is homogenous. Add the chopped pralines, stir to combine.
            • Pour batter into prepared 9x9 pan, spread evenly and bake for approximately 45 minutes until puffed in the middle and golden brown and a toothpick comes out clean. Cool on wire rack.
            • Cut into rectangles and serve with ice cold milk, coffee, tea..just about anything and wait for the smiles.

            Mui-road trip to Ann Arbor from Minneapolis is on the bucket list!


            Happy New Year! Bouchon’s Gougeres

            Happy New Year! Bouchon’s Gougeres

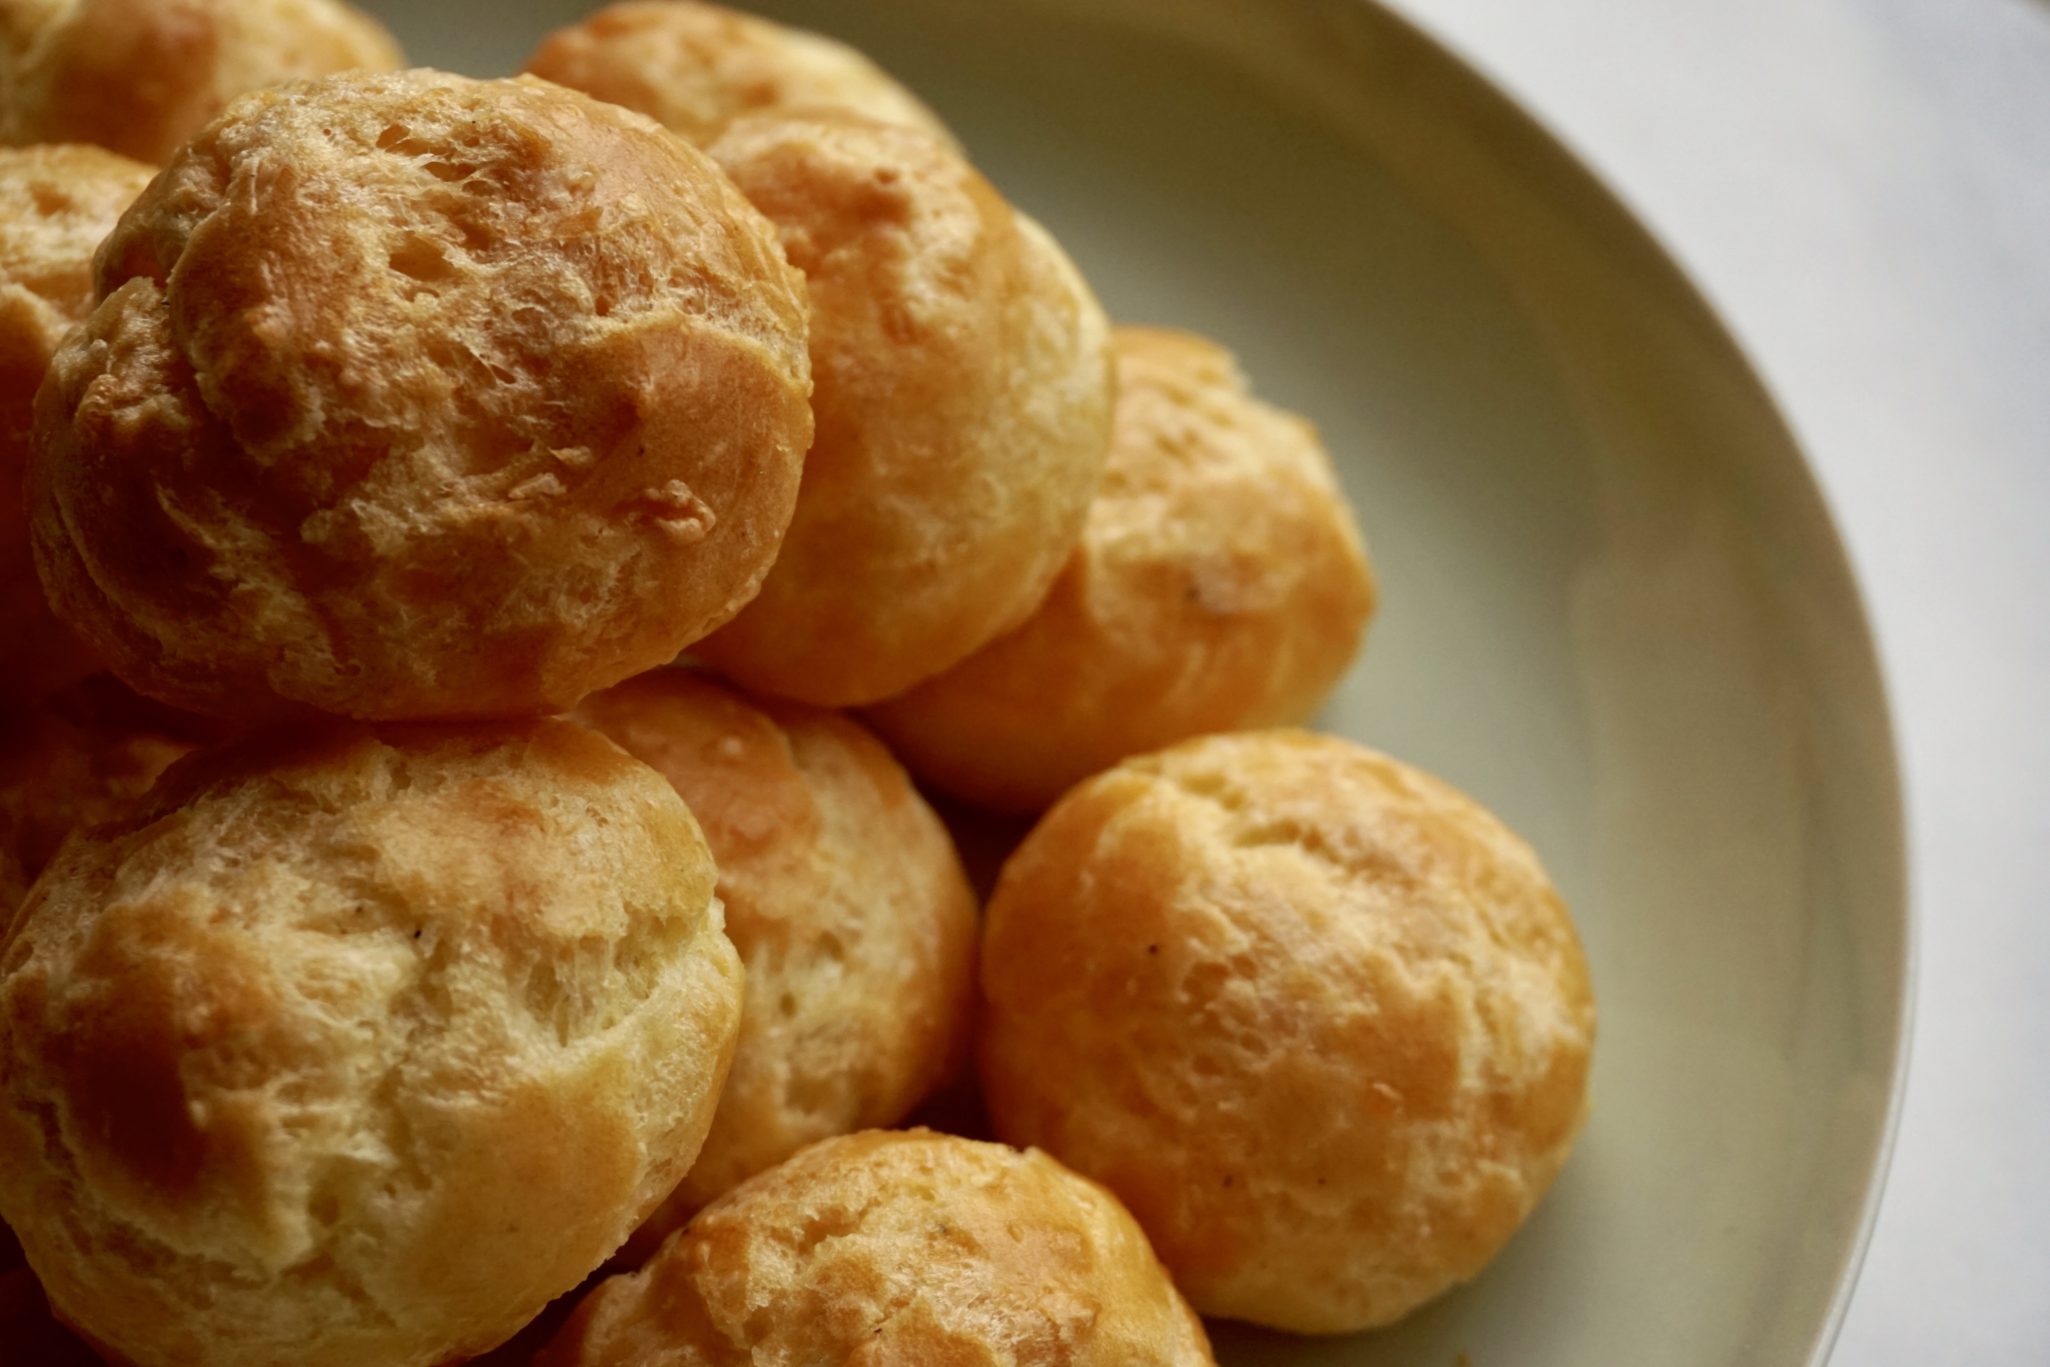
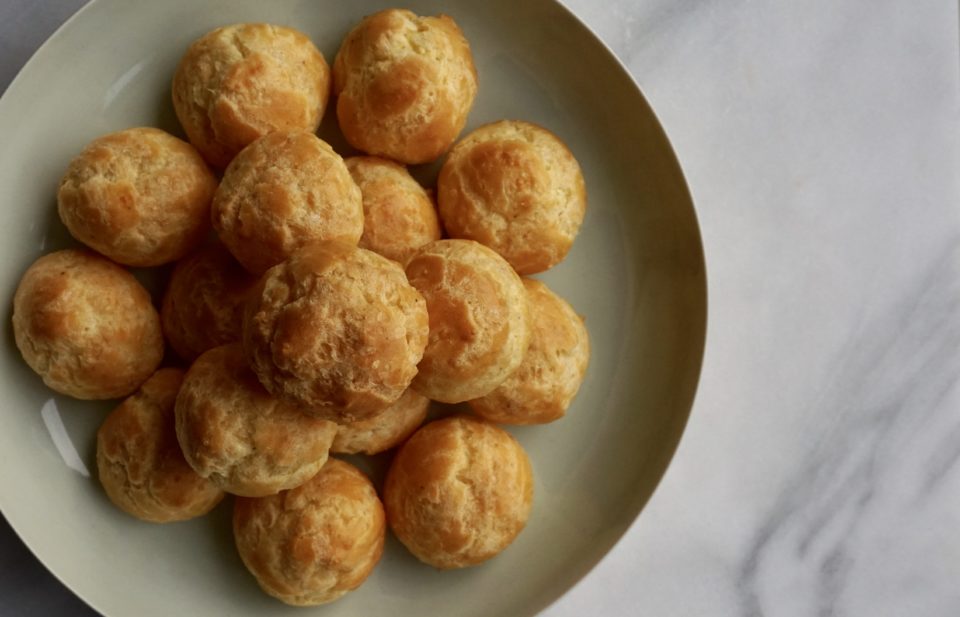
            Happy Gougere!

            What?!  Too cheesy?

            I had writer’s block when I sat down to compose this post.  Staring at my screen, fingers poised on the keyboard, sipping a glass of wine and munching on these cheese puffs I had just pulled out of the oven, I was drawing a blank. Then my cell phone rang, “Happy New Year!”  blurted a voice at the other end. Ta-da! Blogger’s block gone.

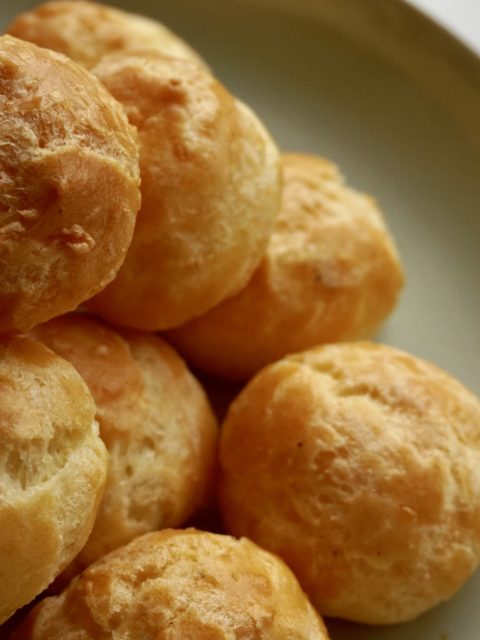
            Continuing with my exploration of the Bouchon Bakery book I ooh-ed and aah-ed my way through the chapter on pate a choux (aka cream puff pastry).  Dreamy cream puffs with a crackle finish, Chocolate Eclairs, Paris Brest-all looked exquisite. I wanted something simpler plus I had a wedge of Comte cheese in the fridge so I chose his recipe for the humble Gougere.  Cheese, finely shredded, is added to choux pastry to create a savory, airy, small bite, perfect with wine or champagne.  My next happy hour nibbler board will definitely include these little gems.

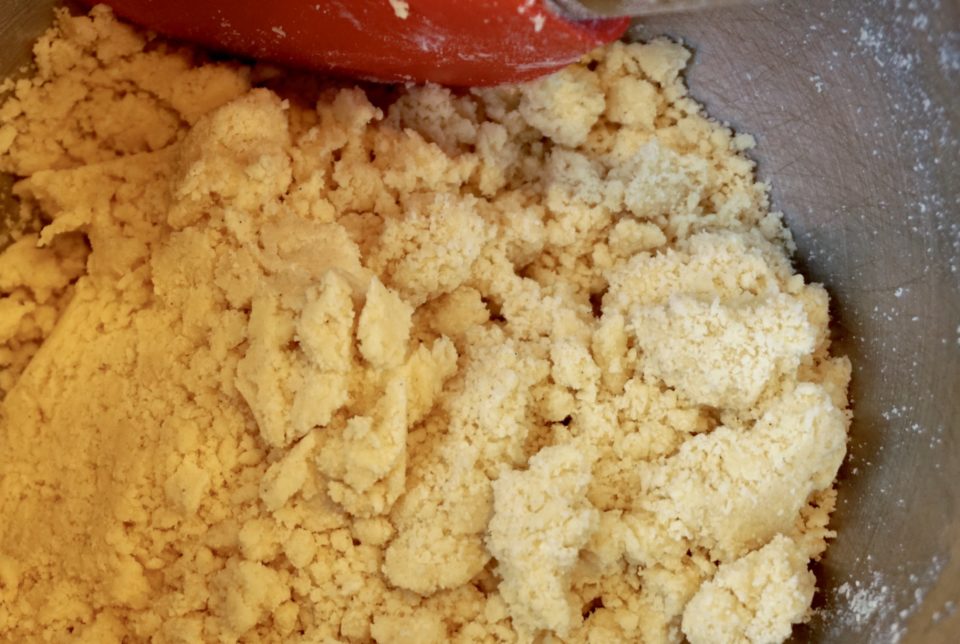
            The recipe is straightforward. Be sure to have all your ingredients out and prepped before you begin. Water and butter are heated to which flour is added and stirred until it forms a ball that pulls away from the sides of the pot. Transfer the dough to a mixing bowl, blend briefly to release heat and moisture and add eggs a couple of tablespoons at a time. NOTE: TK uses weights for measurements in this book.  Very helpful to have a scale.

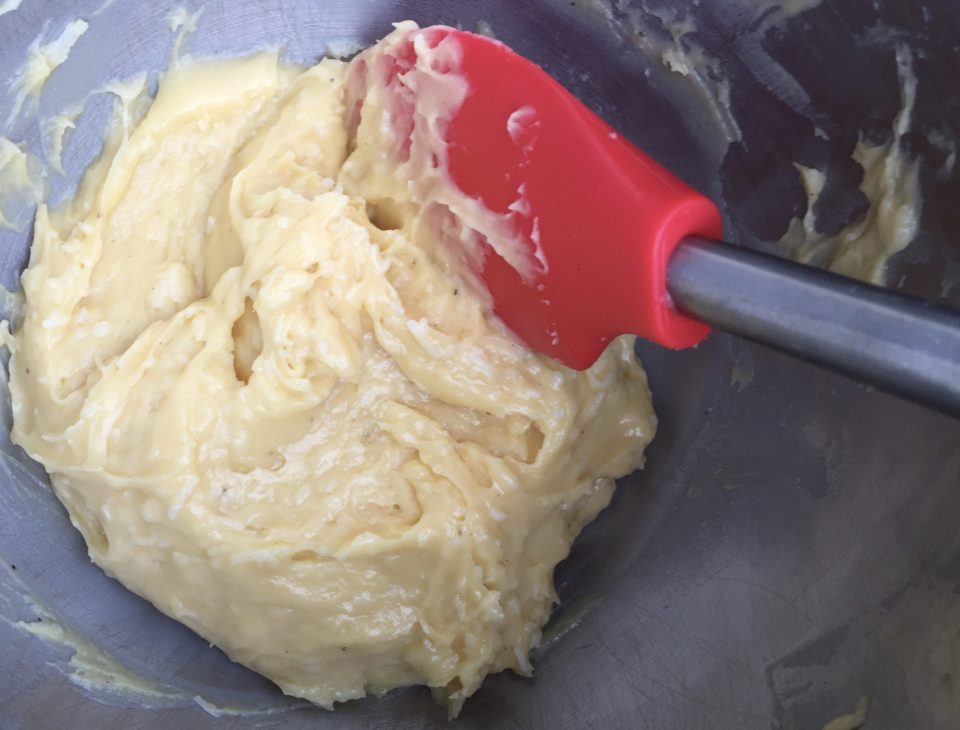
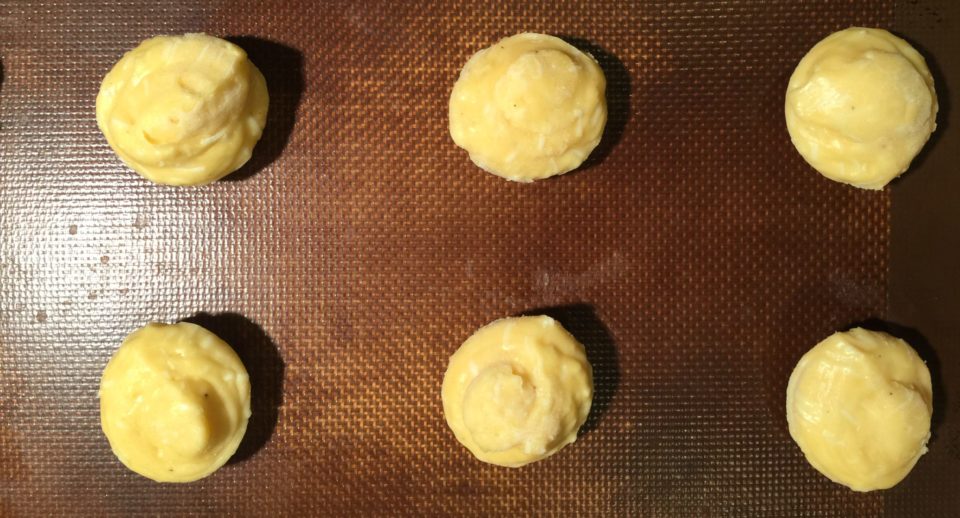
            The batter will look like this after adding eggs and blending.

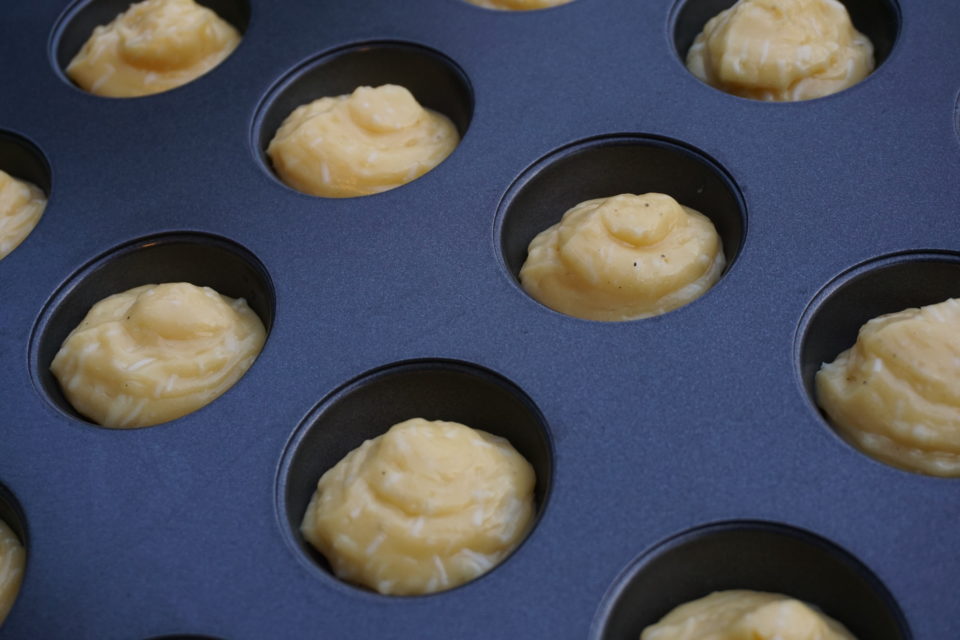
            I cheated. I didn’t have the silicon round pan so I used my non-stick donut hole pan instead (yay, I used it for something!) It worked well though they needed to sit a couple of minutes before I could remove them easily.  I also didn’t have a pastry bag handy so I used a gallon-sized Ziploc bag and snipped off a corner.  Piping directly onto parchment or a Silpat probably works just as well.

            Next time I make these I may change up the type of cheese (gruyere cheddar), add chili pepper instead of black pepper and add chopped chives or green onions, yum!  The batter freezes well so you can keep a supply of shaped ones in the freezer for impromptu get-togethers.

            Stretching the boundaries, I’ve decided to make this Cookie #10 on my 12 days of holiday cookies list. They’re small and bite-size just like a cookie.  I’m tackling Bouchon’s Cream Puffs one of these days!

            Bouchon’s Gougeres


            Happy New Year! Bouchon’s Gougeres

            Ingredients

            • 1/2 cup + 1 1/2 tbsp water
            • 2.2 ounces unsalted butter 4.5 Tablespoons
            • 1/2 + 1/8 tsp kosher salt
            • 0.3 grams freshly ground pepper
            • 1/2 cup + 2 1/2 tsbp all purpose flour
            • 150 grams eggs approximately 2 eggs-crack eggs into a bowl, blend eggs and weigh out amount
            • scant 1 cup aged shredded gruyere cheese
            • options: Add chopped green onions or chives to batter 2 T, sprinkle tops with additional shredded cheese

            Instructions

            • Combine the water, butter, salt, pepper in a medium saucepan, place over medium heat and stir until butter is melted. Once the butter has melted, increase heat to medium-high and then bring to a simmer, then remove pan from the heat, with a wooden spoon, stir in all the flour.
            • Continue to stir for 1 1/2 minutes until the mixture has a paste-like consistency, then place over medium-high heat and stir rapidly for 1 minute, until the dough pulls away from the sides of the pan and the bottom of the pan is clean. The dough should be glossy and smooth but not dry.
            • Immediately transfer the dough to a mixer bowl and mix on low speed for 30 seconds to release some of the moisture. Slowly begin to add the eggs, 50 grams at a time, beating until each addition is completely absorbed before adding the next one. Continue adding the eggs, mix until the dough pulls away from the sides of the bowl pulled with the paddle but immediately grabs back on again.
            • Increase speed to medium for 15 seconds to ensure that all the eggs are incorporated. Stop the mixer. When the dough is lifted, it should form a bird's peak- it should hold it's shape and turn down on itself but not break off. Add the cheese and pulse to incorporate (I used my mixer and blended the cheese in quickly)
            • Put batter into pastry bag. Pipe into molds (I didn't have molds, I used my donut hole pan) Or pipe little free form balls, slightly less than 1 inch in diameter onto a baking sheet, spread about 1 1/2 inches apart. When finished piping, I used my finger dipped in water, to push down and get rid of the little tip that is left on top of each one from the piping.
            • Freeze the gougeres for about four hours until firm.
            • If you want to bake some right away. Preheat oven to 350F. Bake for 18-20 minutes until golden brown.
            • If you are baking from frozen: Preheat oven to 375F. Line baking sheet with frozen gougeres, leaving about 1 inch between them. Spray lightly with water. Place in the oven, immediately lower temperature to 350F and bake for 25 to 30 minutes until golden brown. Serve warm.


            Bouchon’s Shortbread Cookie

            Bouchon’s Shortbread Cookie

            This month’s Food52 Baking Club pick is Thomas Keller’s Bouchon Bakery Book. A gorgeous, very heavy (a workout just lugging it around) opus on all things delicious. My copy has languished on a shelf for quite some time but this gave me a reason to take it off the shelf and dive in.  Let the baking games begin.

            I start with a cookie recipe. After all, I still need to complete my holiday cookie list (wow, that’s embarrassing). I open the book and what do you know, the first chapter of the book is all about cookies. Fate. I peruse the chapter and settle on, drum roll, please……..Bouchon’s SHORTBREAD cookie. Surprised? Didn’t think so.

            This is a tall order as I am convinced I already make the perfect shortbread.  A recipe saved from the long out of print Cuisine magazine has become a non-negotiable tradition in our house. The recipe was accompanied by the story of the author’s father making shortbread each Christmas.  An homage to her father and to traditional Scottish shortbread.  Crisp at first bite, meltingly tender, slightly sweet, and oh so buttery.  The perfect cookie.

            Yep, tall order.

            The trial:

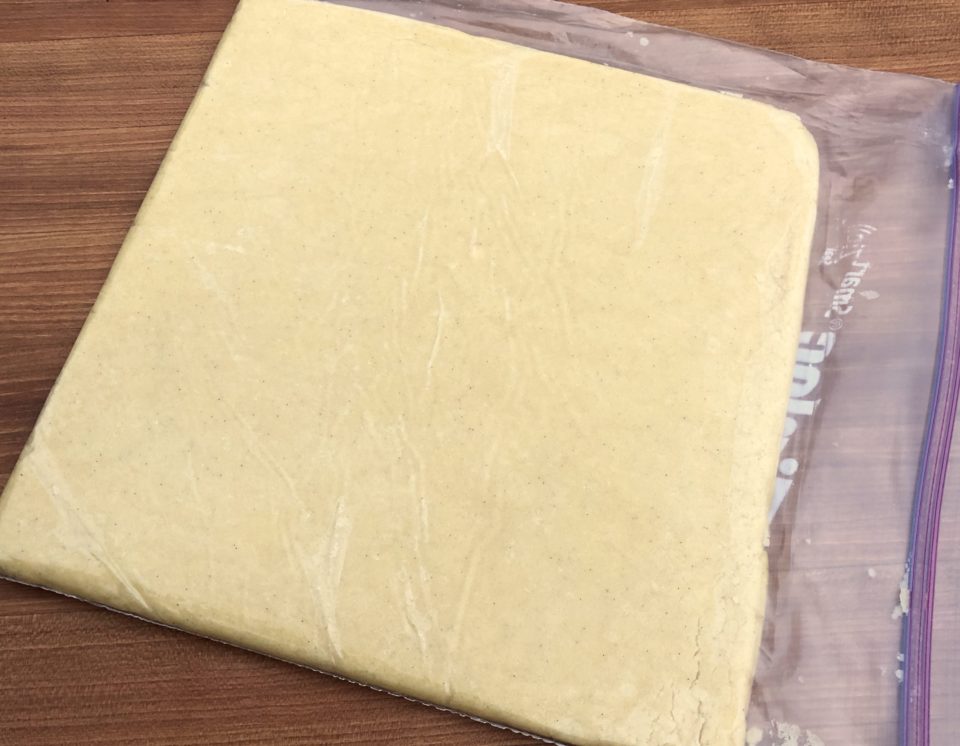
            I used a European butter for it’s higher fat content after reading several comments that the dough was dry and crumbly. With a little kneading (in a Ziploc bag), it came together nicely.

            The The recipe calls for shaping the dough into a 5×5 inch block and chilling it before rolling it out.  I opted to roll the dough into the final 9-inch square before chilling as the dough was easier to work with at this stage.  After chilling the dough, cut it into 2-1/4  x 1-1/2 inch pieces.

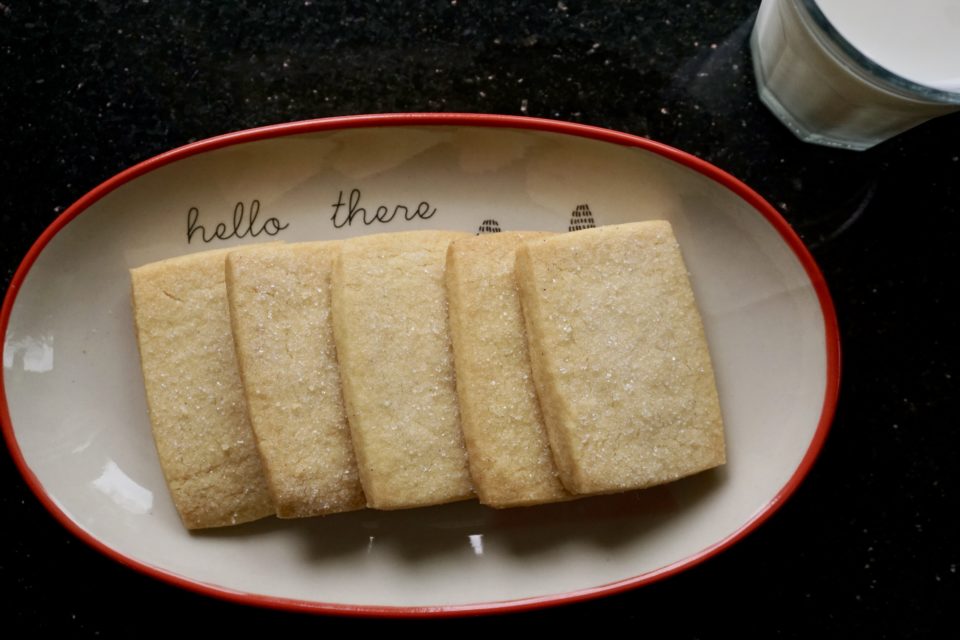
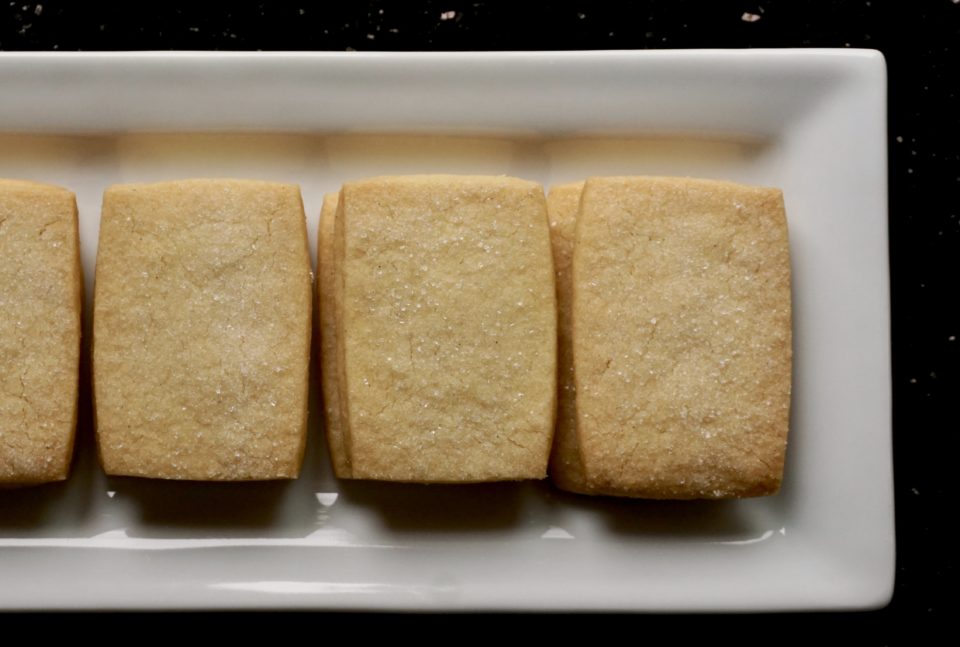
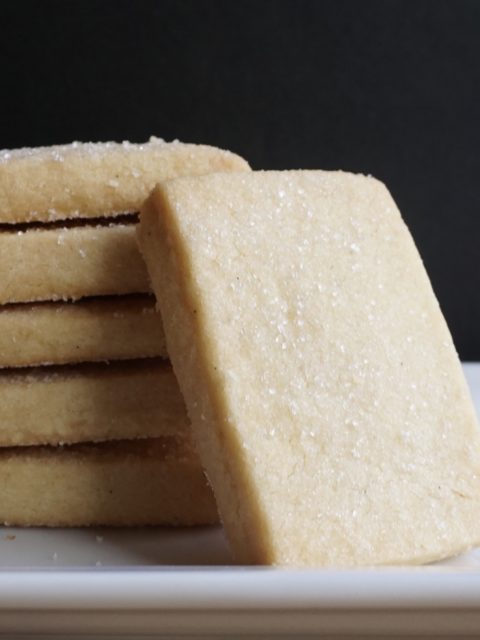
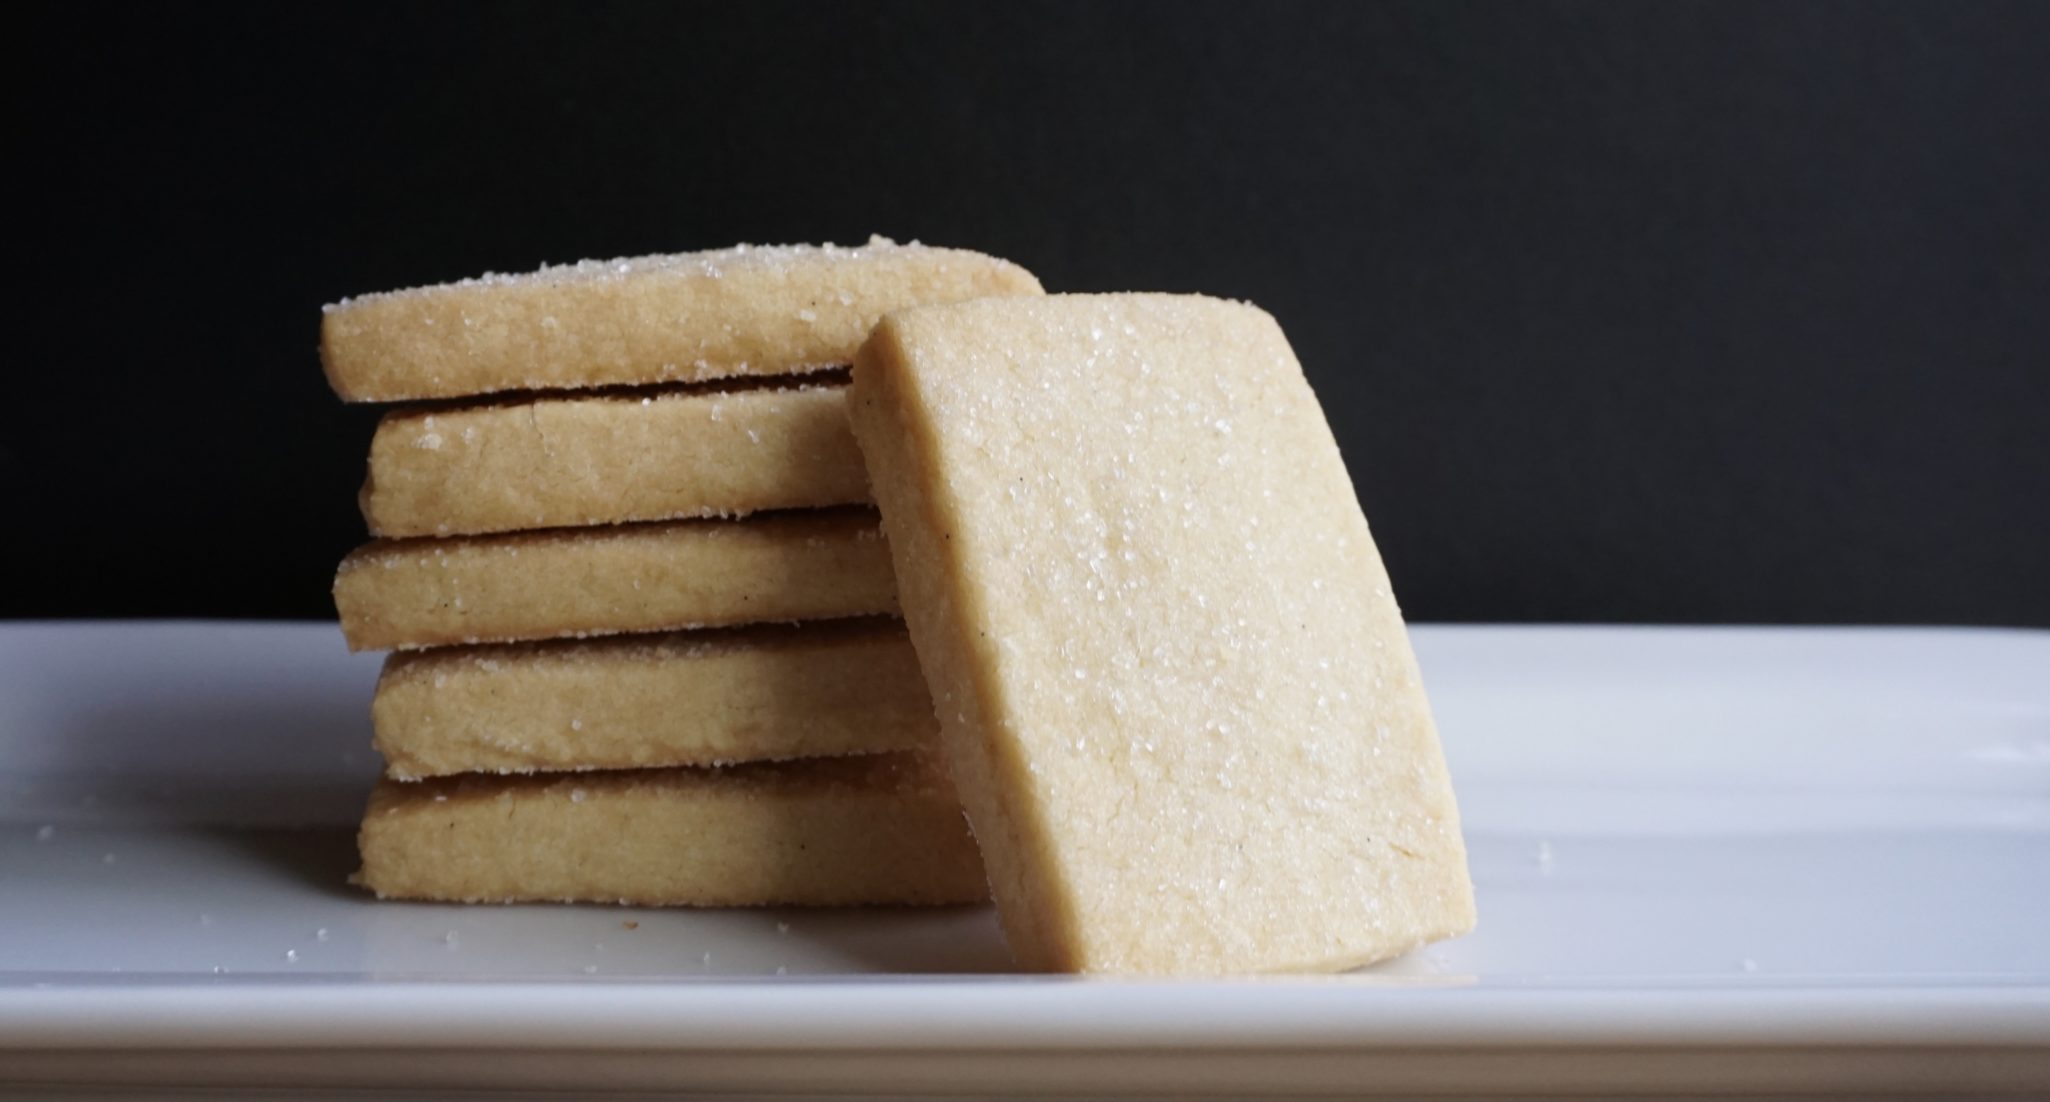
            Use a pizza cutter and ruler to cut the dough, you could get fancy and use cute cookie cutters instead.  Though the recipe calls for granulated sugar, I used sanding sugar which gave the cookies a nice sparkle. Sugar bling.

            The verdict:

            Buttery? Yes. Crisp? Yes. Sweet? Yes. The dusting of sugar adds sweetness and a delightful crunch.  Better than the shortbread I already make? No, but I am biased.  I might try this with salted butter to see if it adds even more depth of flavor. These cookies are simple and sophisticated. Totally worth making a batch to enjoy with a cool glass of milk or a hot cup of tea depending on your mood! *The flavor improved, this was a better cookie a day later than right after baking.  

            Bouchon's Shortbread

            The Path of Least Resistance TK Shortbread

            Buttery, sandy texture, melt in your mouth Shortbread from Bouchon
            Course cookies
            Cuisine American, European
            Keyword biscuits, butter, cookies

            Ingredients

            • 180 grams unsalted butter, room temperature 6.3 ounces
            • 90 grams granulated sugar 1/2 Cup
            • 2 grams Kosher salt 5/8 tsp-3/4 tsp
            • 5.9 grams vanilla bean paste 1 tsp
            • 270 grams all-purpose flour 1-3/4 Cup plus 3 T
            • 2 to 3 Tbsp sanding sugar for sprinkling

            Instructions

            • In the bowl of a stand mixer, cream butter with the paddle attachment on medium-low speed until smooth. Add sugar and salt and mix on medium-low for 2 minutes. Add the vanilla and mix for 30 seconds.
            • Add half of the flour, and mix until just incorporated, about 30 seconds. Repeat with the second half of the flour.
            • Place a large piece of plastic wrap on the counter, and mound the dough on top of it. Form the dough into a 5 inch by 5 inch block. Wrap it with the plastic wrap, and refrigerate for at least 2 hours and up to 2 days.
            • or
            • Roll dough into 9 inch square in between parchment, or in a Ziploc bag. Cover with plastic wrap and chill.
            • Roll the dough out to a 9 inch by 9 inch square between two pieces of wax or parchment paper. You may have to pound it a bit with your rolling pin to get it to roll out. If it gets too soft, you can put it back into the refrigerator to firm up.
            • When ready to bake, place a rack in the middle of the oven and preheat it to 325 degrees F. Line a baking sheet with parchment.
            • With a sharp knife, and using a ruler, score the dough into four 2 1/4 inch wide horizontal strips. Next, score the dough into six 1 1/2 inch vertical strips. Sprinkle the dough with sanding sugar or granulated sugar.
            • Cut the dough along the scoring into 24 individual rectangles. Place the rectangles about 1/2 inch apart on the baking sheet.
            • Place sheet in oven and bake, using convection, for 13 to 15 minutes, or if not using convection, for 17 to 19 minutes.
            • Cool on baking sheet for about 5 minutes, and then move the cookies to a wire rack to cool completely. Store in an airtight container for up to three days.