
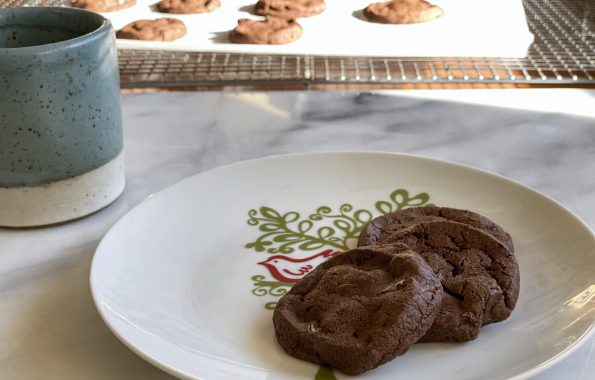
A chocolate cookie from Dorie Greenspan that is so good it has been renamed World Peace Cookies

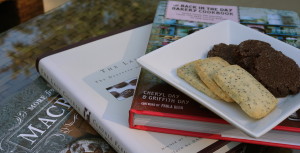
Last but not least of the trio of slice and bake cookies, Cultured Butter Cookies from Melissa Clark via The New York Times. On a…
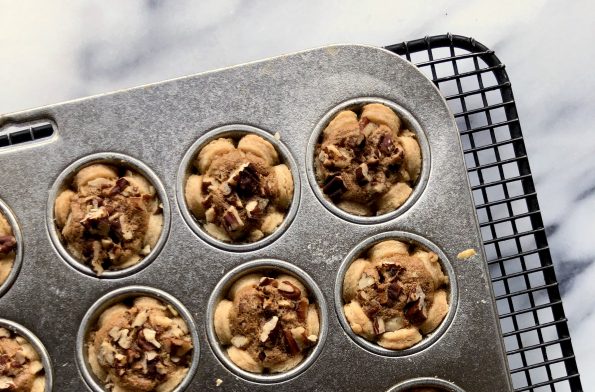
As soon as slice and bake cookies became my “thang” this year, I thought of The Grand Central Baking Book that has been sitting on…
Bah Humbug, for some reason I have not been able to get into holiday “drive”. Maybe I’m still jet lagged from our trip to New…
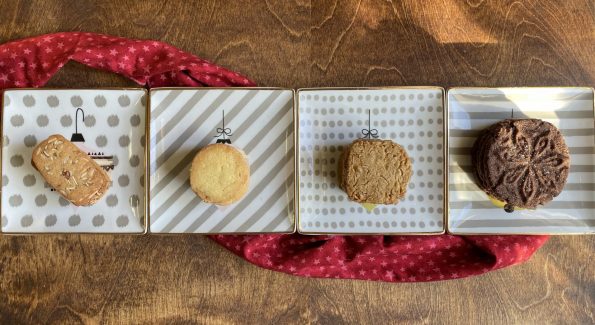
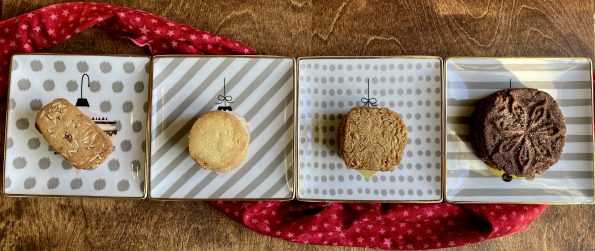
With the reprint of Claudia Fleming’s “The Last Course”, I reached into the archives for a post on a trio of shortbread I “tested” on…
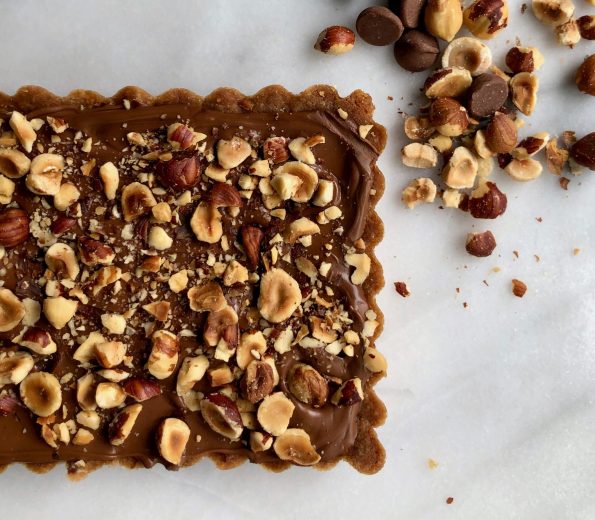
We were invited to Rosh Hashanah dinner the other night and I volunteered to bring dessert. It’s usually a no brainer since our host LOVES…
Joy is one of my oldest friends. We went to school together and I mean that literally. We lived a few blocks from each other,…
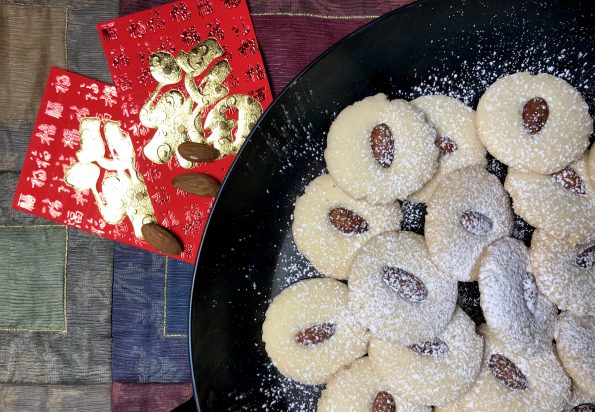
I contemplated using the tiniest font size possible when I typed “cookie #12 of my 12 days of cookies” when I realized I actually can’t…

Jamie is home and decided it was time to bake and bail me out, as she always does, on my attempt to post 12 Days…