
The best thing about cruising the internet right now is the plethora of Top Ten or Best Eats of the Year lists that are popping…
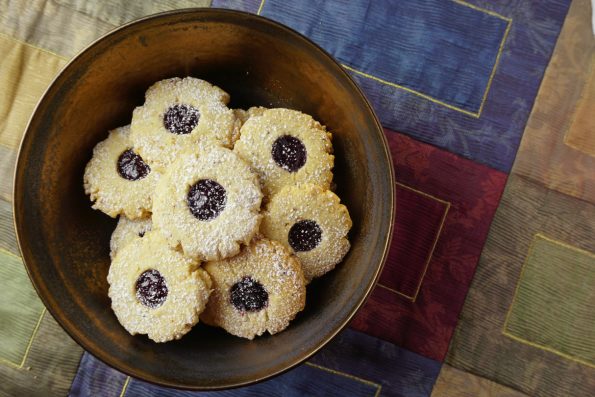
Only 3 more cookies to bake for my 12 days of cookies 2018. Cookie no. 9 is a riff on my go-to thumbprint cookie. I…
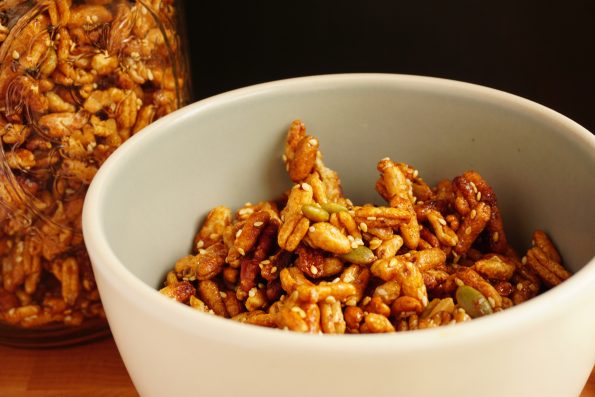
A delightful cereal made with puffed cereal and flavored with cinnamon, Mahaleb and cardamon. Delicious over yogurt or straight out of the jar. A nice…
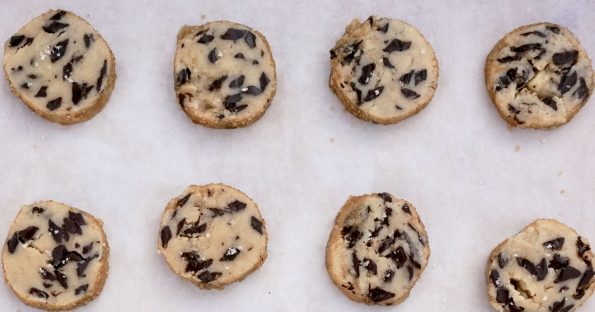
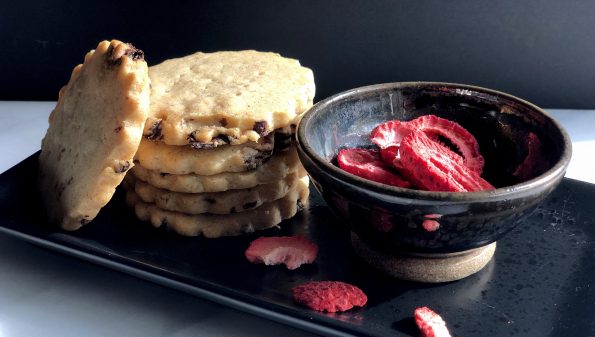
From the 2018 cookie annals, I give you Salted Butter & Chocolate Chunk Shortbread. Why re-post? How many cookies are the focus of a magazine…
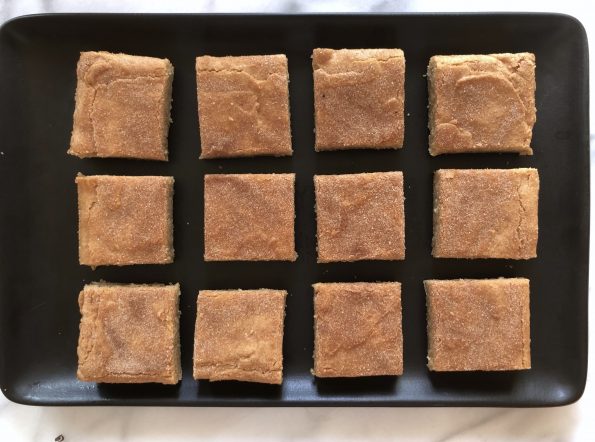
A riff on quite possibly my favorite cookie, the Snickerdoodle. The Snickerdoodle is the quintessential cookie. Buttery, chewy, slightly cakey center, crispy edges, a nice hit…
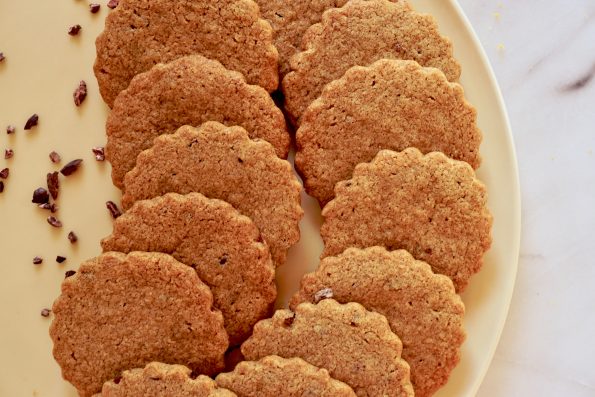
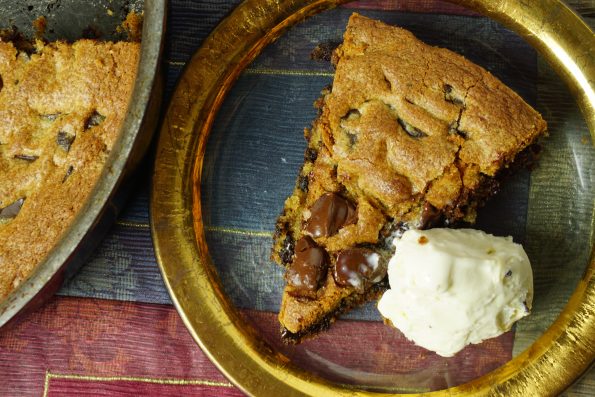
One of my favorite baking goddesses (I have many) is Alice Medrich. Yes, that Alice, Chocolate Maven, Dessert Queen and creator of quite possibly the…
Day 4 of the 12 Days of Cookies is a keeper. I LOVE shortbread, it is hands down my all-time favorite cookie. During the holidays…

Day 3 and once again I reached into the 2018 vault. I went straight to a shortbread riff I posted in March, Grapefruit Thyme Shortbread.…

Dratz! I missed National Cookie Day yesterday! I spent my time not baking cookies, but going thru my posts to find which cookie post was…