Tag: Eric Kim

Lemon-Turmeric Crinkle Cookies-Eric Does It Again

Lemon-Turmeric Crinkle Cookies-Eric Does It Again

After I recover from the Thanksgiving turkey-stuffing, sweet potato casserole, and pumpkin pie extravaganza, I crank up the Christmas music, which I play until New Year’s Day (yes, I am that obnoxious person who LOVES Christmas music).  I watch The Holiday, in place of Santa Clause (the kids are all grown up now), and patiently wait for…

COOKIE WEEK

Yep, a week’s worth of holiday cookies created by NYTcooking culinary stars like Melissa Clark, Sue Li, Yewande Komolafe, Claire Saffitz, Sue Li, Sohla El-Waylly, and my two favorites, Vaughn Vreeland and Eric Kim.  I peruse the cookies quickly and note which ones I want to try.  Top of the list is usually Eric’s holiday cookie.  For a guy who did not start as a baker, he has a knack for creating the perfect holiday cookie every year.  My favorites, which I have rave about all the time include:

Eric’s Grocery Store CookieThe supermarket, sprinkle-laden, tooth-achingly sweet Lofthouse Cookie revamped.  Imagine a tender, buttery, not-too-sweet cookie slathered with a buttercream frosting flavored with freeze-dried berries and sprinkles.  The LOFTIER  version of that supermarket cookie.

See that bad boi with the hot pink frosting? Yep, Eric’s Grocery Store Cookie

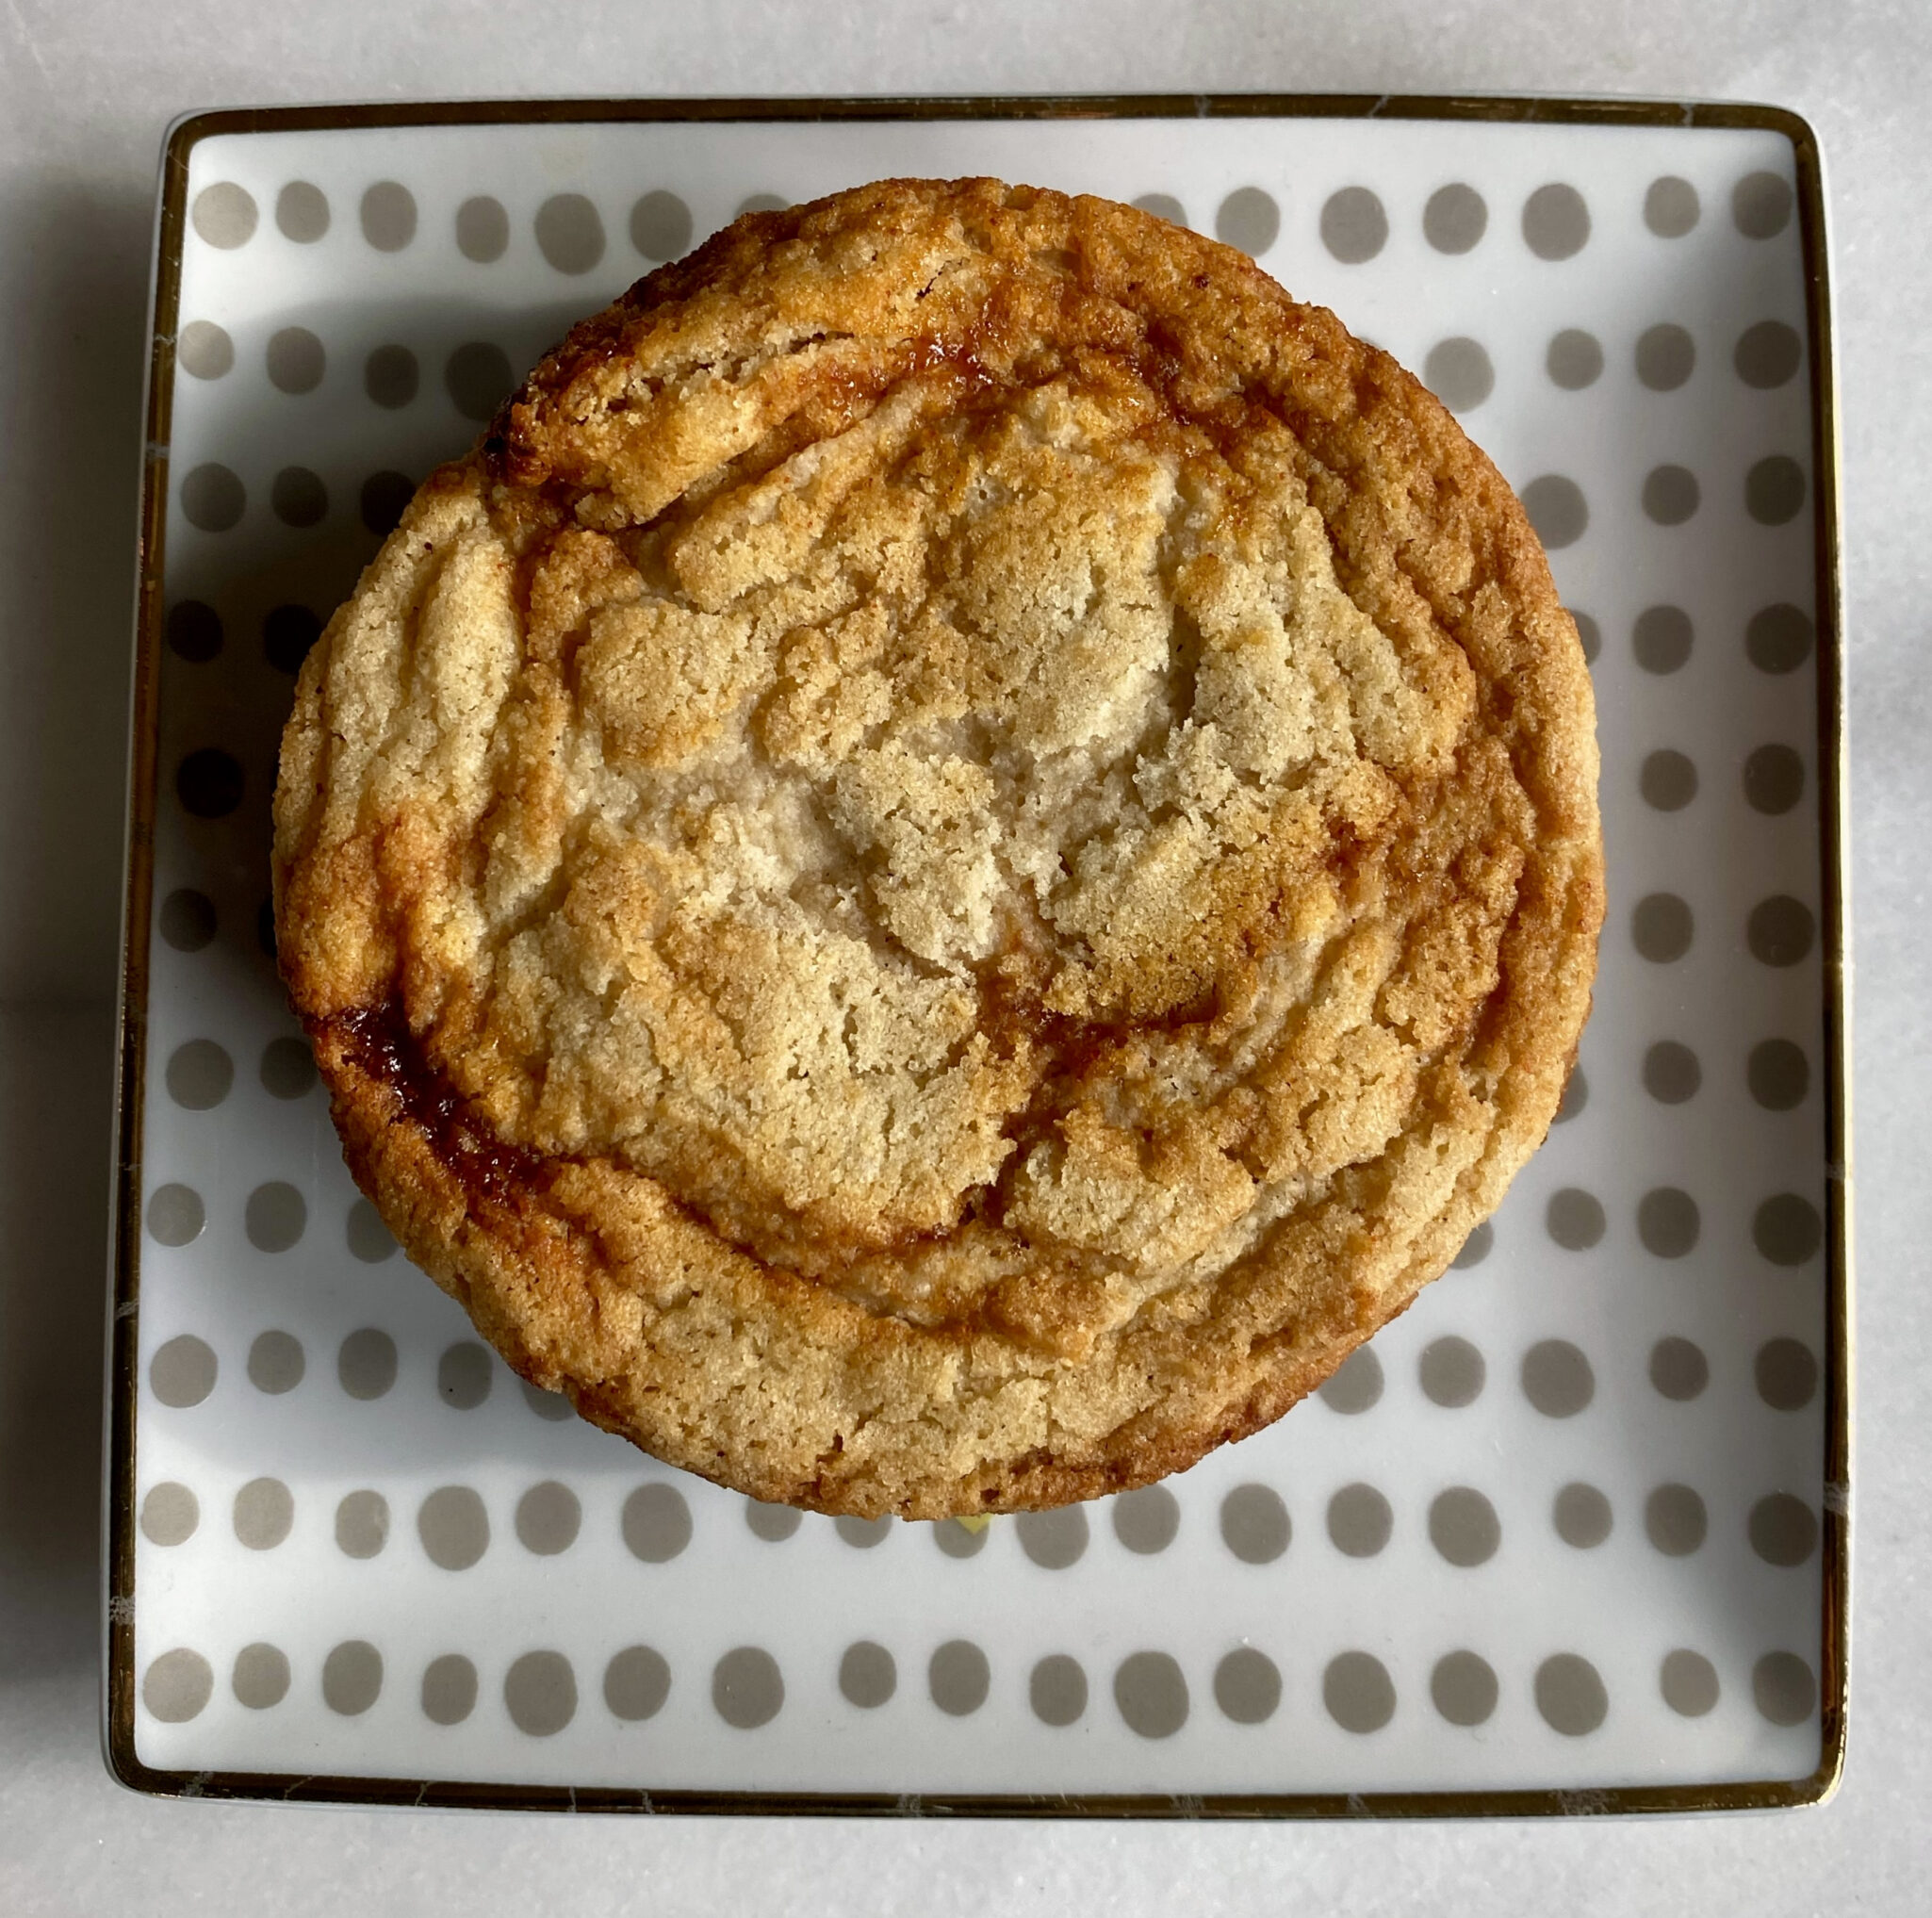
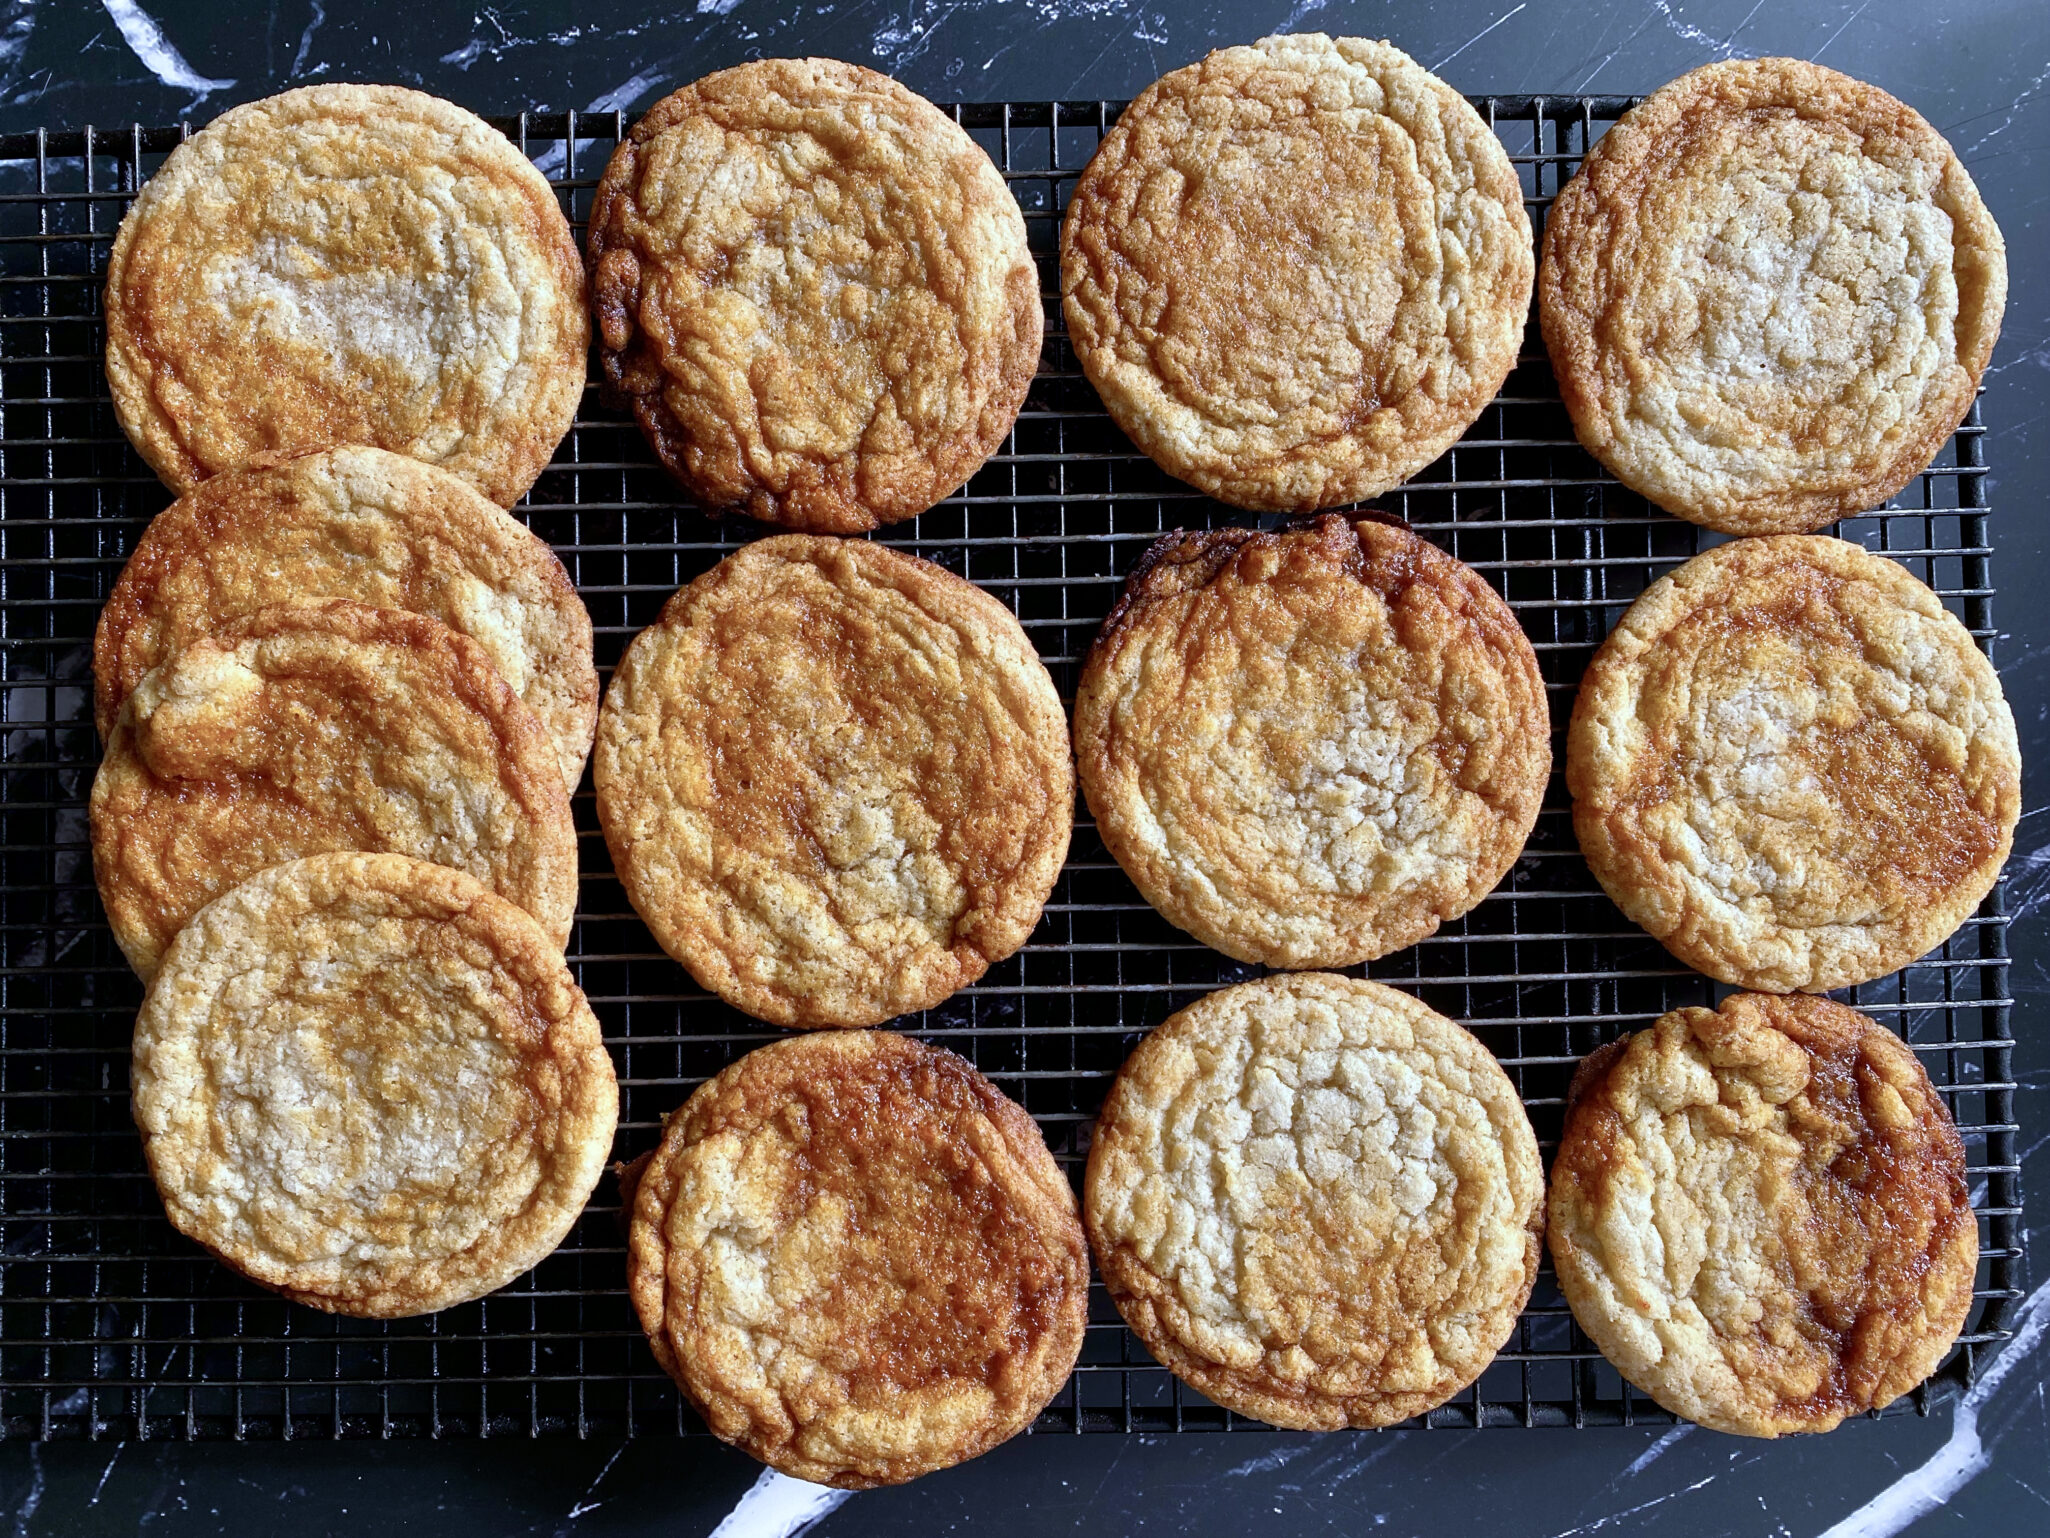
Gochujang Caramel Cookies – A crisp-edged, chewy-center sugar cookie swirled with sweet & spicy Gochujang (a Korean staple). So damn good.
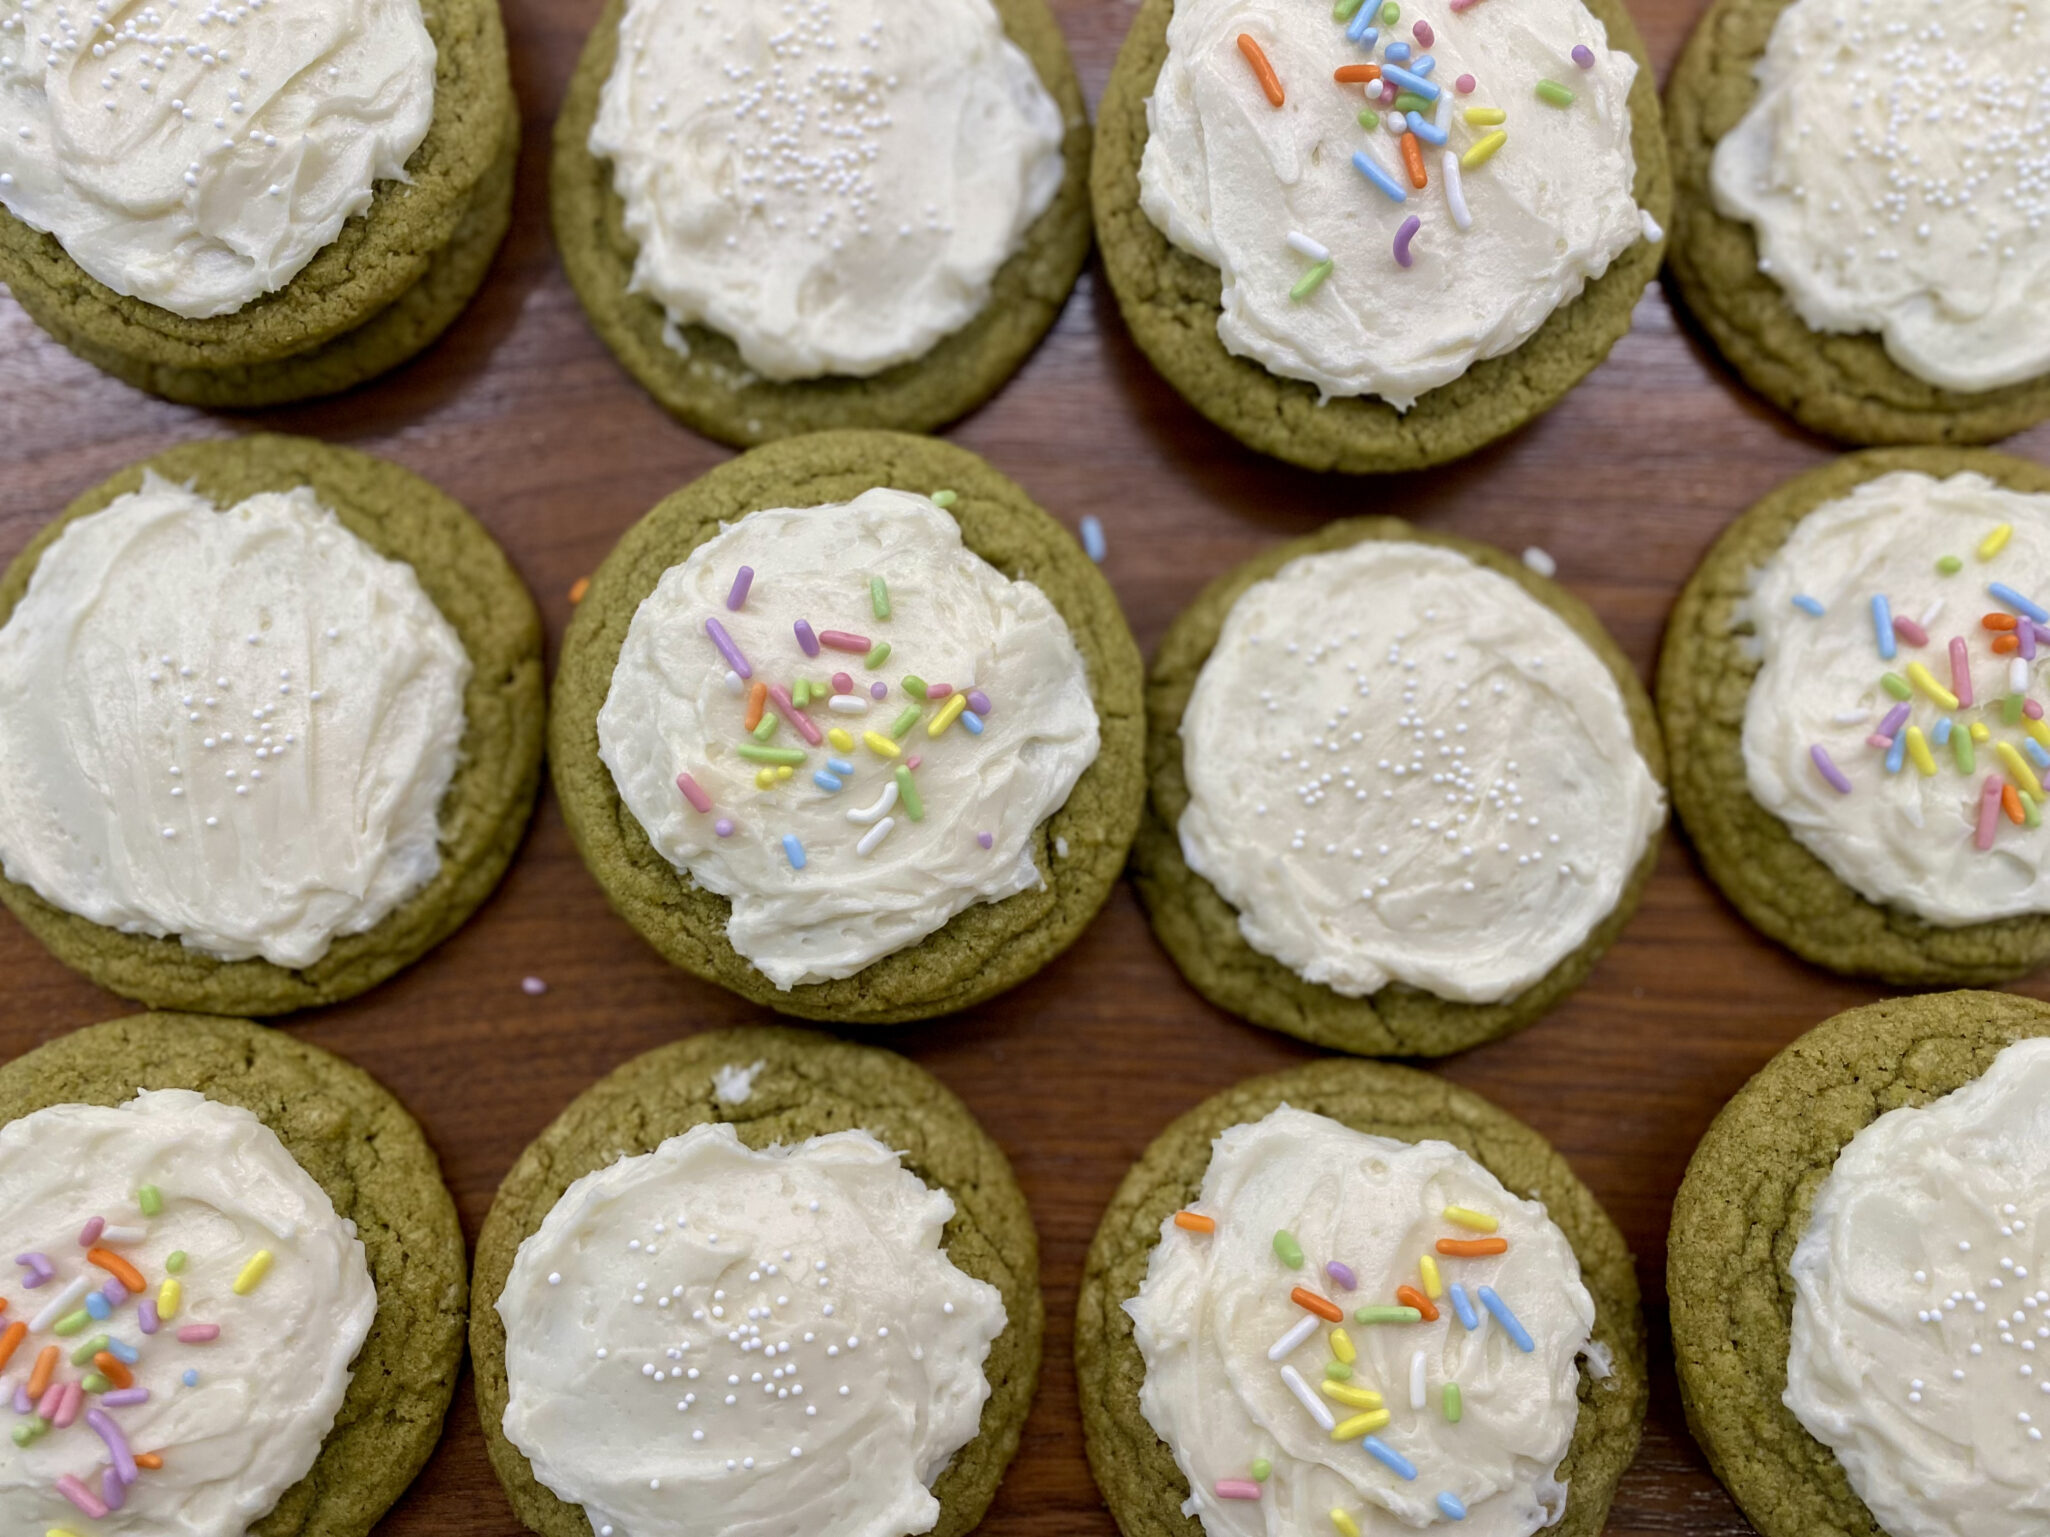
Matcha Latte Cookie – Make a matcha latte, snap your fingers like Mary Poppins, and turn it into a cookie, that’s this delightful bite. The milk-based frosting is icing on the proverbial cookie, amazing.
And this year, he does it again with his

Lemon-Tumeric Crinkle Cookies

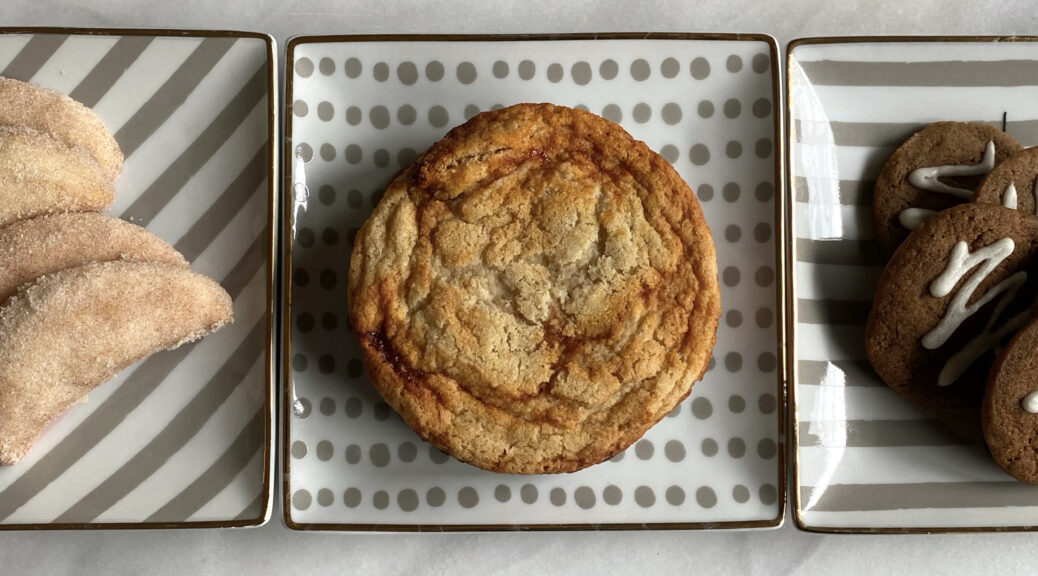
Are you scratching your head?  Thinking what?  The combination of lemon and turmeric works so well.  Eric describes it as “it tastes kinda like Fruit Loops” and I would agree.  The turmeric adds a floral twist to the lemon.  It also adds a vibrant rosy orange hue to the cookie which is simply gorgeous. It is such a pretty cookie with the rosy orange cookie peeking out from under the coat of powdered sugar characteristic of crinkle cookies. Makes me happy.

Let’s Get to the Good Part:  The Cookie

Ok, this is a cakey cookie.  After letting the cookies cool on a rack, I took my first bite…yep, cakey cookie.  In full transparency…not my favorite kind of cookie, give me a good shortbread cookie and I am a happy camper.  But I brought the cookies to a holiday party and they were GOBBLED up.  Folks loved the cookie’s festive color and nuanced flavor.

Meanwhile, a few days later, I grabbed one of the cookies to go with a cuppa tea and immediately remarked to the hubs, “This cookie is better today than the first day”.  The cookies were less cakey, moister, and still very flavorful.  The texture was much more to my liking.  So, note to self.  Make these cookies and squirrel away a couple to munch on a few days later.  Genius.
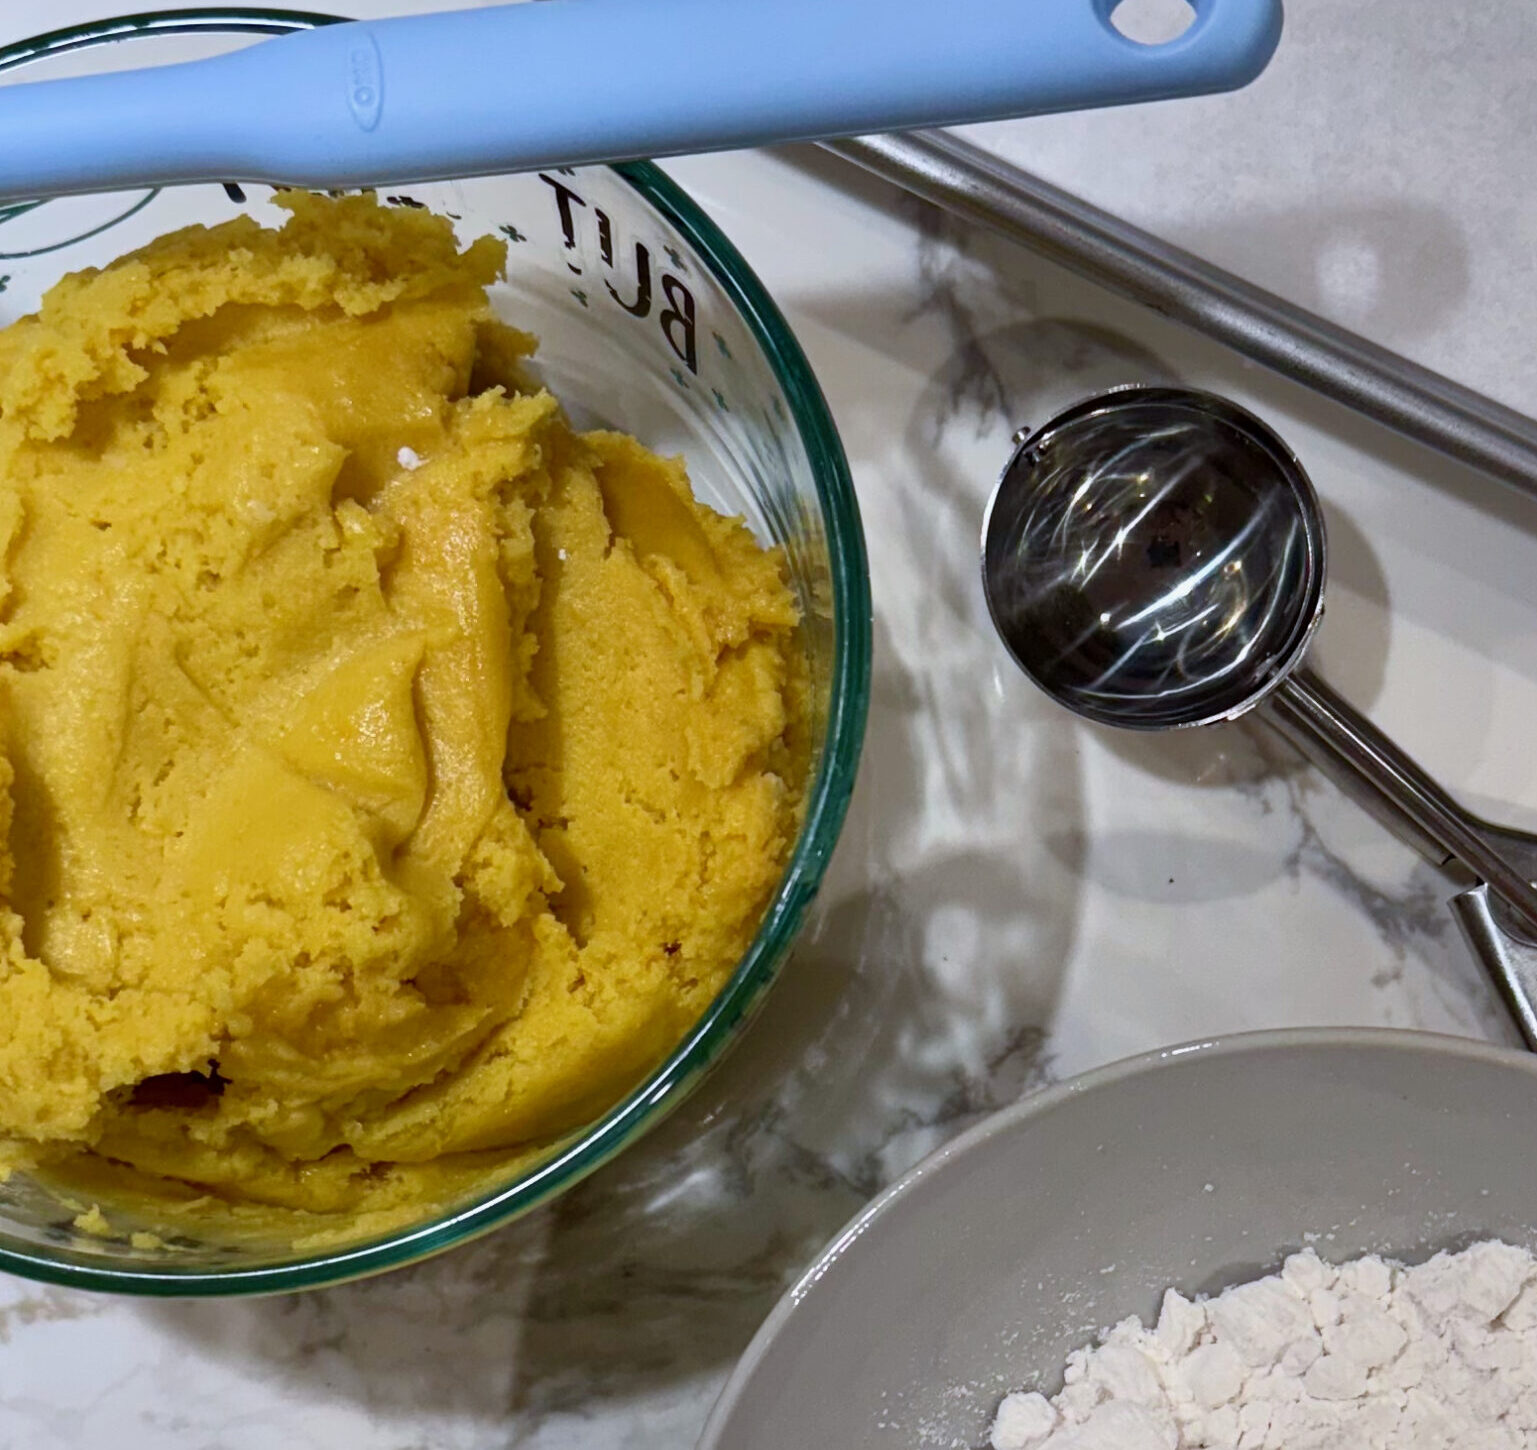
Pro Tip for Eric’s Cookies

Optimally, make these cookies by hand.  I’ve learned that my Kitchen Aide stand mixer can be a detriment. It’s much too easy to overbeat cookies and cakes when using one.  At the same time, hand-whisking for one minute, isn’t all that easy, lol. SOLUTION: If you don’t want to mix by hand, get a hand mixer!  I did,  it’s a Christmas present from my kids and hubby (although they don’t know yet, shhh).  Make sure to bring the cream cheese to room temp, much easier to beat by hand.
Turmeric

If you aren’t familiar with turmeric, it is a spice in the ginger family. It is widely used and can be found at most grocery stores, especially in Indian and Middle Eastern stores.  Bonus, we are looking at a win-win, turmeric is an anti-oxidant and anti-inflammatory.  It may help with arthritis and other joint disorders, colitis, allergies, and infections.  So this is guilt-free cookie consumption if you ask me.

Word of warning, the downside of turmeric’s brilliant color is that it stains.  Avoid getting it on your clothes or counters!

If you have NYTCooking, a video of Eric making these cookies is on their site on YouTube.
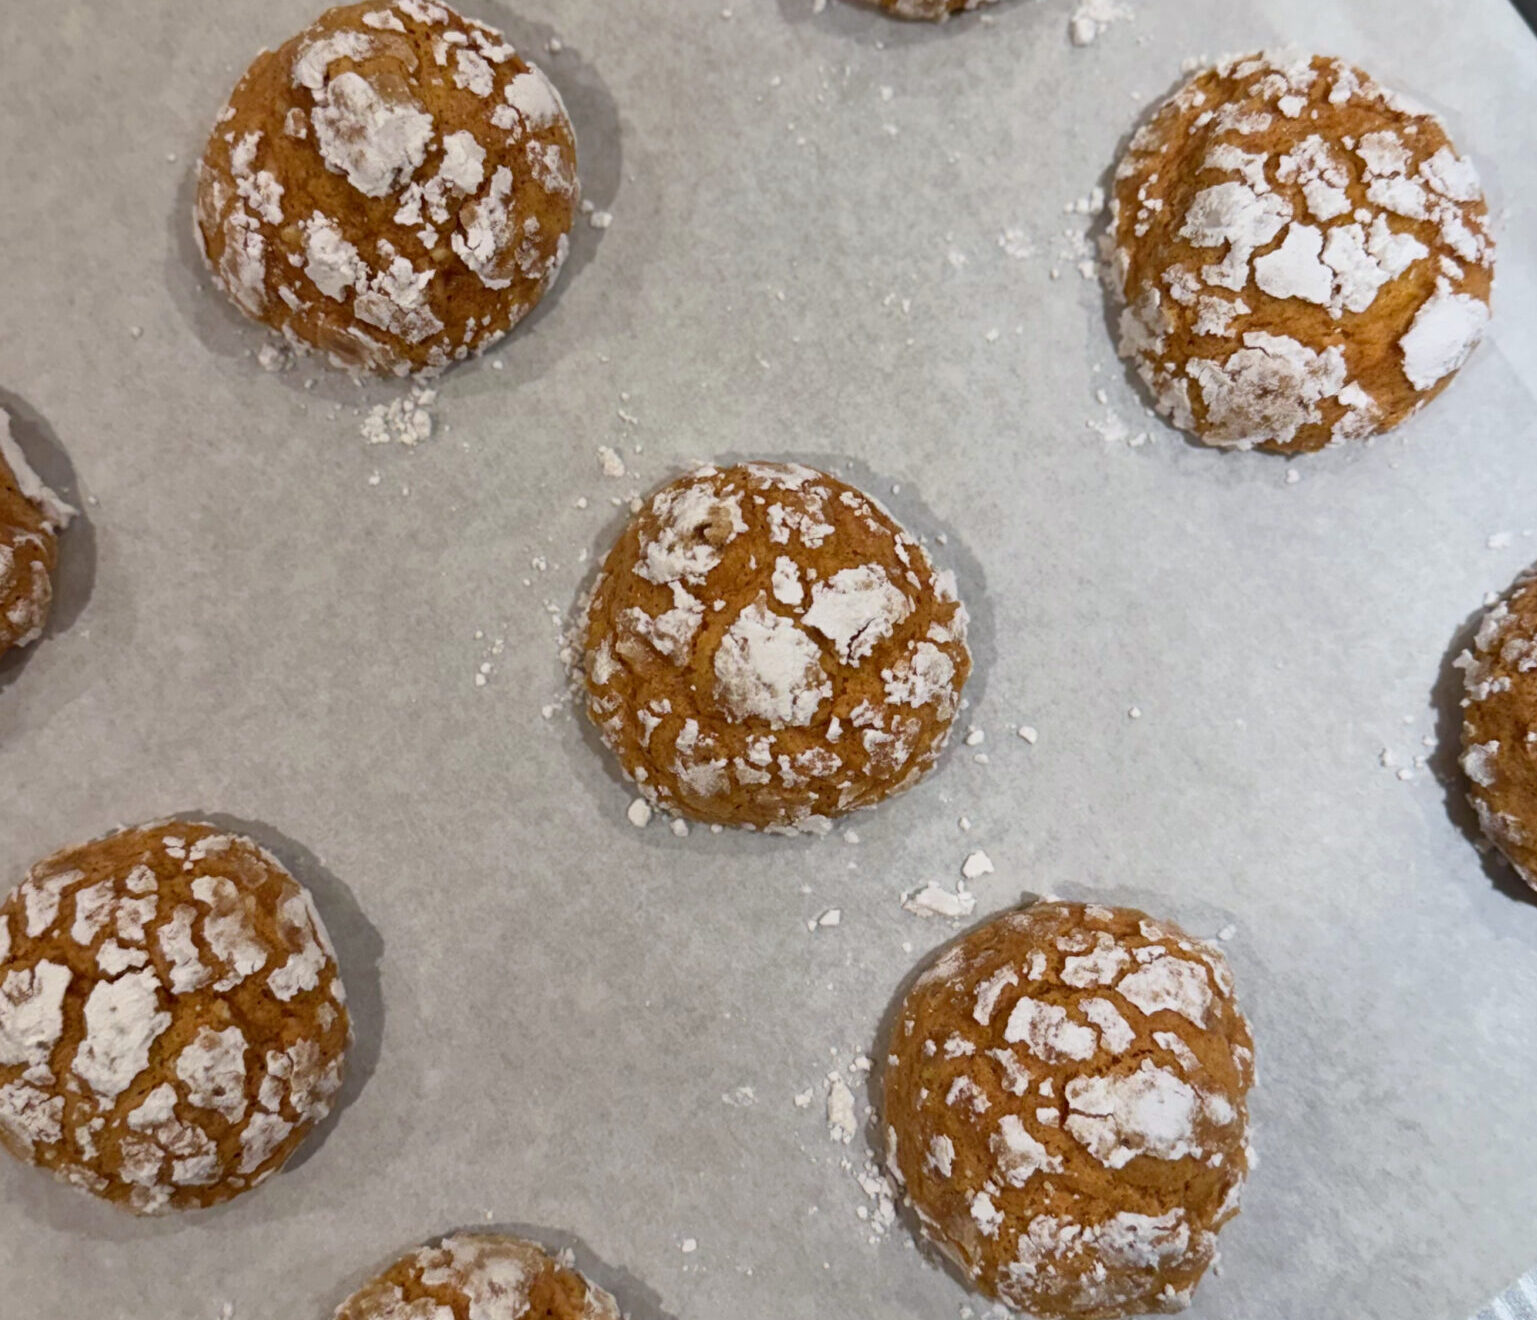
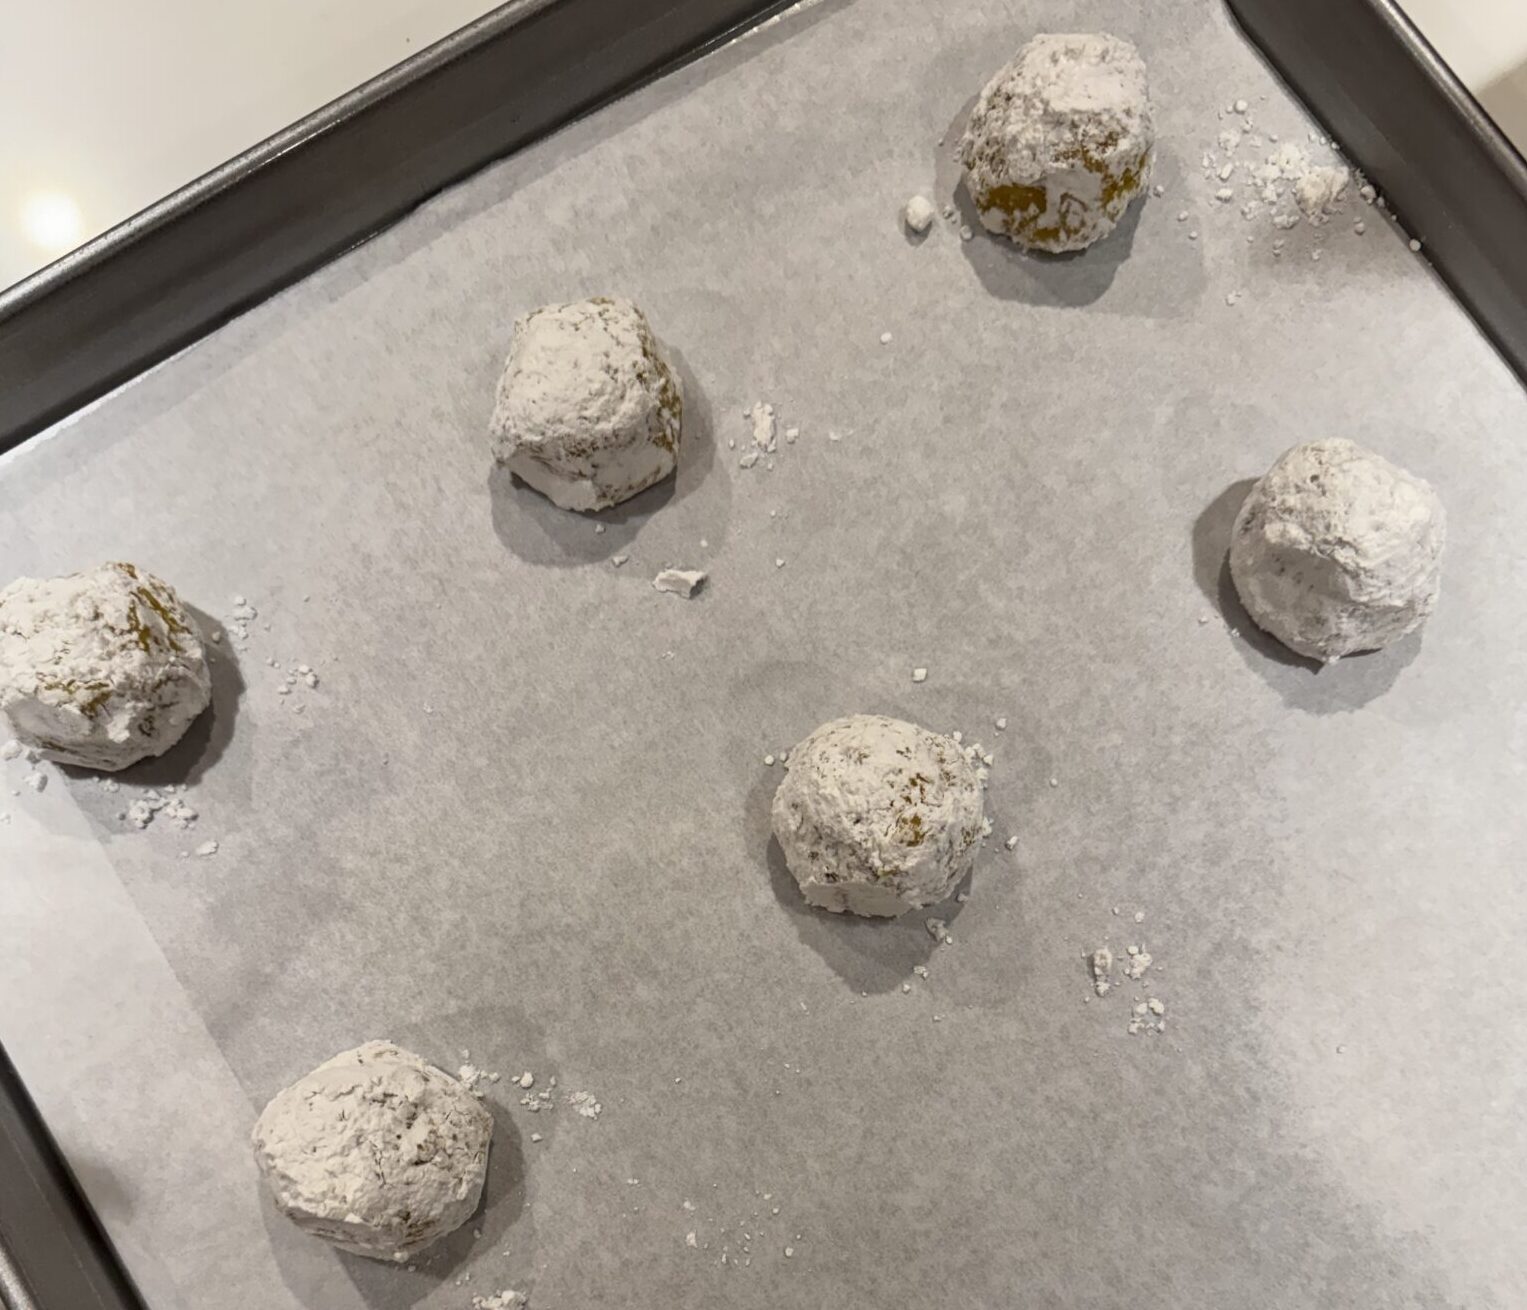
Instead of butter, the cookie is made with cream cheese and olive oil.  I love the use of olive oil in baked goods which is saying a lot, I am a BUTTERvangelical, lol.  I made the dough and refrigerated it overnight.  It was still fairly soft and easy to scoop.  Use a #40 or #50 scoop to portion out the dough.  Roll dough balls in powdered sugar,  you want a generous coat of sugar on each one.  During the bake, start checking the cookies at 12 minutes, especially if using a #50 scoop (less dough).  Allow cookies to cool on a rack, store in an airtight container, and place wax paper in between each layer of cookies.

If you are looking for something different but delicious, include the Lemon-Turmeric Crinkle Cookies on your holiday cookie list.

Print
5 from 1 vote

Lemon-Turmeric Crinkle Cookie

Another winner from Eric Kim for this year's Cookie Week from NYTCooking. Lemon-Turmeric Crinkle Cookie. Made with cream cheese abd olive oil, spiced with turmeric and lemon, it's tender, cakey and delicious.
Course cookies, Dessert
Cuisine Asian-American
Keyword cookie week, cookies, ERic KIm, holiday baking, holiday cookies, lemon-turmeric crinkle cookie, NYT Cooking
Prep Time 15 minutes
Cook Time 10 minutes

Ingredients

Creamed Ingredients

  • 3 tablespoons olive oil
  • ½ teaspoon ground turmeric
  • ¾ cup granulated sugar 150 grams
  • 2 tablespoons lemon zest from about 2 lemons
  • 4 ounces cream cheese at room temperature
  • 1 large egg at room temperature
  • 1 teaspoon vanilla or almond extract
  • ¾ teaspoon baking soda
  • ½ teaspoon coarse kosher salt or fine salt

Dry Ingredient

  • cups all-purpose flour 192 grams

Coating

  • ¾ cup powdered sugar 92 grams

Instructions

  • In a large bowl, whisk together oil and turmeric until combined. Let sit for about 30 seconds to let turmeric dissolve. Add sugar, lemon zest, cream cheese, egg and vanilla. Vigorously whisk to combine and aerate the mixture, about 1 minute.
  • Whisk in baking soda and salt. Add flour, then switch to a rubber spatula and stir to combine. Cover and refrigerate dough until hard enough to scoop, about 30 minutes and up to 24 hours.
  • Heat the oven to 350 degrees and line a couple of baking sheets with parchment. Using a 1½-tablespoon cookie scoop (or two spoons) and working one at a time, scoop out 1½-inch/29-gram rounds and coat them in powdered sugar. Place them a couple of inches apart on the baking sheets and bake until crinkled and no longer wet-looking on top, 15 to 17 minutes. Let cool completely on the pan before eating.

Notes

To make ahead, prepare cookies then scoop out 1½-tablespoon rounds and set them in a single layer in a resealable container. Freeze the dough, covered, for up to 1 month. When ready to bake, coat frozen dough balls in powdered sugar and bake, adding 1 to 2 minutes as needed.
I prefer weights when baking but without a scale, I would use the scoop and sweep method. Don't pack down your flour.
Gochugaru Salmon with Crispy Rice-Yet Another Eric Kim Winner

Gochugaru Salmon with Crispy Rice-Yet Another Eric Kim Winner

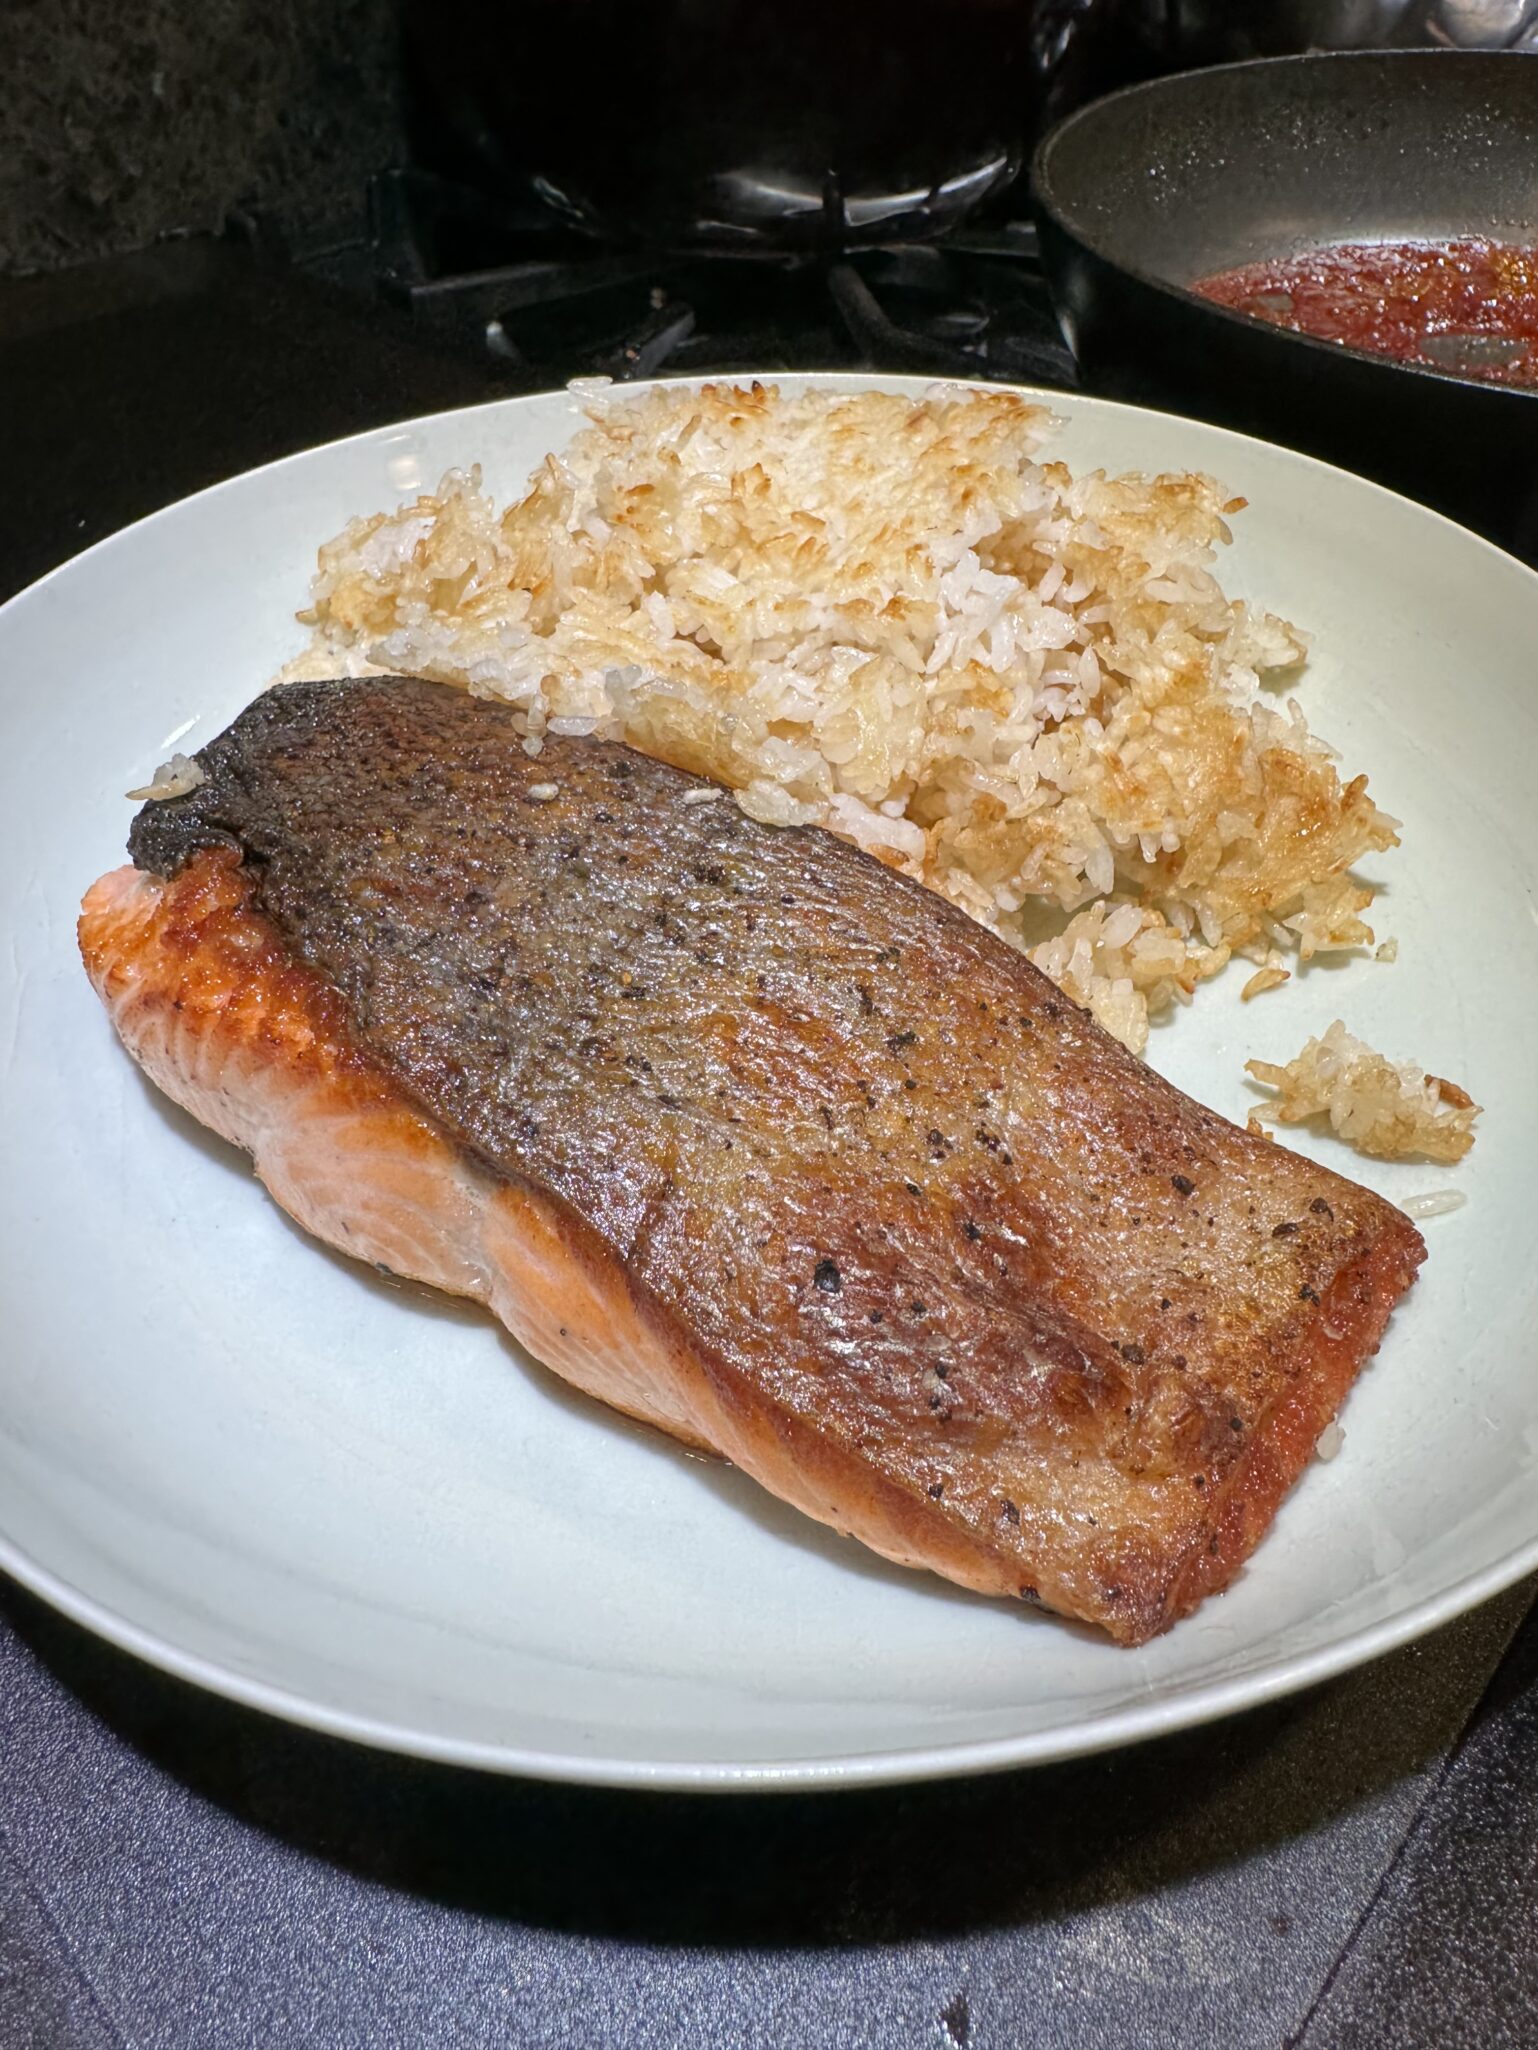
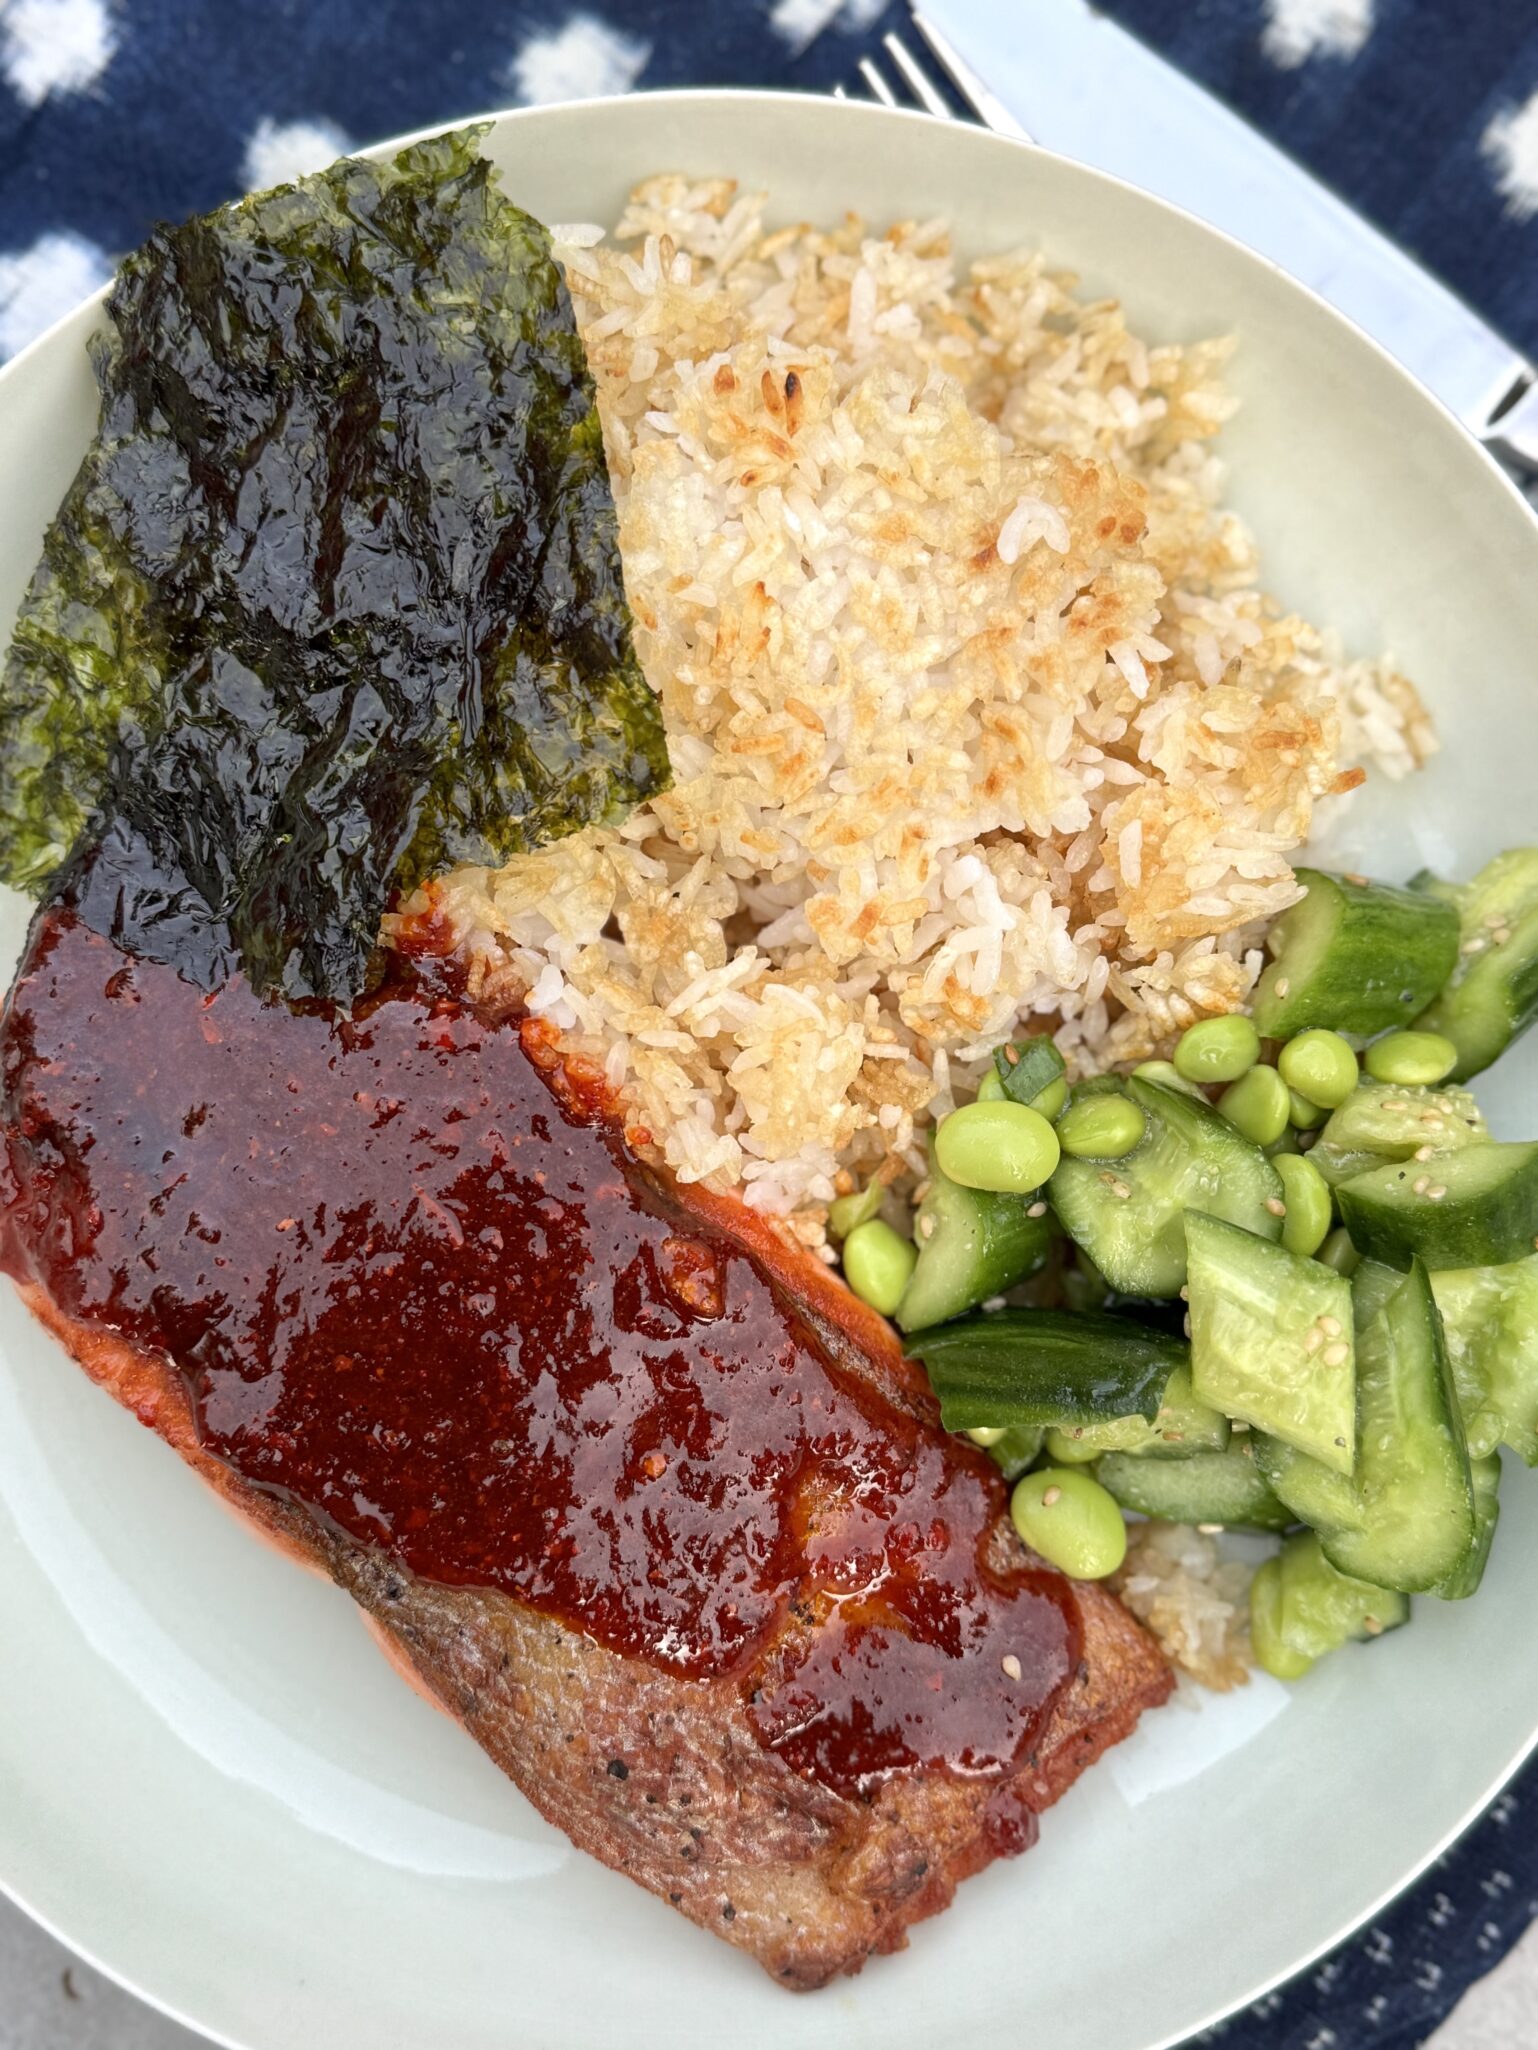
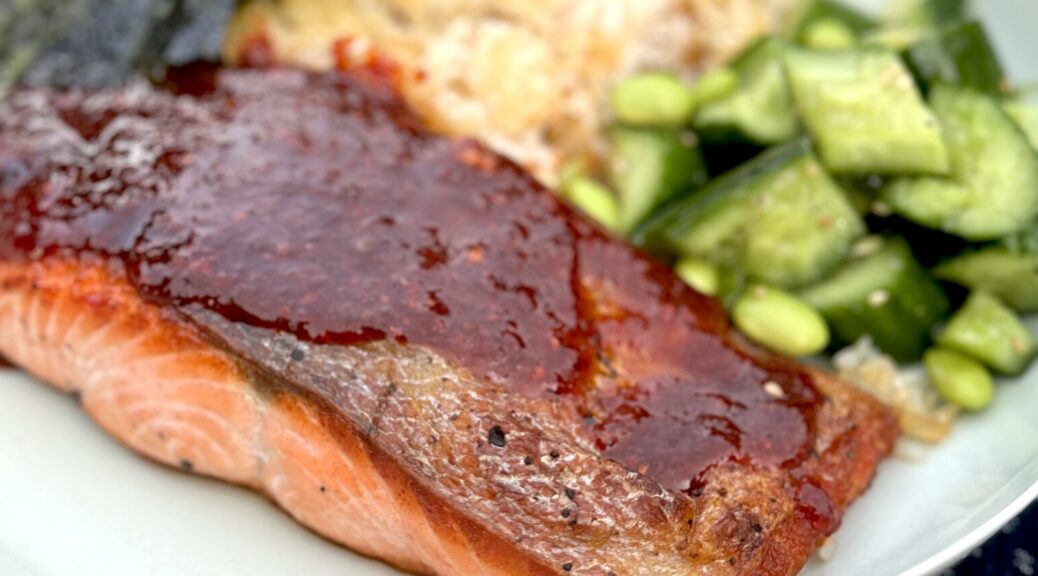
Another winner from Eric Kim, NYTcooking columnist, cookbook author, and writer.  Like many of his recipes, this one is very approachable, comes together quickly, and packs a one-two punch of flavor and texture.  The first time, I didn’t bother making the crispy rice.  MISTAKE.  The salmon and glaze are delicious but the crispy rice pushes it to the next level.

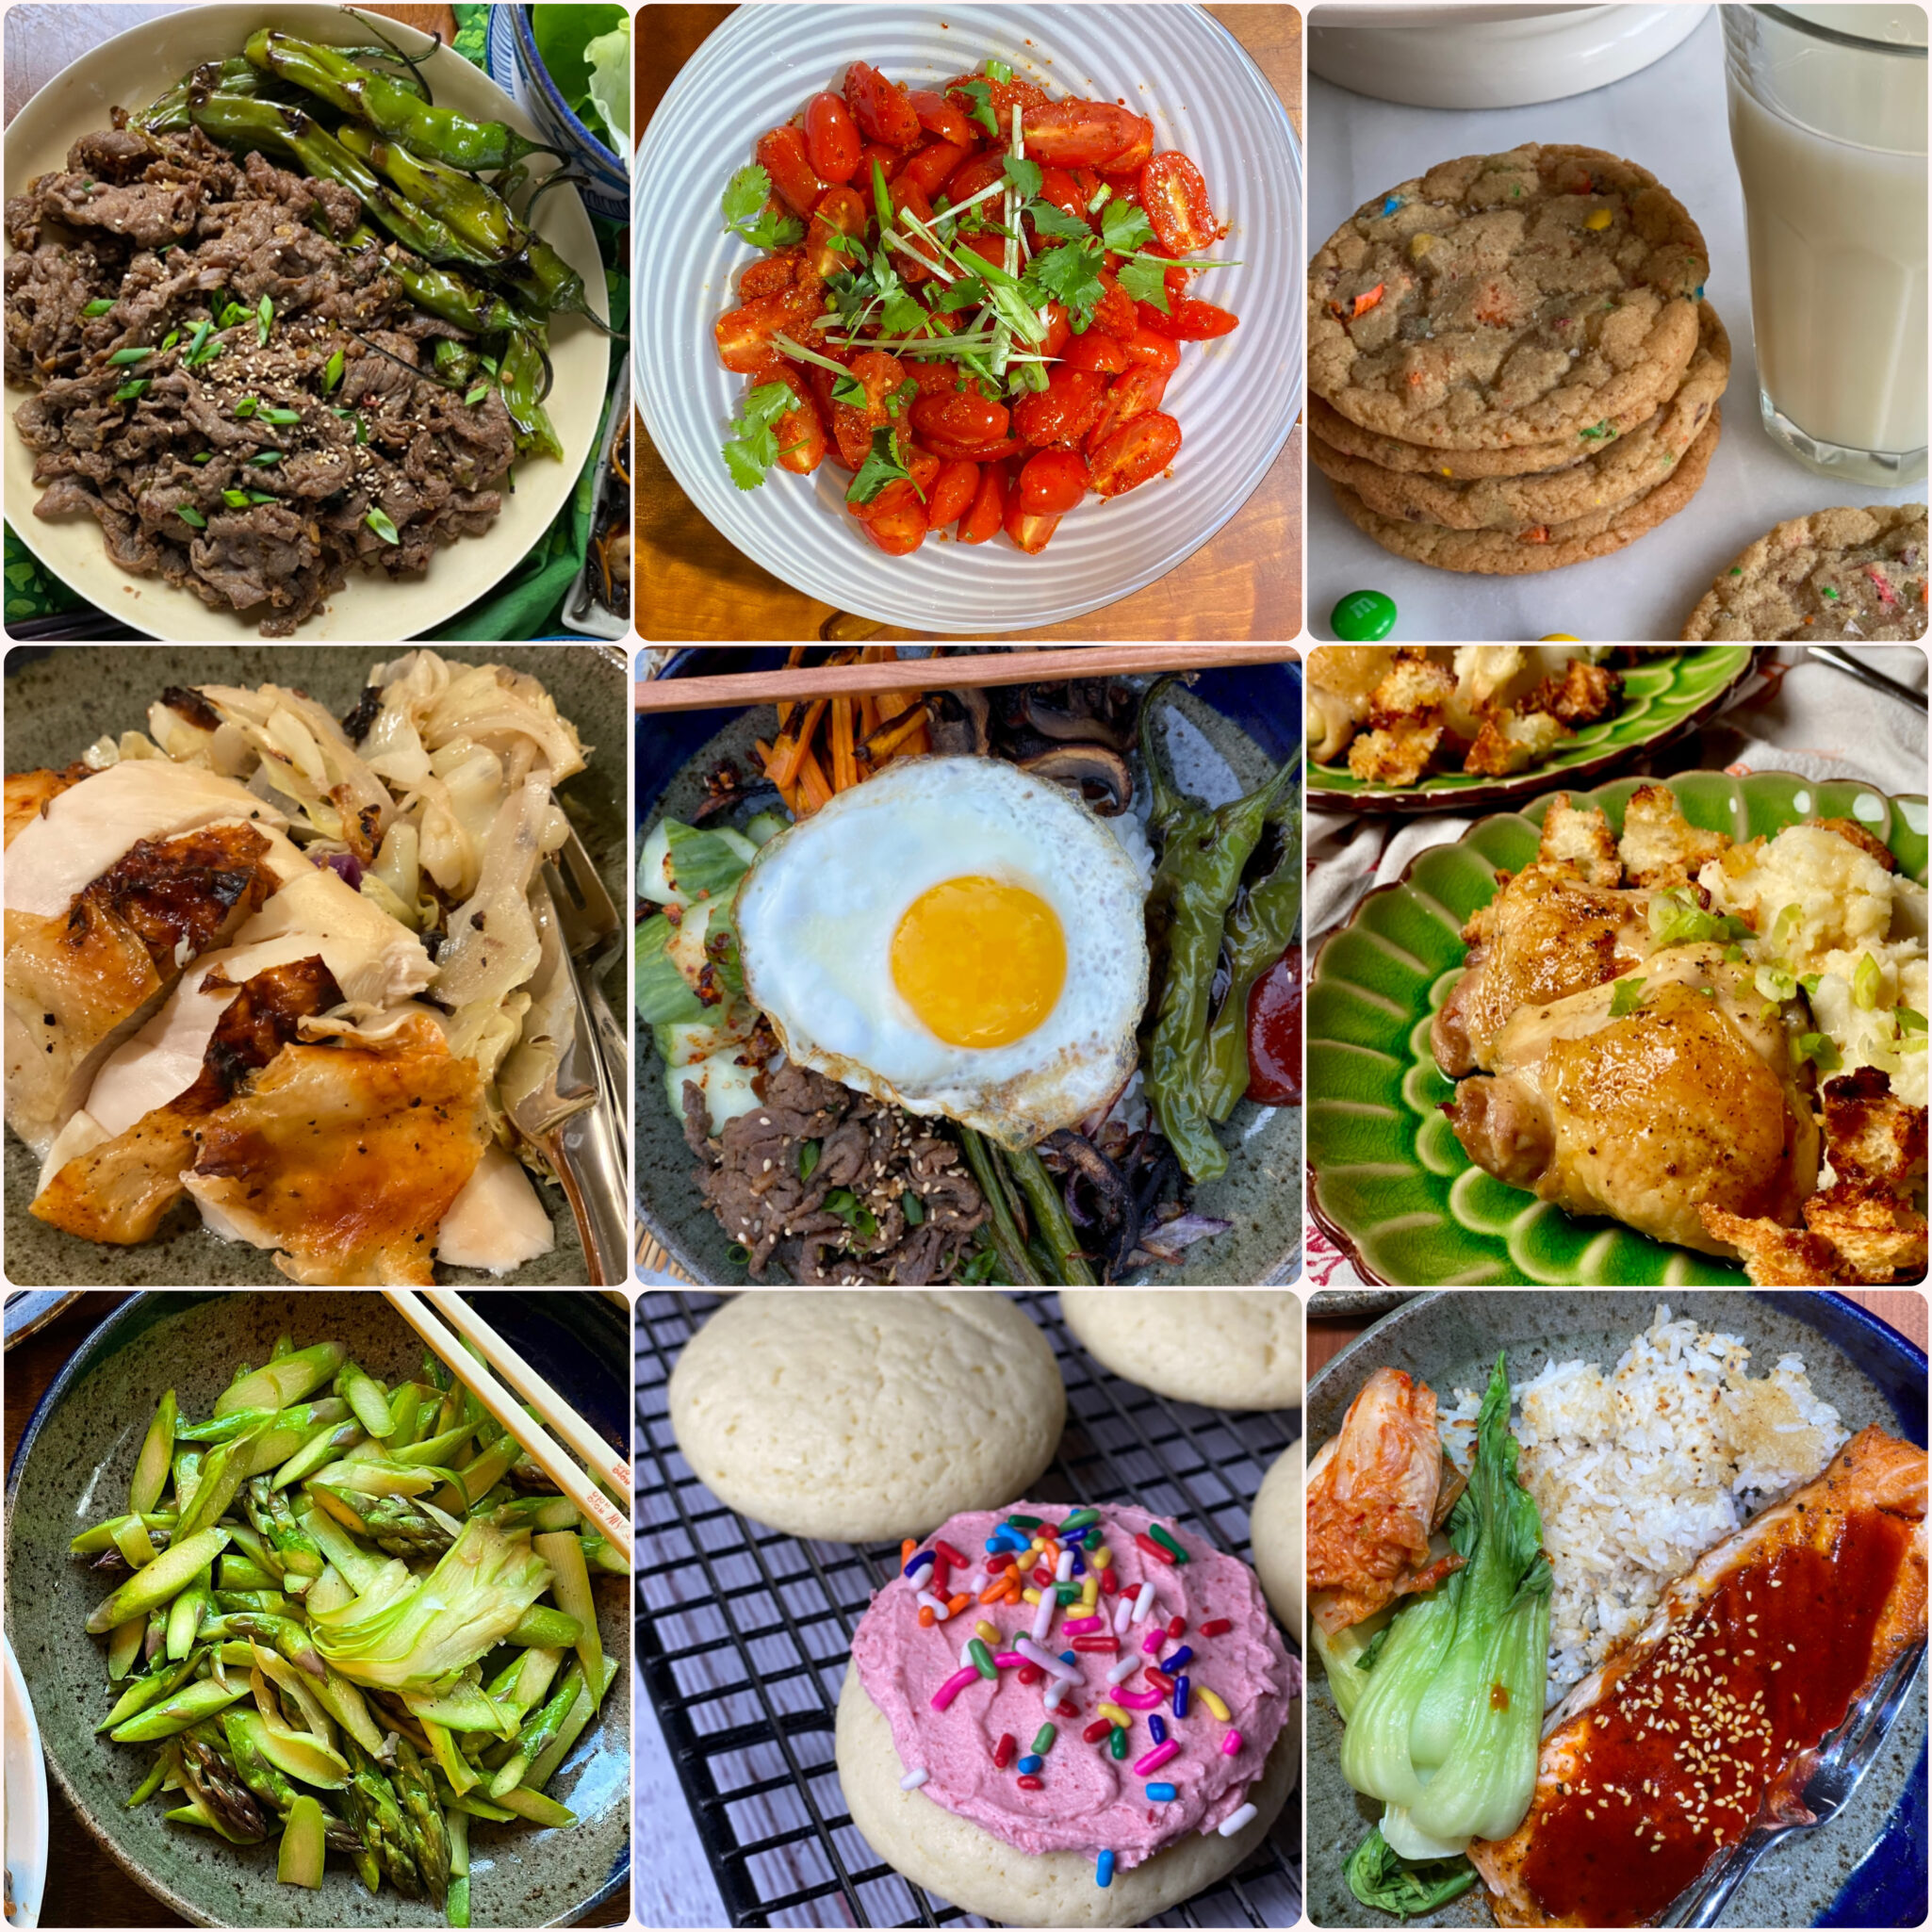
I have made so many of his recipes that I have an index of his recipes included in my post about his delightful pound cake.  If you love Sara Lee’s poundcake, you’ll love his version.  Here is the Eric Kim Hall of Food, so far…

Links are included for the ones I have written notes for so far.  One day, I will get through all of them, I hope.

Back to the Fish

Cooked rice-Make this dish when you have leftover rice.  Instead of making fried rice with it (come on, everyone makes fried rice with day-old rice), plan on making the crispy rice cake for this recipe. Short grain is stickier so works well for the rice cake.

The Star- 4 fresh salmon fillets, skin on.  Salt and pepper the fillets and fry until the skin is nice and crispy.  Try not to overcook the salmon,  it’s fine when slightly undercooked.

Before the fish gets sauced,  pan-frying for nice crispy skin.  Imagine that generic video everyone does running a knife over the skin to prove how crispy it is…yep.

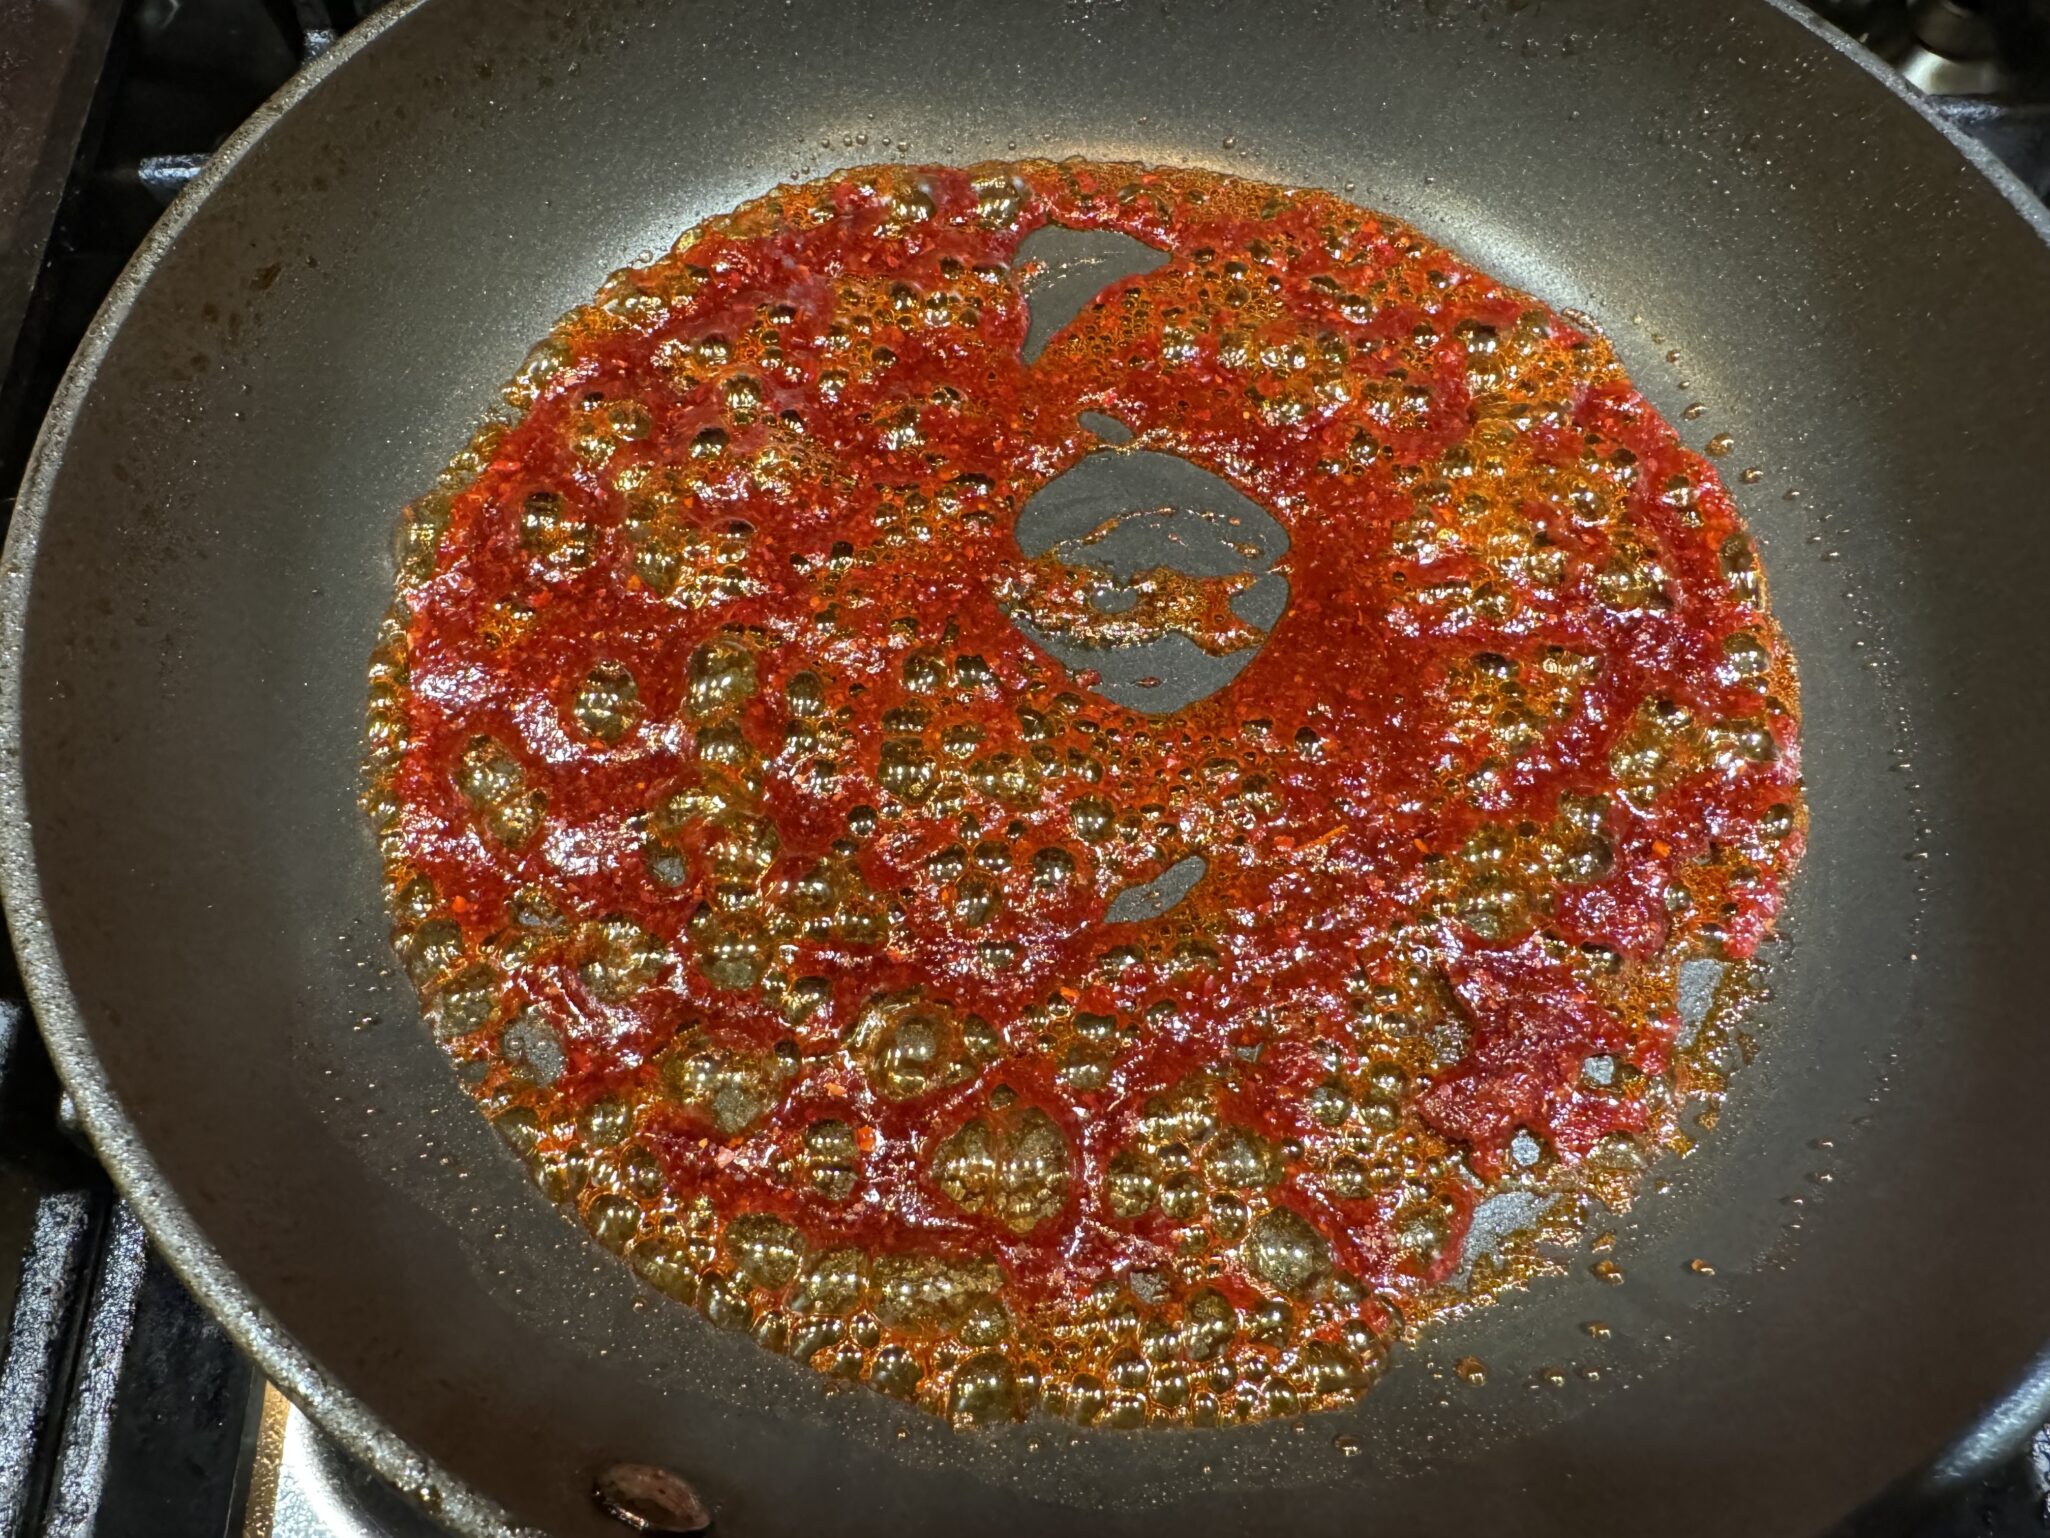
The Sauce-pantry staples except for perhaps Gochugaru which is Korean chili pepper flakes (coarse ) or powder (fine). It’s spicy, smokey, and sweet. Find it at most Asian Supermarkets, definitely at H-Mart and Ranch 99. I recommend doubling the sauce, it’s that good.

The sauce comes together quickly. Key ingredient.  Allow it to come to a boil to caramelize the sauce.

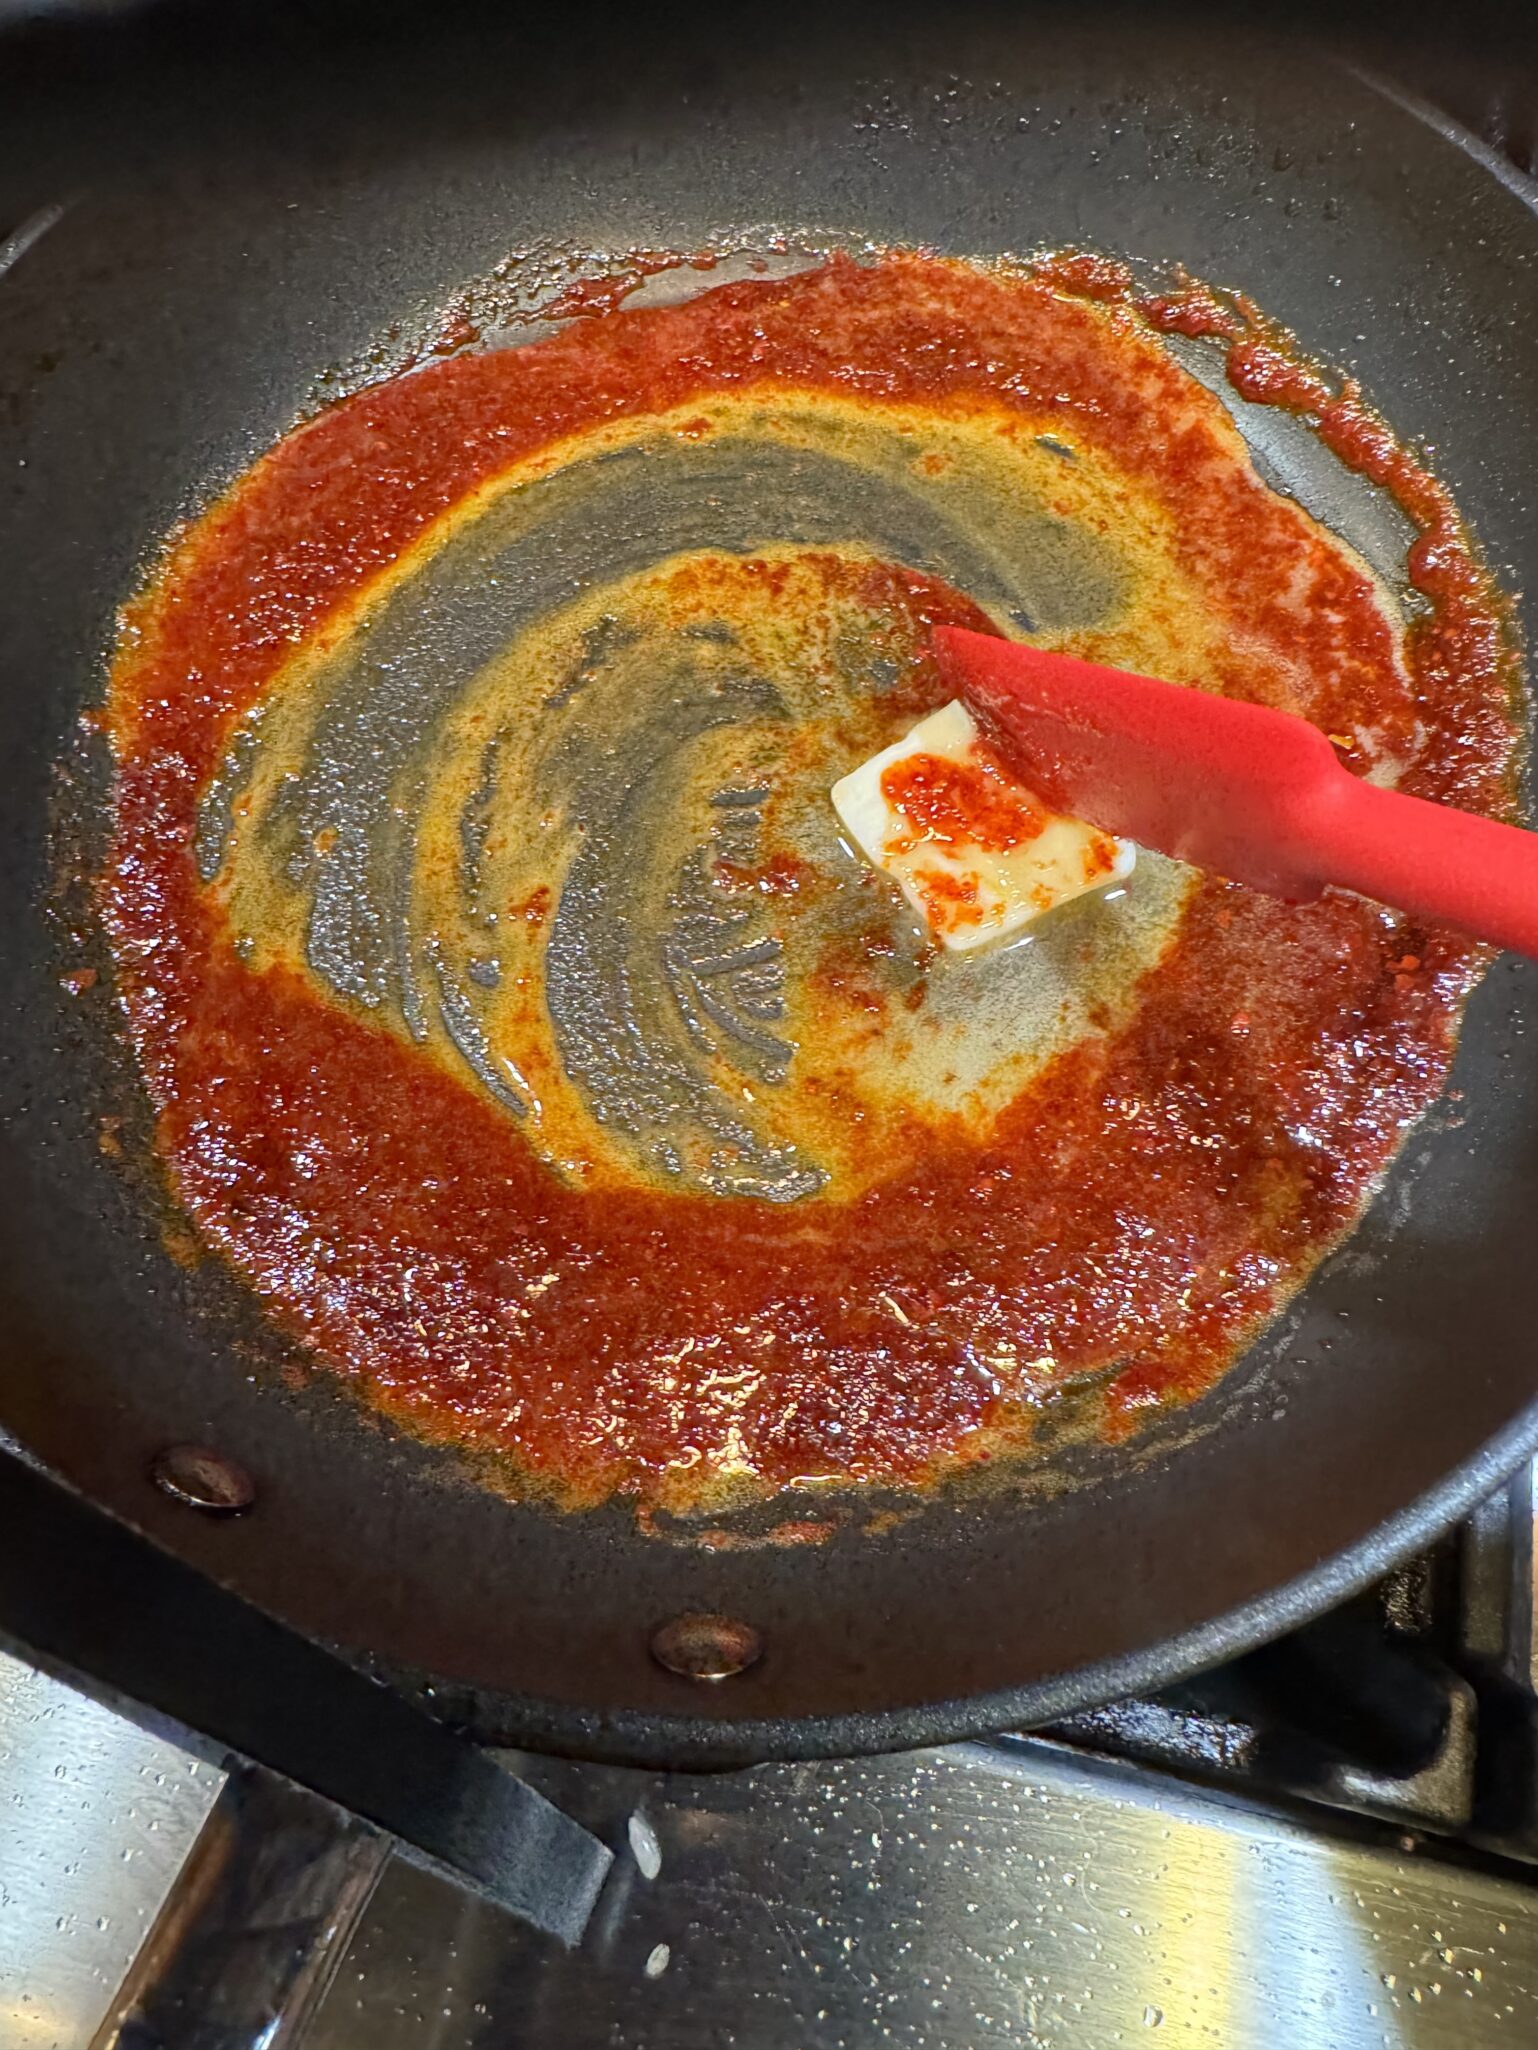
Add cold butter to create a delicious, smooth, creamy emulsion.

Crispy Rice- Adds time and work to the dish, but it is so worth it!  The crispy rice adds a textural element.  The rice soaks up the flavor from the oil left in the pan from the fish.  Delish!

Serve this with sliced cucumbers, pickles, fresh kimchi, any banchan, or blanched spinach.

Enjoy!

Gochugaru Salmon With Crispy Rice

Another winner from Eric KIm, NYT Cooking columnist and author of Korean American. Gochugaru Salmon with Crispy Rice. Quick, Easy and Delicious
Course dinner
Cuisine Asian-American, Korean-American
Keyword crispy rice, gochugaru, maple syrup, quick and easy, Salmon
Prep Time 10 minutes
Cook Time 16 minutes
Servings 4 servings

Ingredients

  • 4 skin-on salmon fillets 6 ounces each
  • Kosher salt such as Diamond Crystal
  • Black pepper
  • 1 tablespoon olive oil I use peanut oil
  • 4 cups cooked white rice preferably leftover rice, and short grain which is a bit stickier so it stays together

Sauce

  • 4 teaspoons gochugaru powder or flakes is fine
  • 2 tablespoons maple syrup
  • 2 tablespoons rice vinegar
  • 2 tablespoons cold unsalted butter, kept whole

Garnish & Sides

  • Toasted sesame seeds to sprinkle on fish when done
  • Sliced cucumbers or pickles for serving (optional)
  • Any Banchan you like, kimchi, potato salad, spinach your choice

Instructions

  • Season the salmon on all sides with salt and pepper. Heat a large cast-iron or nonstick skillet over medium-high. Add the oil and sear the salmon fillets skin side down until the skin is browned and crispy, 2 to 5 minutes. The salmon will begin to turn pale coral as the heat slowly creeps up the sides of the fish; you want that coral color to come up about two-thirds of the way for a nice medium-rare.
  • Carefully flip the salmon and cook the second side until the flesh feels firm, another 1 to 2 minutes. When you press it, it should not feel wobbly. Transfer the salmon to a plate skin side down and keep the pan with the rendered fat over the heat.
  • Add the rice to the fat in the pan and spread in an even layer, packing it down as if making a rice pancake. Reduce the heat to medium and cook until the bottom is lightly browned and toasted, about 5 minutes. You should hear it crackle.
  • Flip the rice like a pancake, using a spatula if needed. You may not be able to flip it all in one piece, but that’s OK. Cook until lightly toasted on the second side, another 1 to 2 minutes. Go longer if you want crispier rice, but the trifecta of crispy-chewy-soft tastes wonderful.
  • While the rice is cooking, stir together the gochugaru, maple syrup, rice vinegar and 1 teaspoon salt in a small bowl. Set aside.
  • When the rice is done, divide it evenly among the plates. In the now-empty pan, add the gochugaru mixture and cook, stirring constantly, over medium-high heat until it bubbles up and reduces significantly, 15 seconds to 1 minute. It should look pretty sticky.
  • Turn off the heat and add the cold butter, stirring with a wooden spoon or tongs until fully melted and incorporated into the gochugaru mixture. Pour this glaze over the salmon and serve with cucumbers or pickles.

Notes

You can find gochugaru, or red-pepper powder, at Korean or Asian supermarkets or online. Store in the freezer, it lasts a long time without degrading.
I use a non-stick skillet that doesn't brown or crisp food like a cast iron pan.  It may take significantly more time to brown and crisp rice.
Eric Kim’s Grape Tomato “Quick Kimchi” (Rock-Paper-Scissors)

Eric Kim’s Grape Tomato “Quick Kimchi” (Rock-Paper-Scissors)

Every Sunday I meet up with friends for coffee then we walk to our local farmer’s market to stock up for the week.  Every year, like clockwork, when summer is upon us, the following conversation takes place between us…

While Walking Back From the Market…

She who shall not be named Person #1 So, who is going to buy the Granny Cart?  I can’t lug any more melons, corn, and peaches.  We need wheels.  I feel like a Sherpa and my shoulder hurts.

She who shall not be named Person #2  Aren’t you the one on Medicare already?  You should get it.

She who shall not be named Person #3 But you’re the one with the watermelon, half flat of strawberries, and 6 ears of corn!

She who shall not be named Person #1 Wait a minute, you’re the one with grandkids, you get it.

She who shall not be named Person #2 I’m the youngest, I’m not getting it.

Needless to say, due to vanity, we are still schlepping our haul in multiple tote bags, occasionally stopping for a breather.  This Sunday may have been the breaking point, none of us could resist, so much amazing fruit right now. We loaded up on berries, peaches (Biscuit Berry Peach Cobbler), cantaloupes, (Melon, Prosciutto & Mozzarella with Basil Oil), and watermelons, (Watermelon and Tomato Salad).  Somebody has to bite the bullet and get that cart!

Tomatoes Are Coming…Update They’re Here!

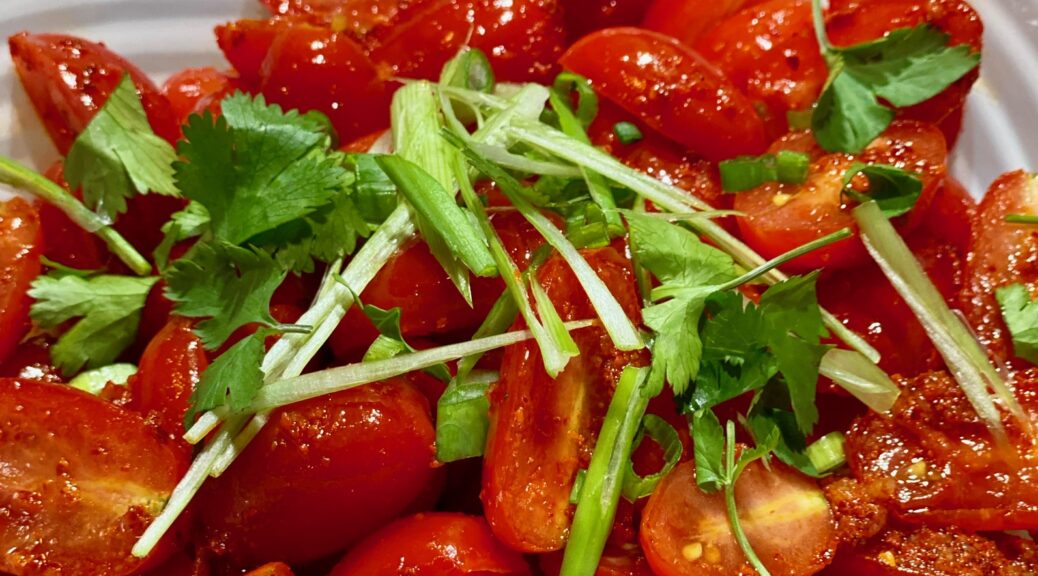
And I bought my first baskets of cherry tomatoes of the season today.  One of my favorite dishes, especially with the 90-degree weather we are having, is Eric Kim’s Grape Tomato Quick Kimchi.  I’m staying away from the stove as much as possible and this dish fits the bill. It’s the perfect way to enjoy those lovely tomatoes.

Side Dish Today…Lunch Tomorrow

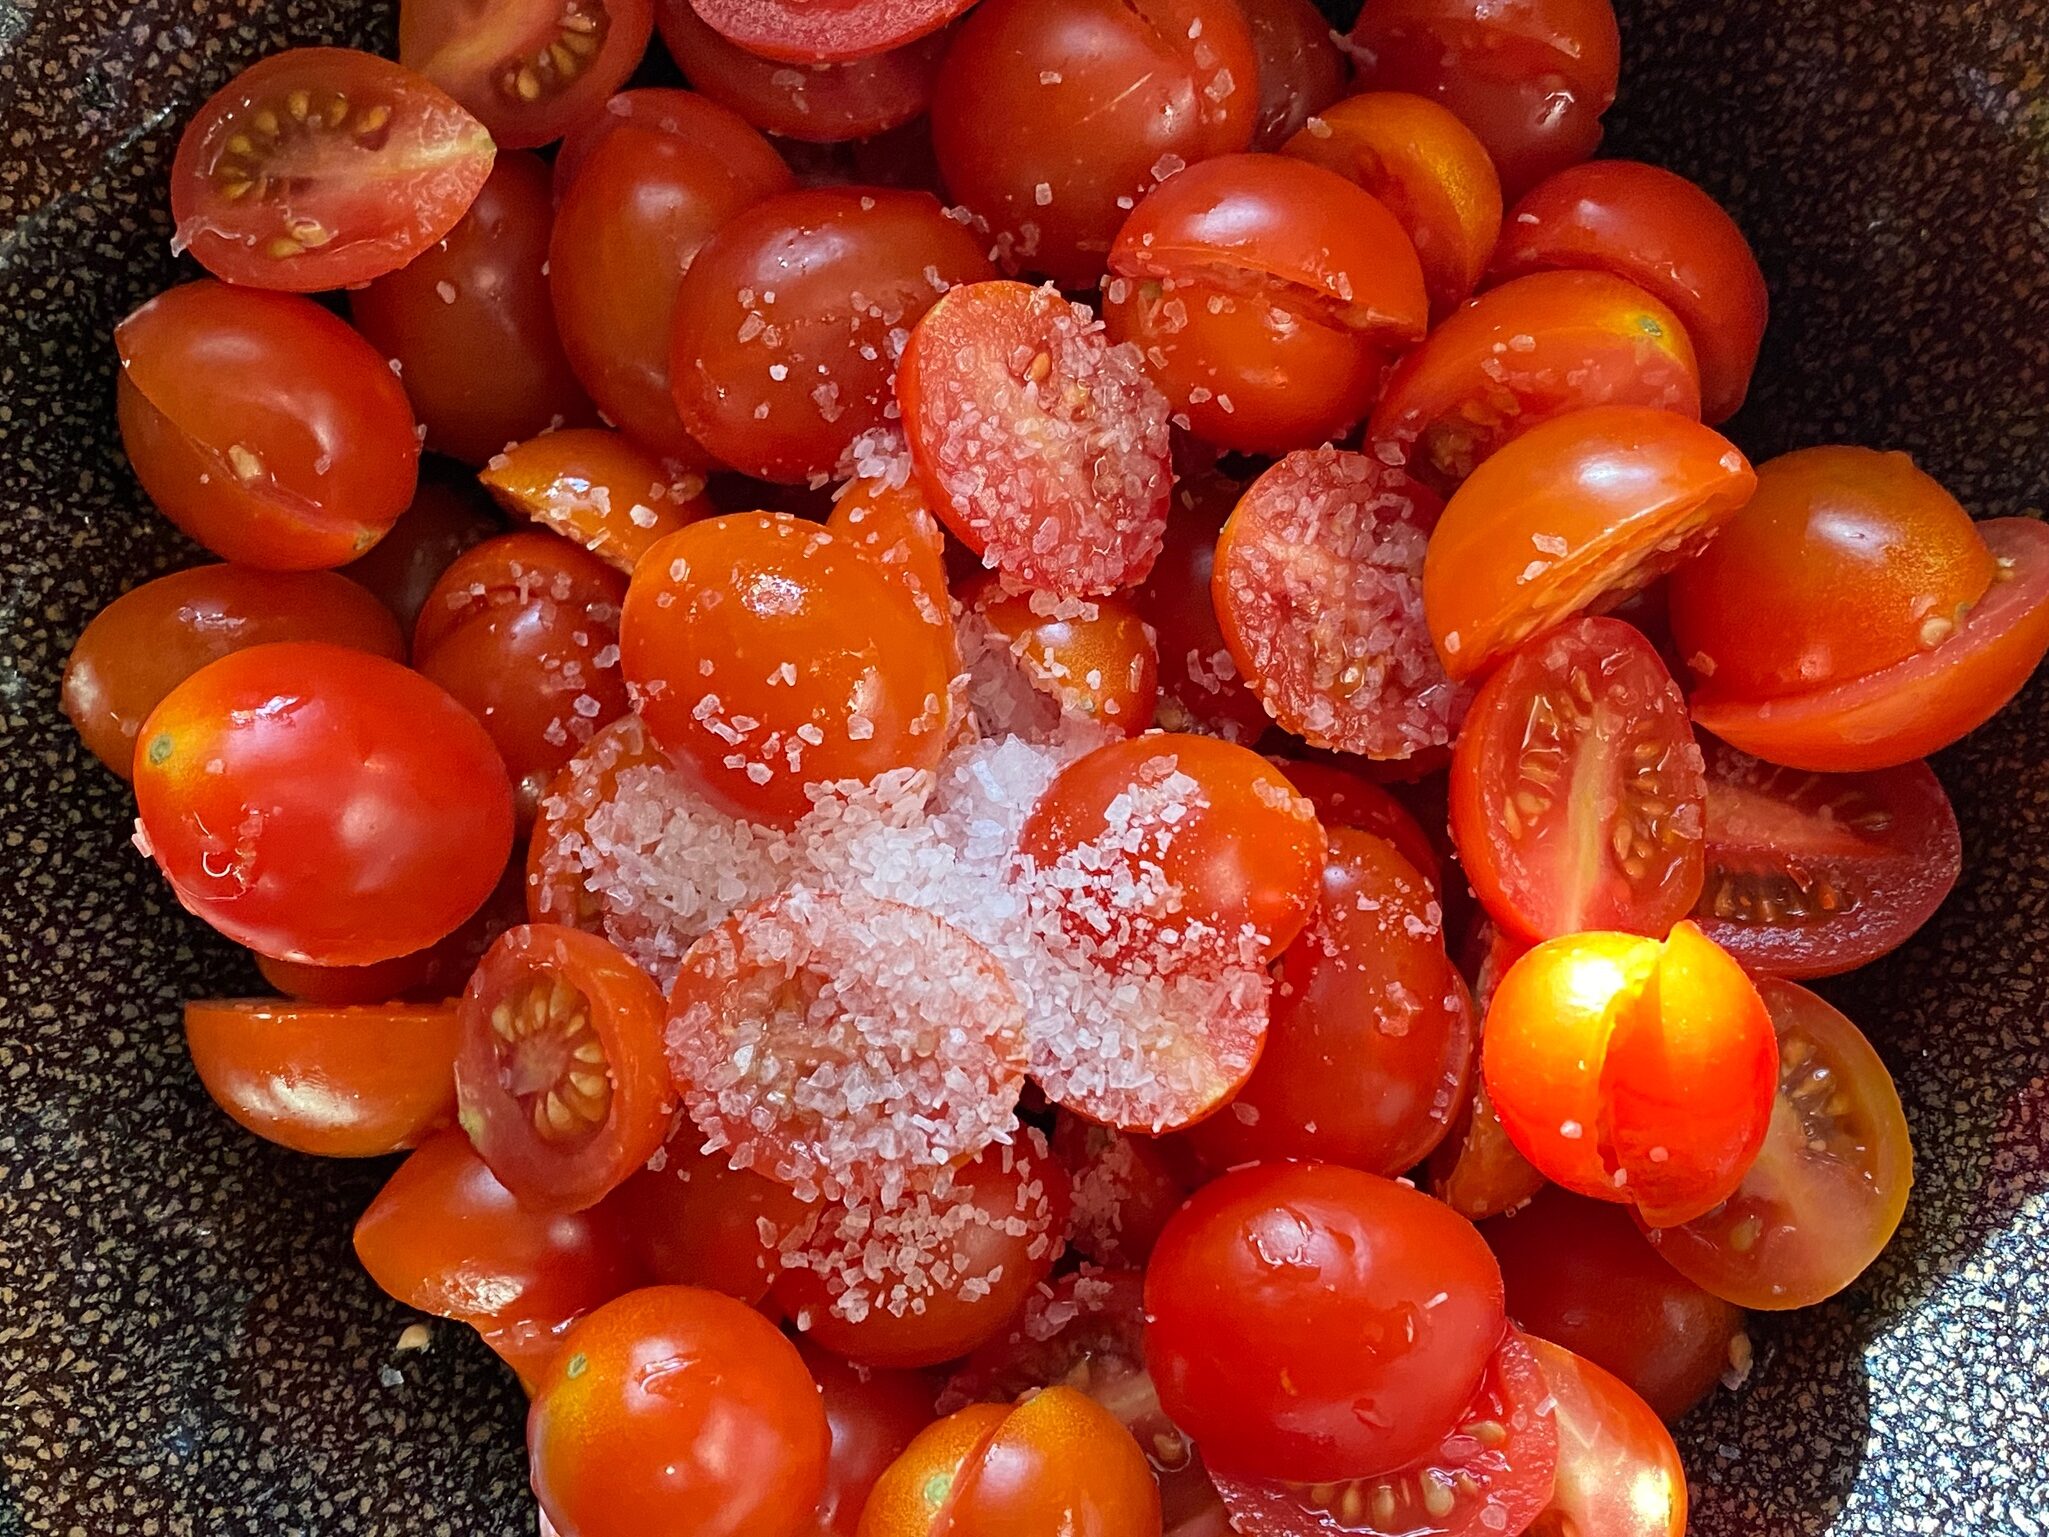
Simple to make, the time-consuming part is salting and allowing the tomatoes to drain.  Use any variety of cherry tomatoes.  The dressing consists of vinegar, fish sauce, sugar, and Gochugaru.  Red Boat or Three Crabs, are good choices for fish sauce.   Either can be found in any Asian store.  Gochugaru is Korean chili powder that can also be found in most Asian stores.  Your best bet would be a Korean market or online.  If you can’t find it feel free to substitute with chili flakes (1/4 tsp or to taste) or Aleppo pepper powder (1:1).  Toasted sesame oil provides a nutty, sweet finish to the dressing.

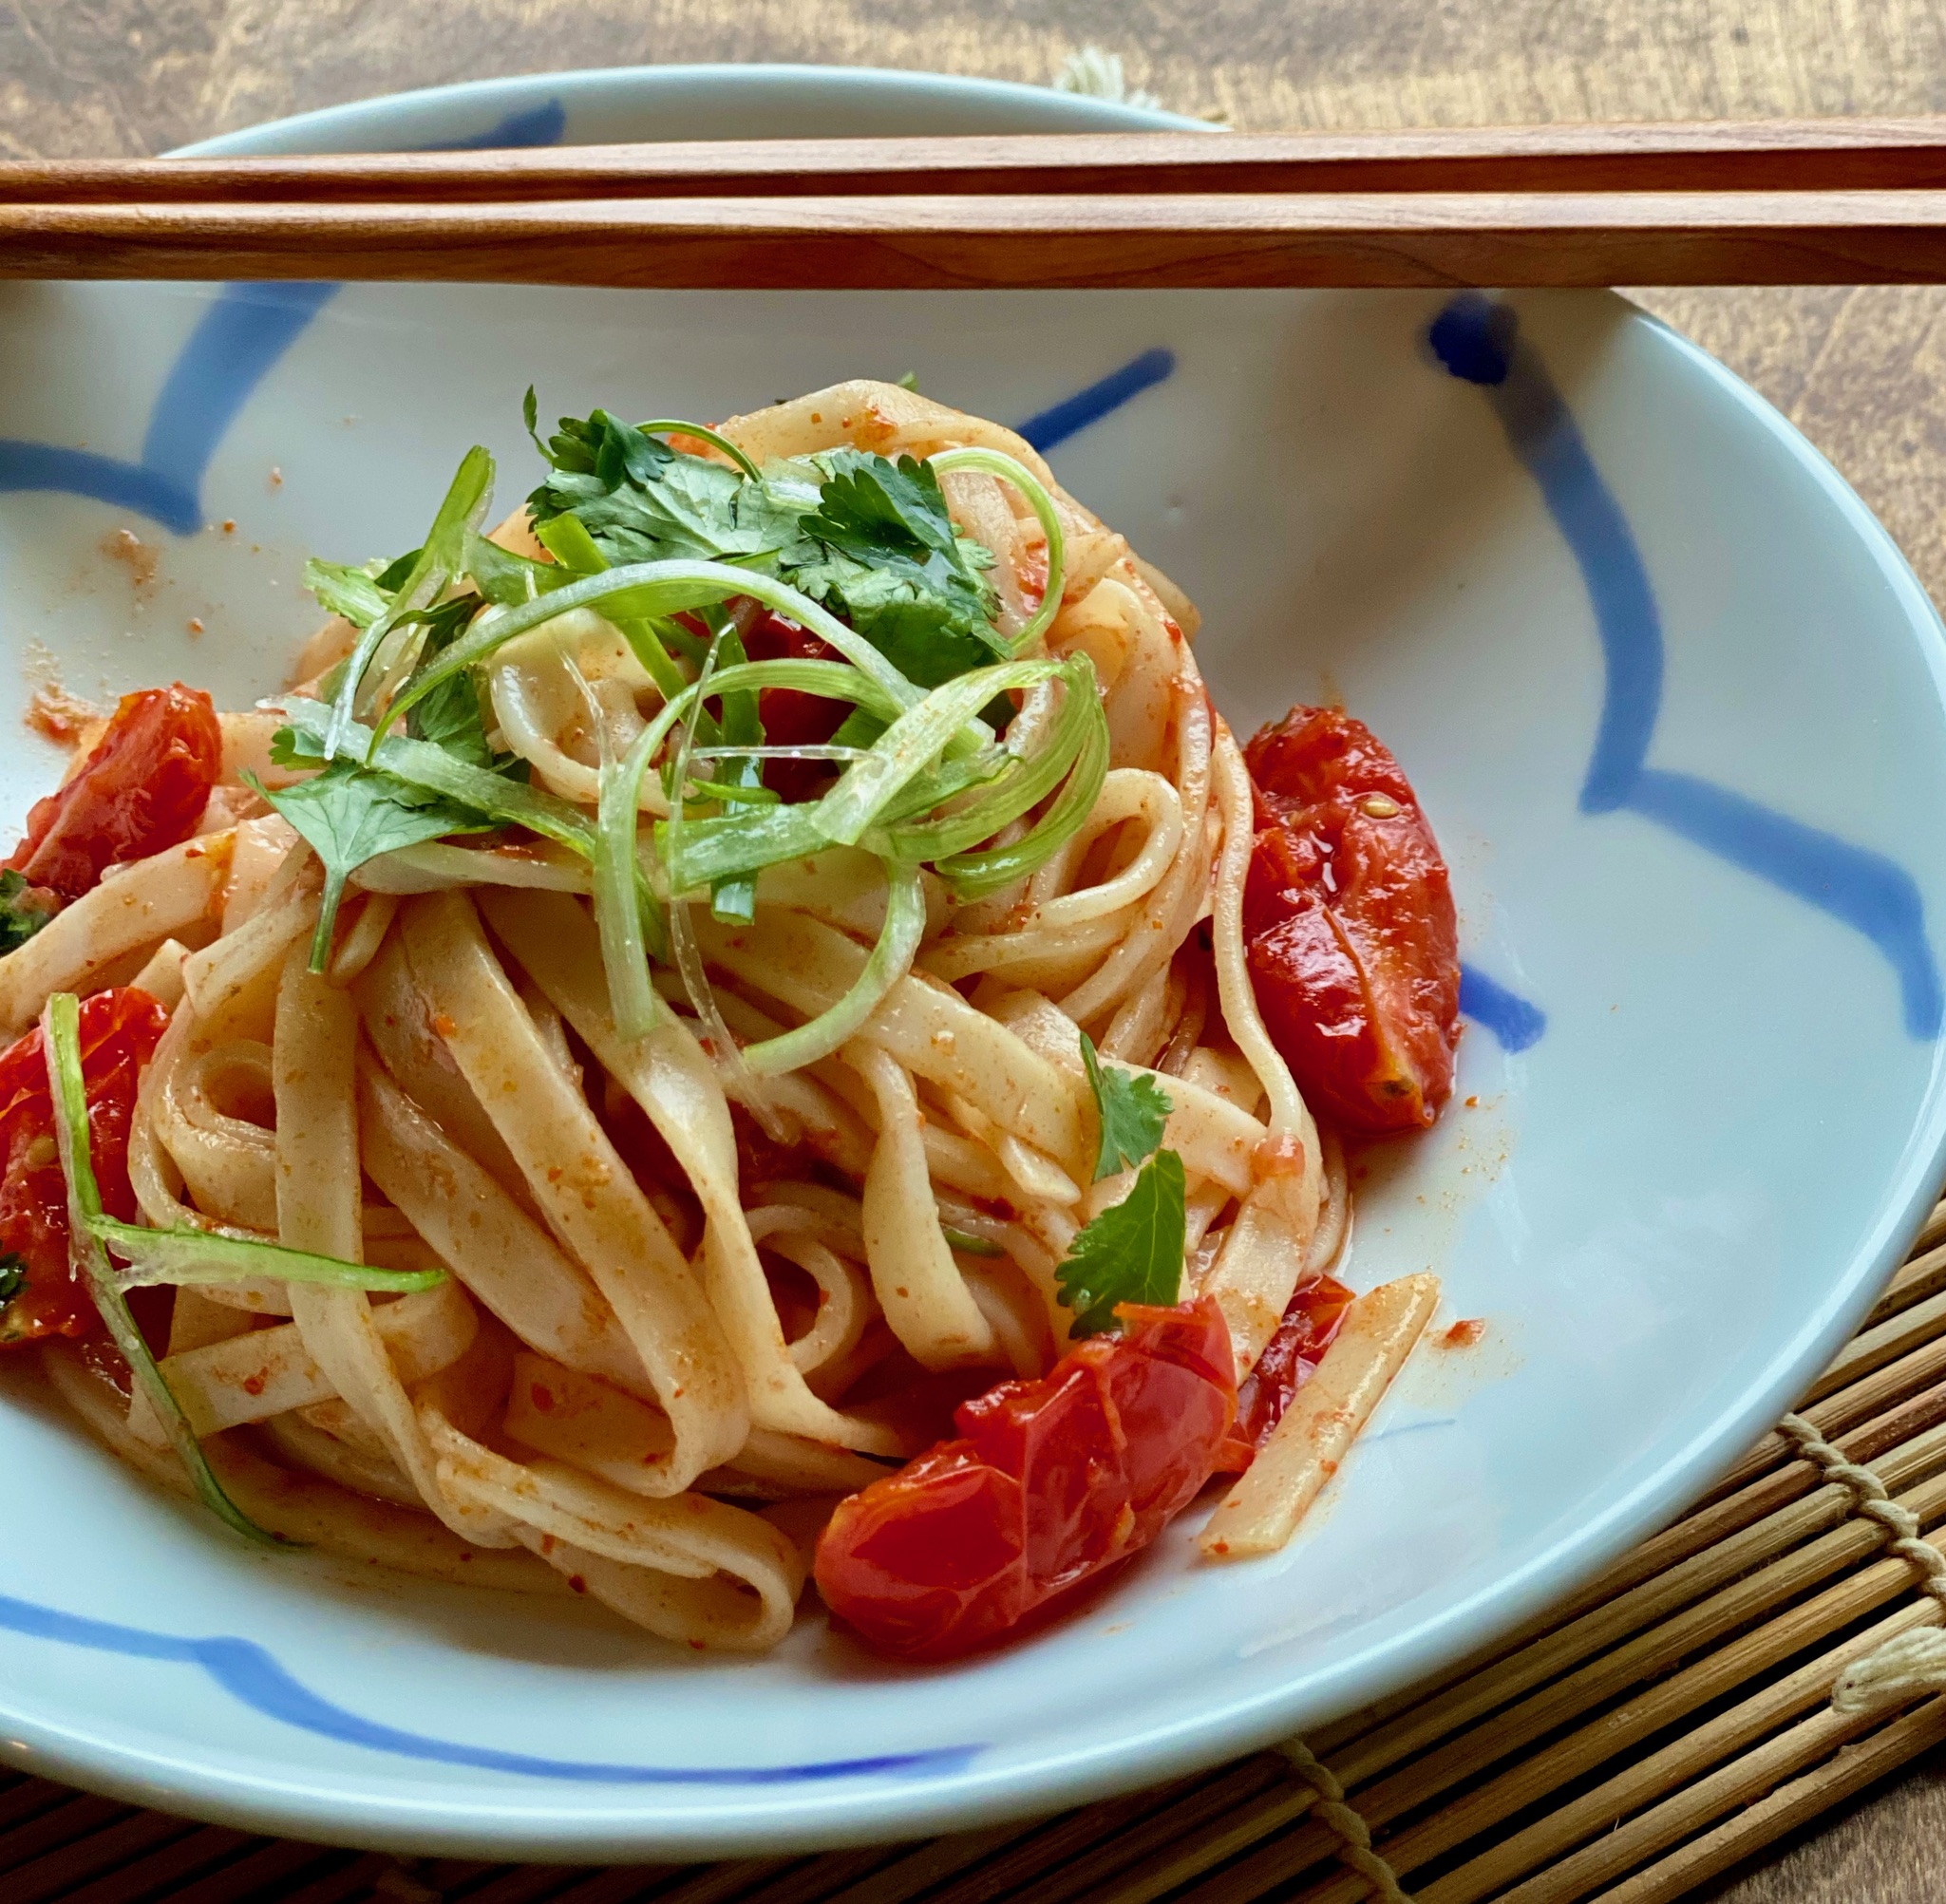
Serve it as a salad or side dish, like Banchan, it goes well with any kind of meal.  I make a big batch so I have extra for an easy lunch the next day. Just cook up some pasta, either ramen noodles or Angel Hair pasta, and toss it with the leftover tomatoes and sauce.  The pasta warms the tomatoes and picks up the flavors of the dressing, it’s delicious.

With tomatoes coming into season now and the weather warming up, this easy-to-make dish is perfect.

Grape Tomato ‘Quick Kimchi’

Eric Kim's Quick Tomato Kimchi. Refreshing, easy to prepare banchan using fresh cherry tomatoes is the perfect summer dish
Course Appetizer
Cuisine Korean-American
Keyword Banchan, cherry tomatoes, Cold Noodles with Tomatoes, grape tomatoes
Prep Time 30 minutes
Cook Time 5 minutes

Ingredients

Tomatoes

  • 1 pound grape tomatoes (or any ripe cherry tomato) about 2 to 3 cups, halved lengthwise
  • 1 teaspoon kosher salt

Banchan Dressing

  • 2 tablespoons white distilled vinegar substitute with rice vinegar
  • ½ teaspoon finely grated garlic
  • 1 tablespoon plus 1 teaspoon sesame oil Toasted sesame oil like Kadoya
  • 1 tablespoon gochugaru powder of flakes
  • 2 teaspoons fish sauce
  • 1 teaspoon granulated sugar

Garnish

  • Thinly sliced scallions chopped chives, or cilantro or flat-leaf parsley leaves for garnish (optional)

Instructions

  • In a medium bowl, toss the tomatoes with the salt, transfer to a colander, and let drain about 30 minutes. In the same bowl, add vinegar and garlic and set aside.
  • After 30 minutes, add the sesame oil, gochugaru, fish sauce and sugar to bowl with the vinegar and garlic and whisk to combine. Pat the tomatoes dry, then add the tomatoes to the dressing and toss until well coated.
  • Garnish with the optional herbs before serving. This is best eaten right away, but can be refrigerated for up to 24 hours.
  • Make this for banchan for dinner and use any remaining as a pasta sauce the next day. It is delicious with somen noodles. Cook as directed. Add tomatoes to hot noods and mix. Serve immediately.
Gochujang Buttered Noodles (Ketchup Noodles 2.0)

Gochujang Buttered Noodles (Ketchup Noodles 2.0)

My Dad made dinner most of the time.  Every evening he would leave the office, shop for dinner ingredients, go back to the office, pick up my mom, then go home.  Once home, he donned his apron and cranked out a typical Chinese meal in about 30-45 minutes.  A typical meal consisted of a quick soup, stir-fried beef with vegetables, and steamed fish.  It takes me 30 minutes just to decide what to make let alone have it on the table. Yep, my Pop was Dinner Dad Extraordinaire.

But when I stop and think about it, my mom was the one who got us up, made us breakfast, packed our lunches, and made most of the non-Asian holiday meals.  I have been giving short shrift to my mom all these years.  She accounted for 2/3 of our daily meals and my favorite lasagne.  Aiyah, I can’t believe I “marginalized” my own mom.

The Real Deal

My mom was instrumental in trying new things in our house.  An early adopter of the microwave, yogurt (before it was fashionable and filled with fruit and sugar), and frozen food.  Fridays meant Date Night for the parents and Swanson’s TV Dinners for us, and thanks to Swanson’s genius ad campaign, we got to eat in front of the TV.

There are a couple of dishes that my mom made that trumped (sorry) everything else.  First, Avocado Sandwiches.  My mom was ahead of her time-avocados, mashed with a little bit of mayo, S & P, and a squirt of lemon juice, slathered on white bread.  The OG of Avocado Toast. She’d make a killing.

Second, Ketchup Noodles. Butter, noods, ketchup,  a little salt and pepper.  There you have it, perfection.

Which Brings Me to…

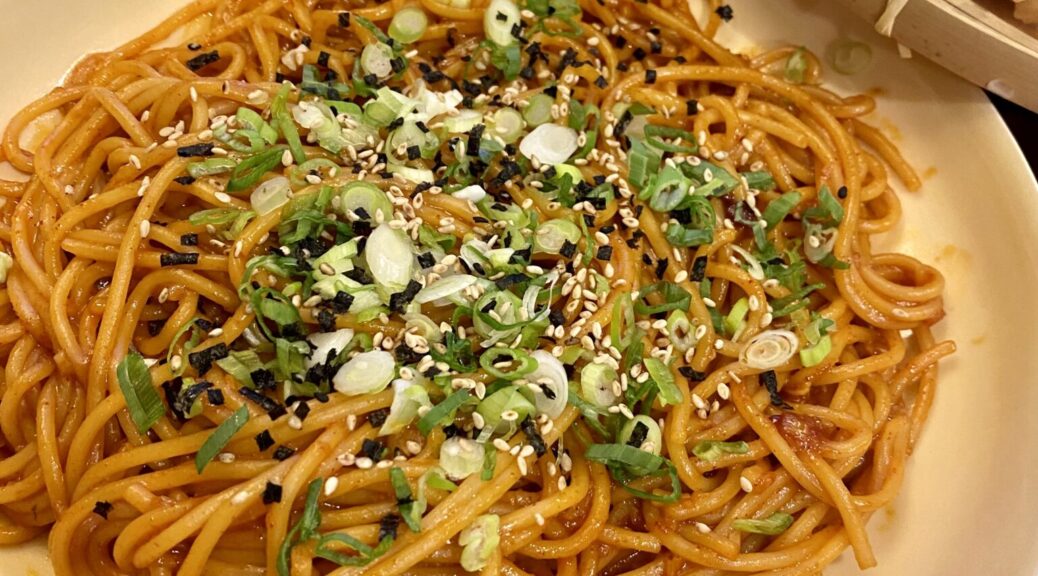
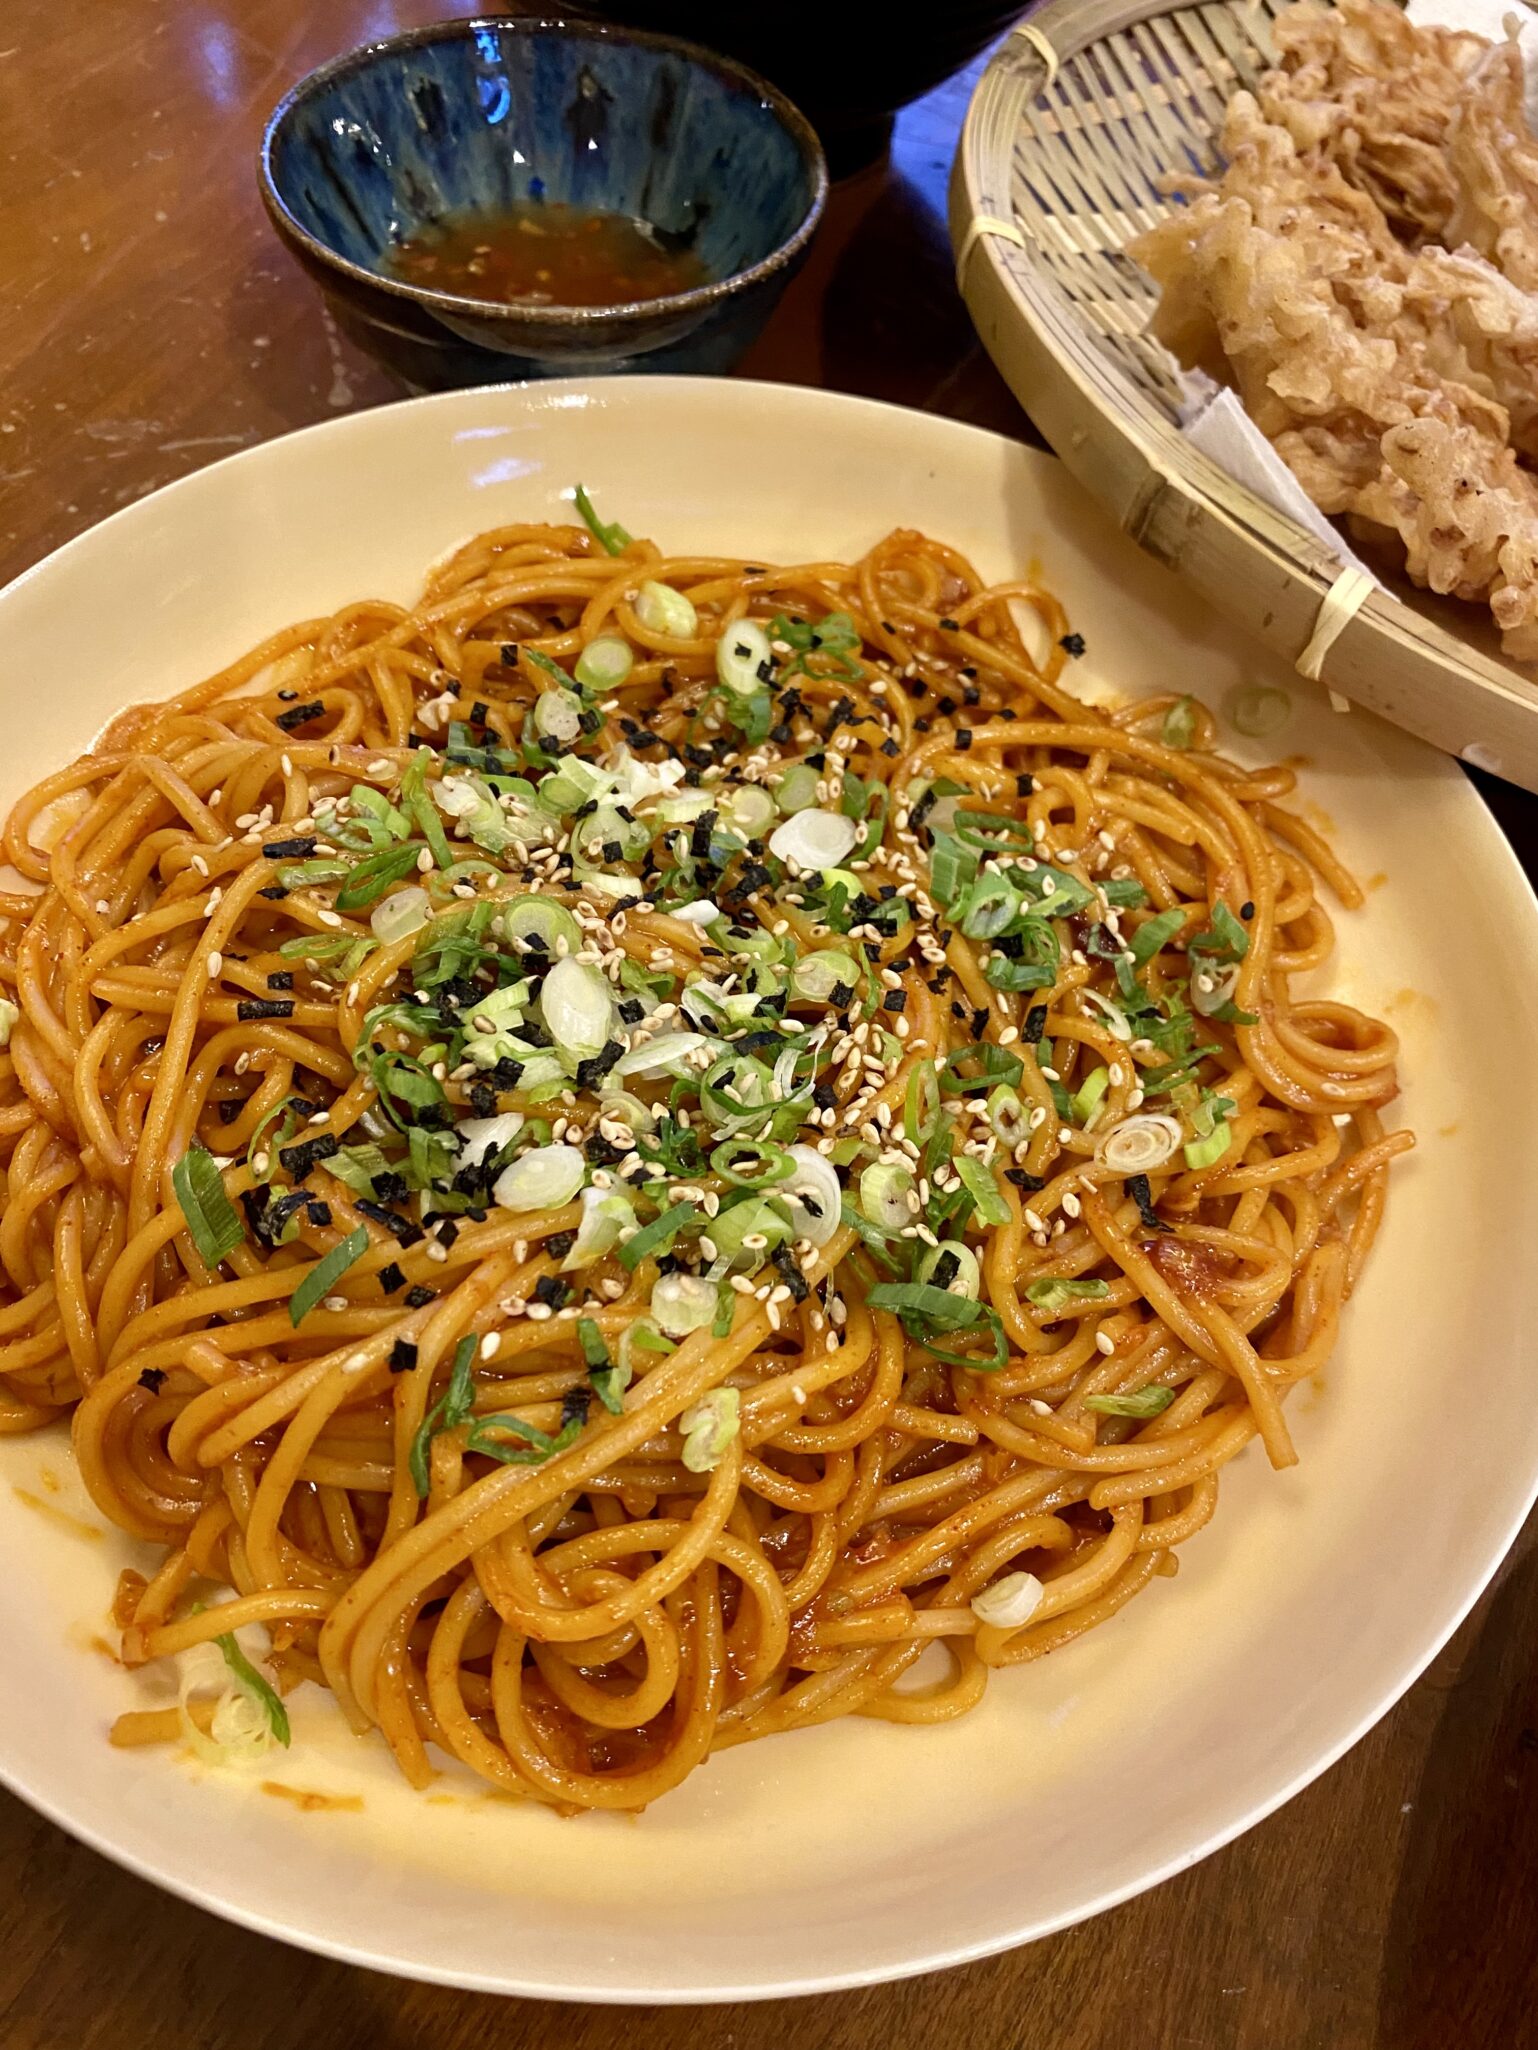
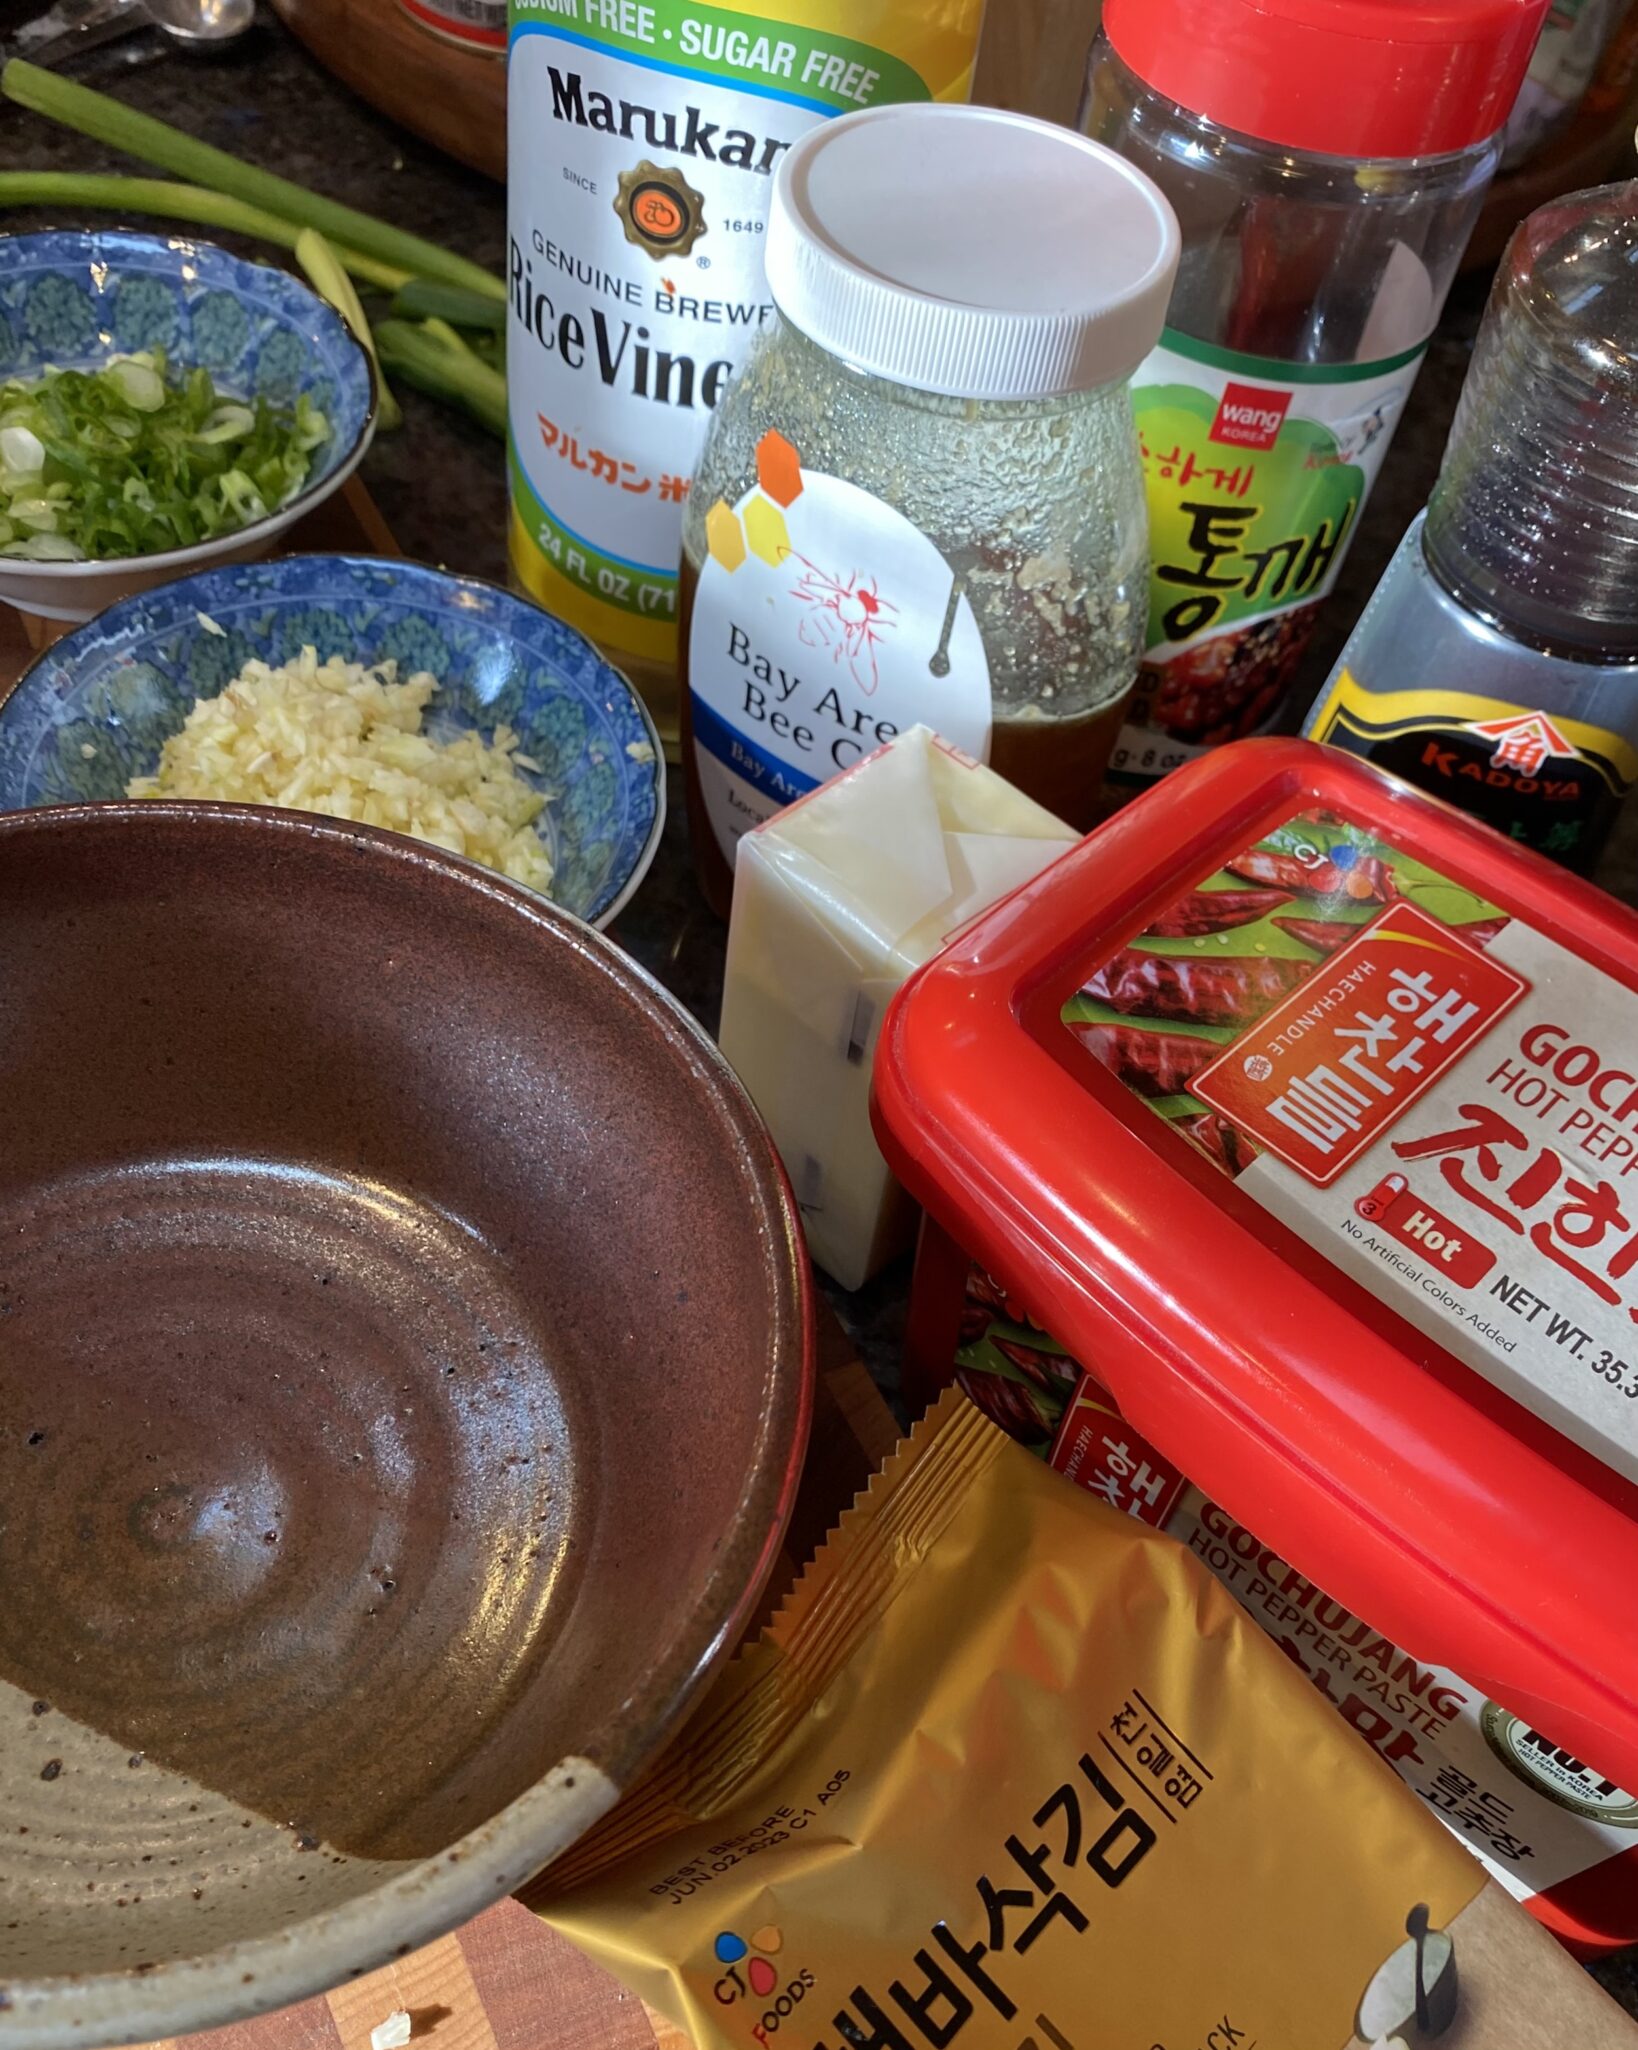
Gochujang Buttered Noodles.  A trademark Eric Kim recipe, easy, fast, and absolutely delicious.  I can’t give him 100 percent credit, this dish reminds me of my Mom’s Ketchup Noodles, think of his version as Ketchup Noodles 2.0.  Gochujang, the Korean, sweet and spicy chili paste replaces ketchup, and honey and vinegar bring a balanced sweet-tart flavor.  Fresh garlic adds punch. It’s delicious.  Another Eric recipe goes viral.

The Sauce

Gochujang or Korean Chili Paste comes in mild, medium or hot and can be found at most Asian grocery stores.  Trader Joe’s also carries a gochujang paste.  Do not confuse this with Gochujang Sauce which is thinner in consistency and probably contains sweeteners.   Use mild honey or agave syrup for the sweetener and rice vinegar or sherry vinegar for the acid, together they bring balance to the dish.

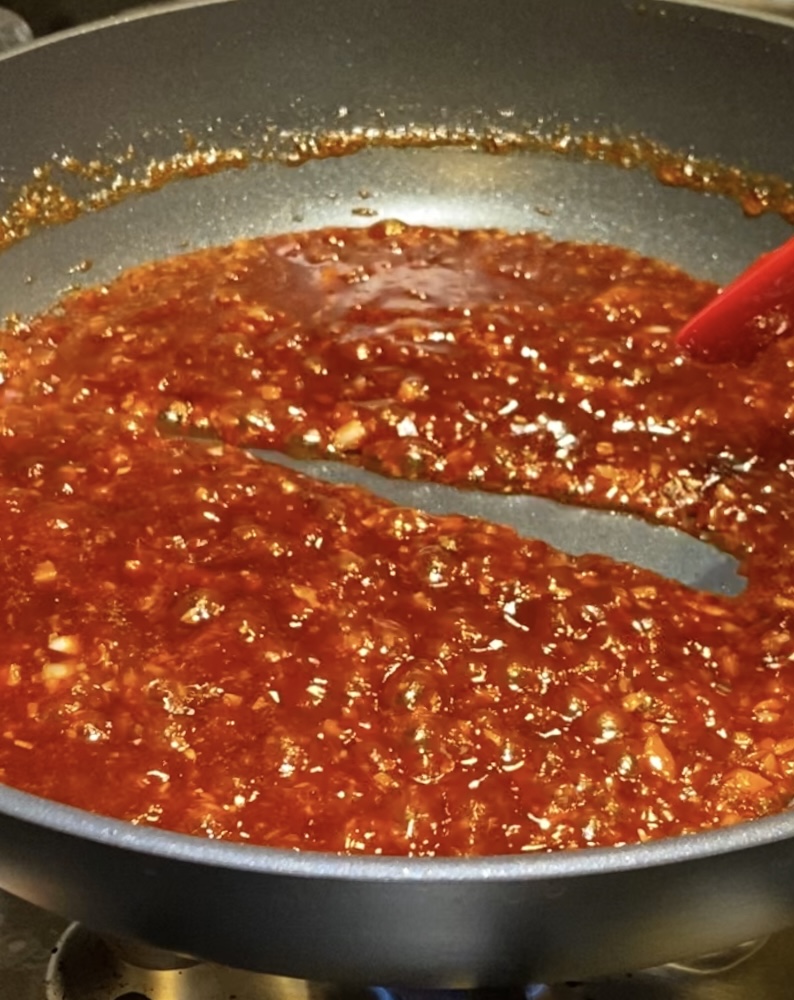
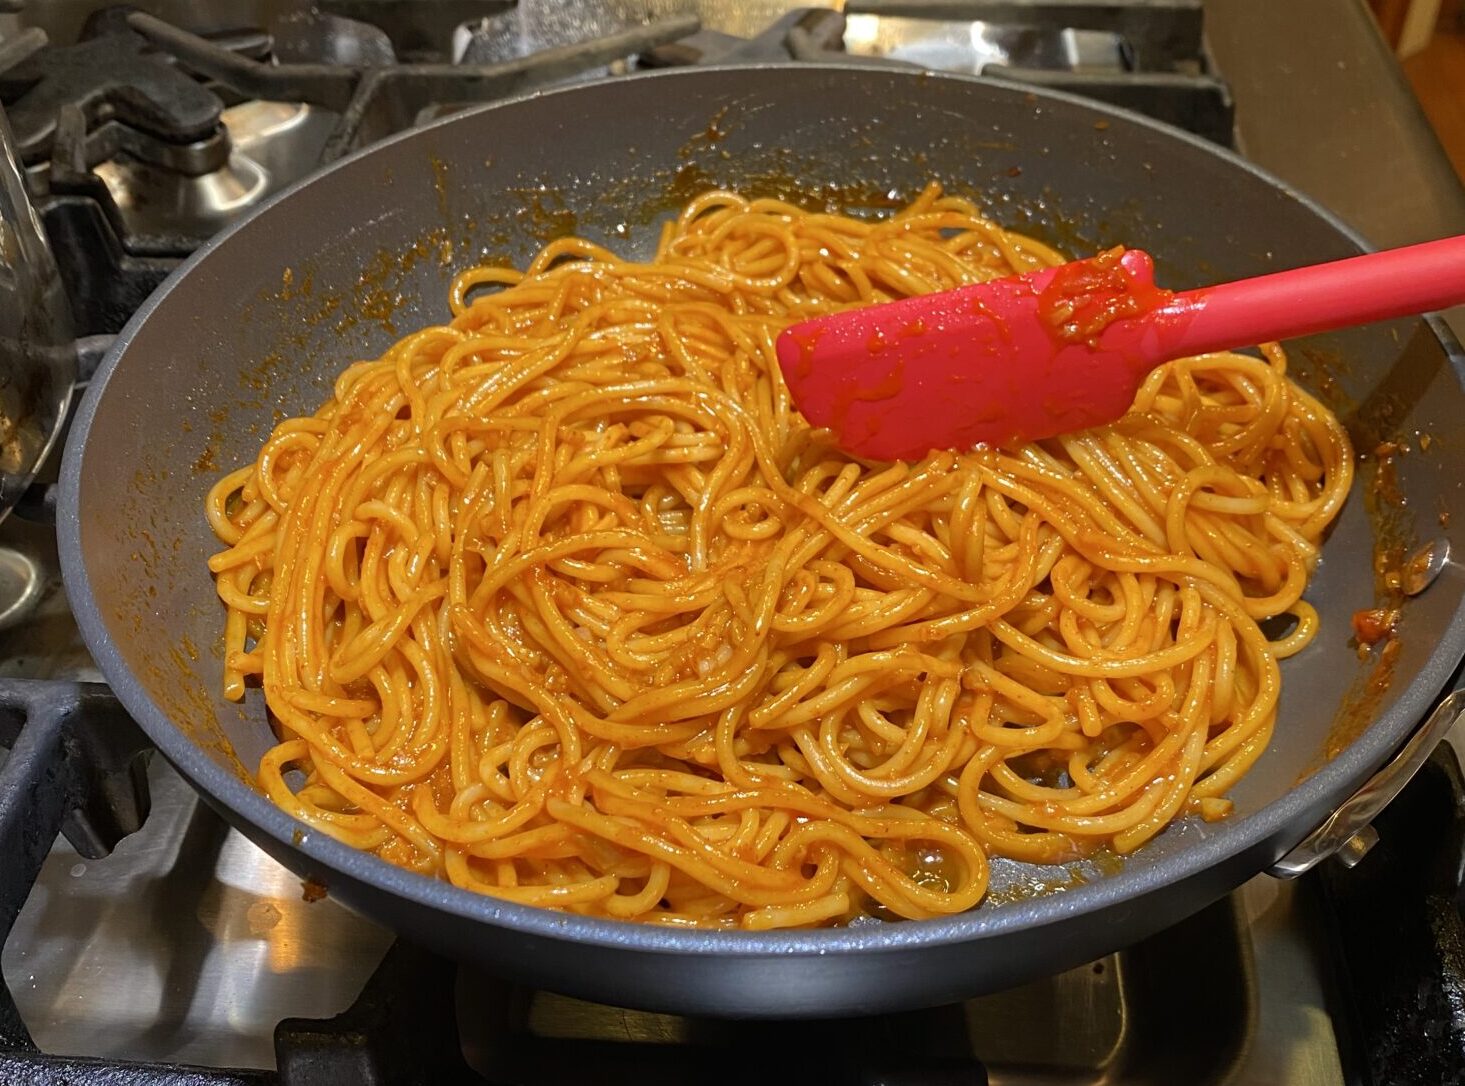
Reduce the sauce until you you run your spatula through it and it stays separate for a couple of seconds.  It will be syrupy and have a nice sheen.  Add your pasta and reserved pasta water (a little at a time to desired consistency).

The Noods

Asian pasta, like ramen or Taiwanese dry noodles, is my favorite for its texture, but spaghettini or linguine works in this dish.  The bottom line, use your favorite pasta.

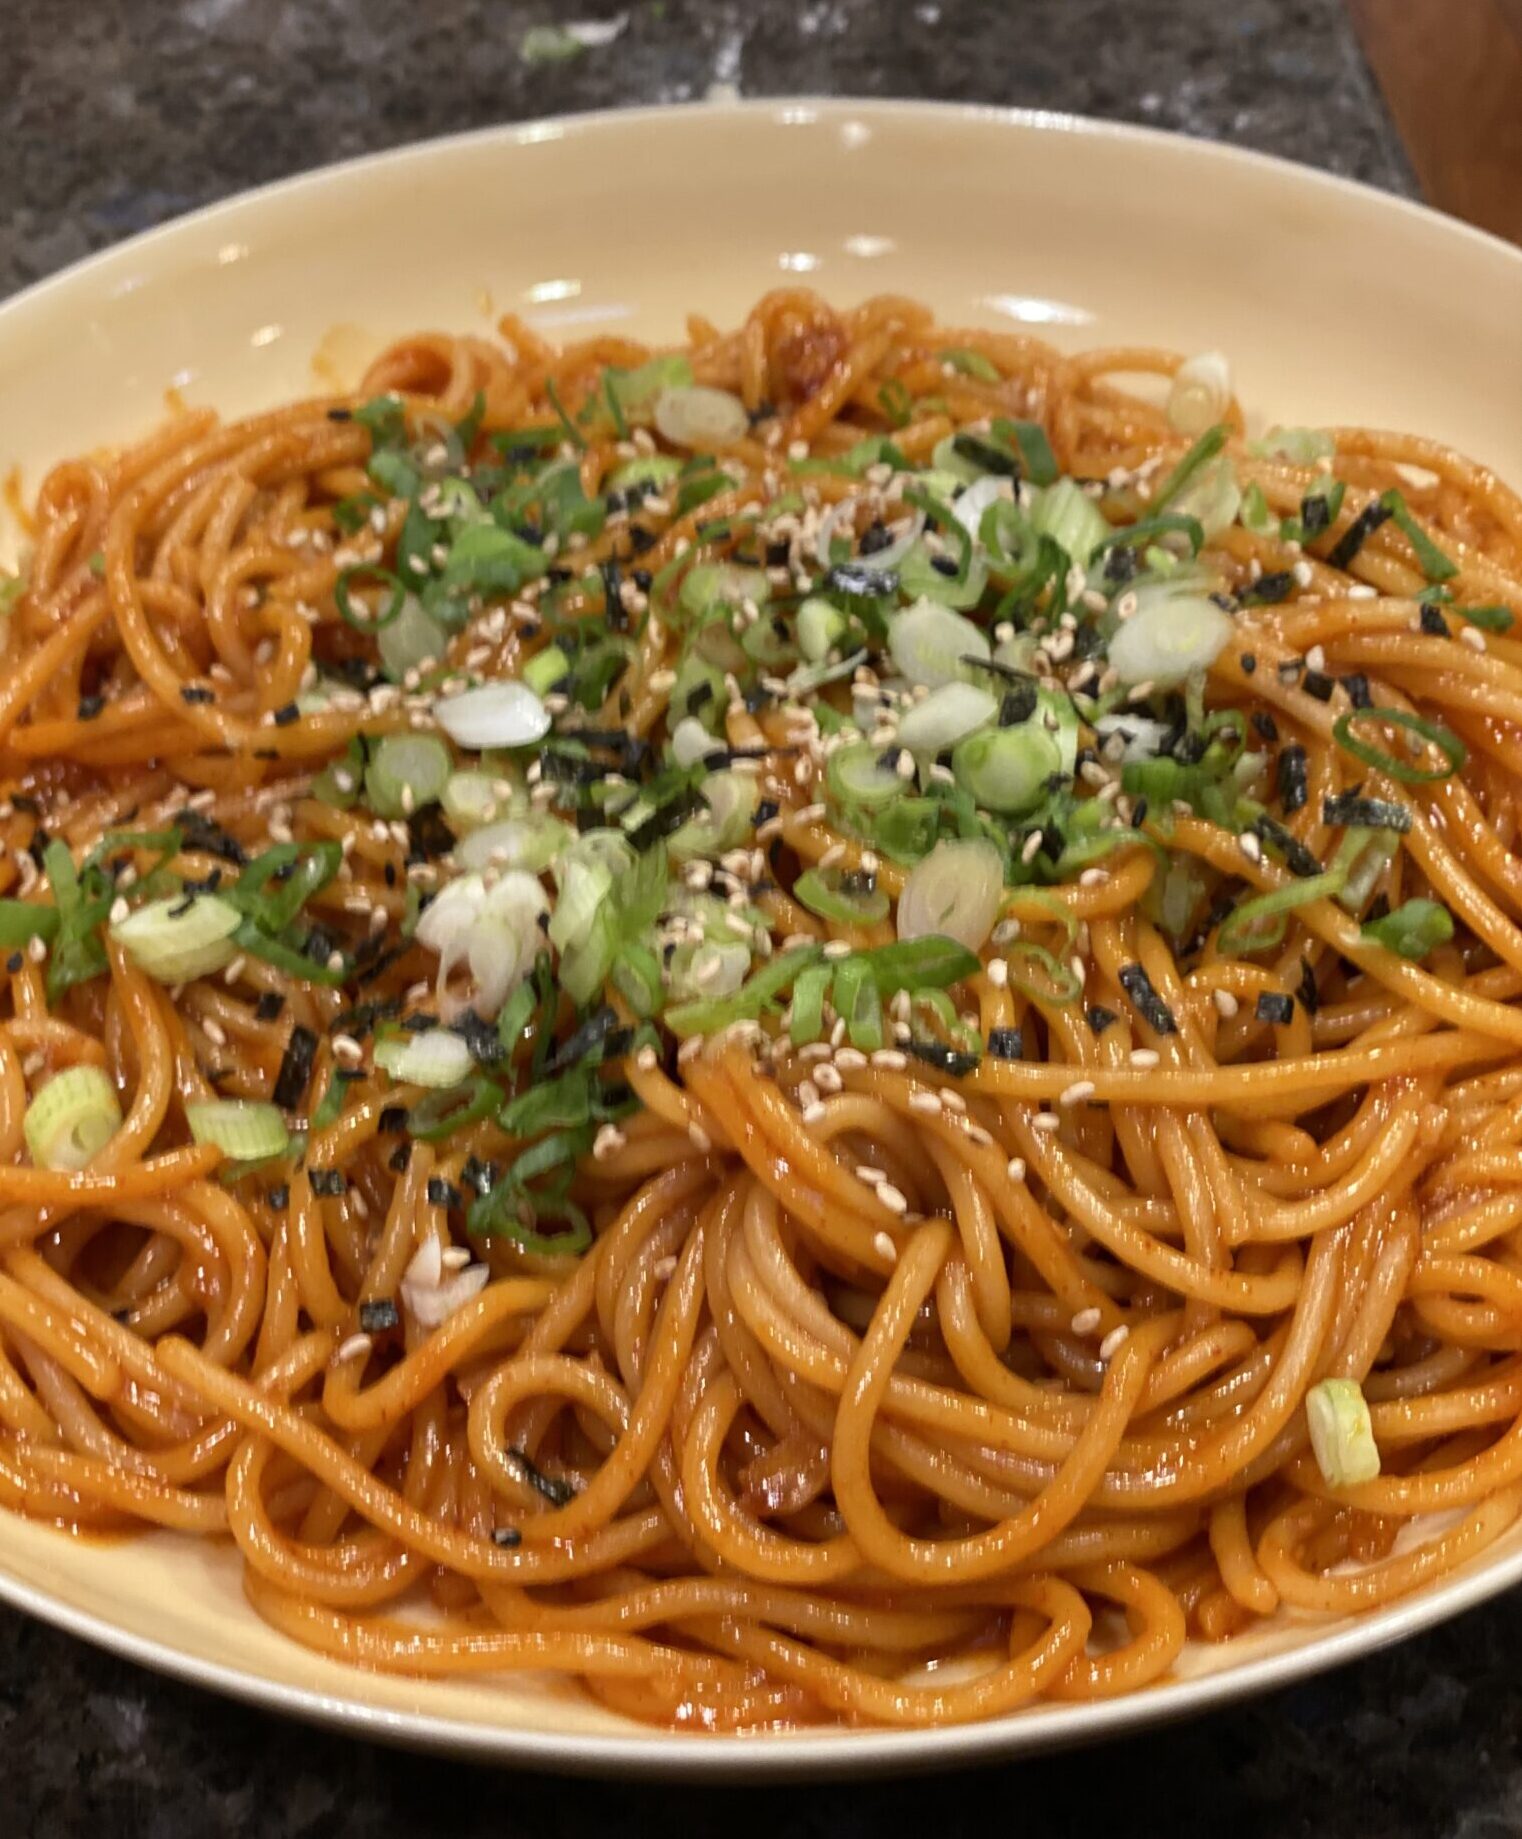
Finish the dish by garnishing it with chopped scallions, sesame seeds, and crushed seaweed.  I also like to drizzle some sesame oil on top.

Enjoy!

Gochujang Buttered Noodles

Ingredients

  • 1 pound spaghetti or other long pasta
  • 6 tablespoons unsalted butter
  • 12 garlic cloves finely chopped (about ⅓ cup)
  • Kosher salt and black pepper
  • ¼ cup gochujang paste
  • ¼ cup honey
  • ¼ cup sherry vinegar or rice vinegar
  • Finely chopped cilantro or thinly sliced scallions optional

Instructions

  • Bring a large pot of water to a boil. Add the spaghetti and cook according to package instructions. Reserve 1 cup of the cooking water. Drain the spaghetti and return to its pot.
  • While the pasta cooks, melt 4 tablespoons of the butter in a skillet over medium-low. Add the garlic and season generously with salt. Cook, stirring occasionally, until the garlic starts to soften but not brown, 1 to 3 minutes.
  • Stir in the gochujang, honey and vinegar, and bring to a simmer over medium-high. Cook, stirring constantly, until the mixture reduces significantly, 3 to 4 minutes; when you drag a spatula across the bottom of the pan, it should leave behind a trail that stays put for about 3 seconds. Remove from the heat.
  • Transfer the sauce to the pot with the spaghetti and add the remaining 2 tablespoons butter. Vigorously stir until the butter melts. Add splashes of the pasta cooking water, as needed, to thin out the sauce. Taste and season with salt and pepper. Top with the cilantro or scallions (if using) and serve immediately.
Another Biscuit? SWEET!!!

Another Biscuit? SWEET!!!

Bleary-eyed, I arrived home at 6:15 AM after dropping off Jamie at the airport at 5 AM.  I actually live only 10 minutes from the airport.  Are you wondering is California traffic that bad?  A protracted goodbye with the kid? A flat tire?

NOPE

Being very nice, enabling parents, we offered to drop her off for her flight and return the rental car.  The plan went smoothly, I dropped her off curbside and headed to the car rental lot to pick up the Hubster.  As soon as I entered the return lot a voice in my sleep-deprived brain said…hmmm, is this a good idea?  Apparently not.  The parking guys that man the exit booth do not arrive until 6 AM.  I guess it stands to reason if you are dropping off a rental car, you are probably catching a flight. 🤦🏻‍♀️🤦🏻‍♀️🤦🏻‍♀️. So we sat in the car for 50 minutes, the Hubster occasionally looking over at me and shaking his head while playing Spelling Bee.  I ignored him.

By the time we got home, I was wide awake.  I might as well bake, I deserve a morning treat (ok, not really).  A recent article by my fav NYT cooking columnist, Eric Kim, highlighted (glowingly) the Buttermilk Sugar Biscuits from Tandem Coffee + Bakery in Portland, Maine.  I LOVE biscuits and a recommendation from Eric…turn on the oven now, please.

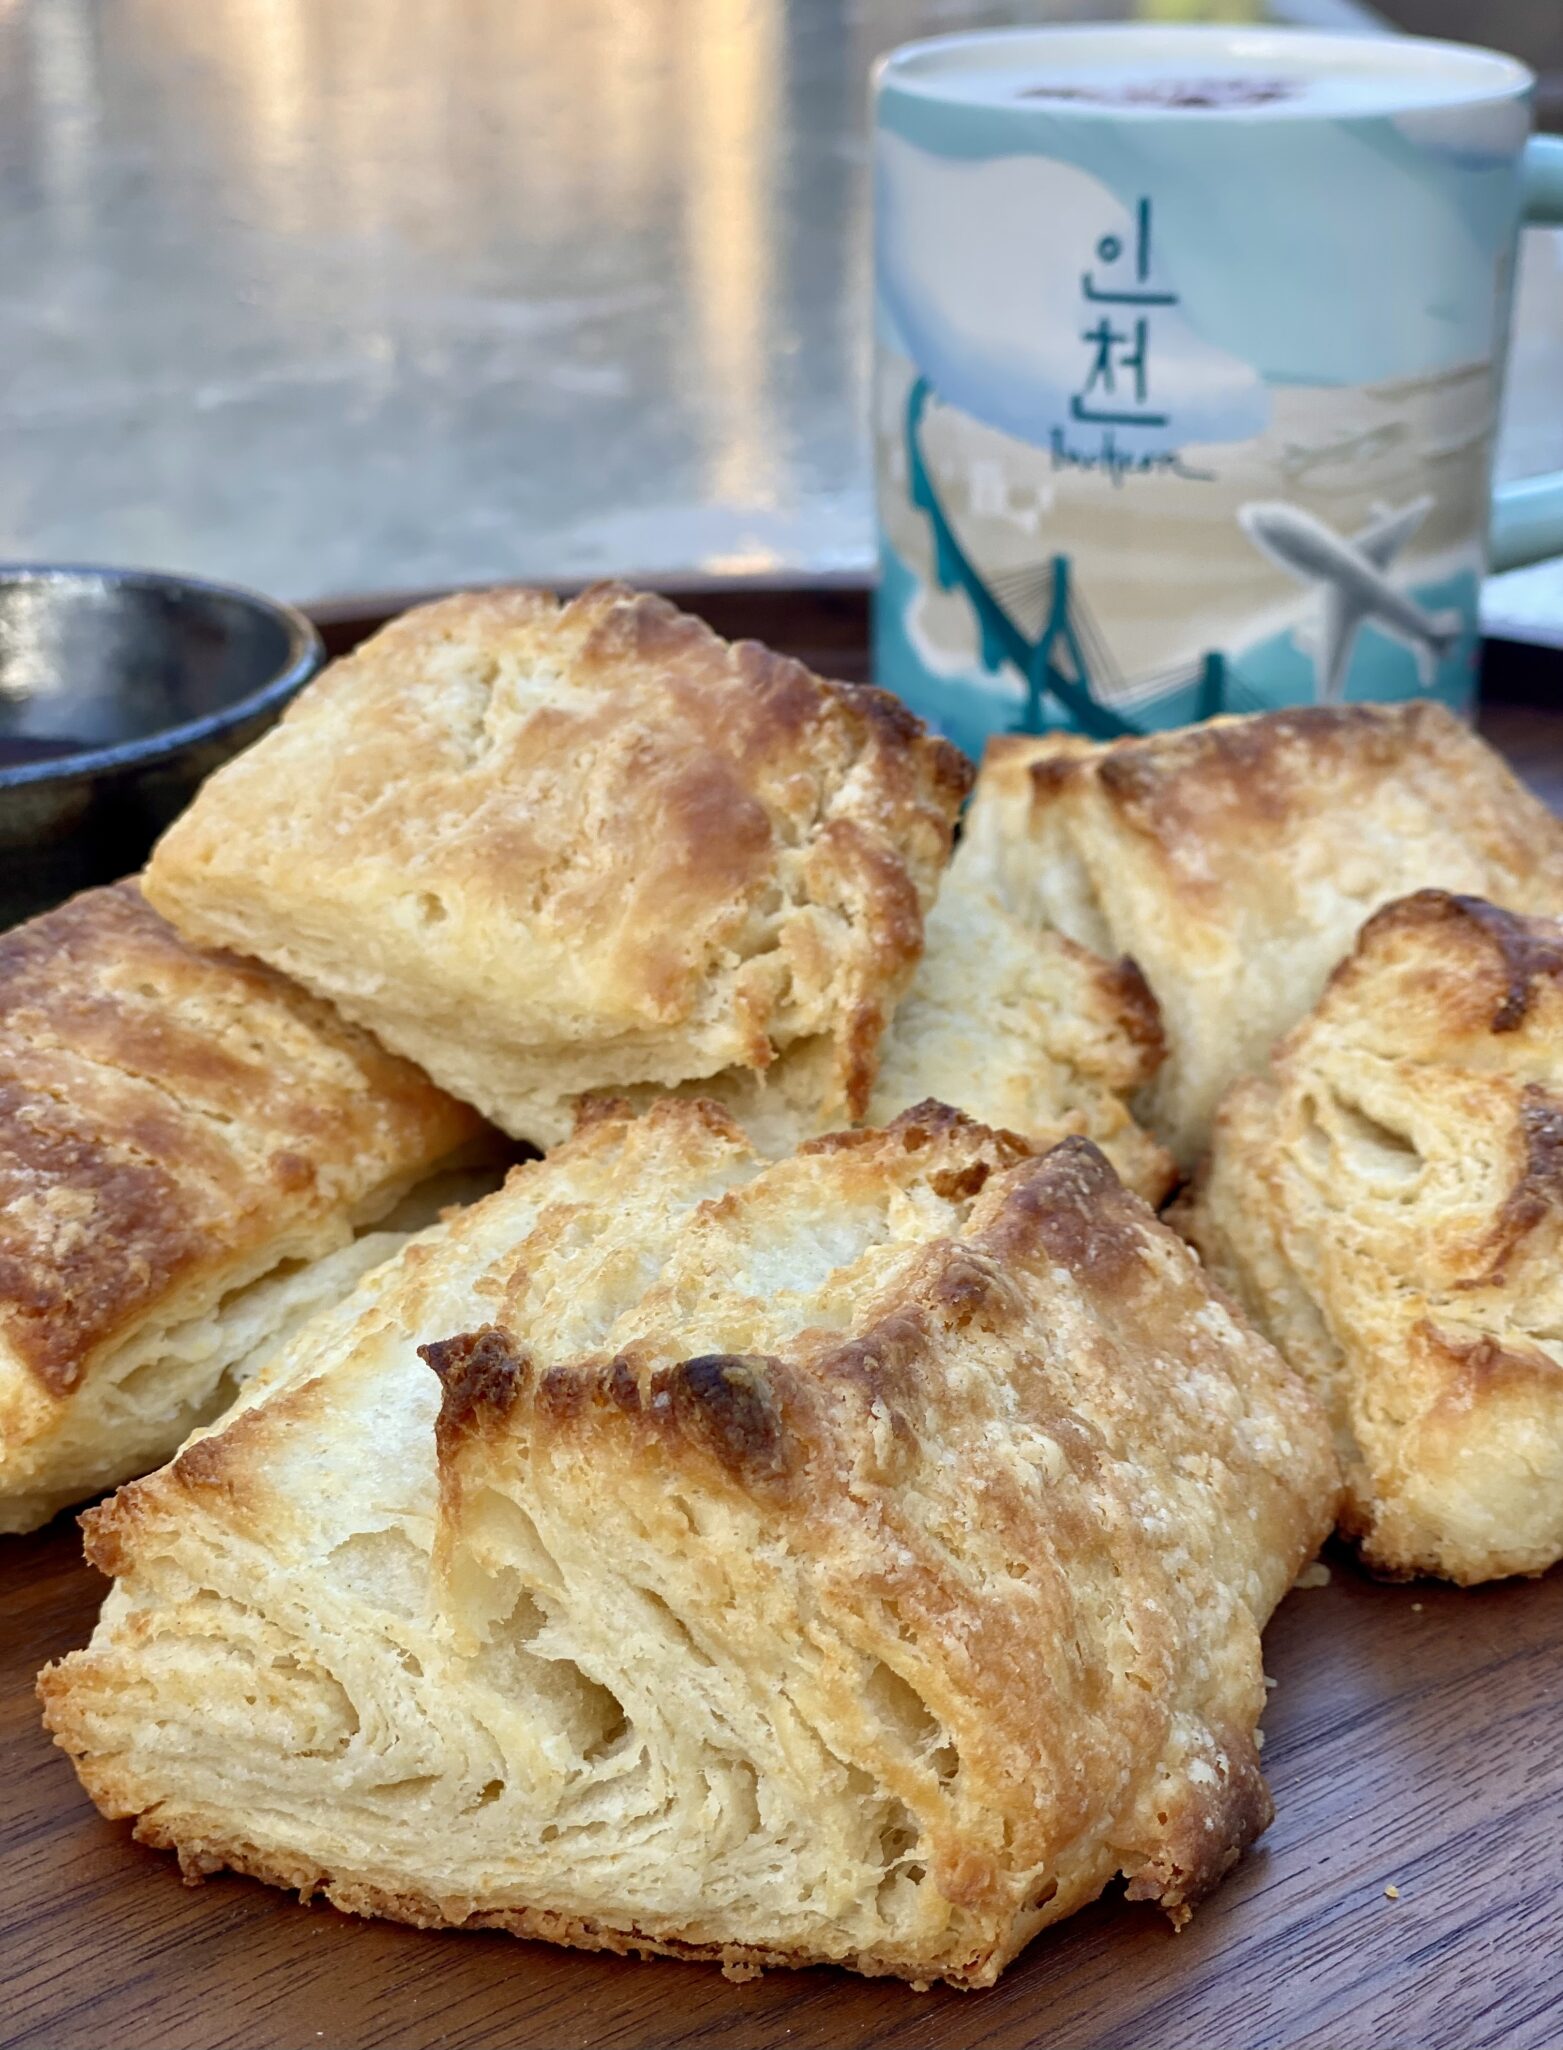
These biscuits are sweeter than most biscuits.  They have a crunchy exterior due to the high sugar content and yet are still flaky and tender inside.  This makes them sturdy enough for biscuit sandwiches, think ham or fried chicken.

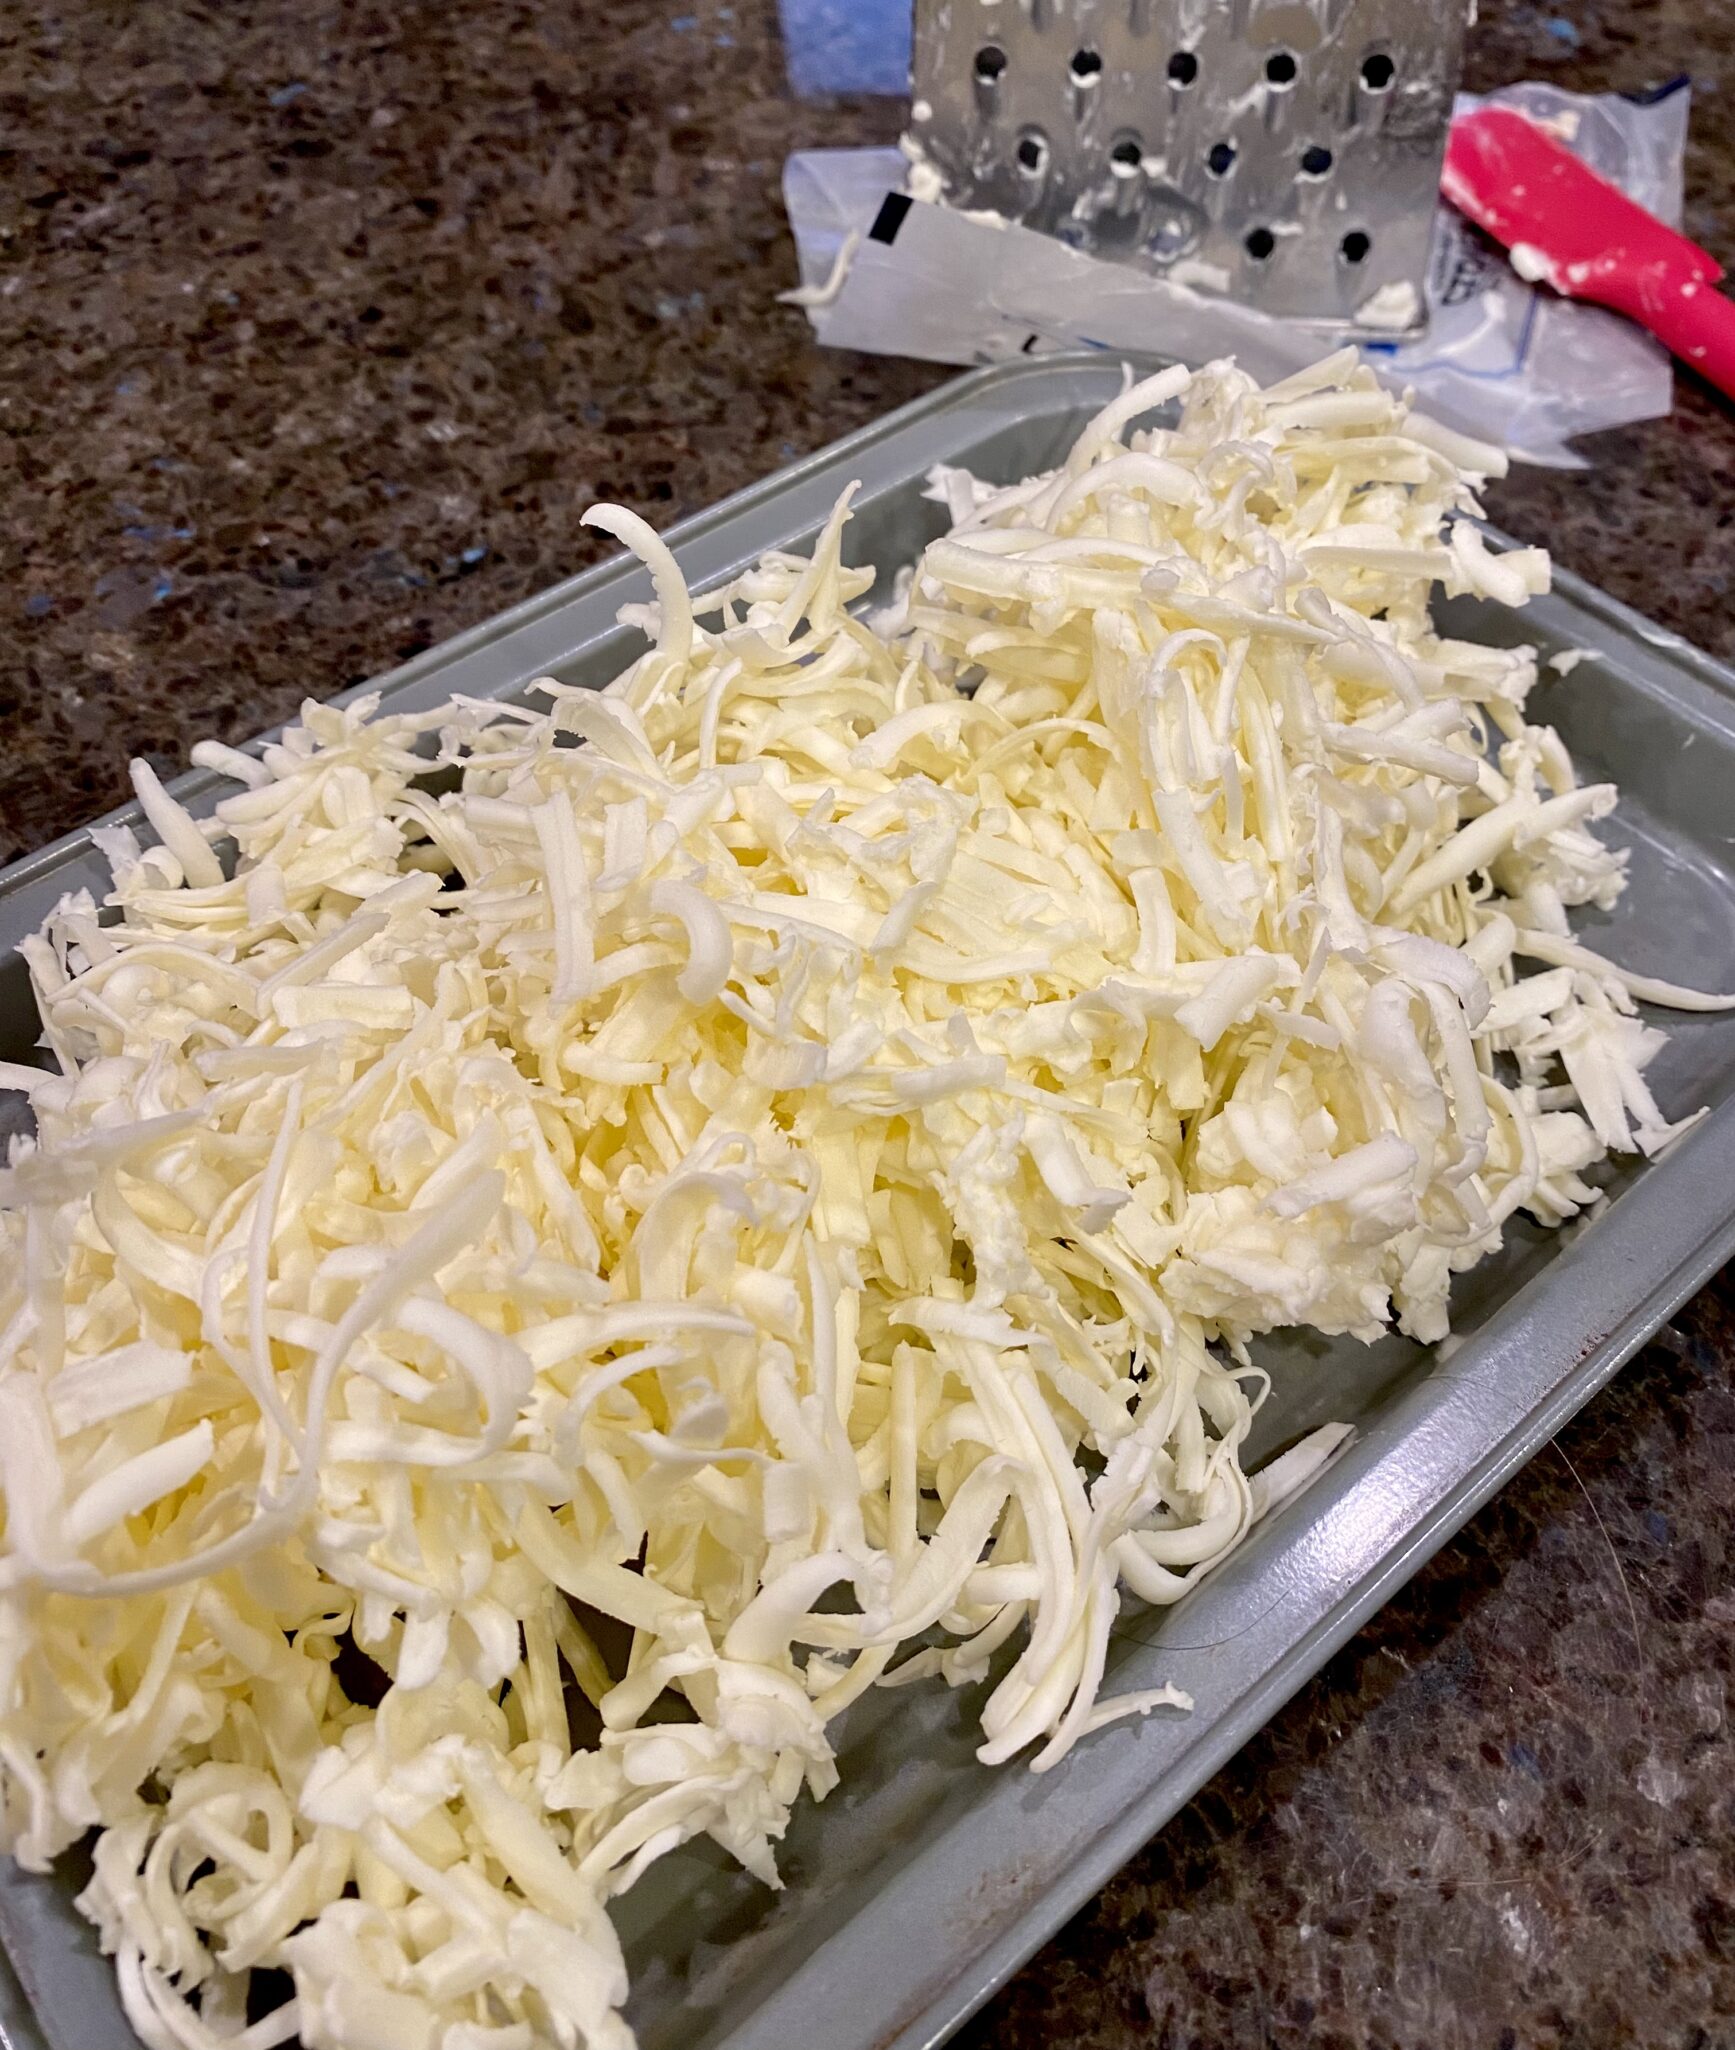
First, grate cold butter and lightly blend it with flour, sugar, baking powder, and salt.  This eliminates cutting the butter into the flour step.  By grating the butter you have strands of butter that help create those flaky layers.

Let’s Skip to the Good Part

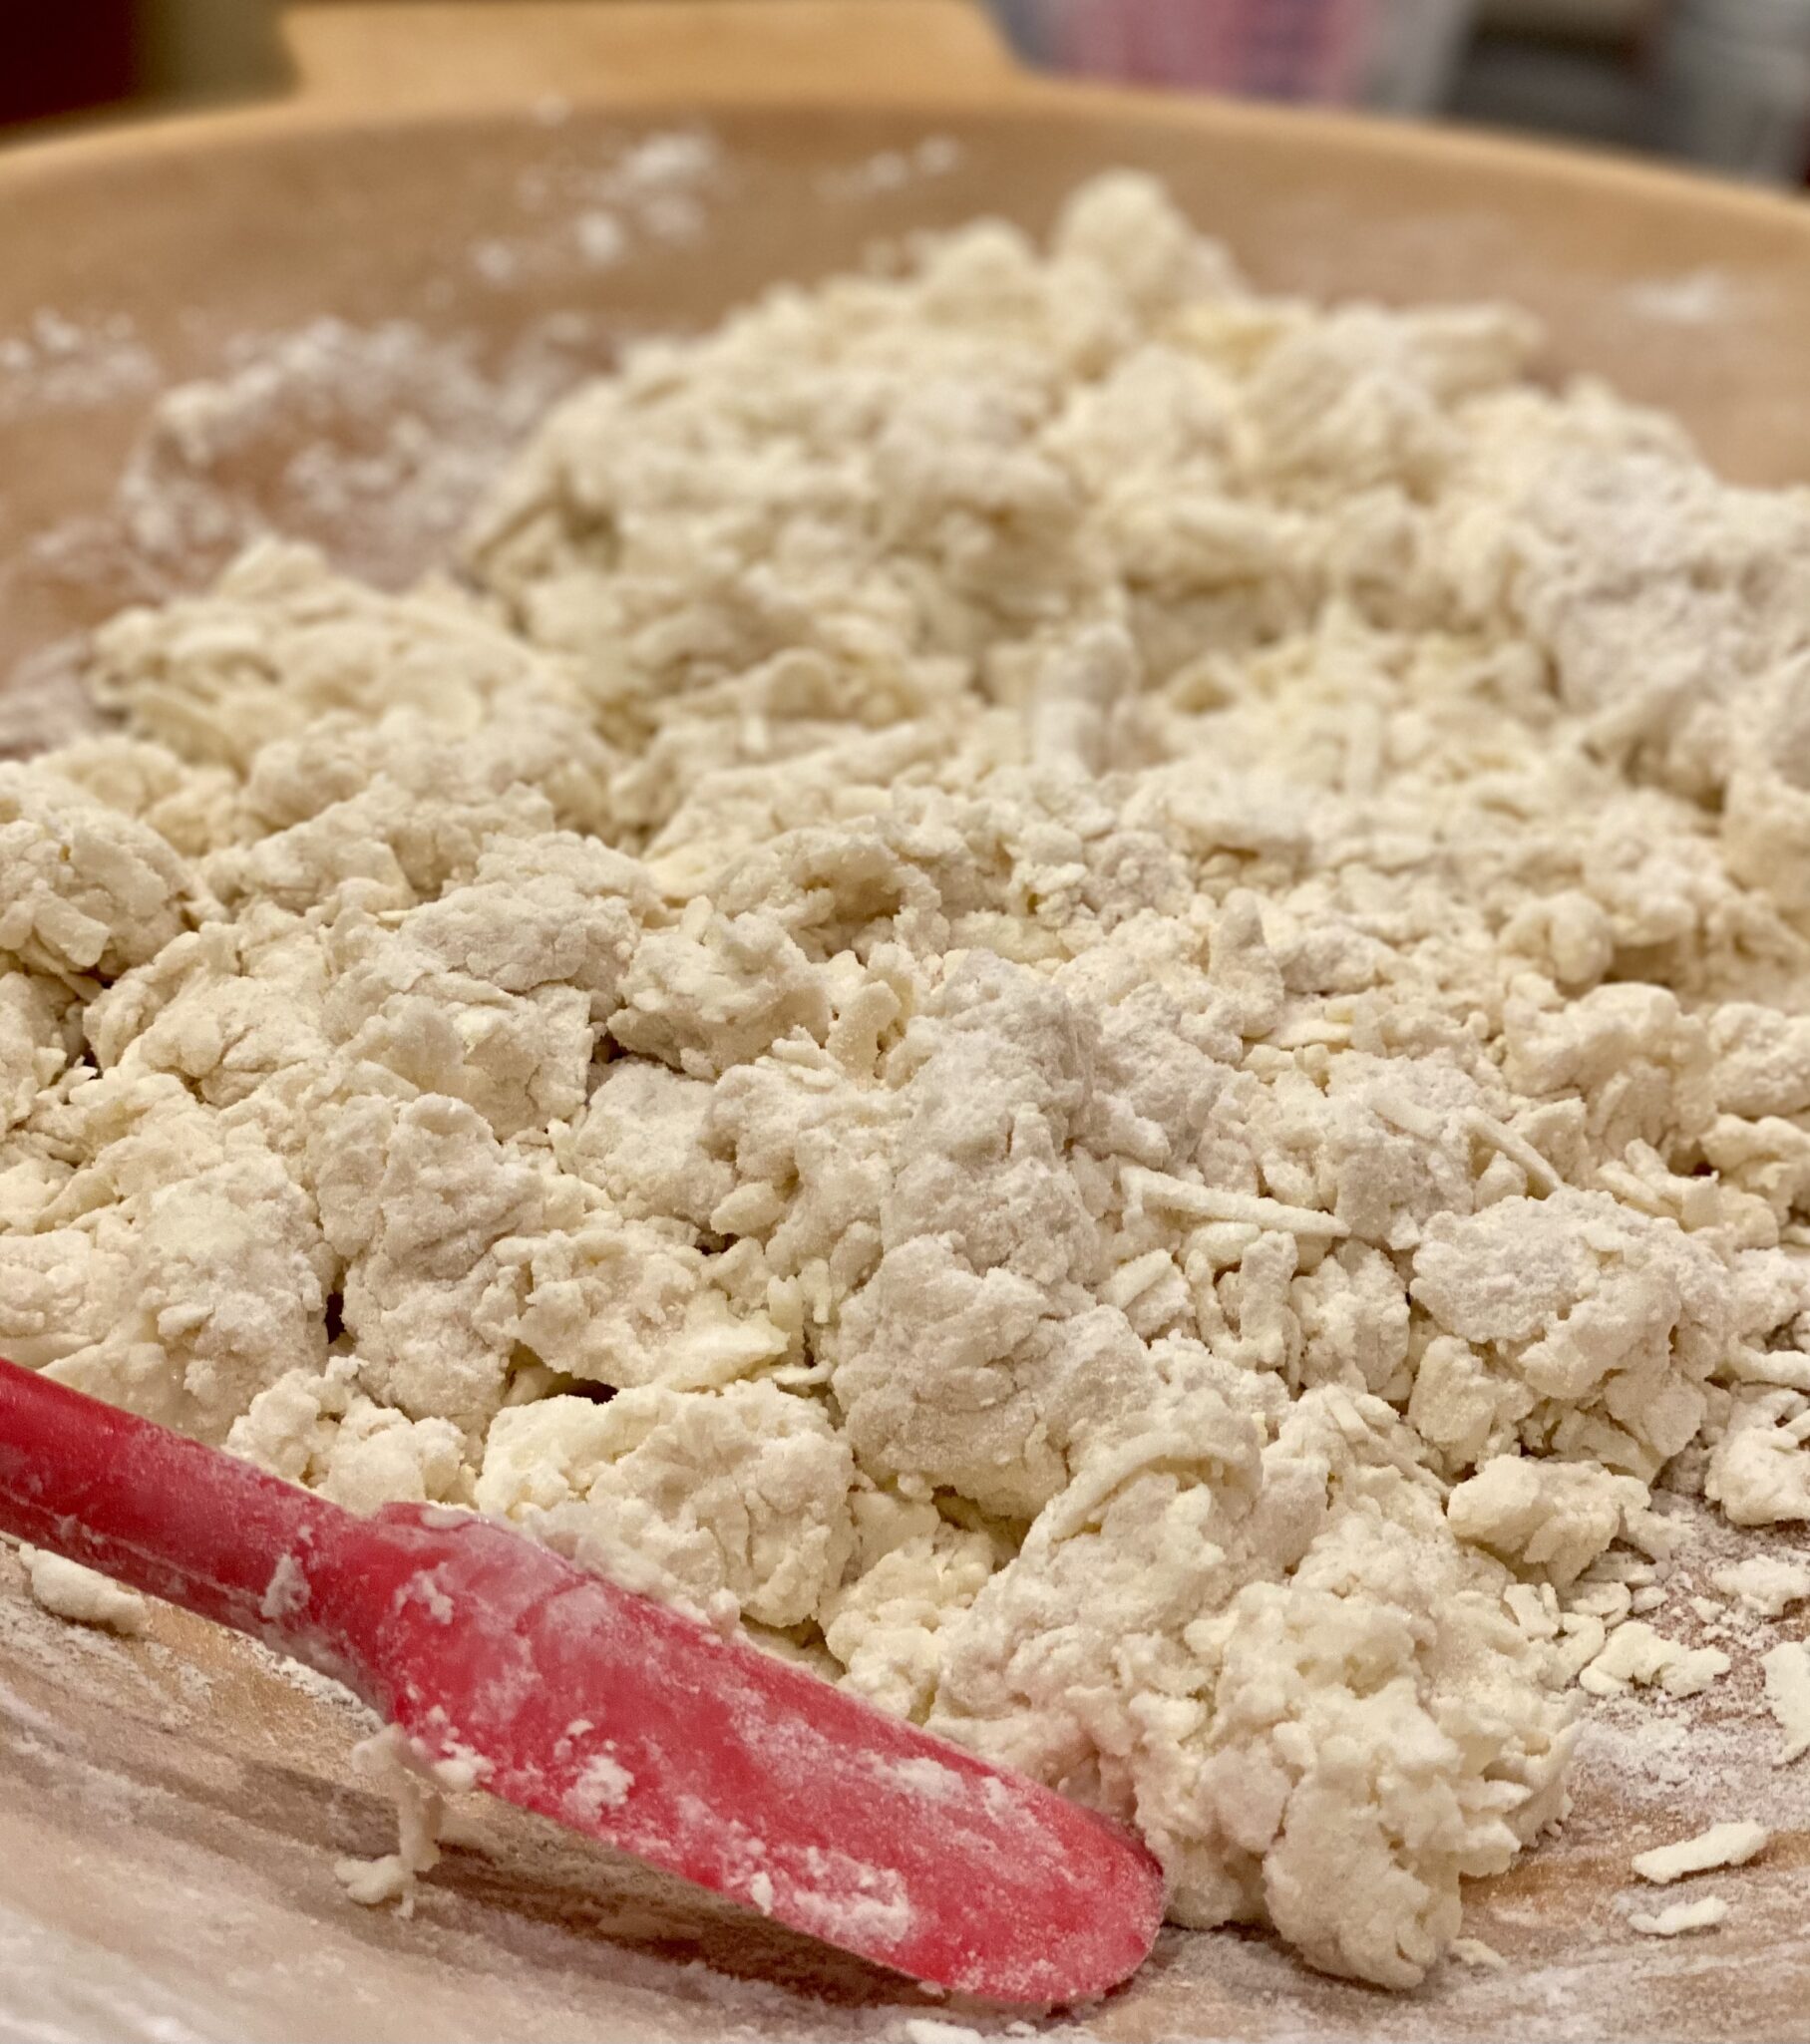
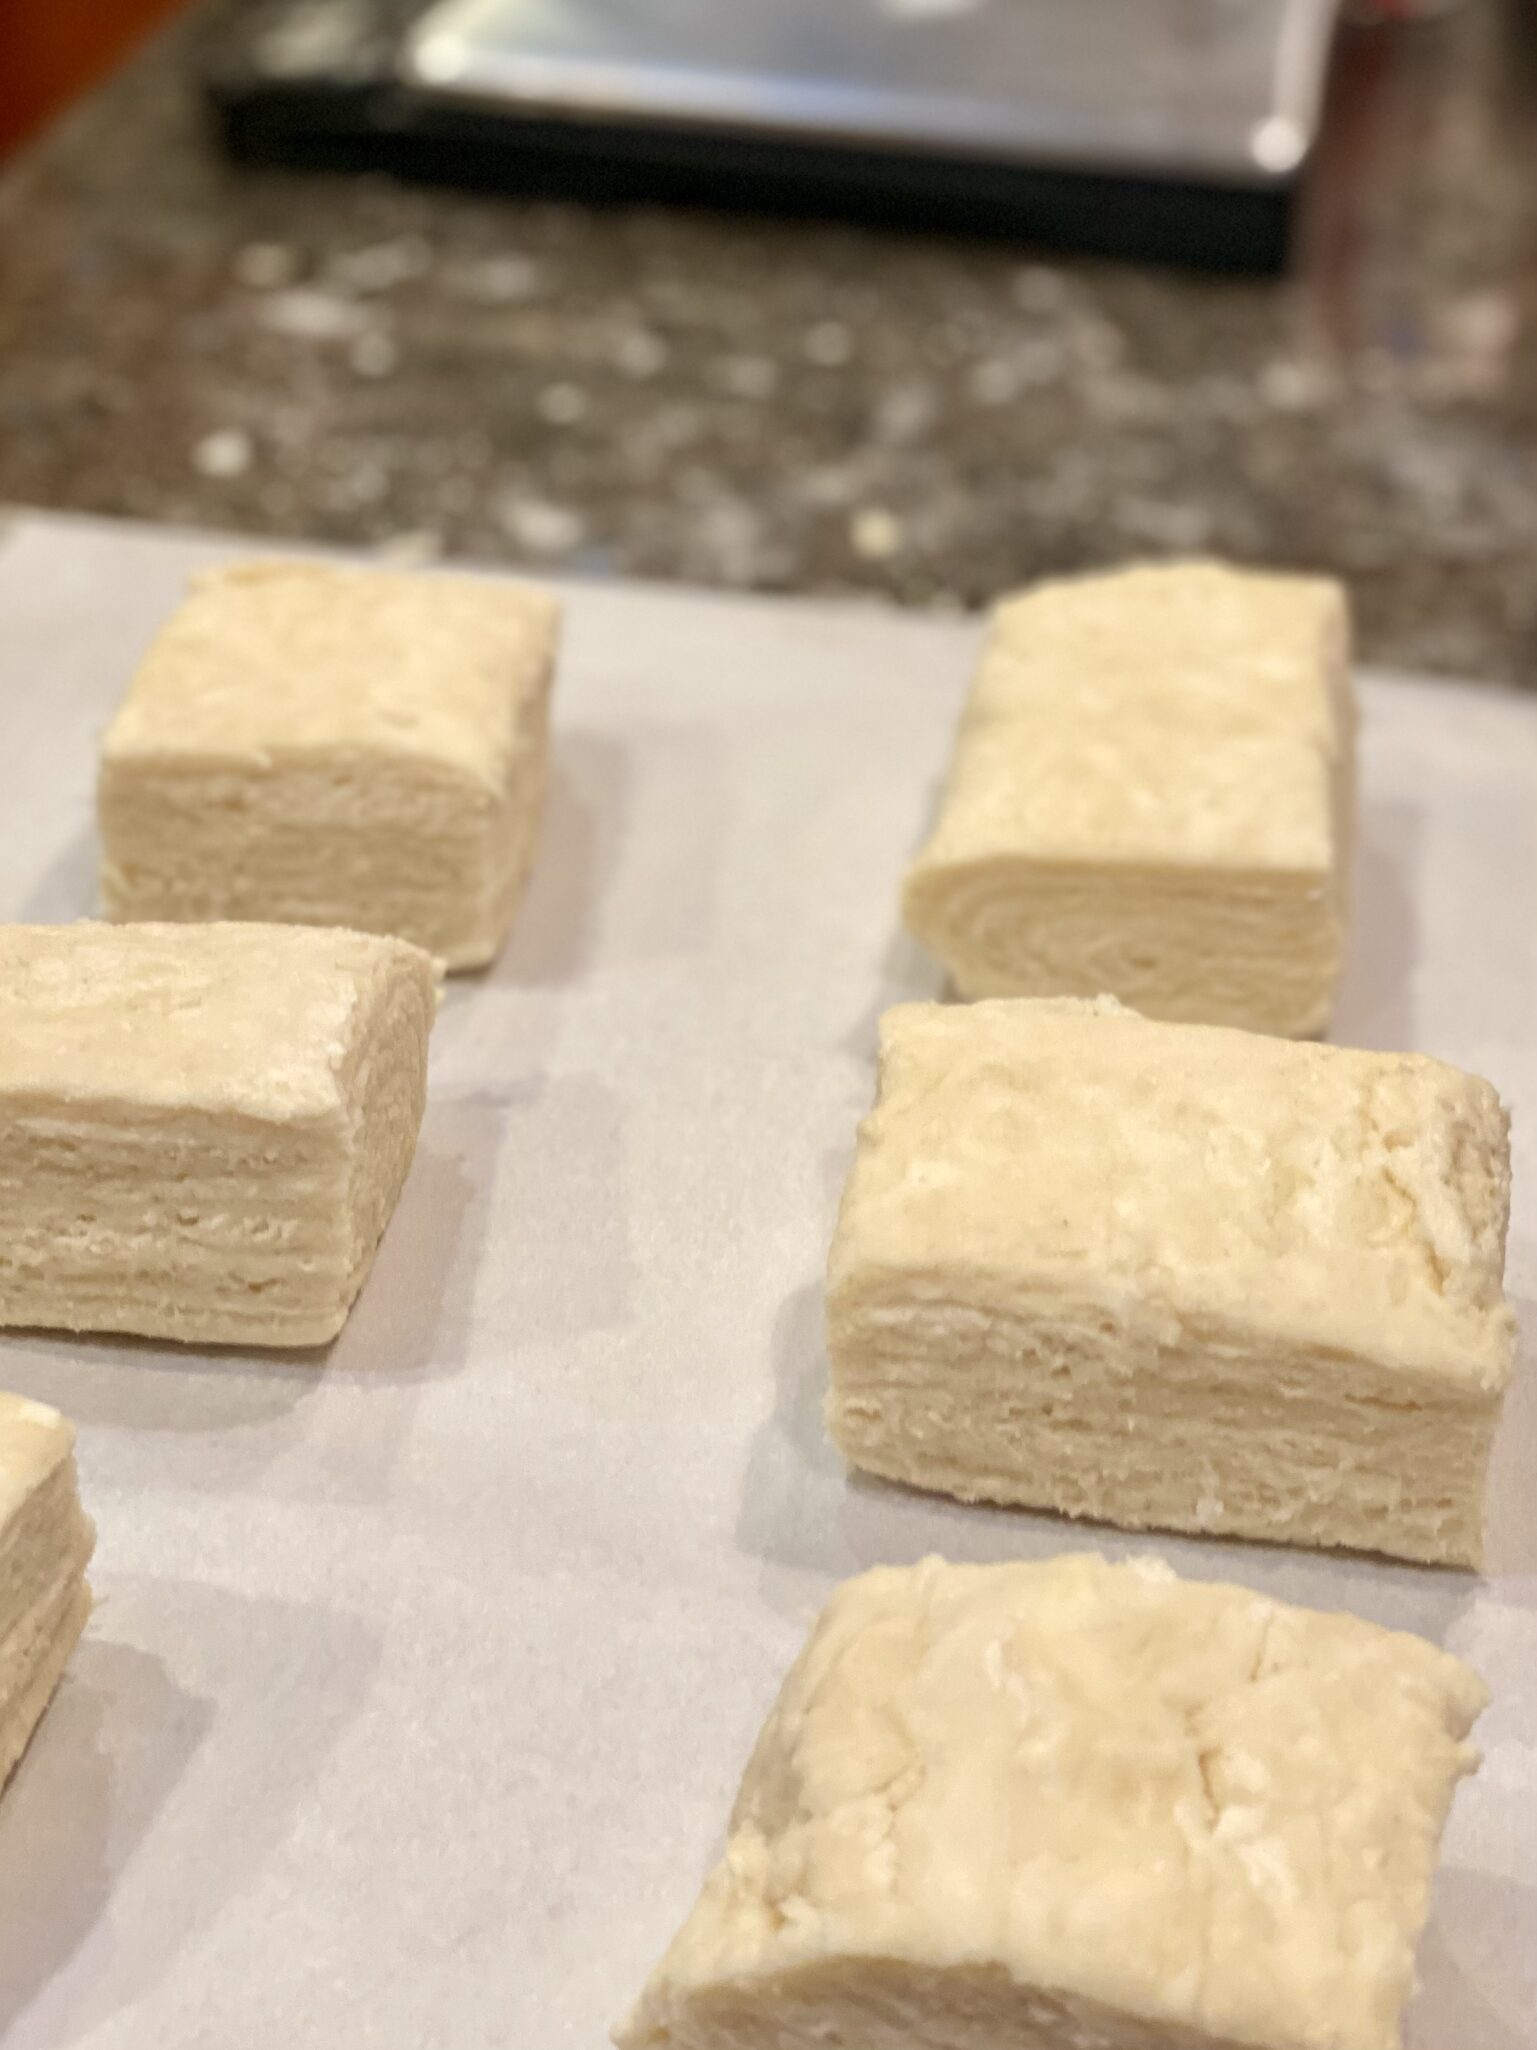
Pour the crumbly mass of butter and flour onto your counter. Take out your bench scraper and push your dough mass together and gently press down to compress, you want to roll or pat the dough into a rectangle.

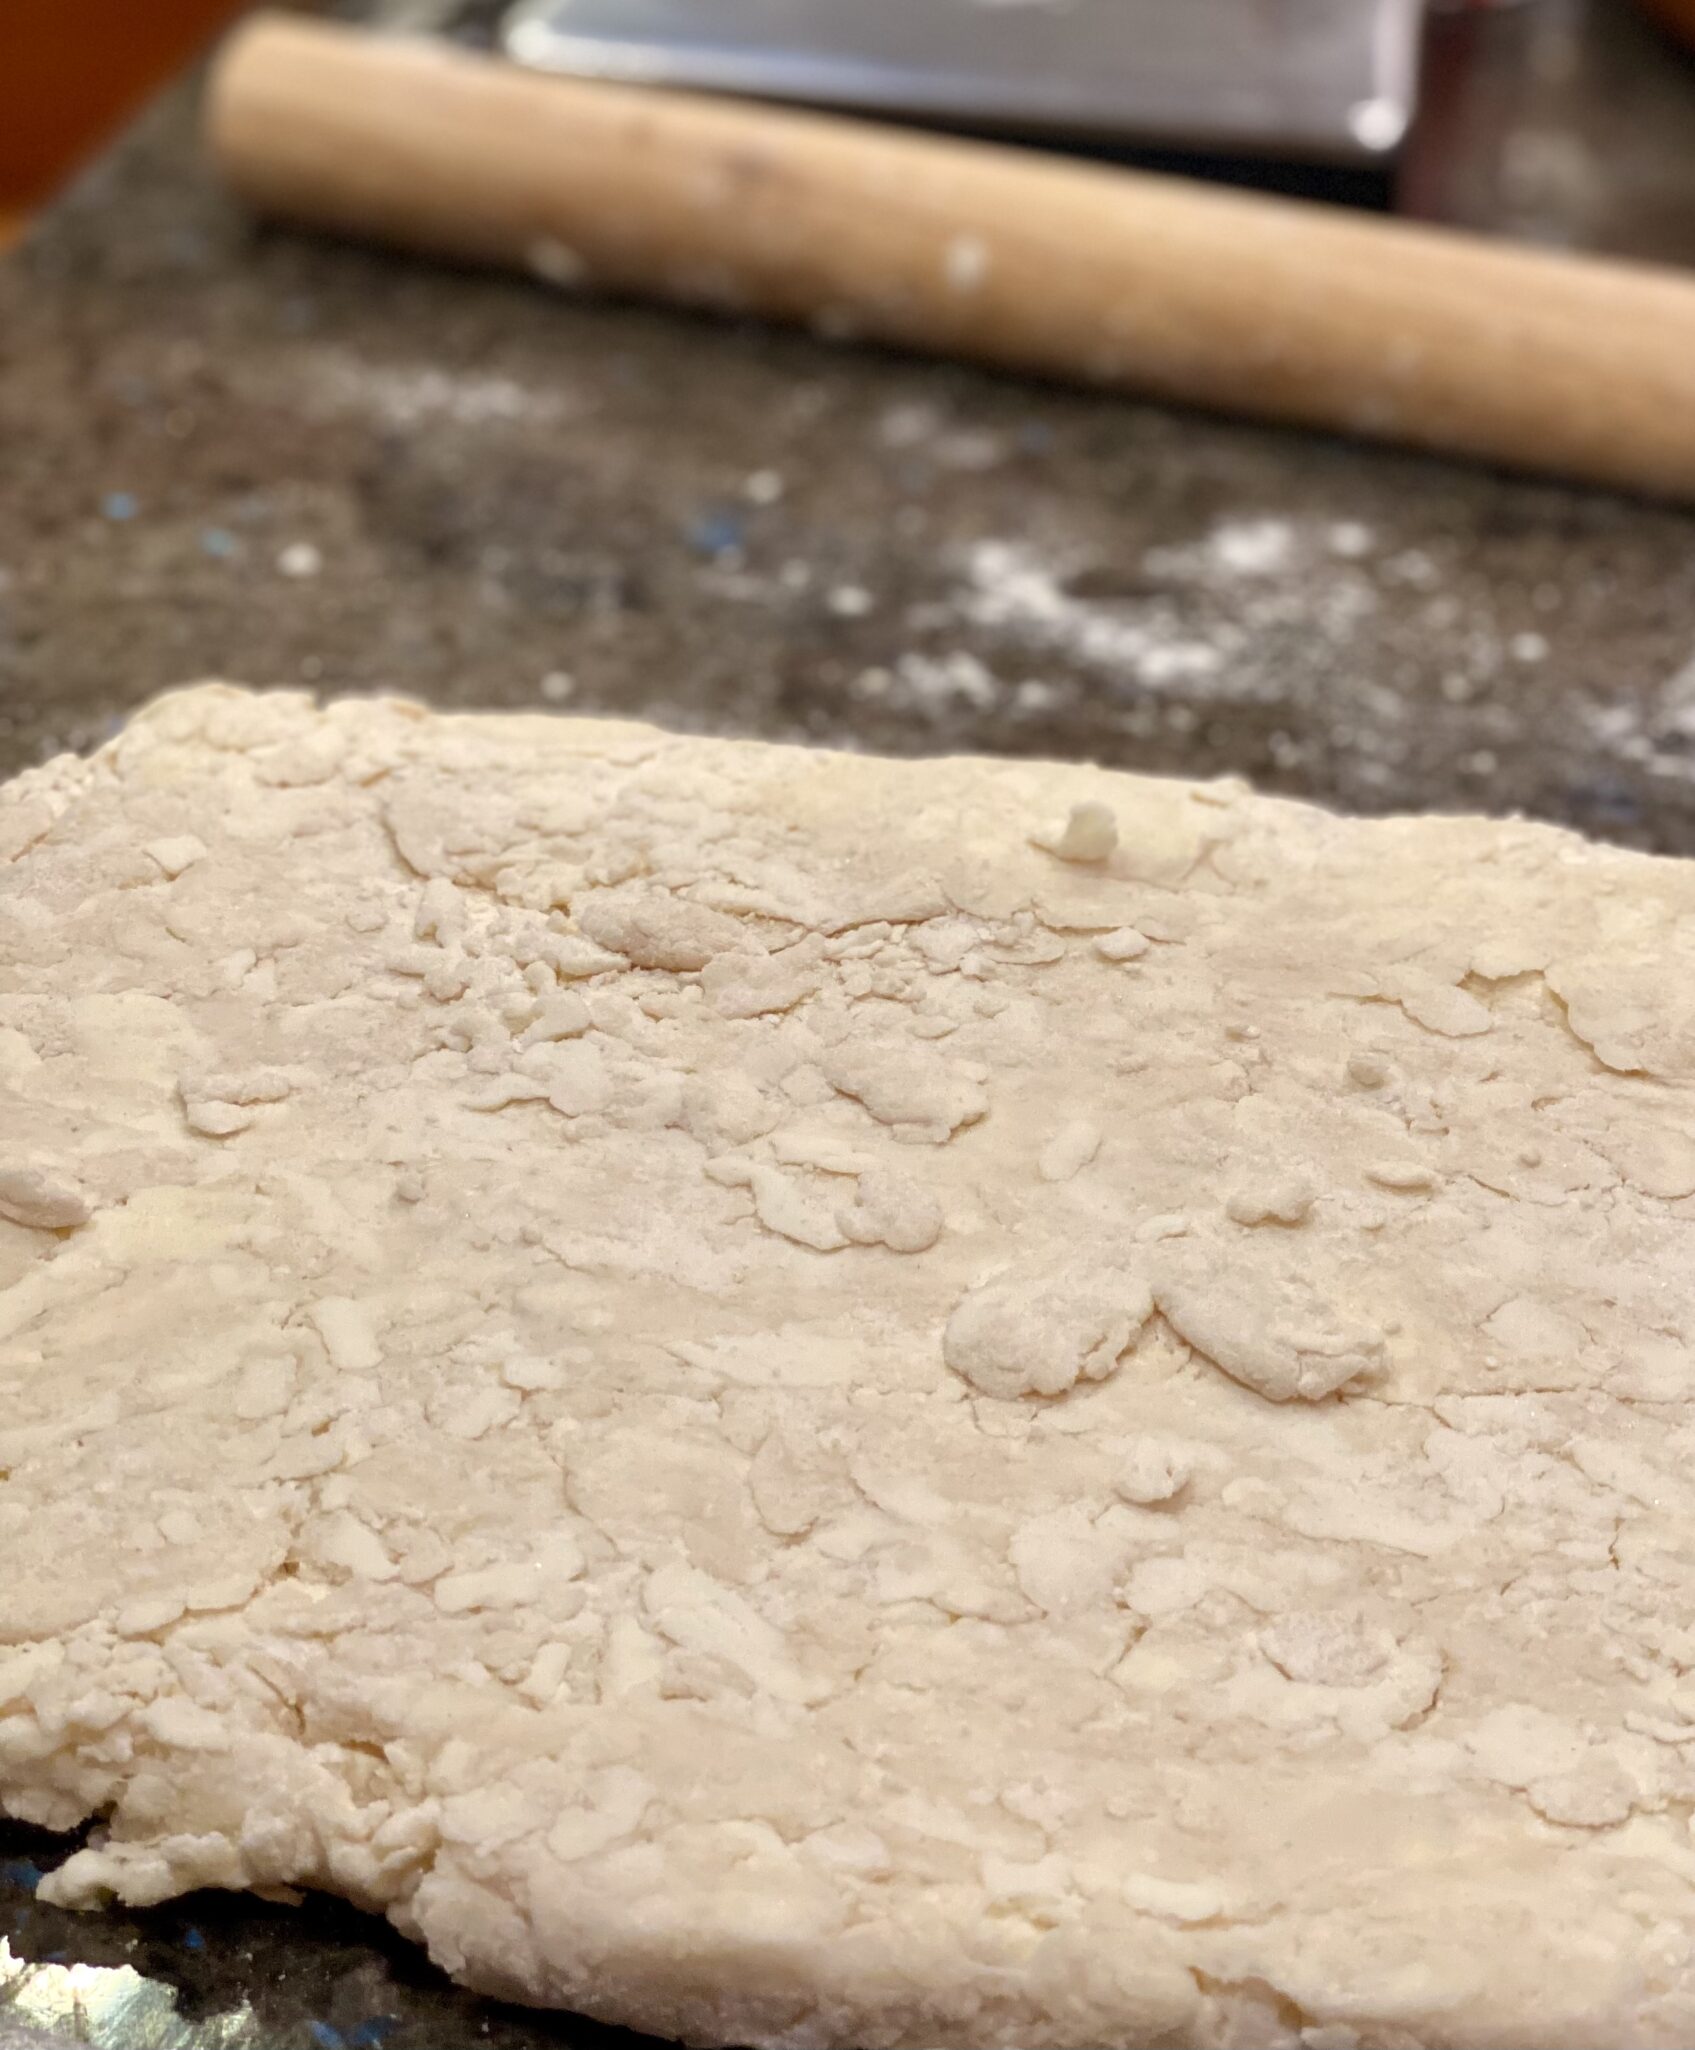
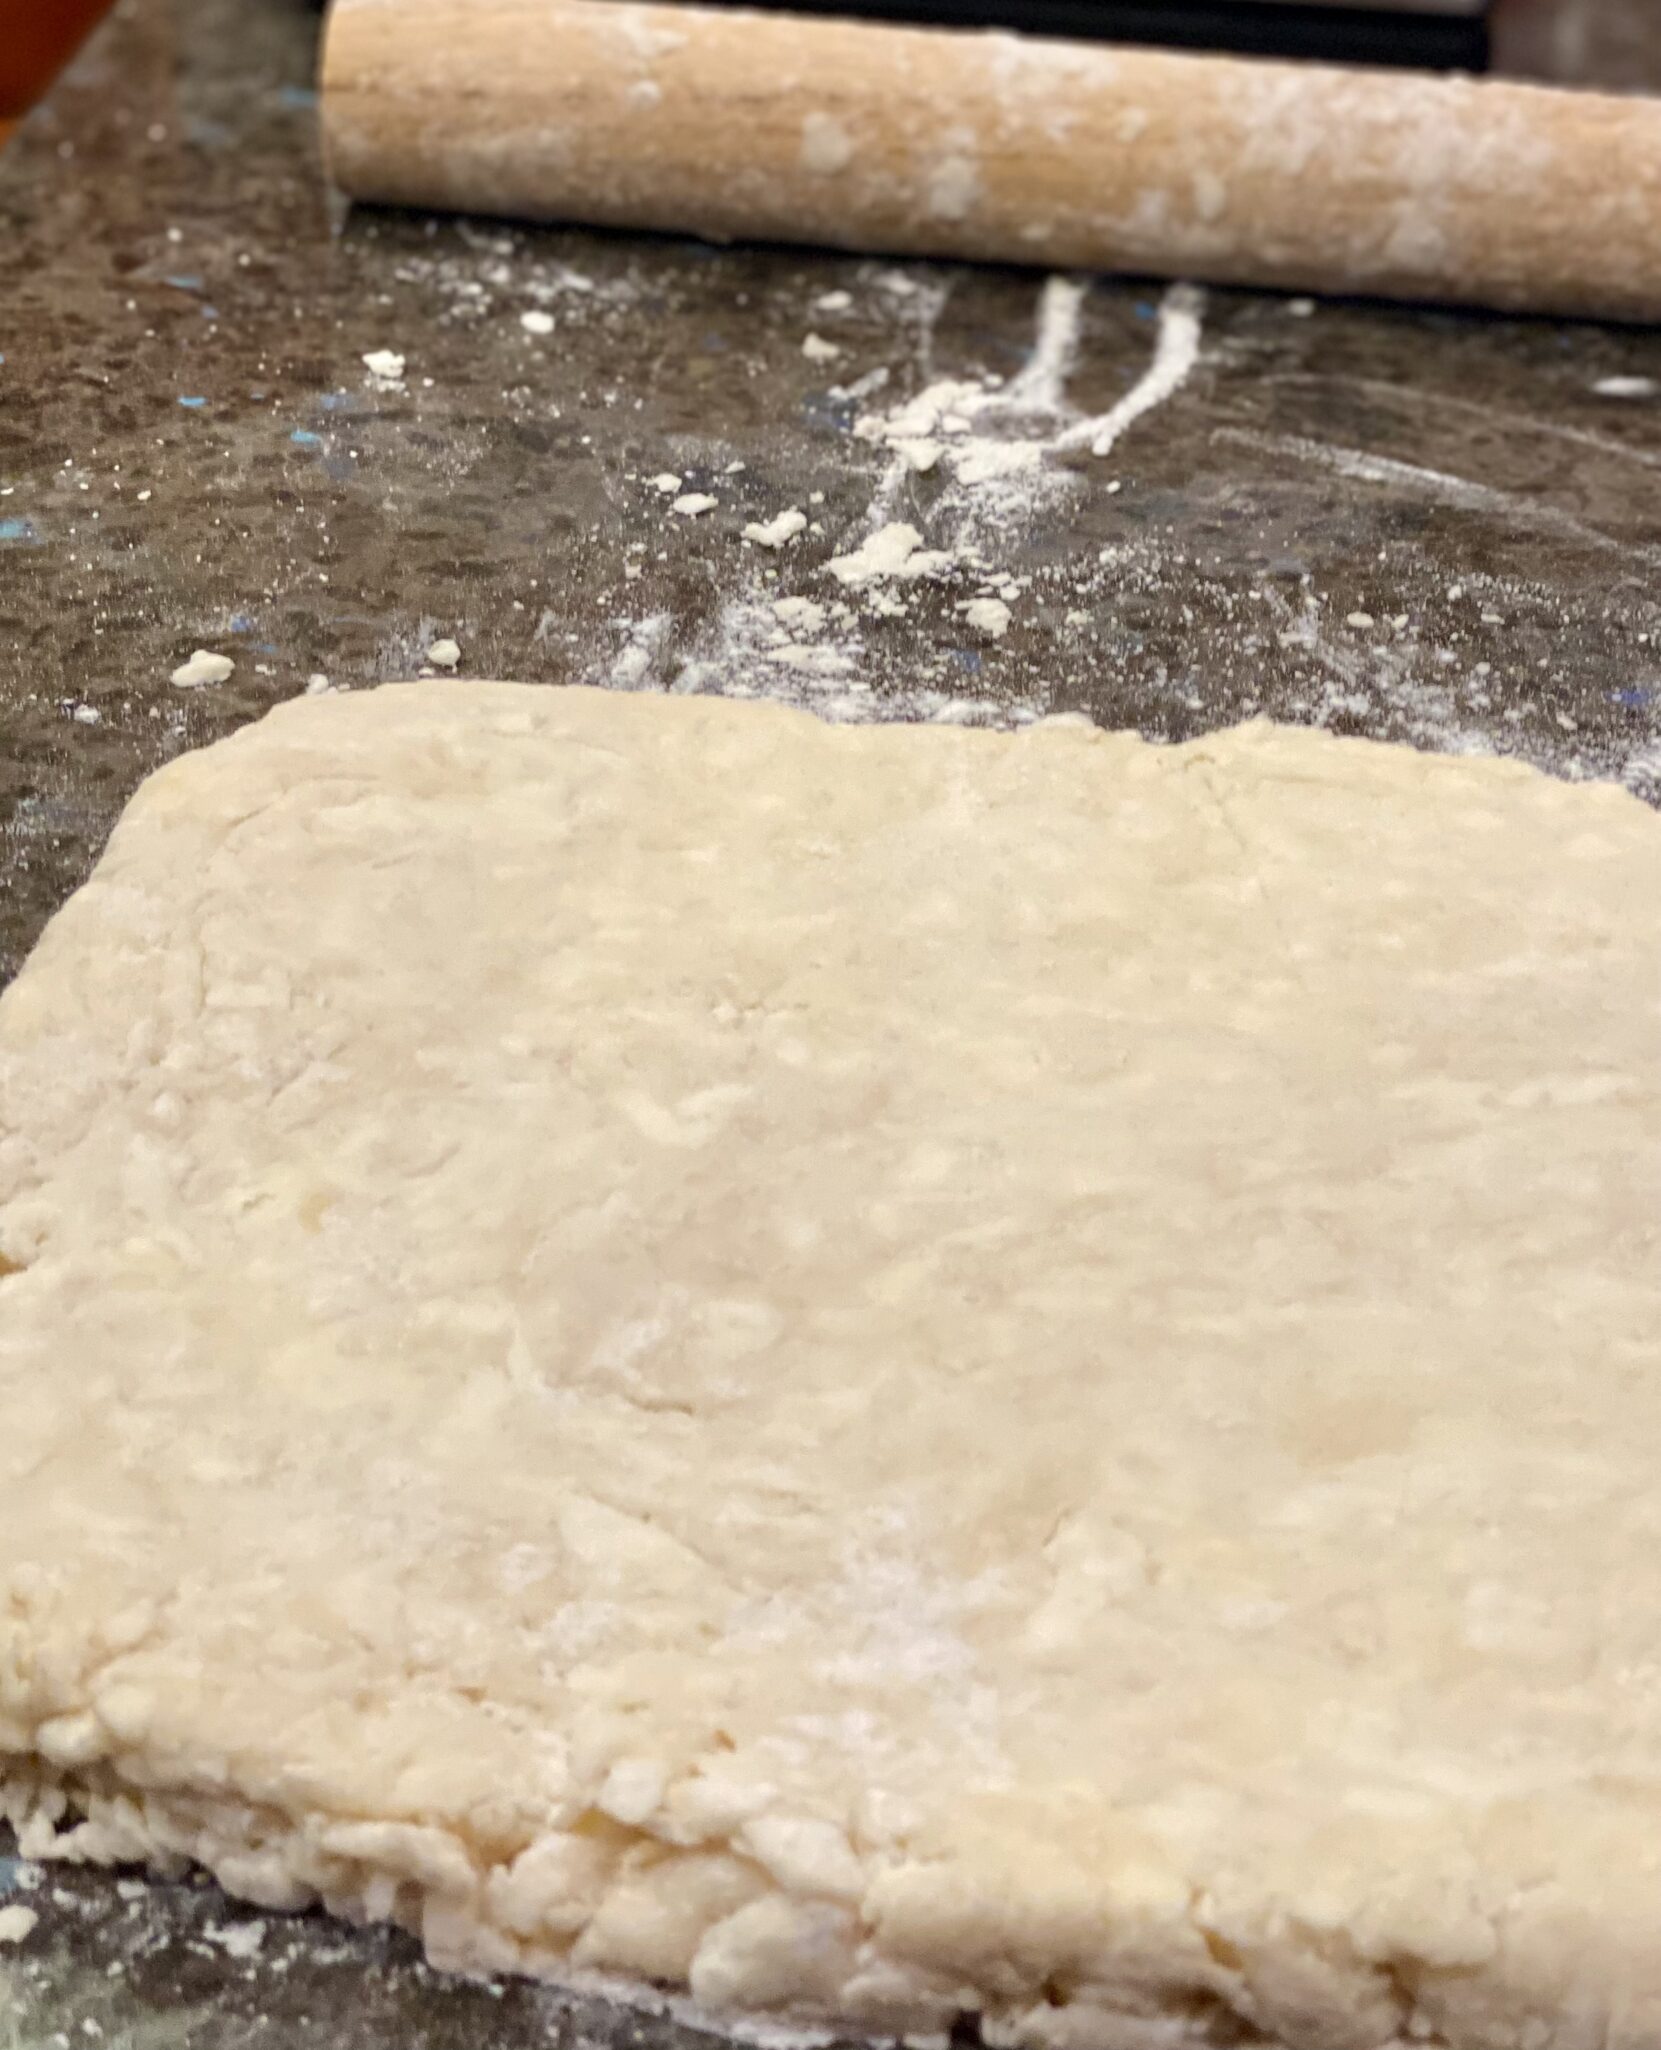
Fold one half over on top of the other half using the bench scraper, gather the escaped bits, and press them into the dough. Then roll the dough out again into a rectangle.  Repeat the process a total of 5 times, rotating your dough ninety degrees each time.  The dough will come together and be less crumbly.  This is the process of lamination, creating layers of butter and flour in pursuit of flakiness.

With the last fold, shape the dough into a square.  Use your bench scraper to cut the dough in thirds both lengthwise and crosswise yielding 9 squares.  Cut straight down without sawing through the dough.  Sawing would smoosh the layers creating an uneven rise while baking.

Next time I will trim the outside of the dough to help with an even rise.

Flaky, crispy, buttery, and sweet. Brush the biscuits with butter and sprinkle them with Maldon salt or any coarse finishing salt you like to highlight the sweet-salty vibe.  Enjoy!

Buttermilk Sugar Biscuits

Course Biscuits and scones, Breakfast
Cuisine American
Prep Time 20 minutes

Ingredients

  • 1 cup cold unsalted butter 227 grams
  • 3⅓ cups all-purpose flour 425 grams plus more for rolling
  • ½ cup granulated sugar 100 grams
  • 1 tablespoon baking powder
  • teaspoons kosher salt (such as Diamond Crystal) or 1¾ teaspoons fine sea salt
  • cups cold buttermilk 300 grams
  • Melted butter and flaky sea salt both optional, for finishing

Instructions

  • Heat oven to 375 degrees and line a large sheet pan with parchment paper or foil.
  • Coarsely grate the butter onto a plate, then freeze until cold and hard, at least 10 minutes. Meanwhile, in a large bowl, whisk together the flour, sugar, baking powder and salt.
  • Add the butter to the dry ingredients. Using a spoon, toss together until all of the butter is coated with flour.
  • Add half the buttermilk and toss with the spoon. When incorporated, add the rest of the buttermilk and gently toss again, without mashing together or overmixing, until the dry ingredients are lightly hydrated throughout. The mixture will be crumbly.
  • Flour a clean surface and dump the mixture directly onto it. Using your hands, gently press the crumbs together and then use a floured rolling pin to roll the mass gently but firmly into a 1-inch-thick rectangle.
  • Fold the dough in half: Using a bench scraper, lift the top half off the surface and fold it over the bottom half. This step may be crumbly and messy at first, but just go for it and fold what you can down from the top. Repeat this roll-and-fold motion 5 times, flouring the surface and dough as needed and using the bench scraper to straighten the edges as
  • Build the final layer: Fold the dough in half one last time, then roll to about 1½ inches thick to create a 6-inch square, using the bench scraper to straighten out the edges.
  • Using the bench scraper or a sharp knife, cut straight down into
  • the square to create a 3-by-3 grid of 9 squares, then place them on your sheet pan, upside down if you’d like taller biscuits.
  • Bake for 25 to 35 minutes, rotating the pan halfway through, until risen, golden brown on top, and slightly pale on the sides.
  • Don’t worry if a couple of the biscuits tip over or if melted butter pools underneath. Brush the tops with melted butter and sprinkle with flaky sea salt, if using
Roasted Chicken & Croutons with Fish-Sauce Butter-Sheet Pan Magic

Roasted Chicken & Croutons with Fish-Sauce Butter-Sheet Pan Magic

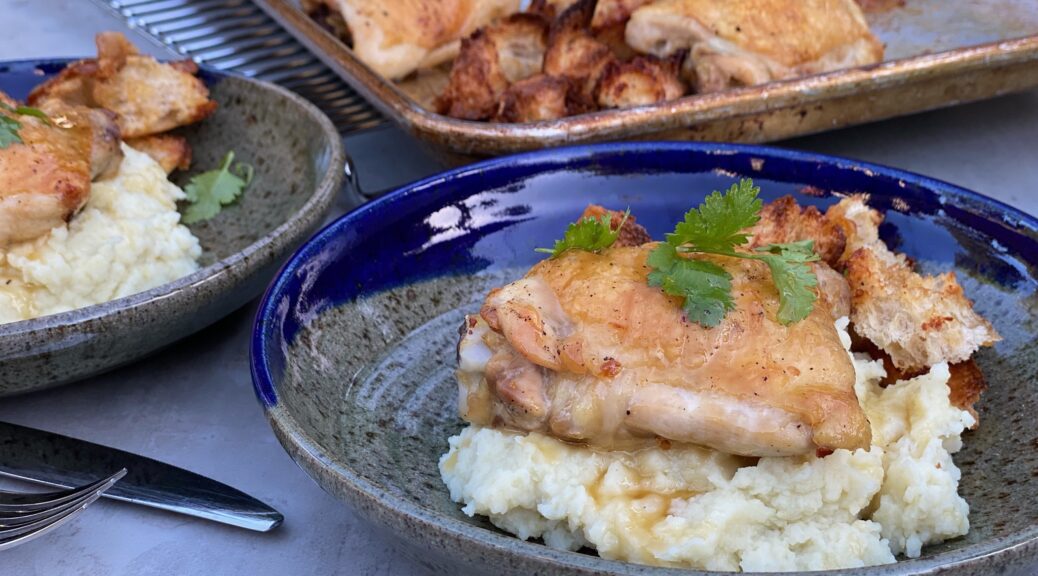
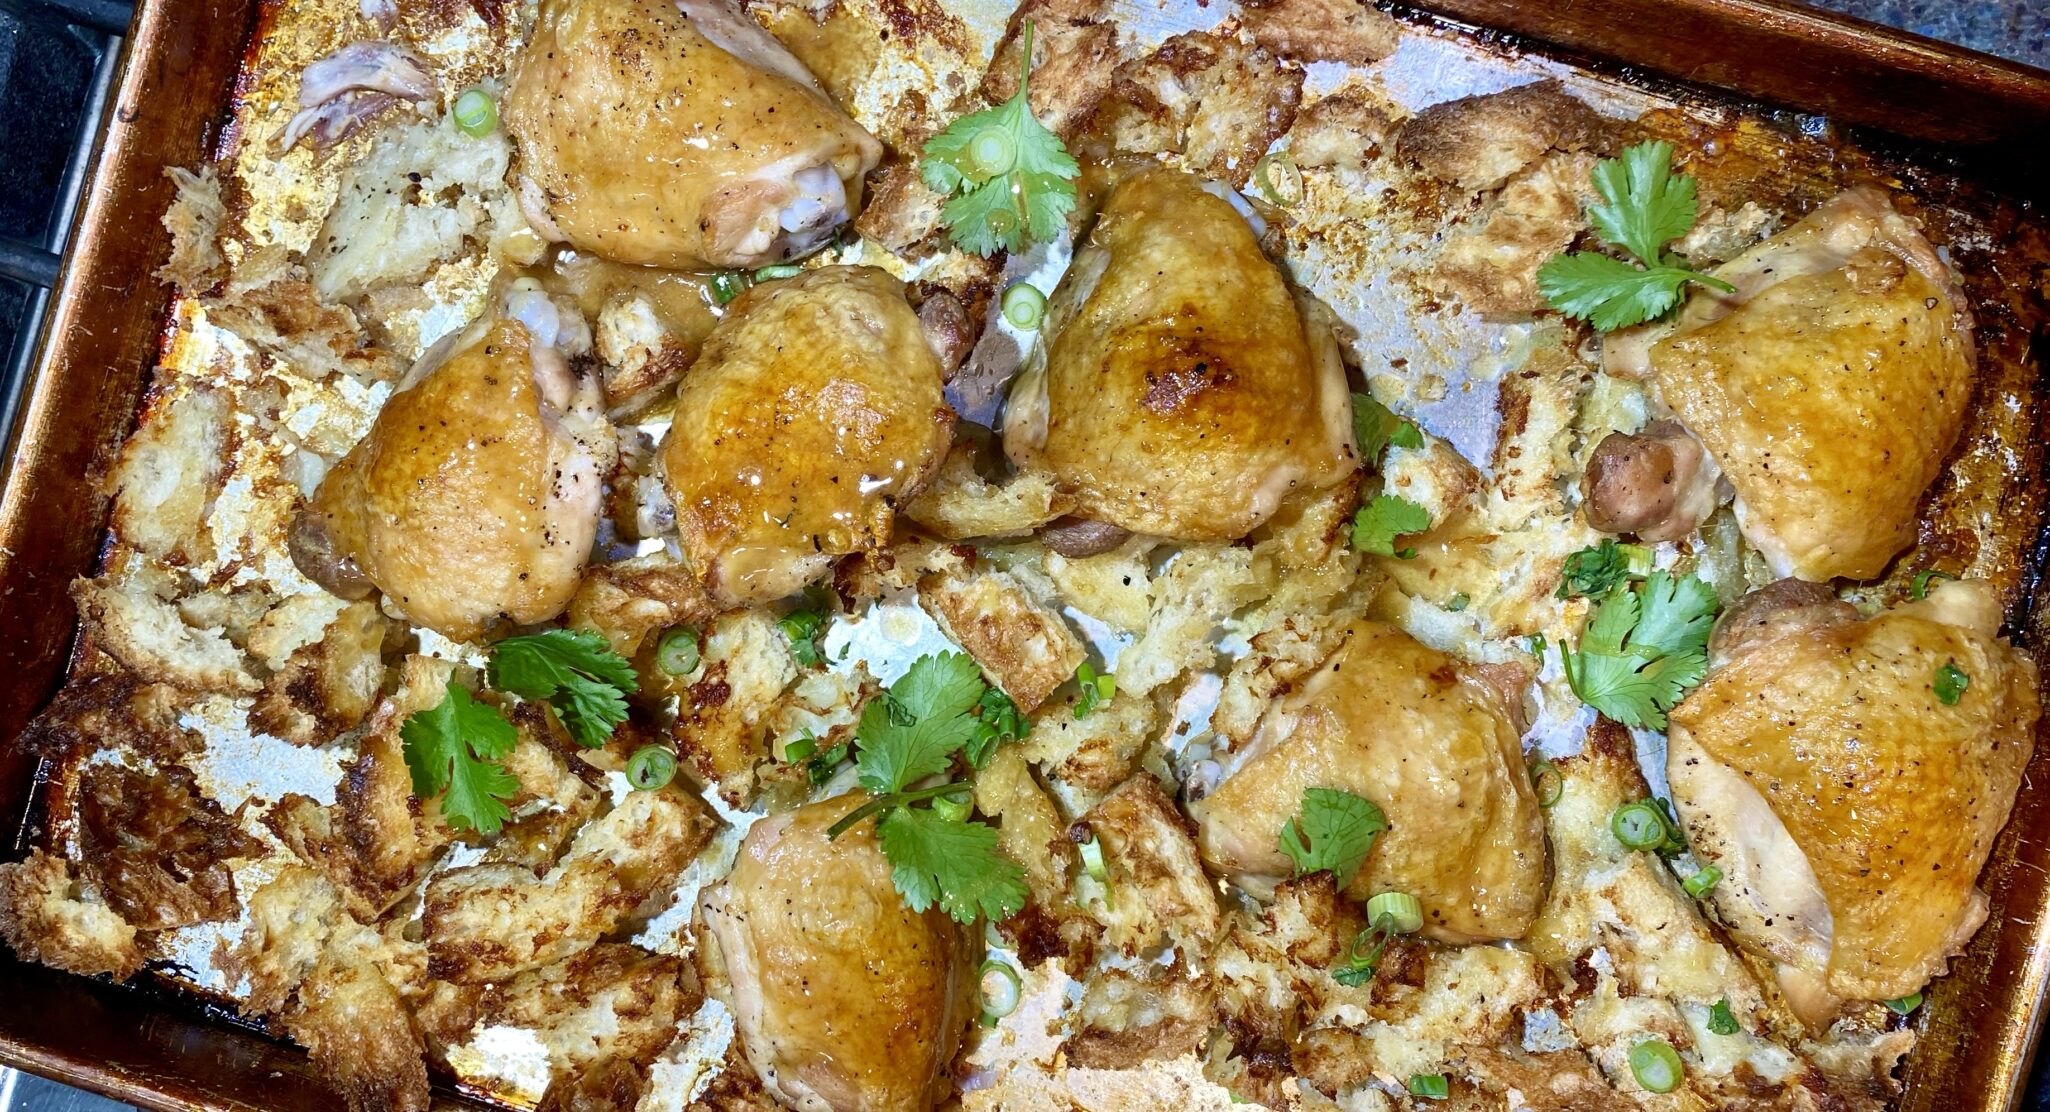
I couldn’t help but tweak Eric Kim’s Roasted Chicken with Fish-Sauce Butter title.  I added Croutons to the title because… lets be real, the croutons are the star of this dish.  It reminds me of Roti Roti, a food truck fixture in the Bay Area.  A simple winning formula of chickens roasting on a spit, dripping all that deliciousness onto a bed of potatoes below it.  Well, that’s this dish but with bread and your own oven.

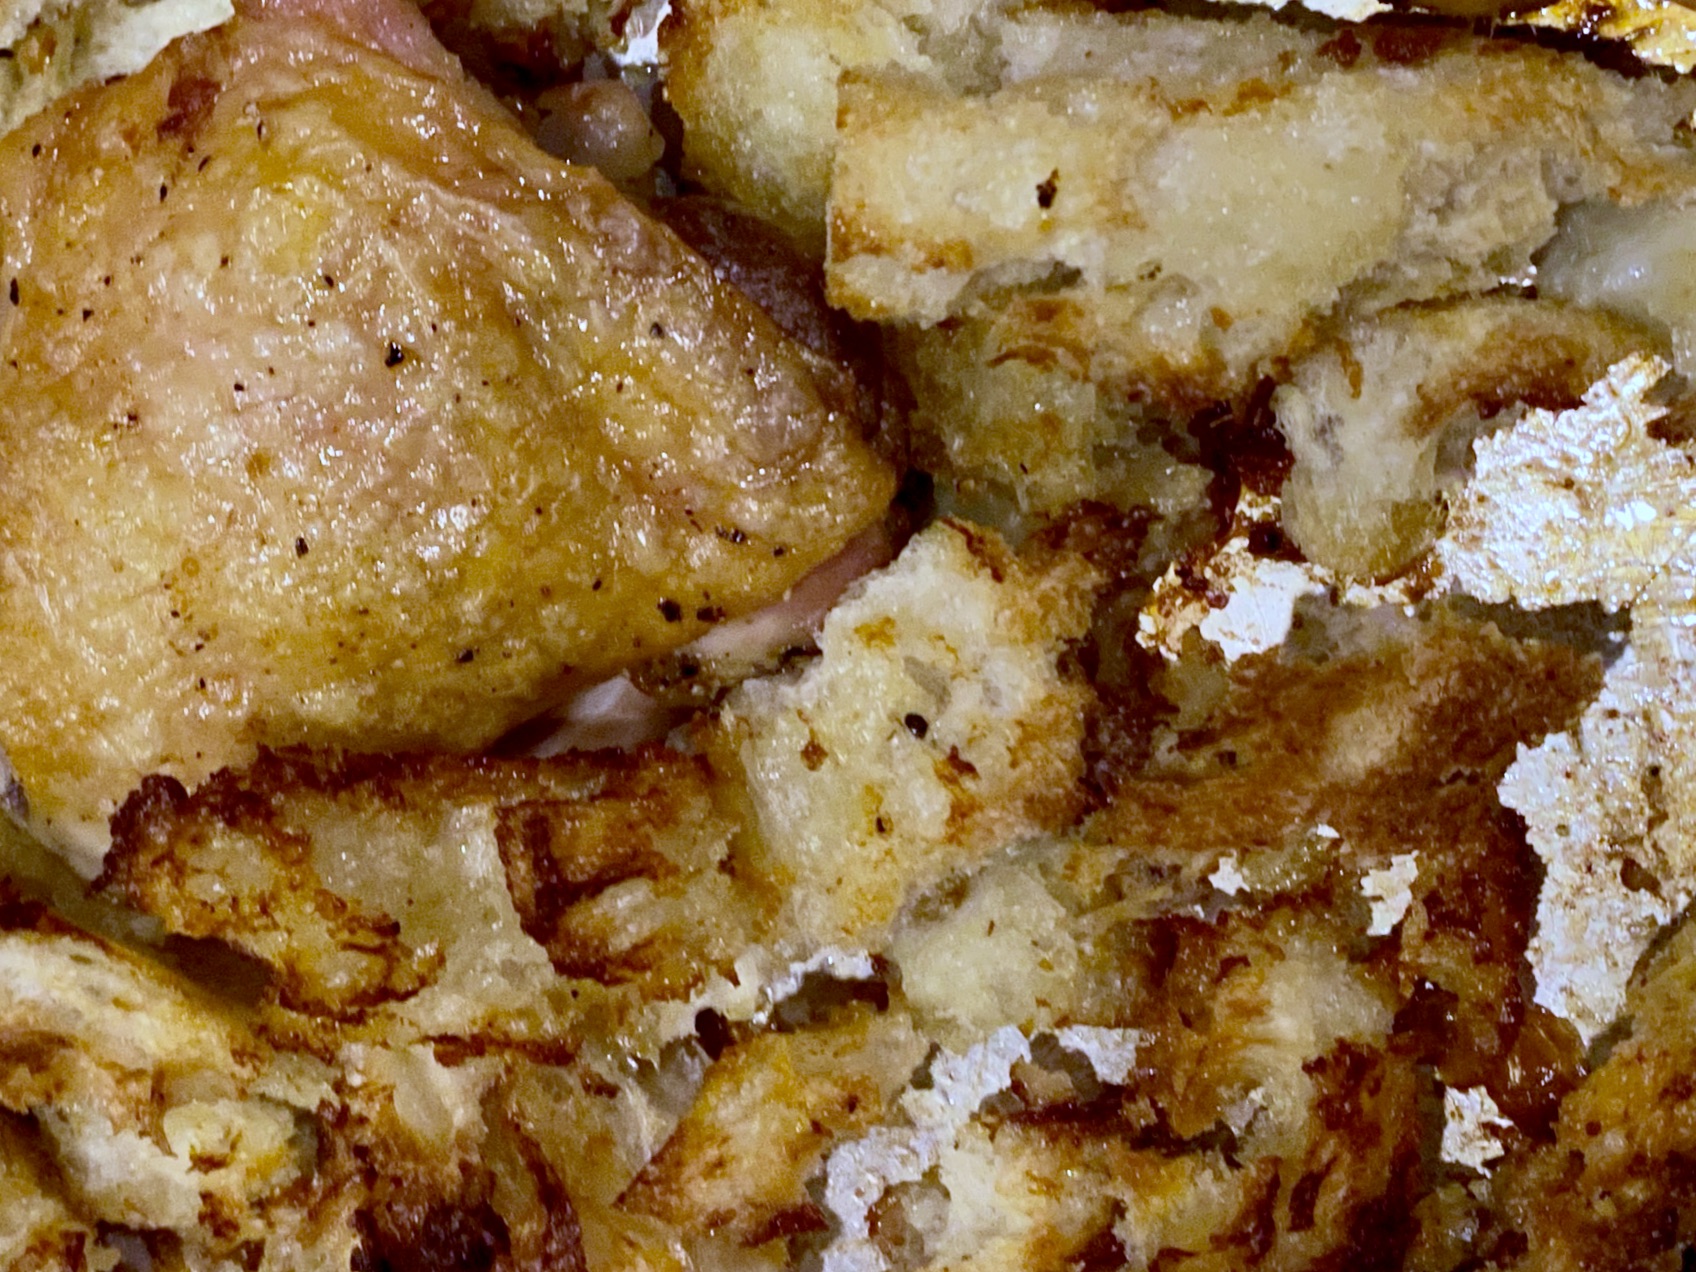
First, roast chicken thighs on a sheet pan (the operative words for an easy meal) in a 450-degree oven.  This gives you crispy skin chicken and a pool of deliciousness aka SCHMALTZ on the pan.  Then toss flakes (yes flakes, more on that later) of bread onto the pan and smoosh it around so it soaks up the chicken fat.  Shove it back into the oven, and fifteen minutes later those bread flakes have morphed into golden, crunchy, umami bombs.

It’s Soooo Good

I divide the dish evenly between me and the hubsters, he gets the chicken,  I get the croutons, yep, 50-50 all the way.

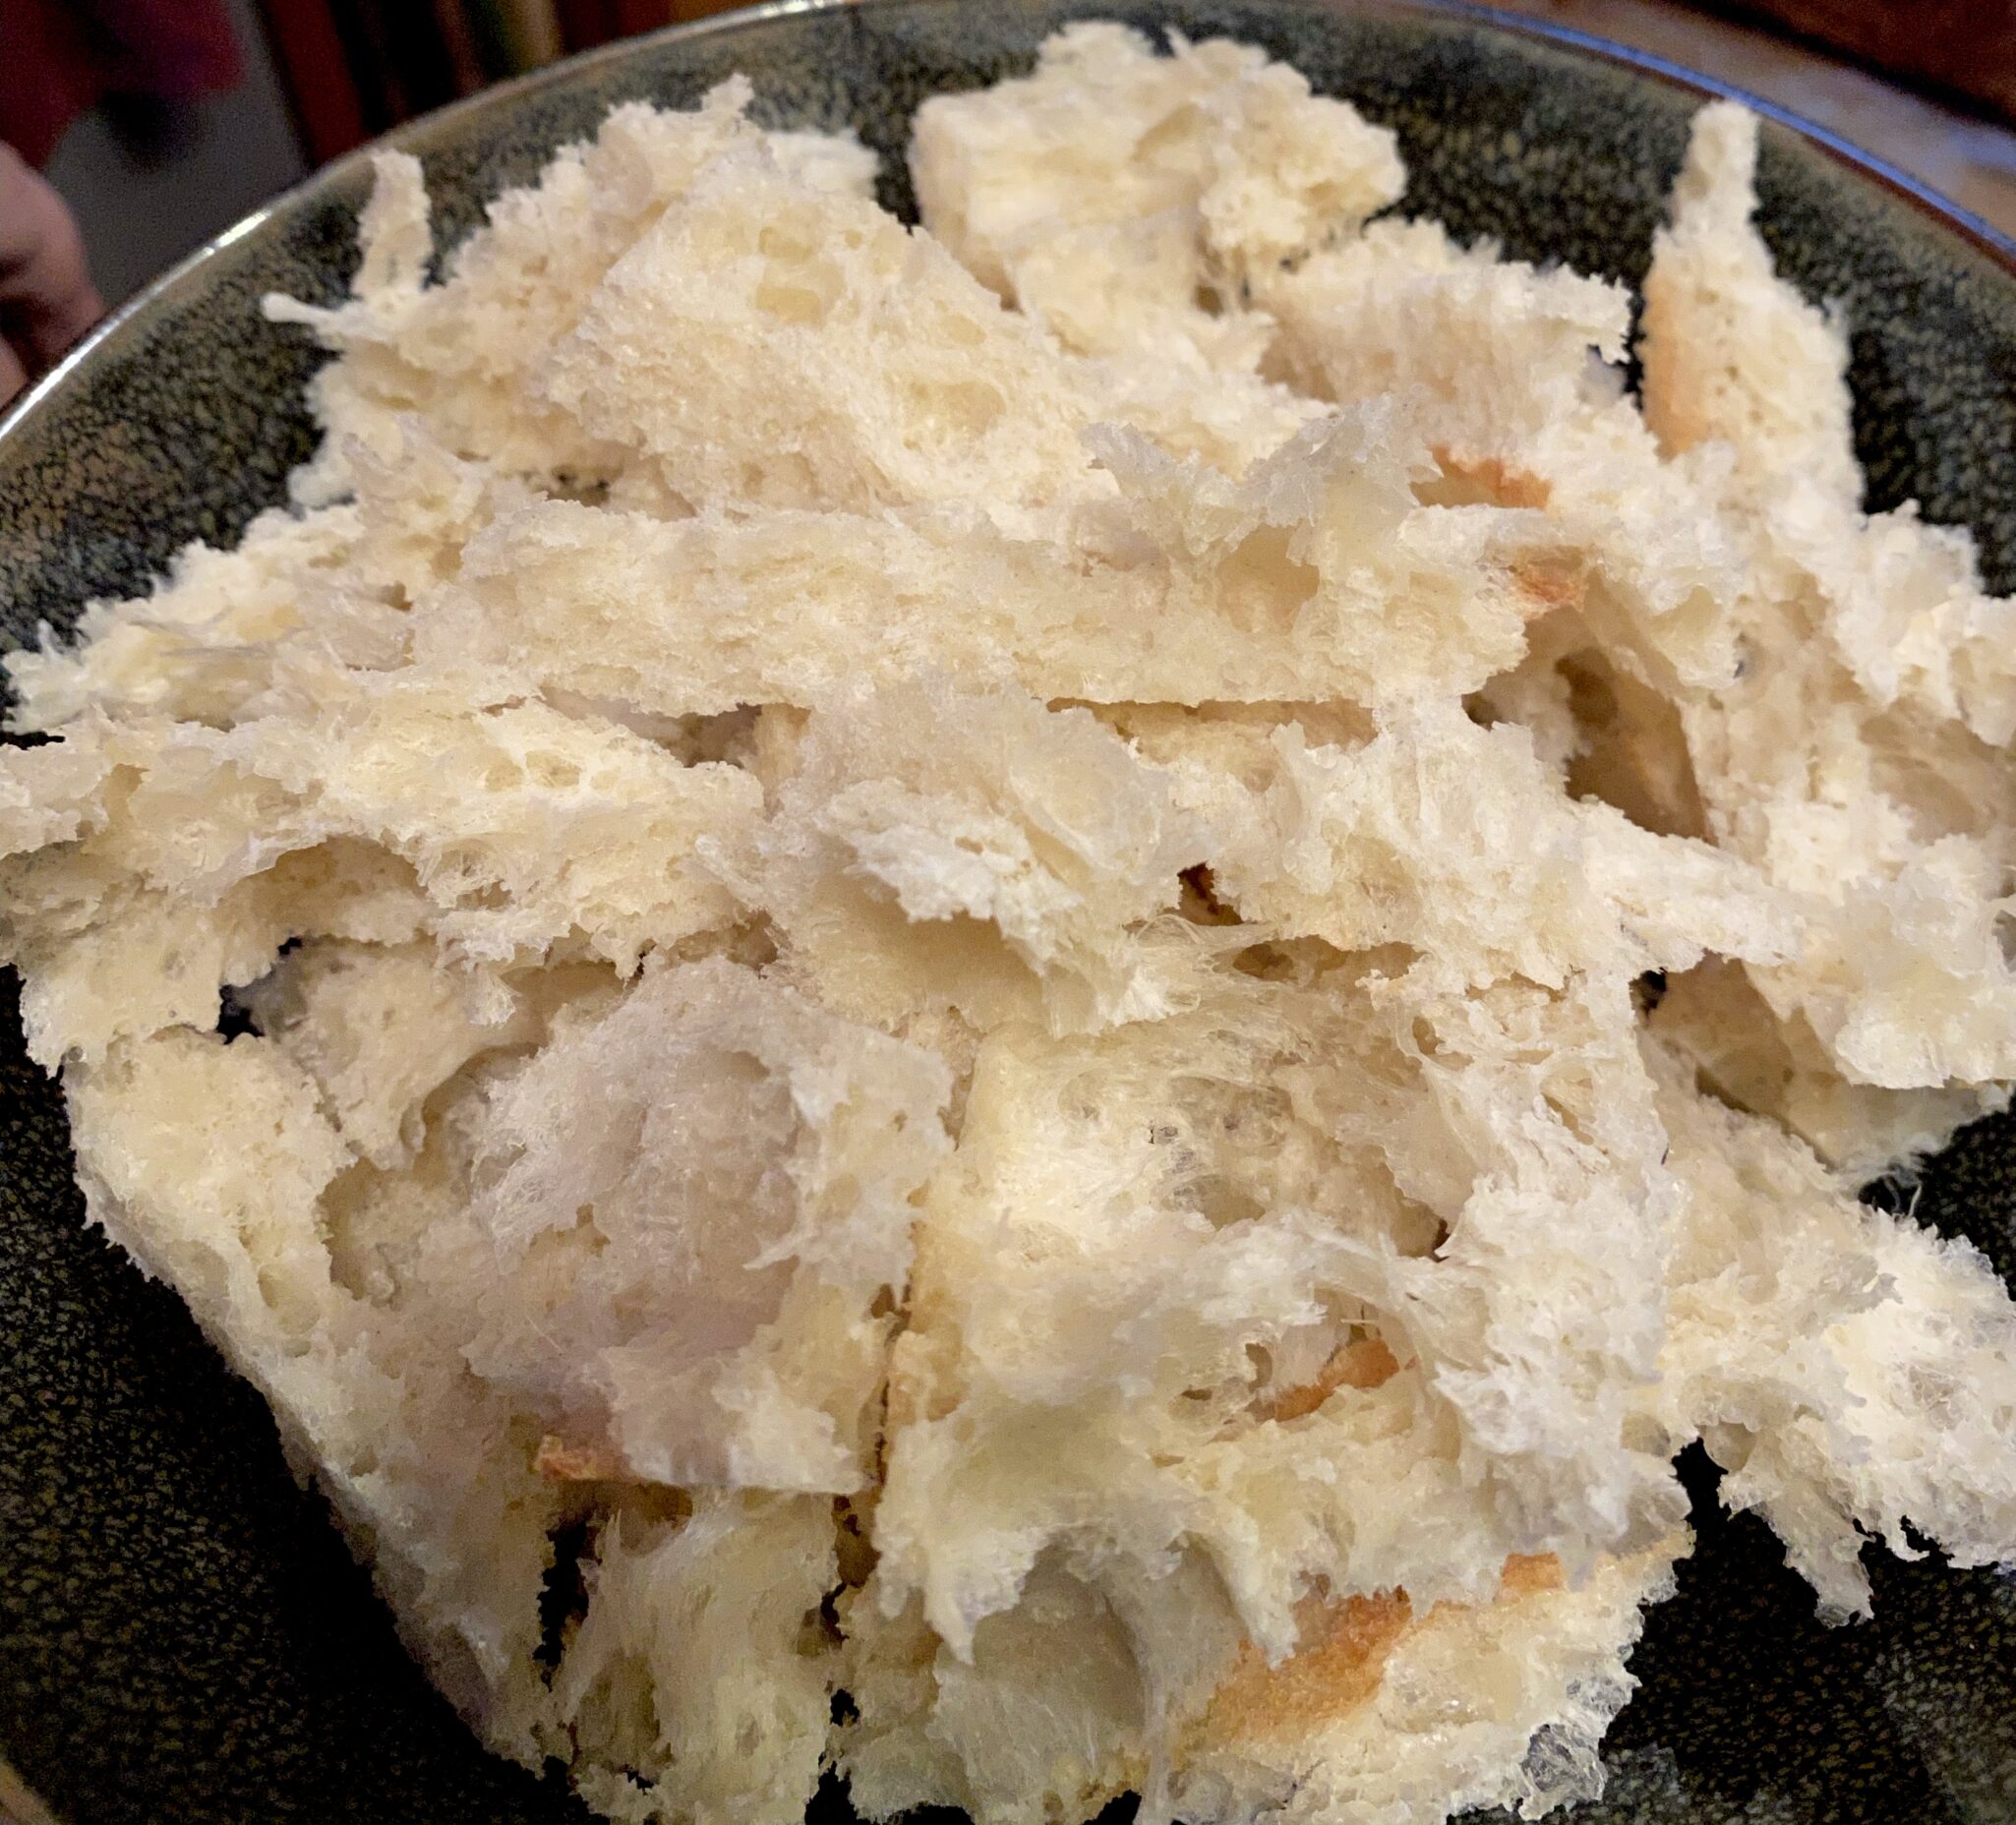
Let’s talk flakes.  You can use any bread you like, sourdough, milk bread, or my favorite, ciabatta.  The key is to tear the bread so you get shards or flakes.  Cubes don’t cut it for this dish, not enough surface area. Try to tear or split the bread to form flakes for ultimate crispness.

The rest is easy-peasy.  Place chicken on a sheet pan, and season with salt and pepper.  Go easy with the salt as the fish sauce has salt. Drizzle olive oil on the chicken and flip each piece around to coat each piece.  Roast for approximately 25 minutes.  I prefer bigger pieces of chicken so the skin crisps without drying out the chicken.  Pull the chicken out, there should be a nice puddle of schmaltz in the pan.  Add the croutons to the pan and toss the bread in the chicken fat.  Slide the pan back into the oven to crisp the croutons and finish the chicken.  If the chicken is cooked through before the croutons, pull them out and continue to bake the croutons.

Meanwhile…

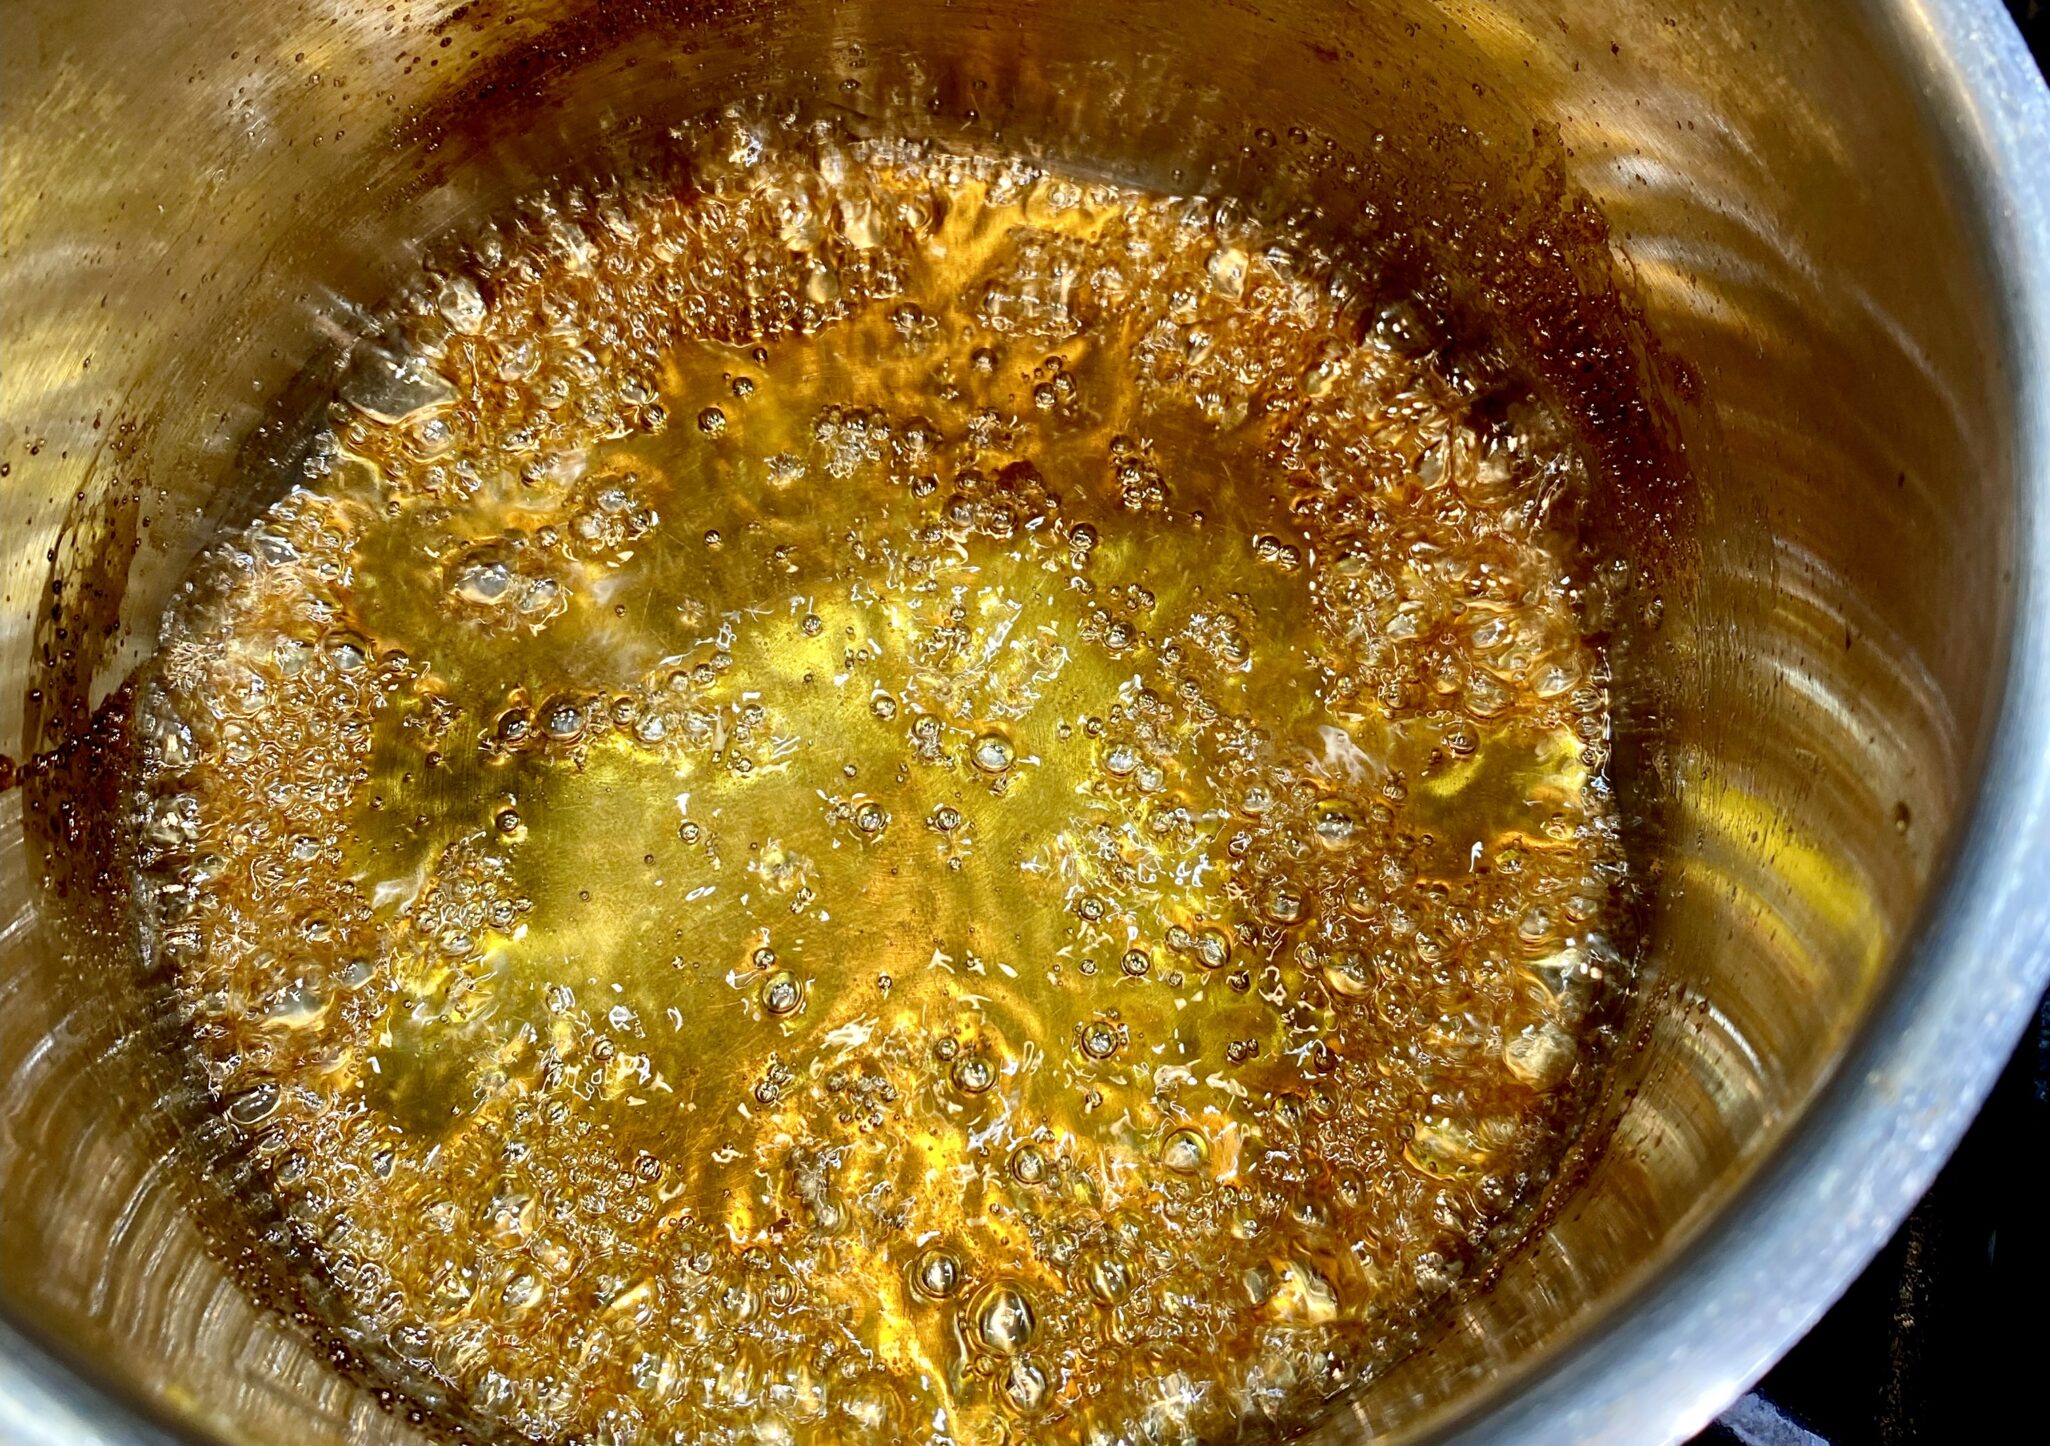
While the chicken and croutons are roasting, make the Fish-Sauce Butter.  The sauce is genius, easy to make, and delish with just four ingredients, fish sauce (I use 3 Crab Vietnamese Fish Sauce), lemon juice, brown sugar, and BUTTER.  Reduce the first 3 ingredients to a syrupy consistency.  When the surface of the sauce is covered with bubbles, turn the heat off and add the chunk of COLD butter to the pan and swirl to create an emulsion.

Leave the chicken and croutons in the pan, drizzle some of the sauce on the chicken and croutons, garnish with cilantro and green onions, and bring the pan to the table.  So easy. Serve the remaining sauce on the side. If you want to be fancy, transfer chicken and croutons to a serving platter.

Accompaniments?  Rice, double carb, is always yummy, or I like serving it with mashed cauliflower.  Another winner from Eric Kim.  Sheet pan magic happening here.

Roasted Chicken and Croutons with Fish-Sauce Butter

From Eric Kim via NYTCooking, roasted chicken thighs, toasty croutons, and a scrumptious, quick sauce made with Vietnamese Fish Sauce, brown sugar, lemon, and butter. The perfect weekday meal.
Course dinner, Main Course
Cuisine Asian-American
Keyword brown butter, Chicken thighs, croutons, fish sauce, oven-baked
Prep Time 15 minutes
Cook Time 35 minutes
Servings 2 servings

Ingredients

  • 4 bone-in skin-on chicken thighs (about 2 pounds)
  • Kosher salt such as Diamond Crystal and black pepper
  • 2 tablespoons olive oil
  • ¾ pound bread crusts removed, bread torn into bite-size pieces about 4 cups;
  • 1 tablespoon dark brown sugar
  • 1 tablespoon fish sauce
  • 1 tablespoon lemon juice
  • 3 tablespoons COLD unsalted butter kept in one piece
  • Cilantro leaves with tender stems for serving
  • scallions or chives, chopped garnish for serving

Instructions

  • Heat oven to 450 degrees. Pat the chicken dry with paper towels and season lightly with salt and pepper. (The fish-sauce butter is plenty salty, so don’t overdo the salt here.)
  • Arrange the chicken skin-side up on a sheet pan and drizzle the oil over the chicken skin, coating it evenly.
  • Roast until the chicken is light gold and the sheet pan is a pool of hot, rendered chicken fat, SCHMALTZ, about 20-25 minutes.
  • Take the sheet pan out of the oven, scatter the bread around the chicken. Using tongs toss gently to coat in the chicken fat.
  • Place the pan back in the oven and roast until the chicken is golden, crispy and sizzling (you’ll hear it), about 15 minutes.
  • While the chicken roasts, combine the brown sugar, fish sauce and lemon juice in a small saucepan and bring to a simmer over medium heat. Cook, occasionally swirling the pan or stirring the sauce with a wooden spoon, until it bubbling vigorously and the mixture has reduced by about half, 2 to 3 minutes.
  • Turn off the heat and add the butter, constantly swirling the pan or stirring with a wooden spoon, until all of the butter has melted and incorporated into the fish sauce mixture. It should be a heavy syrup consistency.
  • To serve, scatter the cilantro and scallions or chives over the chicken and croutons. Spoon some of the fish-sauce butter over each chicken thigh, reserving some to add to each plate for dipping the chicken and croutons while eating, so yummy.

Notes

Roasting chicken thighs in a hot oven is a hands-off way to achieve two of life’s greatest pleasures: crispy skin and golden schmaltz. And you want that chicken fat because it will crisp hand-torn bread into croutons. A bold but balanced fish-sauce butter that you whip up on the stovetop while the rest of the meal takes care of itself in the oven, takes this over the top. Be sure to start with cold butter; the gradual melting of the fat helps thicken the sauce without breaking it.
After making this dish...go get his cookbook, Korean American, another winner.
Cream Cheese Pound Cake-Eric Kim Makes Sara Lee Proud

Cream Cheese Pound Cake-Eric Kim Makes Sara Lee Proud

I am seriously thinking about adding a new category to 3Jamigos. I’m going to call it “Everything Everywhere All at Eric”.  Serving a dual purpose, a nod to the movie EEAAO and its amazing cast, and of course to Eric.  For those of you not “in the know”, I am referring to Eric Kim, food writer, cookbook author (Korean American: Food that Tastes Like Home), Food52 alum, and current columnist of lots of yummy stuff at the New York Times.

I’ve been following him since his days at Food52 where he wrote a column, Cooking for One.  His writing and recipes are gorgeous, simple, straightforward, and delicious.  I have a backlog of the recipes I have made but haven’t had the time to do them justice in a post.  I will get to them soon.  During the holidays I made his Cream Cheese Pound Cake, it’s divine. Posting about it is long overdue! So here is the list of Eric recipes I have made and love—links to the ones I have posted. I hope you will try them!

Savory

Sweet

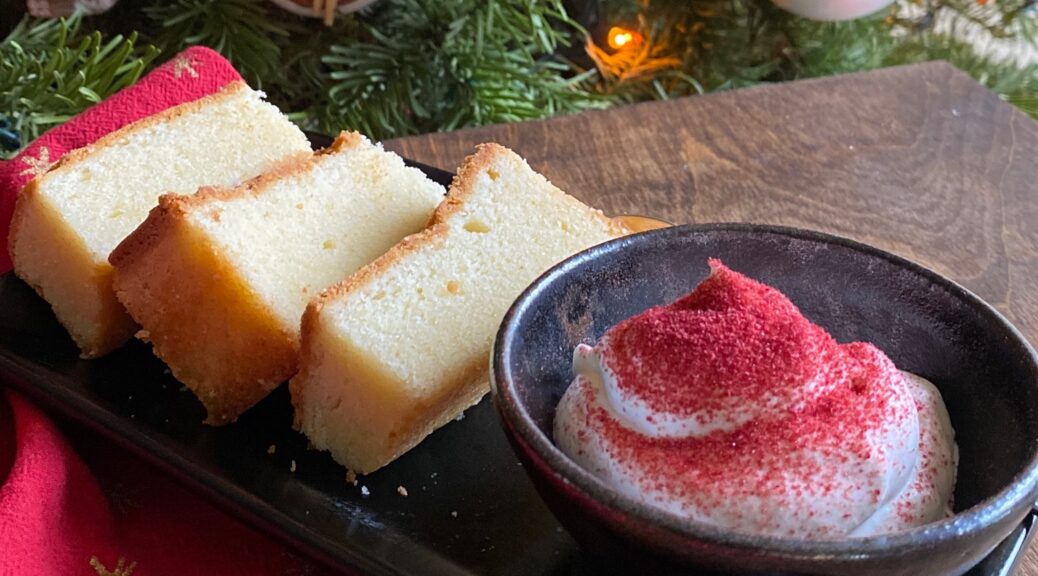
Well, the list of savory is overwhelming at this point so I am going to finish off the Sweet category with his Cream Cheese Pound Cake.  It’s delicious and something you should bake right now. It will fill your home with the aroma of butter and sugar and help keep the house warm since our cold, wet, weather is back.  This is the perfect antidote.

Does it bother you when you make something from scratch and the person eating it says, “Wow this tastes just like the one in the grocery store!” Unless it is your hubby, who you would slug, you politely smile, laugh, and let it go.  This cake is reminiscent of the Sara Lee Poundcake we all grew up with.  Don’t be surprised if someone exclaims “This is like Sara Lee’s” and take it as a compliment.

Let’s Get Baking

Make sure your butter and cream cheese are at room temperature (about 68 degrees).  Cream cheese adds moisture, richness, and flavor to the cake. Three cups of sugar is pretty typical for a pound cake although this cake may be a little sweeter since it has a smaller amount of flour.  Cream the butter, cream cheese, sugar, salt, and vanilla.  Then add the eggs, one at a time, beating until smooth.  Finally, add the dry ingredients at low speed.  Do not overbeat after adding the flour, this would toughen the cake.
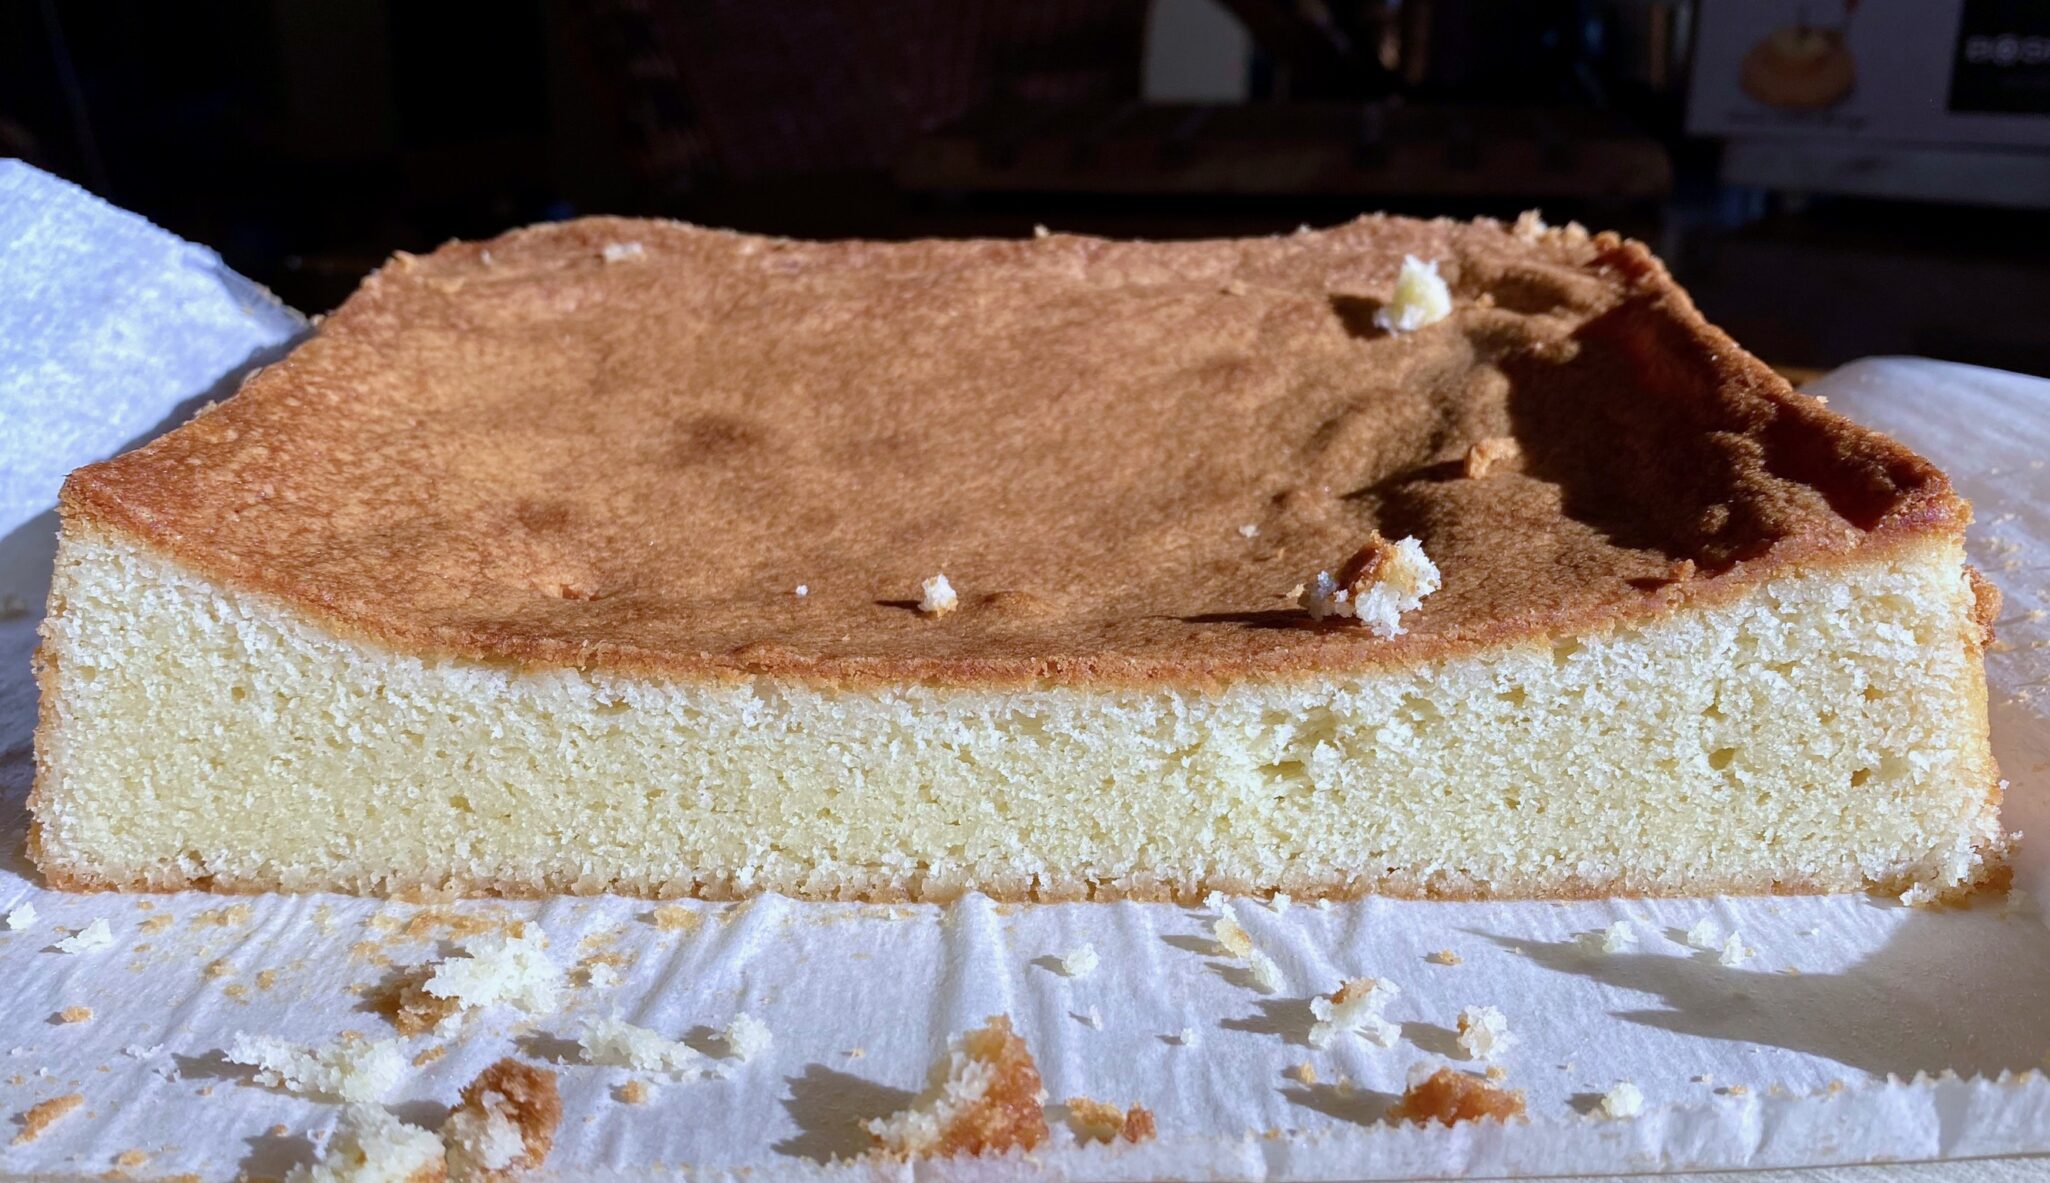
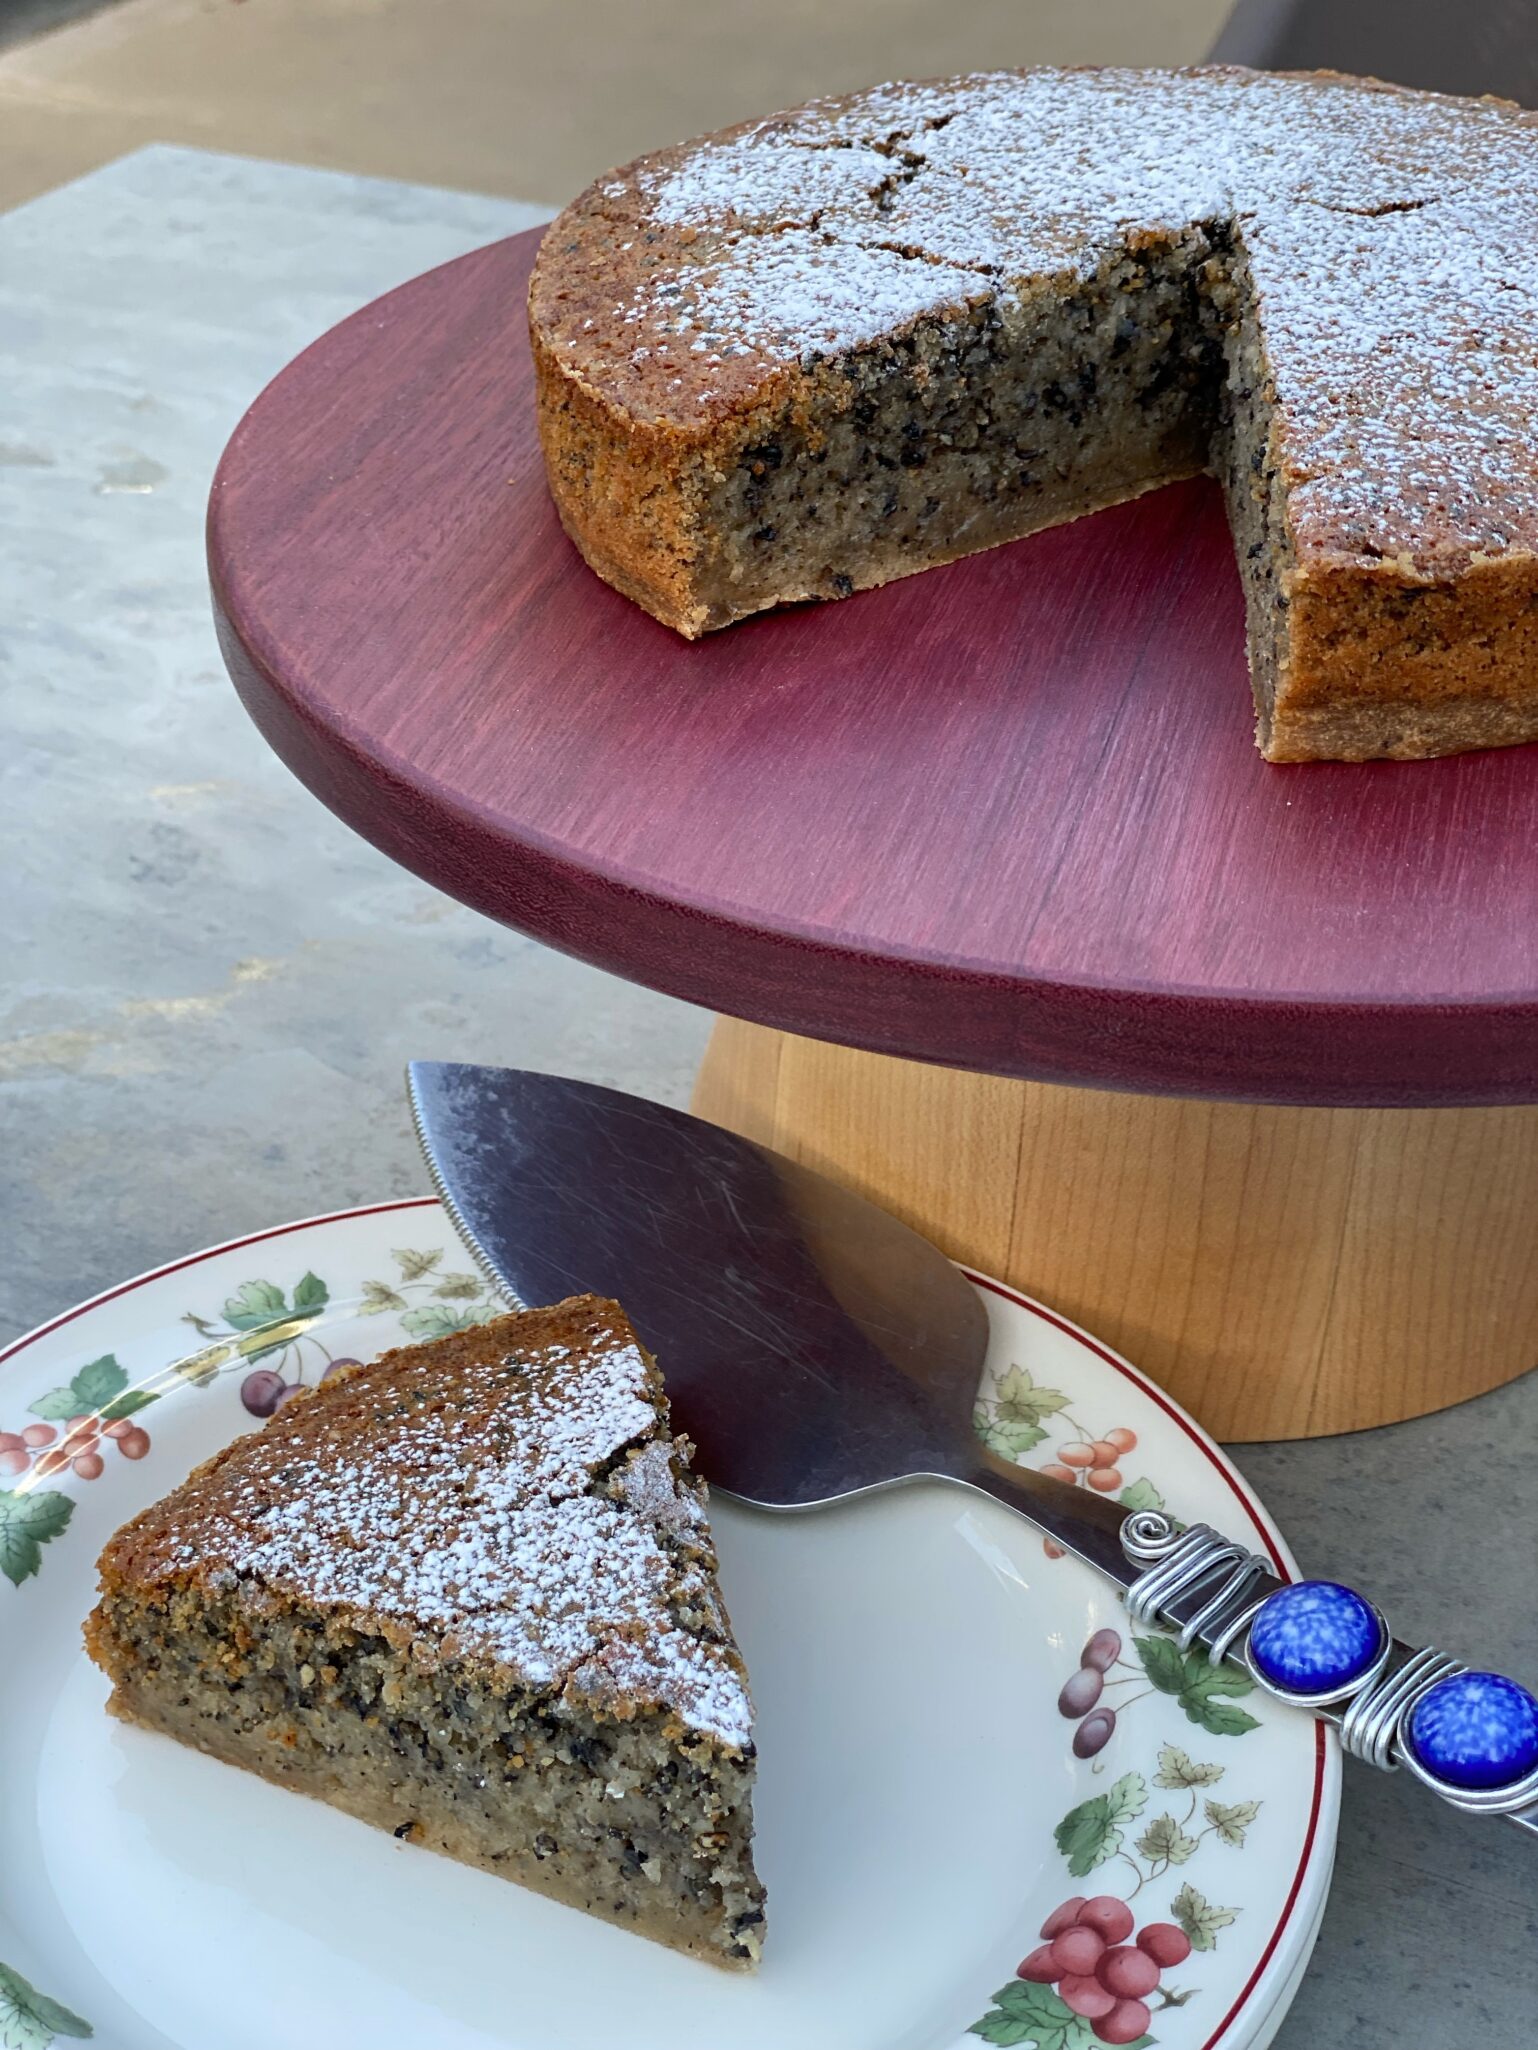
I cut the recipe in half using weights to split it and baked it in an 8×8 square pan. The cake dipped in the middle despite being fully baked. Looking at a couple of recipes for pound cake, for the equivalent amount of butter and sugar, most used 3 cups of flour. Using less flour, in this case, 2.5 cups, may make a softer cake with less structure and therefore lower in the center.   It was still delicious and nothing a nice dollop of whipped cream couldn’t hide.
The whipped cream, jam, and raspberry dust are nice additions to the cake but not absolutely necessary.  I skipped the jam and the cake was delicious with just whipped cream and a dusting of ground freeze-dried raspberry.  Fresh berries instead of jam would be lovely too.

Cream Cheese Pound Cake

Just like Sara Lee's Pound Cake! Buttery, slightly dense but tender with a fine crumb. From Eric Kim and the NYT, an absolutely delicious pound cake that will transport you to your childhood.
Course Dessert
Cuisine American
Keyword buttery, Dessert, ERic KIm, freeze-dried raspberries, NYT Cooking, pound cake, whipped cream
Prep Time 20 minutes
Cook Time 1 hour 5 minutes

Ingredients

It's All About the Cake

  • cups all-purpose flour (320 grams)
  • 1 teaspoon baking powder
  • cups unsalted butter (345 grams) at room temperature
  • 8 ounces cream cheese (226 grams) at room temperature
  • 3 cups granulated sugar (600 grams)
  • 1 tablespoon vanilla extract
  • teaspoons fine sea salt
  • 5 large eggs at room temperature

The Bling Finish

  • 2 cups cold heavy whipping cream (473 milliliters)
  • 2 tablespoons granulated sugar
  • ½ teaspoon fine sea salt
  • 1 cup raspberry preserves (305 grams) see notes
  • cups freeze-dried raspberries (34 grams)

Instructions

Make the cake:

  • Position a rack in the center of the oven and heat the oven to 325 degrees. Grease a 9-by-13-inch baking pan; line the bottom and long sides with parchment.
  • In a medium bowl, add the flour and baking powder. Whisk to combine and to break up any lumps. Set aside.
  • Add the butter,cream cheese, sugar, vanilla and salt to the bowl of a stand mixer fitted with the paddle attachment. Mix on medium-low speed to combine. Increase the speed to medium-high and beat until fluffy, almost white, and the sugar is mostly dissolved about 5 to 7 minutes. With the mixer on medium speed, add the eggs one at a time, mixing until smooth after each addition. Use a flexible spatula to scrape the bowl, then beat over medium speed for another minute.
  • With the mixer on low speed, gradually add the dry ingredients and mix until most of the flour streaks have disappeared. Using the spatula, scrape the bowl and gently stir until you eliminate the flour streaks. Scrape the batter into the prepared pan, then smooth out the top.
  • Bake, rotating the pan halfway through, until golden brown and a skewer or cake tester inserted in the center comes out clean, 60 to 65 minutes. When you gently press on the center of the cake with your fingertip, you shouldn’t leave a dent. The internal temperature of the cake should be about 205 degrees. Let cool completely in the pan. (The cooled cake can be covered and kept at room temperature for up to 3 or 4 days.)

Putting it all together

  • If using the jam, spread layer on top of the cake. You could use strawberry or a mixed berry jam also.
  • In the bowl of a stand mixer, whisk the heavy whipping cream, sugar and salt over medium-high until billowy soft peaks form. When you lift the whisk out of the bowl and turn it upside-down, a peak of cream should flop over slightly like a Santa hat. Evenly spread the whipped cream over the jam-topped cake.
  • Add the freeze-dried raspberries to a fine-mesh sieve and hold it over the cake. Using your fingers, pass them through until most of the magenta powder rests atop the frosting like fresh snow and most of the seeds are left behind in the sieve. The entire surface of the whipped cream should be covered in pink dust. Discard the raspberry seeds. Serve immediately.

Notes

Personally, the cake is so damn good, I don't think it needs the jam.  The whipped cream is great and the sprinkling of raspberry dust is more than enough. YOu could also substitute strawberry for raspberry.
This is from the original recipe
Look for a brand of raspberry preserves with minimal ingredients: They should consist of only raspberries, sugar, pectin and some kind of citrus. That will taste more tart and less artificial than one with, say, high-fructose corn syrup and other fruit juices that muddy the natural raspberry flavor. If your preserves taste especially sweet, you can stir in up to 3 teaspoons of fresh lemon juice for added tartness.
Chewy Black Sesame Rice Cake #CakeforTimmy

Chewy Black Sesame Rice Cake #CakeforTimmy

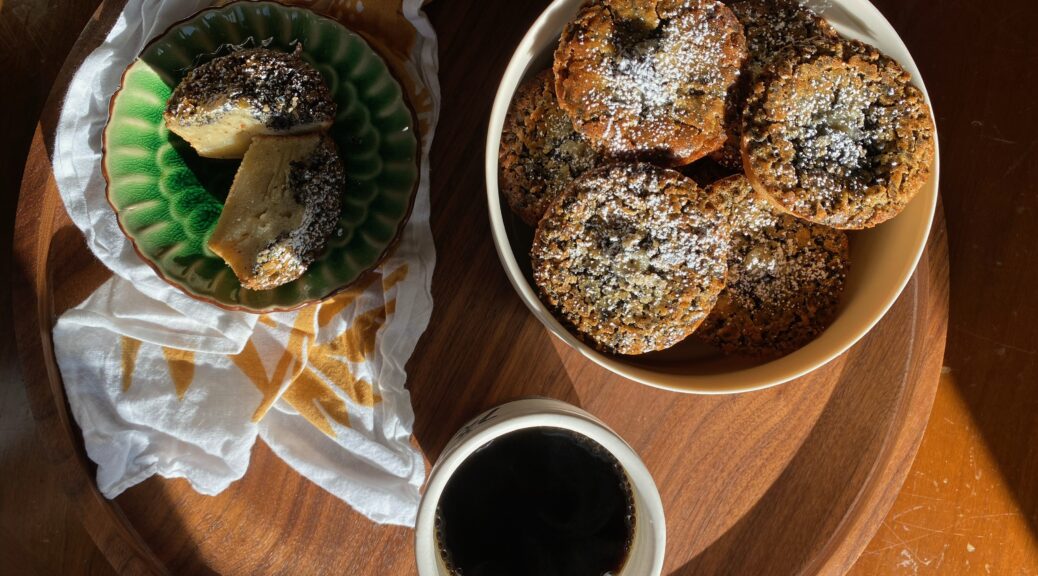
I first made Eric Kim’s Chewy Black Sesame Mochi Cake after a “Bake-a-long” with him, a perk for purchasing his book, Korean American. I was on a “mochi-bender”, if a recipe called for sweet or glutinous rice, I made it.  His cake is not only made with mochi, it has black sesame seeds.  I LOVE sesame seeds in any form, game on.

Bake-A-long

For those of you who #1 Have read this far down, #2  Pretty darn observant…yes, the Bake-A-Long was quite a while ago.  While I loved the sesame flavor and texture of the cake, not gonna lie, the cake was pretty sweet.  Eric seems to have a pretty high sugar barometer.  I made a mental note to file it away in my brain to try again with a smidge less sugar.

52 Reasons To Try It Again

For all the evils of social media (I say this with a half chuckle) the best thing about it has been finding my peeps.  Finding folks with similar interests that I would never in a million years have connected with if not for Facebook or Instagram. A virtual community that shares a common interest.  Groups like Food52’s Cookbook Club on Facebook (yep, you need to use FB) where folks like you and I can share recipes, reviews, and kitchen adventures.

Each month features a new (or old) cookbook, which, if you are like me, a cookbook addict, probably have or are in the process of getting.  It gives me that little shove to open up that cookbook and try it.  It’s also a great resource for tips and reviews for many of the recipes.

This month the selected cookbook is Korean American by Eric Kim.  Which reminded me that I haven’t made anything from it in a while.  Time to tweak that Chewy Black Sesame Rice Cake again.

Oops, I Did It Again.  But as Muffins

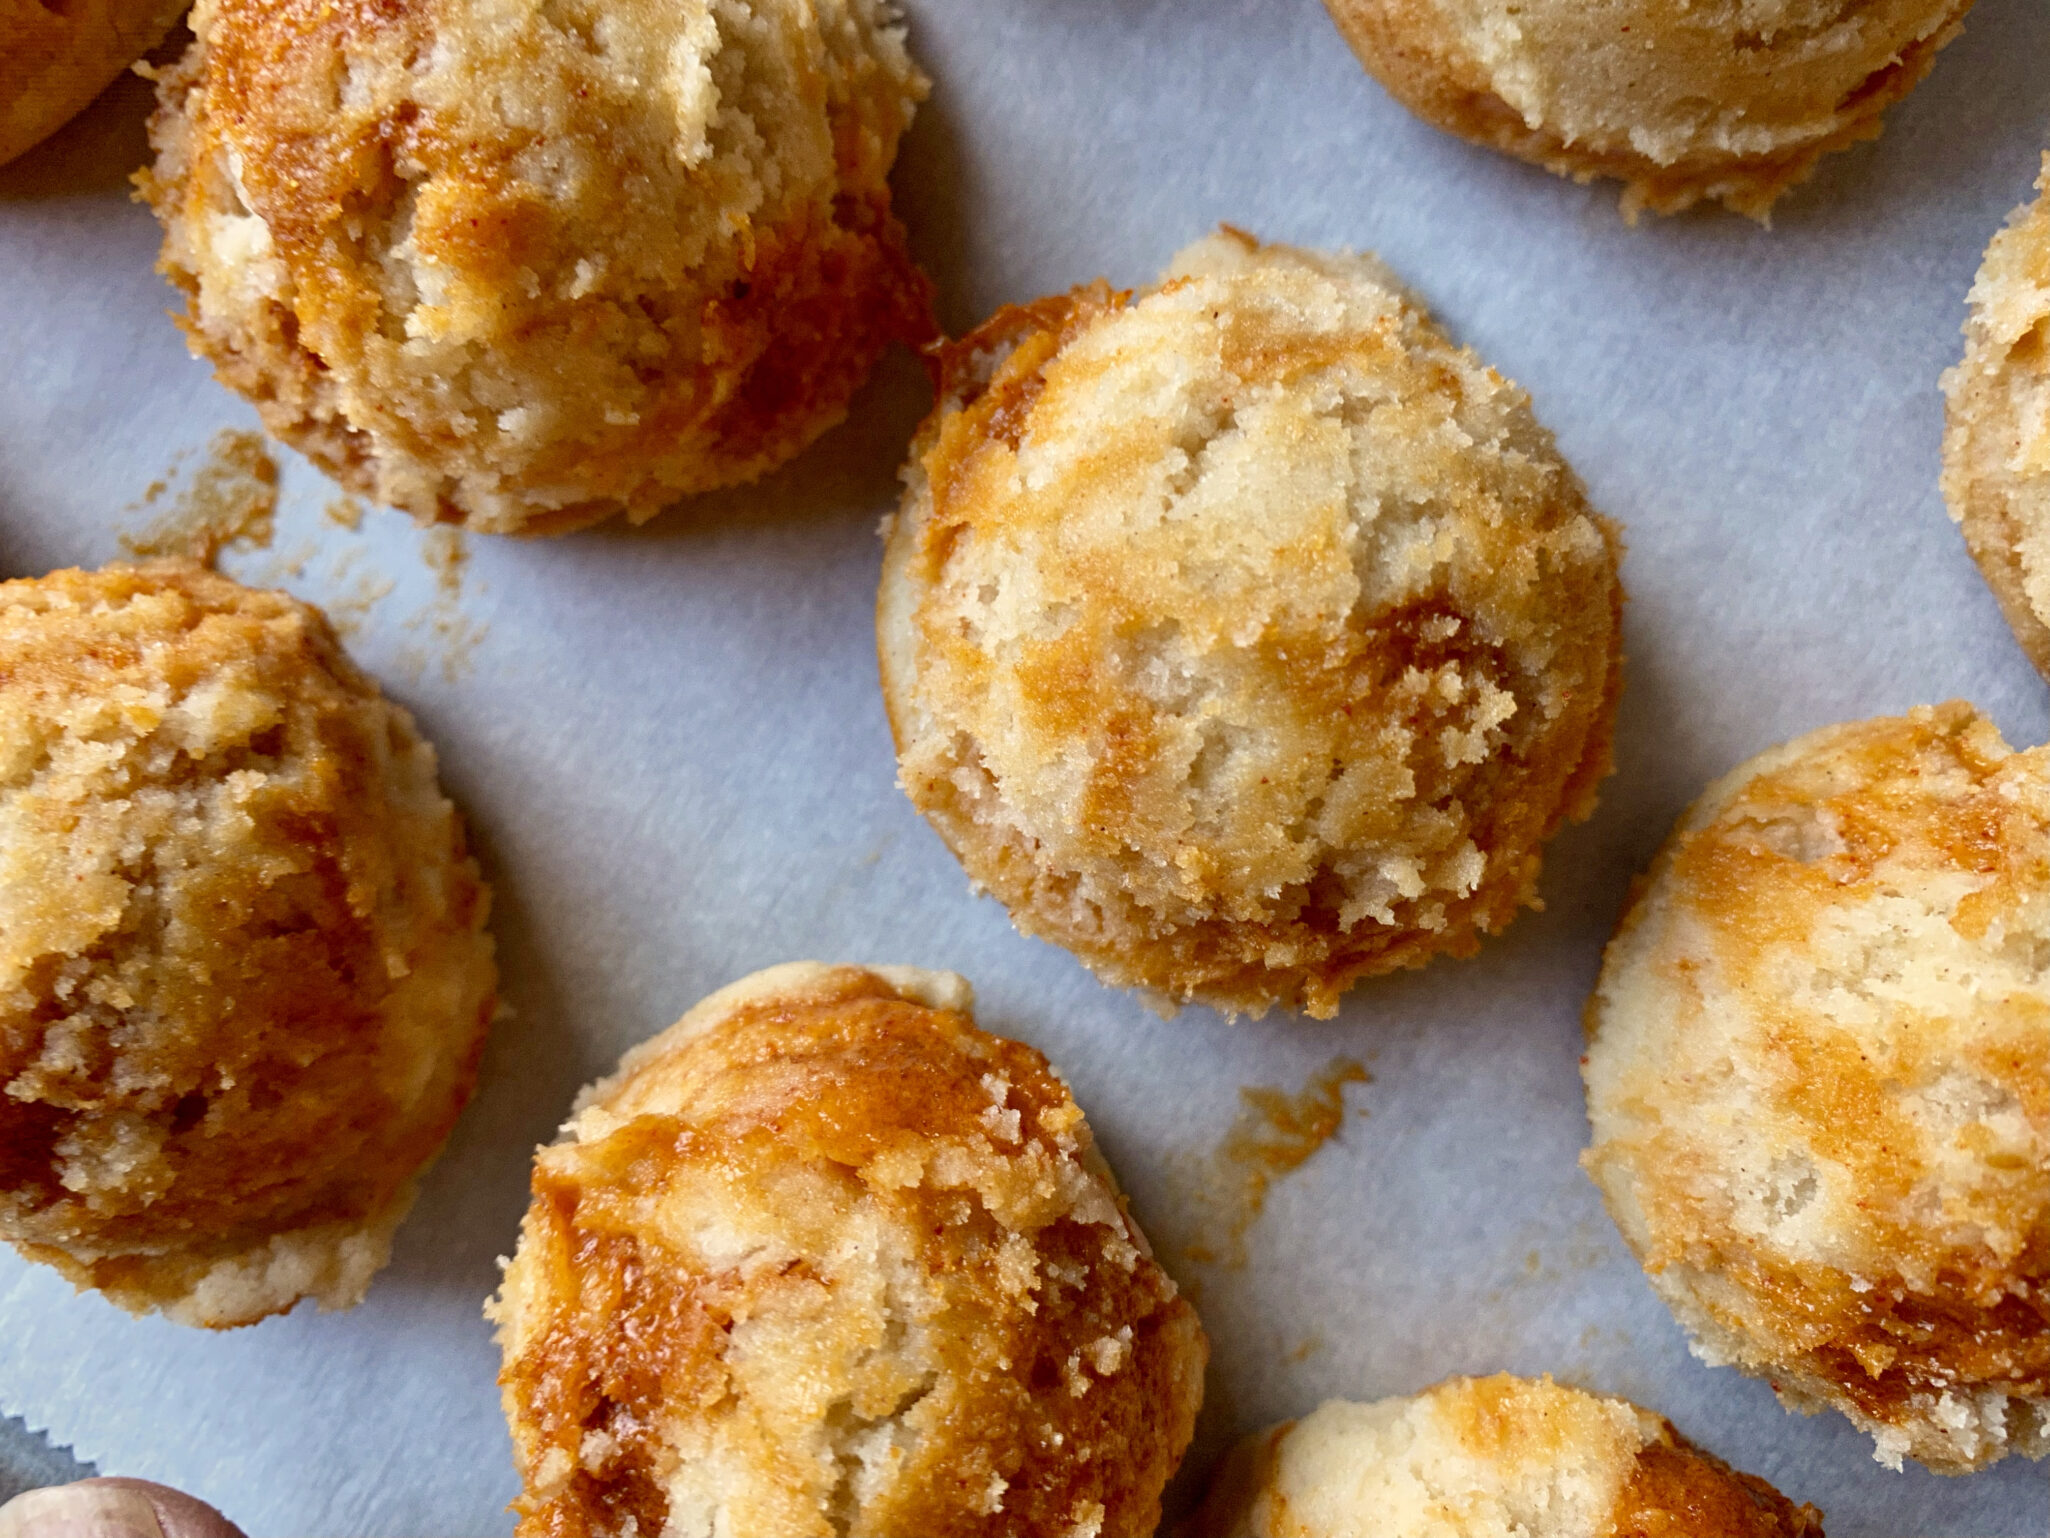
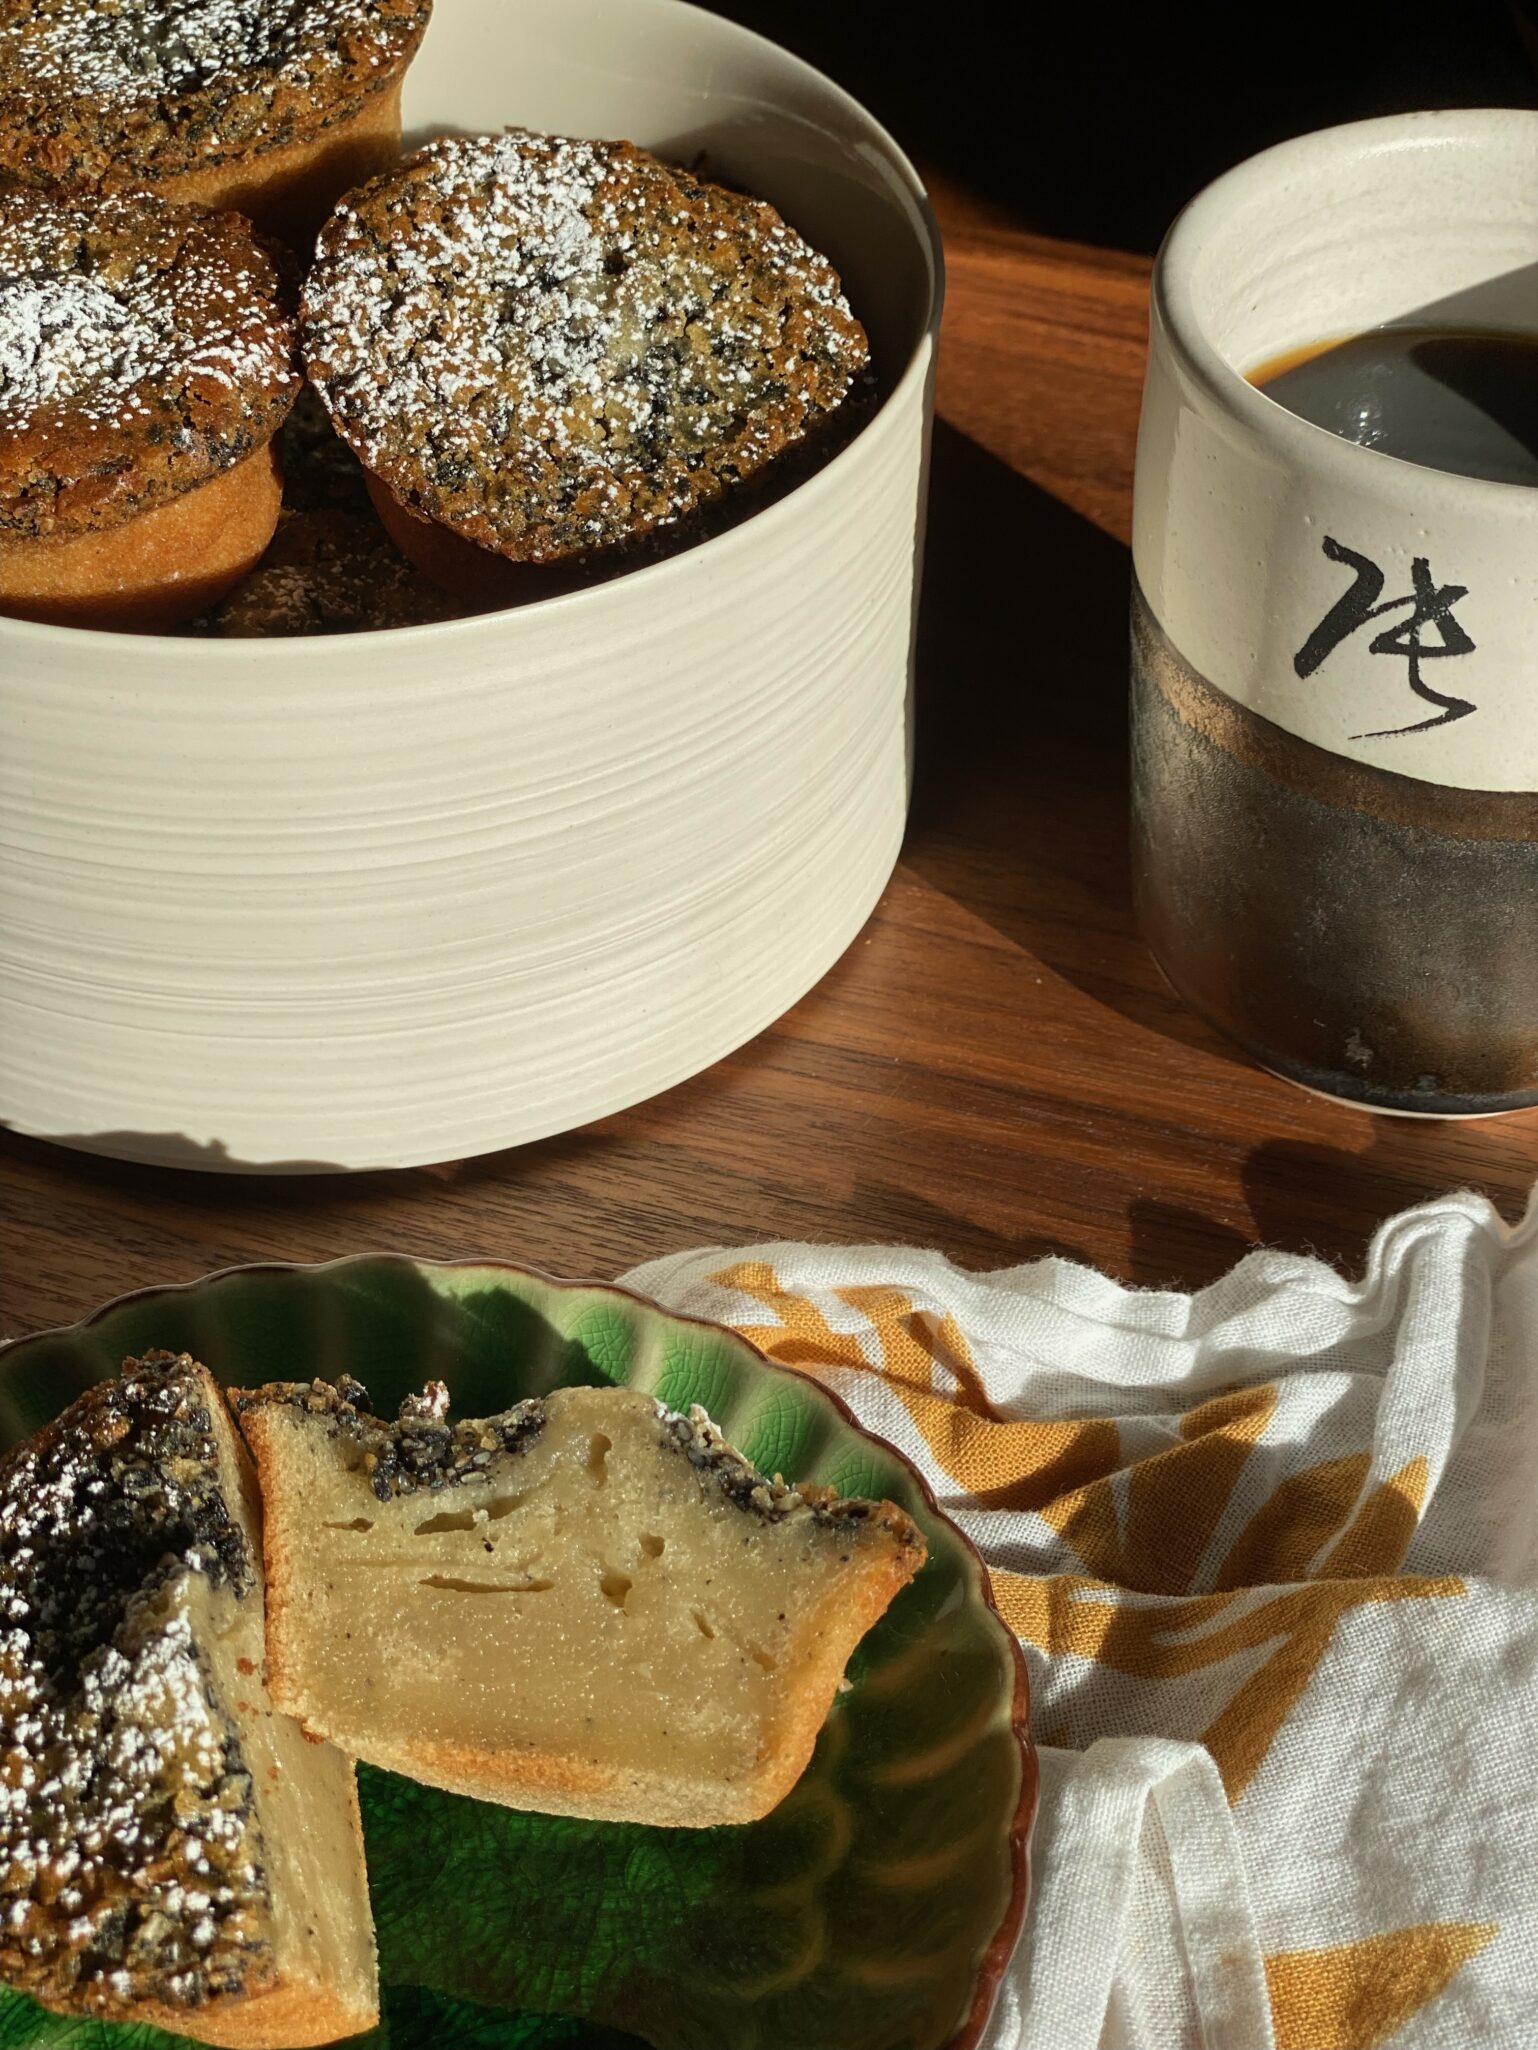
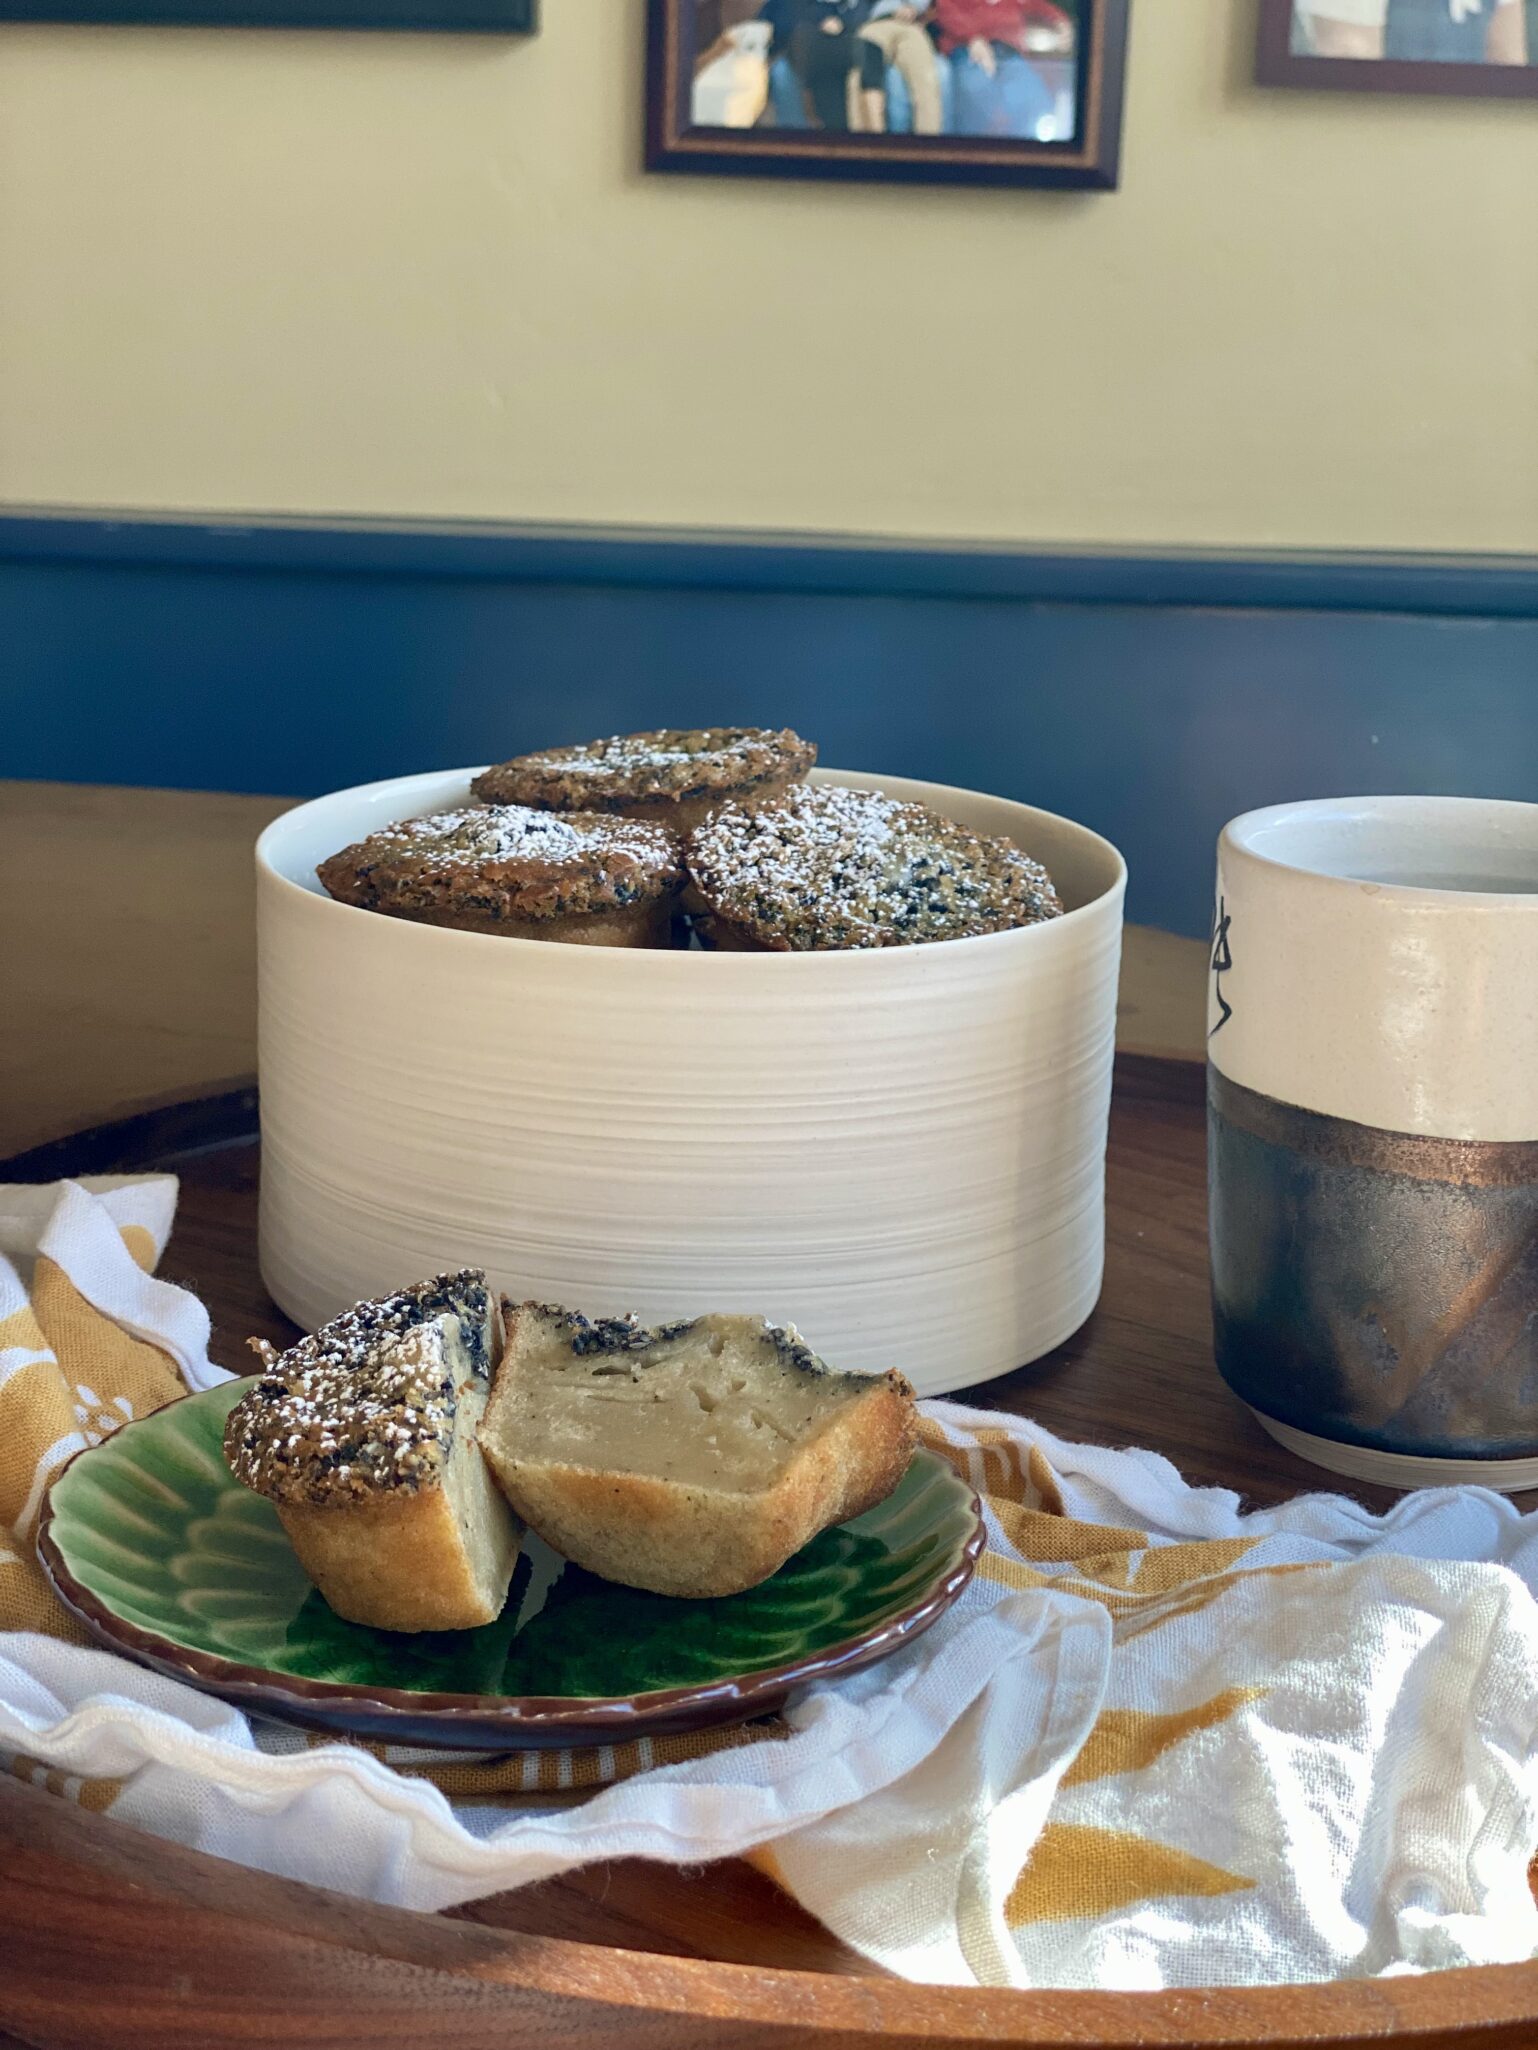
I decreased the amount of sugar in the recipe and made muffins instead of a cake.  Kinda like having my own personal dessert.

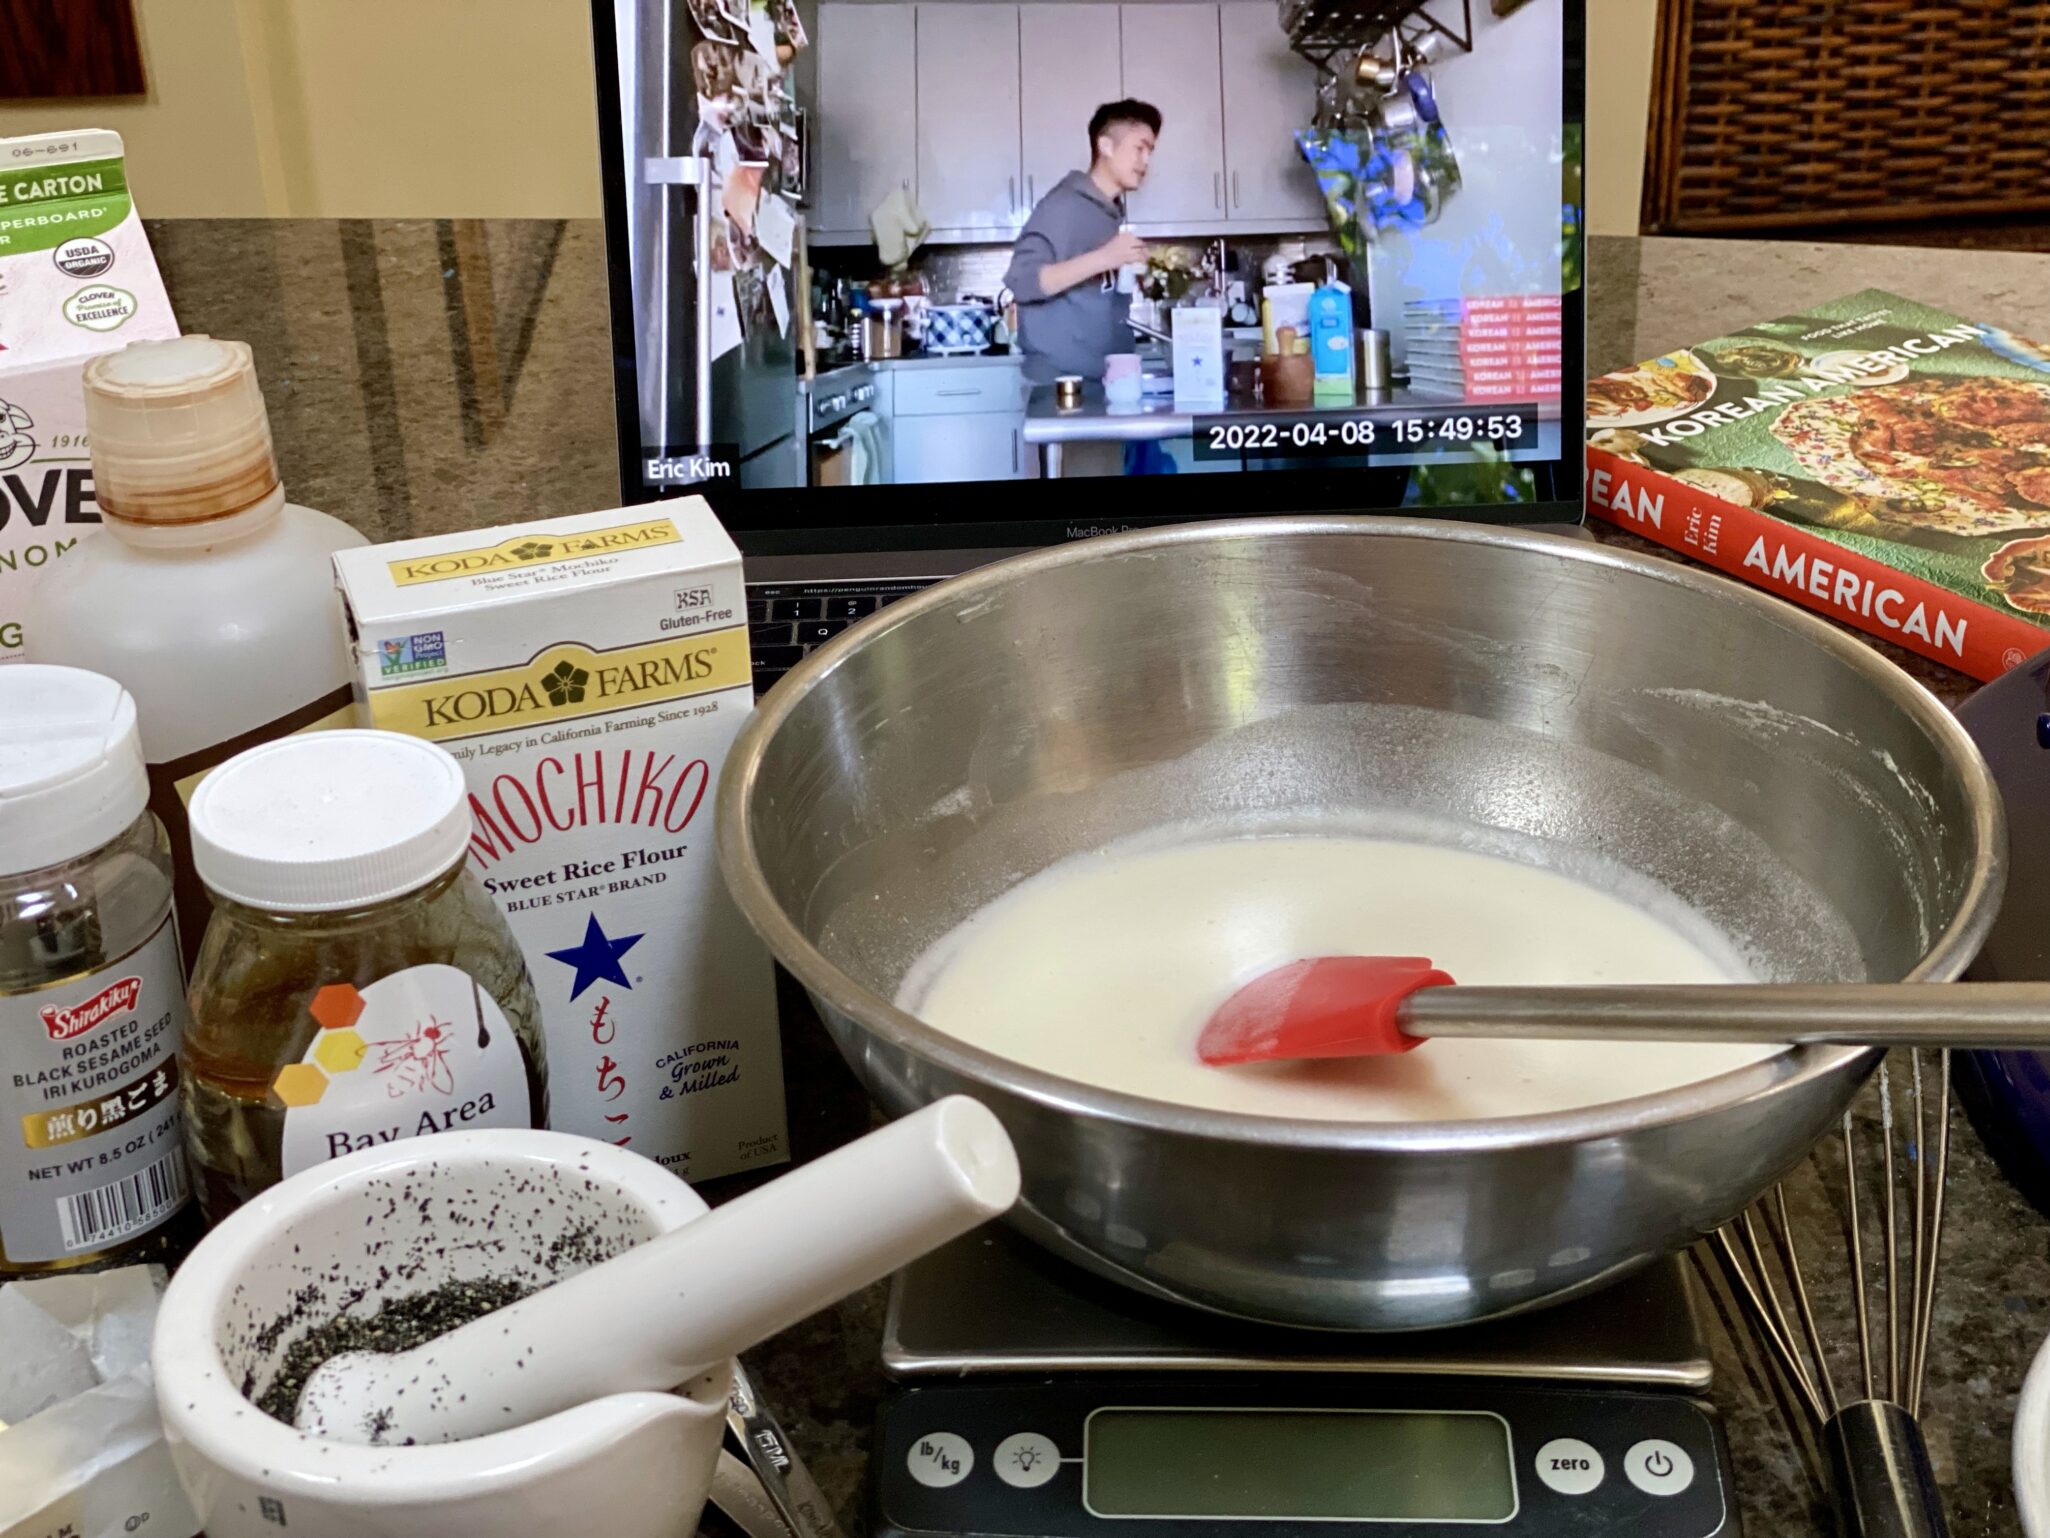
Sweet or glutinous rice flour is not to be confused with rice flour.  Sweet rice is much stickier than rice flour.  They are not interchangeable.  Koda Farms sweet rice is known as Mochiko and is pretty easy to find especially at Asian grocery stores.
Black sesame seeds can be found at most grocery stores in the spice section.  Asian grocery stores will also carry sesame seeds in larger quantities and not quite as expensive.  You

To reduce the sweetness cut sugar by 1/4 to 1/2 cup.  I cut it by 1/2 and it was still sweet enough for my taste. You may have to play with a little.  The time between making the original recipe (full sugar load) and when I made the muffins with half sugar taxes my memory as to whether the texture was different

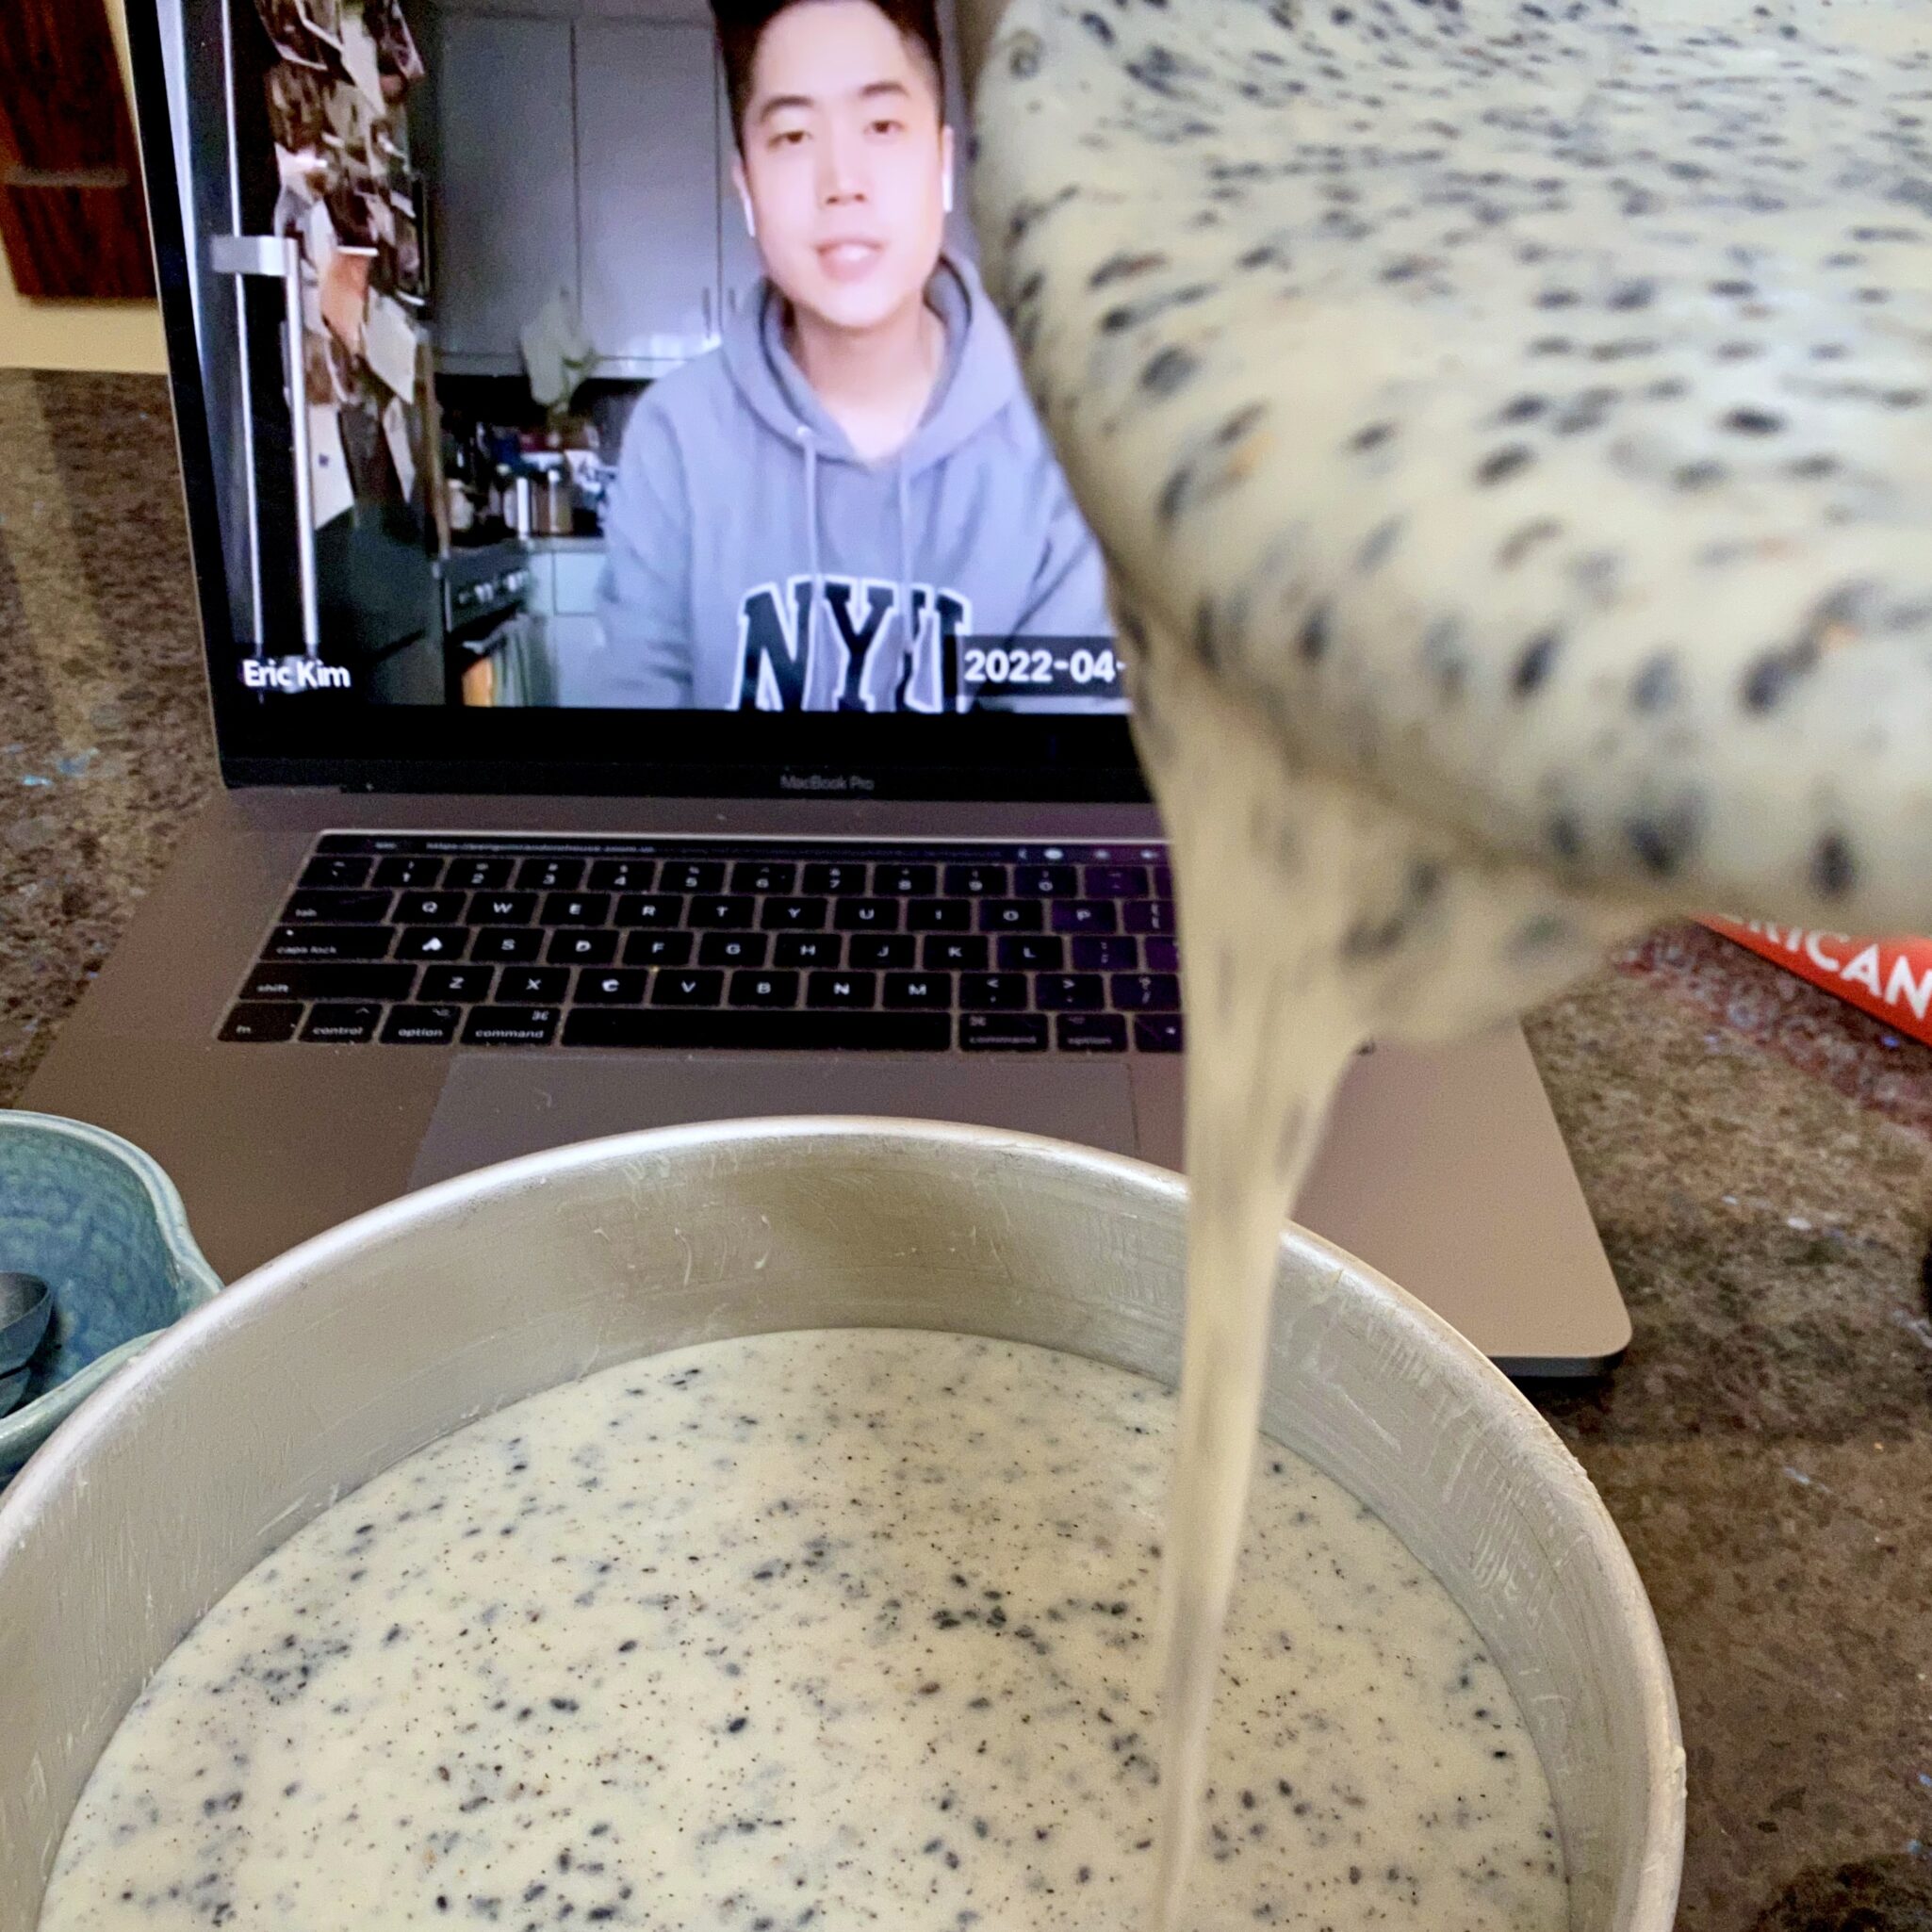
The batter is fairly runny and pourable.  Very doable as a cake or muffins.  Shorten baking time to 20-25 minutes if making muffins.

Looking for something just a little different, gluten-free, and delicious, look no more, it’s right here.

Chewy Black Sesame Rice Cake

A delicious, dense, chewy, sesame flavored cake from Eric Kim
Course Dessert
Cuisine Asian-American
Keyword Black Sesame Seed, cake, chewy, ERic KIm, Mochi
Prep Time 20 minutes
Cook Time 1 hour

Equipment

  • 1 9 inch cake pan or
  • 1 12-cup std muffin pan

Ingredients

  • Cooking spray or butter and flour with plain rice flour

Eggs and Tings'

  • 2 large eggs
  • 1 cup sugar (it's pretty sweet, I use 1/2 cup)
  • ¼ cup honey mild
  • ¾ teaspoon kosher salt

The Wet Stuff

  • 1 cup whole milk
  • 2 tablespoons unsalted butter melted
  • 1 tablespoon vanilla extract yes, 1 TABLESPOON
  • ½ teaspoon toasted sesame oil

The Crunch

  • 4 tablespoons toasted black sesame seeds divided equally in half

The Dry Stuff

  • 1 teaspoon baking powder
  • 8 ounces (227g) glutinous rice flour aka mochiko or sweet rice flour NOT plain rice flour

The Finish

  • Powdered sugar for serving

Instructions

  • Preheat the oven to 350°F. Mist an 8-inch round cake pan with cooking spray or buttered and dusted with rice flour.
  • In a large bowl, whisk together the eggs, sugar, honey, and salt until fluffy and pale yellow, about 2 minutes. Whisk in the milk, vanilla, melted butter, and sesame oil until combined. Ain't gonna lie, I use my mixer on medium speed.
  • Using a mortar and pestle (or a coffee/spice grinder), pulverize 2 tablespoons of the black sesame seeds into a rough powder. It should smell very fragrant. Add this sesame powder, along with the remaining 2 tablespoons of whole black sesame seeds, to the bowl with the egg mixture, followed by the baking powder and rice flour. Whisk to combine, then carefully pour the batter into the greased cake pan. This part you can do by hand or machine.
  • Bake until the top is nicely browned and cracked slightly (this is a good sign), 50 to 60 minutes. You can also insert a chopstick or toothpick into the center of the cake, and if it comes out clean, then it’s done.
    For muffins, fill a 12-cup muffin tin that has been buttered to 7/8 full. Bake for approximately 25 minutes.
  • Cool completely before dusting with the powdered sugar and slicing into wedges to serve. The cake will keep in an airtight container at room temperature for up to 5 days.
Puttin’ On the Ritz…Chicken

Puttin’ On the Ritz…Chicken

This past weekend the hubster went up to Tahoe to do maintenance on our cabin.  So I was flying solo at home with Sammy our dog who has a tough time traveling 😢 these days.

When dinnertime rolled around, I decided to open a bottle of wine and make myself a nice meal.  I had just seen Eric Kim’s recent post for NYTcooking, Ritzy Cheddar Chicken Breast and being a Ritz Cracker fiend, I immediately bookmarked the recipe.  This would be the perfect time to try his recipe.

Competitive Spirit

Aside from Carrot Cake and Good Cookies, if there is a meal that reigns supreme in our house, it is Wes’s Cornflake Chicken.  To be exact, Cornflake Chicken and Cream of Mushroom Soup.  How many of you remember your mom or dad fixing a version of this?  Come on, be honest, we have all had this precursor to Shake and Bake.  Instead of chicken perhaps pork chops?  Gotcha, didn’t I?

Being a card-carrying member of the ridiculous group “I am a foodie” and thus holding an unwarranted disdain for all foods I liked when I was twelve, I have never made cornflake chicken.  To this day, when the kids come home, they will request cornflake chicken or pork chops which Wes is more than happy to fulfill.

Could Eric’s version of chicken, marinated in sour cream, Dijon mustard and rolled in copious amounts of Ritz Crackers and Cheddar Cheese best the gold standard Cornflake Chicken?  I was determined to find out.

Easy Peasy, Chicken Cheesy

The prep for this dish is as easy and quick as Cornflake Chicken.  The chicken breasts are split in half and lightly pounded into cutlets then dropped into a marinade of Dijon mustard, salt, and sour cream which also tenderizes the chicken.

While the chicken marinates make your coating.  Crush a sleeve of Ritz Crackers, grate some sharp cheddar cheese, and season with garlic powder, onion powder, and salt. Next time I might just add more spices, maybe some paprika and thyme.  Finish with a glug of olive oil, which will help the coating stick to the chicken and crisp it.

Roll chicken in crumb mixture, really pressing it in so you have a nice coat.  If you have crumbs left, don’t waste them, sprinkle them on the chicken.

The chicken bakes at 450 (hot, hot, hot) and should only take about ten minutes (boneless, split in half, and pounded means quick cooking).

I made a salad of Romaine, ripe cherry tomatoes (thank you Snook), and Japanese cucumbers (very crispy and delicious) with a simple vinaigrette.

Sat down with a glass of wine and a gorgeous dinner plate in about 30 minutes.  How great is that?  Eric strikes again with another fabulous, easy, dish.  The cracker coating was crispy, cheesy and tangy from the mustard, the chicken was perfectly cooked, moist, and tender and the salad a nice counterpoint.

I know what you are all thinking…does this beat out Wes’s Cornflake Chicken?  Probably not.  Nothing beats a dish from your childhood.  Will I make it again?  Absolutely!

I saved the last 2 pieces of chicken, one for Wes to judge, and one which made an amazing sandwich for lunch…yummos!

Ritzy Cheddar Cheese Chicken Breasts

A quick and easy baked Crispy Cheddar Chicken Breasts
Course dinner
Cuisine American
Keyword baked chicken, cheddar cheese, chicken breasts, easy recipe, ERic KIm, Ritz Crackers, sour cream
Prep Time 15 minutes
Cook Time 10 minutes
Servings 4 servings

Ingredients

Da Marinade

  • ¼ cup sour cream
  • 1 large egg white
  • 1 teaspoon Dijon mustard
  • Kosher salt Diamond Crystal, use at least 1 teaspoon. For reg salt, start with 1/2 teaspoon

Da protein

  • 2 large boneless skinless chicken breasts (about 1½ pounds total)
  • 1 sleeve Ritz crackers about 100 grams
  • 2 ounces extra-sharp Cheddar cheese coarsely grated (about 1 cup)
  • ½ teaspoon garlic powder
  • ½ teaspoon onion powder
  • 1 tablespoon olive oil plus more for greasing wire rack
  • 1/2 teaspoon dried thyme, paprika or chili powder optional

Instructions

  • Position rack in the bottom third of the oven and heat oven to 450 degrees. Place an ovenproof wire rack over a sheet pan. Dab a folded-up paper towel with olive oil and rub it over the wire rack to grease it or use a brush. Place rack in oven to preheat.
  • In a medium bowl, whisk together the sour cream, egg white and Dijon mustard until smooth. Season with salt. Set aside.
  • Lay the chicken flat on a cutting board and carve each breast in half horizontally so you end up with four thin cutlets. Add the chicken to the sour cream mixture, and smear the sour cream all over the chicken.
  • In a large bowl, crush the Ritz crackers into coarse pieces with your fingers. Some crackers will turn to rubble while others turn to dust. Leave some chunks, which will crisp up nicely in the oven. Add the cheese, garlic powder, onion powder and olive oil (add some thyme and or paprika, 1/2 t each if you like) . Season with ½ teaspoon salt and toss until evenly distributed.
  • Hold chicken cutlet by its thinner end, add to the bowl with the crumbs, and using your hands, press the crumbs onto the chicken to create a thick coating. Transfer the breaded chicken to the rack in the sheet pan. Repeat with the remaining cutlets. If you have leftover crumb mixture, sprinkle if on chicken before baking.
  • Bake the cutlets until the outsides are crispy and the insides are no longer pink, 10 to 15 minutes (check at 10!!!). Let the chicken cool slightly so the coating can set, about 5 minutes, before transferring to plates.
  • Serve with with a nice crisp salad!