
My favorite cookie this past holiday season was Eric Kim’s Gochujang Caramel Cookie. I worked my way to writing about it by posting my two…
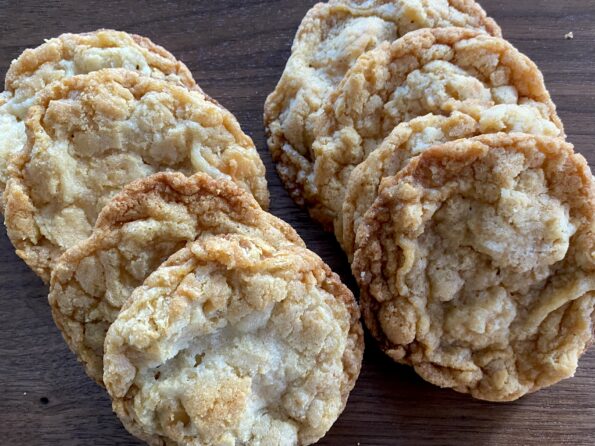
A couple of months ago I reviewed Rose Levy Beranbaum’s new book, The Cookie Bible for Net Gallery. Long a fan of hers I was…

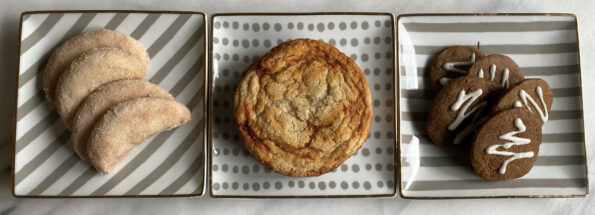
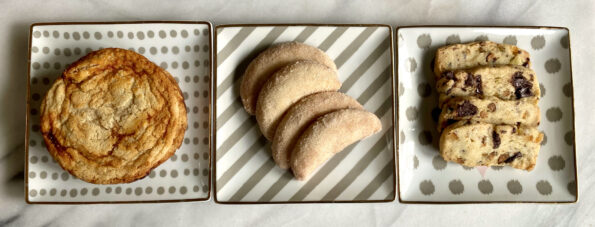
Yay, the Twelve Seven Eight Days of Christmas Cookies! The best-laid plans of mice and me…sometimes need a tweak. Actually, not to pat myself on…
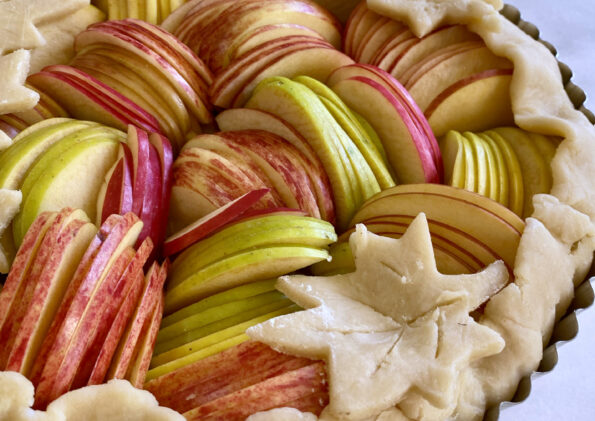
When the fall season rolls around, apples begin to crop up at our farmer’s market. Gone are the days when the only available apples were…
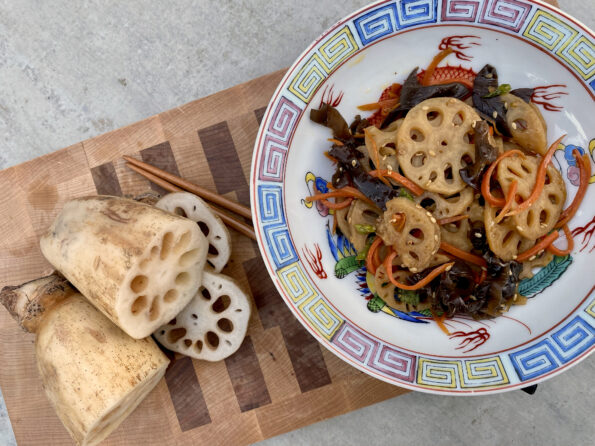
We are always looking for ways to increase our veggie intake. Part of the problem is our everyday veggies are BORING. Let me clarify, Veggies…
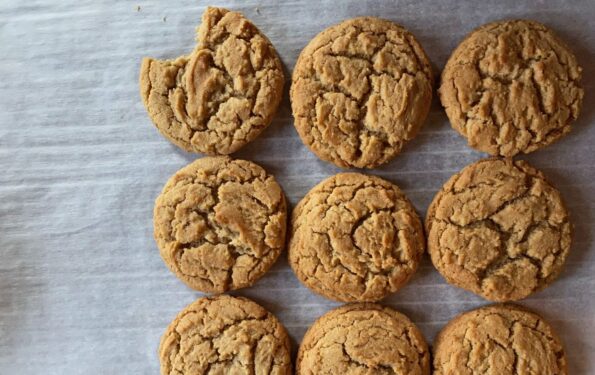
Peanuttttt, peanut butter….cookie! If asked what my favorite cookies are, Shortbread, Snickerdoodles, and Thumbprints immediately come to mind. Peanut Butter Cookies would not make the…
Cracker for crackers like me? I love crackers, the perfect vehicle for dips, spreads, and cheese…it is the ultimate edible utensil. Taking its place as…

About this time of year, I wax nostalgic about one of my passions (not food this time), rowing. Say what? Yes, rowing. I started rowing,…
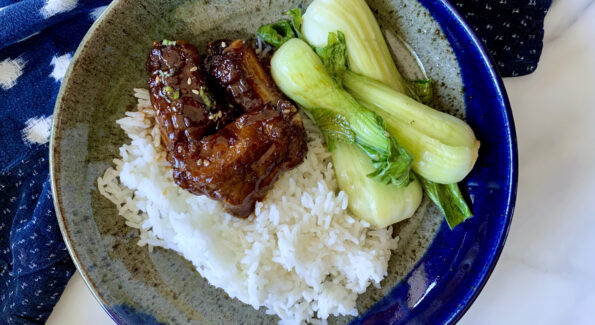
As I was driving home the other day I called the Hubster and asked “What’s for dinner?”. The retired guy replied, “I thought you were…