
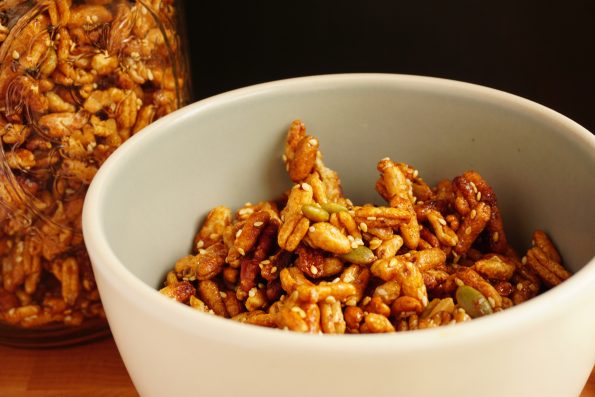
A delightful cereal made with puffed cereal and flavored with cinnamon, Mahaleb and cardamon. Delicious over yogurt or straight out of the jar. A nice…
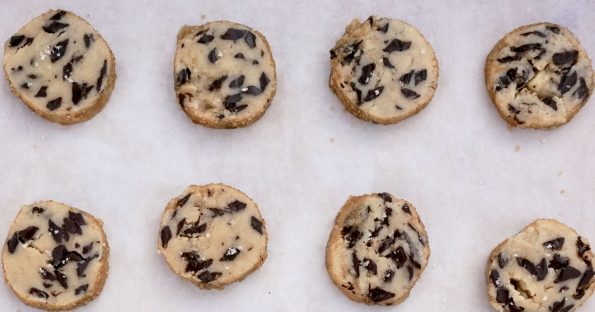
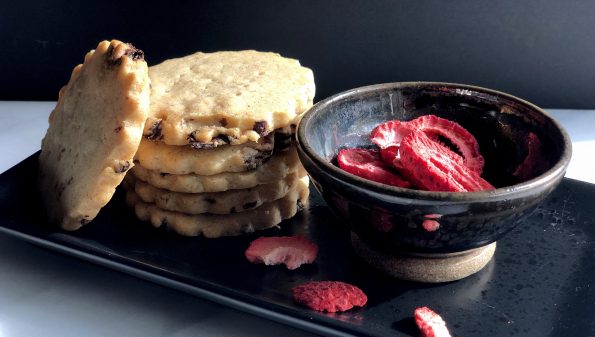
From the 2018 cookie annals, I give you Salted Butter & Chocolate Chunk Shortbread. Why re-post? How many cookies are the focus of a magazine…
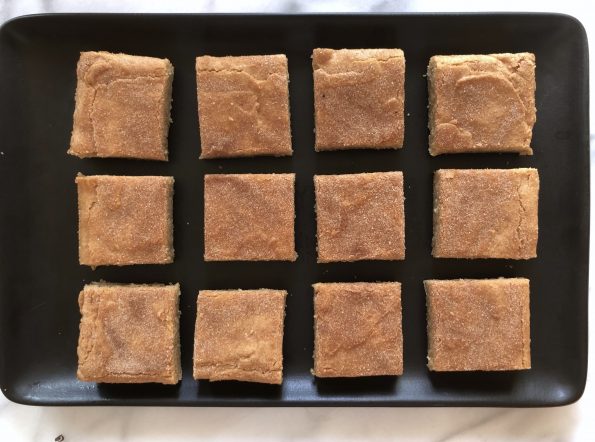
A riff on quite possibly my favorite cookie, the Snickerdoodle. The Snickerdoodle is the quintessential cookie. Buttery, chewy, slightly cakey center, crispy edges, a nice hit…
One of my favorite baking goddesses (I have many) is Alice Medrich. Yes, that Alice, Chocolate Maven, Dessert Queen and creator of quite possibly the…

It’s chilly, it’s raining, it’s just downright dreary. How to combat this scenario? Couch potato: Snuggle on the couch and watch a movie or read a…
Day 4 of the 12 Days of Cookies is a keeper. I LOVE shortbread, it is hands down my all-time favorite cookie. During the holidays…

Ramping up for the holidays? Here is a recipe that is easy, delicious and thanks to your handy dandy Instant Pot, ready in minutes. You…

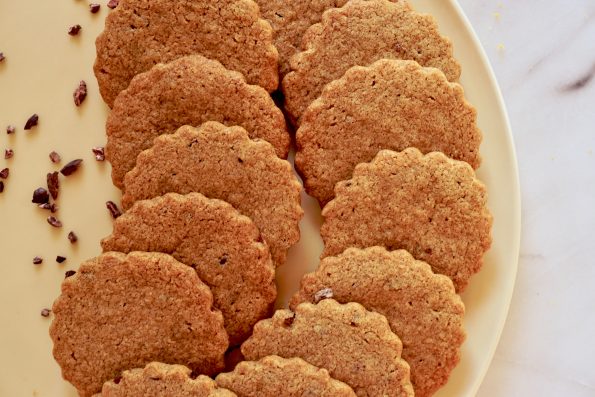
Day 3 and once again I reached into the 2018 vault. I went straight to a shortbread riff I posted in March, Grapefruit Thyme Shortbread.…

Dratz! I missed National Cookie Day yesterday! I spent my time not baking cookies, but going thru my posts to find which cookie post was…