
Yes, on the Mochi treat trail once again. Aside from being delicious, Mochi is pretty darn easy to make thanks to Mochiko Sweet Rice Flour. …
Skipping across my feed lately have been a series of articles on chefs adapting to life during the pandemic. As we know, the food industry…
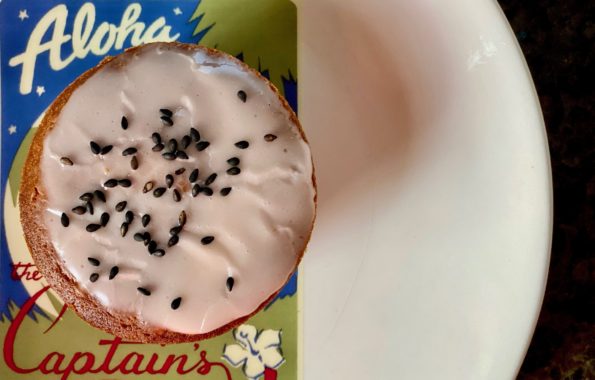
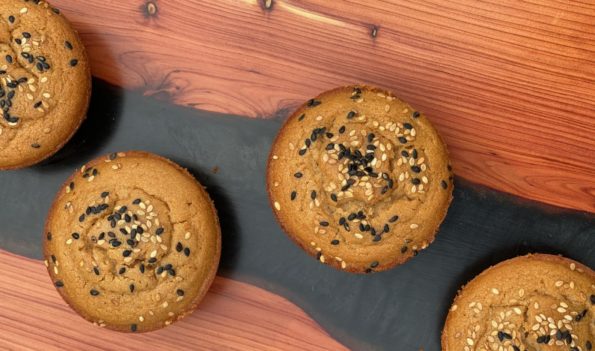
Yes, my romance with mochi muffins continues. Right next door to Shuei-Do, my favorite manju shop in Japantown, San Jose, is a Poke Shop, Aloha…
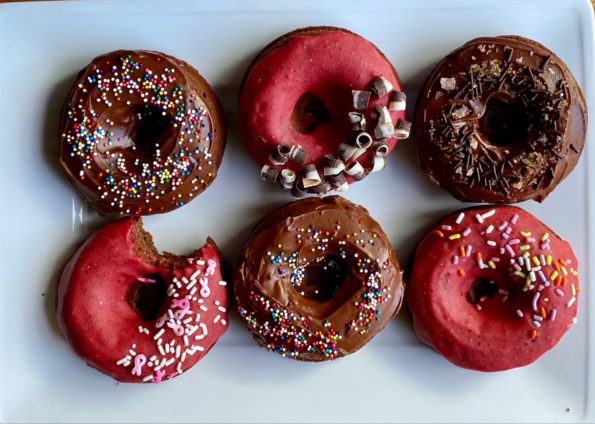
Chocolate mochi donuts, delicious gluten-free treat!
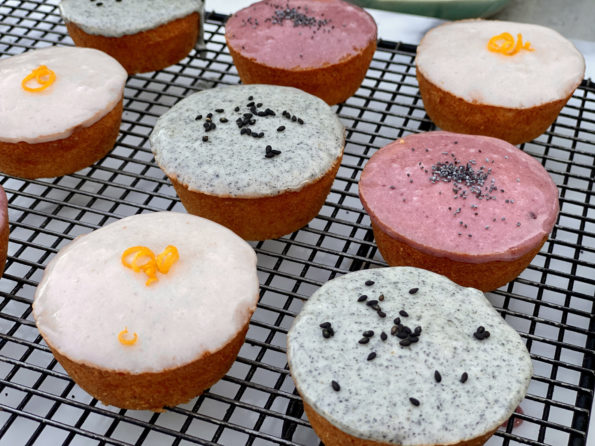
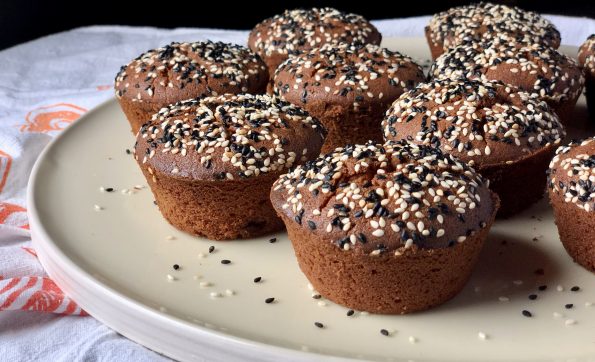
More Mochi Madness One of the most popular posts on 3Jamigos is Muffin been the Mochi that Caught My Eye (Butter Mochi Muffins) I stumbled upon…
Home Nothing beats coming home. Though we had a blast on our trip to Korea and Japan, it always feels good to open the front…

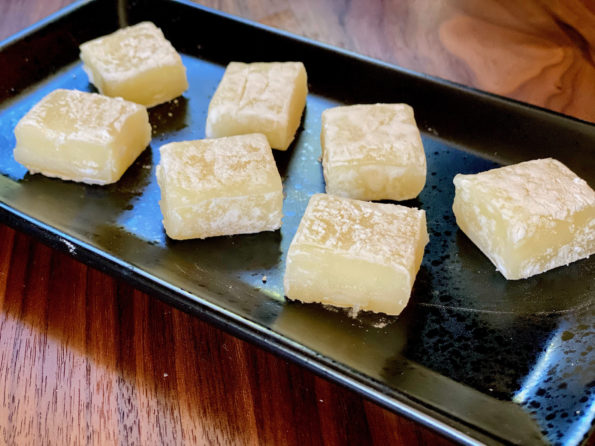
Gluten-free (rice flour) peanut butter mochi from A Common Table Cookbook. Delicious and easy to make!
Always searching for new and different treats, I came across an article that spotlighted Third Culture Bakery in Berkeley. The baker is an alum of…