
The Bake Sale Returns to Its Political Roots from Food & Wine magazine and a YouTube video of Paul Rudd “Ant Man” handing out cookies…
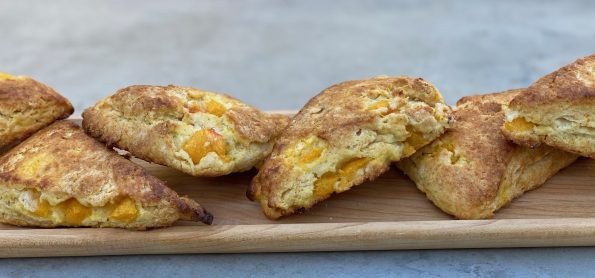
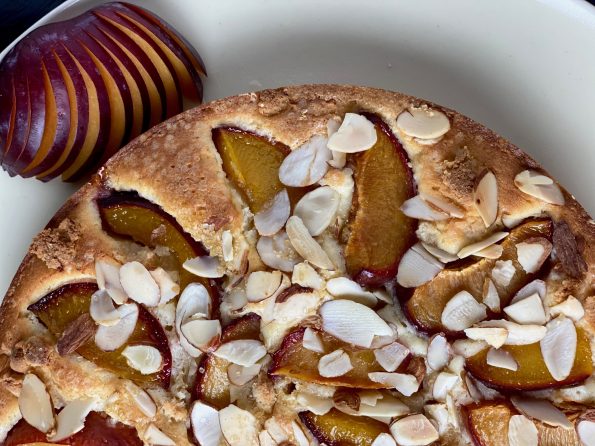
Ripe for the Picking Peaches and nectarines are showing up at the farmer’s market in full force now. Summer is in full swing and the…
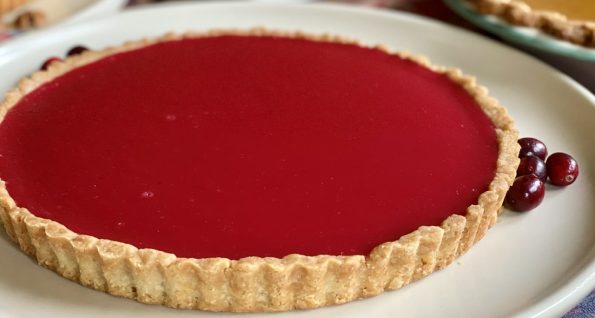
A delicious holiday dessert, Cranberry Curd Tart. Easy to make and beautiful!
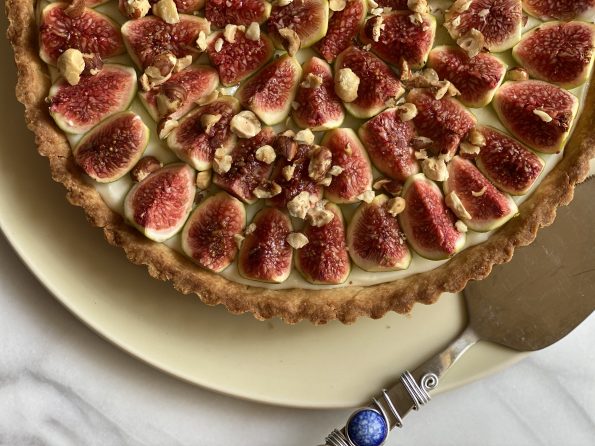
I’m pretty jazzed, a friend is gifting me a fig tree! She took a cutting, threw it in dirt and whaddya know, it grew into…
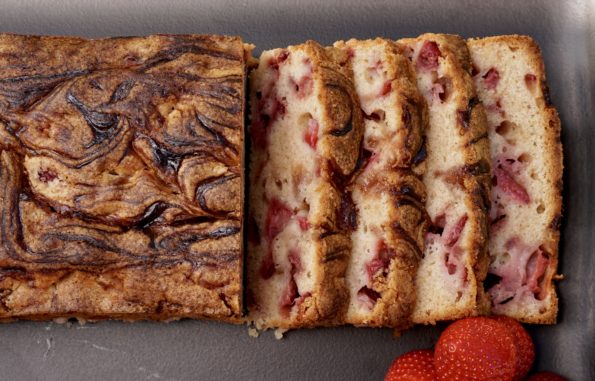
On my recent foray to the Farmer’s Market I came home with not only strawberries and blueberries but rhubarb too. I thought about making a…
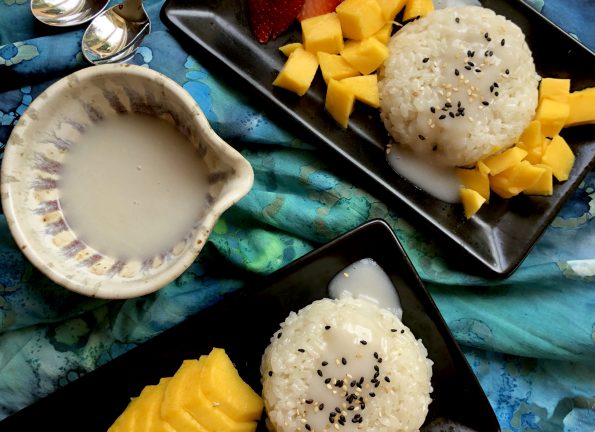
A delicious gluten-free dessert, Thai Mango Sticky Rice with Coconut. And it’s Vegan.
Get thee to a Farmer’s Market now. It is the perfect time to visit your local market, all things fruit and vegetable are at its…

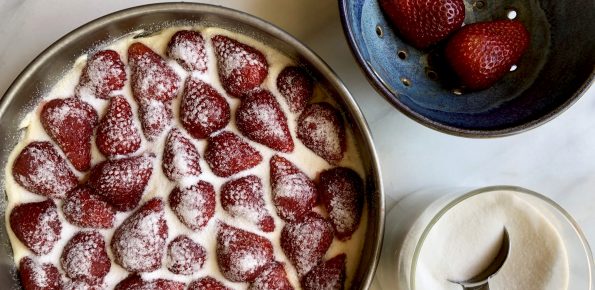
From my weekly trip to the Farmer’s Market I once again came home with way too many strawberries…I should have bought one basket but noooo…I…
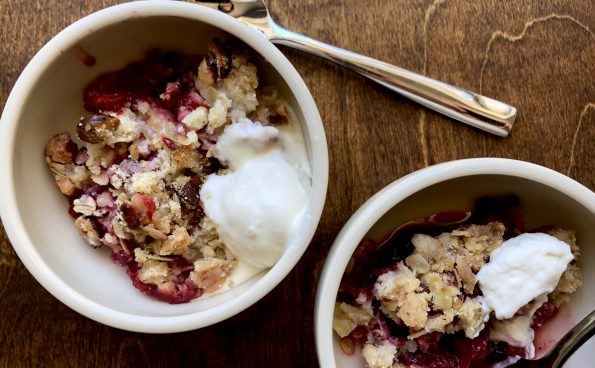
The problem with going to the Farmer’s Markets is I end up with way more than we will be able to finish. As I walk…