Category: Cookies

Bite Size Desserts

The Joy of Cookies (Toffee Bars)

The Joy of Cookies (Toffee Bars)

Joy is one of my oldest friends.  We went to school together and I mean that literally.  We lived a few blocks from each other, every day we would meet on the street corner halfway between our houses to walk and talk the final mile to school.  Sometimes, on the walk home, we wouldn’t be done talking so we would walk to one of our houses, turn around and walk back to the meeting point together before parting ways.  Silly, huh.  Yep, BFFs.

Holiday Highlight

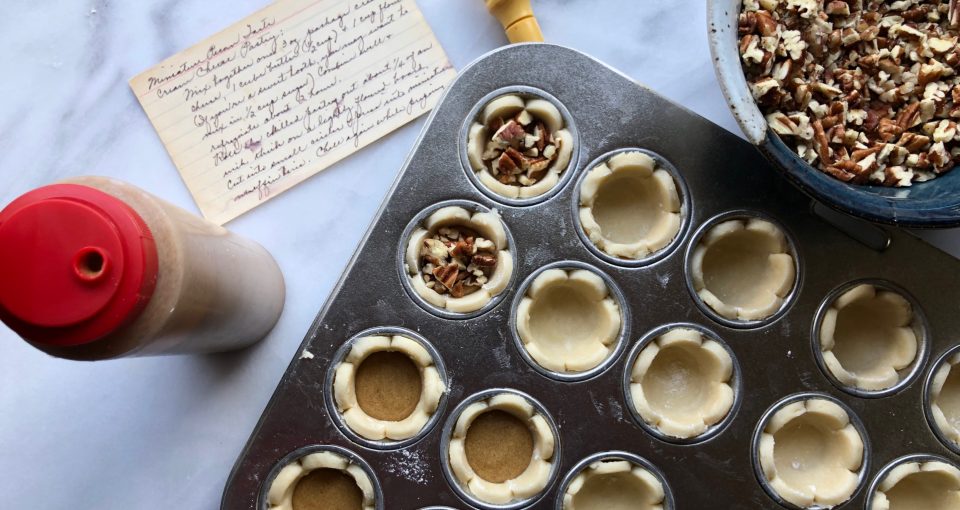
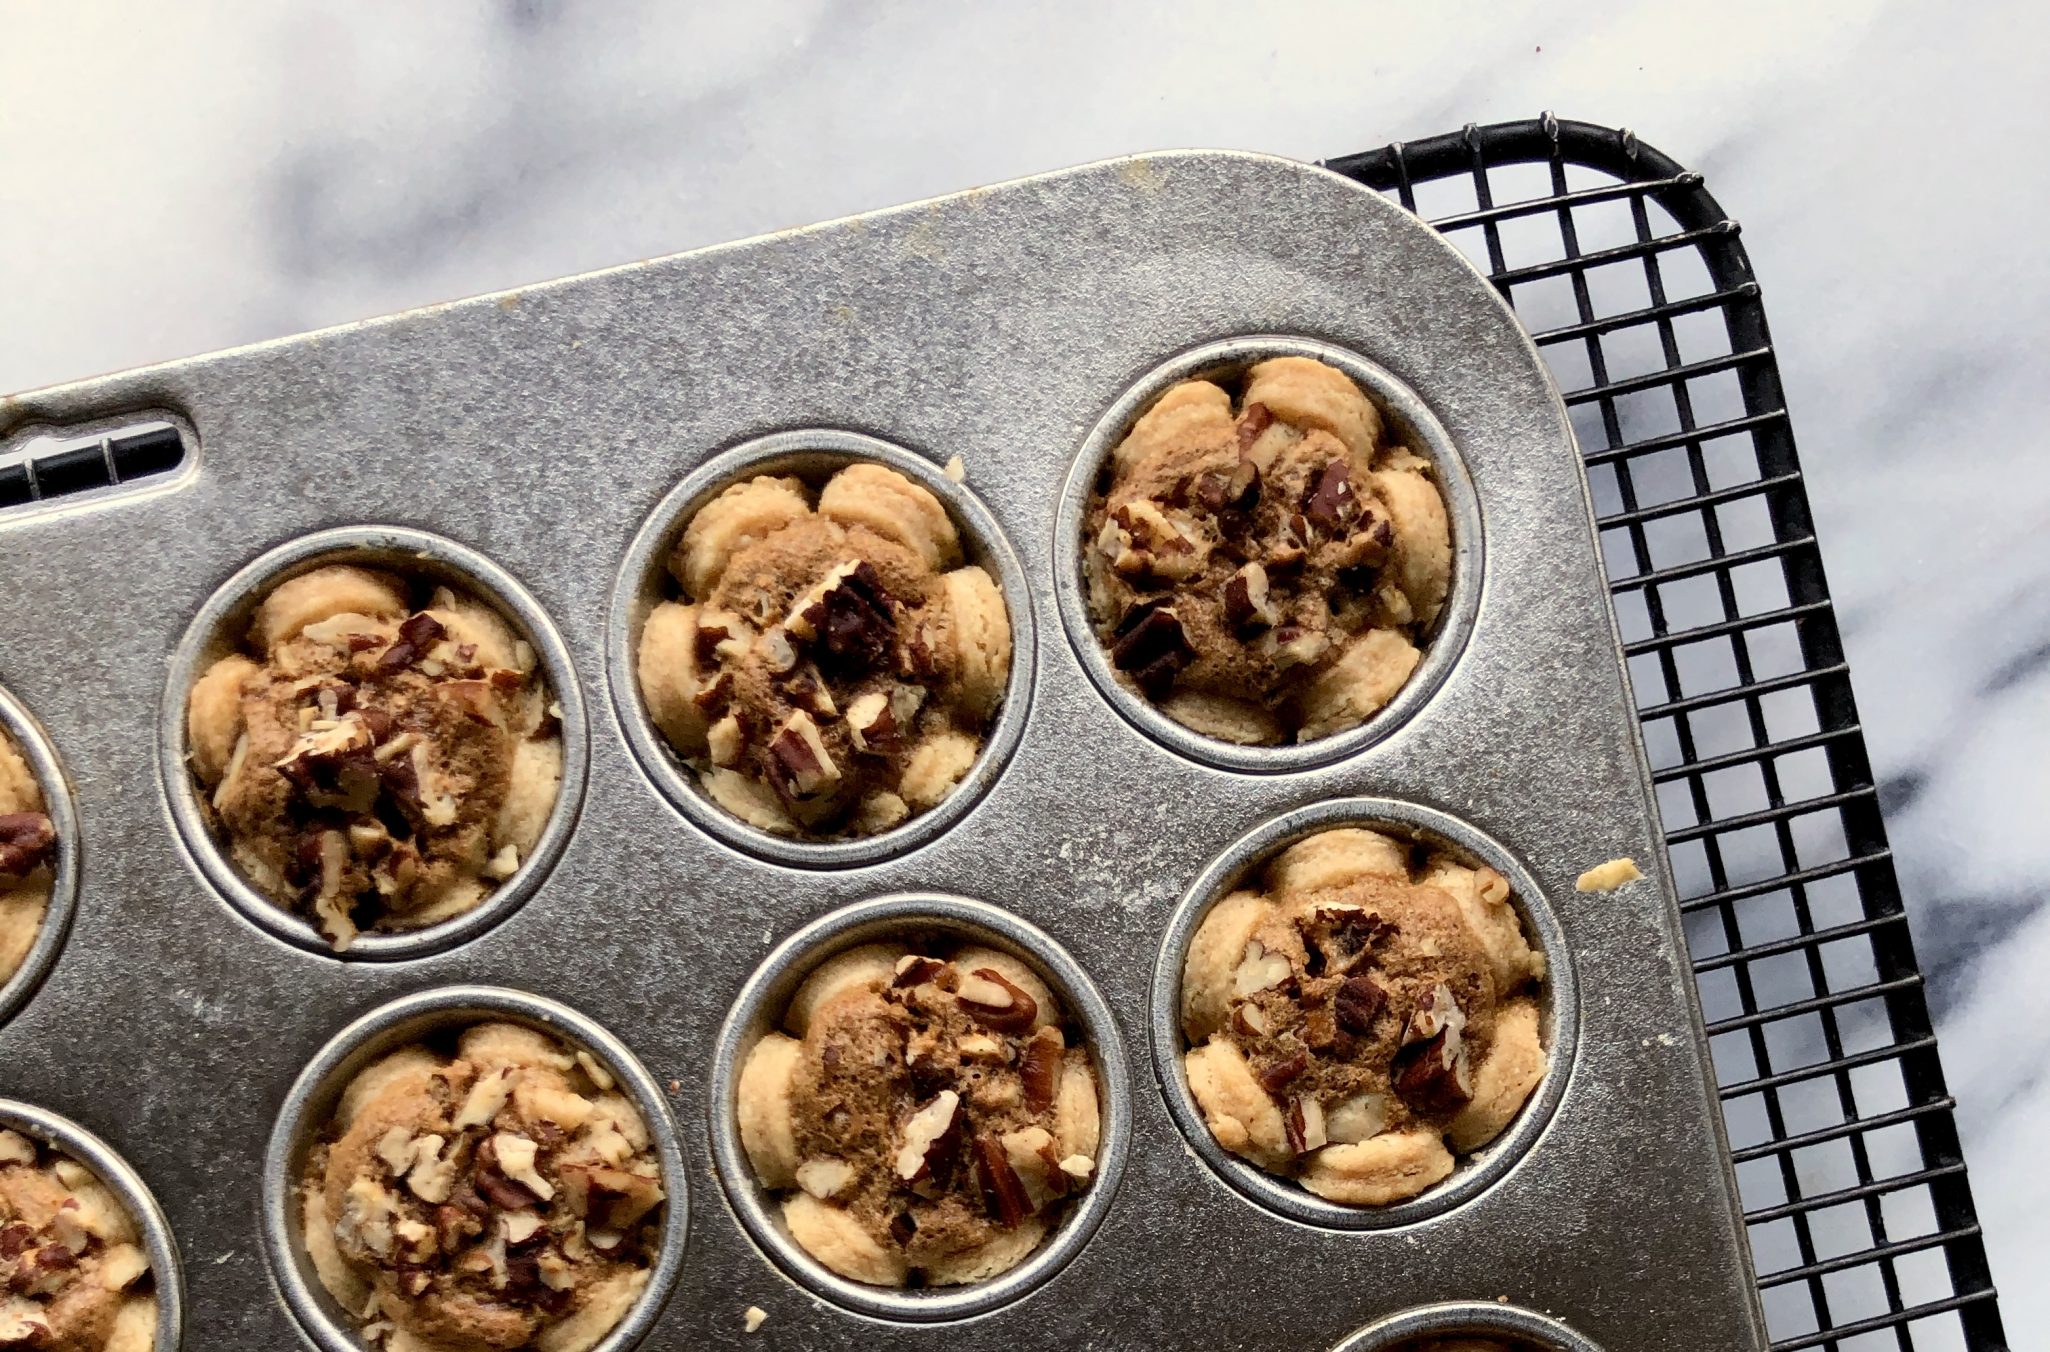
Every Christmas I eagerly awaited her mom’s plate of holiday cookies.  Joy’s mom, whom I affectionately called Mrs. S, was an amazing baker (and a marvelous cook too). During the holidays, you could find her holed up in her kitchen busy baking no less than 6-8 different kinds of cookies.  Almond Crescents, Spritz Cookies shaped into wreaths decorated with red and green sugar, Chocolate Pecan Thumbprints, Pecan Tartlets, Chocolate Chippers, and Lemon Bars.  Her crescents were perfect, her scalloped-edged Pecan Tartlets were the gold standard of bite-sized pies.

In short, she was my muse for holiday cookies.  I love all of her cookies, but my favorite?  Hands down, her Toffee Bars.  A shortbread crust, buttery and sweet, painted with milk chocolate and finished with a sprinkling of chopped almonds.  Cookie Nirvana.

Attention to Detail

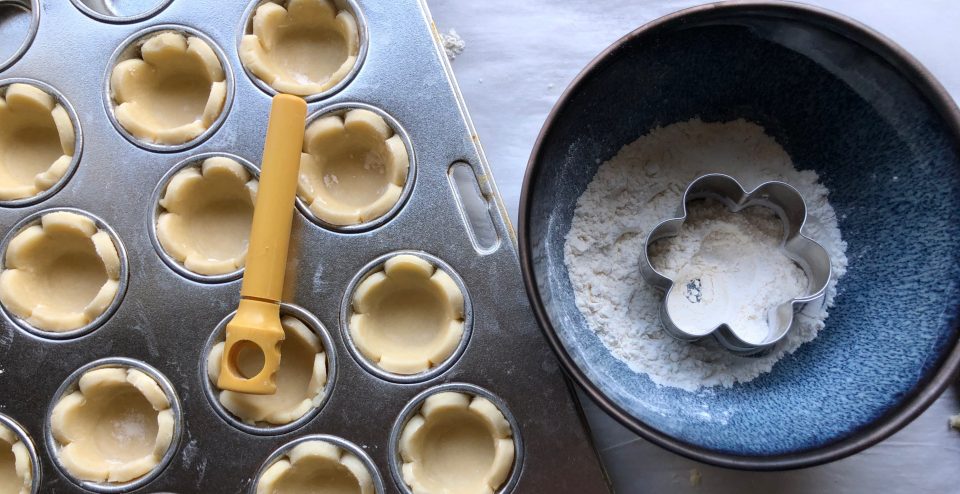
I have most of Mrs. S’s recipes.  Her Pecan Tartlets find their way into every holiday cookie box.  The Hubster considers it blasphemous if they are not included.  I am religious about following her recipes, I mimic each step.  I cut out each tiny pie crust with a flower petal cookie cutter. How else do you get cute scalloped edges?  I meticulously shape each ball of almond-infused dough into crescent-shaped moons. Warm from the oven, I roll each cookie in powdered sugar and place it on a cooling rack.  Then, sift powdered sugar over the cookies for that snow-capped look.  Yep, that little extra step.  Her attention to detail was what set her cookies apart and that’s what I learned from her.

It’s been a few years since she left us.  Every Christmas since, as I am perusing recipes and pulling out my butter, flour, and sugar- I think of her.  I imagine her scurrying around her kitchen churning out tray after tray of her delicious cookies.  Then I hear her voice prodding me, it’s time to get busy and bake.

A Fine Understudy

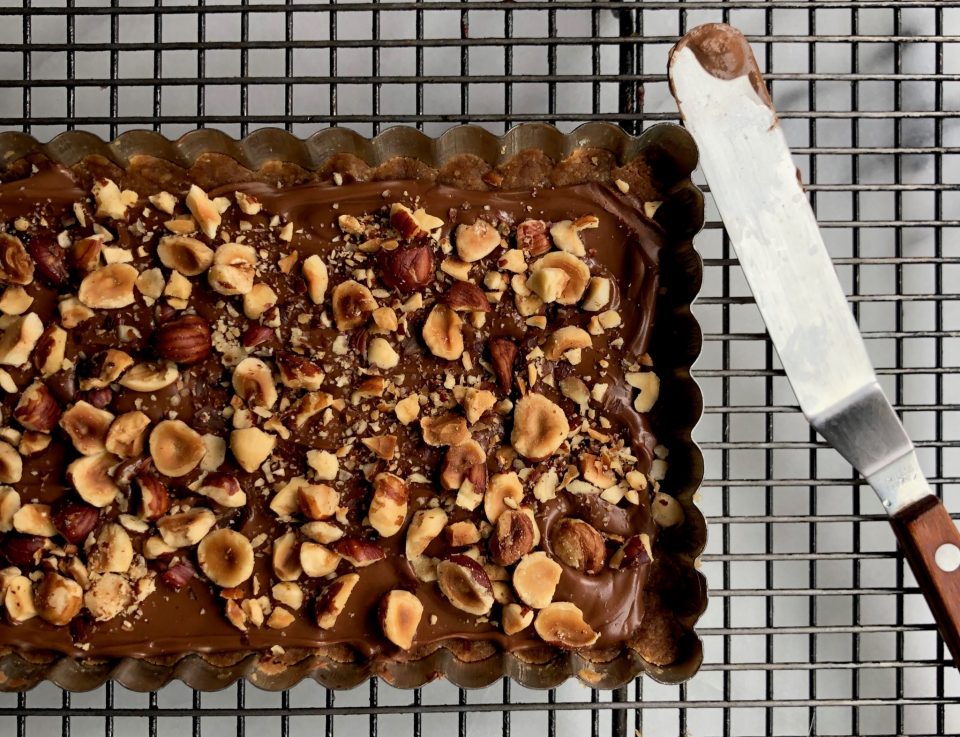
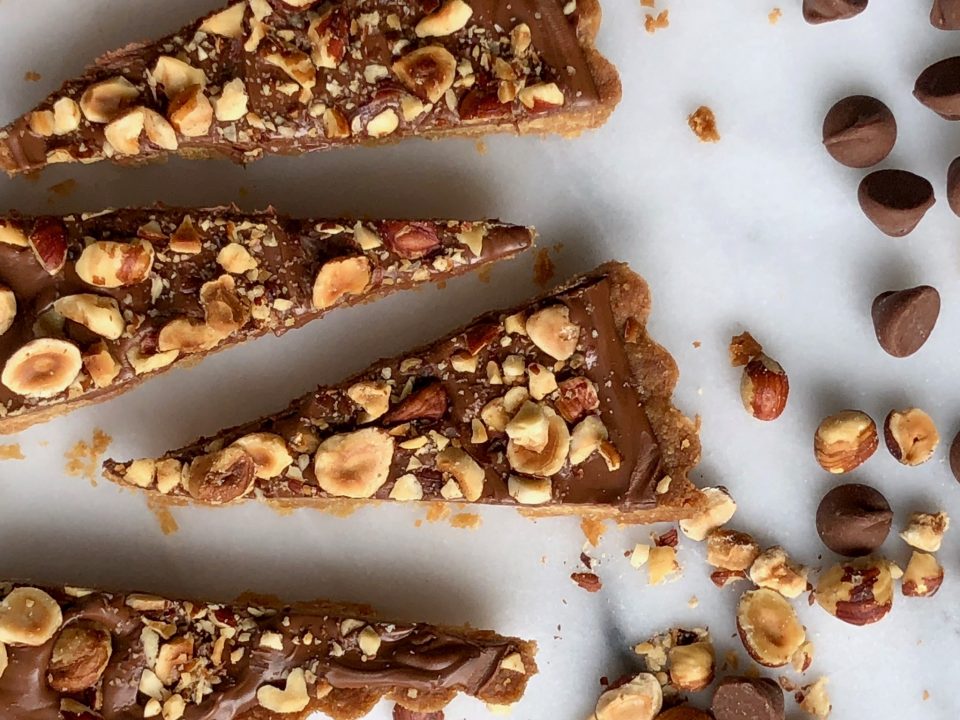
Unfortunately, I don’t have Mrs. S’s recipe for those Toffee Bars that I love so much. (Update: Found it! Mrs. S’s Toffee Squares) But Alice Medrich does.  Her Cookies and Brownies book contains toffee bars that are so good, they would make Mrs. S proud.  The crust starts with melted butter making these incredibly easy to make. Stir together brown sugar and flour with the butter, press into a pan and bake to a golden brown.  For this batch, I scattered a combo of semi-sweet and milk chocolate chips on the warm crust, let them melt, and ice the melted chips over the crust.  For the final touch, sprinkle toasted hazelnuts over the chocolate.  Next batch?  Endless possibilities, limited only by your imagination.

Kid version:  Use all milk chocolate and either toasted almonds or pecans.  Got milk?

Adult version:  Use semi-sweet chocolate or dark chocolate and toasted hazelnuts, finish with Maldon Salt.  Serve with some bubbly.

Sporty twist version:  Perfect during a ballgame, your choice of chocolate and salted or honey-roasted peanuts.  Play ball!

Allow bars to cool on a rack.  Use a serrated knife to cut the pan into bars or wedges.

Toffee Bars

A buttery, brown sugar crust topped with chocolate and hazelnuts. A riff on Alice Medrich's Toffee Bars.
Course cookies, Dessert
Cuisine American
Keyword toffee, toffee bar recipe, Toffee Bars
Prep Time 15 minutes
Cook Time 30 minutes

Equipment

  • 8x8 inch square pan or 9' tart pan with removable bottom. Any pan with roughly same area I like to use a 12x5 rectangular tart pan and cut the cookies into wedges.

Ingredients

Shortbread base

  • 8 tbsp unsalted butter
  • 1/2 cup light brown sugar packed
  • 1 tsp vanilla
  • 1/8 tsp salt
  • 1 cup all-purpose flour

Topping

  • 6 ounces milk or semisweet chocolate chopped, if bar or block or use chips
  • 1/2 cup toasted nuts your choice!

Instructions

  • Preheat oven to 350 degrees. Position rack in lower third of oven

Shortbread base

  • Cut butter into chunks and melt in a saucepan over medium heat or place in heatproof glass bowl, loosely cover and microwave at 40% power for 15 seconds, repeat if necessary.
  • Remove from heat and stir in brown sugar, salt and vanilla. Add flour and mix just until combined.
  • Press dough into a lined (parchment or foil) 8x8-inch pan or a tart pan with a removable bottom
  • Bake for 20-25 minutes or until well browned at the edges and golden brown in the center

Topping

  • Scatter chocolate evenly on top of warm crust. Let stand to allow the chocolate to melt. If necessary, place in the oven for a minute to help melt the chocolate. Spread chocolate evenly over the crust with an offset spatula or the back of a spoon.
  • Sprinkle toasted chopped nuts over chocolate. Set on rack to cool.
  • Lift and transfer bar to cutting board. Use a sharp knife (I like using a serrated knife)and cut into 2x2" squares or wedges. If necessary chill in fridge to set chocolate.
  • See story above for variations.
Snickerdoodles (Alice in Cookiewonderland)

Snickerdoodles (Alice in Cookiewonderland)

It has been 1610 days since I sat down and penned my inaugural post, Jamigos 2.0 to launch 3jamigos.  As I reflect on that number all I can think is WHAT TOOK ME SO LONG TO INCLUDE MY FAVORITE COOKIE?  I mean, sheesh, of the 100 cookie recipes I have posted, it doesn’t include my all-time favorite non-shortbread cookie (notice how I slipped in that qualifier, shortbread=cookie perfection).  Unbelievable, and how did I discover this faux pas?

I was tasked with making cookies for an End of Summer Party for our political action group (sanity saver).   I automatically went to my blog and typed in S N I C K E R D O O D L E S in the search box and waited, NOTHING popped up.  A quick search of my cookie index revealed, what the heck, no Snickerdoodles.

Are you kidding?

I’ve never posted Snickerdoodles on my blog?  Hellooo, time to fix that.  I got busy, made a batch for the meeting, snitched a couple to have with an ice-cold glass of milk, and sat down to write this post.

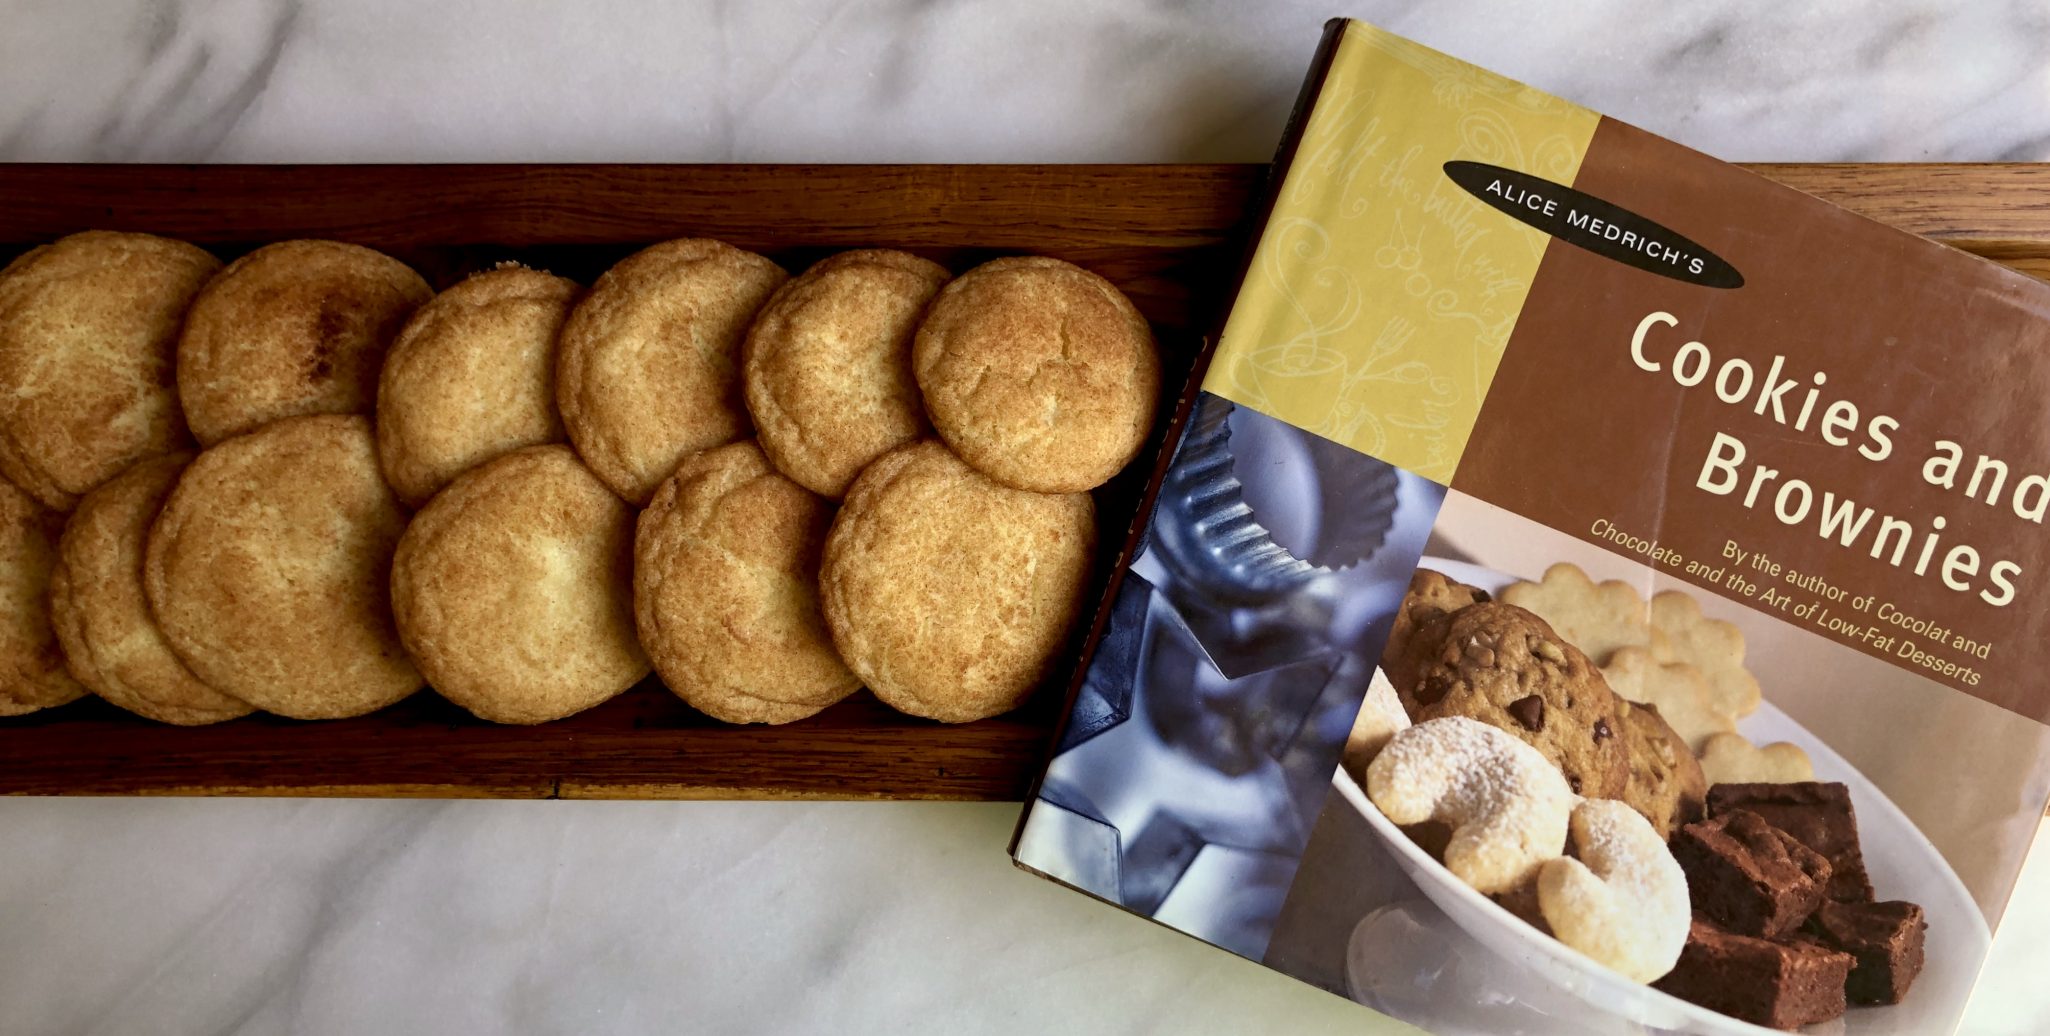
EVERYONE needs a scrumptious recipe for Snickerdoodles.  Buttery, sweet and spicy, crispy edges, soft chewy center,  finished with cinnamon sugar.  The quintessential cookie.  My favorite recipe comes from the cookie maven, Alice Medrich.  Unlike other recipes I have seen, hers are made with just butter. Yep, no shortening in these bad-boy bites of sweet cinnamon bliss.  The recipe is from her small but mighty book, Cookies and Brownies, long out of print but available on the secondary market. The book is worth getting just for this and her Lemon Bar recipe. Well written with easy-to-follow directions, it’s a keeper.  My copy is frayed and tattered, well worn from use.

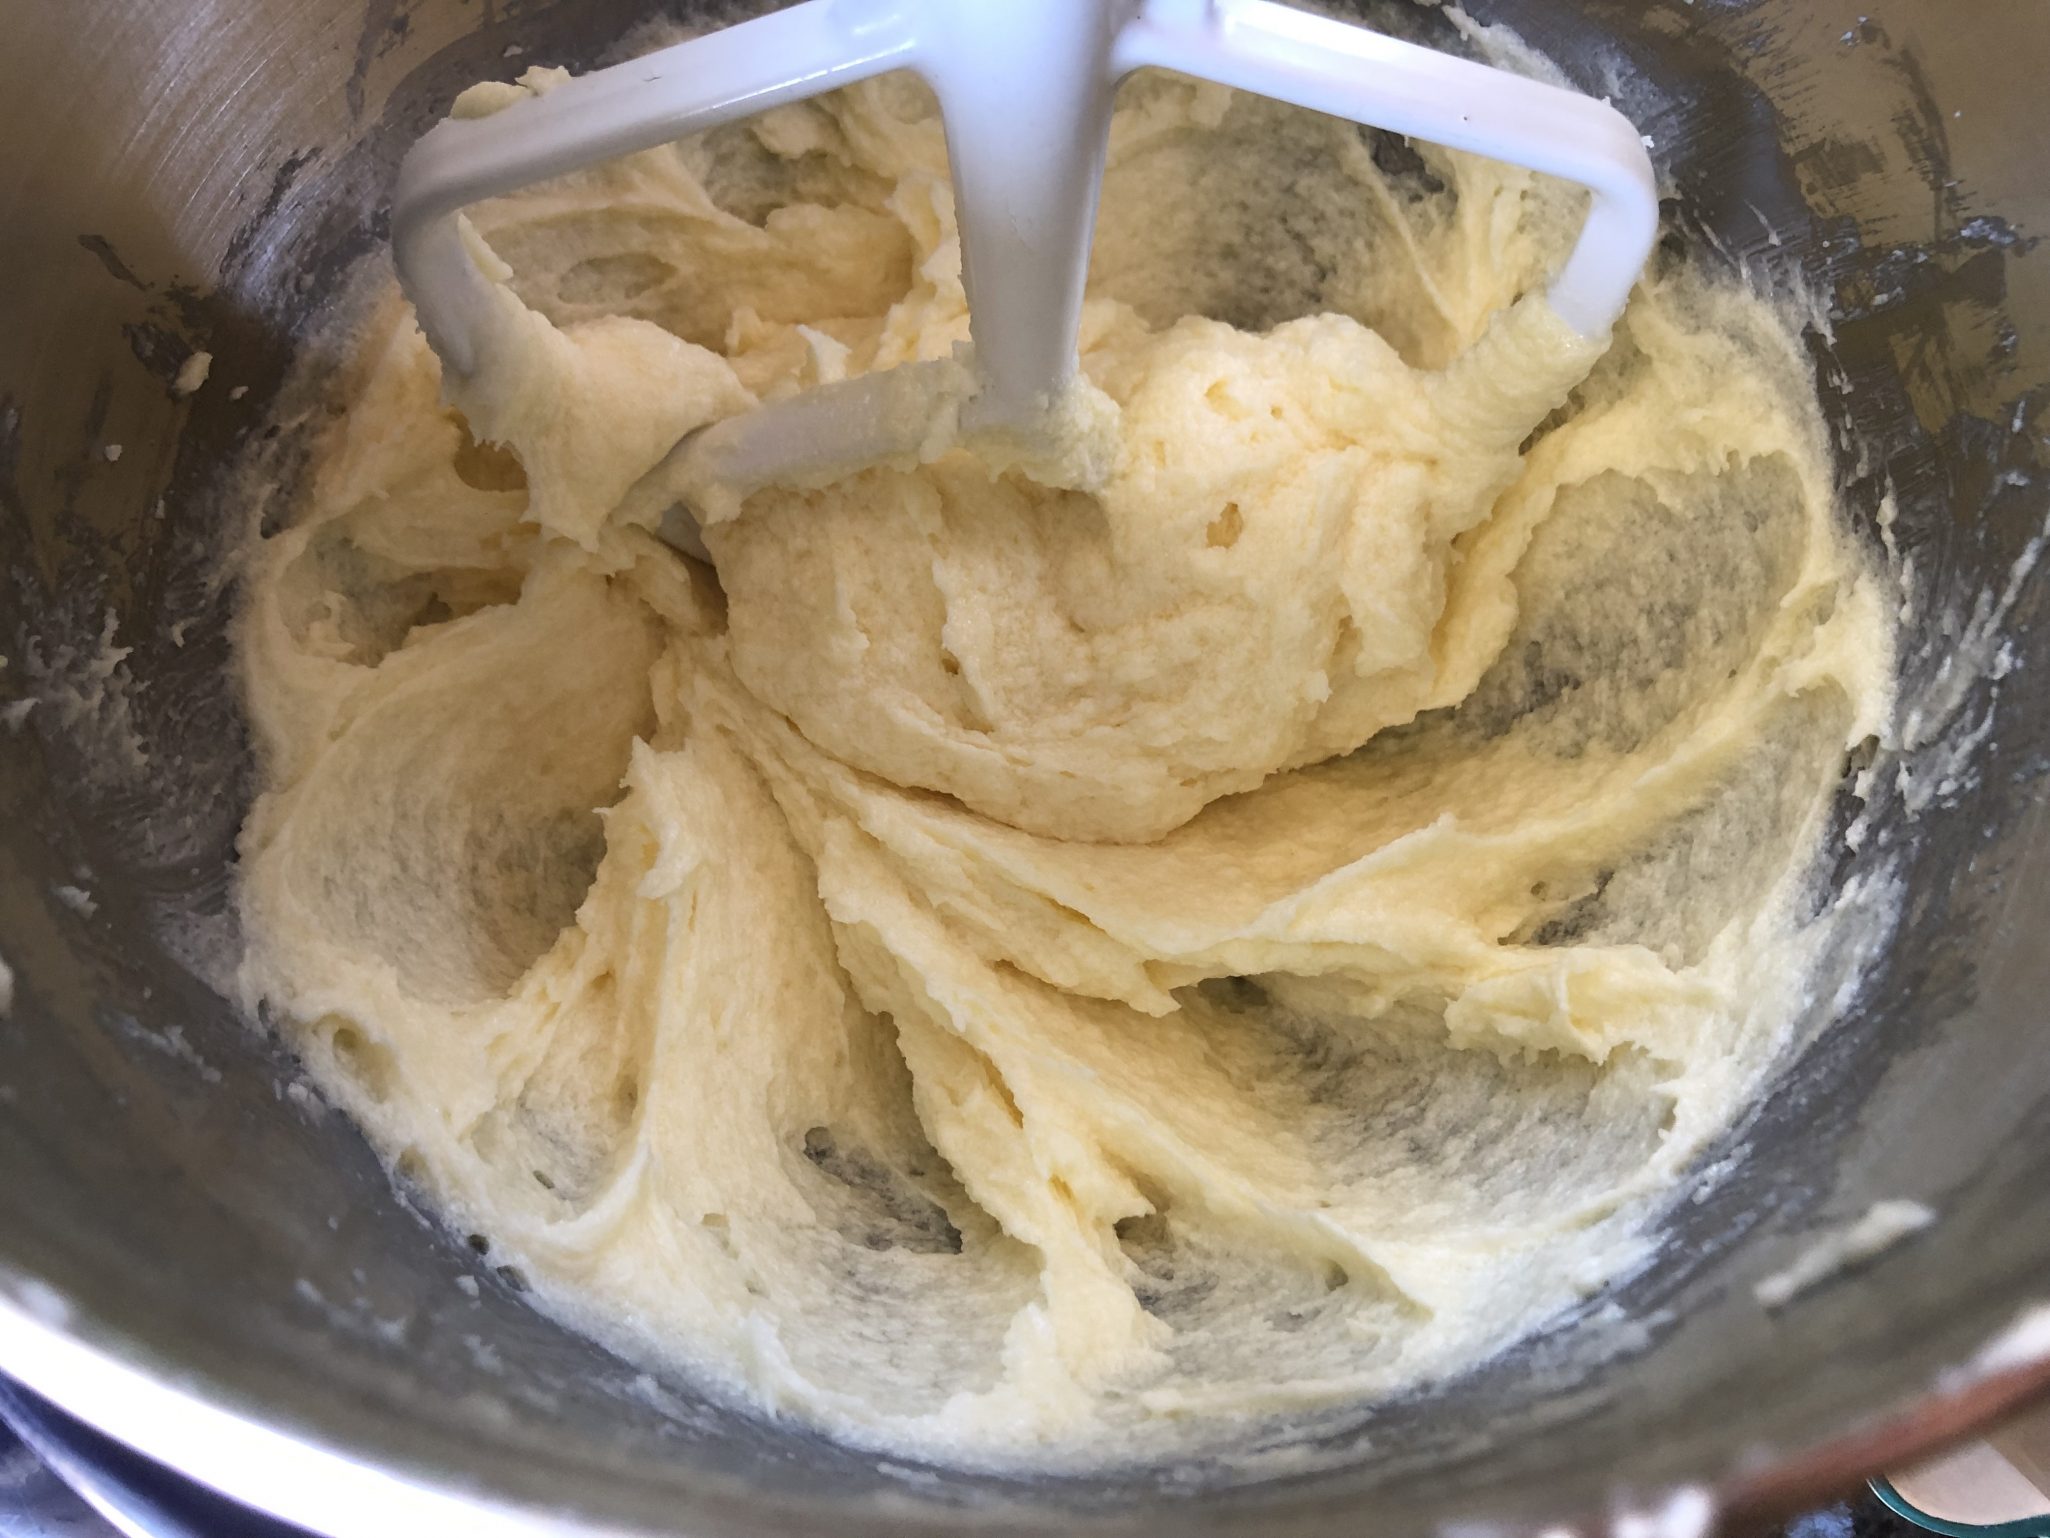
Cream butter and sugar together to smooth but NOT fluffy.  Add eggs, beat until blended.

Add flour and stir just until combined.  Don’t overmix.  The mixing changes the consistency of the cookie.  Fluffy butter-sugar mixture gives a cakier cookie, go for smooth and creamy.  After adding the flour mixture do not beat the dough too much or you will end up with a tough cookie.

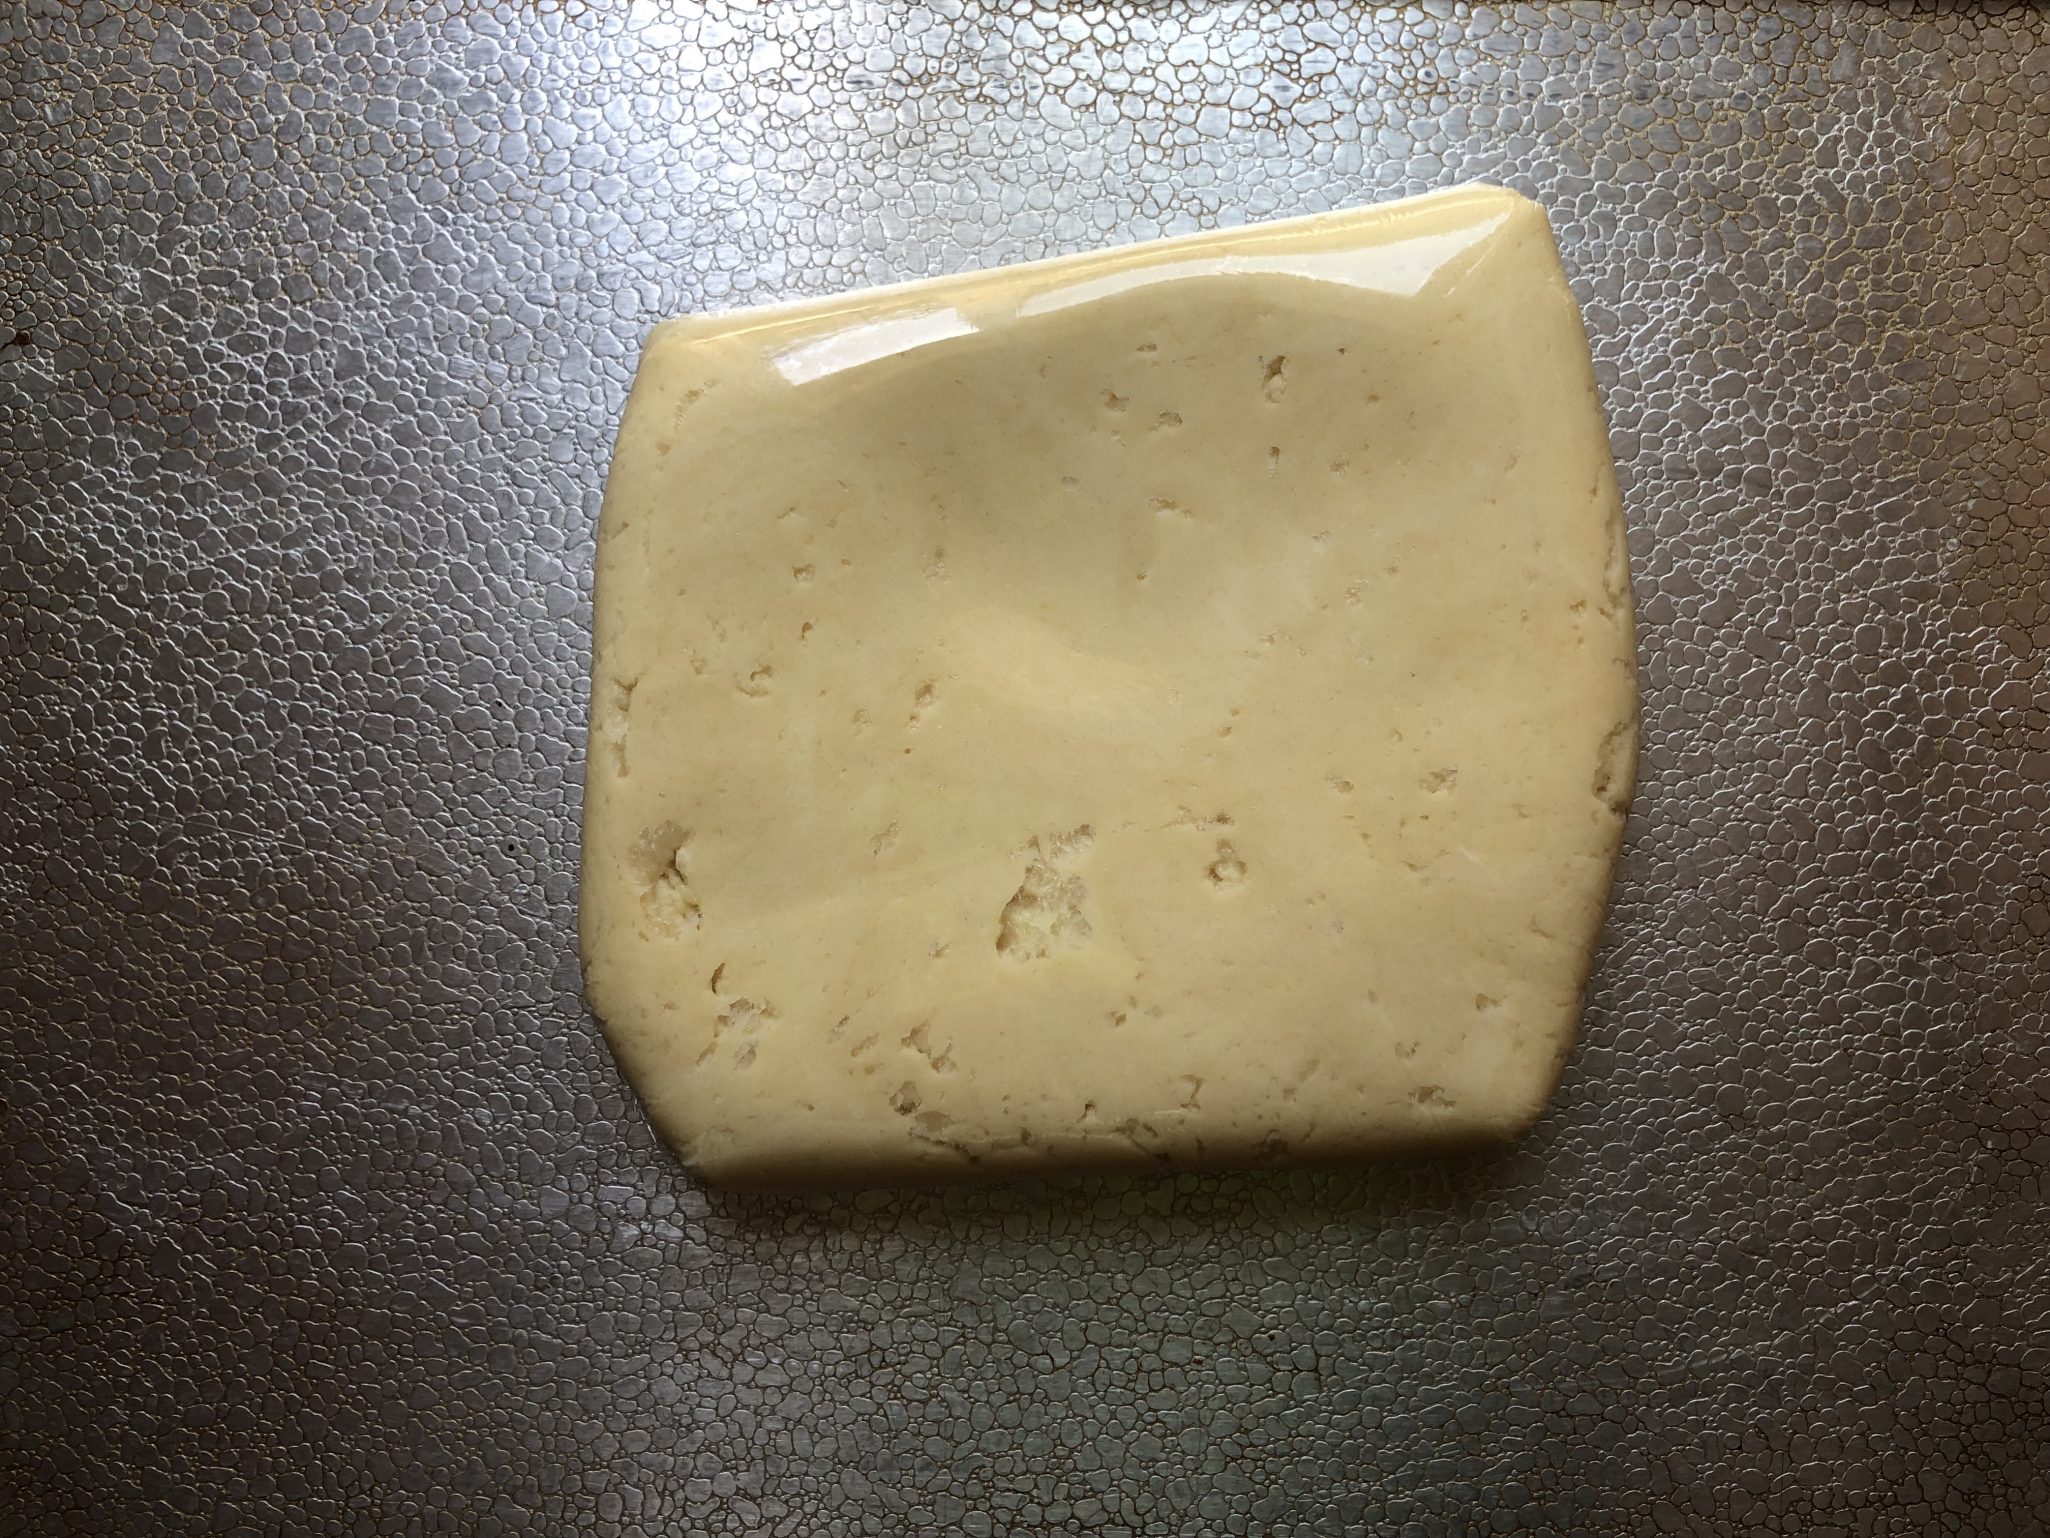
Gather dough into a disc, shape doesn’t matter.  Keep the thickness to about an inch.  This will make it easier to scoop and form the cookies after chilling.

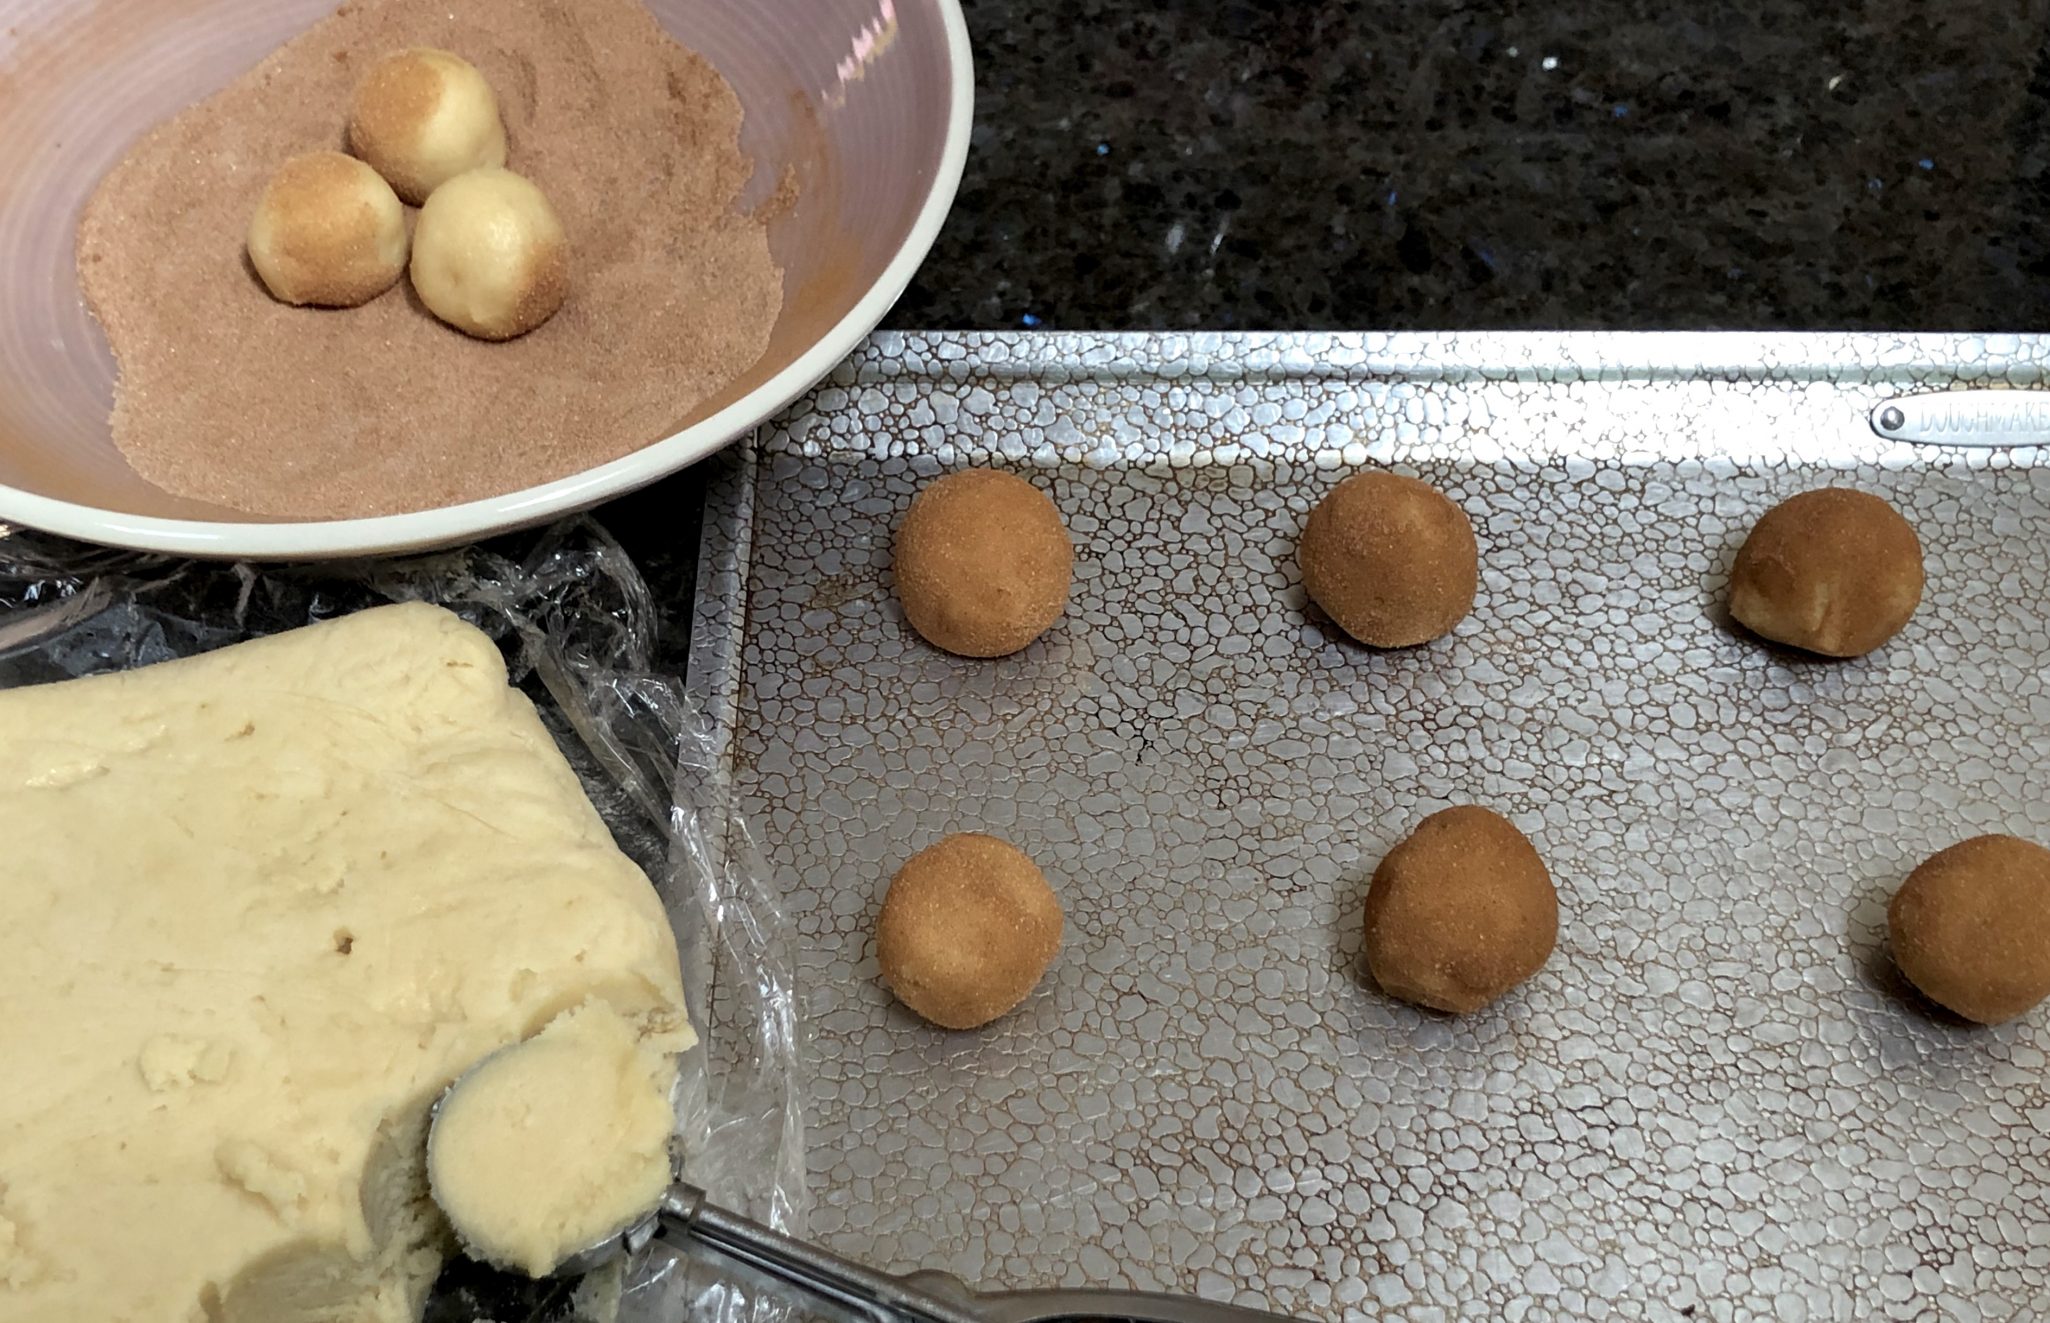
After chilling the dough,  use a 1 tablespoon ice cream scoop (#70) to form balls.  Shape the scoops into smooth balls and roll in cinnamon sugar.  Use a good quality cinnamon, like Penzey’s . This is a great cookie to make with the kids or grandkids, never met a kid that didn’t like to roll balls of cookie dough in copious amounts of cinnamon sugar all the while licking their fingers.

The one tablespoon scoop yields a cookie about 2 inch in diameter.  All well and good, BUT, the smaller you make the cookie the harder it is to end up with a cookie that has crisp edges and a soft center.  If that is what you are looking for, try making bigger cookies. Increase your baking time by a couple of minutes.

Bake cookies 8-10 minutes until the edges are golden brown.  I like the centers soft, if you like crunchy cookies, bake them a bit longer.  How long?  Don’t know, I don’t like them that way.

Snicker Doodles

Course cookies
Cuisine American
Keyword Snickerdoodles
Prep Time 20 minutes
Cook Time 10 minutes

Equipment

  • Cookie sheets, lined with parchment paper or greased

Ingredients

  • 3 cups unbleached all-purpose flour (13.5 ounces)
  • 2 teaspoons cream of tartar
  • 1 teaspoon baking soda
  • ½ teaspoon salt
  • ½ pound unsalted butter, softened (2 sticks)
  • cups sugar 10.5 ounces
  • 2 large eggs
  • 2 teaspoons ground cinnamon
  • 2 tablespoons granulated sugar

Instructions

  • Preheat the oven to 400° Position rack in the middle of the oven.
  • Combine the flour, cream of tartar, baking soda, and salt in a bowl and mix thoroughly with a whisk or fork.
  • In a medium mixing bowl with an electric mixer, beat the butter with the 1½ cups sugar until smooth and creamy, not fluffy. Beat in the eggs just until blended. Add the flour mixture and stir or beat on low speed just until incorporated. Gather the dough into a disc and wrap in plastic wrap. Refrigerate until firm, at least 30 minutes.
  • Mix the remaining 2 tablespoons sugar and the cinnamon in a small bowl. Form level tablespoons of dough with an ice cream scoop, into 1-inch balls. Roll the balls in the cinnamon sugar and place 2 inches apart on the lined or ungreased cookie sheets.
  • Bake for 8 to 11 minutes, until the cookies puff and begin to settle down. To create crevices, when cookies puff, tap cookie sheet on rack. This causes the cookie to sink, creating crinkles. Rotate the cookie sheet from front to back halfway through the baking time to ensure even baking. Bake until the edges are golden. Remove from oven and allow to cool for a couple of minutes. Remove cookies with a spatula to a wire rack. Don't let them cool completely or the cookies will stick to the sheet. I bake on ungreased sheets to minimize spreading.
  • Cool the cookies completely before stacking or storing. May be kept in an airtight container for several days.
Tall Order for a Better Shortbread-Bien Cuit Bakery

Tall Order for a Better Shortbread-Bien Cuit Bakery

I love shortbread and any excuse to bake a batch, I am all there.  So when Amanda Hesser posted an article on a favorite shortbread that graced their office meetings, all I could think was, do I have butter in the fridge?

Duh, of course.

The title of her article, The World’s Best Shortbread Is No Longer Sold-but We Got The Recipe.

Whaat? World’s Best?  This was added incentive to make a batch.  After all, I think I already have the perfect Shortbread.  An essay entitled “My Father’s Shortbread” found long ago in Cuisine magazine was both a tribute to the author’s Scottish father and his recipe for shortbread.  It has been the cornerstone of my annual holiday cookie platter for more years than I can remember.  Bouchon’s Shortbread is similar in texture and flavor to my favorite and is my runner up.  Can Amanda’s best these? I’ll let you be the judge.

Update 10/2023:  Yes, I love shortbread and two additional recipes I have tried that are very similar to this shortbread are Ted Lasso’s Biscuits with the Boss.  Both are delightful, Christina Tosi’s and Apple TV’s (the producer of Ted Lasso).

Let’s get busy…

shortbread dough 1

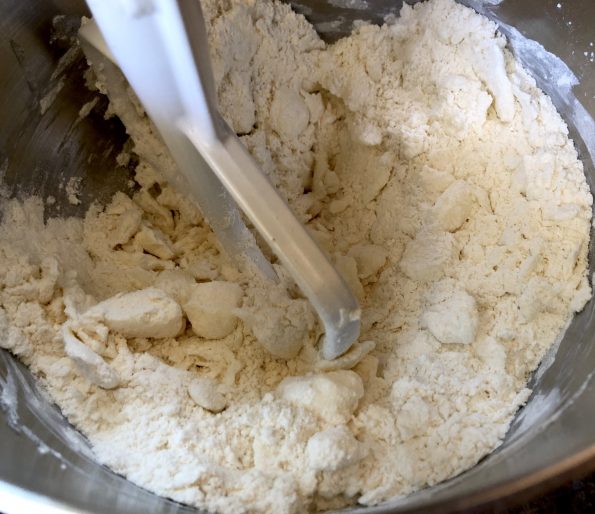
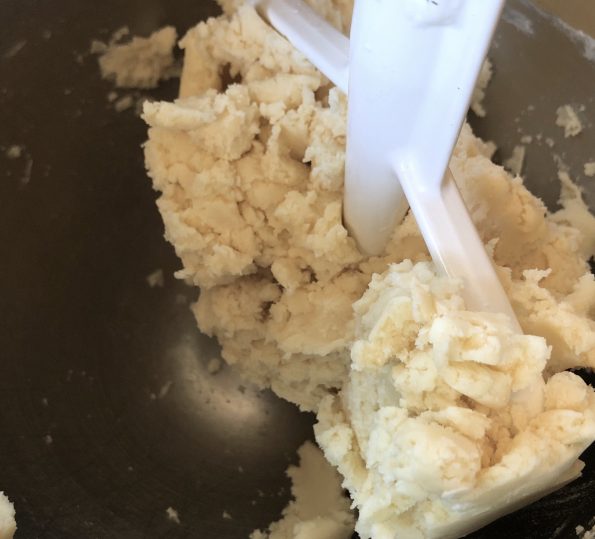
The dough comes together easily.  The dry ingredients are blended briefly in a mixer and pieces of cold butter are added and mixed at low speed just until the dough comes together.  Do not overmix.

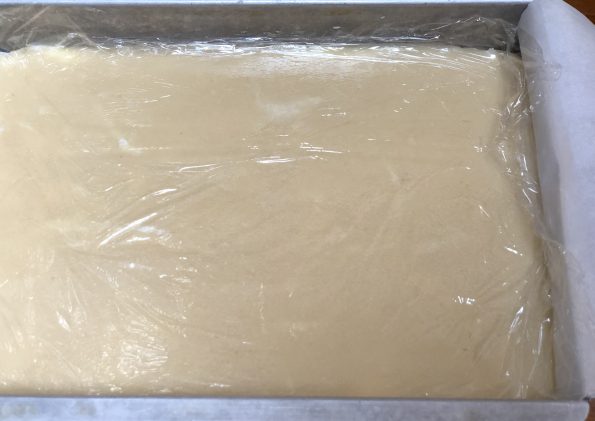
Press the dough evenly into a PARCHMENT lined 9×13 baking pan. The parchment should hang over the sides. Cover the dough and refrigerate overnight.  The parchment will make it easier to remove the cookies after baking.

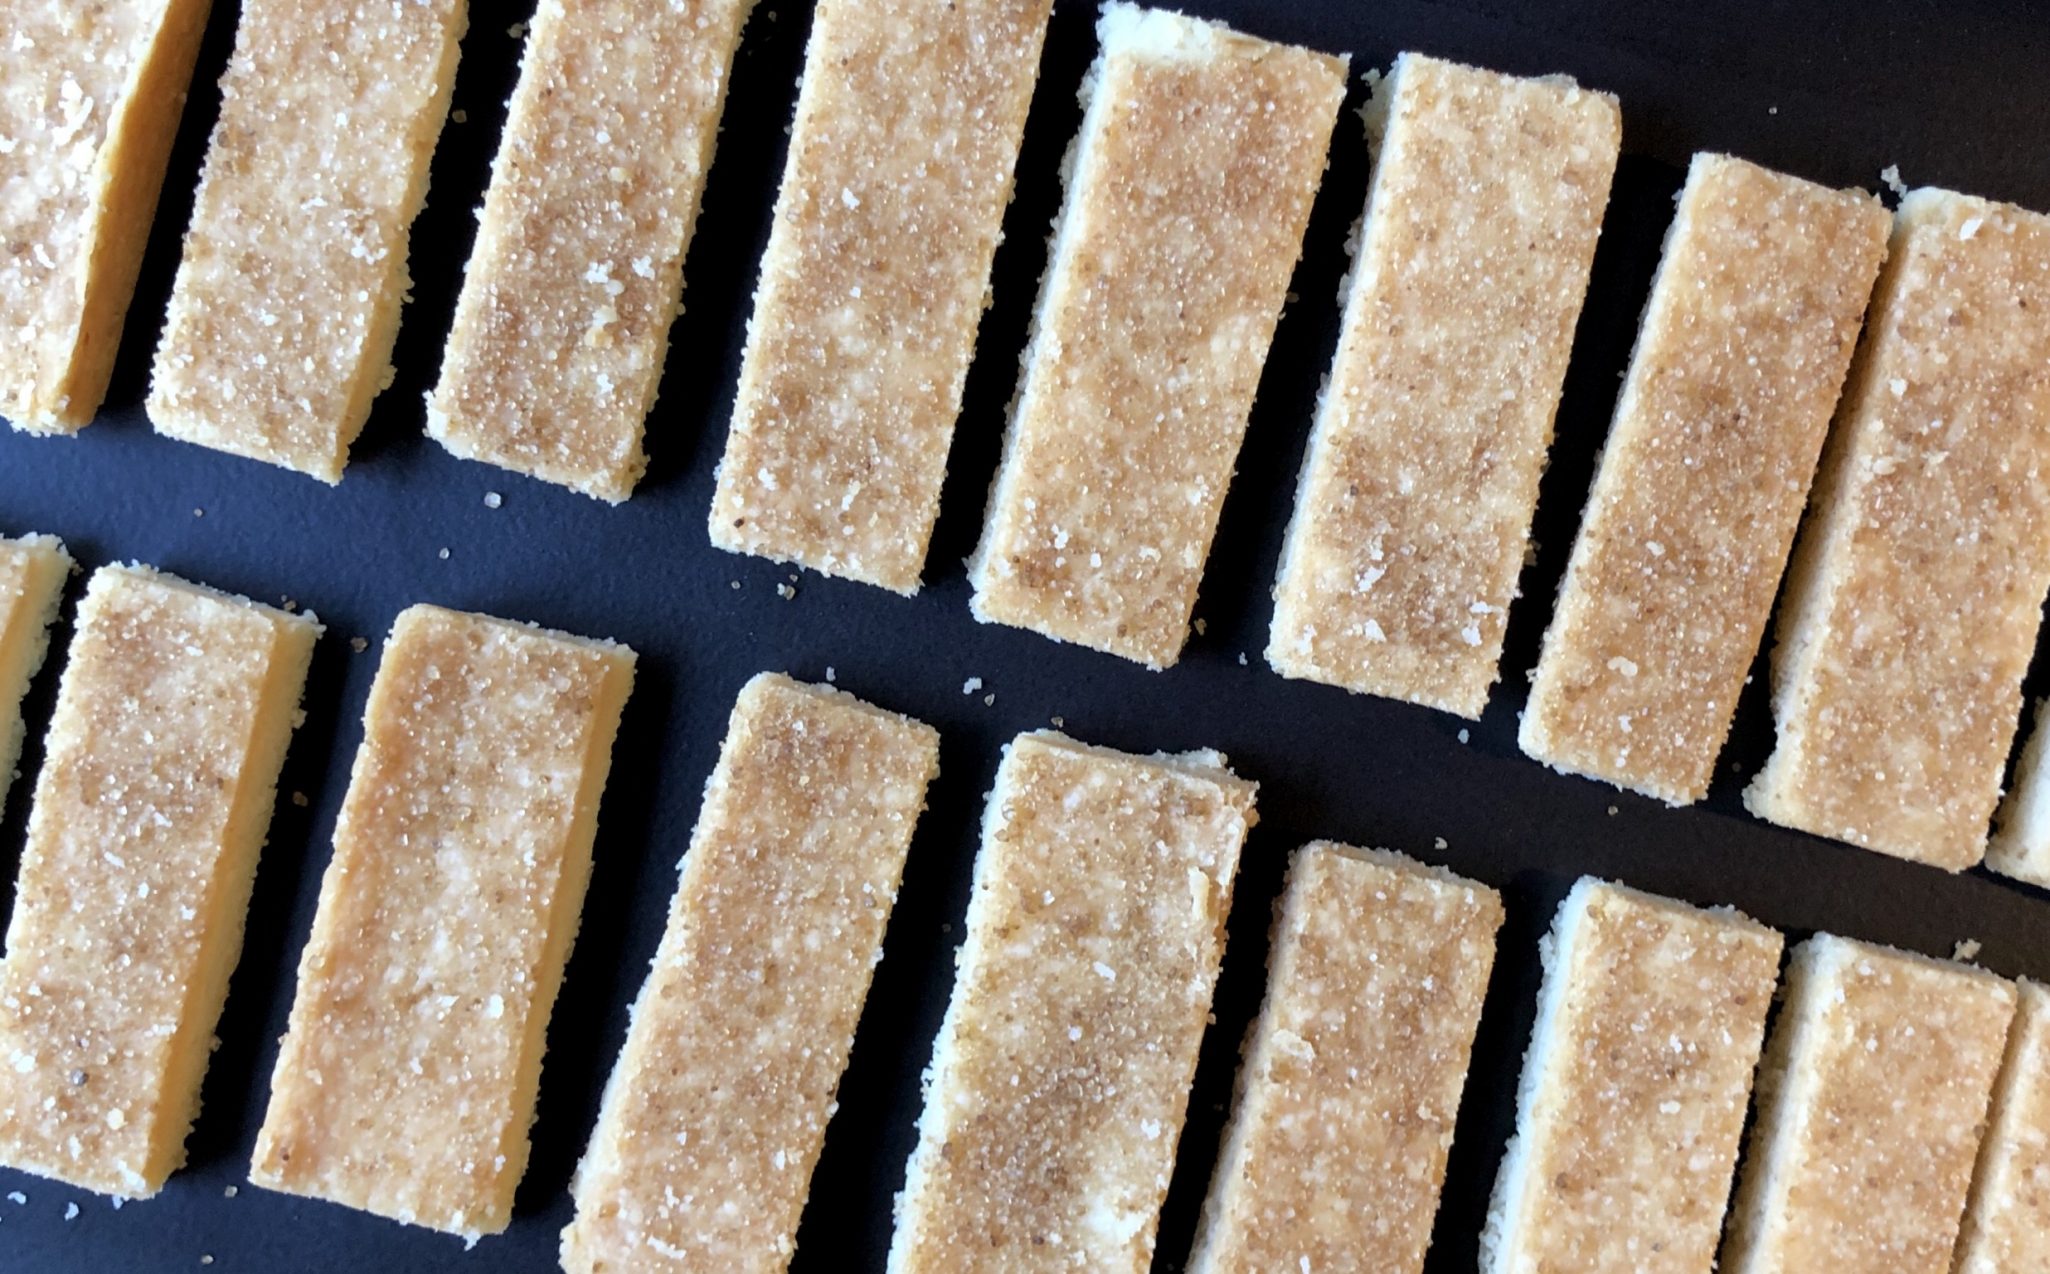
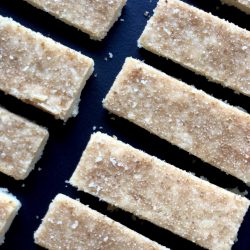
The dough should be about 3/8 inch thick. Total baking time for my batch was 50 minutes, so start checking early and rotate pan at the halfway mark.  You want a nice golden brown.  Sprinkle the Demerara Sugar on the cookie as soon as the pan comes out of the oven.  It will adhere better.  At the 5 minute mark when I tried removing the shortbread from the pan, it cracked as the parchment gave way.  Next time I might try cutting the cookies in the pan, letting it cool and then removing them.  They’re a bit fragile so you may lose a couple while removing it from the pan.  Lucky you, you get to eat those pieces.

I will admit, they’re pretty good.  The biggest difference is the use of powdered sugar instead of granulated sugar.  Powdered sugar has cornstarch and lowers the protein content of the dough.  This creates a less dense, softer cookie.  It has the prerequisite buttery flavor, but the texture is different.  The sprinkling of sugar (use Demerara or Turbinado) on the top gives these cookies a nice crunch. I love that crisp resistance you get when you bite into a classic shortbread cookie, the sugar gives that crunch. Next time I’ll try European butter to up my butter game.  After rereading Ms. Hesser’s article, with the low baking temperature, I probably could have left the cookies in for a bit longer.  This might have added some crispness and flakiness without the shortbread getting too dark.

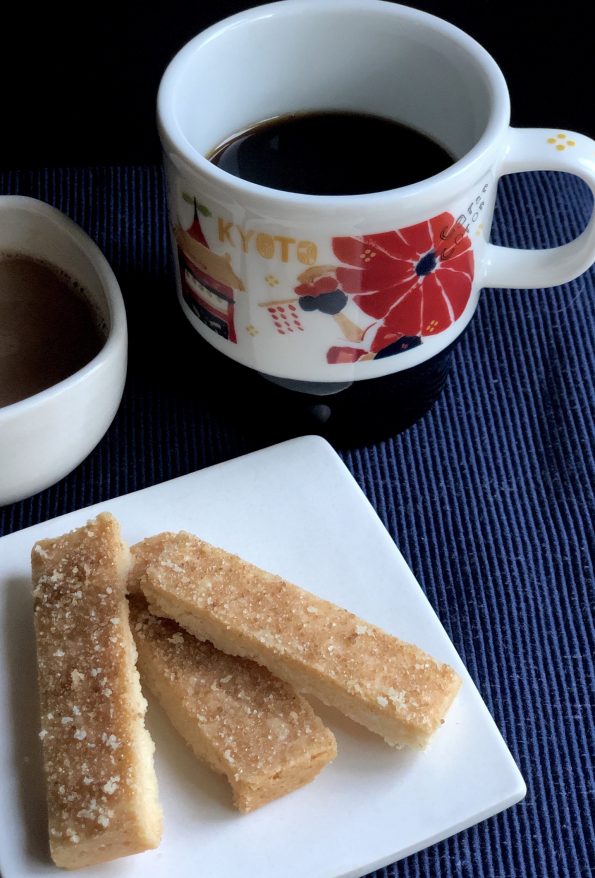
A steaming cup of coffee or tea and a few of these biscuits make for a lovely afternoon break.  Turning on Downton Abbey would make it perfect!  Update: 10/2023 If not Downton Abbey, Ted Lasso would be a great watch!

Bien Cuit Shortbread

Course cookies
Cuisine American
Keyword Shortbread
Prep Time 15 minutes

Ingredients

  • 302 grams unsalted butter
  • 93 grams confectioners' sugar
  • 3.5 grams kosher salt
  • 302 grams all-purpose flour
  • 1/8 cup regular or raw sugar for sprinkling

Instructions

  • Line a 13x9-inch baking sheet or baking dish with parchment paper.
  • Cut the cold butter and reserve at room temperature to temper slightly.
  • Mix the confectioners’ sugar, salt, and flour in a mixer fitted with a paddle attachment. Mix for a few seconds to combine the dry ingredients.
  • Add the cubed butter and mix on low speed until a smooth dough is formed and butter is fully incorporated.
  • At first, the dough will look extremely flaky and dry; let it keep mixing and it will eventually come together into a dough.
  • Dump the dough into the baking sheet ordish and spread it evenly to the corners. Cover with plastic wrap and chill overnight.
  • The next day, heat the oven to 300°Dock the dough every inch or so with a fork. Bake until the shortbread is golden brown, 60-75 minutes.
  • Remove the pan from the oven and let cool for 5 minutes. Turn the shortbread out onto a cutting board, and slice into 4-inch x ¾-inch slices. Sprinkle with raw sugar and transfer to a baking rack to cool completely. Store in airtight containers.

Notes

From a commenter on the original recipe:  
I went to King Arthur Flour's website. They have a list of ingredient conversion and I trust them, so here's what they say:
302 grams butter = 1 1/3 cup (2 2/3 sticks)
93 grams unsifted confectioner's sugar = .8 cups (a bit more than 3/4 cup + 1 tablespoon)
3.5 grams diamond crystal salt = 1 tsp on my kitchen scale (Canning salt, which has a very similar texture to table salt, comes out to 1/2 tsp)
302 grams flour = 2 1/2 cups (I'm betting this is sifted but I'm not sure)


NO Bake Peanut Butter Cookies, Pssst….You Got 5 Minutes?

NO Bake Peanut Butter Cookies, Pssst….You Got 5 Minutes?

This past weekend we had a retreat for our political action group.  I know what you are thinking. This is a fun, food, foto, blog.  You promised NO politics Deb.  Not to worry.  I only mention it because I was once again tasked with bringing desserts including a vegan one to the retreat.

First, I made the butter, sugar, and flour dessert, a delicious Tunisian Orange Cake (next post) from Zingerman’s. Which did not leave me with much time to crank out a vegan dessert.  What to do, what to do.  I went straight to the blog site Minimalist Baker, an amazing site filled with simple, quick, plant-based food to find a recipe .  The last time I looked there, I found a yummy  Banana Pecan Shortbread that knocked my socks off.  

Second, I found another gem.  3 Ingredient-No Bake Peanut Butter Cookies.  5-10 minutes is all you need to put these bad boys together.  Yep, from the pantry to your mouth, 5-10 minutes.  In fact, it will probably take you longer to read this post than to make these cookies.  You will find this recipe in the STUPID EASY category.  I almost feel like creating a new tag, INCREDIBLY STUPID EASY or STUPID  SQUARED-stupid easy and stupid delicious.

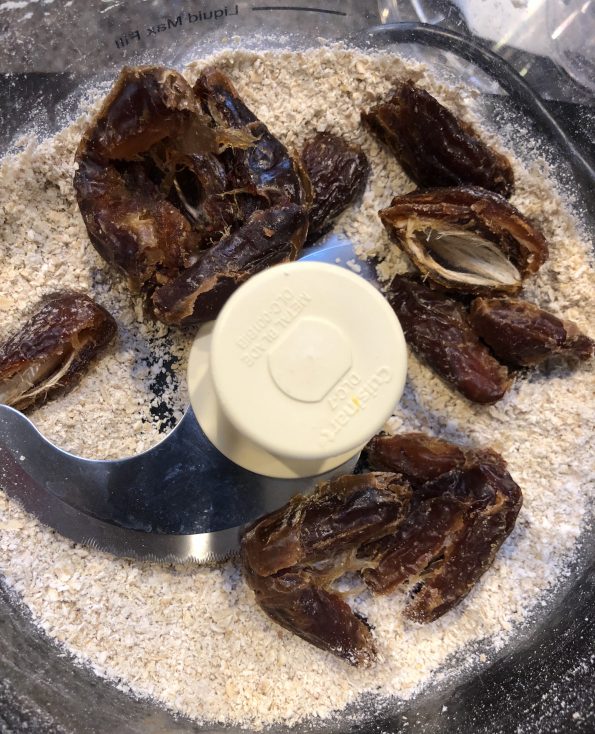
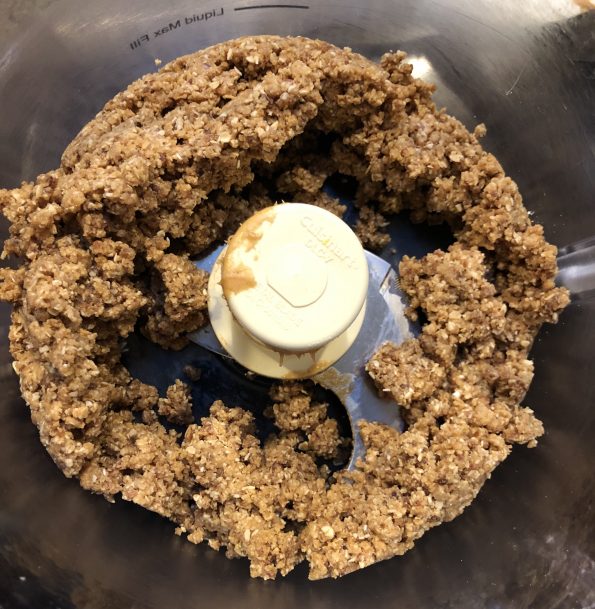
The first step, whirl the oatmeal in your food processor or blender until it resembles coarse flour.  Add (PITTED-ya never know) dates, make sure your dates are soft and moist. It will help keep the cookies together.  Pulse to combine, add the peanut butter and let her rip.

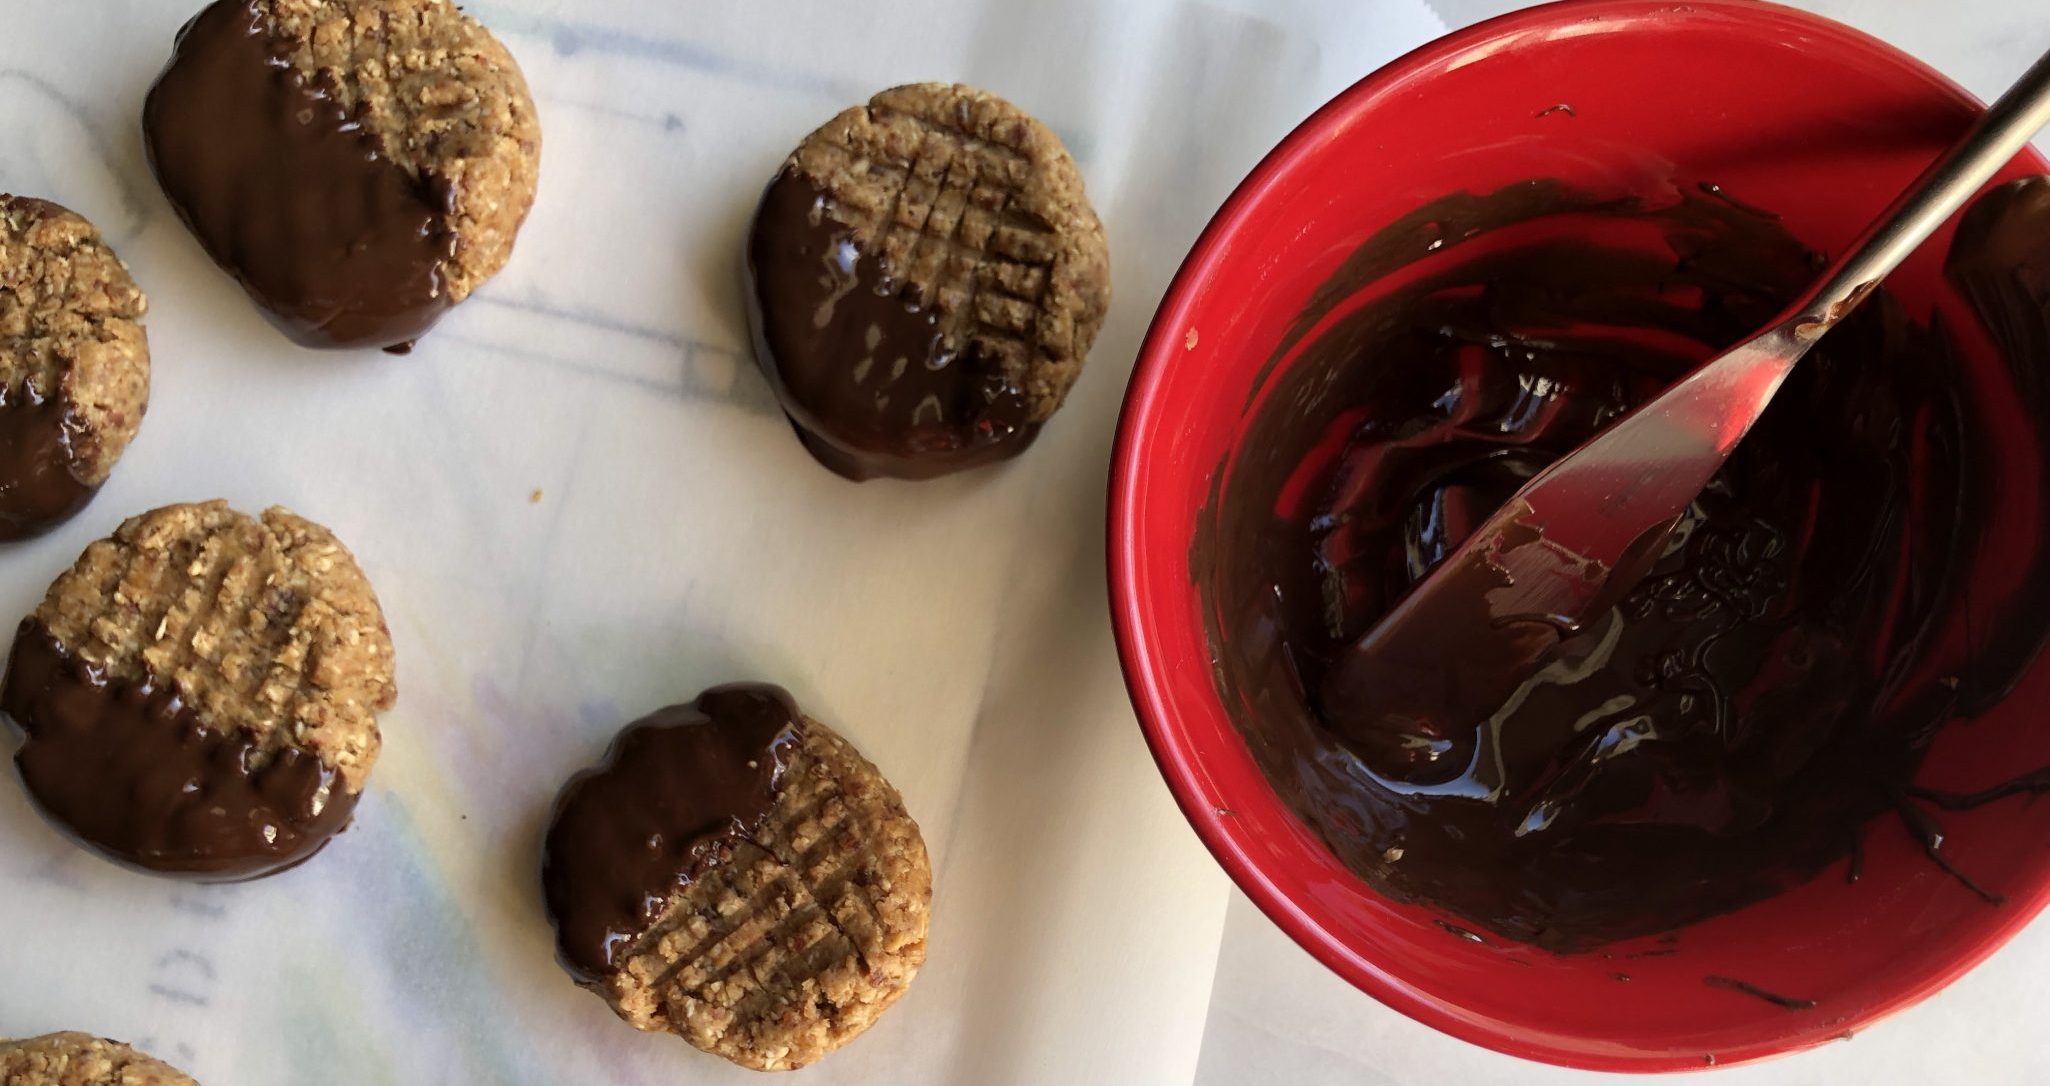
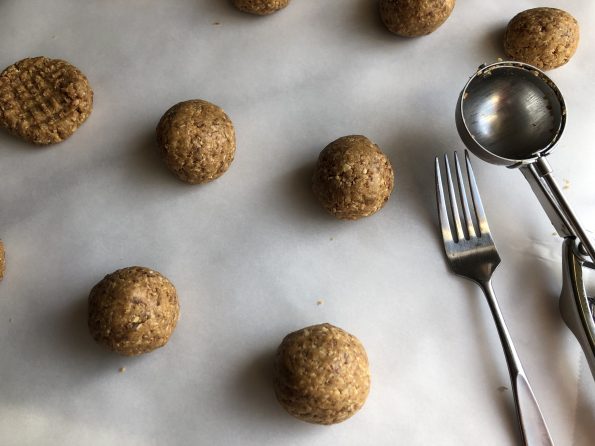
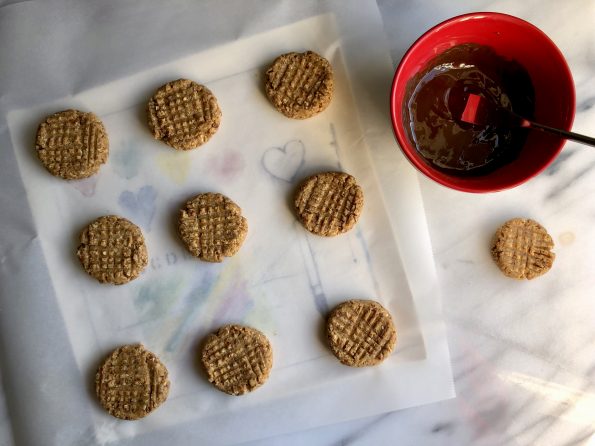
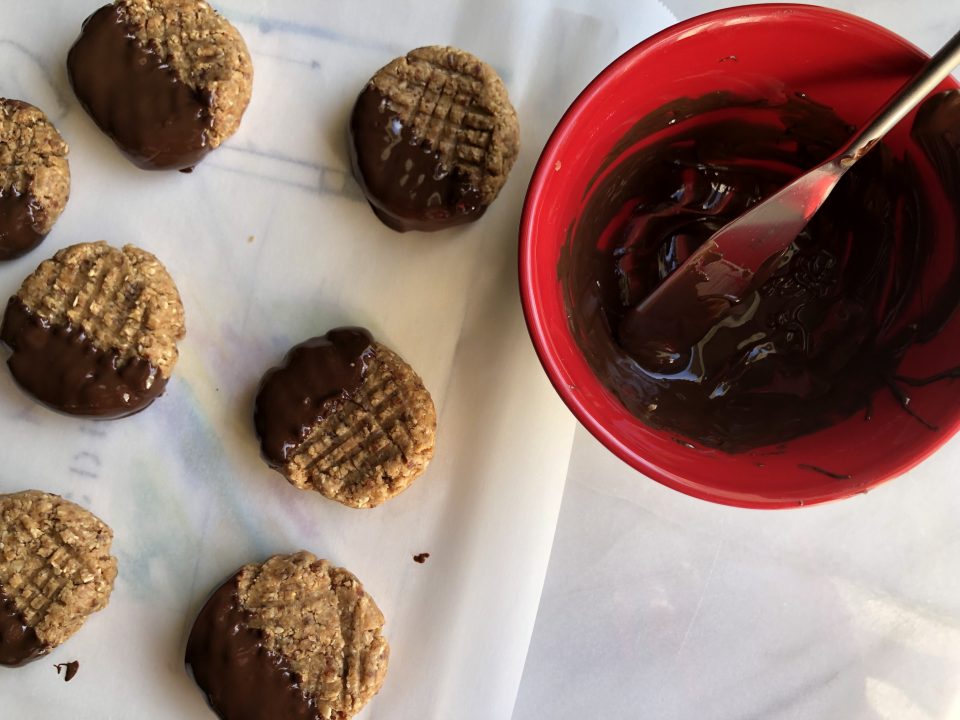
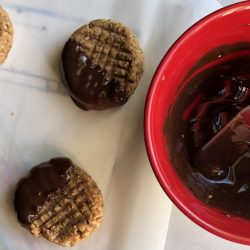
Scoop up approximately 2 tablespoons of dough and form into balls. Press with a fork, just like classic peanut butter cookies, and…DUNZO. That’s it.  Well, not quite done, take it to the next level.  Melt chocolate chips and dip these babies into it to cover half the cookie.  Then you’re done. Too much work to melt chocolate?  Add 1/4-1/3 cup mini chocolate chips to the dough right before shaping the cookies.


Chill the cookies and serve to everyone…not just your Vegan friends.  Think of these as a cross between peanut butter cups and an oatmeal cookie.  Delish.

3 Ingredient No Bake Peanut Butter Cookies

Delicious peanut butter cookies made with just 3 ingredients! No baking required, stupid easy to make, cross between a cookie and a peanut butter cup! Vegan!
Course cookies
Cuisine American
Keyword NO Bake Peanut Butter Cookies
Prep Time 10 minutes
Total Time 10 minutes
Servings 12 cookies
Author Adapted from Minimalist Baker

Ingredients

  • 1 cup rolled oats old fashioned gluten-free
  • 1 Pinch sea salt optional
  • 3/4 cup medjool dates pitted // measured after pitting
  • 1/2 cup natural salted peanut butter creamy or crunchy

CHOCOLATE GLAZE optional

  • 1/2 cup semi-sweet or dark chocolate chips "accidental" vegan chips
  • 1 tsp vegetable oil

Instructions

  • Add oats and salt (optional) to a food processor and blend into a flour. Add dates and blend for 30 seconds more or until finely chopped.
  •  Add peanut butter and blend until a dough forms.
  • Scoop out 2-Tbsp amounts of dough and carefully form into mounds. Place on a parchment-lined pan or tray. 
  • Use the back of a fork to create a cross hatch on the top of the cookies 
  • Place chips and oil in a heatproof bowl.  Melt chocolate chips in microwave at 50% power, stirring occasionally until it is melted and has a sauce-like consistency 
  • Dip the cookies in (about halfway), let excess drip off, and place on a parchment-lined pan or tray. Freeze 10 minutes or place in fridge until chocolate hardens,
  • Cookies can be kept in the refrigerator up to 1 week or in the freezer up to 1 month. 
  • Optional: Instead of glaze, add 1/4-1/3 cup mini-chocolate chips to dough right before shaping.
Muffin been the Mochi that Caught My Eye (Butter Mochi Muffins)

Muffin been the Mochi that Caught My Eye (Butter Mochi Muffins)

Always searching for new and different treats, I came across an article that spotlighted Third Culture Bakery in Berkeley.  The baker is an alum of Cal (Go Bears) who chose food over toxicology (good choice) and thus Mochi Muffins made with sweet rice flour were put on the map.  Though I haven’t made it to Berkeley to try one, I found a couple of recipes online that sounded scrumptious, so it was off to the rices!  Update: I just posted a new mochi muffin recipe, Mango Mochi Muffins made with mango tea and freeze-dried mangos!  It’s small-batch baking, only 8 regular size delicious muffins.
My Sweet Rice, Oh My Rice

For the uninitiated, mochi (sweet rice flour) is a cornerstone of Asian treats.  Sweet rice is PULVERIZED into flour to which water and flavorings are added.  It ends up looking like the BLOB, really.  It can be flavored, baked, steamed, fried and made into countless delicious treats both sweet and savory.  During New Year’s, Japanese families gather to pound mochi in a tradition called Mochitsuki. Just for your viewing pleasure here is Mitsuo Nakatani, Japanese Mochi Master.  Enjoy

Traditional mochi starts with steamed rice and is pounded and shaped into sweet or savory rice cakes.  Mochi muffins and Hawaiian Butter Mochi start with sweet rice flour, mixed with liquids, and baked.  Since I don’t foresee any of us pounding mochi, let’s make muffins and Hawaiian Mochi. Infinitely easier and pretty darn tasty.

Back on the Muffin Trail

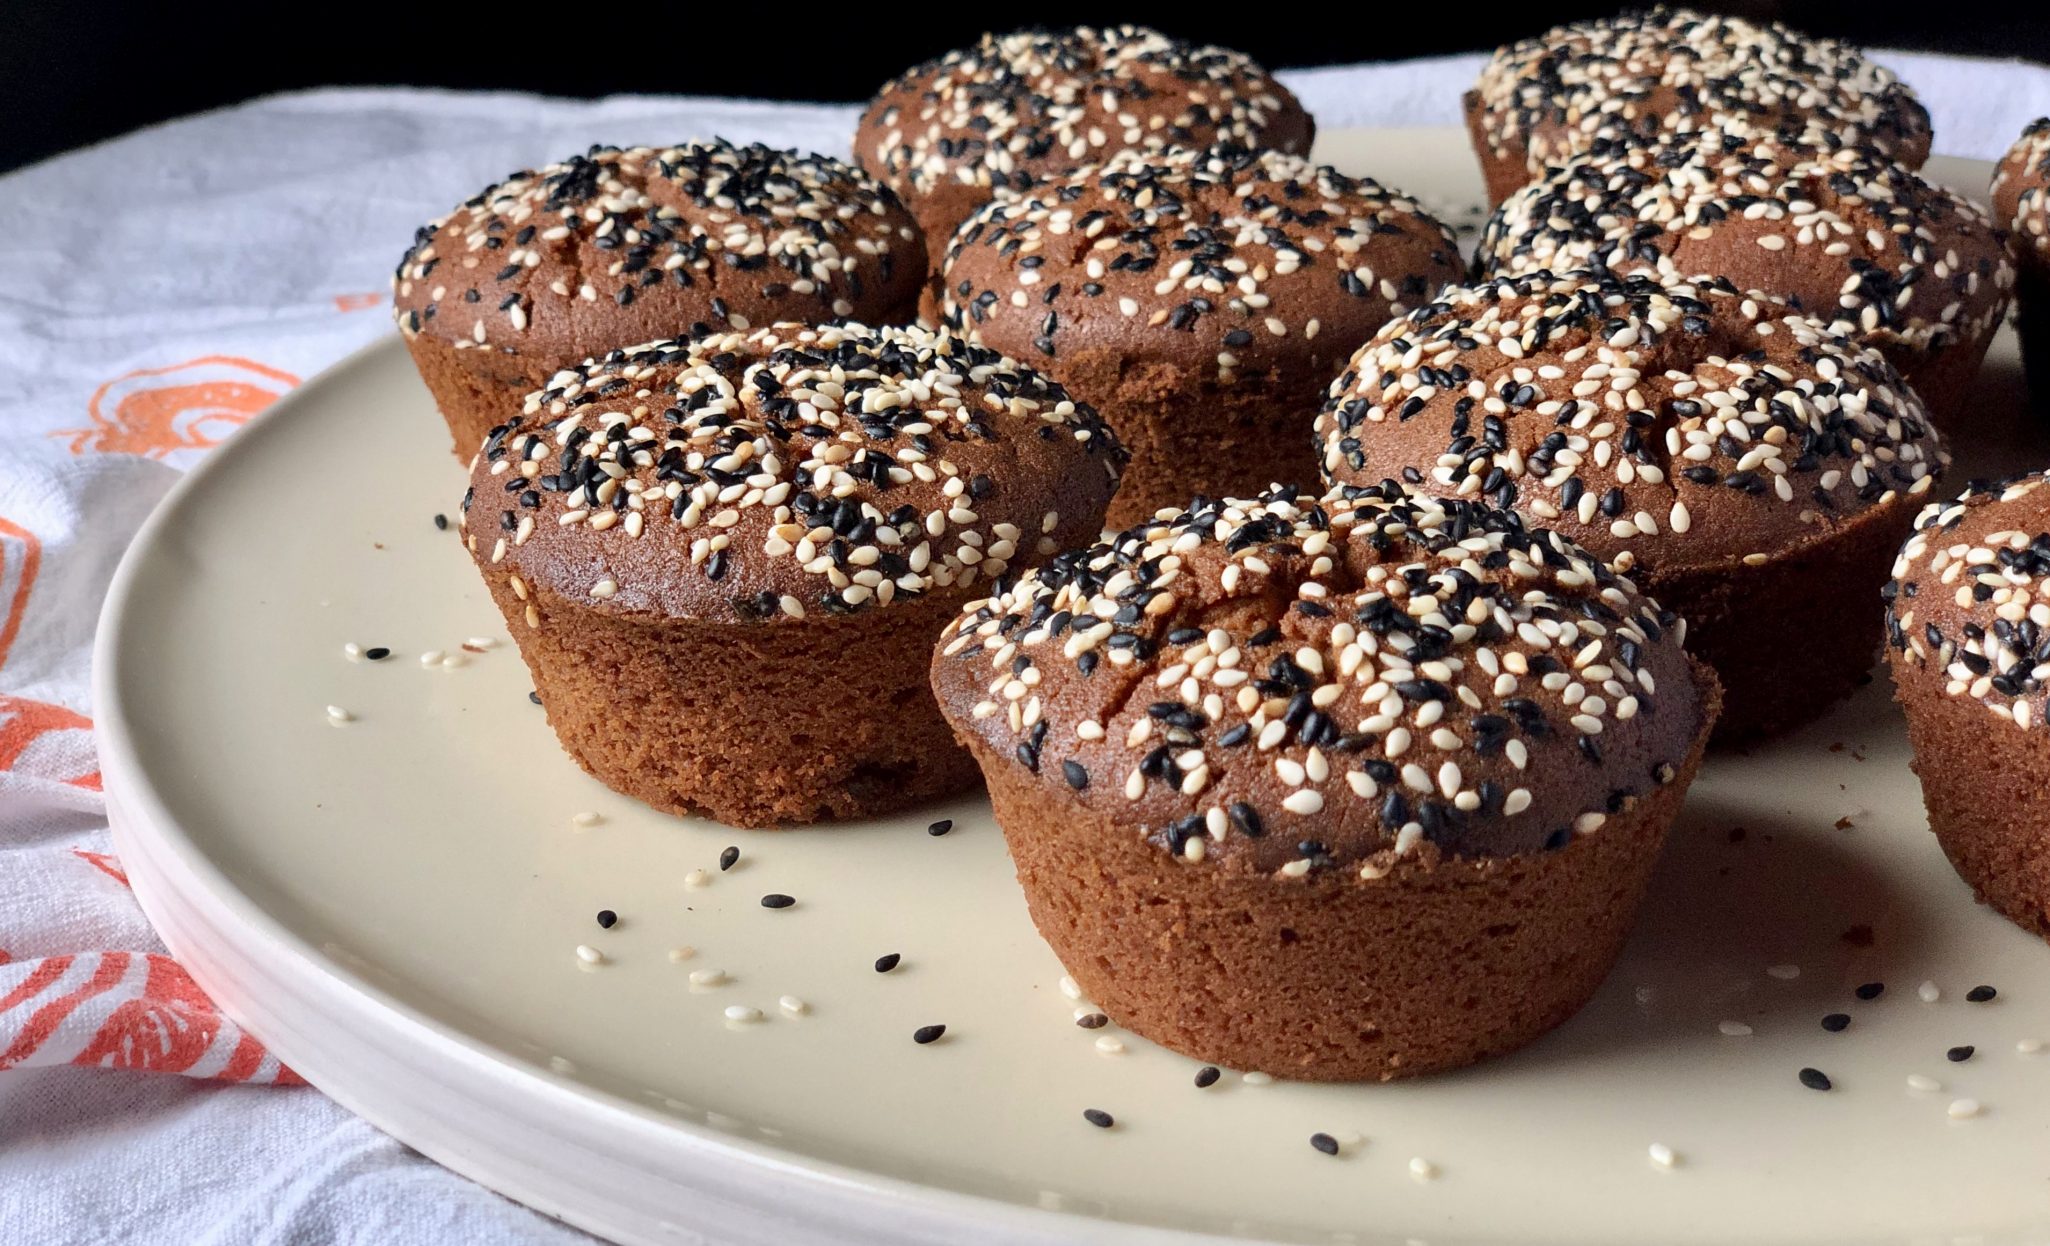
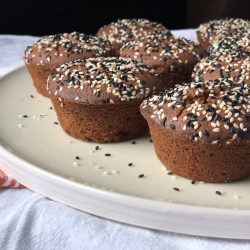
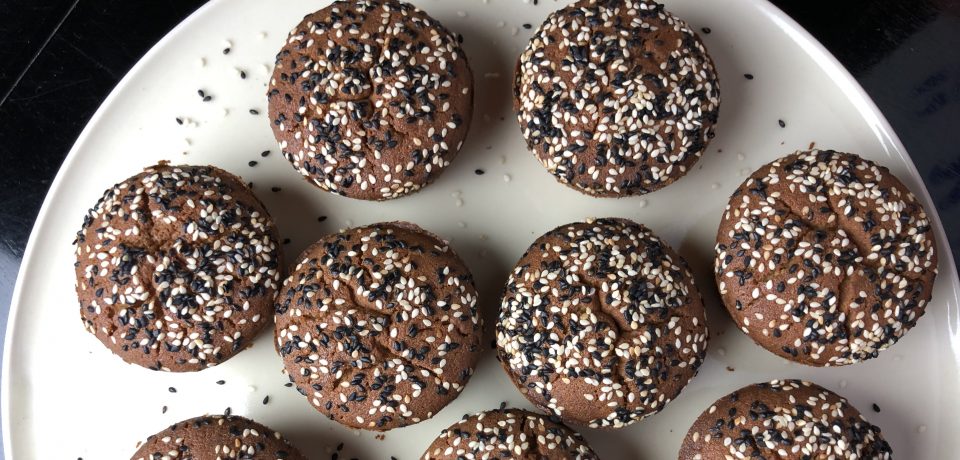
If you have ever had Manju from Shuei-Do Sweet Shop in Japantown in San Jose, or Butter Mochi from Hawaii and liked it…you’re going to love these.  If you haven’t had mochi, this is a good introduction.  Not quite as gooey as Manju and definitely not cakey like a muffin, it’s a delicious hybrid of the two.  A touch of sweetness, crispy on the outside, dense and chewy on the inside, and crunchy from the generous sprinkle of sesame seeds on top.  It’s different but delicious.  If that wasn’t enough, they are GLUTEN-FREE.  You’re welcome.

Rice, Rice, Baby

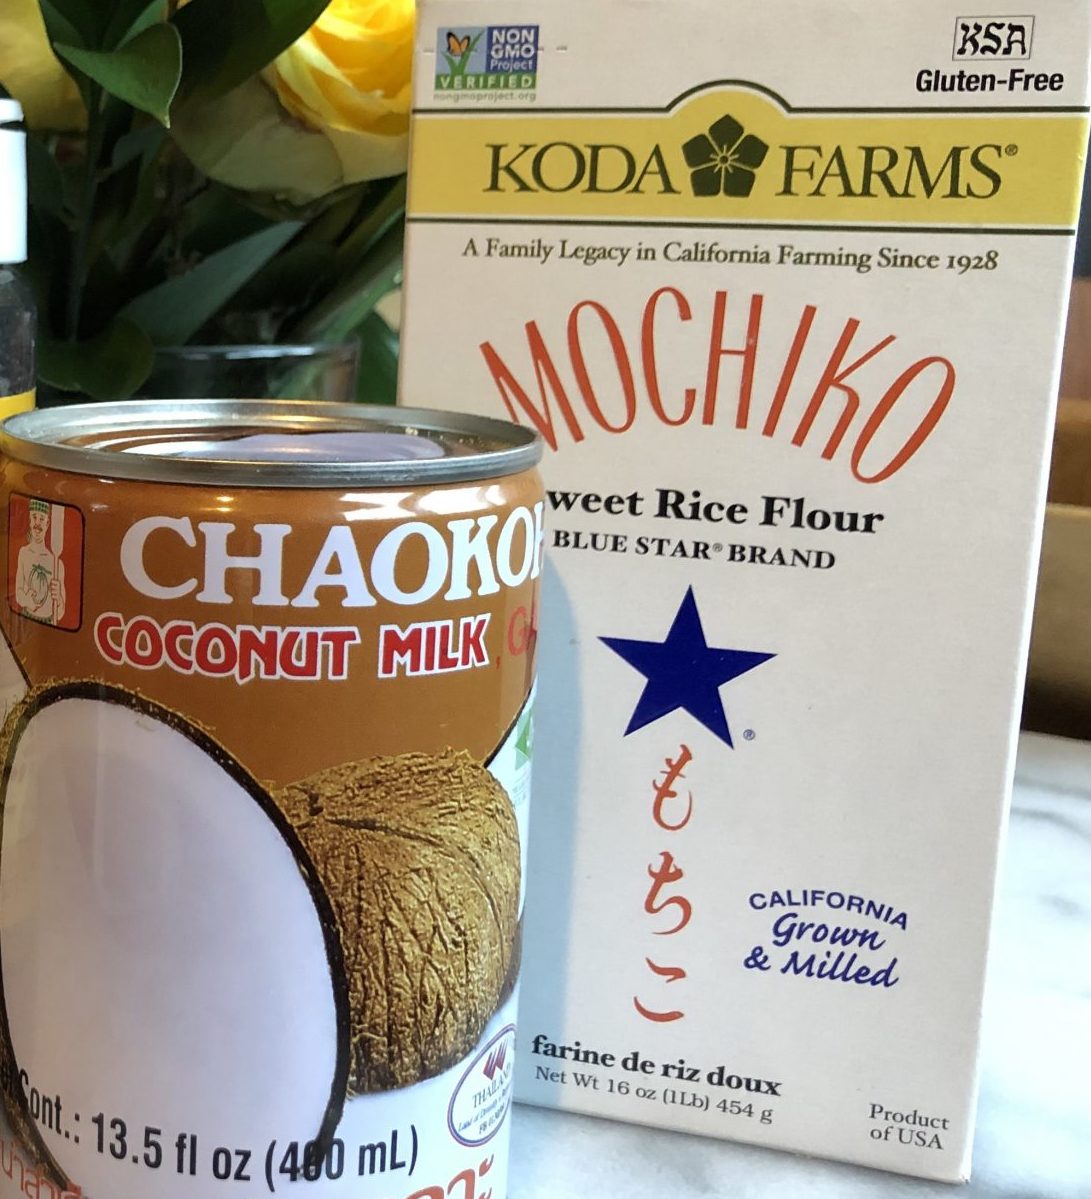
The most important item in the pic is the Mochiko Sweet Rice Flour by Koda Farms.  This is the go-to brand.  You can definitely find it in any Asian store (along with the sesame seeds), and if you’re lucky, at some of your larger local markets.  Take a walk down the international/ethnic food aisle.

I found quite a few recipes for Mochi Muffins online and finally settled on one from a beautiful blog called Snixy Kitchen.  Her batch made 12 muffins, which made her recipe the frontrunner as most made 24.  As yummy as they are, what am I going to do with 24 muffins?!

Mochi muffin batter

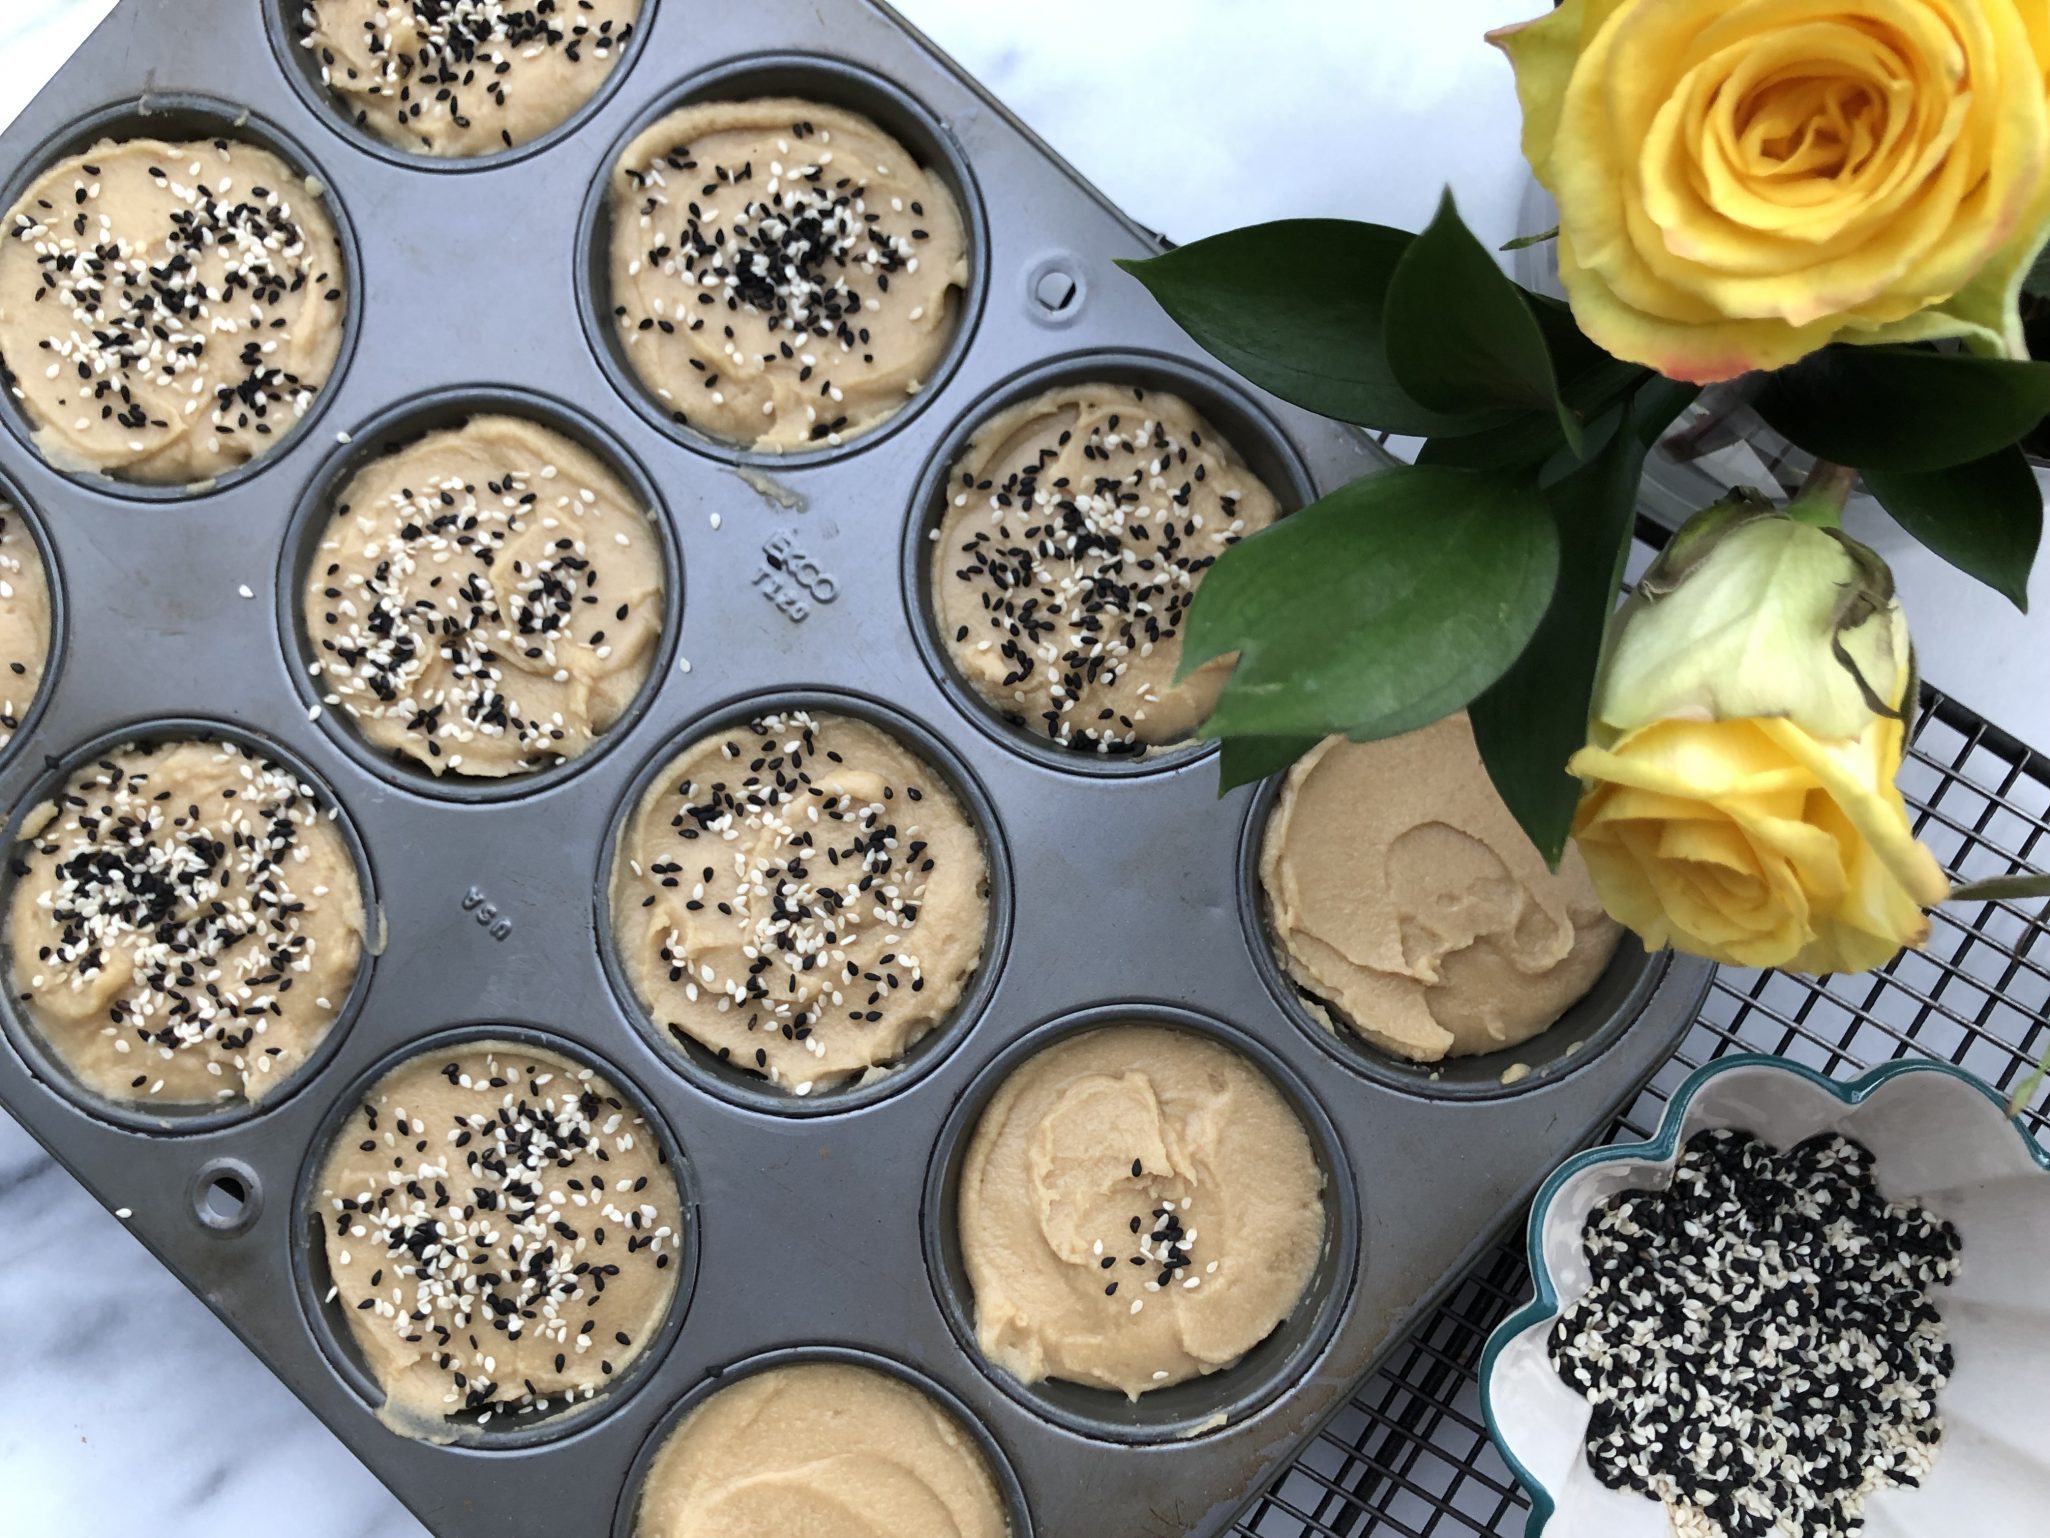
The batter comes together in a snap:  melted butter, coconut milk, egg, brown sugar, and rice flour.  Stir together and pour into a muffin tin.  Boom, done.  My batter was thicker than some of the posts I’ve seen.  This may account for the slight dome mine had.  I also found a recipe from Saimin Noshrat in the NYT.  I think I may try a couple of her tweaks the next time I make these.  Trust me, there will be a next time.  I will use light brown sugar, substitute evaporated milk for some of the coconut milk, and brown my butter.  Not to worry, a full report will follow.  Hmmm, can’t wait to make another batch.

The longer you leave these in the oven, the less gooey and more cake-like they will be.  The first batch was baked for 60 minutes.  I think I should have pulled them out sooner, I like gooey.  Now I check at 40 minutes and pull them out around 45 minutes.  To test them, use a knife to poke the center of a muffin.  It should come out fairly clean with a bit of crumb.

More Mochi Madness

After making these muffins if you like the chewiness, definitely try the Hawaiian Butter Mochi Muffins, inspired by Aloha Kitchen by Alana Kysar.  A little less flour and a bit more liquid kick up the gooey, buttery, lusciousness of these bites.  Bake them in a muffin tin for crispy edges.  I ADORE both of these muffins.

These are soooo good, a little more squishy, very buttery, topped with shredded coconut.

Also check out Peanut Butter Mochi from A Common Table by Cynthia Chen McTernan. Delish! LOVE, love, LOVE

If you would like to try traditional Japanese Mochi, here are my recommendations:  Fugetsu-Do in Little Tokyo in LA, the oldest family-owned Japanese Shop in the US, Shuei Do Manju Shop in San Jose, and in my hometown of SF, Benkyodo Company in Japantown (now closed😢😢😢 )All family-owned artisan shops.
Mochi Muffins
Print Pin
4.53 from 19 votes

Butter Mochi Muffins

Course Dessert
Cuisine Asian-American
Keyword coconut milk, Gluten free, mochi muffin
Prep Time 15 minutes
Cook Time 45 minutes

Ingredients

  • 1/4 cup (2 ounces )unsalted butter, melted and cooled, plus more for greasing pans sub brown-butter
  • 2 cups (320 grams) mochiko sweet rice flour Koda Farms
  • 1 cup (200 grams) organic dark brown sugar* light or dark brown sugar will work
  • 2 teaspoons baking powder
  • 1/2 teaspoon kosher salt 1/4 tsp sea salt
  • 1 13 ounce can full-fat coconut milk Sub evaporated milk, half to all
  • 2 large eggs room temperature
  • teaspoons vanilla extract
  • 1 teaspoon molasses optional, added for flavor or use Golden Syrup or honey
  • tablespoons each black and toasted sesame seeds, for garnish

Instructions

  • Preheat oven to 350°F and place the oven rack in the middle of the oven.
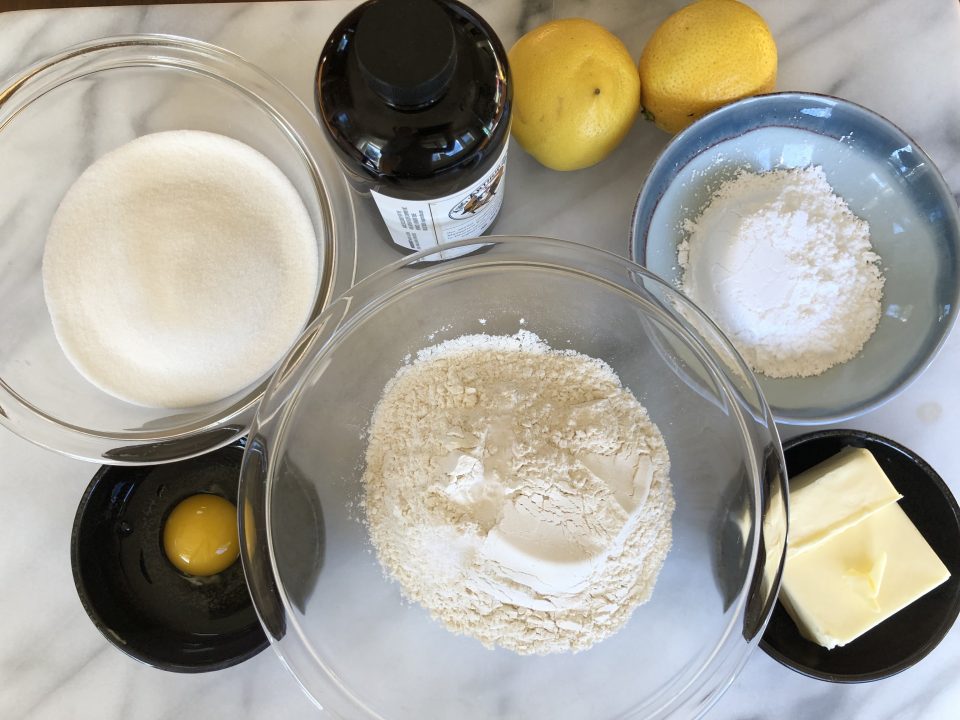
  • Grease the sides and top of a 12-cup muffin tin well with soft butter.
  • In a medium bowl, whisk together the sweet rice flour, brown sugar, baking powder, and salt.
  • In the bowl of a stand mixer fitted with the whisk attachment or a large mixing bowl, whisk together the melted butter, coconut milk, eggs, vanilla, and molasses.
  • With the mixer on low speed, slowly add the dry ingredients to the wet ingredients and mix until completely combined.
  • Divide the batter among the prepared muffin tin, filling each cup all the way to the top.
  • Sprinkle the tops with black and white sesame seeds.
  • Bake 45-50 minutes until the top is brown and crispy and the muffin springs back when poked with a finger.  Bake for less time. for muffins that are chewier and less cakey. Muffins are done when a skewer comes out relatively clean and the tops are brown.
  • Let cool 10 minutes in the pan, then transfer to a wire rack to cool completely.
  • Store in an airtight container for up to 3 days.  Can be frozen and thawed at room temp.

Notes

Organic dark brown sugar is richer and more caramel-y than conventional, but you can use regular brown sugar.
Any muffin tin will do, but for ultimate crispy exterior, use a dark non-stick muffin tin.
If using a light muffin tin, you may have to bake the muffins a little bit longer.
If keeping them for longer, they'll lose their crispiness after a day or two in storage, put them in the oven for a few minutes to crisp again before eating.

Butter Mochi Muffins

Nutty for Almond Meltaways

Nutty for Almond Meltaways

I contemplated using the tiniest font size possible when I typed “cookie #12 of my 12 days of cookies” when I realized I actually can’t change the font size. Damn! It’s the second week in January and here I am finally posting the last holiday cookie.

At least it is a good one, Almond Meltaways.

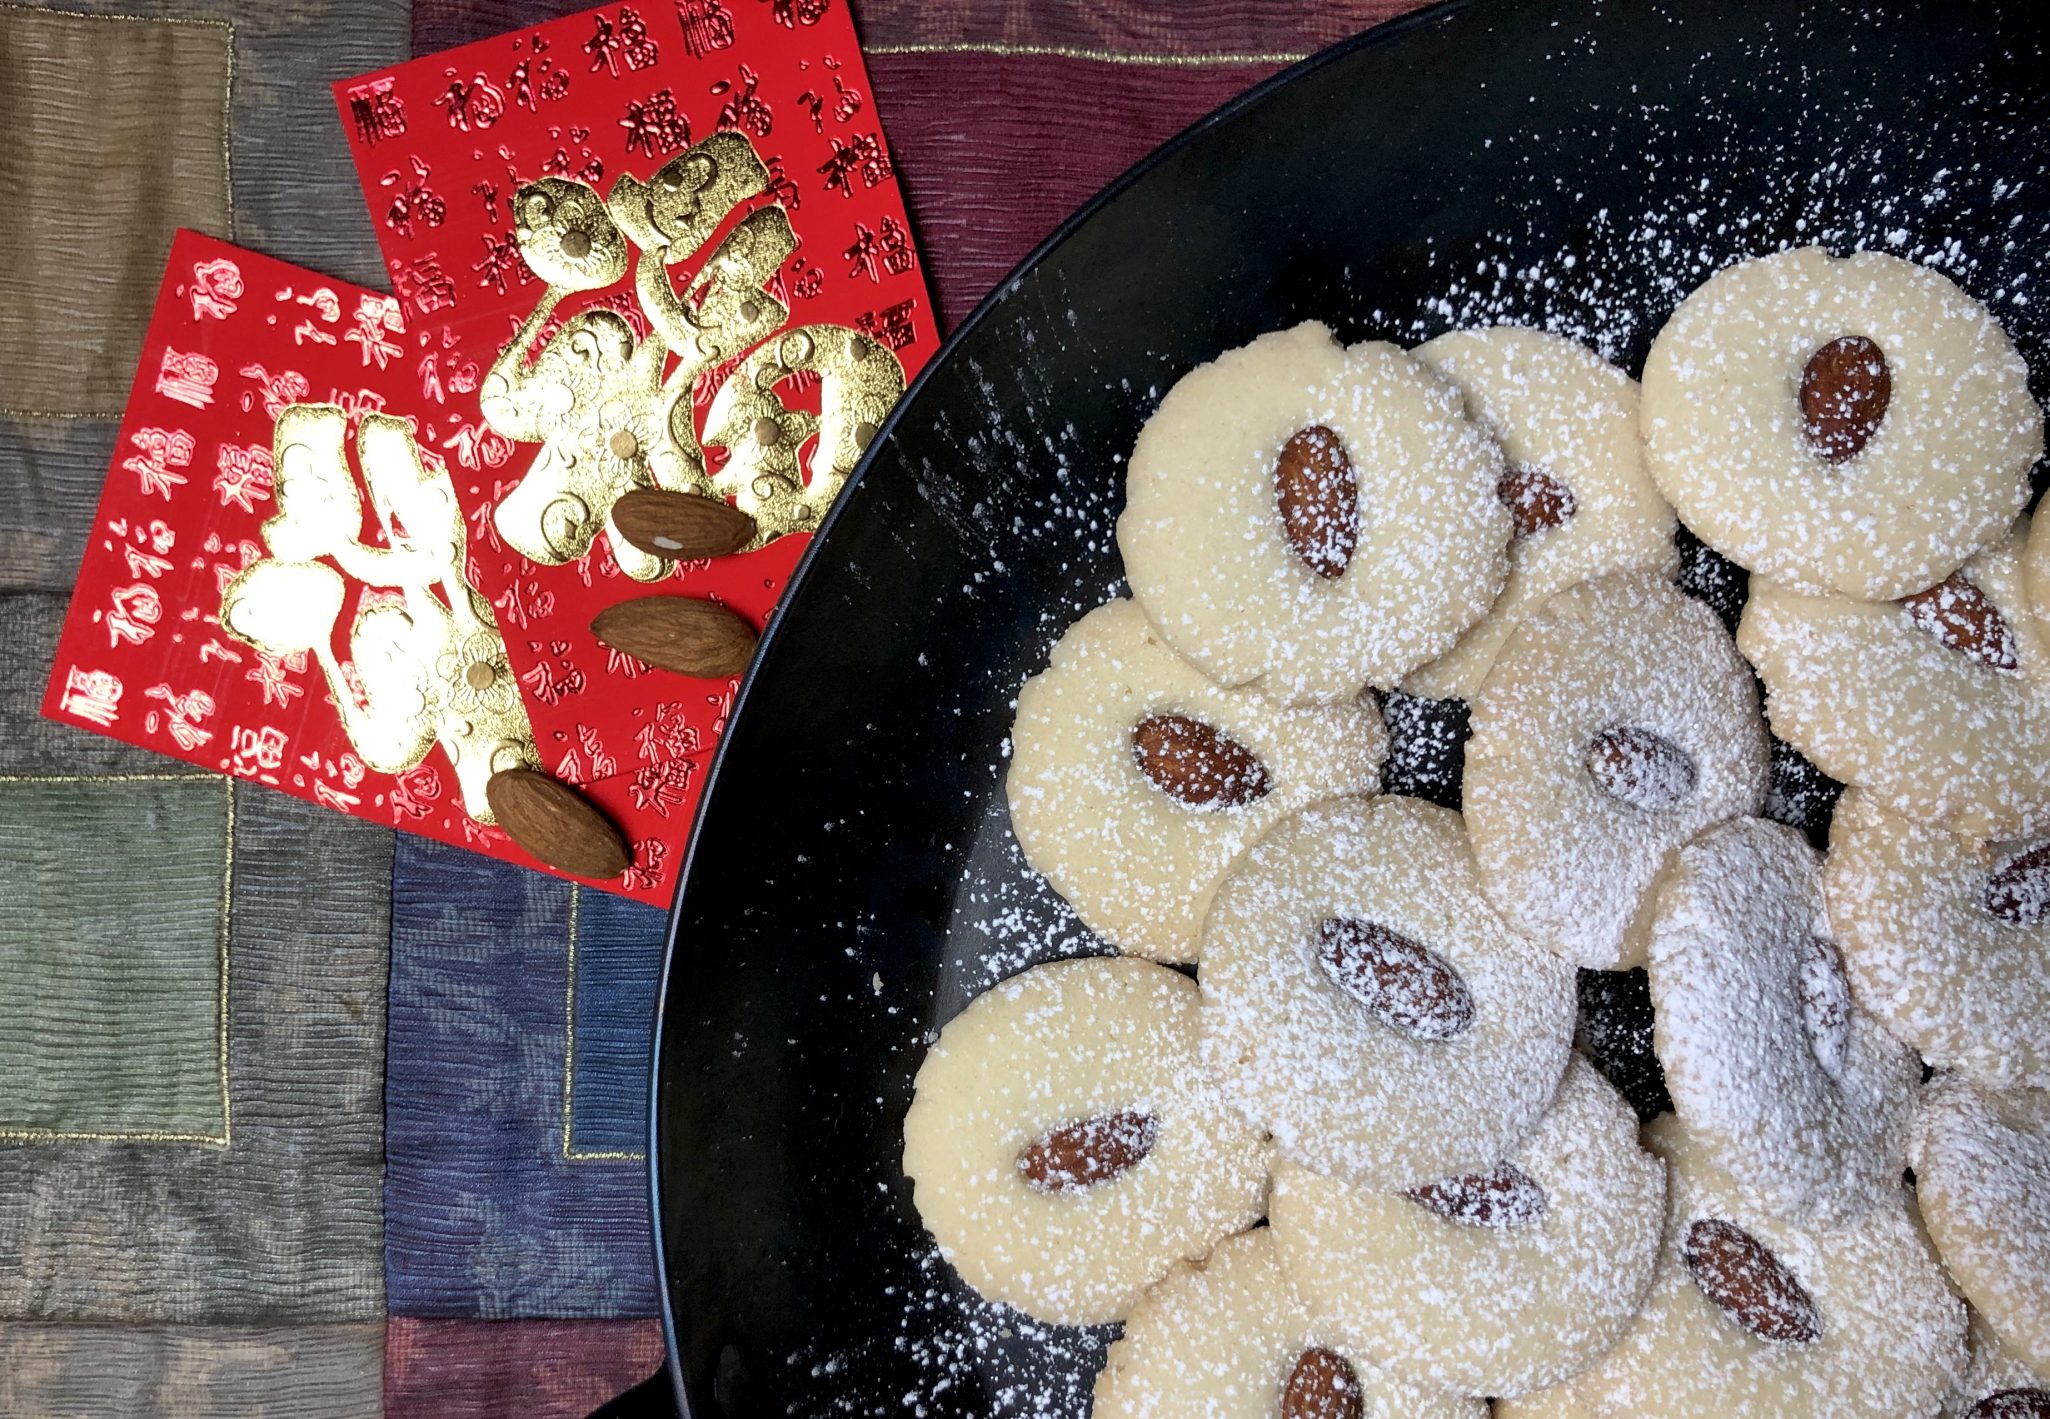
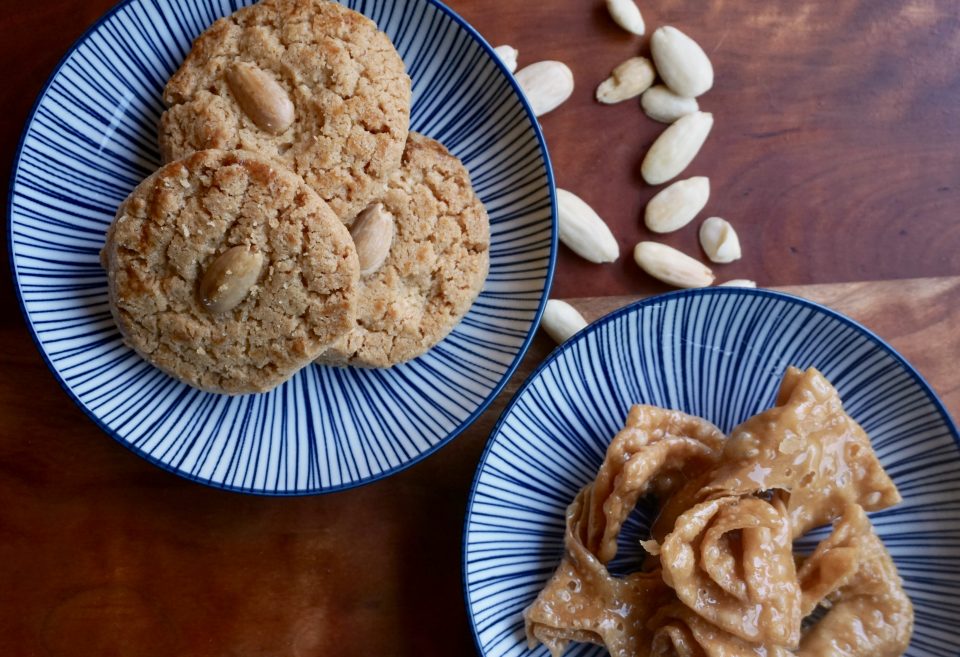
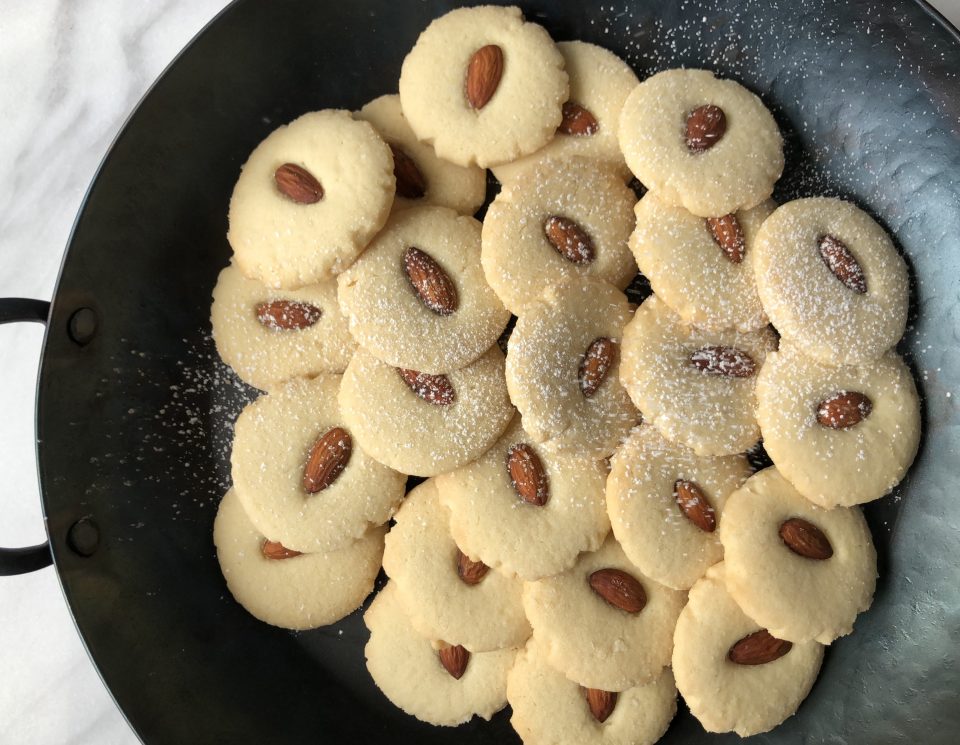
I would not be surprised if one of the first cookies I ever nibbled on was an almond cookie.   Every bakery in Chinatown makes a version of the egg-washed, crinkly cookie with a hallmark whole almond pressed in the center of each.  Made with lard or shortening these cookies are crumbly, sandy, crisp, and redolent of almonds. In a nutshell-yummy.  While friends pulled out sugar or chocolate chip cookies from their lunch bags, I pulled out almond cookies from mine.  Those days are a distant memory but I still love eating almond cookies.

On my last jaunt to Los Angeles, I made a quick pitstop at a family favorite in Chinatown, Phoenix Bakery.  When we were kids, my mom, distantly related to the owners, always made it a point to stop there when we were in LA.  After catching up with the latest news of our families, they would pack boxes of Almond Cookies and Butterflies for us to bring home.  I love their Butterflies, a bow-shaped sheet of dough deep-fried to make them shatteringly crisp and covered with a sweet, sticky, gooey syrup-a dentist’s dream.  If you are ever in LA, do yourself a favor and pick up a box.  The bakery just celebrated its 80th anniversary, no small feat for a family-run business and a testament to their delicious sweets.

I enjoy almond cookies anytime. But almond cookies are a must during New Year and an integral part of any New Year’s celebration.  Symbolizing coins, they represent good fortune and prosperity in the New Year.

Although it would be hard to beat the almond cookie of my youth, I am always trying new recipes for almond cookies. I’m glad I tried this one.  They’re delicious.  The recipe comes from the blog The Beach House Kitchen and is a wonderful stand-in for Chinese Almond Cookies. The fine grain texture and tenderness come from the use of cornstarch, confectioners’ sugar, and shortening while the butter and almond extract provide the flavor.

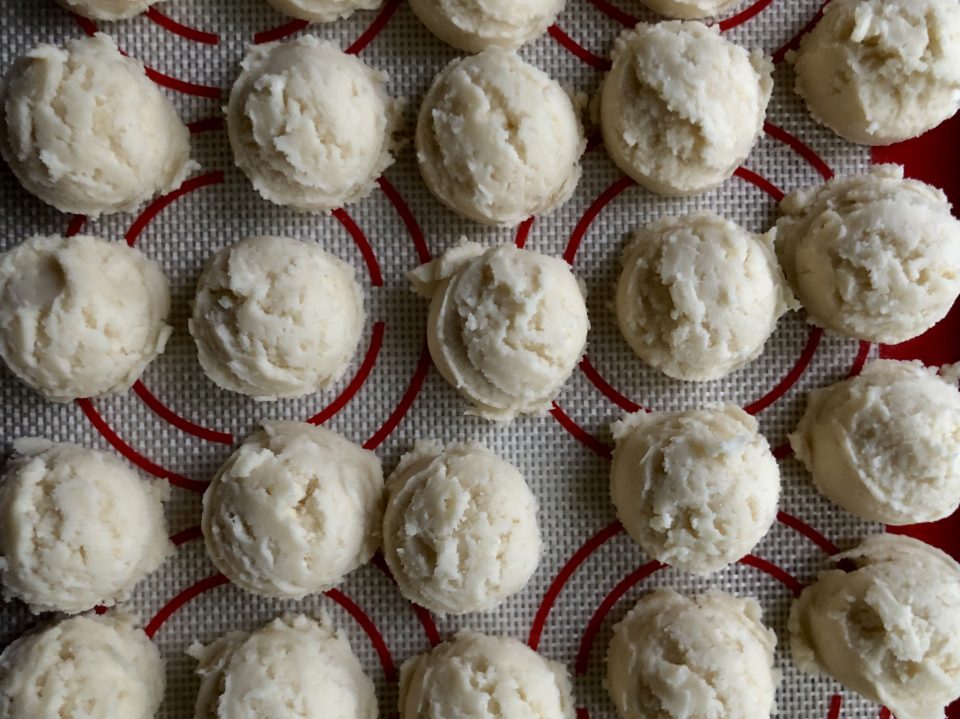
The dough comes together in a snap. Use a tablespoon ice cream scoop (#70 scoop) to portion out the dough.

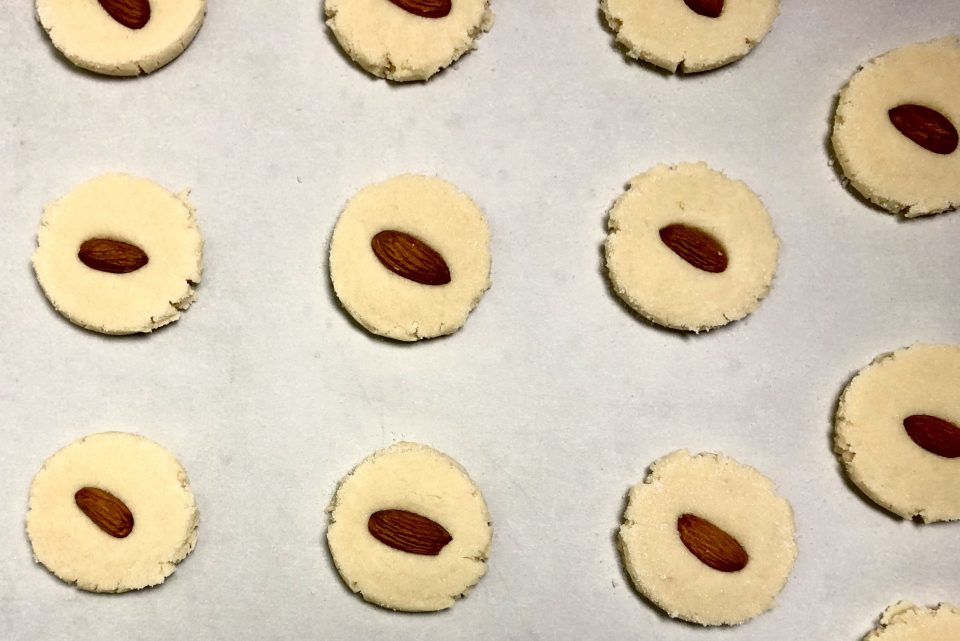
The dough is flattened with a glass dipped in sugar and a whole almond pressed in the center.  After baking, a quick dusting of powdered sugar is the final touch before serving these gorgeous cookies.

I can’t wait to bring these to this year’s celebration, Happy Year of the Pig!

Like Almond Cookies?  Here are  a couple of other favorites, Almond Clouds from King Arthur’s Flour and Almond Cookies from B’s Patisserie in San Francisco.

Almond Meltaways


Course cookies
Cuisine American
Keyword Almond Cookies
Prep Time 16 minutes
Cook Time 14 minutes
Total Time 30 minutes

Ingredients

  • 1 1/3 cup all­ purpose flour 167 gm
  • 1/2 cup whole almonds finely ground 75gms
  • 2/3 cup confectioners' sugar 71gm
  • 1/2 cup cornstarch 56gm
  • 1/8 tsp. salt
  • 1/2 cup unsalted butter, room temperature one stick
  • 1/2 cup shortening room temperature
  • 2 tsp. almond extract
  • whole almonds for garnish
  • granulated sugar for dipping
  • confectioners' sugar for garnish

Instructions

  • Preheat oven to 325 degrees. Line a large baking sheet with parchment paper. Set aside.
  • In a large bowl, whisk together flour, almonds, confectioners' sugar, corn starch and salt until well combined. Set aside. 
  • Combine butter and shortening in the bowl of a stand mixer fitted with paddle attachment, on medium speed beat until fluffy, about 2 minutes. Add almond extract. 
  • Turn the mixer to low and slowly add the flour mixture, beating until the dough begins to clump and form a ball around the paddle.
  • Shape the dough into balls, about one tablespoon each and place on baking sheet, about 2 inches apart. Flatten each cookie with the bottom of a glass that has been dipped in some granulated sugar and then press a whole almond into the center of each cookie.
  • Bake for 12­-14 minutes, until just lightly browned and firm when gently touched. Let stand on baking sheet for 5 minutes, before transferring to wire rack to cool completely.
  • Shake confectioners' sugar on tops of cookies
A Crinkle Just In Time: Cookie #11 Lemon Crinkles

A Crinkle Just In Time: Cookie #11 Lemon Crinkles

Jamie is home and decided it was time to bake and bail me out, as she always does, on my attempt to post 12 Days of Cookies.  I’m soooo close, this is cookie number 11.  If it wasn’t for “being under the weather”, I would have posted this yesterday. We definitely needed a citrus cookie so she picked a Lemon Crinkles.  The recipe comes from Fresh April Flours by Lynn.  I think it was karma that Jamie picked this recipe, Lynn is a scientist by trade and a field hockey player. Imagine that?  Fate.

A riff on Chocolate Crinkle Cookies, these gems are bursting with lemon flavor, a delightfully refreshing cookie that’s easy to make and sure to appeal to any citrus lover.

If you are a lemon FREAK.  You could up the amount of zest or play with the amount of lemon juice (just a bit since adding liquid can effect the texture).  Remember, adding zest ups the lemon flavor while adding lemon juice will increase the tartness.  Baking soda also tempers sourness (which is why I add baking soda to my buttermilk biscuits, I don’t want the tang).  You could play around with leaving out the baking soda and adding more baking powder…but this is speculation on my part, so you are entering the change at your own risk zone.

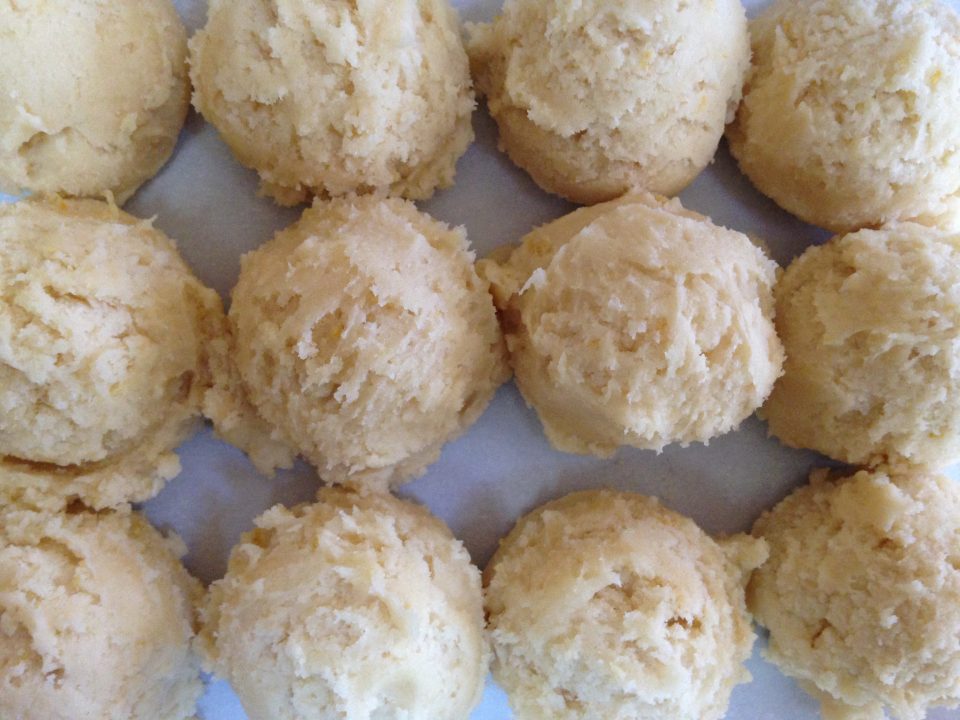
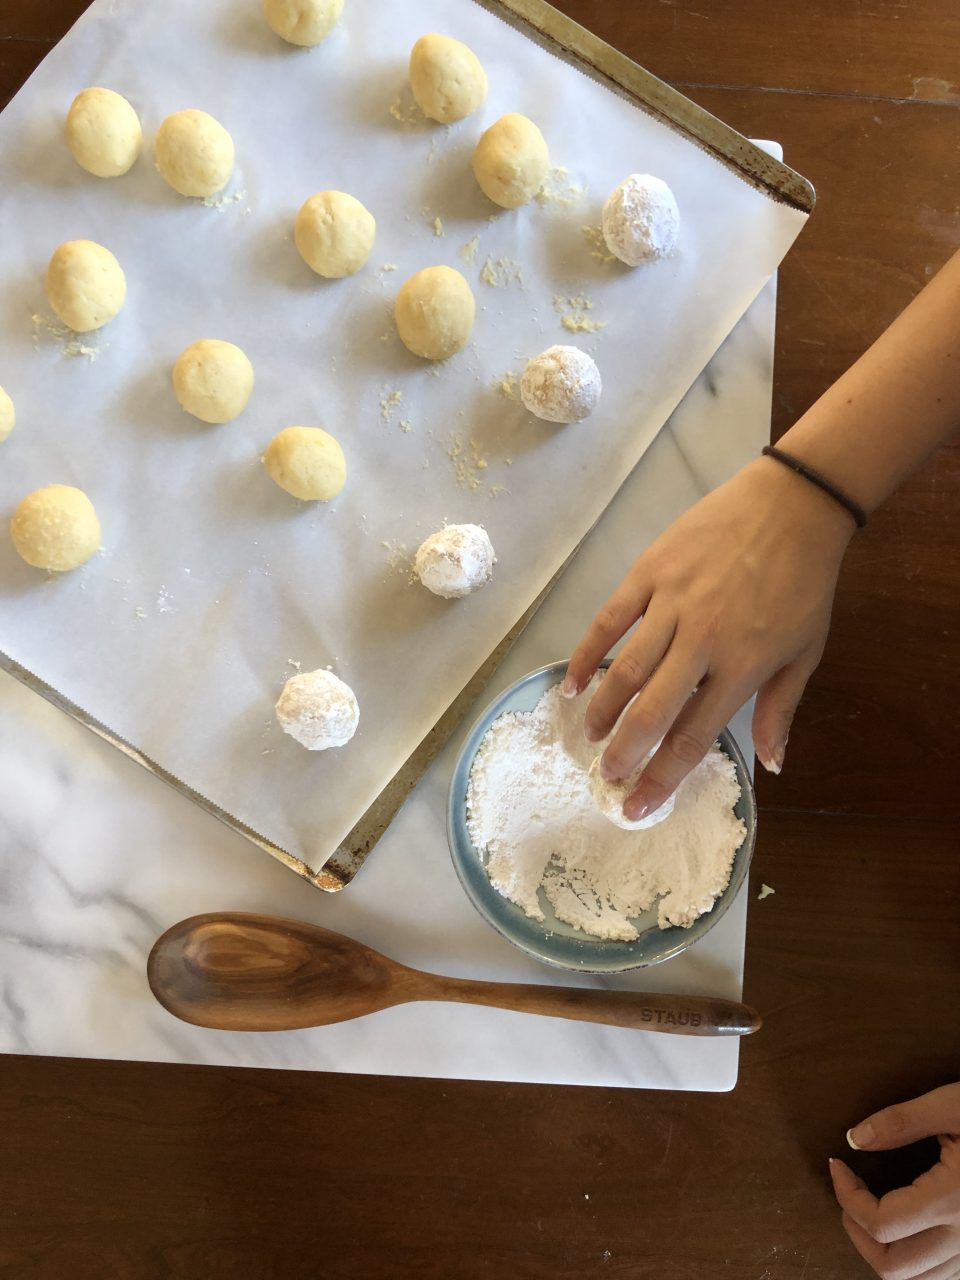
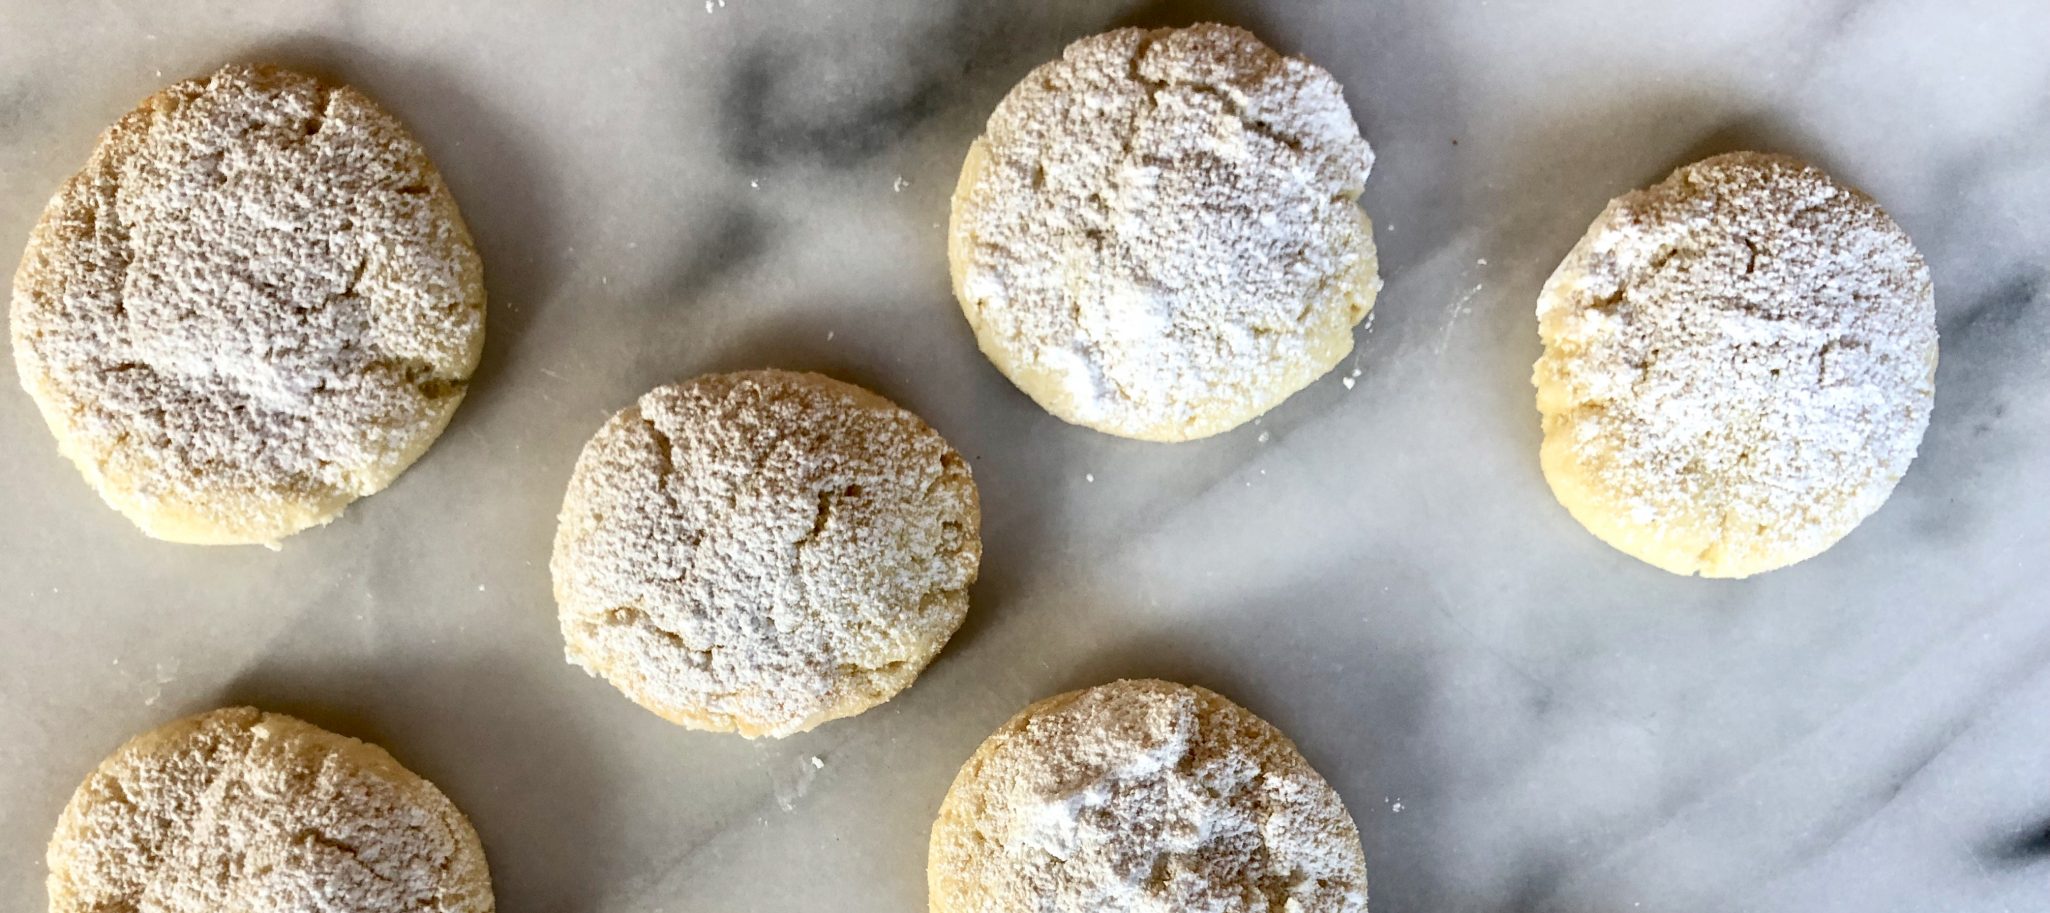
Using you handy dandy ice cream/cookie scoops.  Use a 1.5 tablespoon scooper for a good size cookie.  Roll the scoops into smooth uniform balls before LIBERALLY rolling in the powdered sugar.  Some of the sugar will be absorbed by the moisture in the dough.  For that nice white jagged snowy cap, keep on rollin’.

Cookies spreading too much?  Chill-out and chill the dough well.  This means on warm days, chill the dough, scoop out the balls, if they are soft, chill again.

Bake these bad boys off and sit down with a nice cup of tea and enjoy! Or tease your Dog…

Lemon Crinkle Cookies

A citrus riff on the classic chocolate crinkle cookie.  A refreshing change of pace.
Course cookies
Cuisine American
Keyword Crinkles
Prep Time 10 minutes
Cook Time 15 minutes
1 hour
Total Time 25 minutes
Servings 18 cookies
Author April Fresh Flours

Ingredients

  • 1.5 cups all purpose flour
  • ¼ teaspoon salt
  • ¼ teaspoon baking powder
  • teaspoon baking soda
  • ½ cup unsalted butter, softened to room temperature = 1 stick
  • 1 cup granulated sugar
  • 1 teaspoon vanilla extract
  • 1 large egg room temperature*
  • 1.5 tablespoons fresh lemon juice 2 T for more tartness
  • zest of one lemon can increase for more lemon flavor

Instructions

  • In a medium size bowl, toss together the flour, salt, baking powder, and baking soda. Set aside.
  • In a large bowl with a hand mixer or the bowl of a stand mixer fitted with the paddle attachment, cream the butter and sugar together until light and fluffy (approximately 2-3 minutes). Beat in vanilla, egg, lemon juice, and lemon zest. Scrape down the sides of the bowl with a spatula as necessary.
  • Reduce mixer speed to low and gradually add flour mixture. Mix until just combined. Cover bowl and chill in the refrigerator at least 1 hour and up to 3 days. If chilling longer than 1 hour, allow to sit at room temperature about 15 minutes before rolling into balls.
  • When you are ready to bake the cookies, preheat the oven to 350ºF. Line a baking sheet with parchment paper or a silicone baking mat. Set aside.
  • Pour the powdered sugar onto a large plate. Using a large cookie scoop, scoop the dough out of the bowl and roll into a ball with your hands. Dough ball does not need to be perfect. Roll the ball of dough generously in the powdered sugar. Place no more than 8 balls of dough on a baking sheet at one time (4 rows of 2). Chill dough you are not using.
  • Bake cookies for 13-14 minutes or until cookies look mostly matte (not wet or shiny). Remove from oven and cool on the baking sheet for 3 minutes before transferring to cooling rack to cool completely. Store cookies in an airtight container at room temperature up to 10 days. Baked cookies freeze well, up to 2 months. Rolled cookie dough can be frozen up to 3 months. Roll in powdered sugar before baking and bake frozen. Add another 1-2 minutes to baking time.

Forward Progress…courtesy of Jamie….an Instagram Story on making Lemon Crinkles! It gets a little loss in translation on the blog but it’s a start..onto 2019!

Go Big or Go Home Day 10 of 12 Days of Cookies (CCC Skillet Style)

Go Big or Go Home Day 10 of 12 Days of Cookies (CCC Skillet Style)

The best thing about cruising the internet right now is the plethora of Top Ten or Best Eats of the Year lists that are popping up everywhere. In between furiously publishing holiday recipes, everyone digs into their 2018 archives and comes up with The Best of 2018.
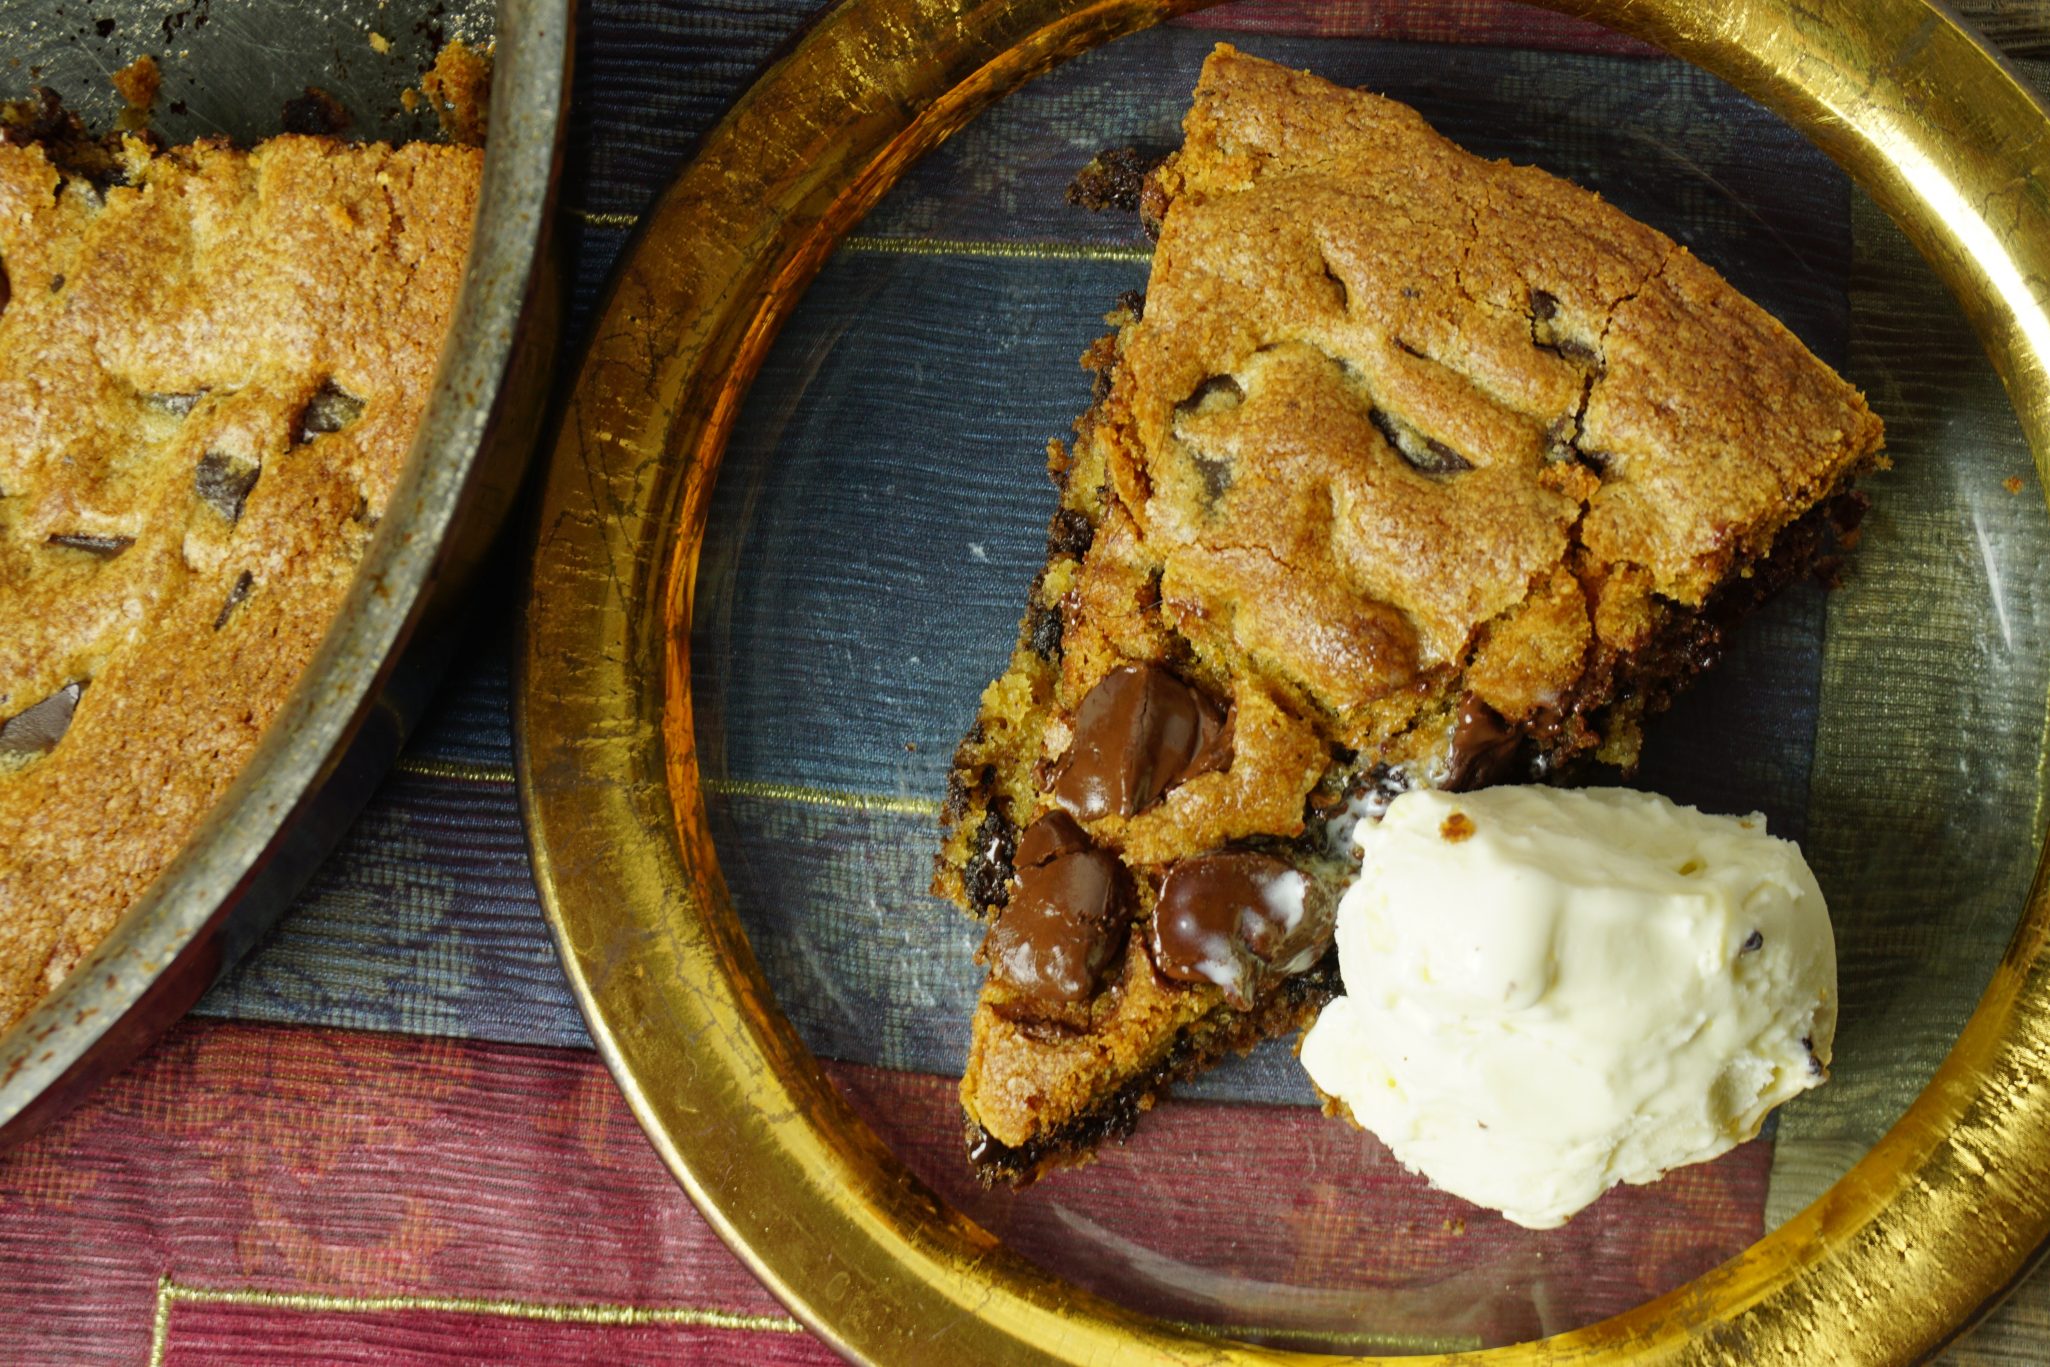
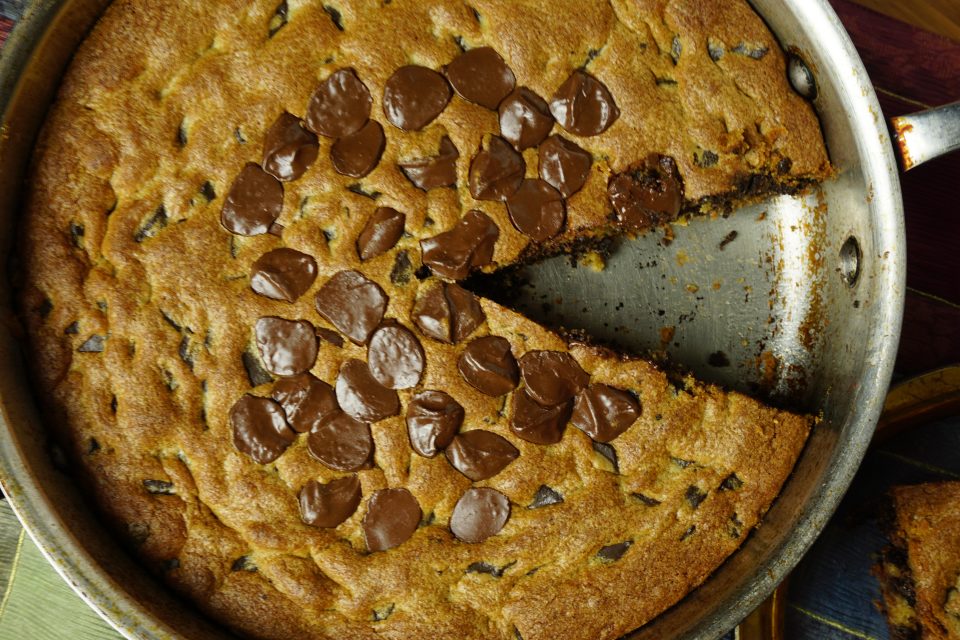
I scrolled through Favorite Desserts of 2018 on Ktchn and landed on a cookie recipe and I mean A cookie. My stomach grumble meter went into overdrive, a ginormous chocolate chip cookie baked in an iron skillet.

It’s New Year’s Eve. I need a dessert that’s EASY to make, a show stopper, sharable, and has universal appeal.

This pops into my head.

Enter the Skillet Zone.  Julia Child in a suit and tie, sans glass of wine, starts to speak, she’s a bit stiffer than normal but hey, this is a mash up…she starts to speak…

Imagine if you will, a Cast Iron Skillet, ebony from years of cooking and love.  A warm GIANT Chocolate Chip Cookie cooked in the aforementioned skillet and a quart (or more) of Vanilla Ice Cream.

The Oohs and Aahs as you bring this to the dinner table.  Cause who doesn’t succumb to the aroma of a freshly baked chocolate chip cookie?

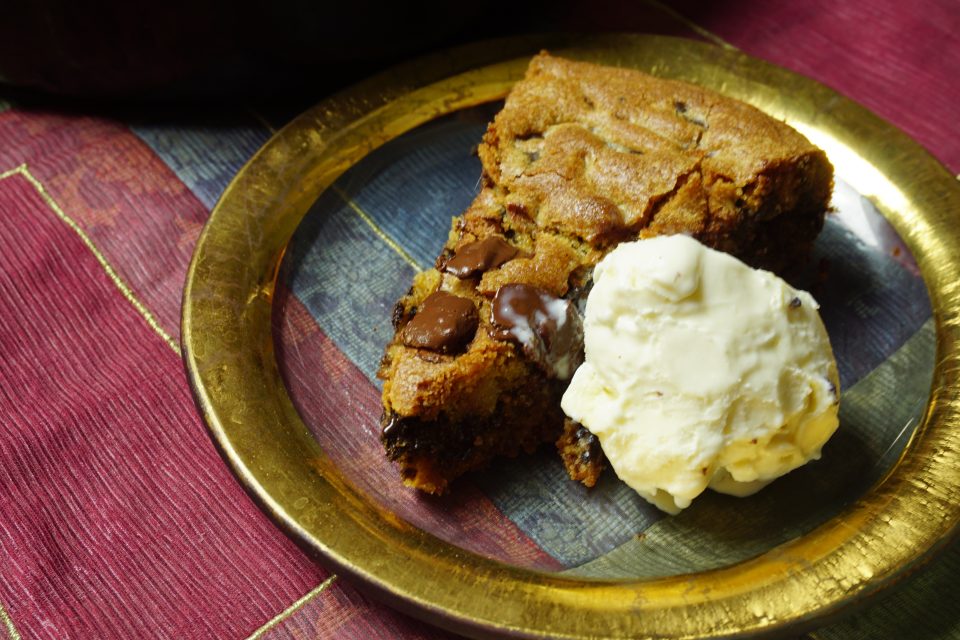
You cut into the cookie-the chocolate chips are gooey, melted perfection, the cookie is soft, cakey in the middle, you work your way to the edge, the texture changes to that of a cookie with a crisp, caramelized edge.  You place the wedge of cookie on a plate.

Everyone is holding their breath in anticipation, mesmerized by the chocolate oozing and the aroma of the cookie and then…

BAM! You hit it with a scoop of vanilla ice cream which immediately begins to melt over the cookie.

Everyone goes crazy.

Yes, you have entered the Skillet Zone.

Unfortunately, I do not have a cast iron skillet.  Lost, in one of the many moves we have made.  I used an All-Clad skillet.  My cookie was relatively even in height.  I think that if baked in a cast iron skillet, the additional heat of the black pan would cause the sides to bake quicker, rise a little higher than mine, possibly be a bit crisper.  Hmmm, yummy.  Feel free to add nuts if you like.  I CHEATED, I used chocolate chunks and pistoles instead of chopping chocolate.  Definitely try to find chunks and not use regular sized chips.

Deep-Dish Chocolate Chip Skillet Cookie

Ingredients

  • 2 1/2 cups all-purpose flour
  • 1 teaspoon baking soda
  • 1/2 teaspoon salt
  • 1 cup 2 sticks unsalted butter at room temperature
  • 1 cup packed light brown sugar
  • 1/2 cup granulated sugar
  • 2 large eggs
  • 2 teaspoons vanilla extract
  • 12 ounces dark chocolate coarsely chopped, divided
  • 1/2 cup pecans pieces

Instructions

  • Arrange a rack in the middle of the oven and heat to 375°F.
  • Place the flour, baking soda, and salt in a medium bowl and whisk to combine; set aside.
  • Place the butter, brown sugar, and granulated sugar in the bowl of a stand mixer fitted with the paddle attachment. (Alternatively, use an electric hand mixer and large bowl.) Beat at medium speed until lightened in color and creamy, about 2 minutes. With the mixer on low speed, beat in the eggs and vanilla. Scrape down the side of the bowl. Beat in the flour mixture on low speed until just combined.
  • Set aside 1/3 cup of the chopped chocolate. Add the remaining chocolate and nuts if using, to the dough and fold to combine. Transfer the dough to a 10-inch cast iron or oven-safe skillet. With damp hands, press the dough in an even layer to the edges of the skillet. Sprinkle the reserved 1/3 cup chocolate over top and gently press into the dough.
  • Bake until the center is set and the edges are golden-brown and slightly pull back from the skillet, about 25 minutes. Set aside to cool for at least 30 minutes before cutting into wedges and serving.

Notes

Add nuts if you like.  I use pecans.  Ok, I cheated, I didn't chop chocolate but used chocolate chunks and pistoles I found.  I am all about the path of least resistence.
Will keep for up to 4 days in an airtight container at room temperature.
Use only vanilla ice cream. NO bubblegum flavor, peppermint or anything else but Vanilla...just saying.


Thumbprints: Thumbs Up for Day 9 of 12 Days of Cookies

Thumbprints: Thumbs Up for Day 9 of 12 Days of Cookies

Only 3 more cookies to bake for my 12 days of cookies 2018.  Cookie no. 9 is a riff on my go-to thumbprint cookie.  I decided to use toasted hazelnuts in place of walnuts.  Ok, not earth-shattering but enough of a twist that the hubster noticed (he is a thumbprint afficionado) and loved the nuanced change. The hazelnut MO?  More assertive than other nuts such as almonds or pecans, buttery and sweet.  It’s flavor shines in these thumbprint cookies. I filled the center with a berry-lime jam I had made at the end of summer and added a tease of vanilla to the dough to complement the jam.  Yummy!

Measure the amount of  nuts needed before grinding them.  You want the nuts to be finely ground but not to the point  where it starts to get pasty.

Take out your trusty ice cream/cookie scoop. I use a tablespoon scoop and line up the cookie dough balls, assembly line mentality, on a sheet.  Place dough balls on a cookie sheet approximately 1.5-2 inches apart. Press each one to flatten to 1/4-3/8 inch thick (thicker if larger).  Use the end of a wooden spoon or utensil of similar size, to create a depression in the center of each cookie.  I use a hand blender to puree my jam (no fruit lumps!) and a squeeze bottle to squirt the jam into the center of each cookie. How easy is that?

This turned out to be a delish version of thumbprint cookies.  Perfect during the holidays and especially nice with a bit of the bubbly to bring in the new year!

Riff on Thumbprint Cookies

Course cookies
Cuisine American
Keyword thumbprints
Prep Time 10 minutes
Cook Time 20 minutes
Total Time 30 minutes

Ingredients

  • 1 1/2 cup coarsely chopped toasted hazelnuts
  • 1 cup butter at room temperature
  • 3/4 cup granulated sugar
  • 2 1/4 cups all-purpose flour
  • 1/2 teaspoon vanilla extract
  • 1/4 cup seedless berry-lime preserves or your choice
  • Dash of salt
  • Powdered sugar

Instructions

  • Preheat oven to 350 degrees.
  • Chop nuts in food processor until very fine. Beat butter, nuts, salt and granulated sugar in mixer bowl until light. Beat in flour into blended.
  • Shape dough into 1 inch balls.
  • Place 2 inches apart on ungreased cookie sheets and flatten to 1 1/2 inch circle.
  • Press into centers with a fingertip.
  • Fill each indentation with 1/4 teaspoon preserves.
  • Bake 10-12 minutes, until golden.
  • Cool.
  • Sift confectioner's sugar over cookies.

Notes

Substitute your favorite jam, I plan to use a pineapple-orange jam for the next batch.