
There are a couple of baking books that are my go-tos for cookies, especially during the holidays, like Rose Levy Berenbaum’s Christmas Cookies, Alice Medrich’s…
I remarked to hubby the other day, “I ‘ve been pretty bad about baking holiday treats the last few years, huh”. It was a rhetorical…
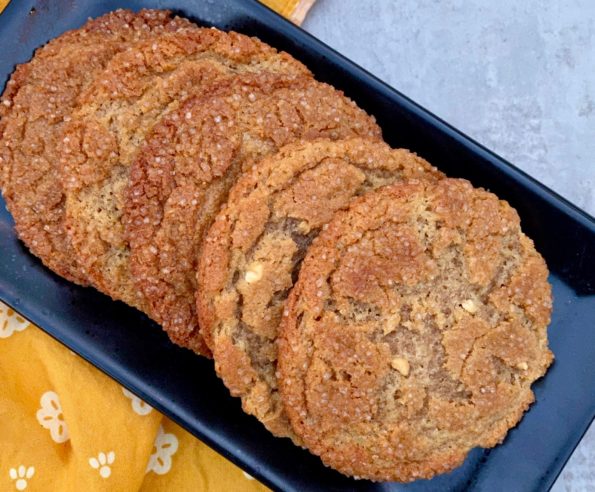
Always on the lookout for cookies with a twist, I came across these cookies in New York Times Cooking. There I was nonchalantly scrolling through…
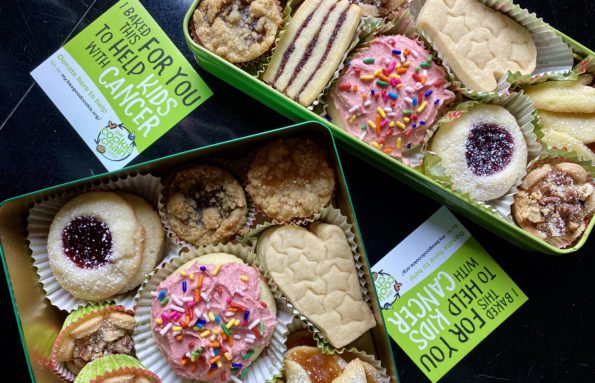
I have been a slouch when it comes to holiday cookies this year. LUCKY FOR ME, Jamie is home and baking up a storm…I get…
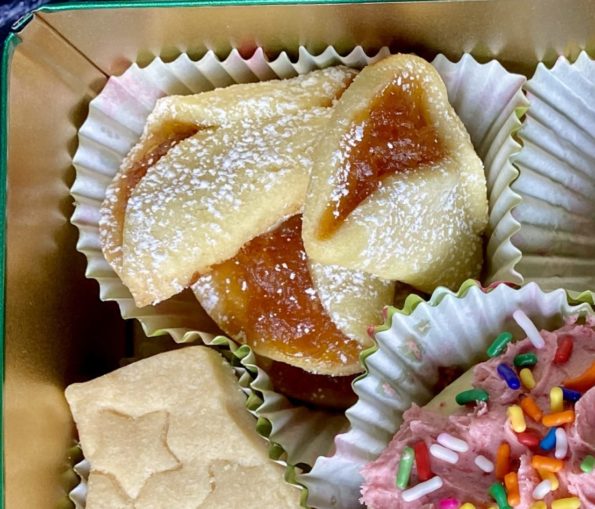
Posted on one of my favorite blogs, Ipso Fatto, are a couple of sweets she tried from Food & Wine’s article, The Bake Sale Returns…
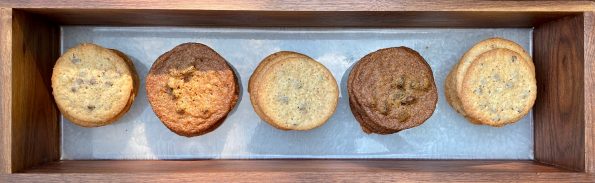
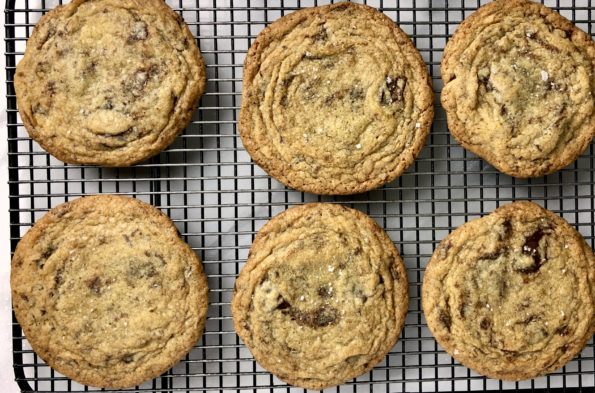
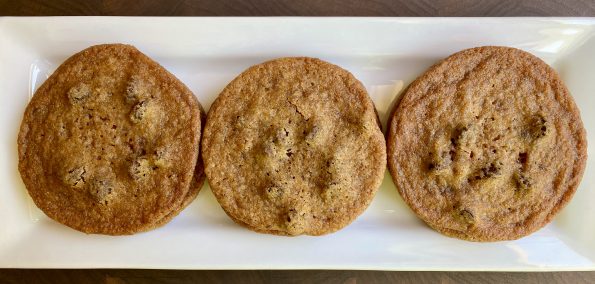
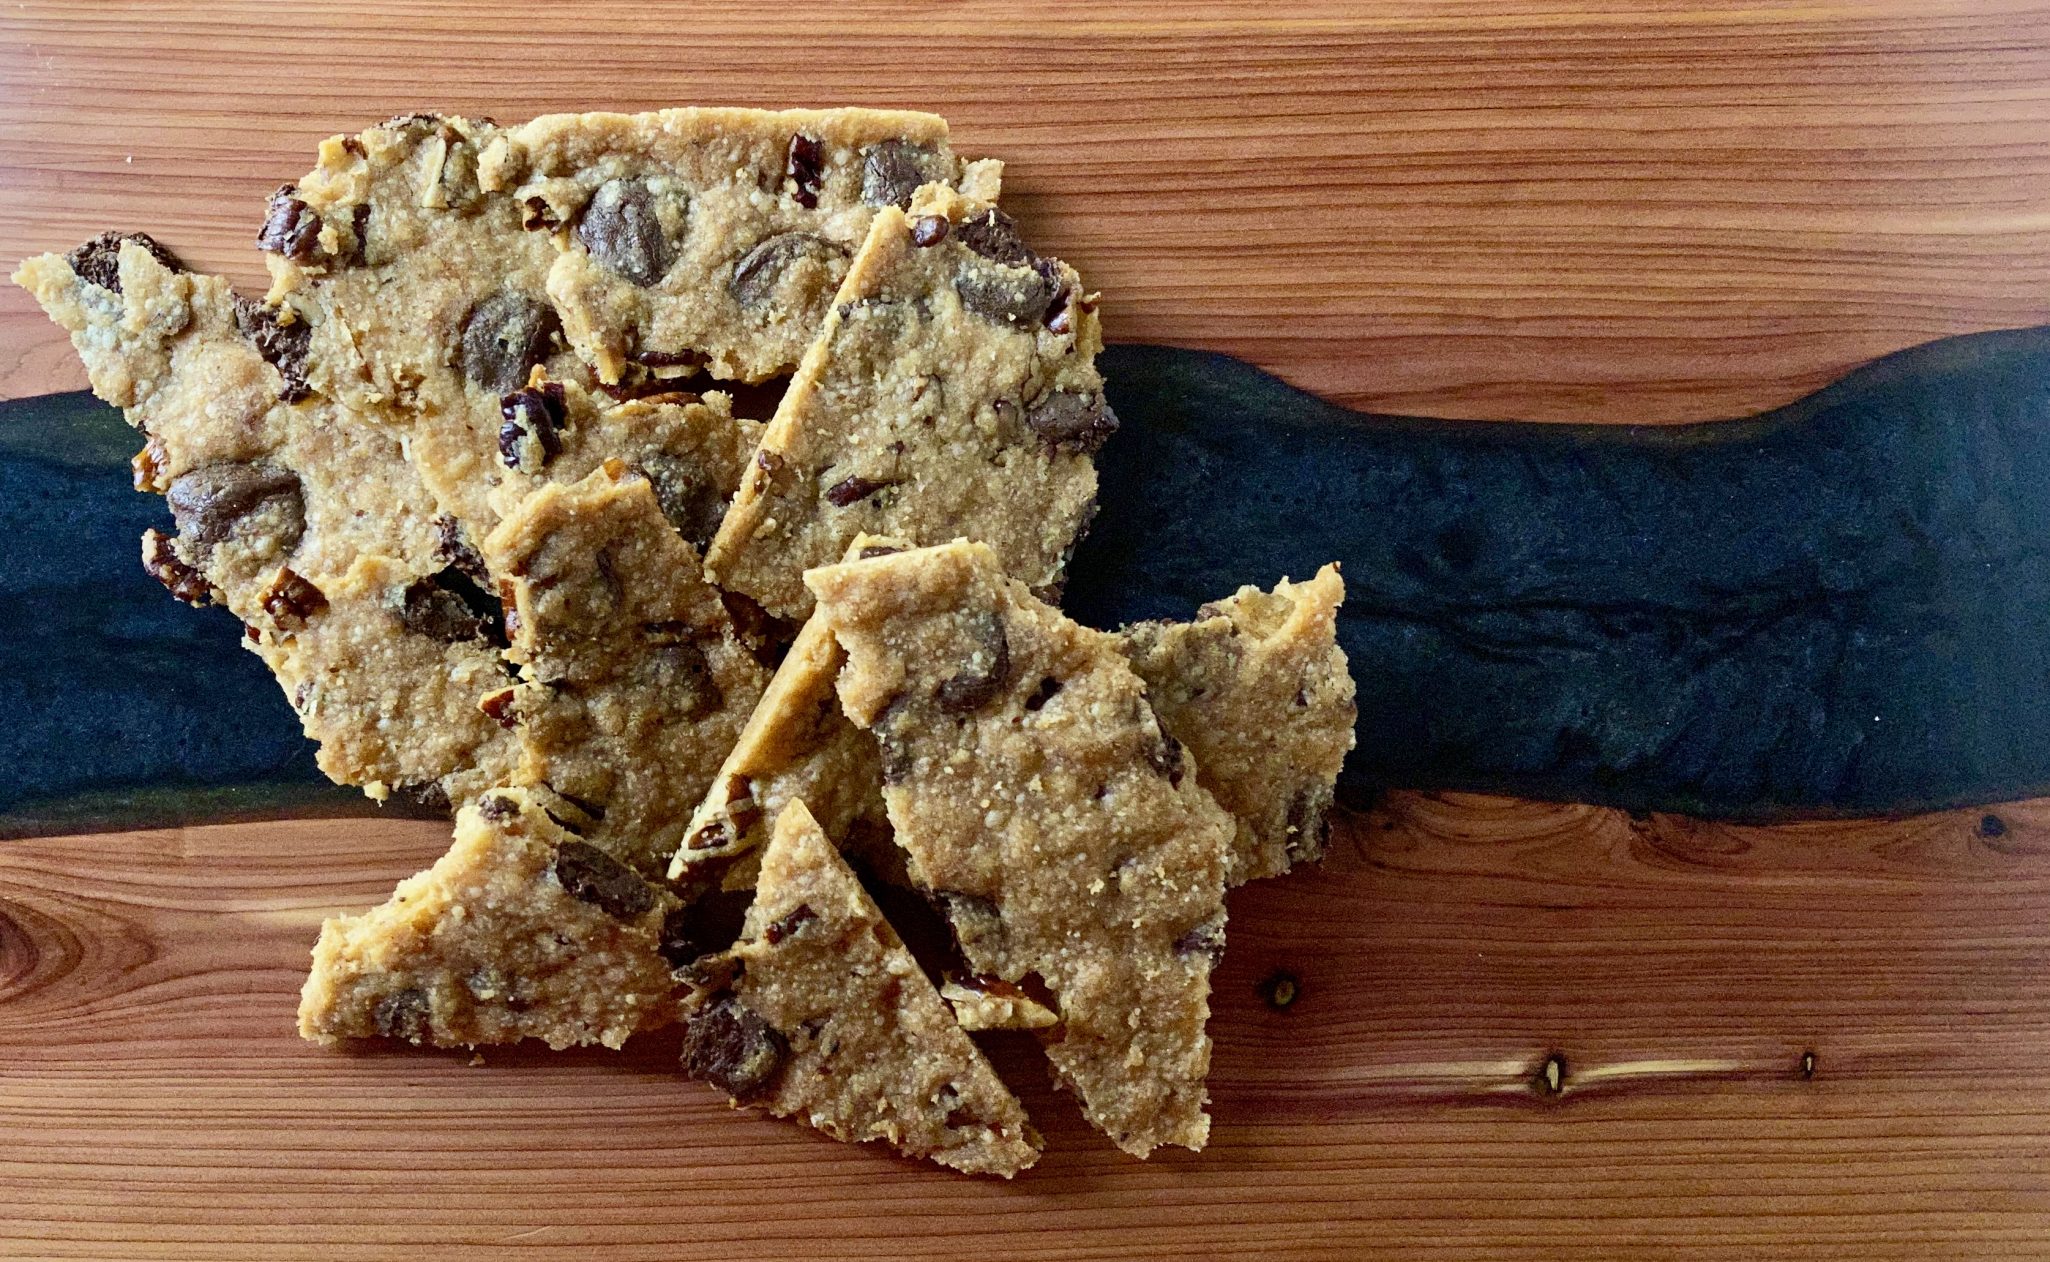
The search continues for a thin, crispy chocolate chip cookie just like my grandmother use to make. My first try was a Tate’s Chocolate Chip…
My grandmother, whom we called Pau Pau, was the classic iron fist in the velvet glove. She was outspoken and strong-willed, bossy, pragmatic, and the…

Happy July Fourth Despite the current turmoil we pause to celebrate us, the United States of America. A time to reflect on what this holiday…
Hello? Why didn’t someone tell me it was National Chocolate Chip Cookie Day…a couple of days ago? Yep, I missed it. Well, I almost missed…