Category: Cookies

Bite Size Desserts

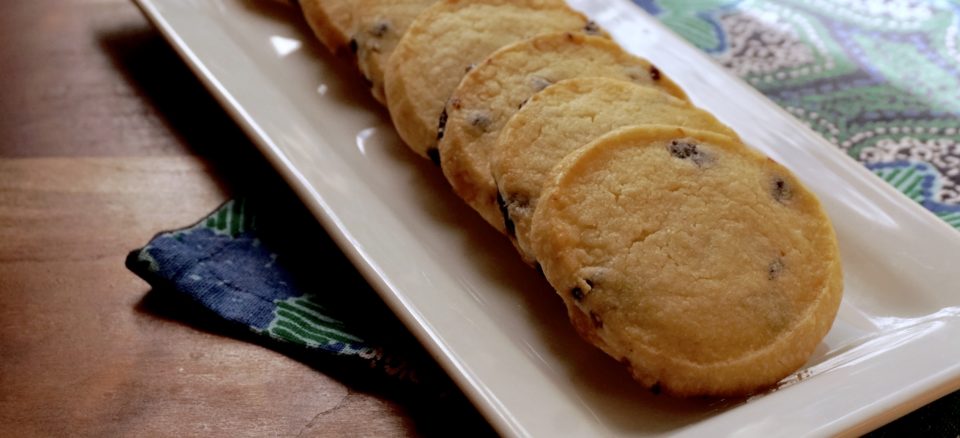
Salted Butter & Chocolate Chunk Shortbread (New Year’s Resolution #2: Finish 12 Days of Cookies)

Salted Butter & Chocolate Chunk Shortbread (New Year’s Resolution #2: Finish 12 Days of Cookies)

Let’s get the apology over with first. Yikes, I wasn’t able to complete my 12 days of cookies. I started early, had help from Jamie and still came up short. Shouldn’t make excuses BUT, I am going to.  A family trip to Vegas is the clear winner of excuses and reasons why I stumbled. Of course, if I included cookies sampled at Bouchon in Vegas, I would have easily made 12, but not quite within the rules.  Second, a faulty oven. When the oven takes over 45 minutes just to reach 325 degrees, Houston, we have a problem. The last time my oven went on the fritz (a few years ago), I was baking Thanksgiving pies. Now that was a disaster.

BUT, I am determined to complete the list, after all, cookies can be made and enjoyed year around. So, without further ado…
#7 of the 12 Days of Cookies: Salted Butter & Chocolate Chunk Shortbread

After seeing this cookie pop up on various sites and blogs I knew it was destined for the 12 Days of Cookies list.  The recipe comes from the book Dining In by Alison Roman (what do you know, I am not buying this book-have I turned a new leaf? Nope, it is currently out of stock). This was a no-brainer.  Butter. Chocolate. Shortbread.  Like I was going to be able to ignore this recipe.

This is a slice and bake cookie, my favorite kind of cookie.  You can make the dough in advance and bake off as few or as many cookies as you like. You can freeze some of the dough for a rainy day, which in California, might not happen for awhile.

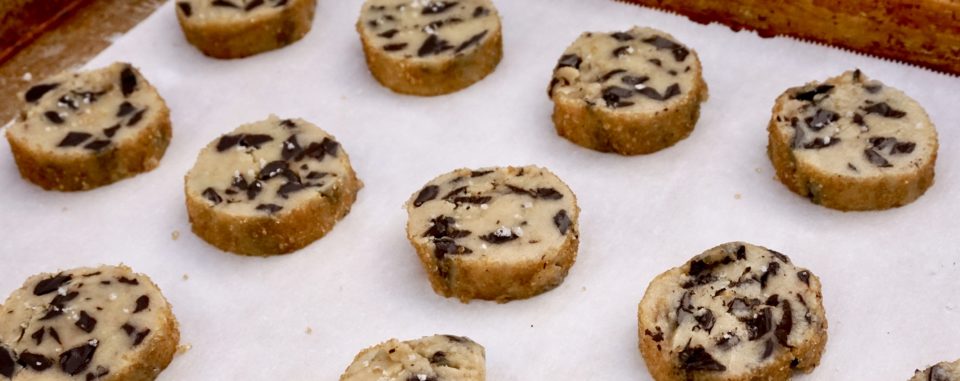
The dough was a bit crumbly straight out of the mixer so I kneaded it a couple of times until it came together.  Shape the dough into logs using parchment paper. Form the dough roughly into a log on the parchment, fold parchment over the log, and with a straight edge (ruler) placed up against the log on top of the parchment, gently pull the bottom piece of parchment while pushing the straight edge into the dough. This creates a round log. Wrap each log in the parchment and slide into a round tube (I use 3-inch diameter PVC pipe) and chill in the fridge.

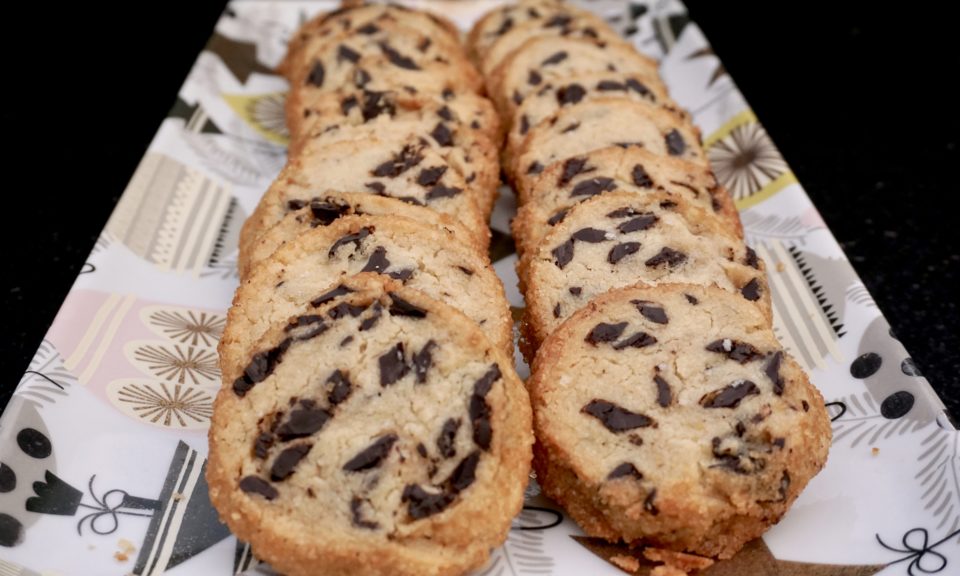
You can use raw turbinado sugar for the Demerara Sugar.  Don’t skip this step as it adds a nice crunch to the cookie. I would use semi-sweet chocolate which results in a sweeter cookie.  There is quite a bit of chocolate in this cookie which can make slicing the dough a bit tricky.  It’s okay if it crumbles when cut, just smoosh the dough back together, it will bake up fine.

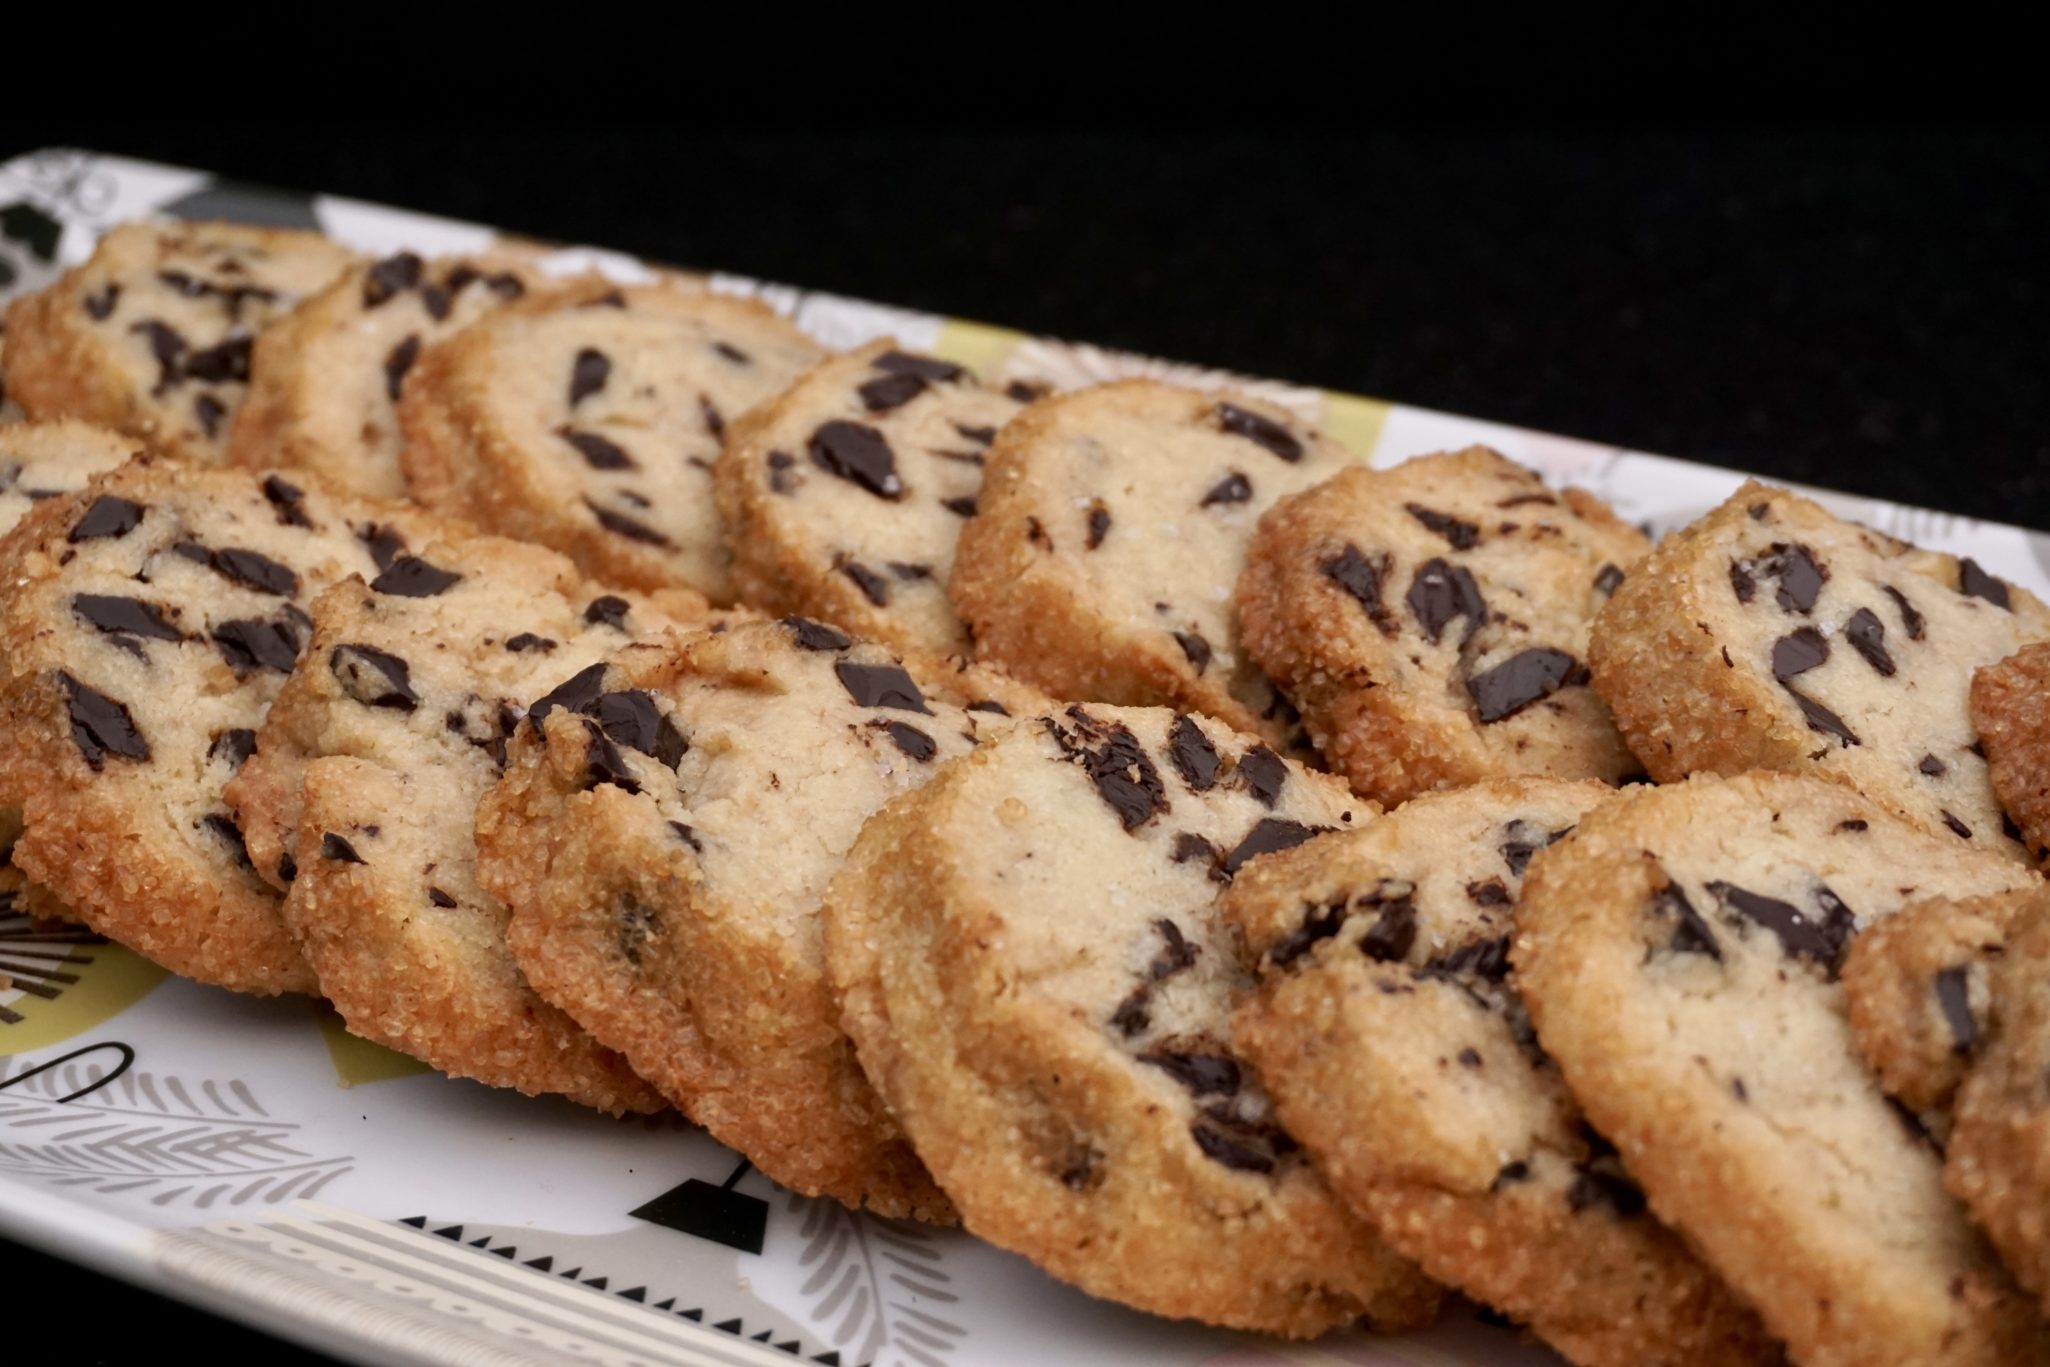
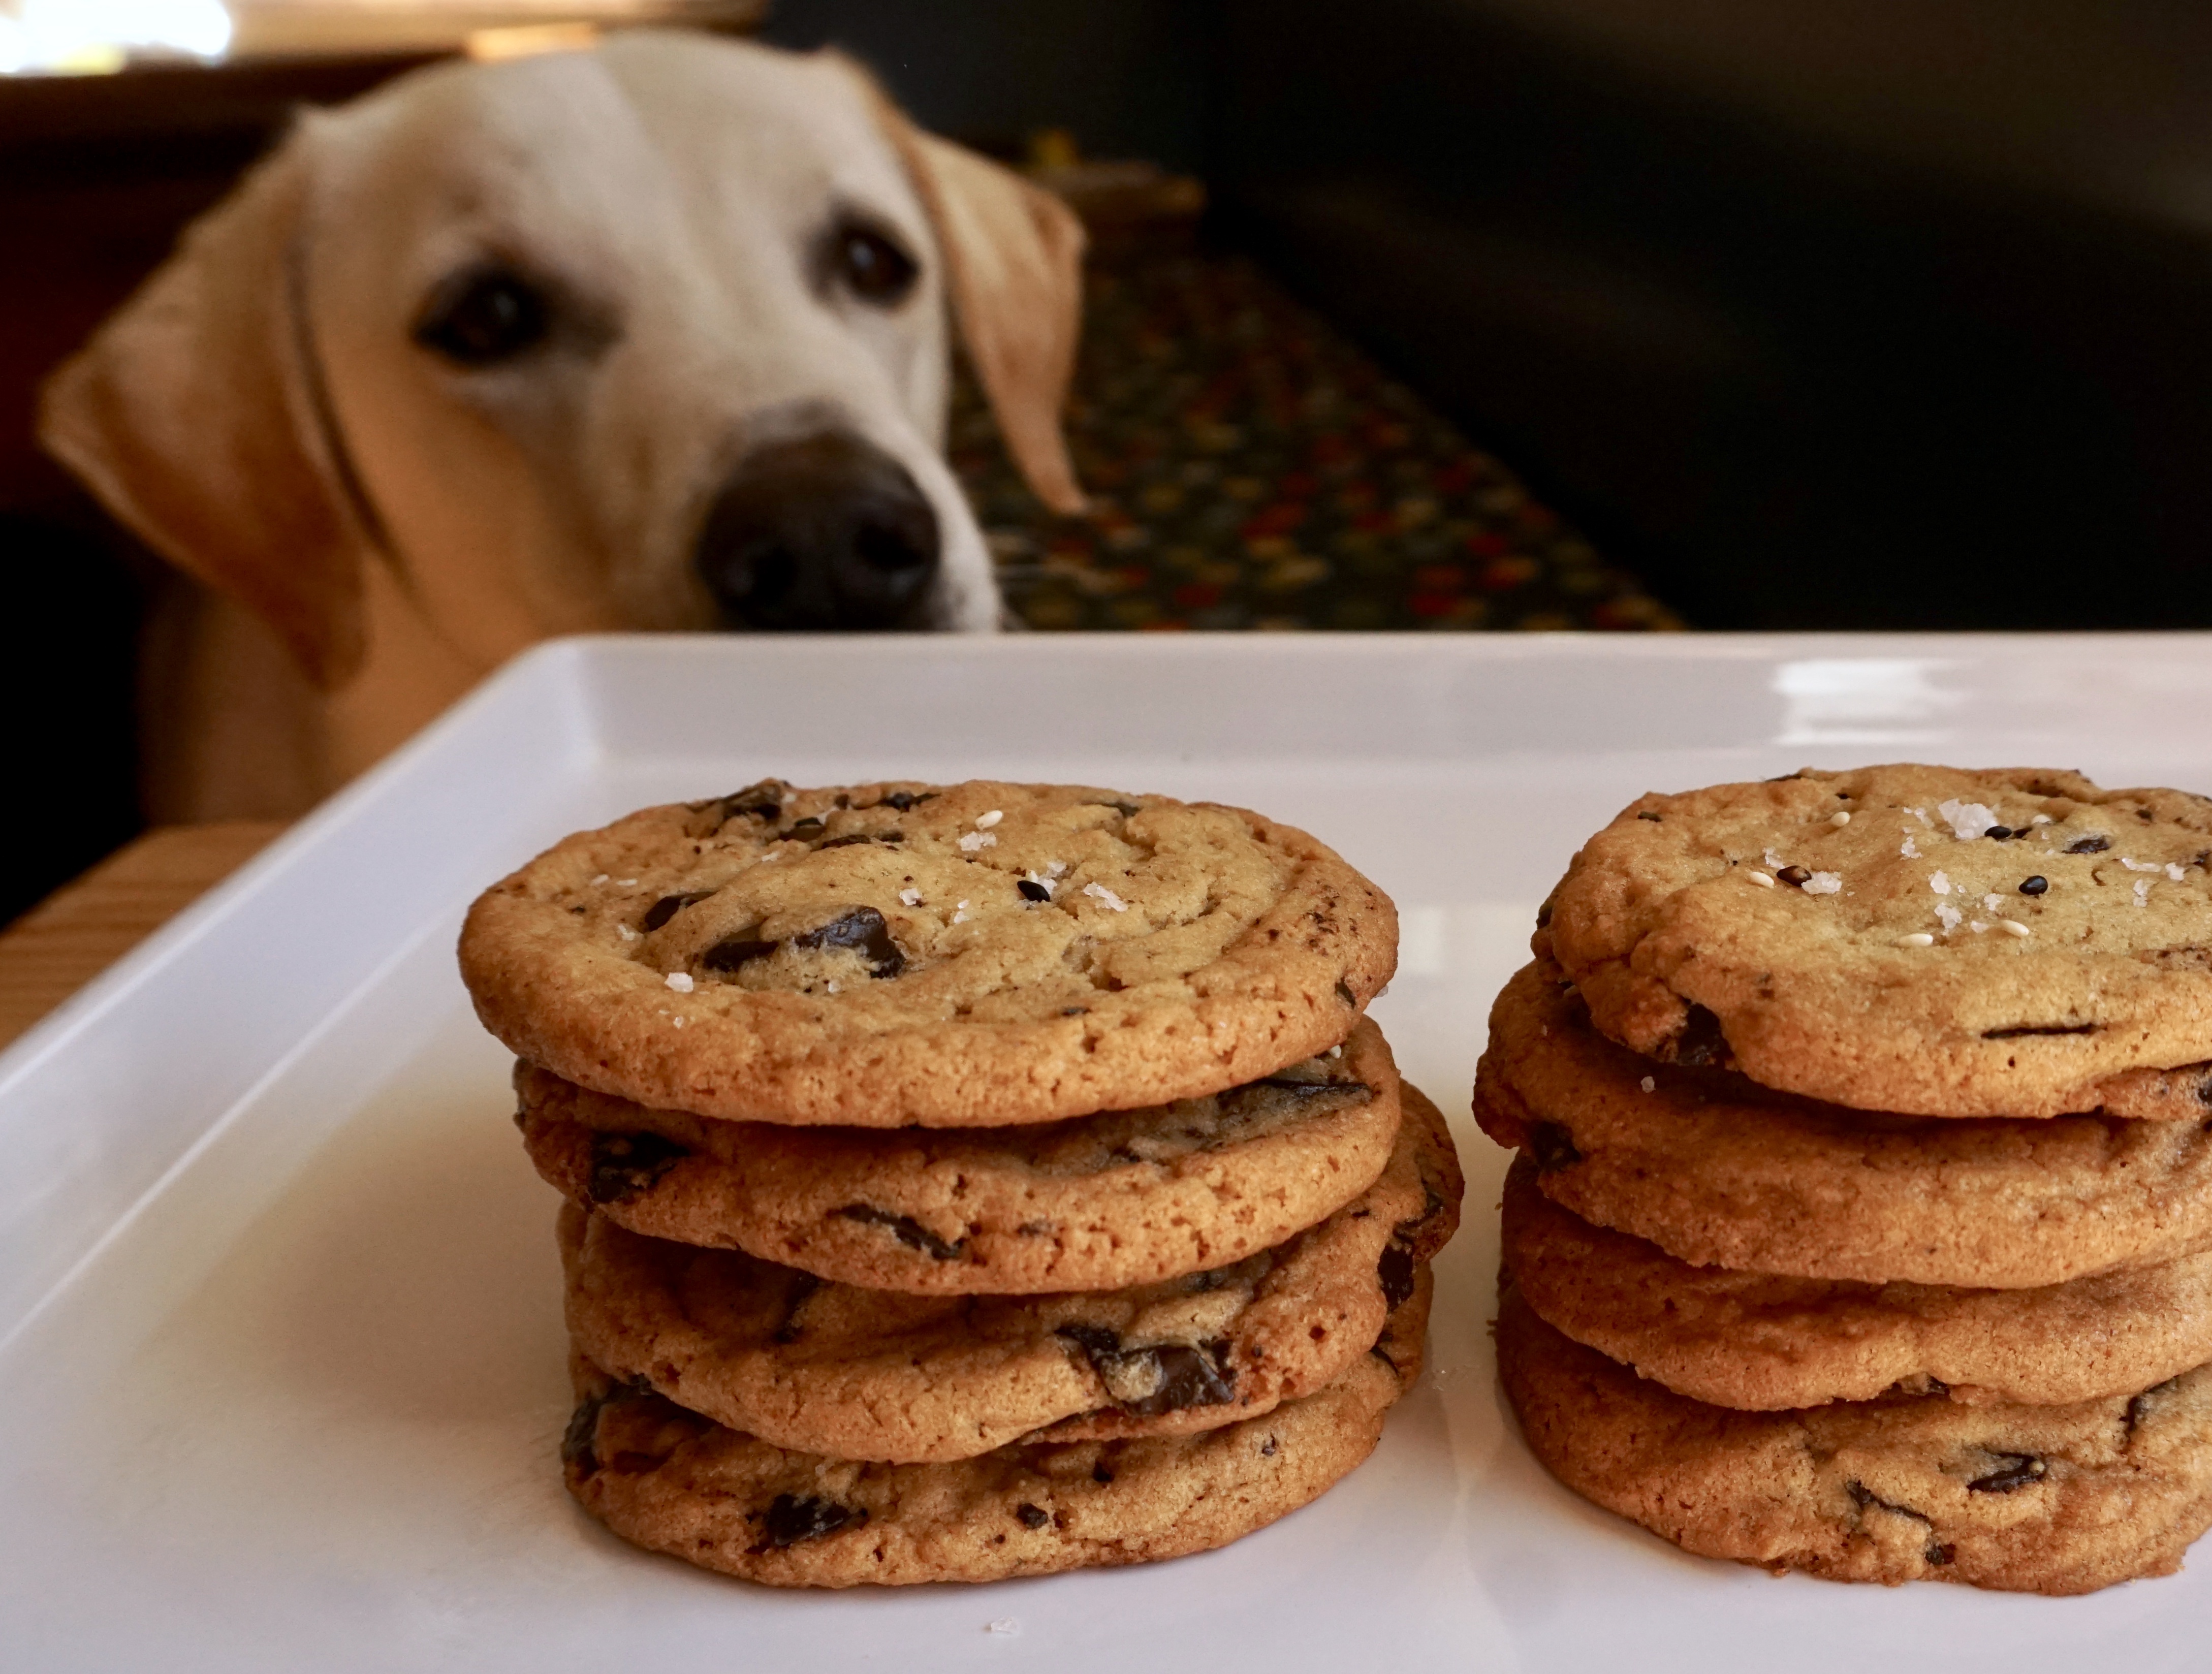
An utterly delicious cookie, buttery, sandy, chocolatety (my new word), and sweet with a surprise pop of salt.  It hits every taste sensation, and if that wasn’t enough, a crispy edge from the demerara sugar.  Cookie Heaven.  The keys to this cookie are salted butter, a sprinkling of Fleur de Sel, an edge of Demerara Sugar and of course CHOCOLATE chunks.  Hmmmmmm.

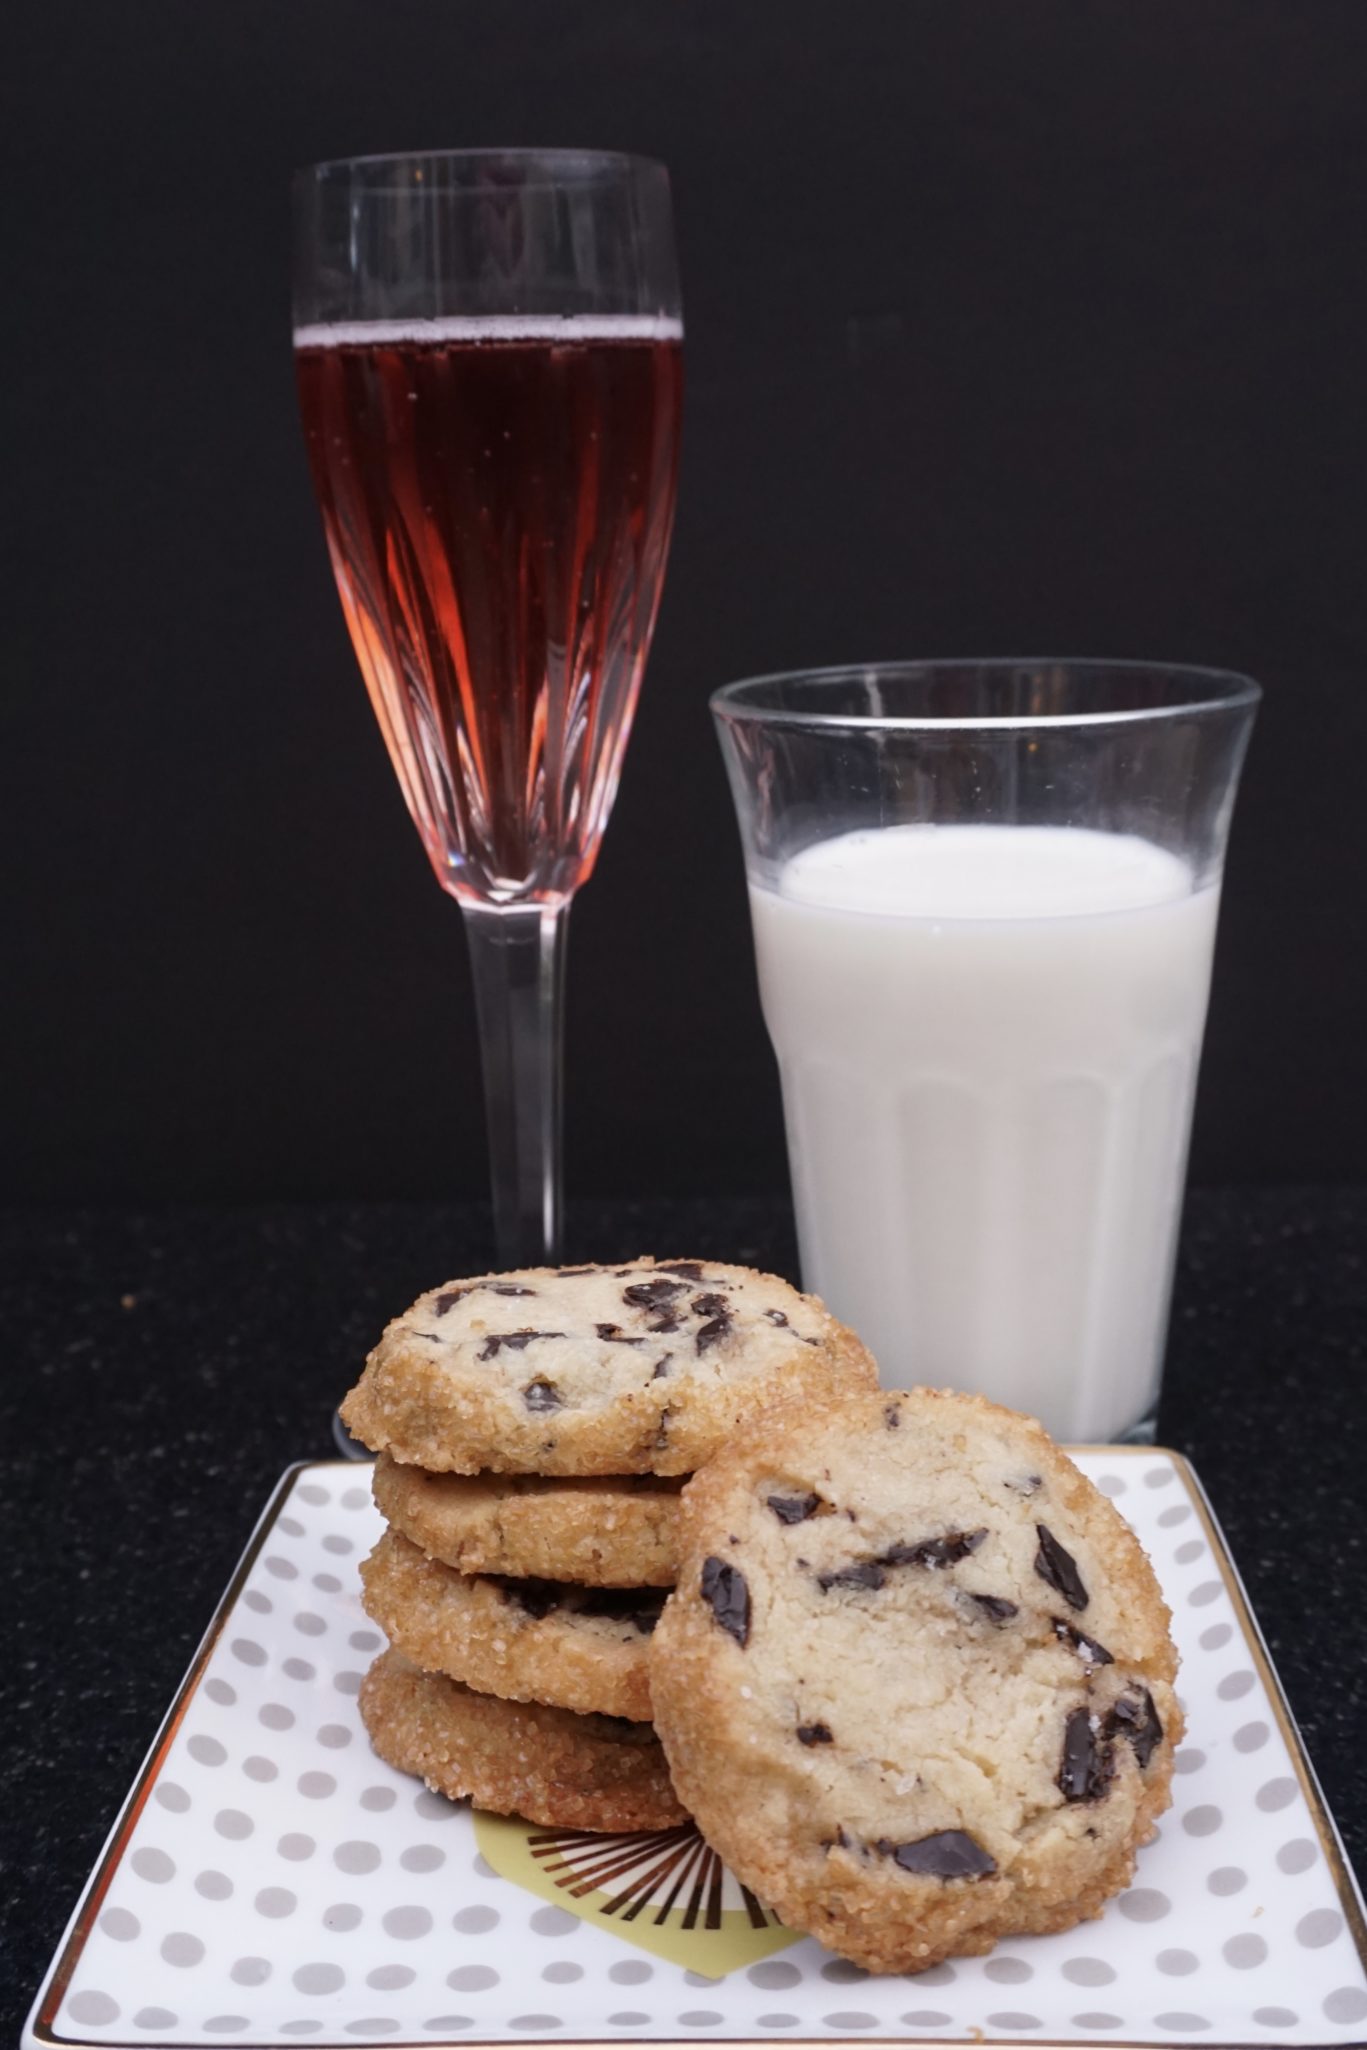
I made a batch for a friend’s New Year’s Eve Party, but unfortunately, I was too tired to attend.  I ended up in my jammies, on the couch, ringing in the New Year with a glass of milk in one hand and a cookie in the other and then promptly fell asleep.  Oh well, there is always next year.

Happy New Year Everyone!

Dilemma-A bit of bubbly or milk?


(Salted Butter & Chocolate Chunk Shortbread) New Year’s Resolution #2 Finish 12 Days of Cookies

Ingredients

  • 1 cup plus 2 tablespoons 2 1/4 sticks salted butter, cut into 1/2-inch pieces
  • 1/2 cup granulated sugar
  • 1/4 cup light brown sugar
  • 1 teaspoon vanilla extract
  • 2 1/4 cups all-purpose flour
  • 6 ounces semi- or bittersweet dark chocolate chopped (but not too fine, you want chunks)
  • 1 large egg beaten
  • Demerara sugar for rolling
  • Flaky sea salt for sprinkling

Instructions

  • The cookie dough can be made ahead and stored, tightly wrapped in plastic, up to 1 week in the refrigerator, or 1 month in the freezer. Cookies can be baked and stored in plastic wrap or an airtight container for 5 days.
  • 1. Line a rimmed baking sheet with parchment paper.
  • 2. Using an electric mixer and a medium bowl or a stand mixer fitted with the paddle attachment, beat the butter, both sugars, and vanilla on medium-high till it’s super light and fluffy, 3 to 5 minutes. Using a spatula, scrape down the sides of the bowl and, with the mixer on low, slowly add the flour, followed by the chocolate chunks, and beat just to blend.
  • 3. Divide the dough in half, placing each half on a large piece of plastic wrap. Fold the plastic over so that it covers the dough to protect your hands from getting all sticky. Using your hands (just like you’re playing with clay), form the dough into a log shape; rolling it on the counter will help you smooth it out, but don’t worry about getting it totally perfect. You can also do this using parchment paper, if you prefer, but I find using plastic wrap easier when it comes to shaping the log. Each half should form two logs 2 to 2 1/4 inches in diameter. Chill until totally firm, about 2 hours.
  • 4. Preheat the oven to 350°F.
  • 5. Brush the outside of the logs with the beaten egg and roll them in the Demerara sugar (this is for those really delicious crispy edges).
  • 6. Slice each log into 1/2-inch-thick rounds, place them on the prepared baking sheet(s) about 1 inch apart (they won’t spread much), and sprinkle with flaky salt. Bake until the edges are just beginning to brown, 12 to 15 minutes. Let cool slightly before eating them all.
Soft Gingerbread Tiles with Rum Butter Glaze: Day 6, 12 Days of Cookies!

Soft Gingerbread Tiles with Rum Butter Glaze: Day 6, 12 Days of Cookies!

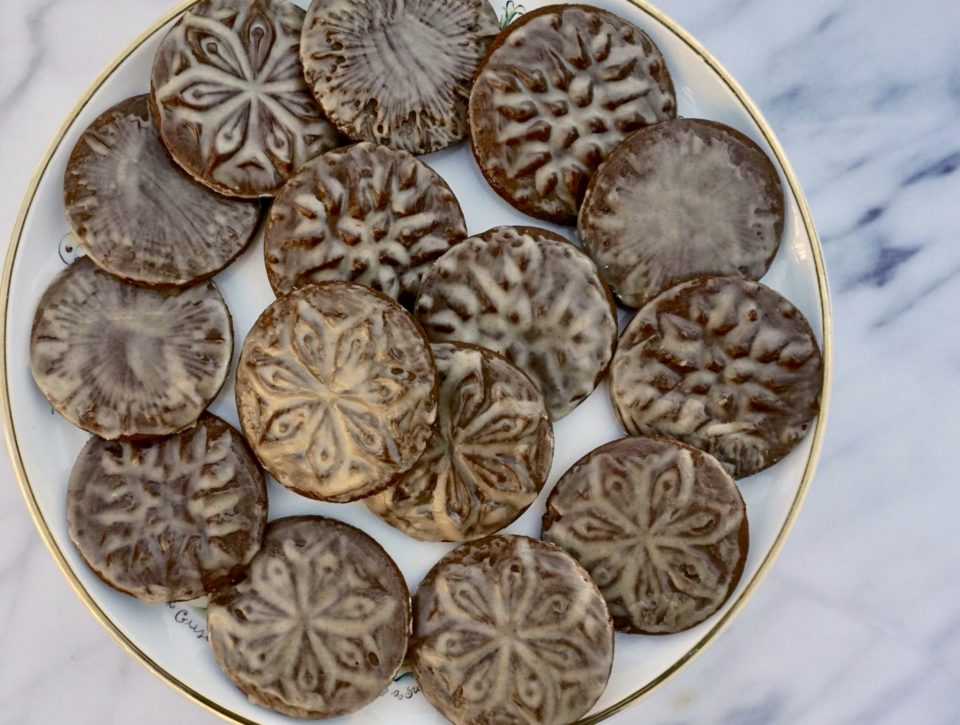
My kitchen gadget addiction got the best of me yet again. The culprit? A beautiful holiday cookie from Ottolenghi’s latest book, Sweet, Soft Gingerbread Tiles with Rum Butter Glaze. The cookies are made with either an embossed rolling pin (which I purchased to make graham crackers not so long ago) or cookie stamps holiday or all season, which I had to have.  After my cookie stamps arrived I immediately set out to make these.

Soft Gingerbread Tiles

The dough is a snap to make. The aroma that filled my kitchen while they baked made me smile. The cookies are soft, cakey and spicy.  Just like a classic gingerbread cookie.

The recipe calls for blackstrap molasses which is the last extraction of sugar from sugarcane.  It’s pretty bitter.  The first extraction produces cane syrup (like Golden Syrup), the next produces molasses and the final extraction, with even less sugar left, produces blackstrap molasses.  I wanted to be faithful to the recipe so I used blackstrap molasses.  The cookies are not very sweet at all. I learned that regular molasses is about 70% sugar whereas blackstrap is about 40%, BIG difference.  I plan on trying this recipe with both cane syrup and regular molasses just for the added sweetness.

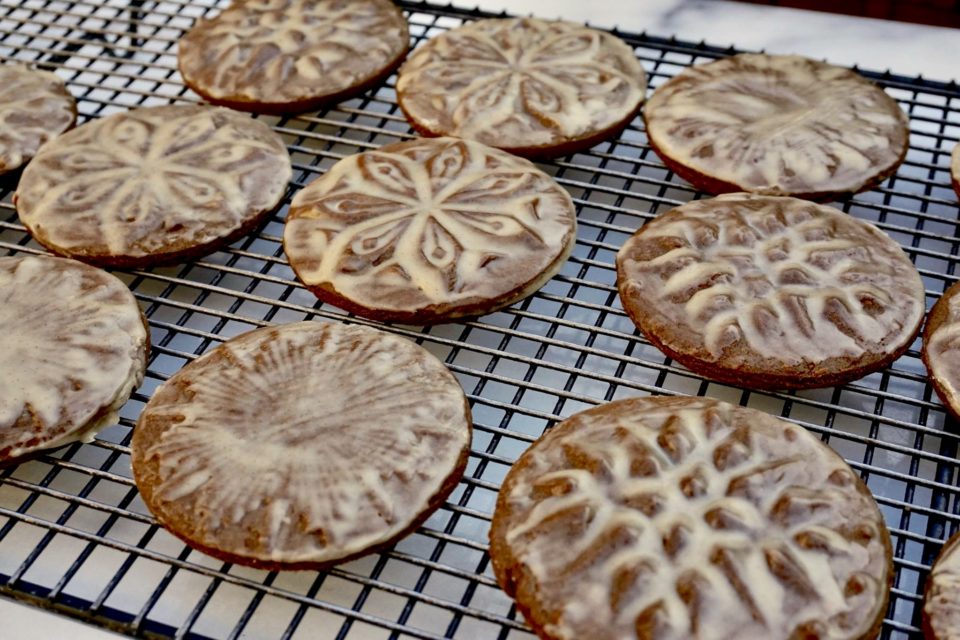
The most difficult part of the recipe is stamping the cookies.  During baking, the cookies will rise and the pattern blurs a bit so be sure to press the cookies well so the imprint is really bold and defined in the dough.

I tried two methods for stamping the cookies. For the first method, the dough is rolled into a sheet about 1/4 inch thick, stamped and cut out with a round cookie cutter.  For the second method, the do/ugh is rolled into a ball (about 1.5-2 tablespoons of dough) which is then pressed with the stamp to create a cookie.  Both methods worked well.

I love the rum butter glaze. It was really easy to put together and added a sheen and sweetness/flavor to the cookie.  Though I brushed the glaze on, I think dipping the cookie or spreading the glaze with a spatula would make a nicer finish.  The cookie does need to be warm when glazing.

These cookies are a showstopper.  I can’t wait to bake another batch.

Gingerbread Tiles with Butter Rum Icing: Day 6, 12 Days of Cookies!

A delicious and festive gingerbread with rum glaze from Ottolenghi
Course cookies, sweets
Cuisine American, British
Keyword gingerbread, holidays, ottolenghi, Peanut and Bittersweet Chocolate Cookie
Prep Time 30 minutes
Cook Time 10 minutes

Ingredients

Dough: Da Wet Mix

  • 6 tbsp 85 g unsalted butter, at room temperature
  • 1/3 packed cup plus 2 tbsp 90 g dark brown sugar
  • 1/4 cup 100 g blackstrap molasses (can substitute golden syrup or reg molasses 1:1 for sweeter cookie)
  • 1 large egg yolk*

Da Dry MIx

  • 1 3/4 cups plus 2 tbsp all-purpose flour (235 gms) plus extra for pressing
  • 1 tbsp Dutch-processed cocoa powder
  • 1/2 tsp baking soda
  • 1 tsp ground ginger
  • 1/2 tsp ground cinnamon
  • 1/8 tsp ground cloves
  • 1/4 tsp salt
  • 1/4 tsp freshly ground black pepper

Rum-Butter Glaze:

  • 2/3 cup 80 g confectioners' sugar
  • 1/8 tsp ground cinnamon
  • 1 tbsp 15 g unsalted butter, melted and warm
  • 1 tbsp dark rum or lemon juice
  • 1 tsp warm water

*On Food52 it was suggested to use extra-large egg yolk or add 1 teaspoon-1 tablespoon of water to dough if it doesn't come together. I added about 1 teaspoon water. It won't come together until you knead it). Makes 12–14 depending on the size of stamp and cutter

Instructions

  • Preheat the oven to 375°F/190°C.
  • Place the butter, sugar and molasses in the bowl of an electric mixer with the paddle attachment in place.
  • Beat on medium speed until smooth and incorporated. Add the egg yolk and continue to beat until fully combined.
  • Sift the flour, cocoa powder, baking soda, ginger, cinnamon, cloves, salt and pepper into a bowl. Turn the speed of the mixer to low, and add the dry ingredients to the butter and molasses. Once the mix comes together, tip the dough onto a lightly floured work surface and knead gently.
  • Line two baking sheets with parchment paper and set aside.

Forming Cookies: Rolling dough

  • Roll out the dough so that it is about 1/4 inch/ 0.5 cm thick. If the dough is very soft, you will need to chill it.*
  • Dip cookie stamp in a small bowl of flour, shake off any excess, then press them firmly into the dough, one at a time to create a deep imprint. How far you need to press to get an imprint will depend on your stamp; the patterns on some are more deeply cut than others. Bear in mind that the cookies rise a little when cooked, so any soft imprints will disappear.
  • Using a round cookie cutter that is slightly larger than the pattern, cut out the pieces of imprinted gingerbread. Transfer the cookies to the lined baking sheets, spaced about 3/4 inch/2 cm apart. Reroll the dough and continue to stamp and cut cookies until all the dough is used up.

Stamping Cookies: No Rolling

  • I also tried instructions from the cookie stamps, roll 2 tablespoons of dough into a ball and flatten with cookie stamp. With both methods, make sure you press firmly enough to create a bold definite pattern in dough!
  • Bake for 9–10 minutes, rotating the sheets halfway through, until firm to the touch. They will continue to firm up as they cool, so don’t be tempted to bake them for any longer.

Rum Glaze

  • Make the rum butter glaze while the gingerbreads are in the oven, as the glaze needs to be brushed onto the cookies while they are still warm.
  • Sift the confectioners’ sugar and cinnamon into a small bowl. Add the melted butter, rum (or lemon juice) and water and mix with a spoon until smooth. The glaze will thicken slightly if it sits around, if so stir a little more warm water in if you need—it should be the consistency of runny honey.
  • Remove the cookies from the oven, leave them to cool for 5 minutes, then brush or dab the glaze all over with a pastry brush. Transfer to a wire rack to cool completely.

Notes

If you want to keep the glaze booze-free, the rum in the icing can be replaced with lemon juice.
Make-Ahead: Once the dough is made, it can be covered in plastic wrap and kept in the fridge for up to 2 days before baking.
Storage:  These will keep for up to 5 days in an airtight container. The glaze will discolor and crack a little, but this will not affect how they taste.
Swedish Visiting Cake Bars Day 3 of 12 Days of Cookies

Swedish Visiting Cake Bars Day 3 of 12 Days of Cookies

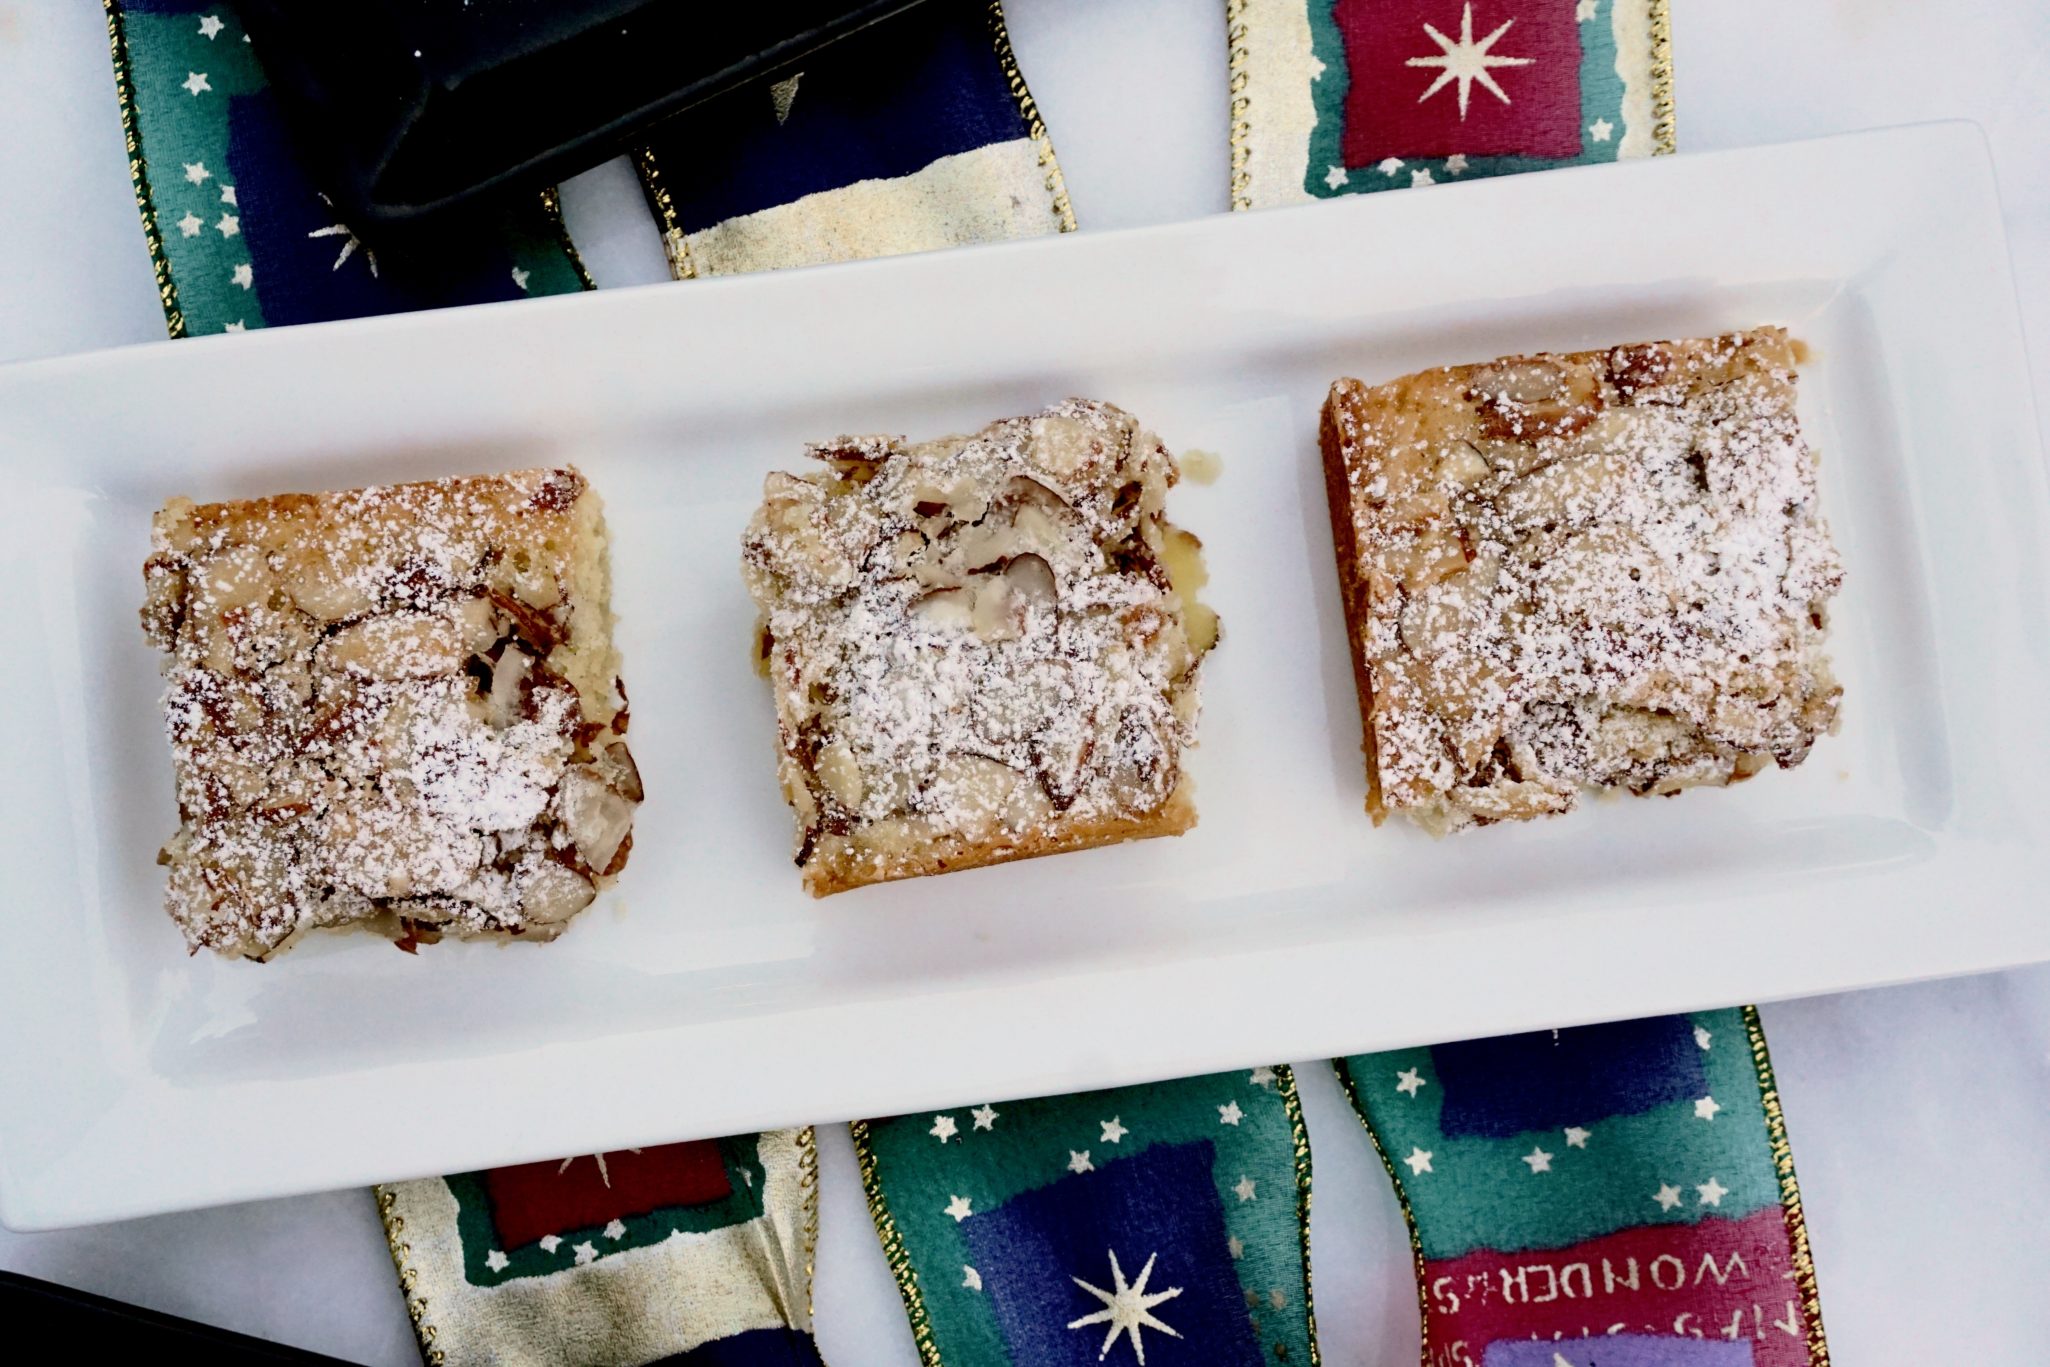
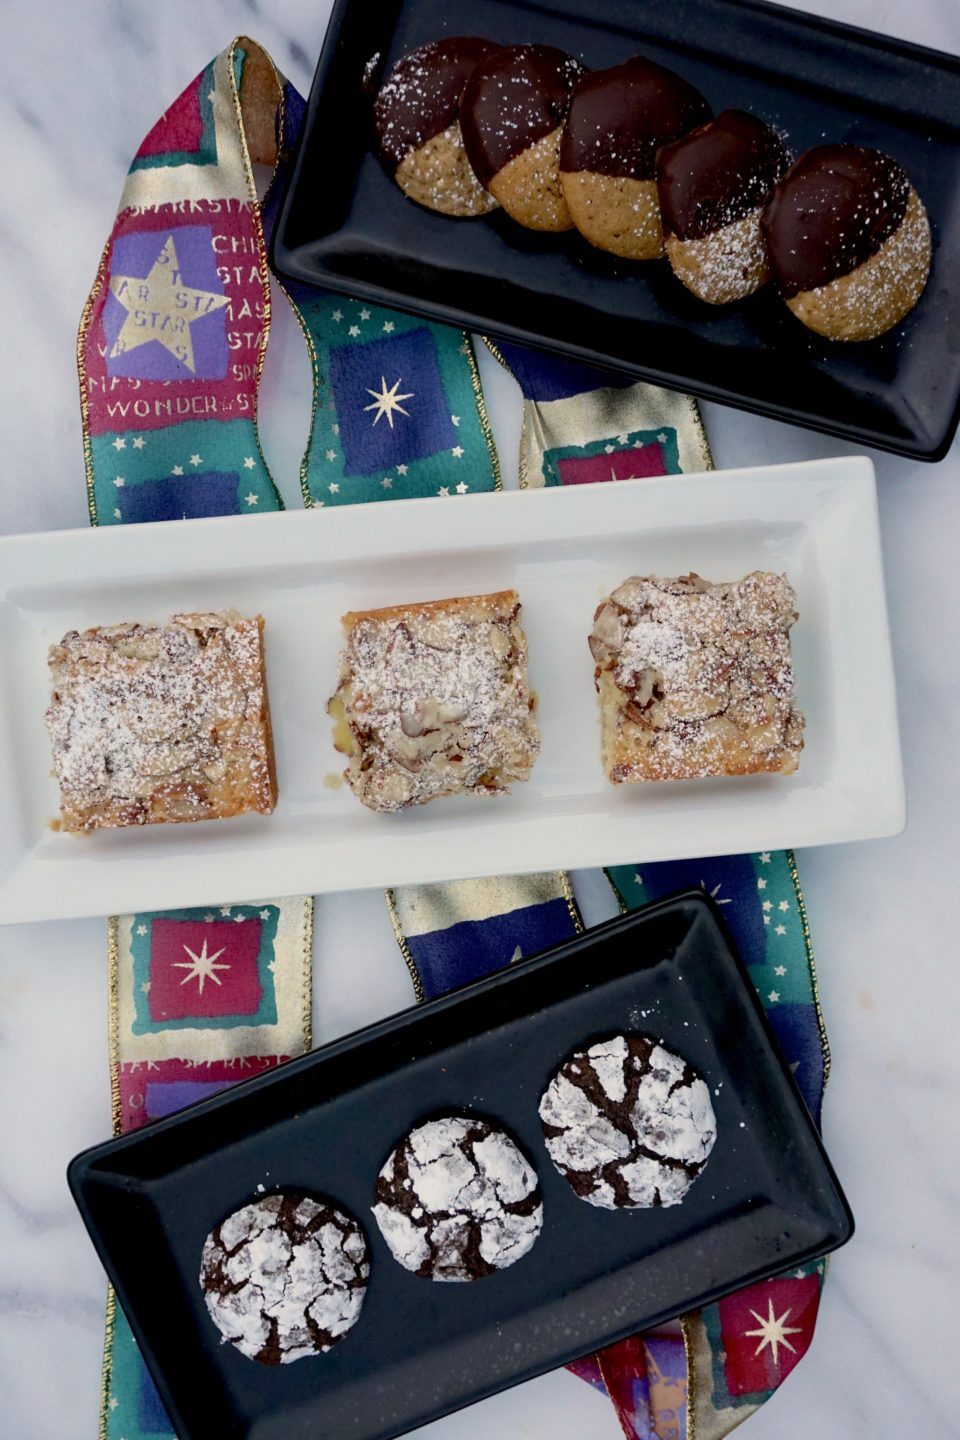
If you like almonds you are going to LOVE this cookie. A crispy almond topping layered on a chewy slightly dense cake. Perfect with a cup of tea. A nice addition to any cookie tray. Find the thinnest sliced almonds possible, they seem to work better to ensure your meringue has a nice crunch but is still light.

Swedish Visiting Cake Bars Day 3 of 12 Days of Cookies

Ingredients

For the Topping

  • 1 cup confectioners' sugar
  • 3 large egg whites
  • 1 1/2 cups sliced almonds blanched or unblanched

For the Bars

  • 3/4 cup sugar
  • 2 large eggs at room temperature
  • 1/4 teaspoon fine sea salt
  • 1 1/2 teaspoons pure vanilla extract
  • 1/4 teaspoon pure almond extract
  • 1 cup all-purpose flour
  • 1 stick unsalted butter melted and cooled
  • Confectioners' sugar for dusting optional

Instructions

  • Center a rack in the oven and preheat it to 350 degrees F. Lightly butter a 9-inch square baking pan and line it with parchment paper.

To make the topping:

  • Put the sugar in a medium bowl and pour over the egg whites. Using your fingers or a form, mix until the sugar is moistened. If there are lumps, ignore them. Toss in the almonds and stir them around until they're coated with the sugared whites. Set aside while you make the batter.

To make the bars:

  • Working in a large bowl, whisk the sugar, eggs, and salt together until the mixture lightens in color and thickens a little, about 2 minutes.
  • Whisk in the vanilla and almond extracts. Switch to a flexible spatula and gently stir in the flour. When the flour is fully incorporated, gradually fold in the melted butter. You'll have a thick batter with a lovely sheen.
  • Scrape it into the pan and use the spatula to work the batter into the corners. The layer will be very thin.
  • Give the topping another stir, or a run-through with your fingers, and turn it out onto the batter. Use a spatula or your fingers to spread the almonds evenly over the mixture, making sure to get nuts into the corners too.
  • Bake for 28 to 32 minutes, or until a tester inserted into the center of the cake comes out clean or with only a few crumbs stuck to it. The meringue topping will be pale golden brown. If you'd like a deeper color on the topping, run it under the broiler until you get the shade of gold you like best.
  • Transfer the pan to a rack and let rest for 5 minutes, then run a knife around the edges of the cake and unmold it onto the rack. Very gently peel away the parchment and invert the cake onto another rack to cool to room temperature.
  • Transfer the cake to a cutting board and, using a long, thin knife, slice it into nine 3-inch squares. For smaller portions, cut each square into two triangles. If you'd like, you can dust the bars with confectioners' sugar just before you serve them.
Mighty Mouse? No, Mighty Jamie To Save the Day (12 Days of Cookies)

Mighty Mouse? No, Mighty Jamie To Save the Day (12 Days of Cookies)

My Christmas present arrived early this year.  The twins are home!  Lucky for me Jamie is in a baking mood and immediately tackled one of our favorite cookie books, Dorie’s Cookies.  So, without further ado…

Heeeeeere’s Jamie with Day 3, 4, and 5 of our 12 Days of Cookies

Hey everyone! Jamie here. Home for the holidays!  I got home Thursday night, so naturally, I have already baked three different kinds of cookies.  I decided that mom needed some help with completing her “12 Days of Cookies” blog posts. Between you and me, she gets MAJORLY stressed when she bakes during the holidays, so knocking out three different cookies for her is really just me trying to make my holidays a lot more pleasant. But don’t tell her I said that.

To be honest, I’m really not a cookie person. I’d much rather eat a slice of super dense chocolate cake than a gooey chocolate chip cookie. Call me crazy, I know. I will say that baking cookies is a little more enjoyable than baking cakes.  It’s SO easy! They take a 3rd of the time to bake, and once you bake them you don’t have to spend extra time making more frosting or fillings which really means I only have to do dishes once. (HUGE).  

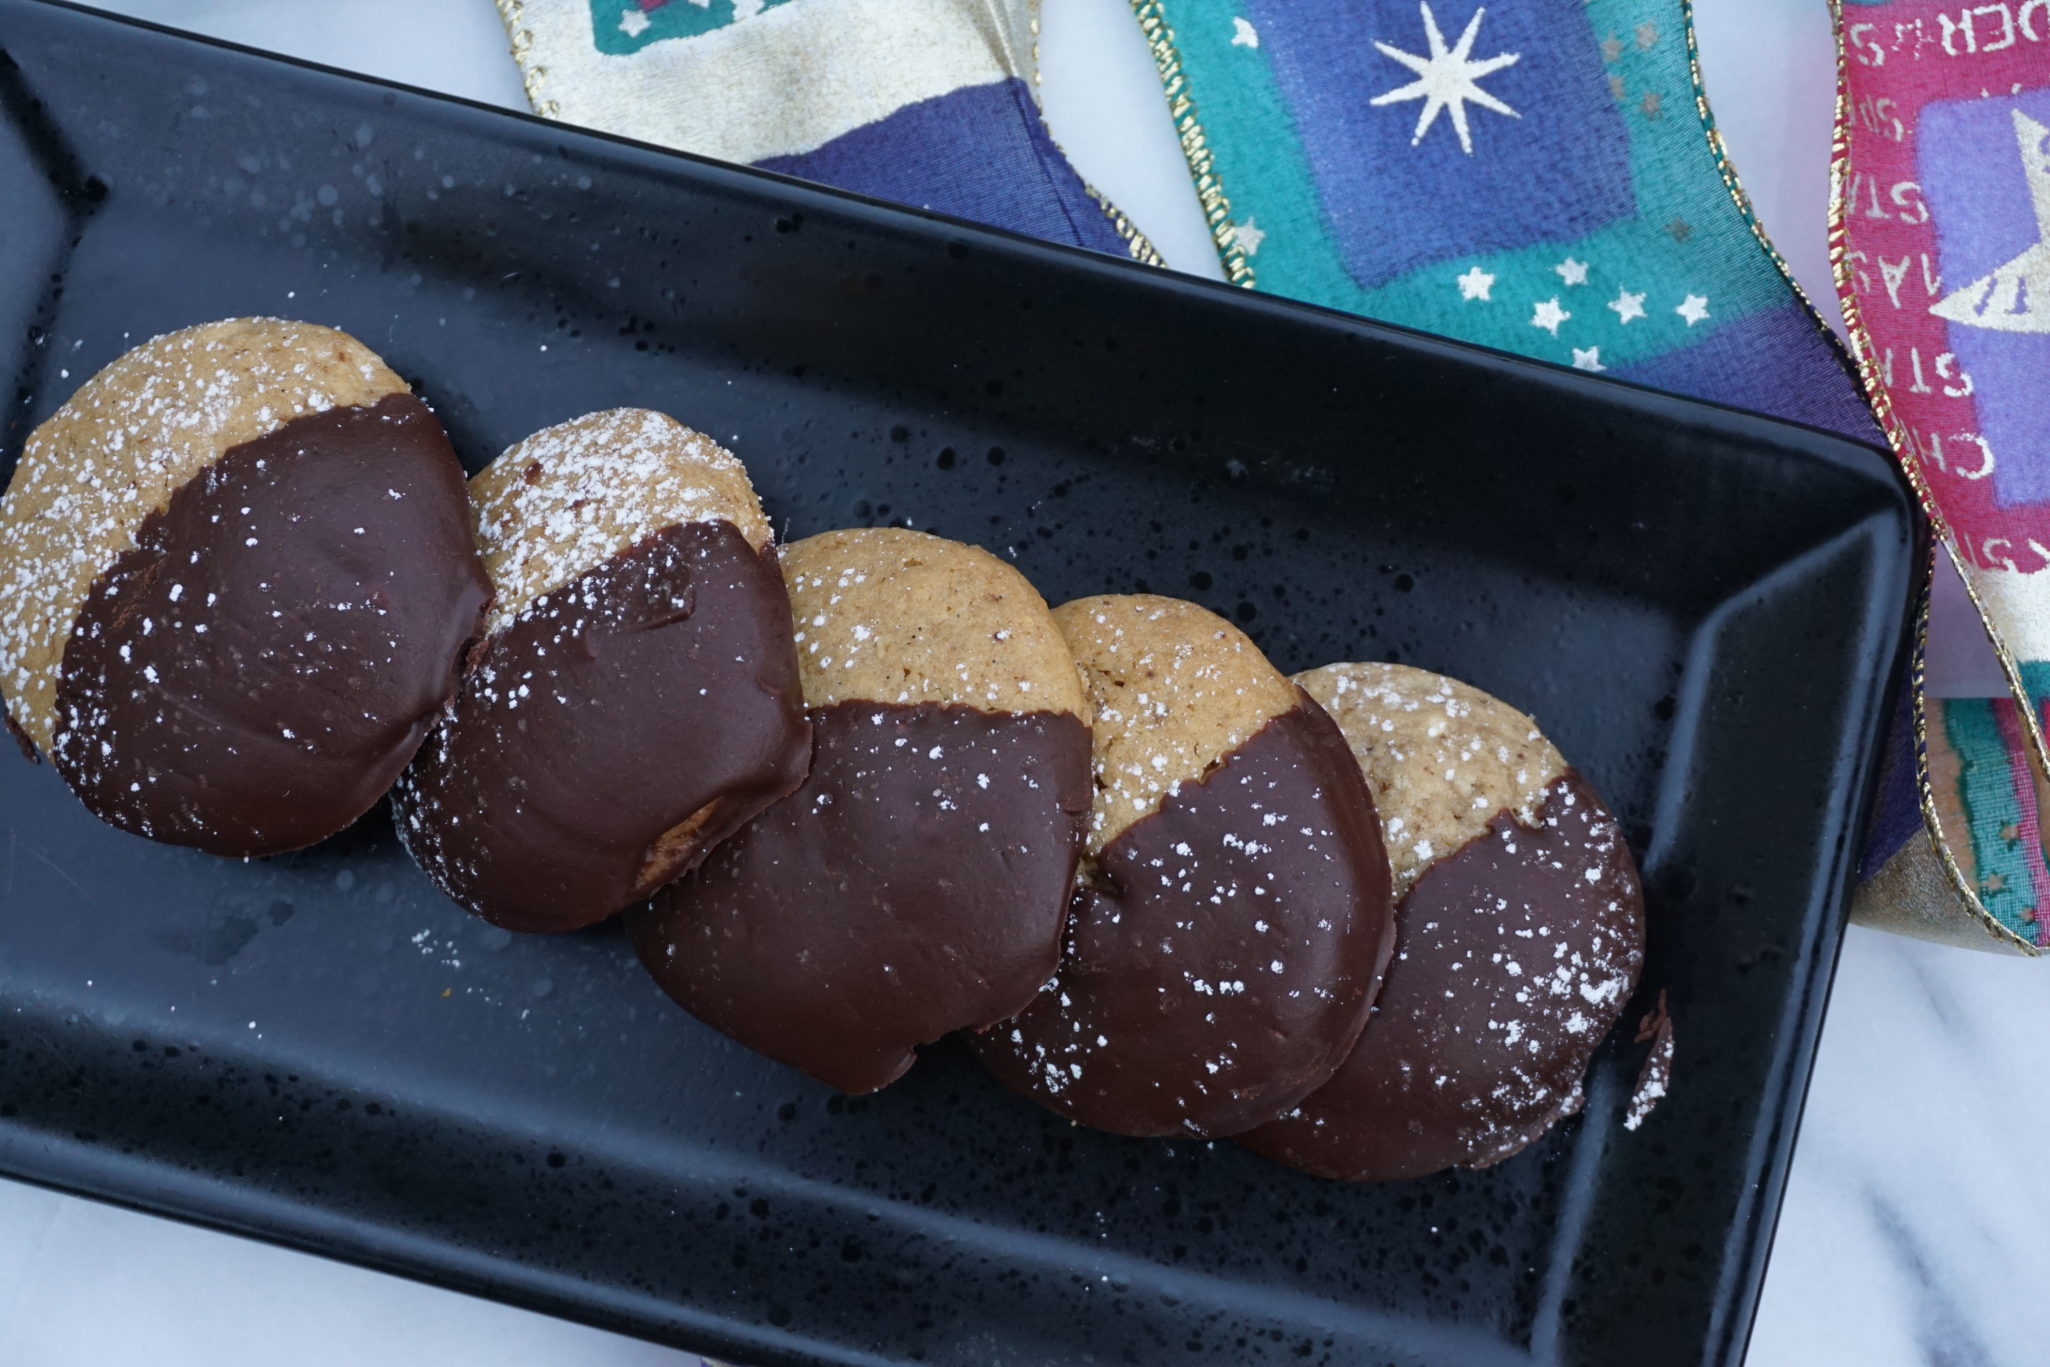
I picked these three cookies because they looked pretty easy to me, and their pictures in the cookbook looked pretty good.  The Swedish Visiting Cake Bars are better cold and almost have a custard-like taste to them.  My dad wasn’t super thrilled about all the almonds on top, but I think they add a nice crunch.  They are more cake-like than you would expect, but they have an awesome almond flavor that I am a huge sucker for. These cookie-cake bars definitely grew on me. The Snowy Topped Brownie Drops are basically small lumps of brownies with a ton of powdered sugar on them–what’s not to like??? Unless you don’t like chocolate.  My least favorite part of these cookies is that the dough must be chilled for at least 3 hours. I tend to get impatient and want to finish baking all in one fell swoop.  But my dad did say that they are his favorite of the three, so maybe it’s worth it. Last but not least, the Coffee Malteds cookies.  I made a tiny mistake (or a huge mistake if you talk to my mom) when I didn’t sift the malted milk powder before mixing it into the wet ingredients, so my cookies have some weird lumps of malted milk powder in them. But other than that, they taste pretty good (ps. you can’t even taste the weird lumps so w/e). I dipped them in chocolate, which in my opinion makes them 10000000 times better. We are taking the cookies to our annual pre-school cookie exchange tomorrow, so we’ll see which one is everyone’s favorite!

HI CLAIRE

Attention Java Junkies! Coffee Malteds: Day 5 of 12 Days of Cookies

Attention Java Junkies! Coffee Malteds: Day 5 of 12 Days of Cookies

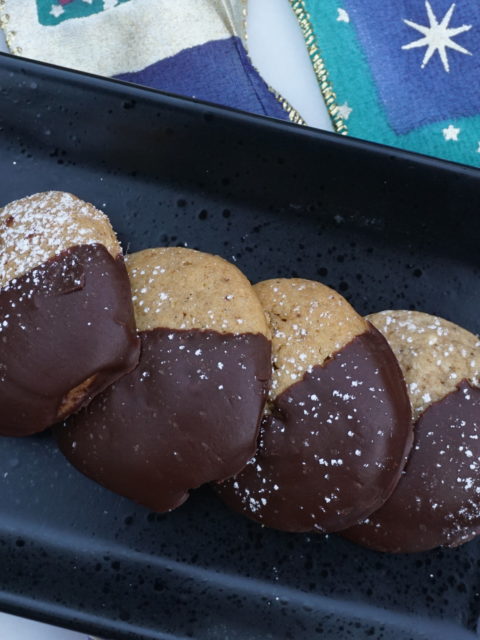
Coffee Malteds from Dorie’s Cookies a great cookie for all Java Junkies and even those that aren’t coffee lovers.  The addition of malted milk powder adds a nutty, vanilla, earthy flavor-a touch of Ovaltine in your cookie. To take them over the top, Jamie dipped them in chocolate, genius!

Coffee Malteds from Dorie's Cookies

Ingredients

  • 1 1/2 cups 204gms all-purpose flour
  • 1/4 cup 40gms unflavored malted milk powder
  • 1/2 teaspoon baking powder
  • 8 tablespoons unsalted butter cut into chunks, at room temperature
  • 1/2 cup 100gms sugar
  • 1/4 cup 50gms packed light brown sugar
  • 1 tablespoon ground coffee preferably from espresso beans (or use instant or powdered coffee or espresso)
  • 1/2 teaspoon fine sea salt
  • 1 large egg at room temperature
  • 1 large egg yolk at room temperature
  • 1 teaspoon pure vanilla extract

Instructions

  • Preheat it to 350°F. Line two baking sheets with parchment paper or silicone baking mats.
  • Whisk the flour, malt powder, and baking powder together.
  • In a stand mixer fitted with the paddle attachment, or in a bowl with a hand mixer, beat the butter, both sugars, espresso, and salt together on medium speed until well blended, about 3 minutes. Scrape down the bowl, return to medium speed and, one by one, beat in the egg, yolk, and vanilla, beating for 1 minute after each goes in.
  • Turn off the mixer, add the dry ingredients all at once and pulse, just to begin incorporating the flour and malt powder. When the risk of flying flour is passed, mix on low speed only until the dry ingredients disappear into the dough. You'll have a rather crumbly dough, but that's fine. Give the dough a few last turns with a sturdy flexible spatula and then reach in, knead if necessary and gather the dough into a ball.
  • Using a small cookie scoop, scoop out level portions of dough, or use a teaspoon to get rounded spoonfuls. Roll the dough into balls and place them an inch apart on the lined baking sheets.
  • Bake the cookies for 14 minutes, rotating the baking sheets top to bottom and front to back after 8 minutes. The cookies will be soft and golden only around the edges; they won't look done, and they're not—they'll firm as they cool. Transfer the sheets to racks and then, after about 10 minutes, carefully lift the cookies onto the racks to cool completely.
  • Do Ahead
  • Packed in a tightly covered container, the cookies will keep for up to 3 days (after that, they get firmer and are perfect for dunking...in coffee, of course). Wrapped airtight, they can be frozen for up to 2 months.
Ho Ho Ho! Yo-Yo’s are here! Day 2 Holiday Cookies

Ho Ho Ho! Yo-Yo’s are here! Day 2 Holiday Cookies

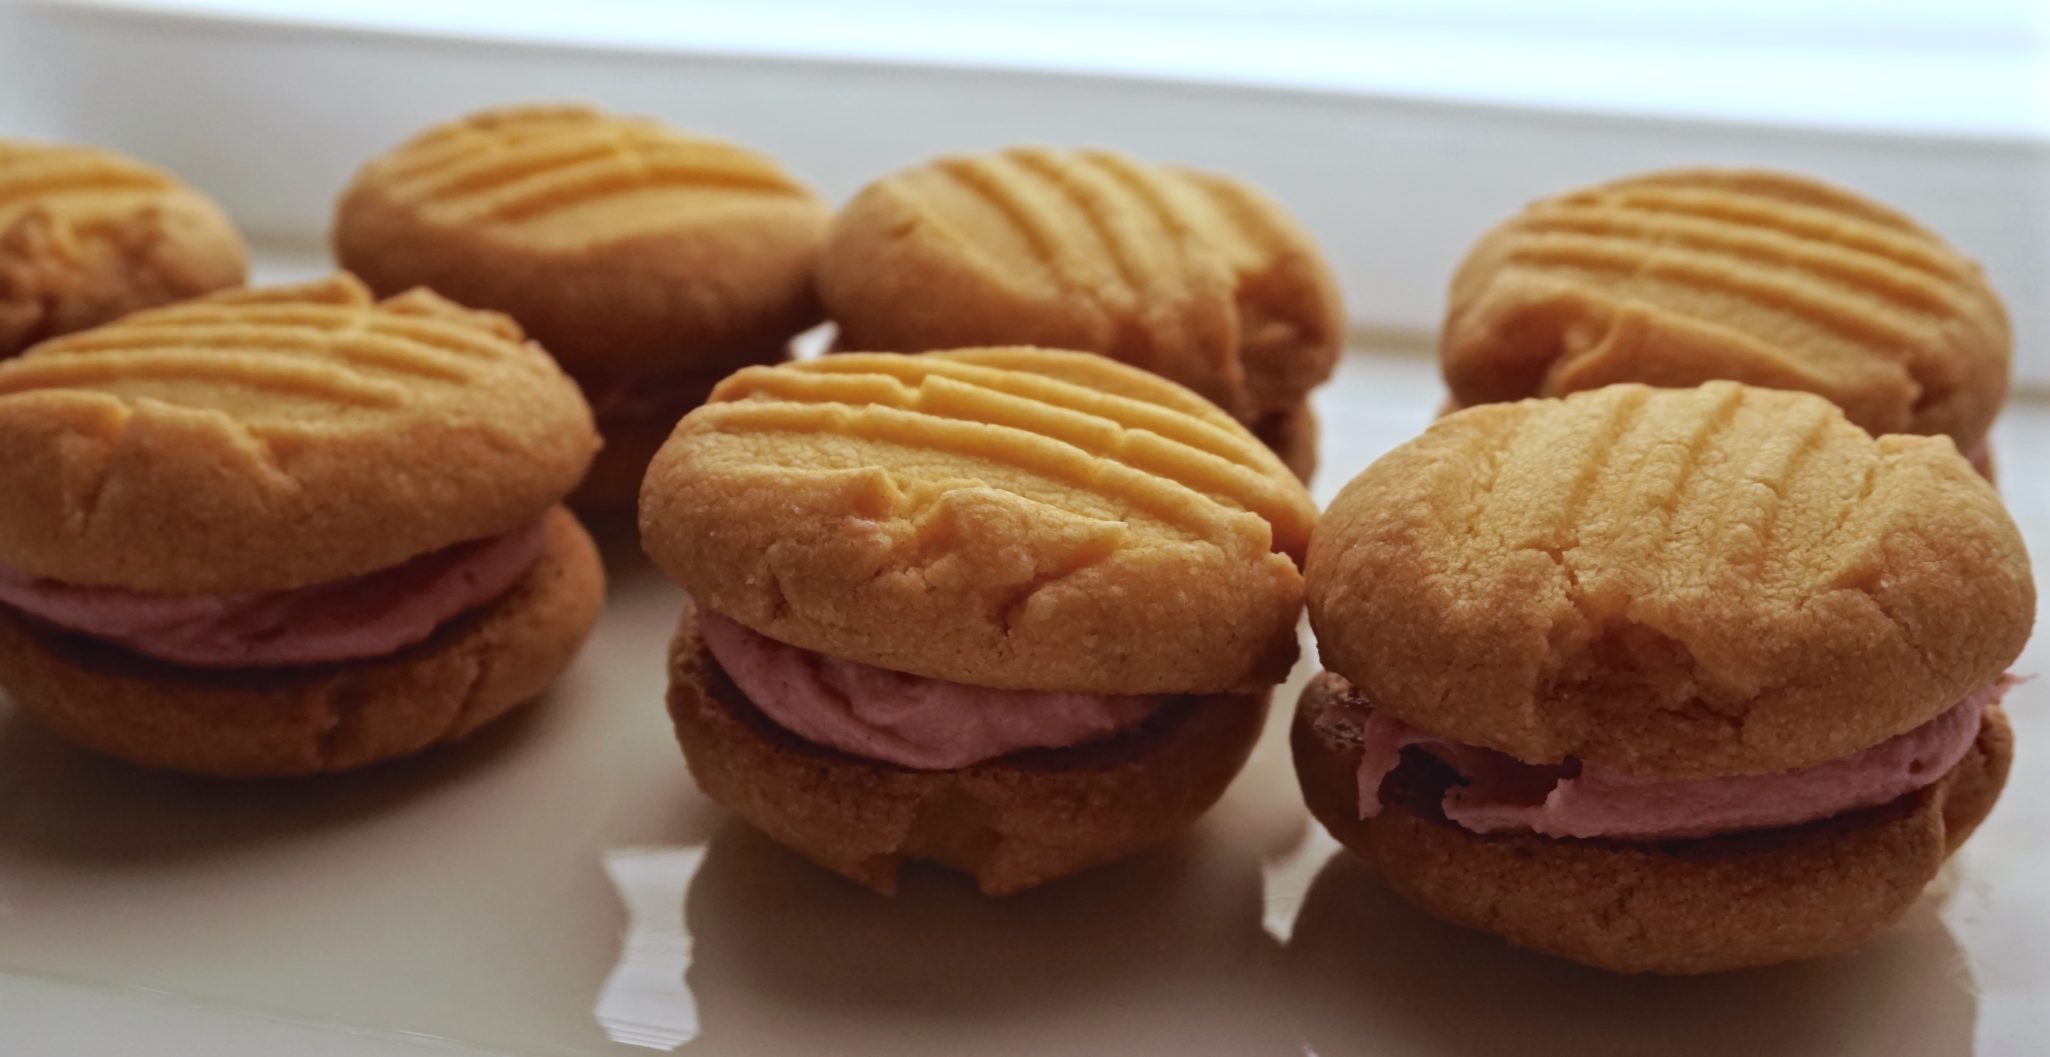
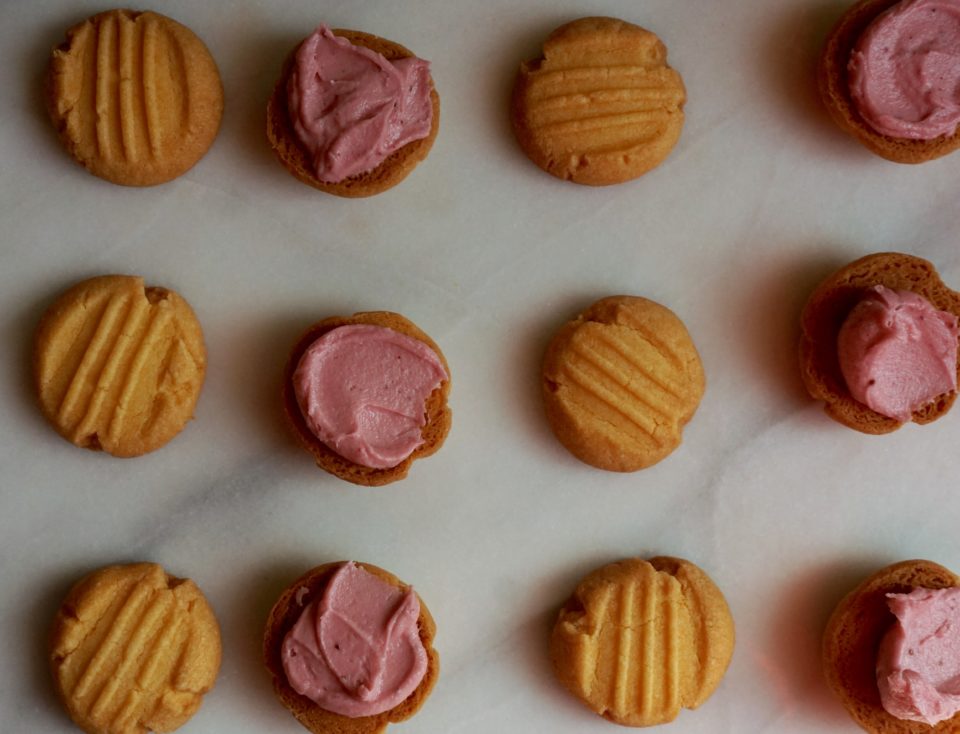
Day 2 of 12 days of Cookies.  I am off to a slow start having posted the first cookie days ago.  But I promise, this cookie will make up for the wait.  Once again I found a delicious treat in Ottolenghi’s dessert book, Sweet. Yep, my new fav. I am a sucker for shortbread and their Yo-Yos are just that, buttery, melt in your mouth shortbread cookies. They didn’t stop there, the cookies are then paired with a luscious buttercream to make an absolutely delicious sandwich cookie. Perfect for a holiday cookie platter.

The cookies are made with custard powder, an English invention.  A thickening agent like cornstarch, the custard powder gives the cookies their sandy texture. The addition of annatto to the powder creates that lovely yellow-orange hue.  I found Bird’s Custard Powder at a local Indian supermarket, cornstarch can be used instead but I love the color from the Bird’s Custard.

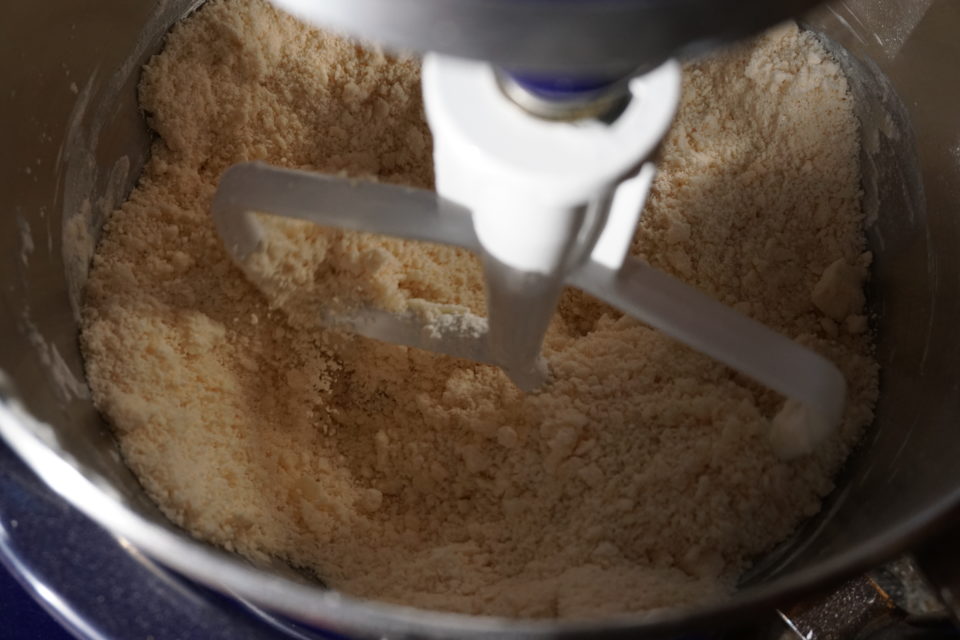
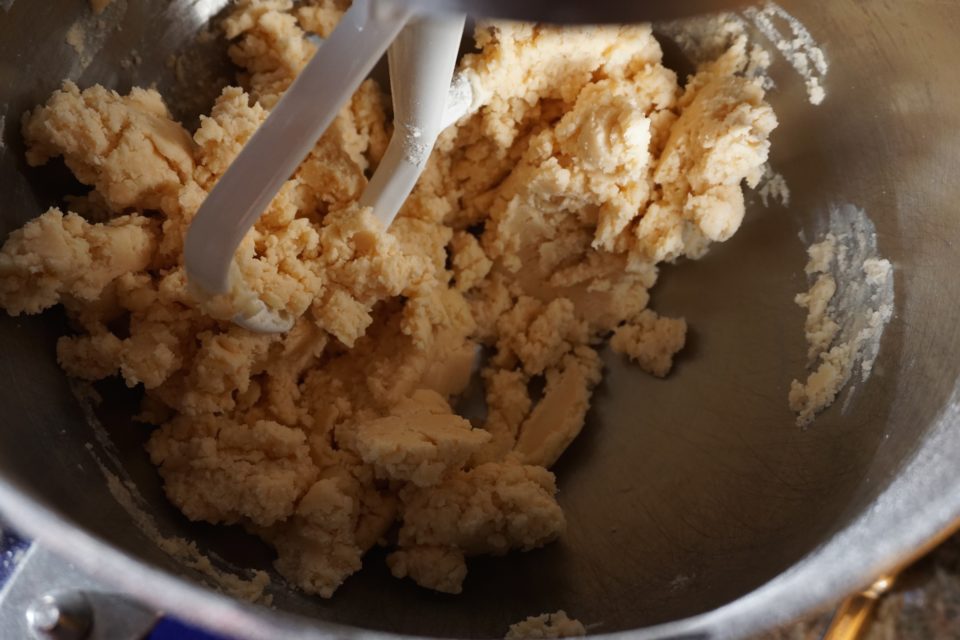
The dough comes together quickly.  Dry ingredients are sifted into a bowl and butter cut into it. The mixture starts out very dry and crumbly but after adding the vanilla and increasing the speed of the mixer the dough comes together nicely.

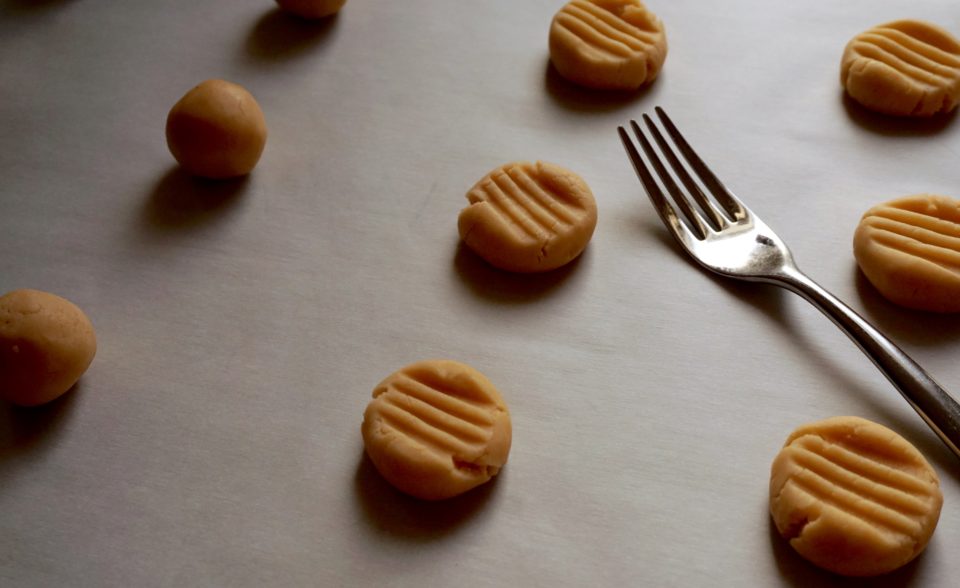
Use a tablespoon ice cream scoop to measure out portions of dough. Roll each scoop into a smooth round ball and then smoosh each with a fork.

I have a confession to make.  I couldn’t find rhubarb so I substituted strawberries instead to make the buttercream.  The berries give the buttercream both flavor and color and make very striking sandwich cookies.  No wonder they call these cookies Yo-Yos.  Can’t wait until rhubarb is in season.

and to get you into the holiday baking mood….Mariah

Ho Ho Ho! Yo-Yo’s are here! Day 2 Holiday Cookies

Ingredients

  • 1 small stalk rhubarb trimmed, washed and cut into 1-inch lengths
  • 4 1/2 tbs unsalted butter room temperature, cubed
  • 1 cup plus 2 tbs confectioner's sugar
  • 1/2 tsp lemon juice

Dough

  • 1 1/3 cups plus 2 tbs all-purpose flour Plus 1 tbs for dusting
  • 1/2 cup custard powder can use cornstarch
  • 1/2 cup plus 1 tbs confectioner's sugar
  • 1/8 tsp salt
  • 3/4 cup unsalted butter room temperature, cubed
  • 1/4 tsp vanilla extract use 1/2 tsp if using cornstarch

Instructions

Twelve Days of Cookies Starts… NOW (Saffron, Orange and Honey Madeleines)

Twelve Days of Cookies Starts… NOW (Saffron, Orange and Honey Madeleines)

This holiday season I am determined to post a Twelve Days of Cookies list and I will only stand a chance if I start now. This month Food 52 Baking Club is featuring Ottolenghi’s book Sweet authored with Helen Goh, his dessert partner in crime. As with all Ottolenghi books, this one is beautiful, worthy of your coffee table, but more importantly, worthy of use in your kitchen.

A long long time ago in a kitchen somewhere far away, I tried to make madeleines.  I flopped, and since then my madeleines pans have been relegated to the back of a kitchen cabinet.  Looking for a recipe to try for National Cookie Day (yesterday, hope you made a batch) I came across Ottolenghi’s Saffron, Orange and Honey Madeleines.  They looked and sounded so delicious I decided to pull out my forgotten pans and give it the old college try.

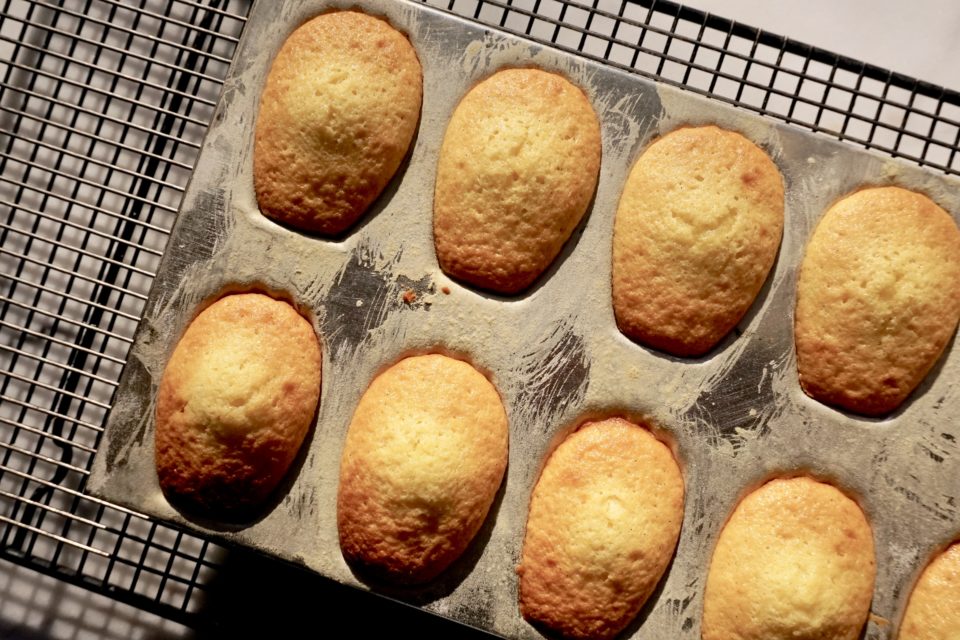
I’m glad I did.  The madeleines are buttery, cakey, tender, everything a madeleine should be and more.

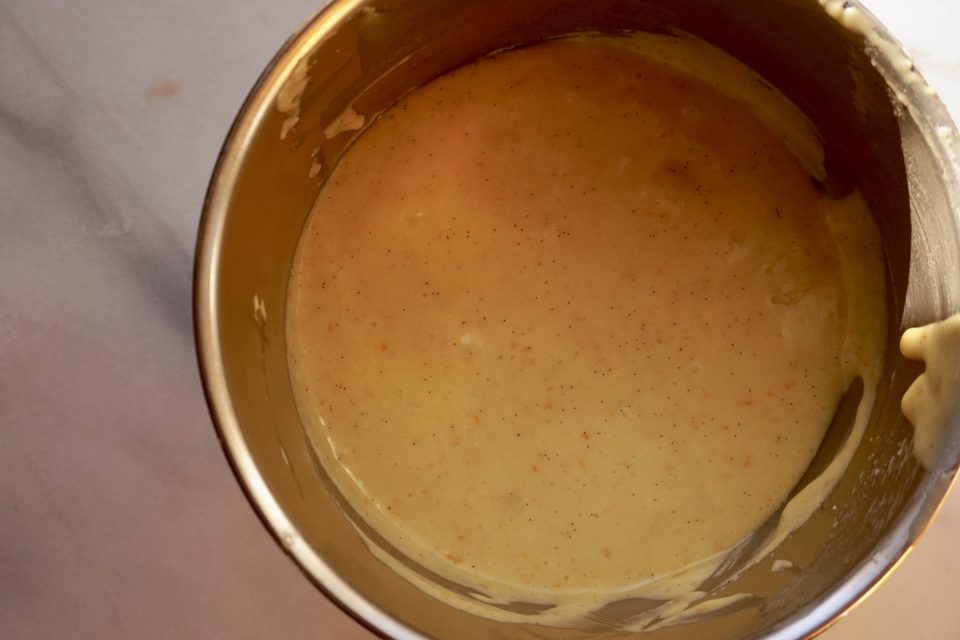
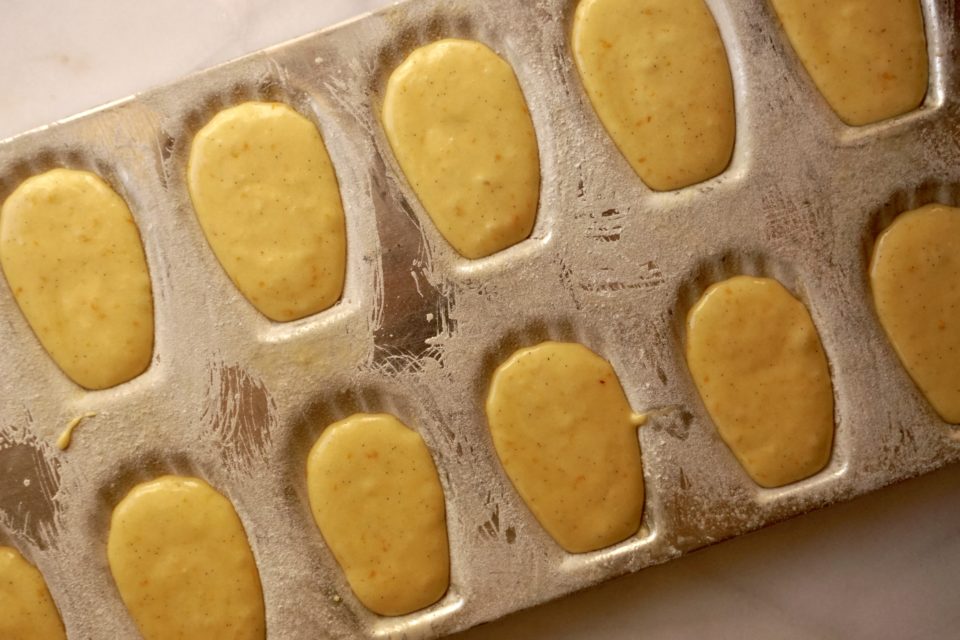
The batter is made in a food processor (oh snap). Eggs and sugar are whirled in the processor, flour and leavening added, pulse a couple more times and then add the saffron infused melted butter. The batter is poured into a WELL BUTTERED AND FLOURED pan (trust me on this) and baked for 7-9 minutes.  In those short minutes, your entire kitchen will be blanketed by the aroma of vanilla, butter, and orange, heavenly.

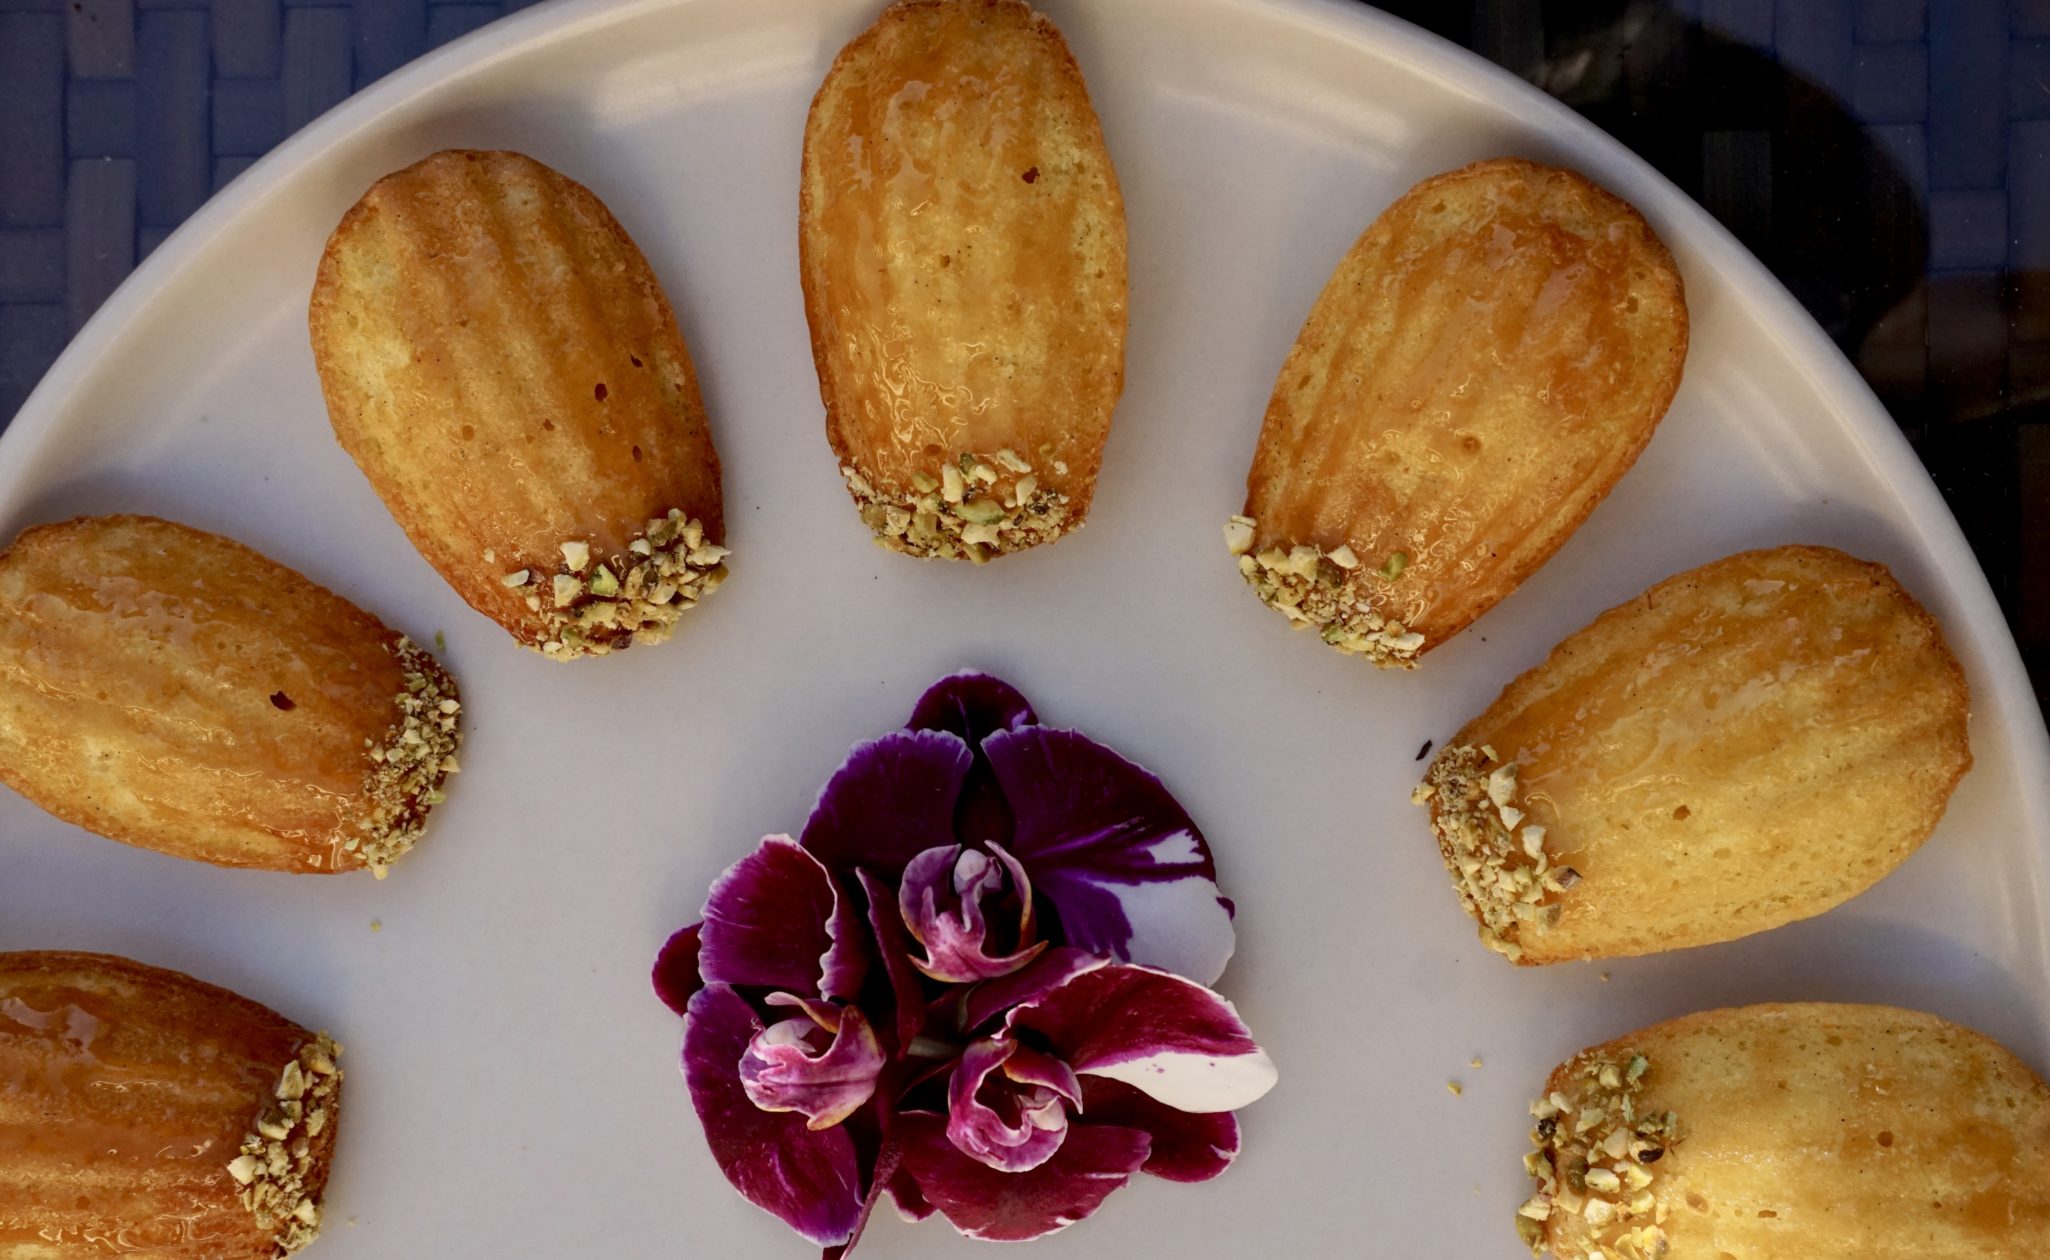
The cooled madeleines are popped out of their shells (haha, get it?) painted with heated honey (watch your fingers, the honey is hot) and one end rolled in ground pistachios.

So good.  If you don’t have a madeleine pan you could probably use a mini-muffin tin…they’ll still be delicious but they just won’t be the same (sigh).

You can find the recipe on Bon Apetit but without weight measurements (boohoo). If I were you I’d splurge and get the book, totally worth it!

[amd-yrecipe-recipe:150]


Will Blog for Food (Easy Homemade Cookie Cookbook)

Will Blog for Food (Easy Homemade Cookie Cookbook)

I received an e-mail from a publisher a couple of weeks ago. They had come across my blog and wanted to know if I would like to review a book they had coming out. Me? I was flattered (my aw-shucks, you really like me moment). Wait, this isn’t some ploy to get me to buy another book is it? So I asked “Do I have to send the book back?  I hate mailing stuff.  I GET TO KEEP IT?!  Sure I’ll do it!” The last thing I needed was another baking book as I am the owner of way too many cookbooks. As space on my shelf grows tight I have had to be selective about which books I get and keep.  BUT THIS WAS FREE. So what the heck!  When I did receive my copy of Miranda Couse’s Easy Homemade Cookie Cookbook I felt like I was getting an extra birthday gift.  I flipped through the book for an initial look just to size it up. I noted the extensive section on essentials, ingredients, and how-tos. Great for beginners. The cookies are organized by types such as drops, classics, brownies and bars, slice and bake and holiday treats. There are tips and variations interspersed throughout the book, very informative. Each page is user-friendly with the ingredients and quantities listed on the left and instructions on the right. Every recipe is preceded by a highlighted box with prep time, baking time, how many cookies and shelf life, love that. There are photos every couple of pages but not one for each cookie.  Bummers.  But the photos included are well-staged and close-up, you know exactly what the cookie should look like.

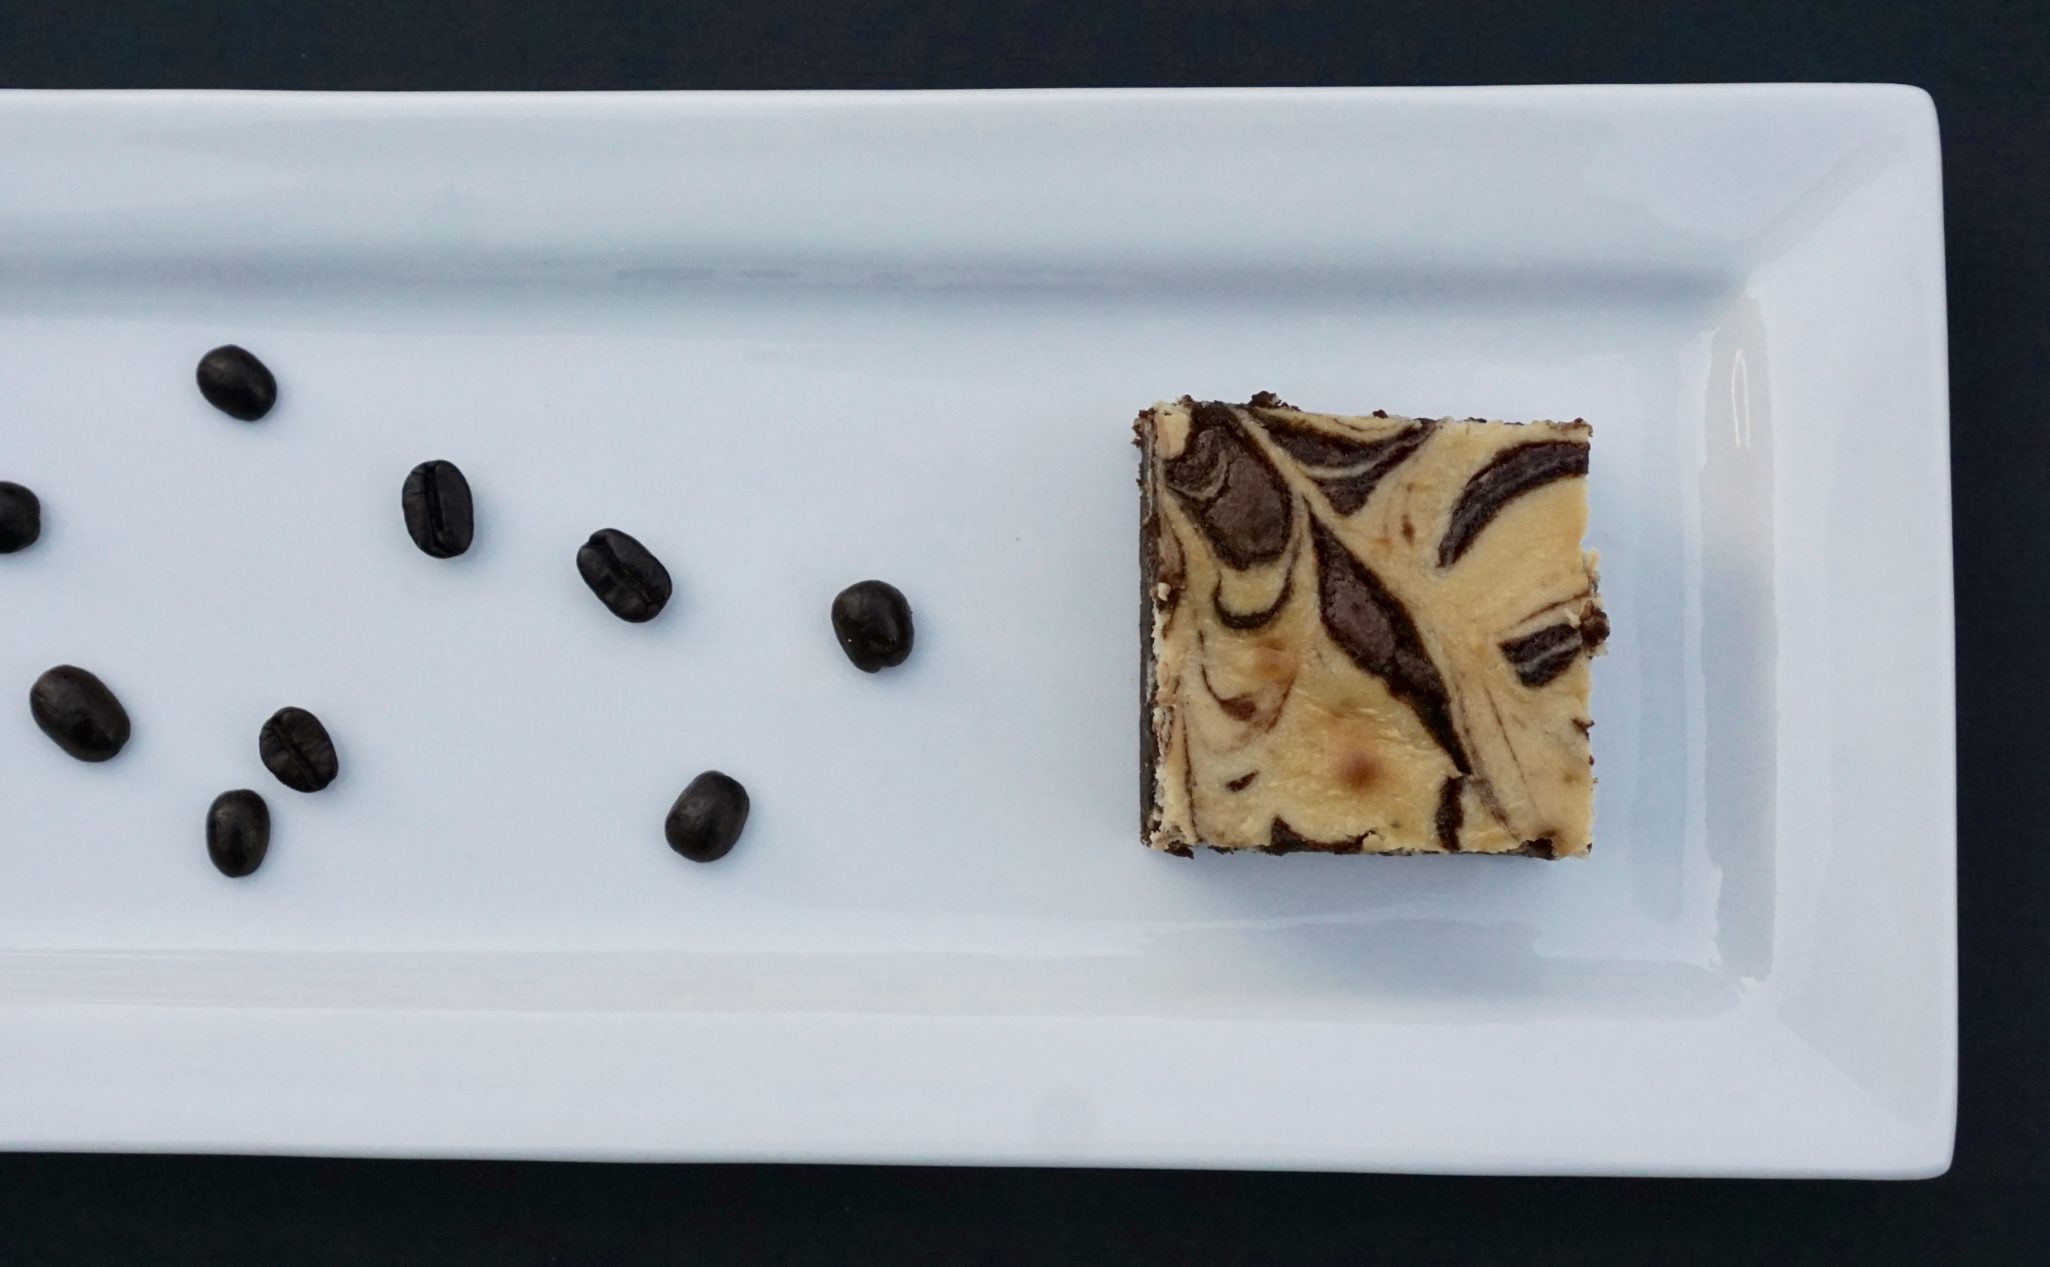
Now to the serious stuff. I tried two recipes, the Blueberry Lemon Shortbread and Coffee Cheesecake Swirled Brownie. Both were straightforward and easy to make, especially the shortbread. The cookie is buttery, very lemony which really creates a nice contrast with the blueberries. Dried blueberries are used which I think intensifies the flavor. Really delicious cookie. The brownies were a bit more effort with the 2 batters but worth it. They are decadent, gooey and dense. The sweetness is tempered by the hit of espresso powder. Next time I might add chocolate chips to the brownie batter just to amp up chocolate. Double yums.

Despite having a zillion cookie books, I am making room on my shelf for this one. It is easy, straightforward, well organized and more importantly, the recipes work. I know Jamie is going to love it.  Holiday baking here we come.

This would be the perfect stocking stuffer for novice bakers and cookie lovers!


Cookiefinity-Triple Play (Triple Oatmeal Cookies from BraveTart)

Cookiefinity-Triple Play (Triple Oatmeal Cookies from BraveTart)

This month’s Food52 Baking Book Club features Stella Park’s BraveTart.  You may remember I previously blogged about her delicious Honey Roasted Peanut Butter Cookies and the debacle of using the printed version in People magazine.  BIG MISTAKE. About a month ago, Omnivore Books hosted Ms.Parks, being a cookbook junkie, I jumped in my car and headed to the City to attend. Got my very own SIGNED copy, uh-huh, uh-huh..doing the happy dance.

Talented dessert chef, blogger, and author of Marbled, Swirled and Layered, Irvin Lin was on hand to moderate the conversation.  Which just proves there is a conspiracy going on as I was FORCED to buy not just one new cookbook but two. Now I have to find shelf-room for his book too. Aiyah!

After her talk, I waited patiently while one woman monopolized the Q&A session (sheesh-some people), they finally picked me and I blurted out “I’m the one who tweeted about processing the honey roasted nuts” and recounted the horrible editing job of her recipe in People magazine. I think of it as a cautionary public service tale for everyone.

And with her great southern drawl (she is from Kentucky) she said: “Oh I know, I hate when they edit recipes and get it wrong!”

I was vindicated.

The book is a reflection of her, warm, friendly and gracious.  BraveTart is a love tome to iconic American treats. The book works due to her attention to detail and thoroughness.  She has reworked recipes such as Oreos and Nutter Butters and transformed them into delicious homey treats while retaining the essence of the original dessert that you remember so well from childhood. With the first bite of her Triple Oatmeal Cookie, I was immediately transported back to my 12-year-old self, reaching into the familiar pink-purple bag of Mother’s Oatmeal Cookies.

Her Triple Oatmeal Cookies are delicious, chewy, toothy cookies. The cookies contain old-fashioned oatmeal, steel cut oats and oat flour, the triple whammy of Oatsville.  Cranberries and pecans are added and provide sweetness and crunch, a scrumptious cookie. Feel free to substitute different dried fruit. Interestingly enough Stella posted that raisins will cause or allow the cookies to spread more than cranberries so keep that in mind.  Dried cherries or diced apricots would be amazing also.  Chocolate chips would, of course, work well also.

I made the dough and followed the instructions to bake the cookies on a foil-lined sheet.  To my surprise, the cookie spread was more than expected.  The first batch was thin, almost like lace cookies. Channeling America’s Test Kitchen I baked subsequent batches on parchment and then on a Silpat.  Here are the results, everyone knows a picture is worth a thousand words.

So, the cookies on the left were baked on Silpat, center- parchment, right-foil. An Ah-ha moment.  Like the story of Goldilocks and the Three Bears, “This cookie (right) is too thin, this one (left) is too thick, the center cookie is JUST RIGHT!” Note to self, bake these cookies on parchment.

In the end, they were all good, chewy, buttery, crispy edges and full of oat goodness. They were gobbled up.

Cookiefinity-Triple Play (Triple Oatmeal Cookies from BraveTart)

Ingredients

  • 1 cup 2 sticks unsalted butter, room temperature (not too soft)
  • cup 5 ounces packed light brown sugar
  • ½ cup 3 ½ ounces granulated sugar
  • 1 ½ teaspoons Diamond Crystal kosher salt a bit less if you use Morton’s kosher salt, half the amount if it’s regular table salt plus additional salt (if you wish) for sprinkling
  • 1 ¼ teaspoons baking soda
  • ½ teaspoon ground cinnamon
  • 1 tablespoon vanilla extract
  • 1 large egg
  • cup 3 ounces all-purpose flour
  • ¾ cup 2 ½ ounces oat flour (alternatively, grind old-fashioned rolled oats in a blender)
  • 1 ⅔ cups 6 ounces old-fashioned rolled oats (not quick-cooking)
  • ¼ cup 1 ½ ounces steel-cut oats
  • 1 ¼ cups 5 ounces toasted pecan pieces
  • 1 cup 6 ounces dried cranberries or cherries, if you use raisins the cookies will spread a bit more

Instructions

  • Preheat oven to 350 degrees.
  • In bowl of a stand mixer, combine butter, brown sugar, granulated sugar, salt, baking soda, cinnamon and vanilla. Beat until combined. Add egg and continue beating until light and creamy.
  • Whisk together flour, oat flour and both oatmeal types. Stir in pecans and cranberries. Add dry ingredients to wet and mix until just combined. Batter will be stiff.
  • Arrange portions of dough (about 1 ounce or 2 tablespoons each) onto lined baking sheets. Flatten into disks and optionally sprinkle each with a bit of kosher salt.
  • Bake in preheated oven 10 to 12 minutes, until golden brown on edges but still pale in the middle.
  • Let cool on baking sheet a few minutes and then move to a cooling rack.

Pictures from a cookbook groupie! When will I learn to hold my phone higher?